• Skip to primary navigation
  • Skip to main content
  • Skip to primary sidebar
  • Skip to footer

Whipperberry

WhipperBerry • Your Home For Creative Inspiration

  • Home
  • Recipes
    • Starters
    • Easy Weeknight Dinners
    • Main Dish
    • Salads
    • Side Dish
    • Soups & Stews
    • Desserts
    • Breakfast
    • Miscellaneous
  • Tutorials
    • Creative Crafts
    • DIY Decor
    • Fabric Crafts
    • Food How-To
    • Jewlery
    • Paint Projects
    • Paper Art
    • Party Styling
    • Photography and Graphic Design
    • Silhouette
  • Holidays
    • Easter
    • Mother’s Day
    • Father’s Day
    • 4th of July
    • Halloween
    • Thanksgiving
    • Christmas
    • Valentine’s Day
  • Gift Ideas
    • Gifts For Everyone
    • Gifts for Dad
    • Mother’s day
    • For The Girls
    • For The Kids
    • Teacher Gift Ideas
    • Christmas
  • Printables
    • Holiday
    • Gift Idea
    • LDS Primary
  • Travel
  • About
    • Terms
  • Contact
  • Nav Social Menu

    • Facebook
    • Instagram
    • Pinterest
    • RSS
    • Twitter

Tutorial

How To Seal Chalk Paint – The Best Top coats

169 · Aug 16, 2022 · 1 Comment

chalk paint sealant


Chalk paint is a popular choice for home decor. It comes in a variety of brands and colors; something to suit anyone’s decorating style.

If you want your chalk-painted pieces to last without chipping or staining, applying a sealant coat is recommended.

If you’ve been a reader for a while you know I LOOOOVE using chalk paint for my craft projects. So, I want to share with you how to actually seal chalk paint.

What Is A Seal Coat?

A seal coat is a thin, usually transparent coating that protects your painted surface. Chalk paint is a little bit more fragile than acrylic or latex-based paints.

Chalk paint on any “high touch” surface is more likely to chip or get scratched. Chalk paint also has a tendency to stain easier, especially chalk-painted table tops and cupboards.

Fortunately, applying one or two coats of a clear sealant can prevent these things from happening. 

The Best Ways to Seal Chalk Paint

The best way to seal your chalk-painted projects depends on what type of item you’re going to seal, and what you want the final appearance to be.

It’s important to keep in mind that if you like the “chalky” smooth appearance of your painted objects, you don’t want to apply a glossy sealant on top of them.

Look for sealant with a matte or satin finish. Matte finish sealant won’t change the overall appearance of your chalk paint. A satin finish sealant will add a soft, very subtle shine to your piece, but isn’t glossy. 

The Best Seal Coats for Chalk Paint

No matter what type of sealant you choose for your chalk-painted projects, be sure to read the label thoroughly.

Make sure it will work for whatever your object is made of; some sealants that are great for wood might not work as well for chalk paint on glass or on metal pieces. 

Also check the drying or curing time, so you can estimate how long it will take you to complete your project.

Look online for video tutorials if you are curious about the application process for any sealants. Checking online reviews can be helpful, too. 

You can find all kinds of sealants for sale, but when it comes to sealing chalk paint these three types of sealant are the most popular.

Wax Finish For Chalk Paints

A wax sealant is the best choice for any chalk-painted furniture that you want to finish with an “antiqued” look.

Chalk paint sealed with wax beautifully transforms an ordinary piece of furniture to look like a treasured heirloom.

Wax sealant will give your surface a smooth, satiny finish. It does take a little more work to apply than other sealants. For best results, you should also reapply the wax sealant periodically.

To apply a wax sealant to your chalk-painted furniture, use a stiff paintbrush or a soft, lint-free cloth. Spread the wax evenly over the entire surface, in a thin layer.

Let this dry, then take a clean lint-free cloth and buff the wax finish. An old t-shirt works great for buffing.

After you’ve buffed the wax to a nice satiny finish, it can take anywhere from several days to several weeks for the wax finish to be fully cured.

During this time, be gentle with your painted piece to keep the wax finish free from scuffs or scratches. 

After the wax sealant is fully cured, you can apply a second coat if you want a little more protection for your piece. One coat is usually enough, though.

Different brands of wax will require different curing times. It’s always best to check the instructions on whatever brand you buy to get the best results.

Some brands manufacture furniture wax that is specifically formulated as a chalk paint sealer.

In addition, to clear finish wax sealants, you can buy tinted wax to add some depth to your finished piece.

Once your initial clear wax finish is completely dry, you can brush on a second coat of tinted wax in a dark or contrasting color. Let the darker wax sit for just a few minutes, then gently wipe it off with a clean, lint-free cloth. 

This method easily achieves a “distressed” or “antiqued” appearance on your chalk-painted piece.

The darker wax will highlight any carved or textured surfaces.

Wax sealants over chalk paint can make painted furniture look great, but it’s not the best choice for kitchen cabinets or anything that is in the bathroom.

In the kitchen, grease and tiny bits of dust and crumbs will show up noticeably on chalk-painted surfaces.

Humidity from being in a bathroom will eventually make the wax finish chalk painted piece look a little bit cloudy. For these rooms, using a polycrylic finish is a better choice. 

Spray Clear Coat For Chalk Paints

Just about any company that makes spray paint also makes various spray clear coats. Some even have products that are formulated especially for protecting chalk-painted surfaces.

When choosing a spray clear coat to go over chalk paint, you should look for one with a matte or satin finish.

A matte finish will work best if you want to preserve the lovely smooth, chalky look of your unsealed chalk paint. A satin finish will look similar to the finish achieved with furniture wax, with less work involved.

When using any spray sealant, you should work in a well-ventilated area, or outdoors. Be sure to have a drop cloth to protect your home or backyard from any overspray.

Be sure to shake the can of sealant vigorously to get the sealant thoroughly mixed. Spray your painted piece in light even coats, using a back-and-forth motion. 

You can apply a second coat after the first layer is completely dry. Two coats is usually perfect for optimal protection.

When your painted piece is drying, be sure it is in a place that will be free from wind and dust. Even the tiniest specks of dust that get blown onto your drying piece will show up in the sealant. 

Brush On Polycrylic Sealant For Chalk Paints

Polycrylic sealant or varnish is the most durable choice for sealing your chalk-painted projects. This is the best option for anything that will come in frequent contact with water, food, or people touching it on a regular basis.

This finish is also the easiest to clean. Usually, all you will need to do is wipe it down with soapy water. 

Polycrylic sealant is sold in cans similar to paint, and just like with a can of paint, you’ll need to stir it thoroughly before applying.

To keep the smooth appearance of your chalk paint, choose a sealant with a matte or satin finish. To apply, make sure your surface is clean and dry. Moving your paintbrush in one direction, brush on a thin coat of polycrylic sealant.

Make sure the sealant gets into any small spaces. Let it cure fully before applying a second coat. Different brands will require different curing times, so always check the label on the product you are using. 

The polycrylic sealant provides the strongest coating of the three sealants in this article. It’s very resistant to scratches and scuffing.

This is the best option for any chalk-painted surface that is going to come in frequent contact with other objects, or that will be handled by people. It’s ideal for table tops and cabinet doors.

Because polycrylic cures to a smooth surface, it can be easily wiped clean with just a damp cloth. 

Be sure to work in a well-ventilated area or outdoors when working with polycrylic sealant.

Protect your work surface with a drop cloth.  Your paint brushes should clean up easily with mineral spirits.

Polycrylic shouldn’t be confused with polyurethane sealant. Polyurethane is durable, but it has a stronger odor and has a tendency to yellow as time goes on.

Even a piece of indoor furniture sealed with polyurethane can yellow from sunlight shining through a window. 

Is There Any Reason to Not Seal Chalk Paint?

You don’t have to apply a seal coat to some chalk-painted items. Anything that isn’t going to be handled frequently, or that won’t come into contact with other objects probably doesn’t need to be seal coated if you don’t want to.

Smaller items such as vases, jars, picture frames, and desk accessories will still look nice if they haven’t had a sealant applied. If you have a chalk-painted piece of furniture, you could opt to apply a wax or polycrylic sealant only on the top surface where there will be frequent contact.

For any smaller chalk-painted item, you should apply at least two coats of paint if you aren’t going to apply a sealant. This will make the paint less likely to get scratched or to start chipping.  

Whether you choose to use a seal coat on your projects or not, chalk paint is a simple way to add distinctive accents to your home decor. Adding sealant gives an extra layer of protection to some chalk-painted objects and helps to ensure that they will look great for years to come. 

More Frequently Asked Questions About Top Coats for Chalk Paint

I tried to be as thorough as possible about the best top coats for chalk paint and how to apply them. However, there are a lot of questions readers have asked me about so I’ll answer them quickly for your below.

Can You Use Polyurethane Over Chalk Paint?

Yes. You can use polyurethane over chalk paint. Most of my recommendations are about using Polyurethane.

Can You Use Polyacrylic Over Chalk Paint?

Yes. You can use polycrylic over chalk paint. Most of my recommendations are about using poly products. The difference between polyacrylic and polyurethane is that one is oil-based and the other is water-based. Both well as a top coat for chalk paint.

12 Cricut Maker Projects You’ll Love

42 · May 8, 2022 · Leave a Comment

I LOVE, LOVE, LOVE my Cricut Maker! I’m especially loving creating more with fabric these days. I’m always looking for more Cricut Maker project inspiration.12 Cricut Maker Fabric Projects PLUS + For every Cricut Maker user, there comes a time when you will need to change out your rotary blade. This is something that is relatively new to the Cricut world, and is super easy to do following the proper instructions. 

The Cricut Maker is a cutting machine that allows you to do many different types of crafting. There are so many different things that you can make with this machine and the possibilities are endless.

This article will provide you with 12 project ideas for your Cricut Maker. With these projects, you will be able to use your creativity and create some really amazing things.

Looking for some inspiration on what to make with this fabulous new cutting tool? Here are some that might get your creative juices flowing…

Cricut Maker Fabric Project Inspiration for Beginners

Everyone loves thoughtful homemade gifts and this stylish zipper pouch is the perfect gift to whip-up in a fews hours to give as a fabulous Christmas gift this year + you can take the guess work out of cutting the pattern with the Cricut Maker! Come on over and learn how to make one of your own on WhipperBerry.

Zipper Pouch + created by ME, WhipperBerry

I created this zipper pouch after browsing Pinterest for some Circut project ideas. I found a pouch that I liked and thought I would remake it but change it a little. I think it came out great and it was a lot of fun. What do you think?

Scallop leather clutch created with Cricut Maker • See Kate Sew

Scalloped Leather Clutch + See Kate Sew

I just love this scalloped leather Clutch by See Kate Sew. I think she did a wonderful job. It’s amazing that a Cricut Maker can make something like this, isn’t it?

Knot Headband created with Cricut Maker • Coral + Co

Knot Headband + Coral & Co

Baby Quilt with Cricut Maker • See Lindsay

Baby Quilt + See Lindsay

Love Banner created with Cricut Maker • Hello Creative Family

Love Lives Here BannerLove Lives Here Banner + Hello Creative Family

How to Sew Fabric Baskets with the Cricut Maker • Polkadot Chair

How to Sew Fabric Baskets + PolkaDot Chair

Fabric Alphabet for Cricut Maker •  Amber Simmons

Fabric Alphabet + Amber Simmons

Mermaid Book created with Cricut Maker + Sweet Red Poppy

Mermaid Book + Sweet Red Poppy

Cricut Maker Tooth Fairy Monster created by The Idea Room

Tooth Fairy Monster + The Idea Room

Fabric Banner created with Cricut Maker •  PolkaDot Chair

Fabric Banner + PolkaDot Chair

DIY Wallet created with Cricut Maker •  Hello Creative Family

The Essentials Wallet + Hello Creative Family

SaveSave

SaveSave

This is a sponsored conversation written by me on behalf of Cricut. The opinions and text are all mine.

How to Replace a Cricut Maker Rotary Blade

40 · May 8, 2022 · Leave a Comment

I LOVE my Cricut Maker! I use it so much that I end up having to change the rotary blade.

For every Cricut Maker user, there comes a time when you will need to change out your rotary blade. This is something that is relatively new to the Cricut world and is super easy to do following the proper instructions. If you are new to creating with Cricut, the Cricut Maker Rotary Blade is the magical blade that cuts fabric when using the Cricut Maker machine! With its gliding, rolling action, it cuts virtually any fabric quickly and accurately – without backing material. It’s pretty fabulous! After you’ve cut to your heart’s content, you will eventually have to change out your blade, here’s a tutorial for how to replace a Cricut Rotary Blade. And, if you’re not sure if a Cricut or a Silhouette is right for you then make sure to read that article first. Ok so, scroll down for the tutorial on changing your Cricut blade.

Below is a quick Pinable graphic that you can save so that you can reference it later on how to change your Cricut rotary blade. You can even print a PDF version of it HERE if you’d like.

For every Cricut Maker user, there comes a time when you will need to change out your rotary blade. This is something that is relatively new to the Cricut world, and is super easy to do following the proper instructions. 

How to Change the Rotary Blade on a Cricut Maker 

Before you begin, you need to make sure you remember you are working with a VERY SHARP blade and to be safe while working with it at all times. You can pick up a rotary blade kit from Amazon here.

  1. Carefully remove the rotary blade from your Cricut Maker.
  2. Slip protective cover, from the Rotary Blade Kit over the blade with the large opening over the housing screw. View graphic to view safety warning.
  3. Make sure you feel the protective cover click into place.
  4. Use provided screwdriver to remove the screw from the housing. View graphic for step-by-step photo instructions. Keep in mind that the blade is meant to stay within the protective cover. This is a great feature created by Cricut to protect their Cricut family of users. I think it’s genius!
  5. Remove the new blade, already in a new protective cover, from the package.
  6. Place over your housing like before.
  7. Using the provided screwdriver, replace the screw making sure not to overtighten.
  8. Carefully remove the protective covering and replace the rotary blade in your machine.
  9. Just to be safe, I place my old blade, still in the protective cover, back into the packaging before I toss it in the trash.

That’s it, you’re ready to rock’n roll again. Looking for some inspiration on what to make with this fabulous new cutting tool? Jump over to the 12 Cricut Maker Project Ideas.

How To Make A Large Scale Felt Banner for Christmas

59 · Nov 9, 2018 · 3 Comments

Boy-oh-Boy… I LOVE large scale projects! Sometimes bigger really is better in my book. There are times when you really need to make a statement and a large scale felt banner or large drop cloth sign created to wow your guests or to really make a room POP! I wanted to create a large felt sign for the Christmas season to add to my living room and to also use for a Christmas party that I’m planning this year. Let me show you what I made and how YOU can make one yourself!

• This post is brought to you by the amazing folk at Cricut •

Boy-oh-Boy... I LOVE large scale projects! Sometimes bigger really is better in my book. There are times when you really need to make a statement and a large scale felt banner or large drop cloth sign created to wow your guests or to really make a room POP! I wanted to create a large felt sign for the Christmas season to add to my living room and to also use for a Christmas party that I'm planning this year. Let me show you what I made and how YOU can make one yourself! - WhipperBerry #feltsign #largescalesign #christmassign #christmasdecor #christmasdecoration

Many of you might say that a project of this size is impossible, especially with the Cricut cutting machines. You can really only cut 12 inches by 24 inches, right?  Technically, yes. However, if you have learned to master the Slice & Contour tools in Cricut Design Space, it’s actually very do-able. Especially now, with the Cricut Maker & the new larger Easy Press 2… Projects like this are a DREAM! The Maker can handle all kinds of materials like the most delicate paper and fabric to the tough stuff like matboard, leather, and balsa wood. What I especially love is that you can use it to cut FELT! One of my favorite materials to create with. Now, you can do it on a much LARGER scale with the help of some tips and tricks that will follow.

Boy-oh-Boy... I LOVE large scale projects! Sometimes bigger really is better in my book. There are times when you really need to make a statement and a large scale felt banner or large drop cloth sign created to wow your guests or to really make a room POP! I wanted to create a large felt sign for the Christmas season to add to my living room and to also use for a Christmas party that I'm planning this year. Let me show you what I made and how YOU can make one yourself! - WhipperBerry #feltsign #largescalesign #christmassign #christmasdecor #christmasdecoration

How to Use the Slice and Contour Tools

I have heard a few people who have complained about the lack of freedom in Design Space and I’m here to tell you… That’s not true! You have a ton of freedom when designing in Cricut Design Space if you are good friends with your Slice and Contour tools. These are the two tools that help you customize either your own graphics or graphics from the huge library of designs in the Design Space library. Here is a quick video to show you how I break this large design ( it’s roughly about 4 feet wide and a little over 4 feet tall) into smaller pieces so that they will fit on my 12×24 cutting mat for the Cricut Maker.

Isn’t that cool! I love that with a little knowledge and some imagination, you can truly create something incredible with the Cricut tools.

Supplies for Large-Scale Felt Banner

  • 1 1/2 yards of black canvas fabric
  • 24 – gold felt 9×12
  • 8 – white premium felt 12×18
  • 5 – antique white felt 9×12
  • 3 – red premium felt 12×18
  • 5 – heathered gray premium felt 12×18
  • 3 – dark green felt 9×12
  • 3 – light green felt 9×12
  • 24 – large wood beads of various sizes 1 inch, 1 1/4 inch
  • 10 – black wool felt balls – 2.5cm
  • Cricut Maker with Rotary Blade
  • 1 – Fabric Grip Cricut Cutting Mat
  • Heat n’Bond
  • Cricut Easy Press 2 – 12×10
  • Cricut Easy Press Mat-20×16
  • Cricut Iron-On Protective Sheet
  • hot glue gun
  • hot glue sticks
  • 2 – 4 ft. wood dowels
  • cotton rope
  • measuring tape

Instructions

  1. You will want to set-up your Easy Press 2 and the Easy Press Mat and iron-on the Heat n’Bond on one side of each of the felt pieces. I LOVE the Easy Press 2 for this!! Seriously way easier than using a small iron and the consistency of the heat plate make this a breeze.
  2. Jump into Cricut Design Space via this LINK HERE to get access to my design file. I have this project all ready to go for you. It’s sized to create a LARGE 3 1/2 x 4 foot banner. The design is already sliced and contoured so that you don’t have to worry about that step. All you need to do is follow the on-screen prompts and load the mat with the color of felt that it corresponds with and you’ll be good to go. 
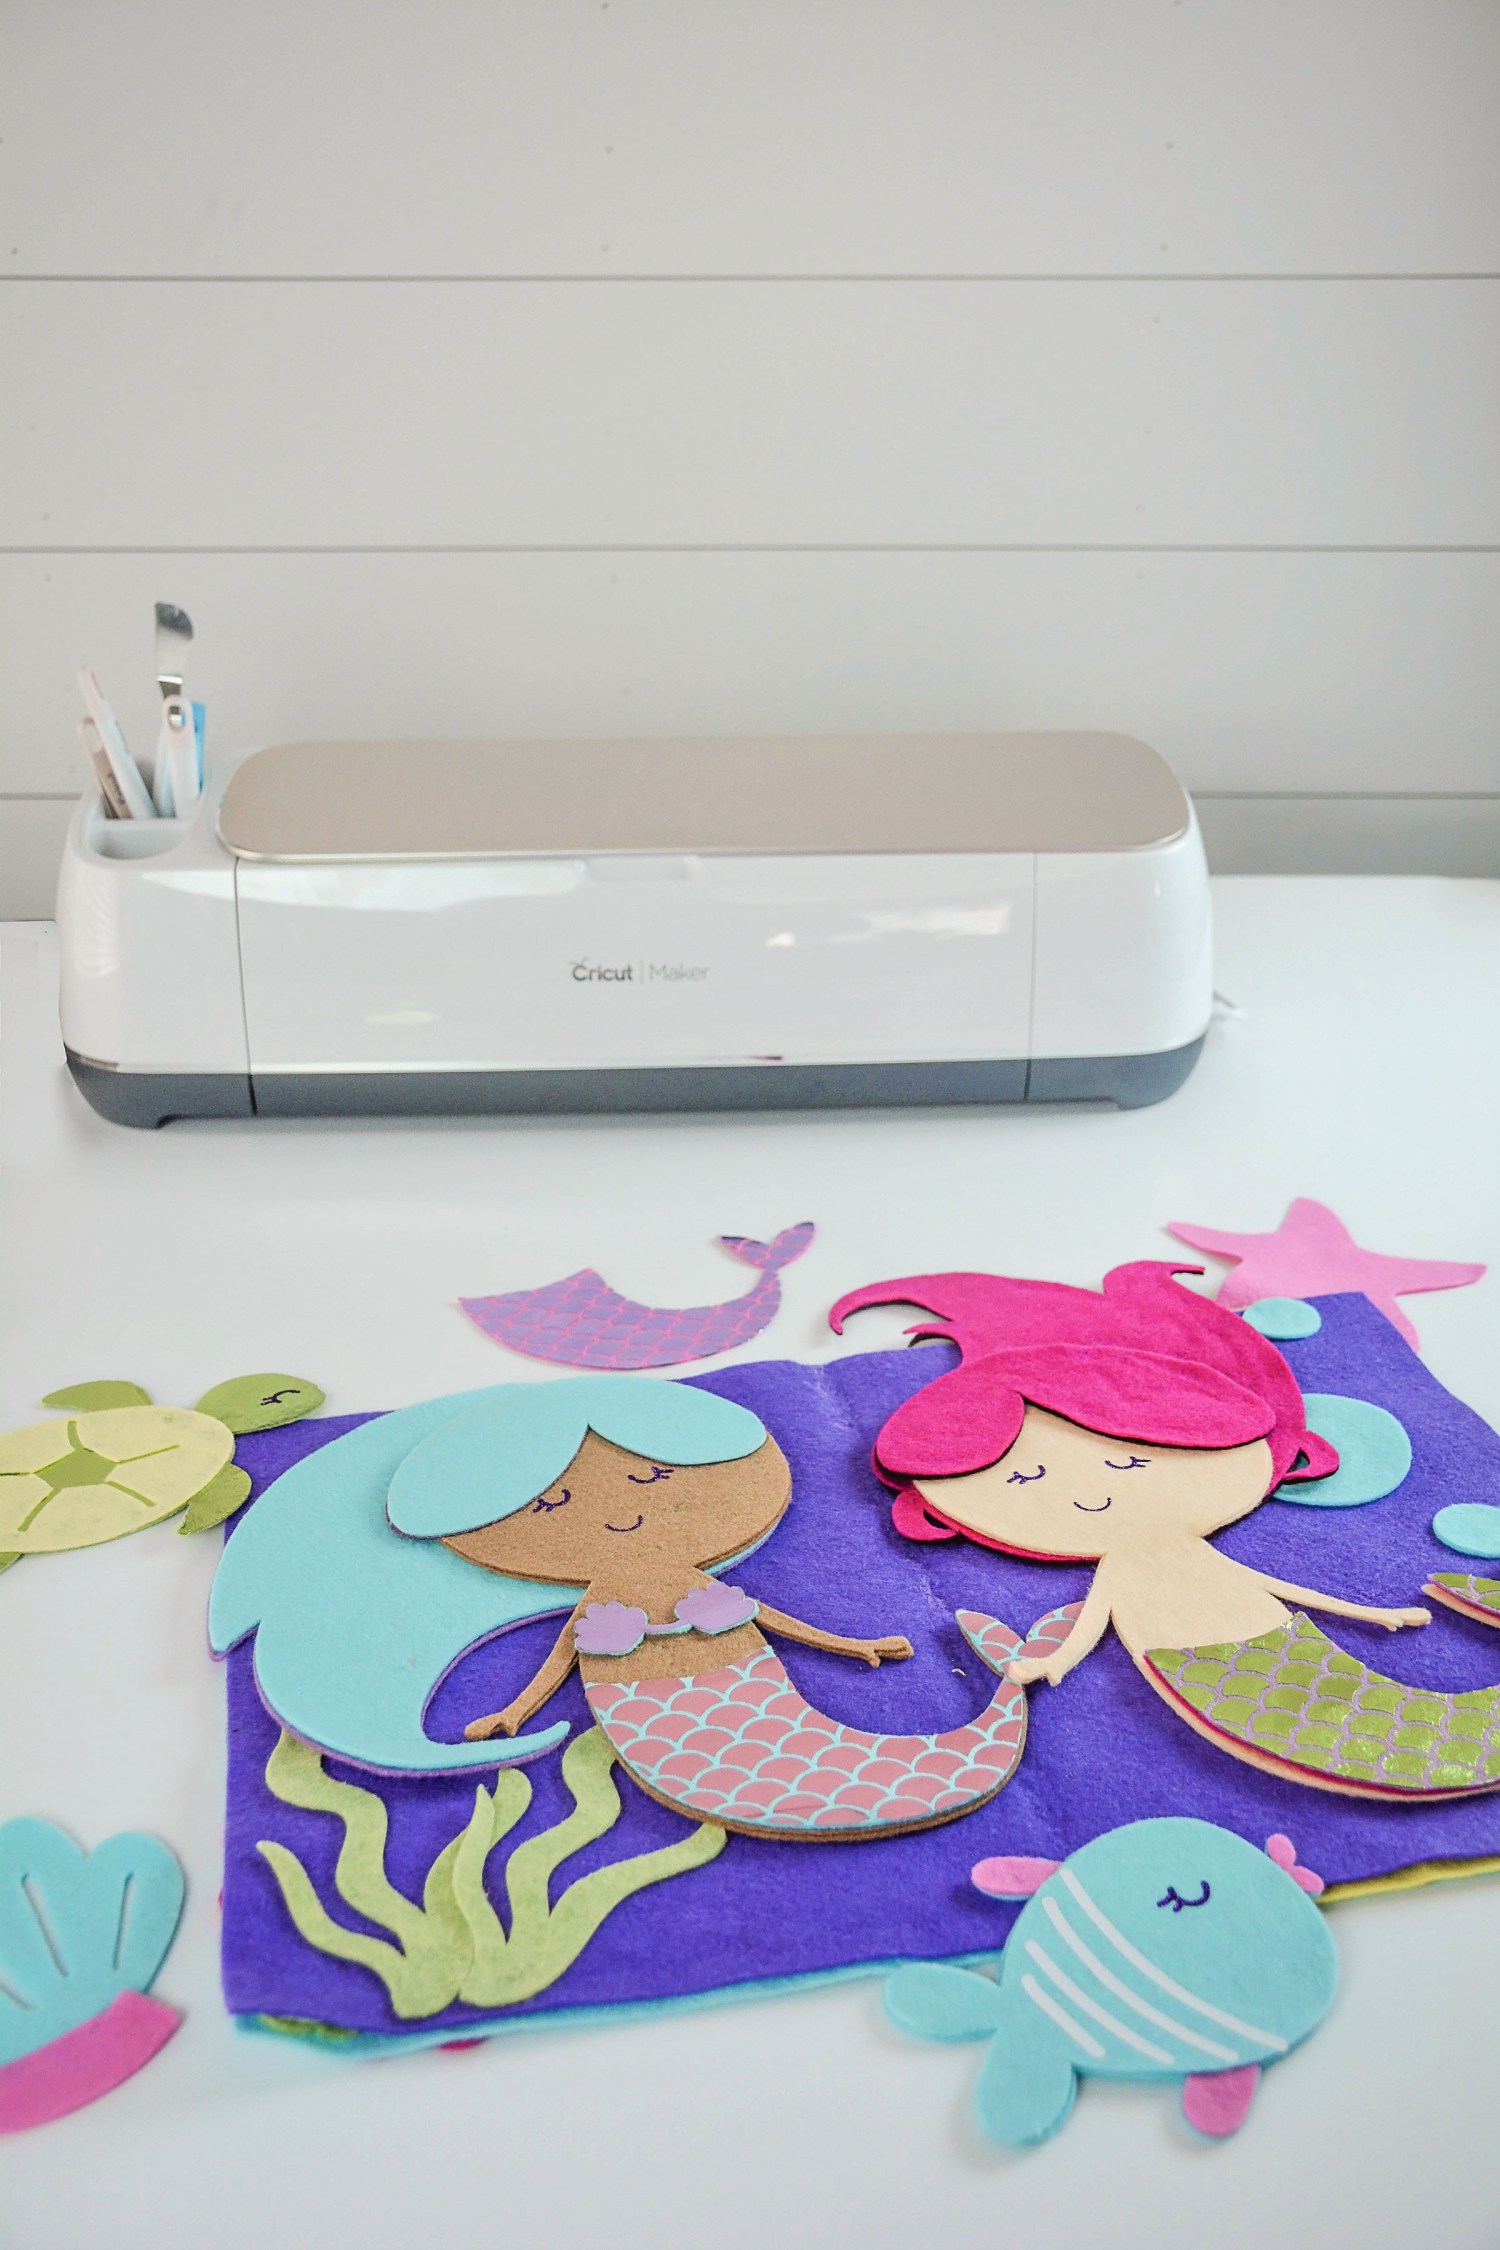
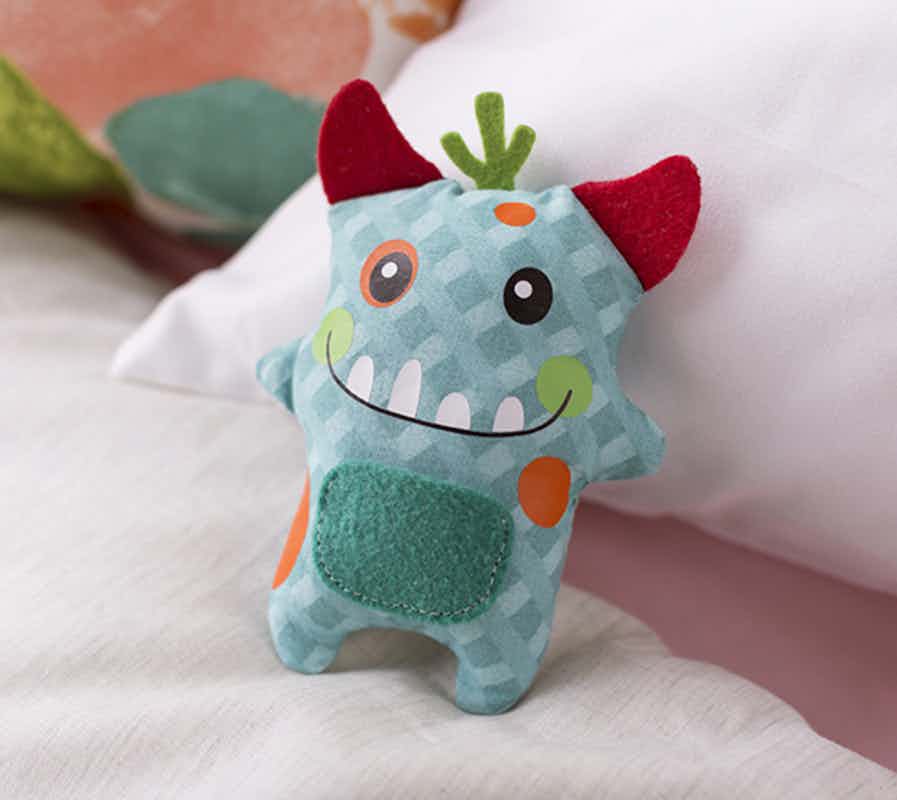
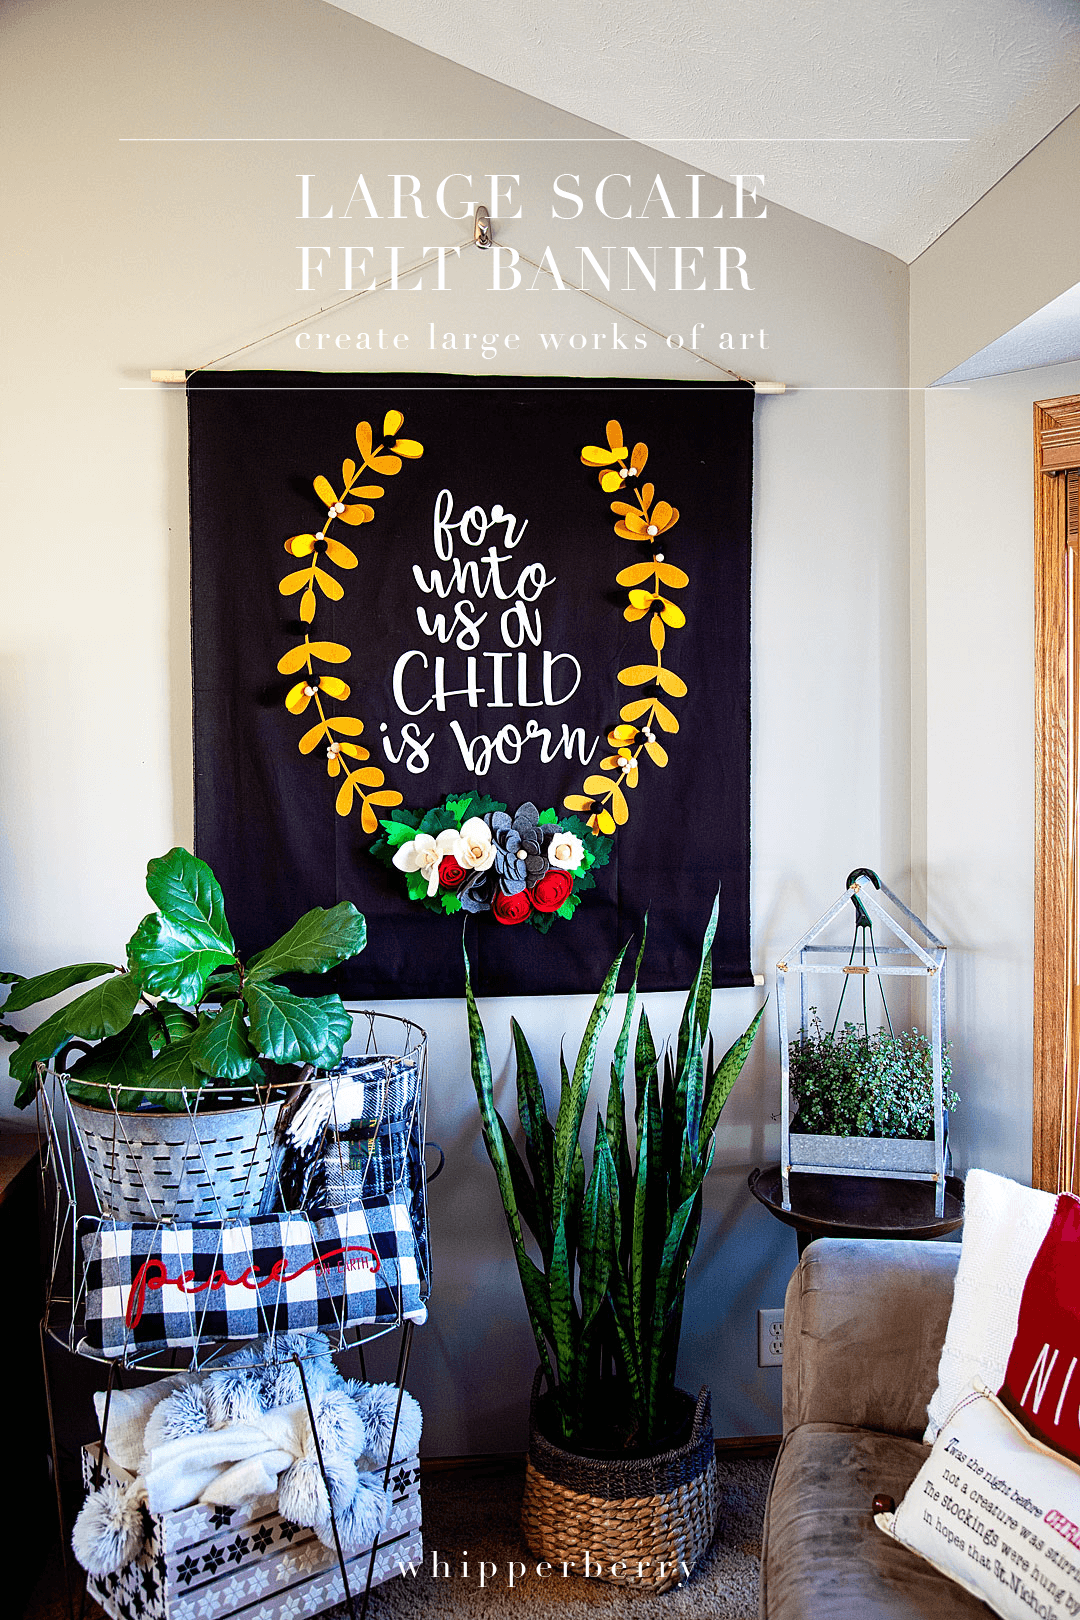
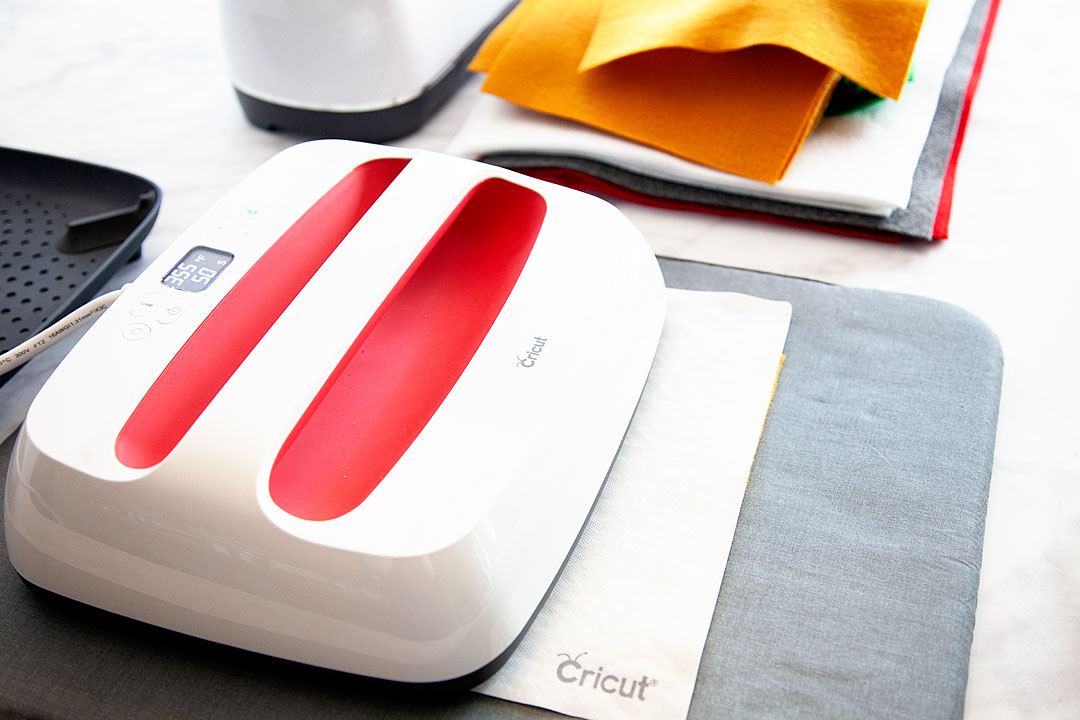
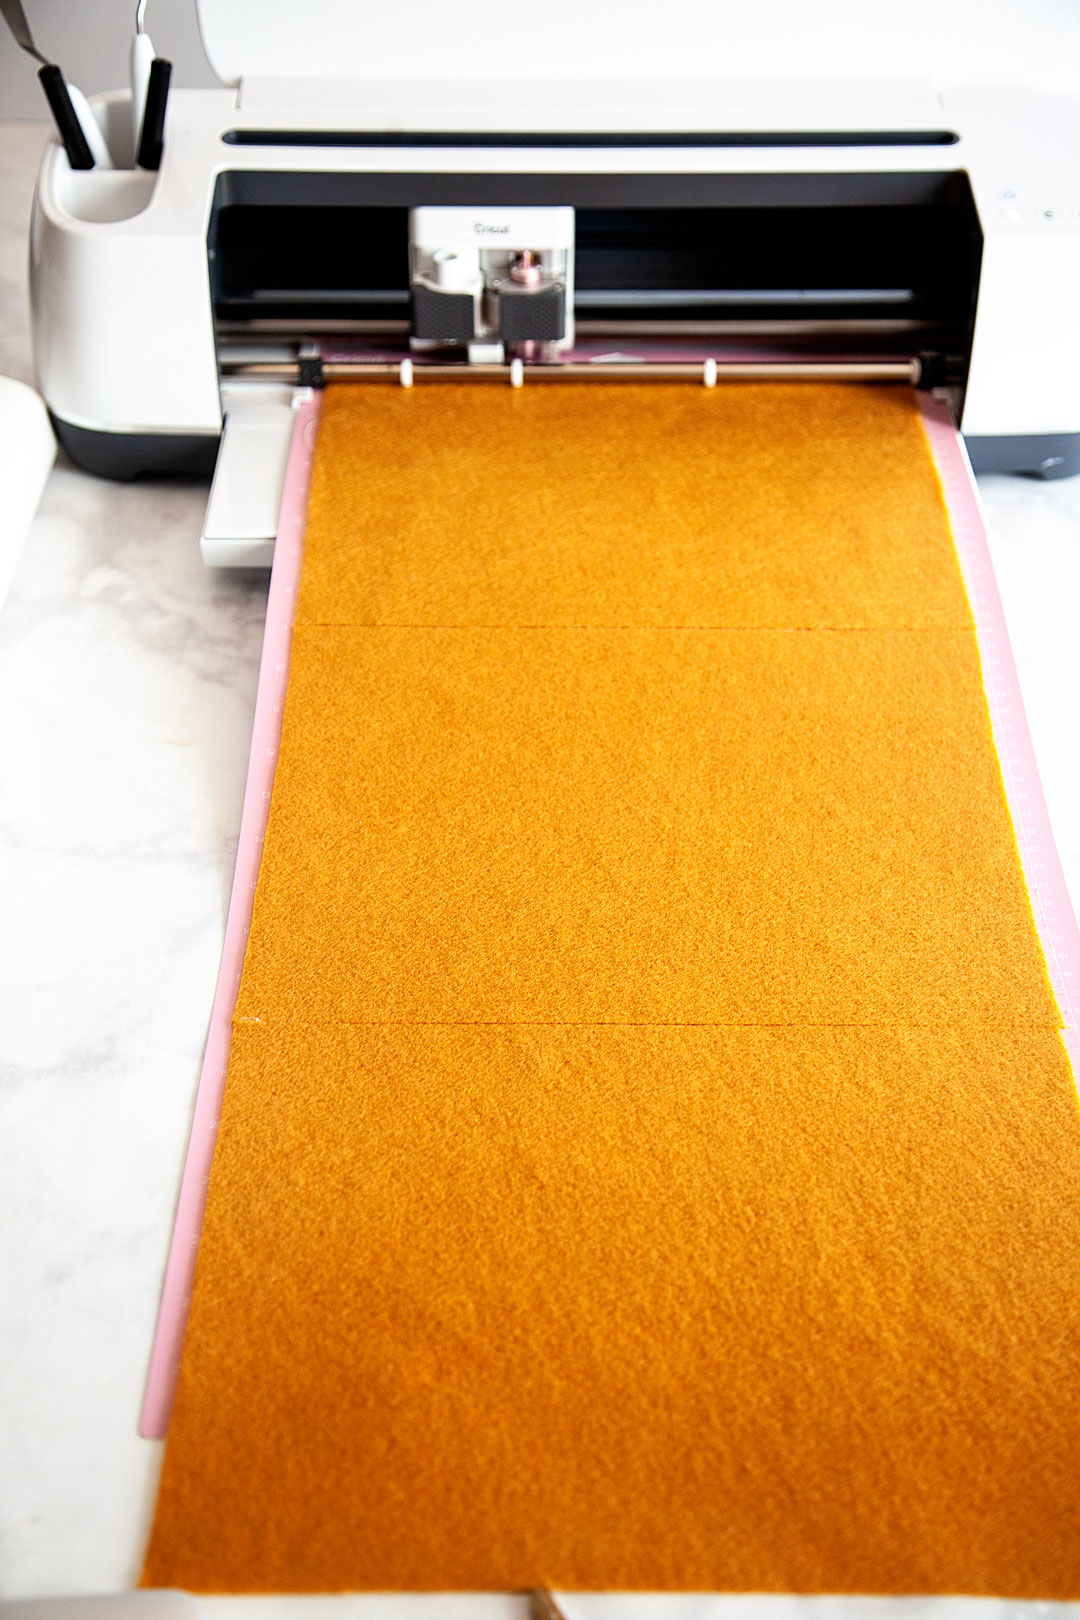
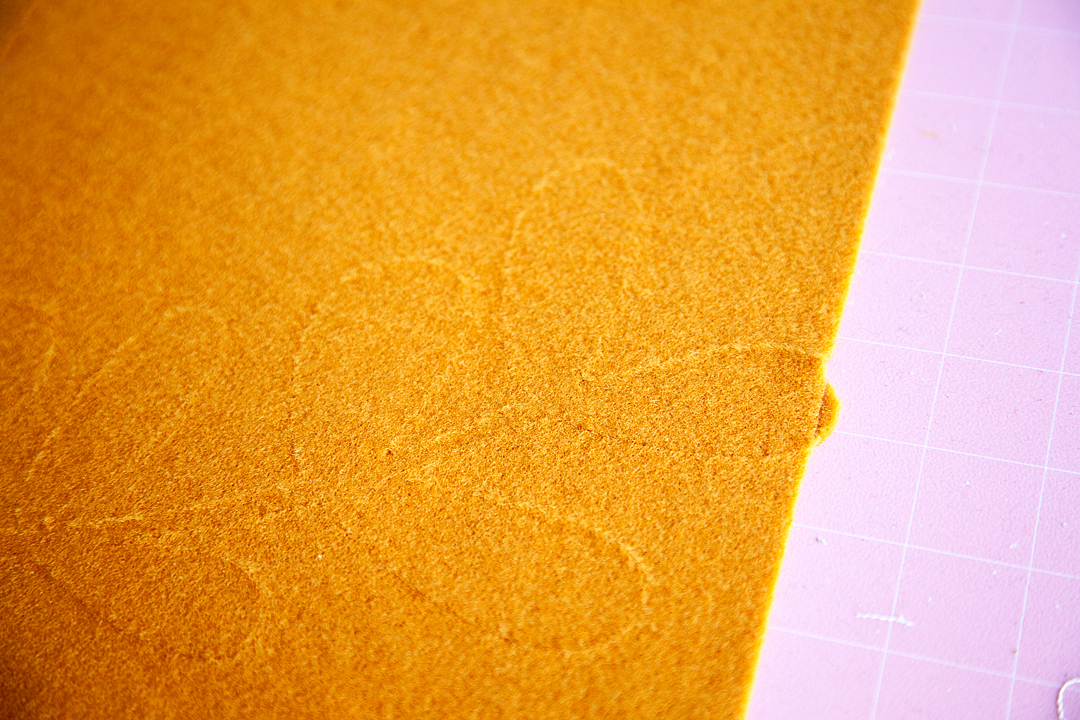
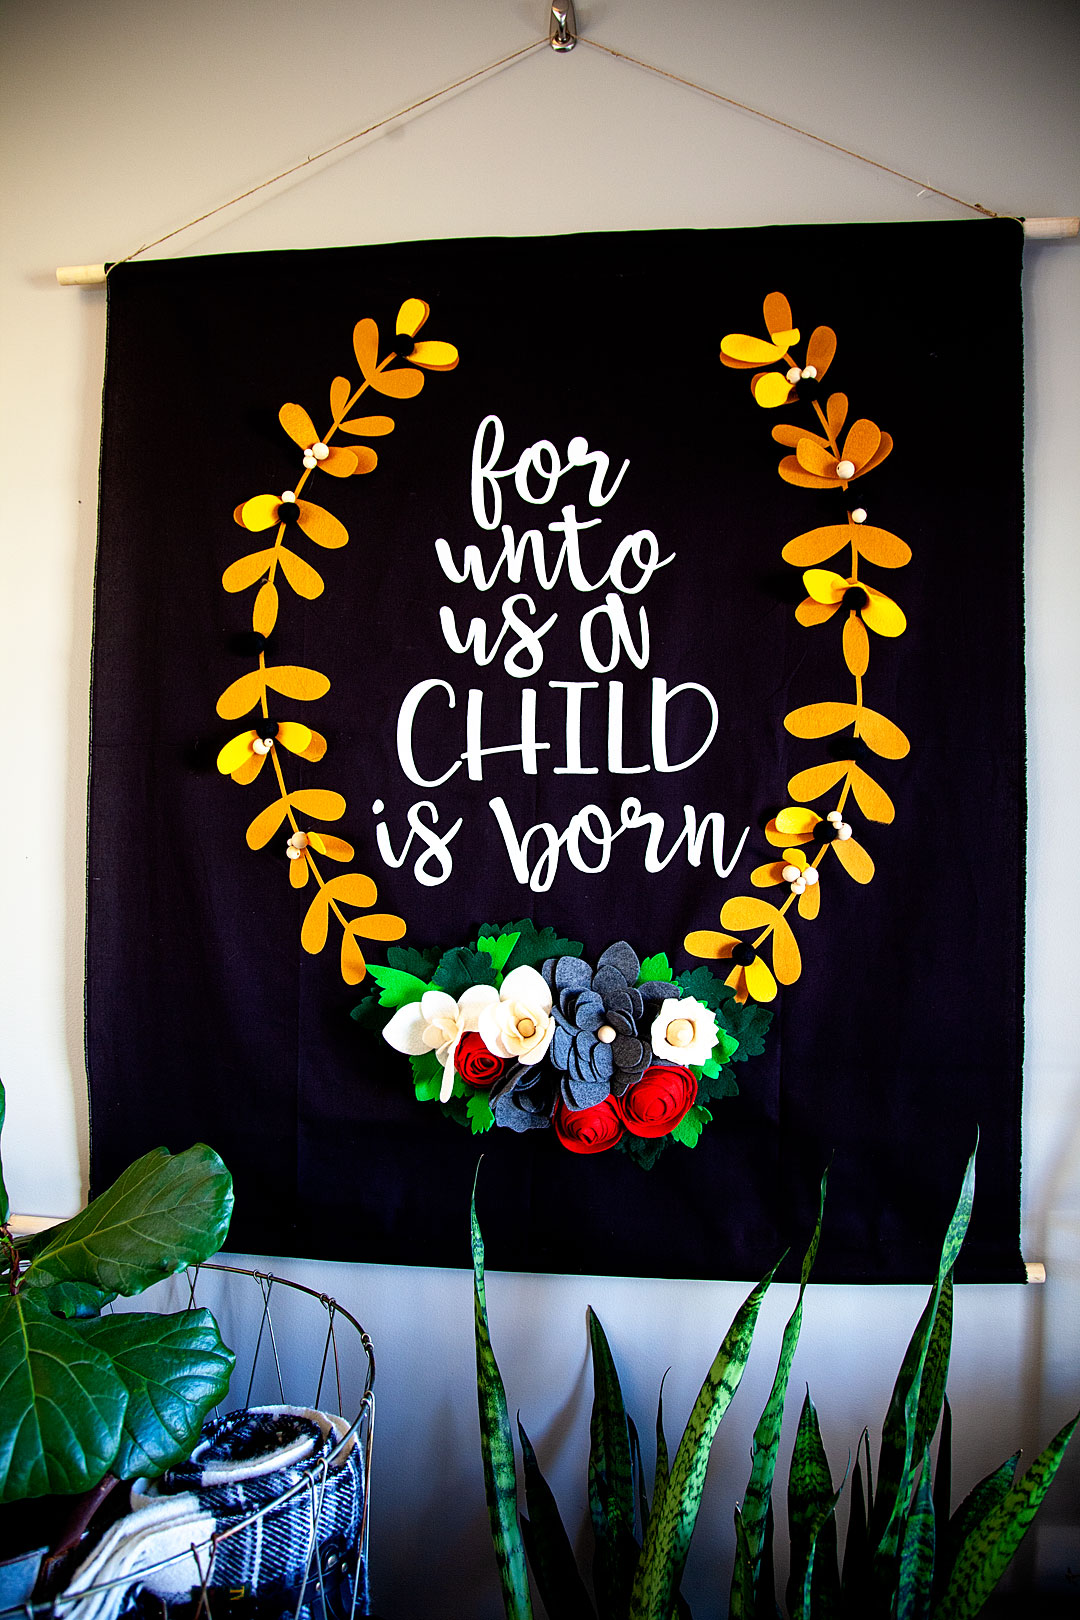
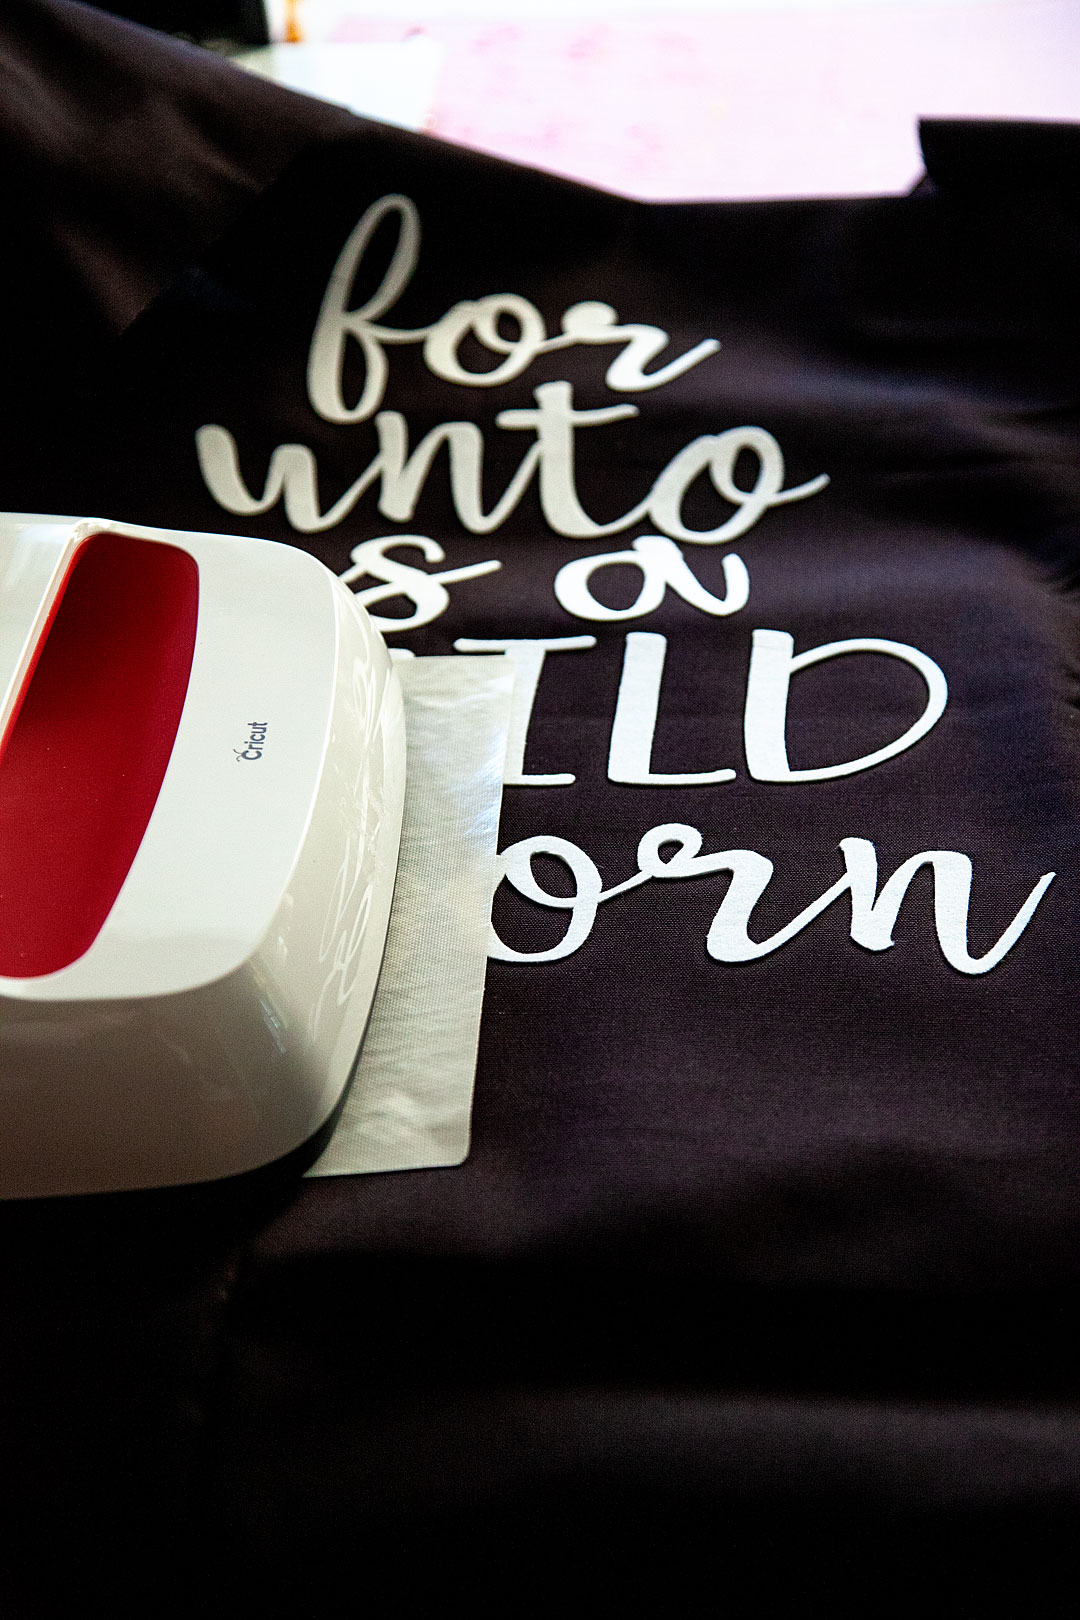
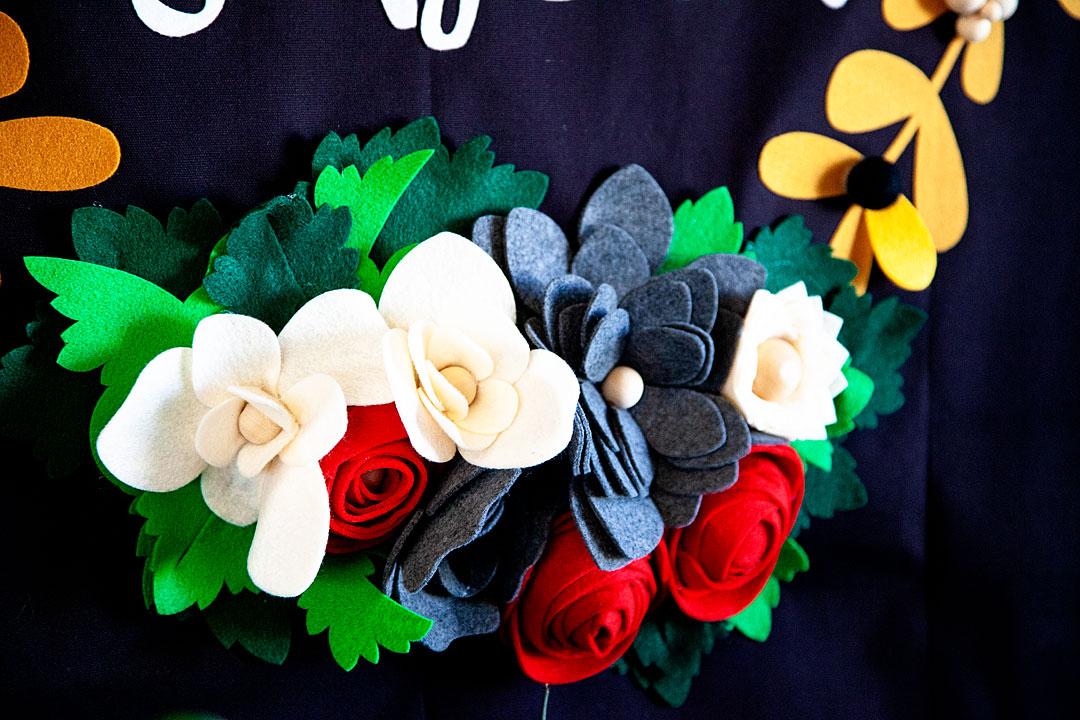
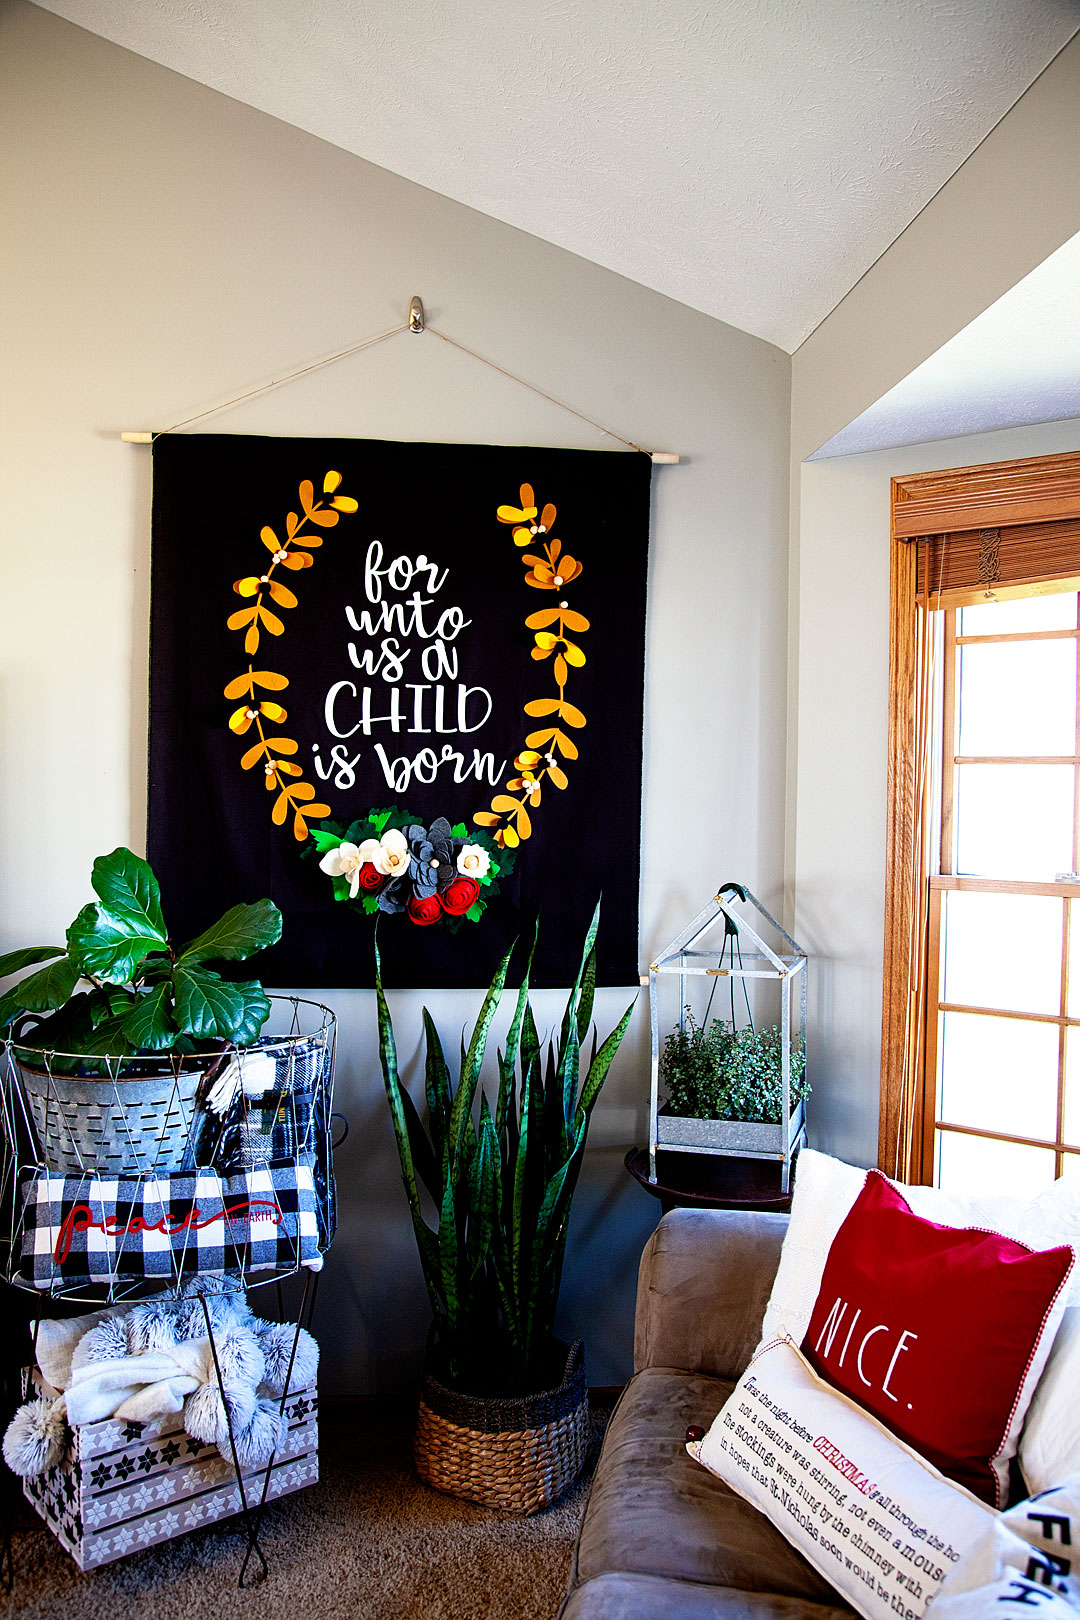
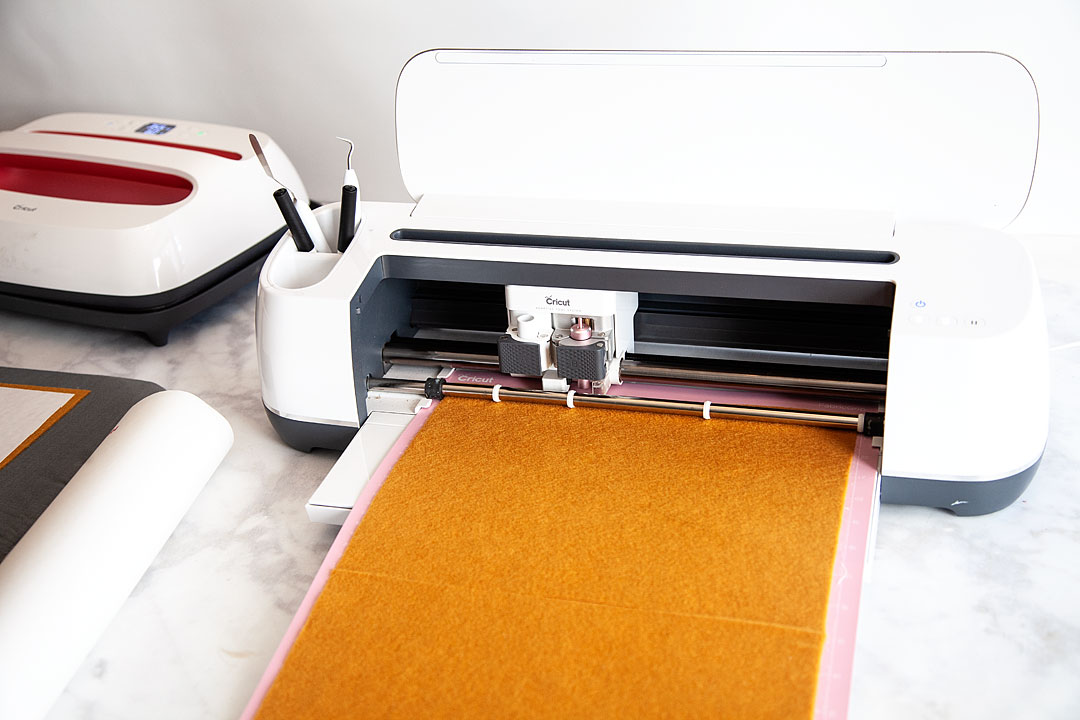
NOW, the felt that I had was smaller than the designs, not to worry though. I placed my felt onto the cutting mat and easily pieced them together while I was pressing them onto the fabric. If you’re careful you won’t even see the seam.
  3. You will find that some of the designs don’t all fit onto one sheet of felt. Don’t worry about that. Just keep all of your pieces organized with where they need to go. Then when you’re ready to iron them on, you’ll do just that with even the little pieces and you’ll never know there was a cut there.
  4. Once everything is cut, press your black canvas. You don’t want to have any wrinkles. I just use my Easy Press 2 for this process. WAY EASIER!
  5. Now, I have you cutting 2 sets of the gold wreath section of the banner. That’s not a mistake, I wanted the wreath section to pop out so that it’s 3D rather than a flat design.
  6. Lay out your wreath & quote on the black canvas and make sure that it is placed in the center and spaced according to the photo below. This is when you will want to make sure you have kept any small pieces and have placed them in the right spot.Boy-oh-Boy... I LOVE large scale projects! Sometimes bigger really is better in my book. There are times when you really need to make a statement and a large scale felt banner or large drop cloth sign created to wow your guests or to really make a room POP! I wanted to create a large felt sign for the Christmas season to add to my living room and to also use for a Christmas party that I'm planning this year. Let me show you what I made and how YOU can make one yourself! - WhipperBerry #feltsign #largescalesign #christmassign #christmasdecor #christmasdecoration
  7. Once you have placed the design the way you would like it. Place the Easy Press Mat under the first section and set your Easy Press 2 to 350˚. Lay the Iron-On Protective Mat on top of the first felt section and then lightly press the Easy Press 2 for 60 seconds on that first section.
  8. Continue over the entire design until it is all ironed onto the canvas.Boy-oh-Boy... I LOVE large scale projects! Sometimes bigger really is better in my book. There are times when you really need to make a statement and a large scale felt banner or large drop cloth sign created to wow your guests or to really make a room POP! I wanted to create a large felt sign for the Christmas season to add to my living room and to also use for a Christmas party that I'm planning this year. Let me show you what I made and how YOU can make one yourself! - WhipperBerry #feltsign #largescalesign #christmassign #christmasdecor #christmasdecoration
  9. Next, you assemble the flowers with hot glue. I used a wood bead in the center of each flower because I like the look and it stabilizes the flower a little more. 
  10. Once the flowers are assembled, start laying them out on the canvas until you get the look that you like. Then section by section, hot glue the flowers and leaves onto the banner.
  11. At this point, you have two choices. You can finish off the banner by sewing the pocket for the dowel OR, you can faux sew like me and just hot glue the pocket.  I fold the top of the fabric down about 2 1/2 – 3 inches and then hot glue or sew across the bottom of the fold leaving a pocket to feed the dowel through. 
  12. Repeat the last step at the bottom of the banner as well. This is needed to add some weight at the bottom of the banner. If you don’t have this the banner will hang a little wonky.
  13. Tie the cotton rope onto the top dowel so that you can hang the banner.Boy-oh-Boy... I LOVE large scale projects! Sometimes bigger really is better in my book. There are times when you really need to make a statement and a large scale felt banner or large drop cloth sign created to wow your guests or to really make a room POP! I wanted to create a large felt sign for the Christmas season to add to my living room and to also use for a Christmas party that I'm planning this year. Let me show you what I made and how YOU can make one yourself! - WhipperBerry #feltsign #largescalesign #christmassign #christmasdecor #christmasdecoration

Now, you’re all finished! You have an amazing work of art that you will treasure for years. What other large-scale signs are you wanting to make? I just finished creating all kinds of large-scale projects for my daughter’s wedding and I can’t wait to show you what I created for that amazing event.

This is a sponsored conversation written by me on behalf of Cricut. The opinions and text are all mine.

  • Page 1
  • Page 2
  • Page 3
  • Interim pages omitted …
  • Page 7
  • Go to Next Page »

Primary Sidebar

Heather from Whipperberry
Hello... my name is Heather and I'm the creator of WhipperBerry a creative lifestyle blog packed full of great recipes and creative ideas for your home and family. I find I am happiest when I'm living a creative life and I love to share what I've been up to along the way... Come explore, my hope is that you'll leave inspired!

Footer

  • Privacy Policy
  • Crafts
  • Food
  • Gifts
  • Holidays
  • Home
  • Mom Life
  • Recipes
  • Travel

Copyright © 2026 · Seasoned Pro