• Skip to primary navigation
  • Skip to main content
  • Skip to primary sidebar
  • Skip to footer

Whipperberry

WhipperBerry • Your Home For Creative Inspiration

  • Home
  • Recipes
    • Starters
    • Easy Weeknight Dinners
    • Main Dish
    • Salads
    • Side Dish
    • Soups & Stews
    • Desserts
    • Breakfast
    • Miscellaneous
  • Tutorials
    • Creative Crafts
    • DIY Decor
    • Fabric Crafts
    • Food How-To
    • Jewlery
    • Paint Projects
    • Paper Art
    • Party Styling
    • Photography and Graphic Design
    • Silhouette
  • Holidays
    • Easter
    • Mother’s Day
    • Father’s Day
    • 4th of July
    • Halloween
    • Thanksgiving
    • Christmas
    • Valentine’s Day
  • Gift Ideas
    • Gifts For Everyone
    • Gifts for Dad
    • Mother’s day
    • For The Girls
    • For The Kids
    • Teacher Gift Ideas
    • Christmas
  • Printables
    • Holiday
    • Gift Idea
    • LDS Primary
  • Travel
  • About
    • Terms
  • Contact
  • Nav Social Menu

    • Facebook
    • Instagram
    • Pinterest
    • RSS
    • Twitter

Cricut

Best Cricut Accessories for Beginners to Advanced

8 · Jun 23, 2024 · Leave a Comment

A common question I get is about the essential Cricut tools needed to start using any Cricut machine.

In this article, I’ll list the must-have, nice-to-have, and tools for special crafting projects.

The best Cricut accessories can help you get the most out of your machine. These include tools for heat press machines and storage for your materials and cutting machines.

In this guide, I’ll show you the best Cricut accessories. Some are must-haves, while others make great gifts. Storage devices and cases are also important.

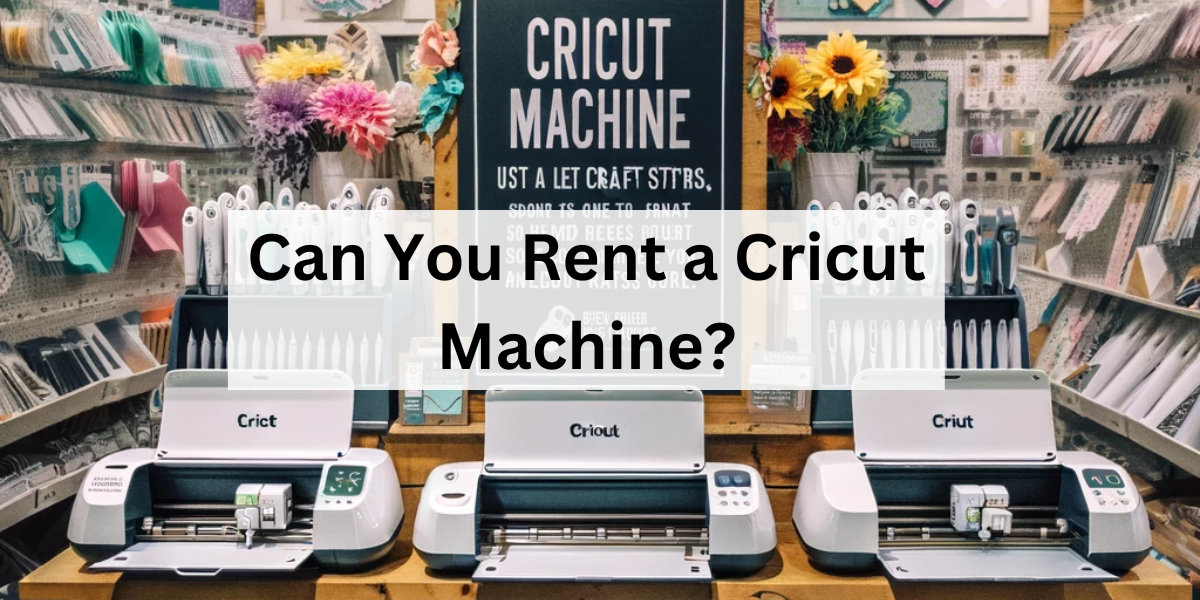
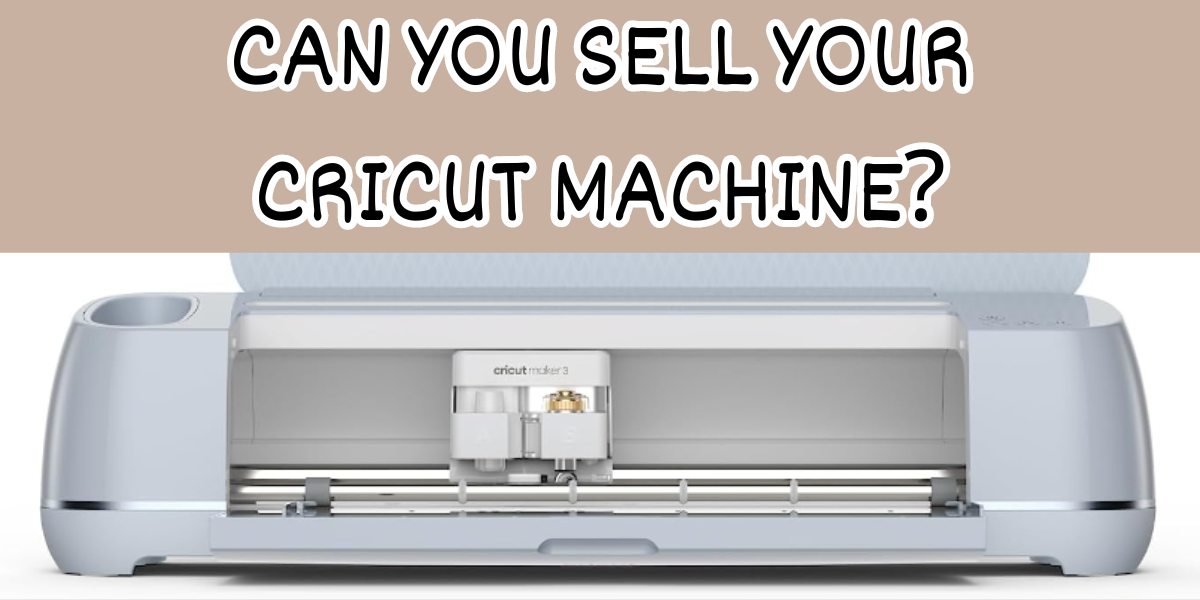
If you’re new to Cricut and want to try a machine before buying, check out this helpful article on renting a Cricut machine. And, if you’re thinking about upgrading or selling your Cricut machine, read this comprehensive selling guide.

Now, let’s jump into the questions.

What Cricut Accessories Do You Need as a Beginner?

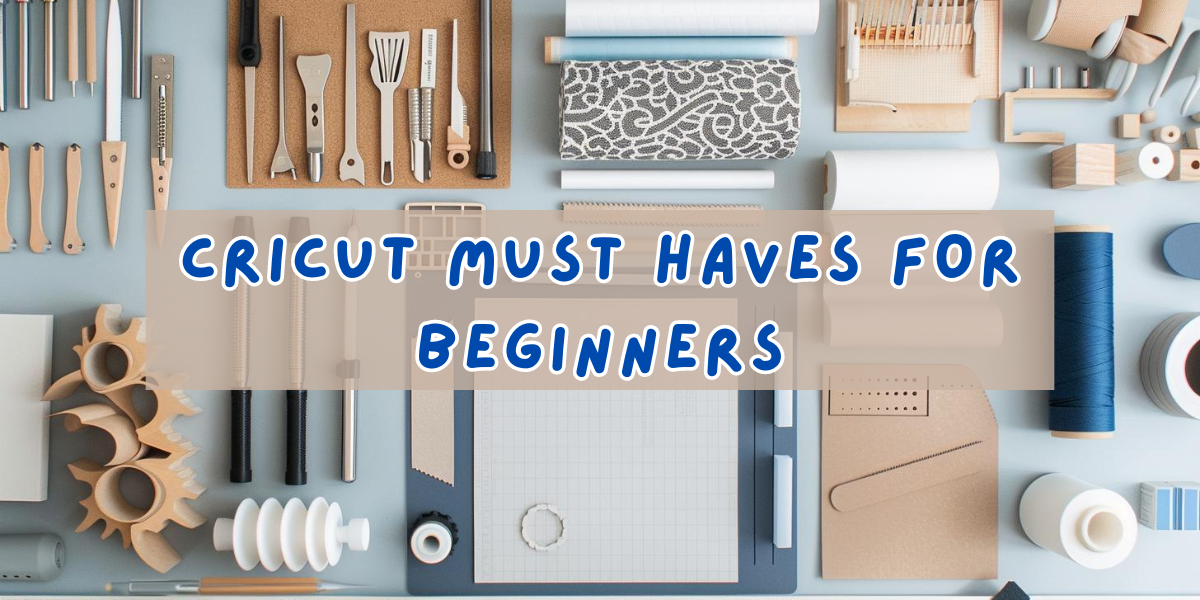
As a beginner, you’ll need a few essential Cricut tools to get started with your projects. Here are the must-have tools:

Cricut Machine: Choose the model that best fits your needs, such as the Cricut Explore Air 2, Cricut Maker, or Cricut Joy.

Cutting Mats: Different mats (LightGrip, StandardGrip, StrongGrip, and FabricGrip) are needed for different materials.

Weeding Tools: These tools help you remove excess vinyl or paper from your designs.

Scoring Stylus: Useful for creating fold lines in cards and other paper crafts.

Spatula: Helps lift delicate cuts from the mat without tearing them.

Scraper: Used to burnish (rub or polish) your material to your cutting mat and clean all the small bits left on the mat after a cut.

Fine Point Blade: Essential for making intricate cuts in paper, vinyl, and iron-on materials.

Transfer Tape: Helps transfer vinyl designs from the backing sheet to your project surface.

Pens and Markers: Used for drawing and writing on various materials.

Basic Tool Set: A set that typically includes a spatula, scraper, scissors, tweezers, and a weeding tool.

These tools will help you get started on a variety of Cricut projects, from vinyl decals to custom cards and more. As you gain experience, you can explore additional tools and accessories to expand your crafting capabilities.

For more detailed information, you can explore various Cricut project ideas in our guide.

What Are the Best Cricut Accessories for Advanced Users?

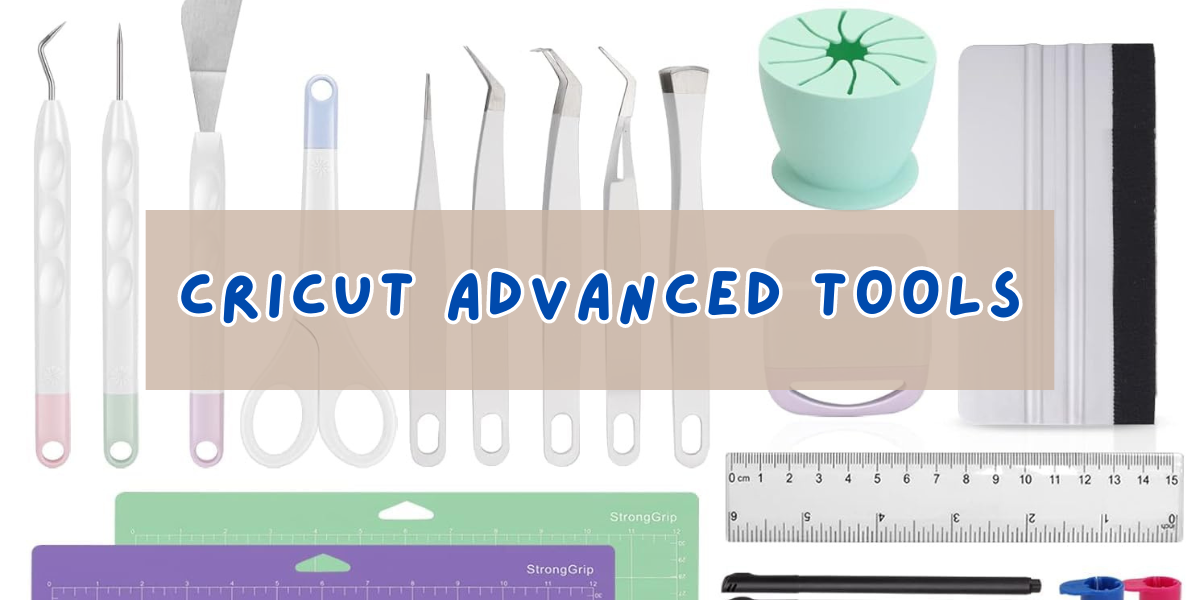
The best Cricut accessories for advanced users include:

  1. Rotary Blade: Perfect for cutting fabric and other soft, delicate materials with precision.
  2. Knife Blade: Ideal for thicker materials like balsa wood, matboard, and chipboard.
  3. Engraving Tool: Adds intricate designs to metal, acrylic, leather, and more.
  4. Scoring Wheel: Creates deep, crisp score lines for perfect folds in thick materials.
  5. Perforation Blade: Makes tear-off lines for coupons, raffle tickets, and more.
  6. Wavy Blade: Adds a decorative edge to your projects.
  7. Debossing Tip: Add professional-looking debossed details to your crafts.
  8. Cricut EasyPress: Ensures even heat distribution for flawless iron-on transfers.
  9. BrightPad: Illuminates your design for easier weeding and intricate cuts.
  10. Smart Materials: Use with compatible machines for mat-free, continuous cutting.

These accessories enhance your Cricut machine’s capabilities, allowing you to tackle complex projects with ease and precision.

What are the Cricut Maker 3 Accessories

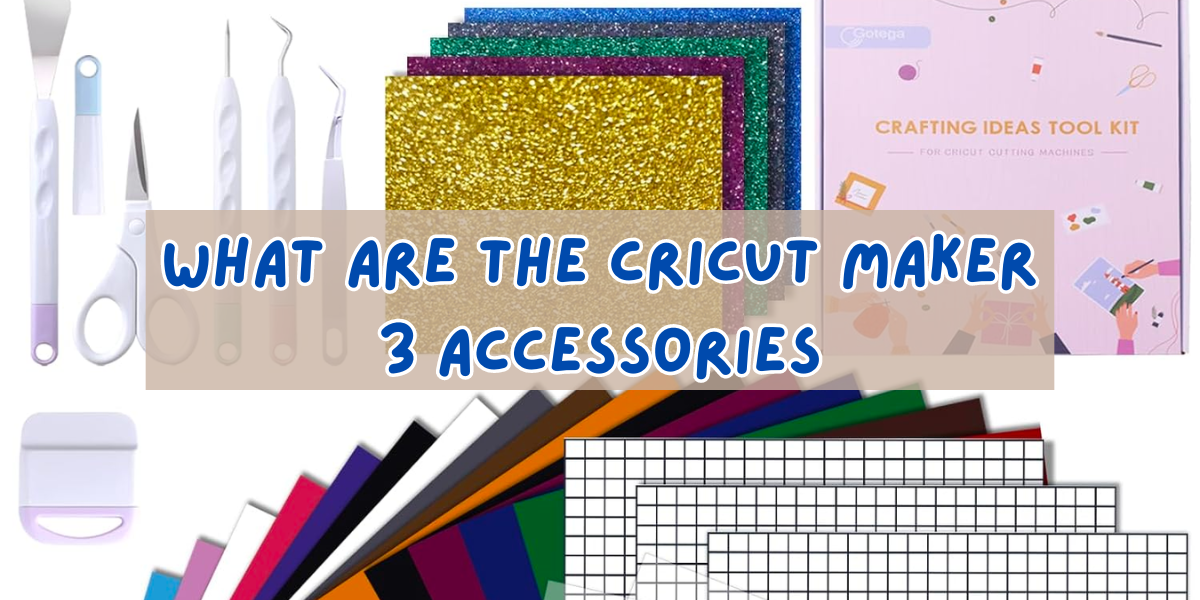
The Cricut Maker 3 is a versatile machine that works with a variety of accessories to enhance your crafting experience. Here are some of the essential and optional accessories for the Cricut Maker 3:

  1. Cutting Mats:
    • StandardGrip Mat: Ideal for medium-weight materials like vinyl, iron-on, and cardstock.
    • LightGrip Mat: Perfect for lighter materials such as printer paper and light cardstock.
    • StrongGrip Mat: Designed for heavy materials like chipboard, thick cardstock, and fabric with a backing.
    • FabricGrip Mat: Specially made for cutting fabric.
  2. Blades and Tools:
    • Fine-Point Blade: For precise cuts on thin to medium-weight materials.
    • Rotary Blade: Ideal for cutting fabric and other soft materials without backing.
    • Knife Blade: For thicker materials like balsa wood, matboard, and leather.
    • Scoring Wheel: Creates crisp creases in materials to make folding projects easier.
    • Deep-Point Blade: Cuts thicker materials like foam sheets and magnetic sheets.
    • Perforation Blade: Creates tear-off lines on paper and cardstock.
    • Wavy Blade: For decorative edge cuts.
    • Debossing Tip: Add debossed details to materials.
    • Engraving Tip: Engraves designs on materials like metal and acrylic.
  3. Pens and Markers:
    • Cricut Pens: For drawing and writing on various materials.
    • Infusible Ink Pens and Markers: Create designs that can be transferred to Cricut Infusible Ink compatible blanks.
  4. Transfer Tools:
    • Transfer Tape: Helps transfer vinyl designs to your project surface.
  5. Cricut Smart Materials:
    • Smart Vinyl: For creating decals, labels, and more without a cutting mat.
    • Smart Iron-On: For heat transfer projects without needing a cutting mat.
    • Smart Paper Sticker Cardstock: Cuts without a mat and has a sticky back.
  6. Scoring Stylus: Creates fold lines on cards and other paper projects.
  7. Cricut EasyPress:
    • A heat press that ensures even heat distribution for iron-on and Infusible Ink projects.
  8. Cricut BrightPad: Illuminates your design for easier weeding of intricate cuts.
  9. Basic Tool Set:
    • Spatula: Lifts delicate cuts from the mat.
    • Weeder: Removes unwanted vinyl pieces from your design.
    • Scraper: Cleans mats and applies vinyl smoothly.
    • Scissors and Tweezers: For detailed cutting and picking up small pieces.
  10. Storage Solutions:
    • Tool Organizer: Keeps your blades, tools, and accessories organized.
    • Machine Tote: Protects and transports your Cricut Maker 3.
    • Material Storage: Organizes your vinyl, paper, and other crafting materials.

These accessories help you get the most out of your Cricut Maker 3, making it easier to tackle a wide range of projects and materials.

What are the Cricut Explore Air 2 Accessories

The Cricut Explore Air 2 is a versatile cutting machine that can be used with a variety of accessories to enhance your crafting experience. Here are some essential and optional accessories for the Cricut Explore Air 2:

For more detailed information, you can explore various Cricut Explore Air 2 review.

  1. Cutting Mats:
    • StandardGrip Mat: Ideal for medium-weight materials like vinyl, iron-on, and cardstock.
    • LightGrip Mat: Perfect for lighter materials such as printer paper and light cardstock.
    • StrongGrip Mat: Designed for heavy materials like chipboard, thick cardstock, and fabric with a backing.
    • FabricGrip Mat: Specially made for cutting fabric.
  2. Blades and Tools:
    • Fine-Point Blade: For precise cuts on thin to medium-weight materials.
    • Deep-Point Blade: Cuts thicker materials like foam sheets and magnetic sheets.
    • Bonded-Fabric Blade: Designed specifically for cutting bonded fabric or fabric with an iron-on backing.
    • Scoring Stylus: Creates fold lines in cards and other paper projects.
  3. Pens and Markers:
    • Cricut Pens: For drawing and writing on various materials.
    • Infusible Ink Pens and Markers: Create designs that can be transferred to Cricut Infusible Ink compatible blanks.
  4. Transfer Tools:
    • Transfer Tape: Helps transfer vinyl designs to your project surface.
  5. Cricut Smart Materials (for Cricut Explore 3 but some are compatible with Explore Air 2 with a mat):
    • Smart Vinyl: For creating decals, labels, and more without a cutting mat.
    • Smart Iron-On: For heat transfer projects without needing a cutting mat.
    • Smart Paper Sticker Cardstock: Cuts without a mat and has a sticky back.
  6. Cricut EasyPress:
    • A heat press that ensures even heat distribution for iron-on and Infusible Ink projects.
  7. Cricut BrightPad: Illuminates your design for easier weeding of intricate cuts.
  8. Basic Tool Set:
    • Spatula: Lifts delicate cuts from the mat.
    • Weeder: Removes unwanted vinyl pieces from your design.
    • Scraper: Cleans mats and applies vinyl smoothly.
    • Scissors and Tweezers: For detailed cutting and picking up small pieces.
  9. Storage Solutions:
    • Tool Organizer: Keeps your blades, tools, and accessories organized.
    • Machine Tote: Protects and transports your Cricut Explore Air 2.
    • Material Storage: Organizes your vinyl, paper, and other crafting materials.

These accessories will help you get the most out of your Cricut Explore Air 2, allowing you to tackle a wide range of projects and materials with ease.

What are the Cricut Joy Accessories

The Cricut Joy is a compact and versatile cutting machine that can be paired with various accessories to enhance your crafting projects. Here are some essential and optional accessories for the Cricut Joy:

For a detailed review of the Cricut Joy, you can check out this Cricut Joy review.

  1. Cutting Mats:
    • StandardGrip Mat: Ideal for medium-weight materials like vinyl, iron-on, and cardstock.
    • Card Mat: Specifically designed for making custom cards quickly and easily.
  2. Blades and Tools:
    • Fine-Point Blade: For precise cuts on thin to medium-weight materials.
    • Replacement Blades: To keep your cuts clean and accurate, have a few extra fine-point blades on hand.
  3. Pens and Markers:
    • Cricut Joy Pens: For drawing and writing on various materials. They come in a variety of colors and tip sizes.
    • Infusible Ink Pens and Markers: Create designs that can be transferred to compatible Cricut Infusible Ink blanks.
  4. Transfer Tools:
    • Transfer Tape: Helps transfer vinyl designs to your project surface.
  5. Smart Materials:
    • Smart Vinyl: For creating decals, labels, and more without a cutting mat.
    • Smart Iron-On: For heat transfer projects without needing a cutting mat.
    • Smart Label Writable Vinyl: Allows you to write and cut labels without needing a cutting mat.
    • Smart Paper Sticker Cardstock: Cuts without a mat and has a sticky back.
  6. Cricut Joy Card Inserts: Pre-cut cards and inserts that fit perfectly in the Card Mat for easy, professional-looking cards.
  7. Cricut Joy Insert Cards: Designed for use with the Card Mat to create quick and easy custom cards.
  8. Cricut Joy Tote: A compact and stylish bag for transporting and storing your Cricut Joy and accessories.
  9. Basic Tool Set:
    • Spatula: Lifts delicate cuts from the mat.
    • Weeder: Removes unwanted vinyl pieces from your design.
    • Scraper: Cleans mats and applies vinyl smoothly.
    • Scissors and Tweezers: For detailed cutting and picking up small pieces.
  10. Cricut EasyPress Mini:
    • A small heat press that is perfect for applying iron-on designs to small or uniquely shaped objects.
  11. Storage Solutions:
    • Tool Organizer: Keeps your blades, tools, and accessories organized.
    • Material Storage: Organizes your Smart Materials, paper, and other crafting supplies.

These accessories will help you make the most out of your Cricut Joy, allowing you to create a wide variety of projects with ease and precision.

Another question that I get asked the most:

What Can the Cricut Engraving Tool Do?

The Cricut Engraving Tool allows you to engrave detailed designs on a variety of materials, including metal, acrylic, leather, plastic, and wood. It enables you to create personalized gifts like custom jewelry, home decor items, and keepsakes with intricate patterns and text.

The tool is perfect for adding professional-looking details to DIY projects and customizing items for events such as weddings and awards. Additionally, it can be used to offer personalized products in a crafting business or create unique promotional items. The Cricut Engraving Tool enhances your crafting capabilities, making it easy to add a personalized and professional touch to a wide range of projects.

What are Cricut Weeding Tools Used For?

Cricut weeding tools are used for removing excess material from around your cut designs, particularly with vinyl and iron-on projects. These tools help you precisely lift and remove unwanted bits from intricate cuts, ensuring clean and professional-looking results.

They are essential for detailed work, allowing you to easily separate and discard small pieces without damaging your design.

What Does a Cricut Scoring Tool Do?

A Cricut Scoring Tool is used to create precise fold lines on materials such as cardstock, paper, and other thin materials. It makes it easier to fold your projects neatly and accurately, which is especially useful for creating cards, envelopes, boxes, and 3D paper crafts.

By using the Scoring Tool, you can achieve professional-looking creases and folds, enhancing the overall quality of your crafting projects.

Conclusion

The best Cricut accessories can take your crafting to the next level, whether you’re a beginner or advanced. From essential tools like blades and mats to special items like the Engraving Tool and EasyPress, these accessories help you achieve amazing results.

Don’t forget about storage solutions to keep your workspace tidy and your materials organized. These tools make crafting easier and more enjoyable.

Explore the best Cricut accessories and see how they can boost your creativity. For more tips and ideas, check out our other Cricut projects. Happy crafting!

Can You Rent a Cricut Machine?

26 · Dec 4, 2023 · Leave a Comment


Yes, you can rent a Cricut machine, and I’ll show you the steps, so stay tuned.

Have you ever heard of a Cricut machine? It’s this super cool tool for anyone who loves crafting.

It can cut, draw, and score stuff like paper, vinyl, and even thin wood. People use it to make all sorts of neat things, like greeting cards and vinyl stickers.

Renting a Cricut machine is a smart move if they’re too pricey for you or if you just need it for a one-time project. It’s a way to try it out before you decide to buy one.

I’ll also answer some common questions about renting Cricut machines.

But hey, if you already have a Cricut and are thinking about selling it, check out this helpful guide at Whipperberry’s guide to selling your Cricut machine. Now, let’s dive into those questions!


Where Can You Find Cricut Machines for Rent?


You can rent Cricut machines in different options like online rental platforms, Facebook groups, and local craft stores.

Many of these stores understand that not everyone is ready to purchase their Cricut machine and offer rental services.

This is a great option because you get the chance to speak with store experts who can provide insights and tips on using the machine. Plus, you can physically check the machine’s condition before renting it.

Another great resource is online rental platforms. Websites dedicated to craft equipment rentals or broader rental services often list Cricut machines.

These platforms typically offer a range of models and rental terms, giving you flexibility to choose what best fits your project needs.

Some even offer delivery and pick-up services, adding convenience to your rental experience.

Compare prices from different sources to ensure you’re getting a good deal. Check the condition of the machine – a well-maintained machine is less likely to cause problems during your project.

Also, inquire about the support available if you face any issues while using the machine.


How Much Does it Cost To Rent a Cricut Machine?


The cost to rent a Cricut machine can vary depending on where you rent it from and for how long.

Typically, you might find rentals on a daily or weekly basis.

The prices can range from $20 to $50 per day, or more for a week.

It’s a good idea to check with local craft stores, maker spaces, or online rental services for specific pricing and rental terms in your area.

Renting can be a cost-effective option, especially for short-term projects or to try out a Cricut machine before purchasing one.


What Projects Can You Tackle with a Rented Cricut Machine?


With a rented Cricut machine, you can tackle a wide range of creative projects. Here are some ideas:

  1. Personalized Greeting Cards: Create unique cards for birthdays, holidays, or special occasions.
  2. Custom Vinyl Stickers: Make stickers for decorating laptops, water bottles, or car windows.
  3. Home Decor Items: Design wall decals, custom signs, or decorative pieces for your home.
  4. Party Decorations: Craft banners, table decorations, or custom invitations for parties and events.
  5. Custom Apparel: Design and cut iron-on vinyl for personalized t-shirts, tote bags, or hats.
  6. Scrapbooking: Cut out intricate designs and embellishments for scrapbook pages.

A rented Cricut machine opens up a world of possibilities for both beginners and experienced crafters looking to complete special projects.

Conclusion

From personal experience, the ability to access such a powerful tool without the commitment of a full purchase is incredibly liberating, especially for those who are exploring the realms of DIY and crafting.

Renting a Cricut machine is a great option and would save you money without the need to buy one.

Good luck with your projects.


Can You Sell Your Cricut Machine? A How-to Guide

66 · Dec 3, 2023 · Leave a Comment


Are you thinking about selling your Cricut machine?

The short answer is YES. You can sell it. I’m going to show you where to sell your Cricut.

Maybe you’re planning to upgrade to the latest model, or maybe you just don’t use it enough these days.

Whatever the reason, selling your Cricut machine is a viable option.


Where Can You Sell Your Cricut Machine?


You can sell your Cricut in online marketplaces like eBay, Etsy, or Facebook marketplace. You can also pawn it if you need the cash quickly.

These platforms allow you to set your price and provide detailed descriptions and images of your machine. Selling your Cricut machine can be done in various ways, and choosing the right platform can help you get the best deal.

Facebook Marketplace is another excellent option, especially if you prefer to deal locally. It eliminates shipping hassles and costs, and you can often sell faster.

Additionally, crafting forums and community boards can connect you with people who specifically seek crafting tools.

Remember to present your Cricut machine in its best light. Clean it thoroughly, take clear and detailed photos, and be honest about its condition and usage.

Including accessories and original packaging can also increase its appeal.

Setting a reasonable price is key – research what similar models are selling for to ensure a competitive but fair price.

Next, I’ll share some of the most frequent questions about selling your Cricut machine so let’s start.


Can You Pawn a Cricut Machine?

Yes, you can pawn a Cricut machine.

Pawning your Cricut machine is a feasible option if you’re looking for a quick way to get some cash. Pawn shops often accept a wide range of items, including electronics and crafting tools like Cricut machines.

When you pawn an item, you’re essentially receiving a short-term loan with the item as collateral. It’s important to note, however, that you might not get the full value of your Cricut machine at a pawn shop.

The amount offered usually reflects a fraction of the item’s resale value, as the shop needs to factor in its potential profit margin.

Moreover, when you pawn something, you typically have the option to reclaim it within a certain period by paying back the loan amount plus any interest or fees.

This can be a great solution if you need immediate cash but plan to get your Cricut machine back.

Just be sure to understand the terms and conditions of the pawn agreement, including repayment deadlines and interest rates, to avoid any surprises.


How Much Can You Sell a Used Cricut Machine for?

You can sell a used Cricut for anywhere from $150 to $250. But, if it’s an older one, you might be looking at around $50 to $100.

It’s all about the demand and how many people are looking for what you’ve got, along with what model you have. The older models will sell for less money and the newer models will sell for more.

Another thing to keep in mind is where you sell it. As we discussed, if you sell it at a pawn shop you’ll get less money but you’ll get it quicker.

If you sell it on Facebook Marketplace or eBay and you’re willing to wait, you can get more money for it. It’s really up to you how much you want to charge for it but it should be in line with what others are selling it for.

The founder of Shapiro Negotiations Institute comments, “When selling a used Cricut, employing targeted persuasion tips—like emphasizing its key features and strong condition—can significantly boost buyer confidence and justify a higher asking price.”

Do I need to unregister my Cricut before selling?

Yes, it’s important to unregister your Cricut machine before selling it. When a Cricut machine is registered to an account, it’s linked to that specific user’s Cricut ID.

Unregistering ensures that the new owner can register the machine under their account and access all the features and software updates.

To unregister, you’ll usually need to access your account settings on the Cricut website or contact their customer support for assistance.

This process protects both you and the buyer and ensures a smooth transition for the new owner.

How do I register a used Cricut?

To register a used Cricut machine, follow these steps:

  1. Create a Cricut ID: If you don’t already have one, create a Cricut ID on the Cricut website or through the Cricut Design Space app.
  2. Connect Your Machine: Connect the Cricut machine to your computer or device using a USB cable or via Bluetooth.
  3. Open Cricut Design Space: Launch the Cricut Design Space software on your computer or app on your device.
  4. Follow the Prompts: In Cricut Design Space, there will be prompts to guide you through the setup process. This typically includes machine registration.
  5. Complete the Registration: Follow the on-screen instructions to complete the registration process. You may need to update the machine’s firmware as part of this process.

If you encounter any issues, Cricut’s customer support can assist with the registration of your used machine. You can include this information when you sell your Cricut to make it easier for the buyer. Most buyers will ask about registering their machine.


Conclusion

In wrapping up, choosing the right platform for selling or buying a used Cricut machine and understanding the process of registration and unregistration can seem daunting at first.

But with the right guidance, it’s quite manageable. Whether you’re upgrading to a newer model or are new to the world of Cricut crafting, navigating these aspects is crucial.

Remember, a little bit of research and preparation can go a long way in ensuring a smooth transaction for both sellers and buyers. It’s all about making the process easier and more accessible for everyone in the crafting community.

Can You Cut Cardboard With Cricut?

14 · Dec 2, 2023 · Leave a Comment


Yes, you can cut cardboard with a Cricut, but it’s not that easy, and I’ll show you why.

Today, let’s explore how a Cricut machine can handle cutting cardboard, a popular material in crafting. Cricut machines are quite versatile and can handle a variety of materials, including different types of cardboard.

Whether it’s thin poster board or thicker corrugated cardboard, the Cricut can usually cut through it, especially if you’re using models like the Cricut Maker.

It’s important to use the correct blade and settings for the type of cardboard you’re cutting.

This allows you to create all sorts of cool projects, from custom boxes to decorative elements, all with the precision and ease of using a Cricut machine.

Stay tuned, as next, I’ll share the most frequently asked questions about cutting cardboard, and if you’re looking to upgrade or change your crafting tools, you might consider selling your current Cricut machine.

For more information on how to do this effectively, check out this helpful link.


What Cardboard Can Be Used With Cricut?


You can cut various types of cardboard, including:

  1. Corrugated Cardboard: This is the thicker, ribbed cardboard often used for packaging. The Cricut Maker, with its stronger cutting force, is more suitable for this type.
  2. Poster Board or Cardstock: These are thinner and smoother types of cardboard, ideal for crafts and decorations. They can be cut using most Cricut models.
  3. Chipboard: Thicker than cardstock but thinner than corrugated cardboard, chipboard is great for projects that require a sturdier material.

It’s important to use the right blade and settings for each type of cardboard to ensure clean cuts and to avoid damaging your machine.

The Cricut Maker, with its advanced blades and settings, is particularly well-suited for cutting a wider range of cardboard types.


What is the Best Cardboard For Cricut?


The best type of cardboard for Cricut depends on your project requirements.

However, medium-weight cardstock is often recommended for its versatility and ease of cutting.

It’s sturdy enough for a variety of projects but not so thick that it poses cutting challenges.

For projects requiring more rigidity, thicker cardboard like poster boards or light chipboards are suitable, especially if you’re using a Cricut Maker, which can handle thicker materials.

Always ensure that the cardboard thickness aligns with your Cricut model’s capabilities and use the appropriate blade and settings for optimal results.


How Thick Can Cricut Cut Cardboards?


The thickness that a Cricut machine can cut through depends on the model.

For instance, the Cricut Maker, which is the most powerful model, can cut materials up to 2.4 mm thick.

This includes various types of cardboard, such as poster board or thin chipboard.

For other Cricut models like the Cricut Explore series, the recommended maximum thickness is usually around 2 mm.

It’s crucial to ensure that the cardboard thickness is within your specific Cricut model’s cutting capabilities to achieve the best results and avoid damaging the machine.

How do You Cut Designs on Cardboard?

To cut designs on cardboard using a Cricut machine, follow these steps:

  1. Choose Your Design: Select or create the design you want to cut in Cricut’s Design Space software.
  2. Prepare Your Cardboard: Choose the right type of cardboard for your project. Ensure it’s flat and fits the Cricut cutting mat.
  3. Load the Mat: Secure the cardboard onto the Cricut cutting mat using adhesive or tape to keep it in place.
  4. Set Up the Machine: Choose the correct blade and settings in the Cricut machine for your cardboard thickness.
  5. Load the Mat into the Machine: Carefully align and feed the mat into your Cricut machine.
  6. Begin the Cutting Process: In Design Space, hit the ‘Cut’ button and let the machine do the work. Keep an eye on the process to ensure it’s cutting correctly.
  7. Unload and Remove the Design: Once the cutting is complete, unload the mat and gently remove your cut design from the cardboard.

Remember, detailed designs may require slower cutting speeds for precision, and always ensure that the cardboard thickness is suitable for your Cricut model’s capabilities.

Can I Cut Cardboard with a Cricut Fine-Point Blade?


Yes, you can cut cardboard with a Cricut fine-point blade, but it is best suited for thinner types of cardboard like
cardstock or poster board.
The fine-point blade is designed for precision cutting on lighter materials.
For thicker cardboard, like corrugated cardboard, a stronger blade such as the deep-point blade or the rotary blade
(available with the Cricut Maker) would be more appropriate.
It’s important to match the blade to the material’s thickness and density for the best cutting results and to prolong
the life of your Cricut blades.

Can Cricut Knife Blade Cut Cardboard?


Yes, the Cricut Knife Blade is specifically designed for cutting through thicker and denser materials, including cardboard.

So, the Cricut Knife Blade is super cool because it can cut through thick stuff like cardboard.

When I use it with my Cricut Maker, I can make all sorts of neat things, even with different kinds of cardboard.

This blade is really strong and cuts super well, which is awesome for tricky designs.

It’s great for cardboard that needs to be a bit tougher for certain projects.

Before cutting, I make sure the cardboard is flat on the mat so it doesn’t mess up.

And I have to set the machine just right for the cardboard thickness.

It takes a bit longer to cut thicker materials, but going slow means the cuts turn out good.

I’ve tried all sorts of cardboard, and each kind makes my projects look different.

Learning about each type and how to cut it best with my Cricut Maker has been a lot of fun.

This blade is a must-have for anyone who loves crafting a lot!

Conclusion

Yes, you can cut cardboard with Cricut but in my experience, you should understand the types of cardboard suitable for each machine, the ideal tools and settings for cutting, and the thickness each model can handle is crucial.

Happy cutting and good luck with your projects.

  • Page 1
  • Page 2
  • Page 3
  • Interim pages omitted …
  • Page 13
  • Go to Next Page »

Primary Sidebar

Heather from Whipperberry
Hello... my name is Heather and I'm the creator of WhipperBerry a creative lifestyle blog packed full of great recipes and creative ideas for your home and family. I find I am happiest when I'm living a creative life and I love to share what I've been up to along the way... Come explore, my hope is that you'll leave inspired!

Footer

  • Privacy Policy
  • Crafts
  • Food
  • Gifts
  • Holidays
  • Home
  • Mom Life
  • Recipes
  • Travel

Copyright © 2026 · Seasoned Pro