Are you wondering about choosing the right crafting and cutting machine? No worries I have got you covered.
To help you decide without having to purchase and test each one, I’ve taken the initiative to compare different cutting machines against their close competitors.
My goal is to give you a clear understanding of what each machine offers, so you can pick one that best fits your crafting needs and budget.
By the end of this comparison, you should have all the information needed to make a well-informed choice.
Diving right into our guide, I’ll compare the capabilities of the Brother Scan and Cut with the Cricut Maker, both of which are popular choices among cutting machines.
For those in a hurry and not looking to read the entire review, we’ll reveal the winner upfront: it’s the Cricut Maker.
However, we recommend exploring the full review to understand the distinctive features that set these two machines apart and how they measure up against each other.
I’ll explain why Cricut Maker stands out, giving you a clear picture of its advantages.
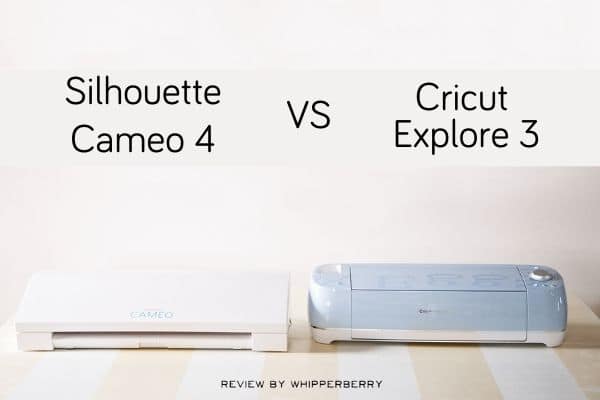
If you guys are interested in knowing about Cricut vs Silhouette, click here to get more information.
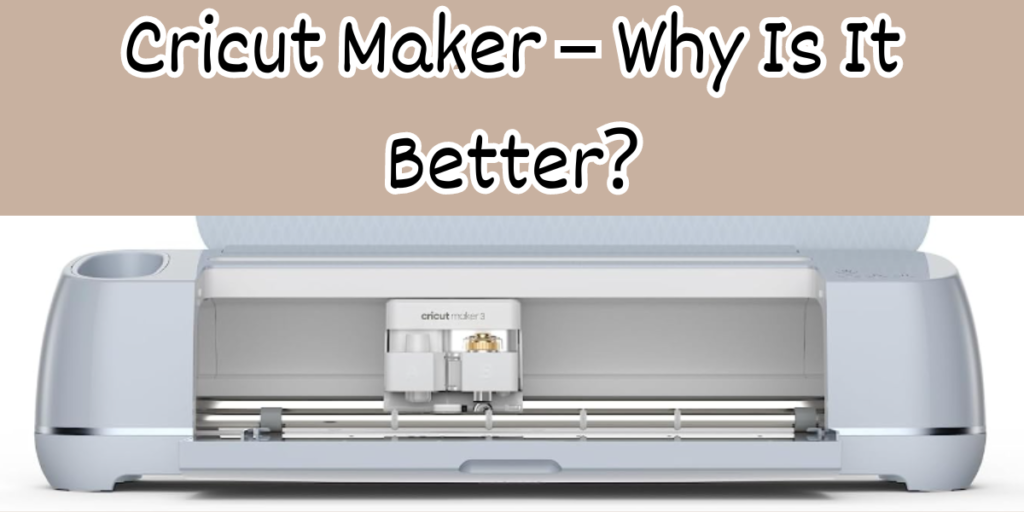
Cricut Maker – Why Is It Better?
The Cricut Maker stands out for several reasons:
- User-Friendly: Its software is easy to navigate, making the learning process smooth.
- Adaptable: Suitable for both advanced crafters and beginners.
- Material Compatibility: Capable of handling over 100 different materials, including leather, vinyl, fabric, and paper, with high precision.
- Versatility: Ideal for a wide range of projects, from card making to T-shirt designs.
- Efficiency: Features a 2x speed boost for quicker project completion.
- Cost-Effective: The machine and its accessories are affordably priced.
- Ready-to-Use Designs: Offers a vast collection of premade designs and fonts for various projects.
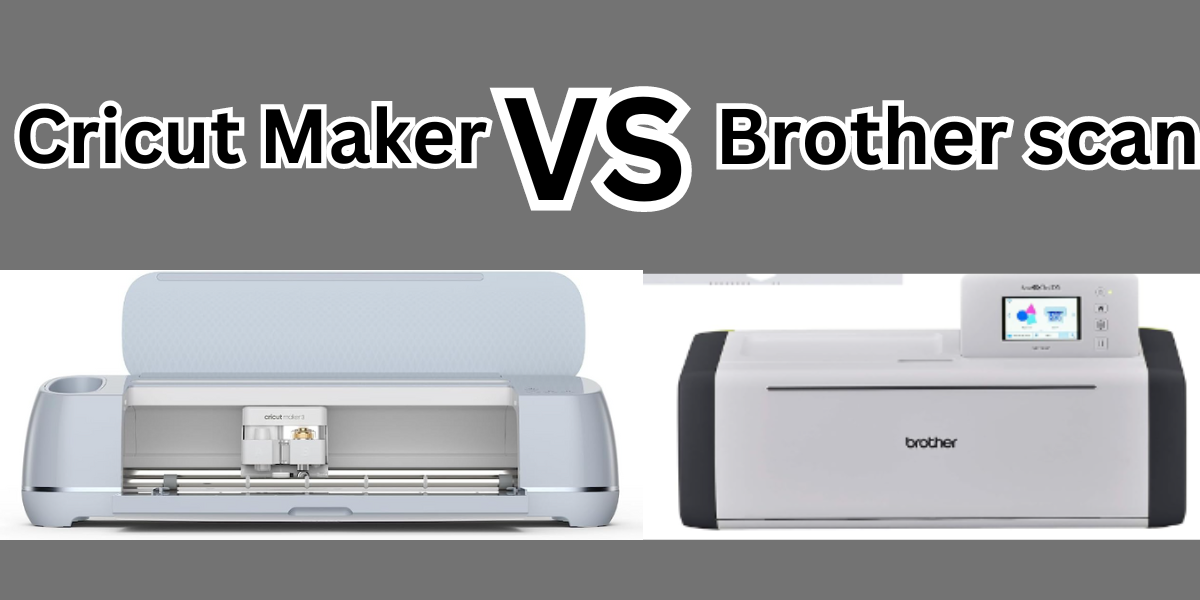
Brother Scan and Cut vs. Cricut
When comparing the Brother ScanNCut and the Cricut Maker, each offers unique features suitable for different crafting needs.
The Brother ScanNCut SDX125E stands out with its built-in scanner, allowing for direct design cutting and a focus on textile projects.
It’s versatile and ideal for small workspaces without a computer. The Cricut Maker, known for its robust tool selection and precision in cutting a variety of materials like wood and leather, is tailored for intricate and diverse projects.
It boasts user-friendly software with extensive online support. While ScanNCut excels in standalone operation and textile handling, the Cricut Maker offers greater power and material versatility, making it suitable for more demanding crafting tasks.
The choice depends on whether you prioritize standalone functionality and textile projects (ScanNCut) or require a wider range of tools and material handling (Cricut Maker).
Which are the Applications For Cricut Maker & Brother Scan?
The applications for these 2 machines are different and I’ll show you why. Cricut uses the “Design Space” application, while Brother ScanNCut utilizes the “Canvas Workspace” software.
Design Space, compatible with iOS, Android, Windows, and Mac, is known for its user-friendly interface and extensive online support.
It requires internet connectivity and offers a wide variety of projects, with some available for free and others accessible to subscribers.
Canvas Workspace, on the other hand, allows for offline work and is ideal for those who prefer not to rely on internet connectivity.
It supports the creation of projects from scratch and is compatible with Windows, Mac, and as a web application.
Which One Has the Strongest Cutting?
The strongest of these two machines is totally Cricut Maker and I’ll tell you why.
The Cricut Maker has a stronger cutting force compared to the Brother ScanNCut machine.
Specifically, the Cricut Maker boasts a maximum cutting force of 4,000 grams, enabling it to efficiently cut through a wide range of materials, including denser and thicker ones like balsa wood, linden wood, leather, chipboard, and laminates.
In contrast, the Brother Scan’s maximum cutting force is 350 grams, which is more suited for lighter materials and not as powerful as the Cricut Maker for heavy-duty tasks.
Which Can Cut Thicker Materials Between the Cricut & Brother Scan?
Between the Cricut Maker and the Brother ScanNCut, the Cricut Maker has a slightly lesser material thickness capacity, handling materials up to 2.4 mm thick.
In contrast, the Brother ScanNCut can cut materials up to 3 mm thick, giving it an edge in handling slightly thicker materials.
Therefore, if your projects involve cutting thicker materials, the Brother ScanNCut would be the more suitable choice
Which Has a Faster Cutting Speed Between Cricut & Brother Scan?
The fastest of these machines is undoubtedly the Cricut Explore Air 2, known for its superior cutting speed compared to the Brother ScanNCut.
It’s known for being super fast, which is cool when you need to get your project done quickly.
The Brother ScanNCut has some awesome features too, like scanning stuff in, but when it comes to speed, the Cricut Explore Air 2 is the champ.
So, if you’ve got a bunch of stuff to cut and not a lot of time, the Cricut Explore Air 2 is the way to go
Brother Scan and Cut vs. Cricut Maker – Conclusion
Overall, both machines excel in their capabilities, but in areas like cutting force, size, and speed, the Cricut Maker 3 tends to have an edge over the Brother Scan and Cut 2.
In my experience, I think that Cricut Maker is better, but Brother Scan it’s also very good. Make sure to get the one that covers your needs and your projects.
Up next, I’ll be answering some of the most frequently asked questions about these machines.
What surpasses Cricut Maker?
Silhouette Cameo 4 competes closely with Cricut Maker, excelling in cutting force, size, and material clearance.
Custom images on Cricut Maker?
Yes, Cricut Design Space allows the use of custom images with Cricut machines, supporting SVG files for free.
Brother Scan and Cut 2 vs Cricut Explore Air 2?
While comparable, Cricut Explore Air 2 edges out with lower costs and an easier learning curve.
Creating your designs with Cricut?
Cricut Design Space enables you to create custom designs for Cricut machines.
Best Cricut machine to buy?
Currently, Cricut Maker 3 is the top choice, offering high cutting force, speed, and affordability.
Best machine for cutting vinyl?
Both Cricut Maker 3 and Brother Scan and Cut 2 are suitable for cutting vinyl, but Cricut is more cost-effective.
Comparing Silhouette Cameo, Cricut Maker, and Brother Scan and Cut:
Silhouette Cameo and Cricut Maker lead in performance, but Brother offers unique features like a built-in scanner.
Activation card for Cricut?
No activation card is needed for Cricut, but Brother ScanNCut requires one for wireless connectivity.
Brother Scan and Cut 2 vs Cricut Maker 3 and Silhouette Cameo 4?
Despite its scanner and LCD screen, Brother Scan and Cut 2 lags behind the other two in cutting capabilities.