I have been creating all kinds of goodies for our home in Cricut Design Space and then making them on my Cricut Maker. If you use a Silhouette then I’d recommend checking out my post where I compare Silhouette vs Cricut. One of the biggest questions I receive time and time again is, “how do you create curved text in Cricut Design Space?” It has been a conundrum for many people who like to create fun typography for their Cricut projects. Well, I’m here to the rescue! I’ve created a video tutorial on how to create more stylized text within the Cricut Design Space platform. Come check it out…
+ This post brought to you by Cricut +

For quite some time now, I would design most of my creations in Adobe Illustrator and then import them into Cricut Design Space mainly because I wanted more freedom with my word art. I wanted to create curves, waves, archs & arches. I felt like the Cricut Design Space kind of tied my hands here. Then I did a little playing around and figured out how much freedom we really have when designing with words in Design Space. It may not be as quick as clicking a button, BUT… You can do so much more, you just need to have a little imagination. Here’s the video tutorial that I put together to teach you how.
If you’re looking for more tutorials on how to create with your Cricut machine and within Design Space, visit my other posts that help walk you though creating with Cricut. Like this one on how to import and use your SVG files within Cricut Design Space. If you have questions or would like a video tutorial on how to create with Cricut, leave a comment and I’ll work on putting one together for you!
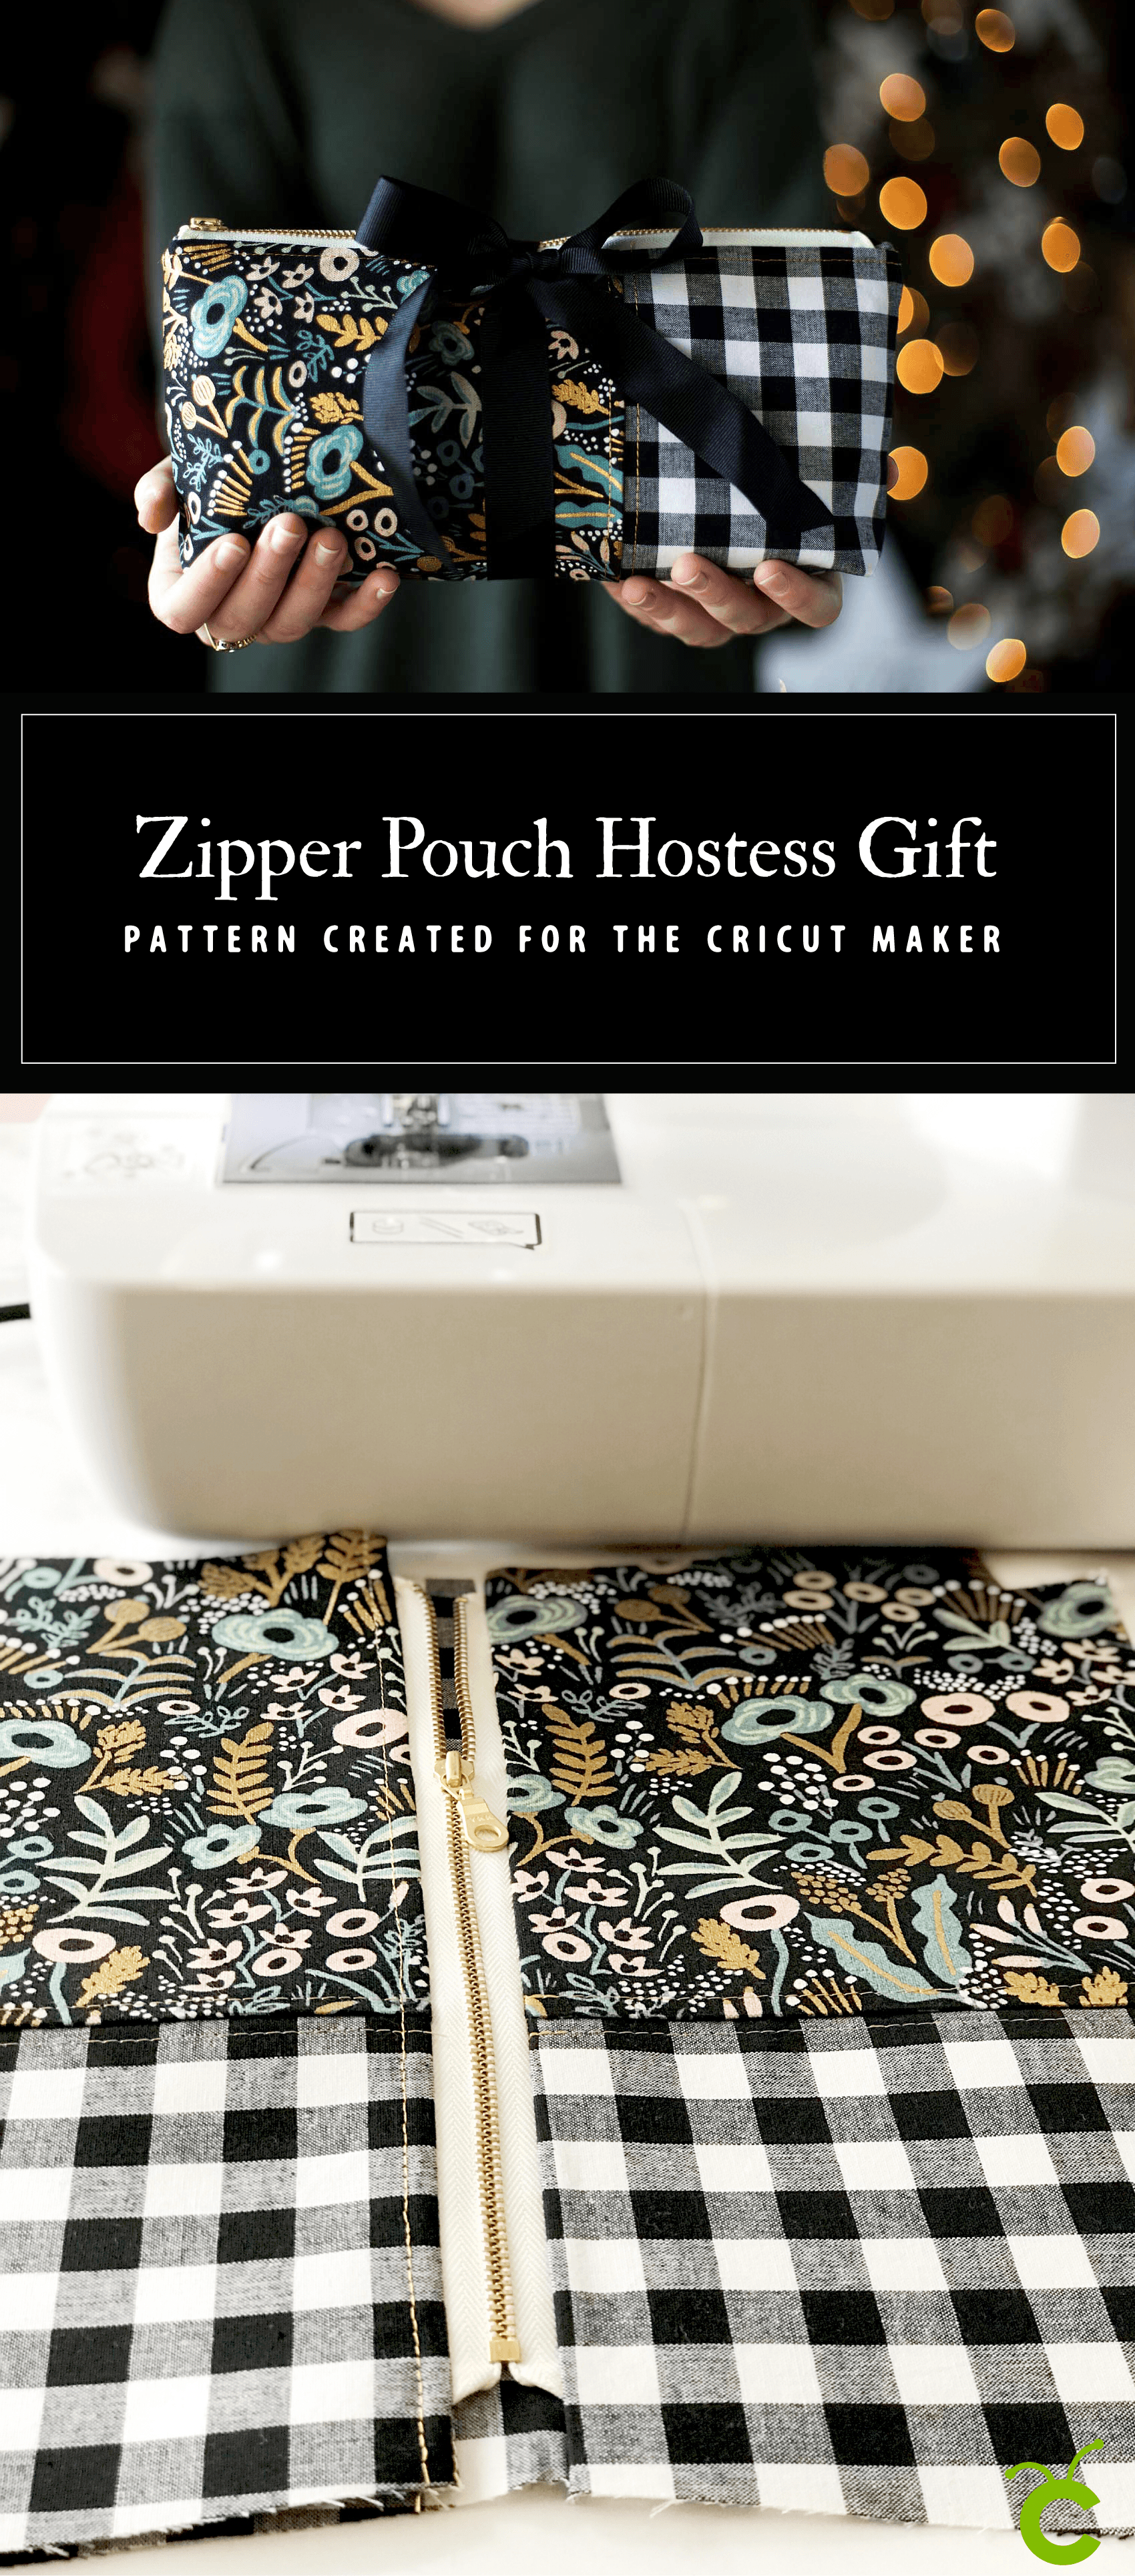
This is the project that I made with that tutorial. A stylish zipper pouch, a perfect Holiday gift for friends and family.

