DIY Black and White Wall Art // I have always been a huge fan of black & white. I love the stunning contrast and knew that when I was ready to dress up our front room in our new house I wanted a strong black & white theme. I also LOVE typography wall art and adore the hand painted typography displays that I’ve seen all over the place.
I however, CAN NOT hand paint a stick figure, let alone a beautiful hand lettered canvas… So, I did the next best thing! I busted out my Silhouette CAMEO, some black paper and a lovely large 24 x 24 canvas and went to work…
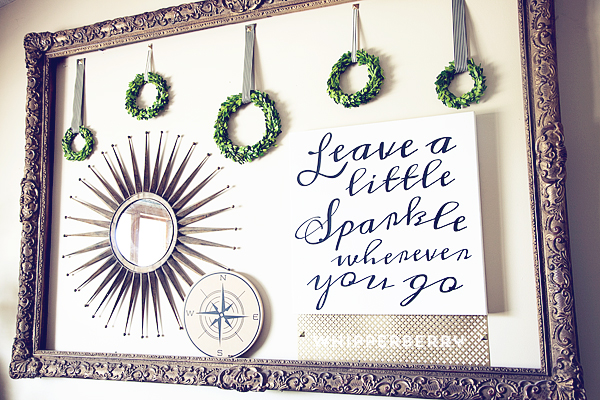
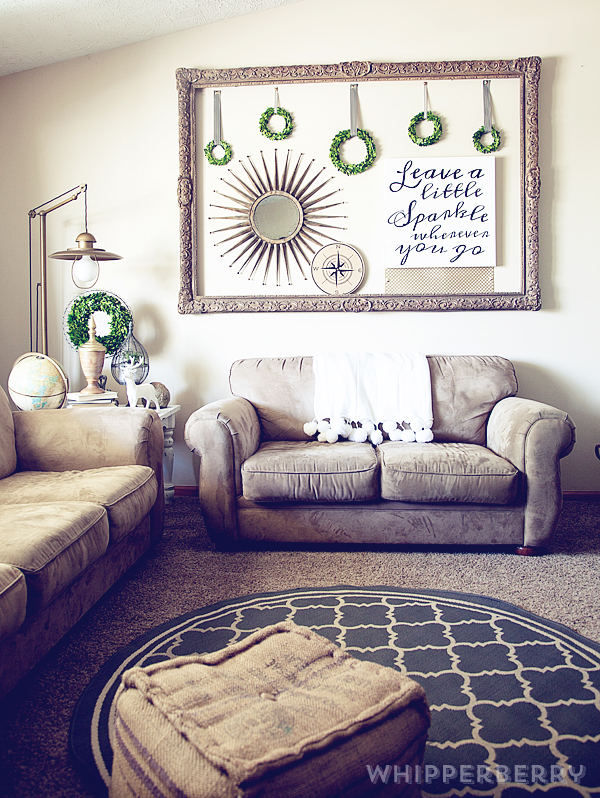
I LOVE how it turned out! It’s an element in my HUGE gold frame that is in my front room that I have redesigned for the spring/summer…
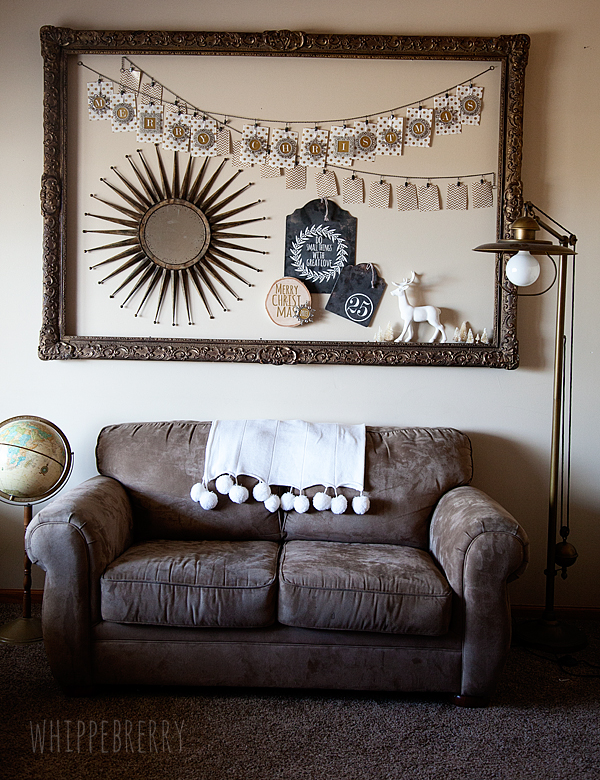
This is how it looked for Christmas this last year…
The frame is HUGE and I love it, but it can be a challenge trying to find stuff to fill the space, a large canvas is perfect!
This project is really quite simple. I used the Meddon font which has an imperfect hand lettered look to design my typography art. Then I cut my saying, “Leave a little sparkle wherever you go” out of black textured card stock paper with my Silhouette CAMEO and then used Decoupage from DecoArt to affix the letters onto the canvas.
Want to know a little secret to successful decoupaging? Wet your paper that you are wanting to affix to your surface FIRST before you place it onto your surface. I had a plate with a wet paper towel sitting next to me and placed the paper words on the towel for a few seconds to get them a little damp before I placed it on the canvas. This will help with any bubbling problem you may have once you add the Decoupage.
How to make typography wall art with Silhouette CAMEO and Decoupage
- Cut your words out on the Silhouette CAMEO. For this size of canvas I needed a machine that could cut large elements and the CAMEO is perfect for that. I used my 12×24 mat and it was perfect. I unfortunately didn’t have 12×24 black paper so I had to piece some of the words together, but that wasn’t a big deal.
- Figure out the placement of your words on the canvas.
- Starting in small areas, one word or part of a word at a time, remove the paper word and place on a wet paper towel. Then using a foam brush, place a thin layer of Decoupage onto your canvas. Replace the paper word onto your desired spot and gently press into the Decoupage. Then carefully with a light hand, brush another layer of Decoupage onto of the paper word. Be careful not to over work the paper. Especially when using black paper on a white canvas, the Decoupage will breakdown the paper and then you will have a muddy mess instead of a clean black and white canvas.
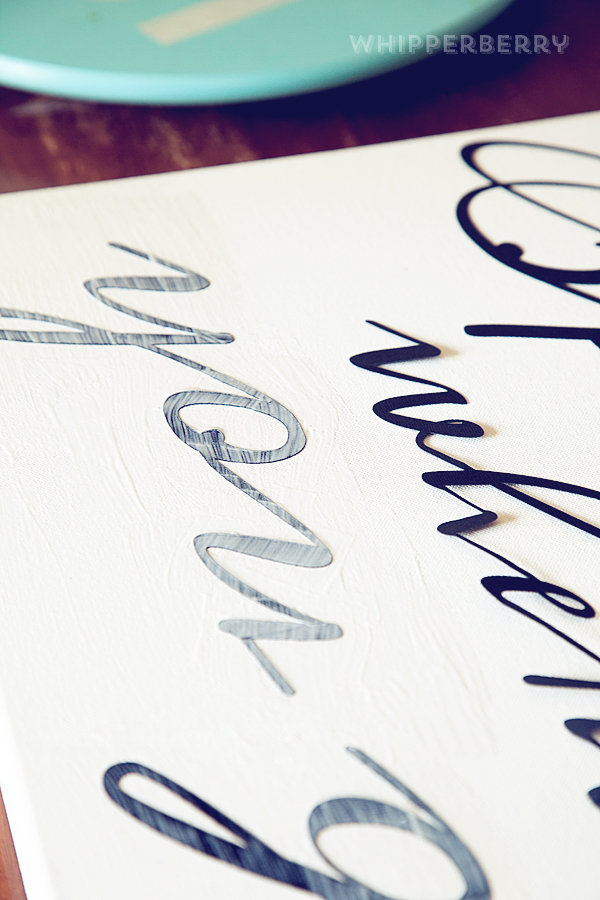
- Move onto the next word until you have the entire saying affixed with the Decoupage.
- Make sure you cover the entire canvas with Decoupage so that the canvas will have a uniformed appearance.
- Let the canvas dry and then hang!
I added a sheet of decorative metal that I found at Home Depot for a little added pop under the canvas and I LOVE how it looks!
So… Do you love typography art? What saying would you like to create with this simple project? Leave a comment with your saying!!
Disclaimer // This is NOT a paid post, I am however a member of the Silhouette Circle which is an affiliate program.
0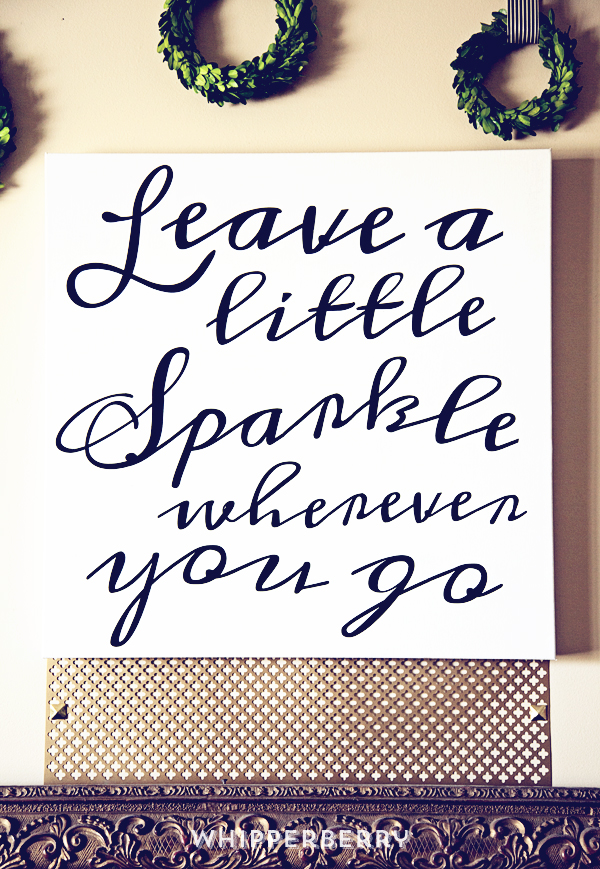

love and adore.
mucho.
I love that! Thank you for the tips 🙂
It looks awesome Heather. I would love to do one that says, “Stand for something, or fall for anything.” Love your rug too!
Great idea! Love DIY wall art!
I absolutely love black ad white art as well. It looks so lovely hanging up there in your house. This has definitely inspired me to do my own take on some b/w art!
cool