• Skip to primary navigation
  • Skip to main content
  • Skip to primary sidebar
  • Skip to footer

Whipperberry

WhipperBerry • Your Home For Creative Inspiration

  • Home
  • Recipes
    • Starters
    • Easy Weeknight Dinners
    • Main Dish
    • Salads
    • Side Dish
    • Soups & Stews
    • Desserts
    • Breakfast
    • Miscellaneous
  • Tutorials
    • Creative Crafts
    • DIY Decor
    • Fabric Crafts
    • Food How-To
    • Jewlery
    • Paint Projects
    • Paper Art
    • Party Styling
    • Photography and Graphic Design
    • Silhouette
  • Holidays
    • St. Patrick’s Day
    • Easter
    • Mother’s Day
    • Father’s Day
    • 4th of July
    • Halloween
    • Thanksgiving
    • Christmas
    • New Years
    • Valentine’s Day
  • Gift Ideas
    • Gifts For Everyone
    • Gifts for Dad
    • Mother’s day
    • For The Girls
    • For The Kids
    • Teacher Gift Ideas
    • Christmas
  • Printables
    • Holiday
    • Gift Idea
    • LDS Primary
  • Travel
  • About
    • Terms
  • Contact
  • Nav Social Menu

    • Facebook
    • Instagram
    • Pinterest
    • RSS
    • Twitter

Chalk Paint Powder

BB Frosch Reviews – Is it Worth it or Worthless?

50 · Aug 21, 2022 · Leave a Comment

I used to travel the country as a BB Frosch representative. But, not anymore. Now I can finally give an honest review of BB Frosch and their entire lineup.

I think most of the products are high-quality, but will they work for exactly what you need it for? Scroll to the product you’re looking for a review of and see what the verdict is.

Key Takeaways

  • BB Frosch Paint transformer is great
  • If you’re thinking about buying it then get it!
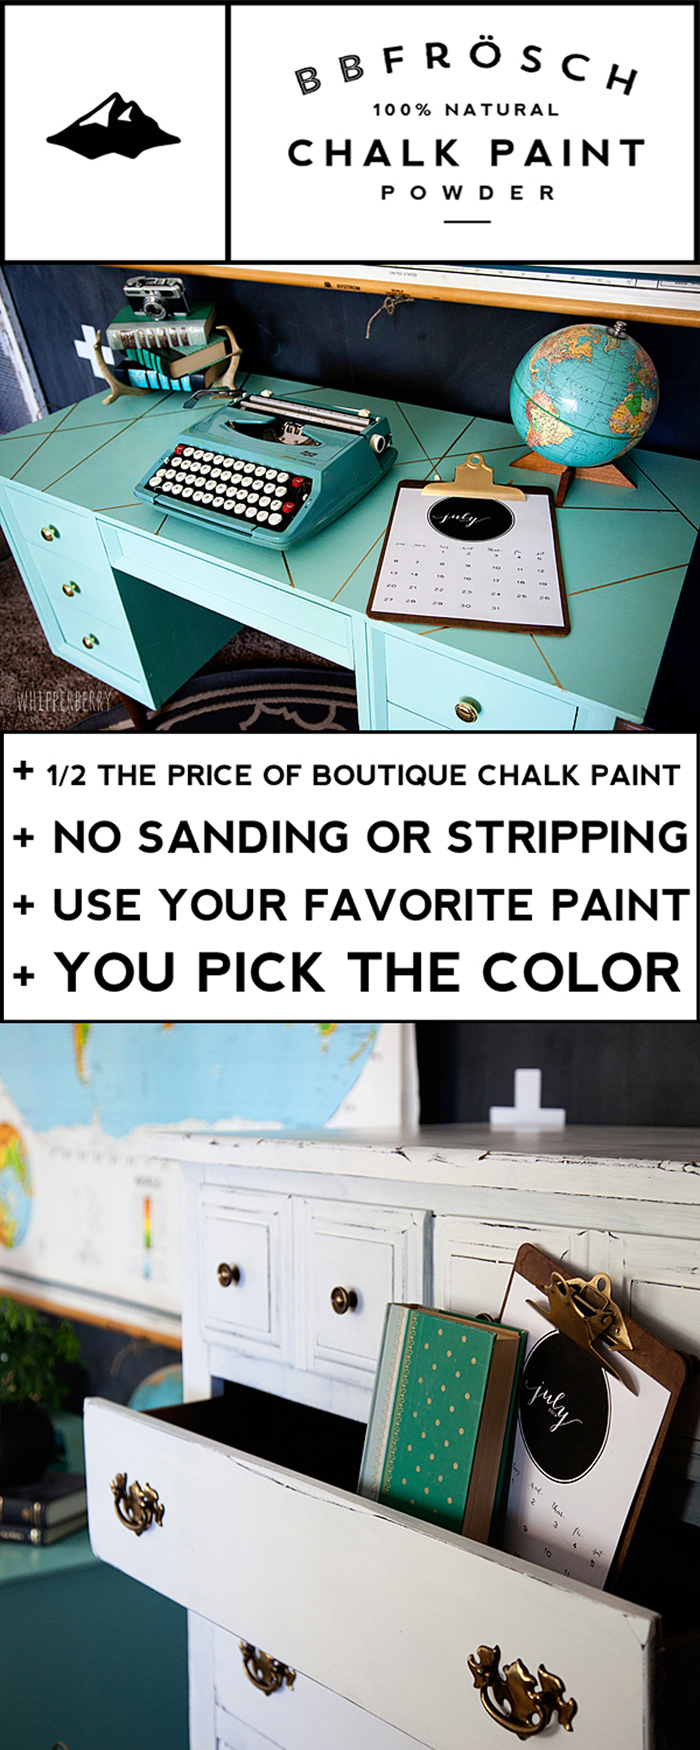
Get BB Frosch Here

What is BB Frösch?

BB Frösch is a company that sells paint-transforming products and accessories. They offer painting kits, brushes, wax, and powders that you can add to regular paint. What they really specialize in is the paint transformers. The paint transformers are powders you add to regular paint to get chalk paint or mineral paints. In this BB Frosch review, I’ll be covering the paint transformers the most.

BB Frosch Paint Transformer  Powder Review

There are quite a few benefits to using BB Frosch chalk paint powder. This product makes it so you can turn any kind of paint into chalk paint. This means you can use any color you want. There are no health hazards with it either like the homemade powder that some people promote online. Do NOT make your own chalk paint powder at home because it can be very dangerous for your health.

Get BB Frosch Here

Is BB Frosch Chalk Paint Transformer Worth the Cost?

It’s cheaper than pre-mixed chalk paint. The cost of the powder to mix up to one gallon is under $40. A gallon of normal chalk paint is around $160 and you can mix your own chalk paint by using BB Frosch for under $60. That’s $100 of savings!

The price of it fluctuates sometimes because of how crazy the economy is right now so I don’t want to say exactly how much it is. Their paint transformer will leave you with more chalk paint for a lower price. All of the pre-made chalk paints are so expensive! There’s not really a benefit of using the premade chalk paint either. Why not get more for less?

One of the main questions people are always asking about BB Frosch is…

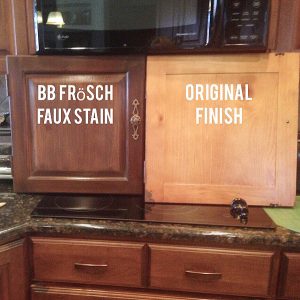
Does BB Frosch Chalk Paint Powder Really Work?

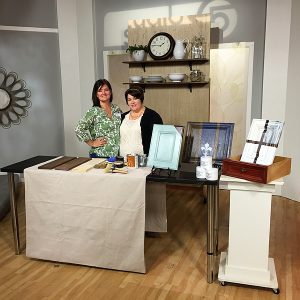
Short answer, yes. There aren’t really any problems with using this paint transformer to create your own. The purpose of using chalk paint in the first place is to avoid prep work. This means no priming, no sanding, and no stripping. Then, you want a nice chalk-paint-looking finish too, right? Well, this is exactly what you get with BB Frosch. As I mentioned before, I used to travel around the country as a representative for the company. I would NOT have done this if their products didn’t work.

Get BB Frosch Here

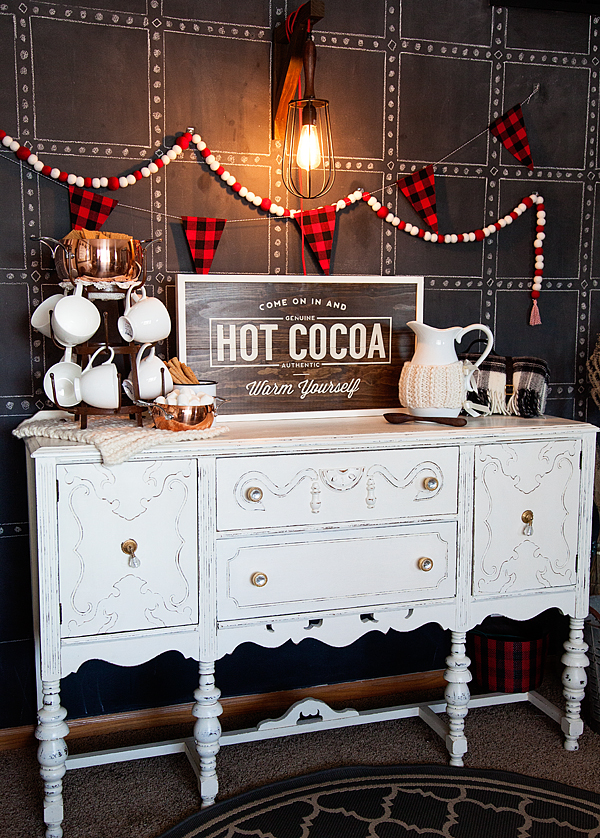
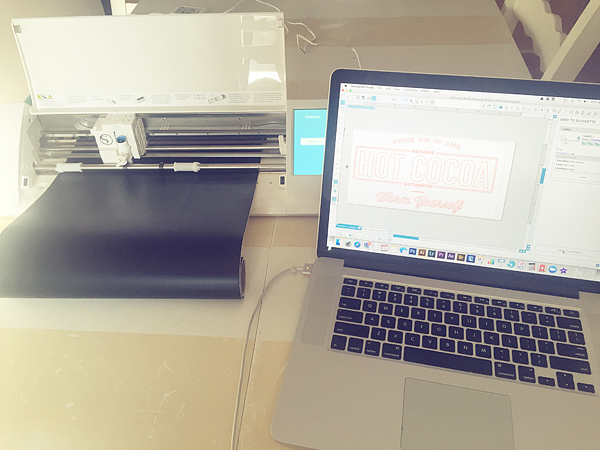
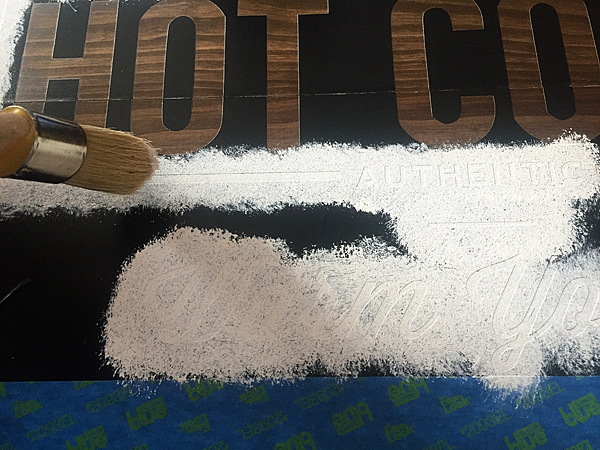
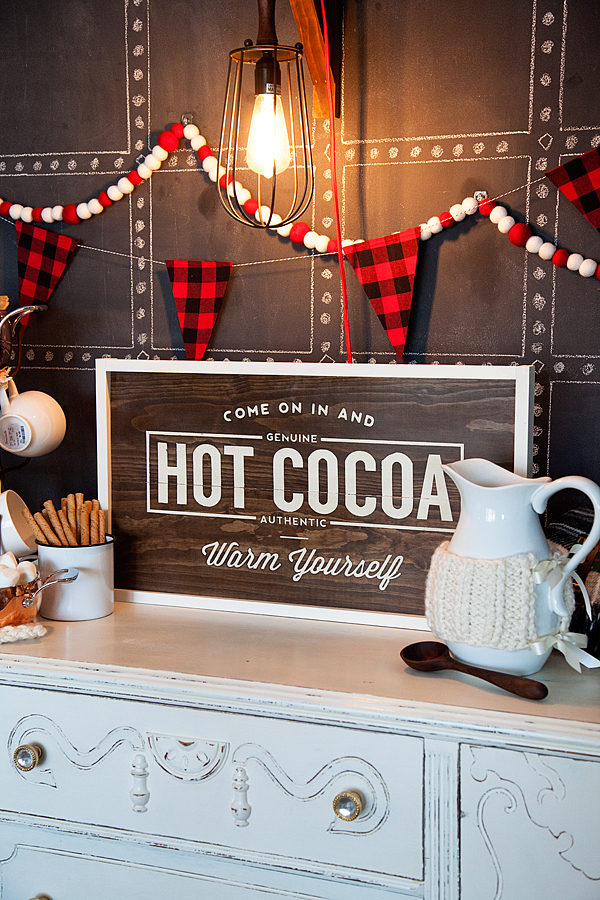
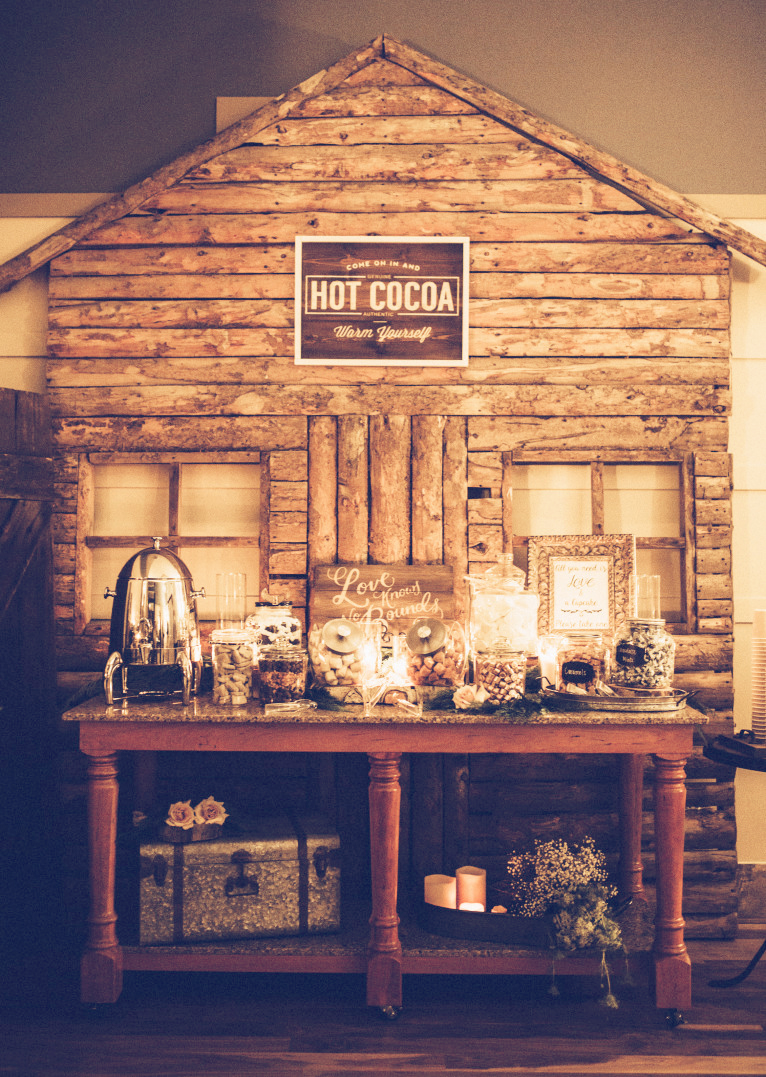
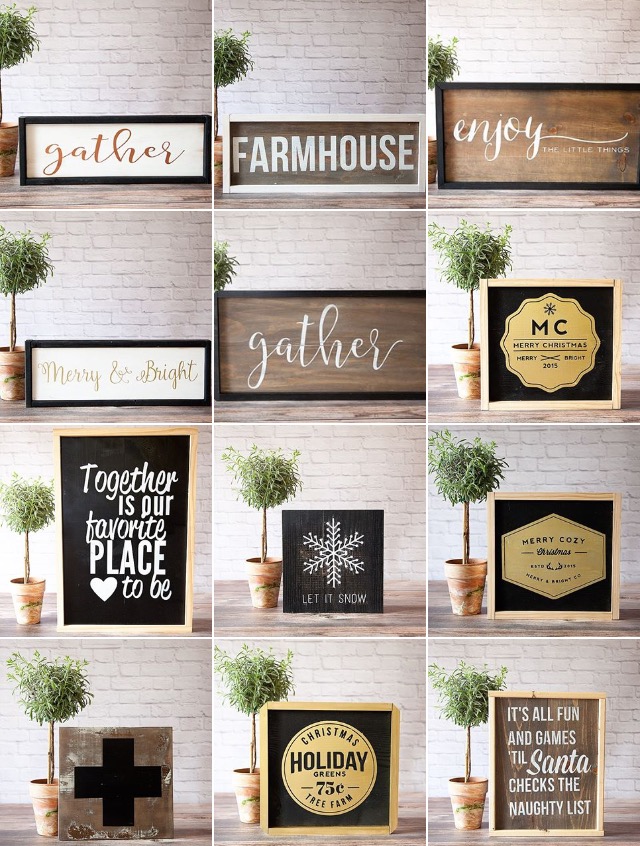
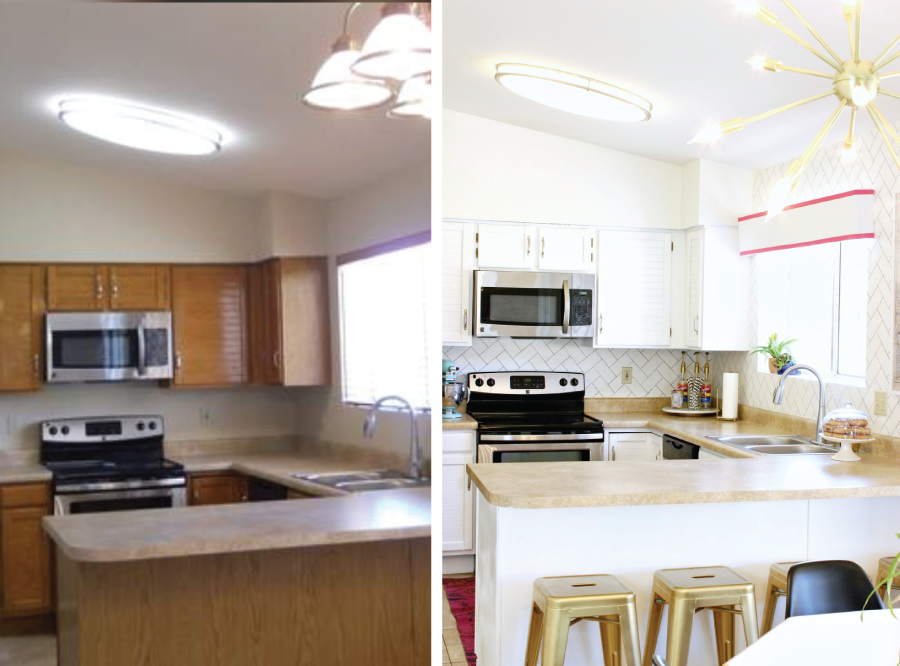
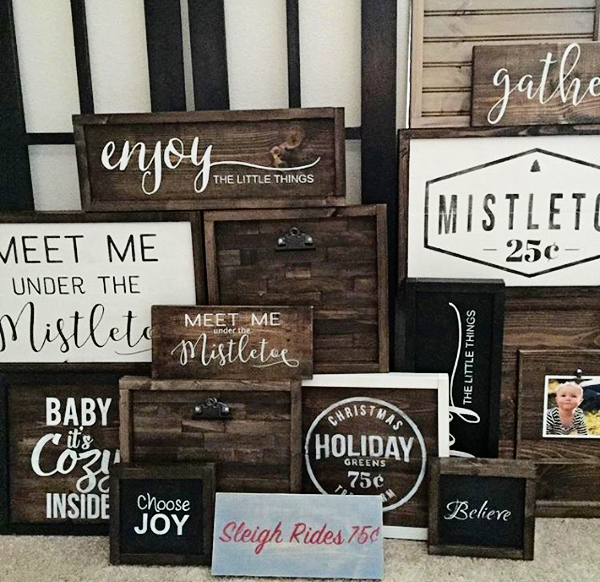
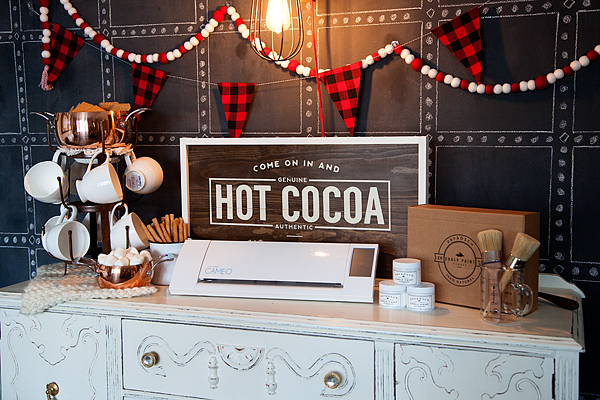
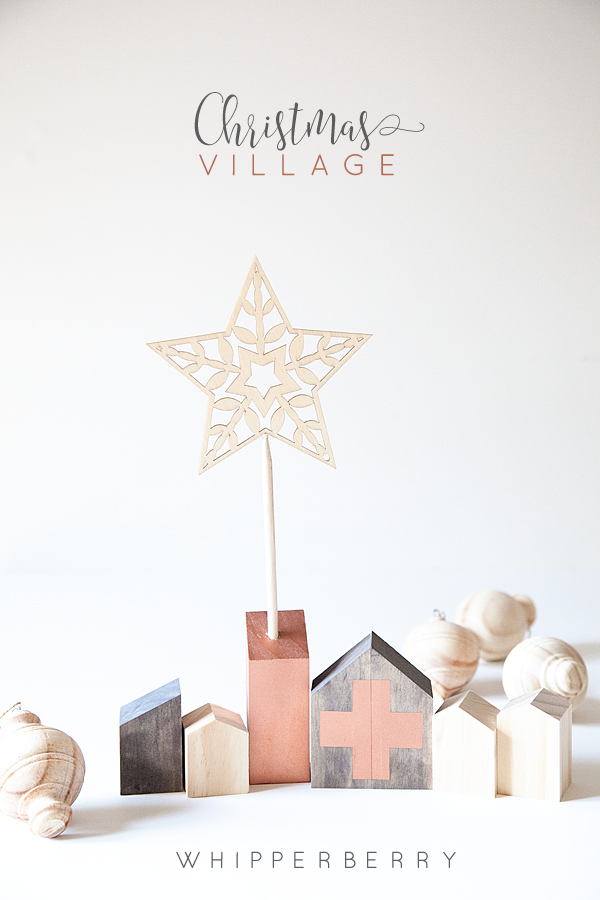
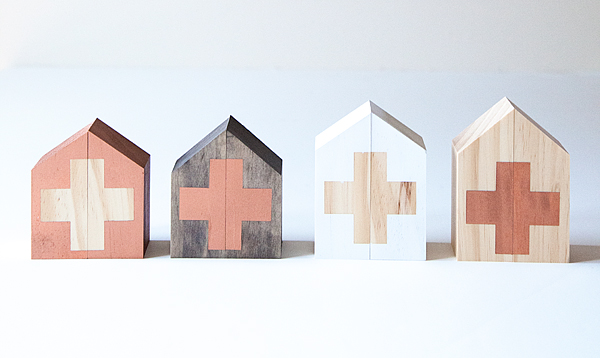
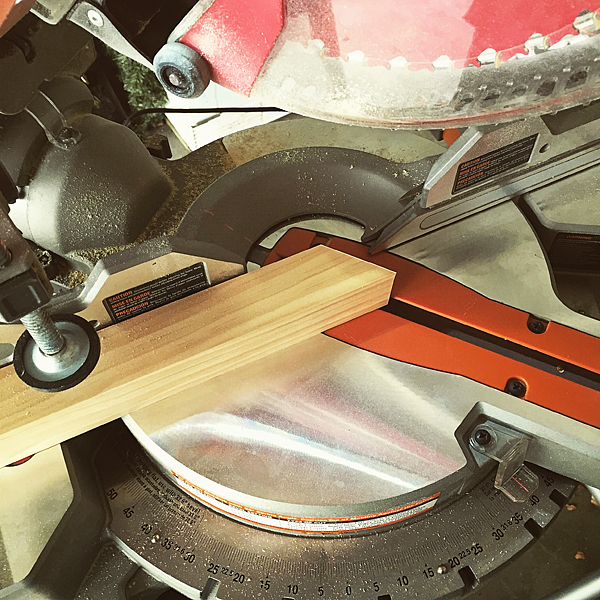
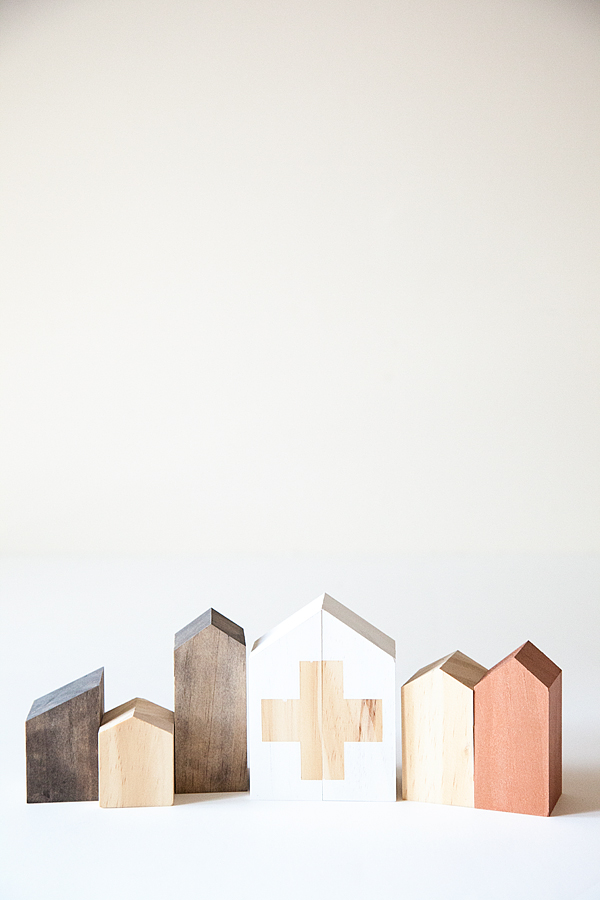
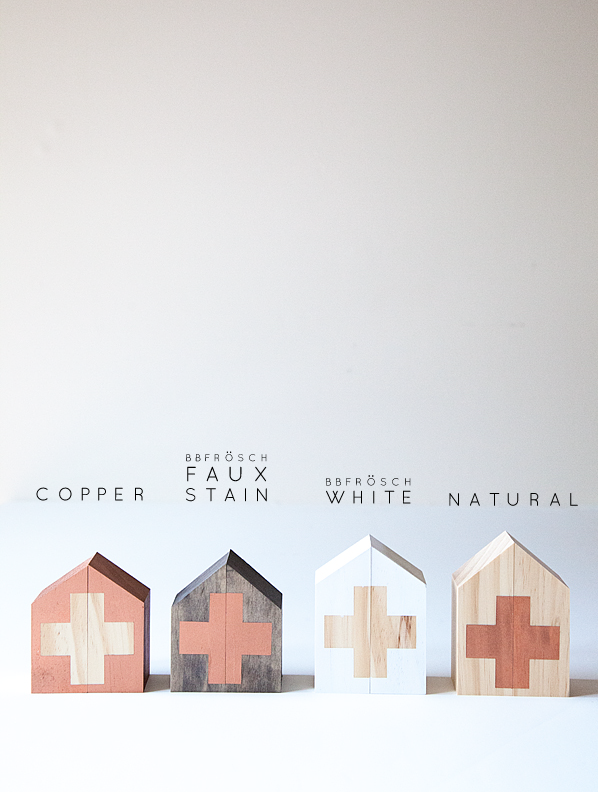
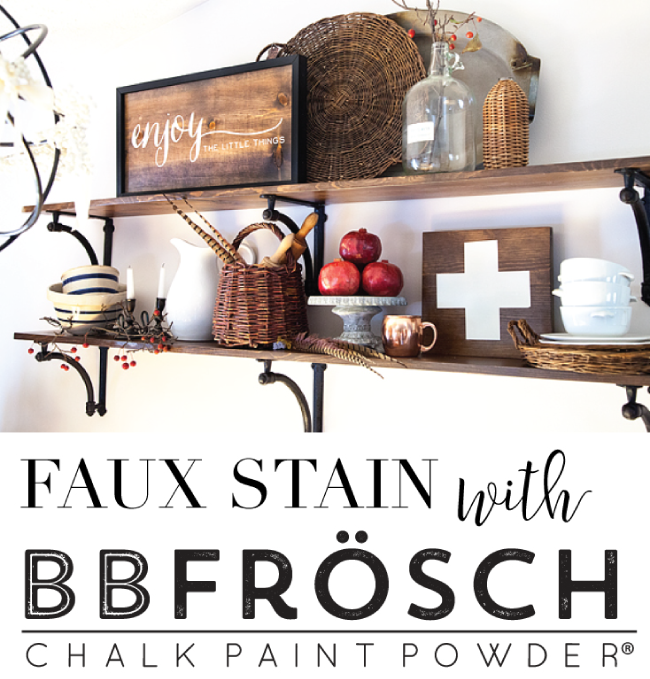
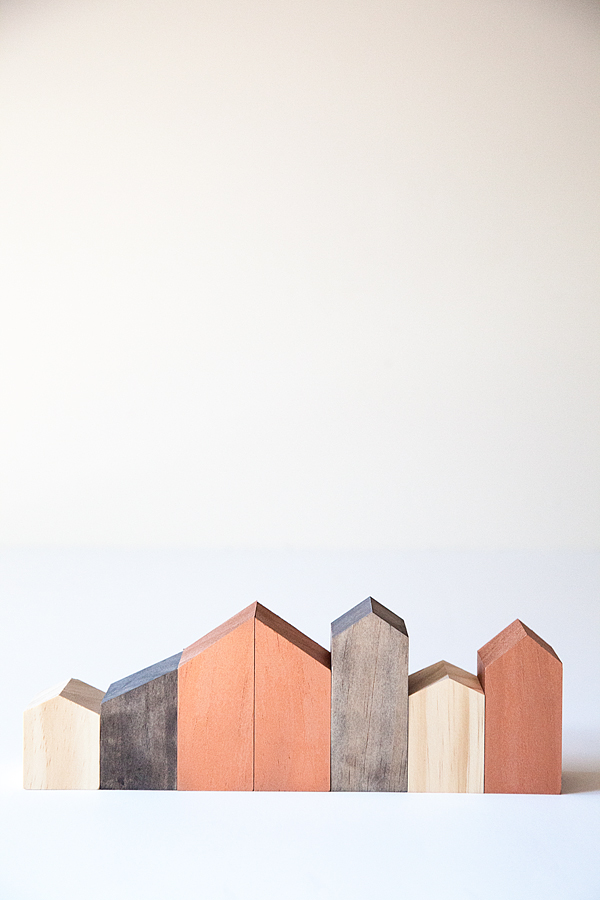
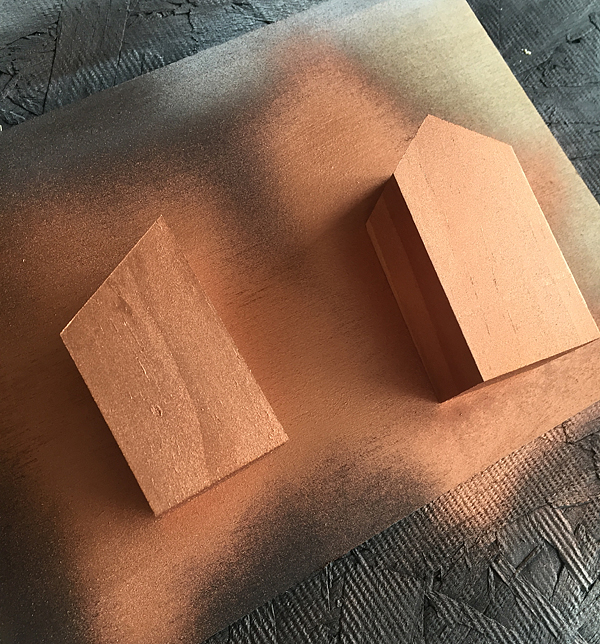
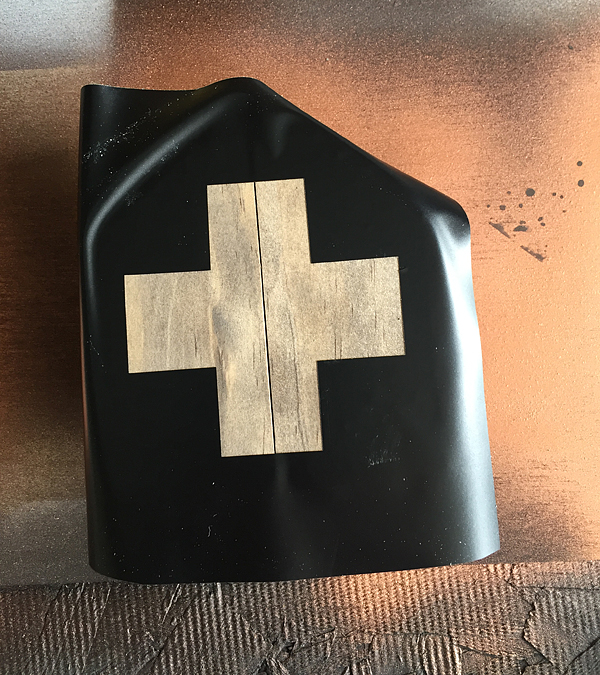
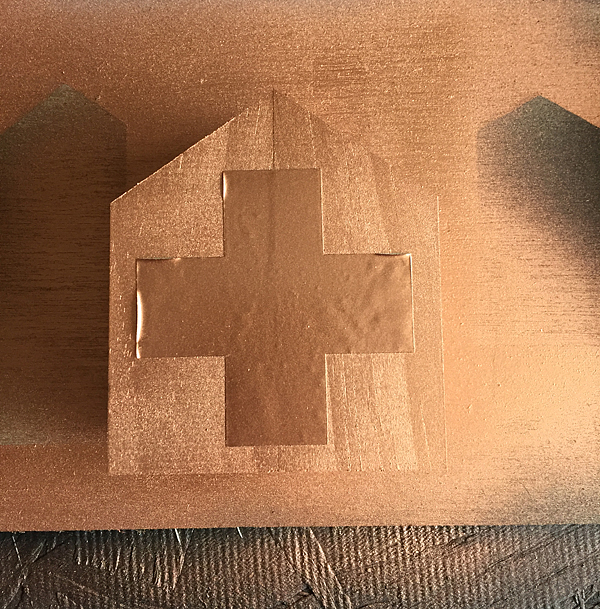
Want to see some BB Frosch projects that I’ve done over the years? Yes? I thought you might! I’ve painted so many things with chalk paint powder and I’m going to share some photos with you below.

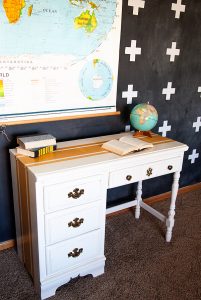
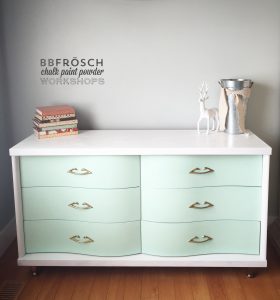
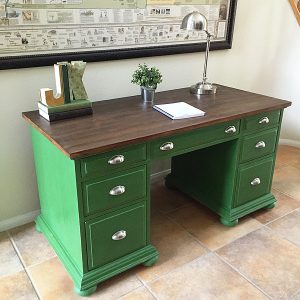
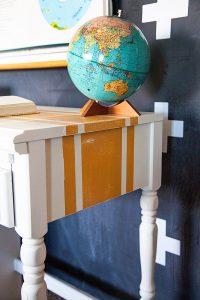
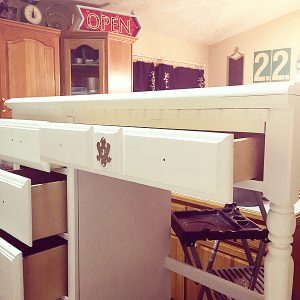
I have so many more photos that I could share with you but I’m having a hard time finding them. These should be enough to give you an idea that BB Frosch does actually work!

Get BB Frosch Here

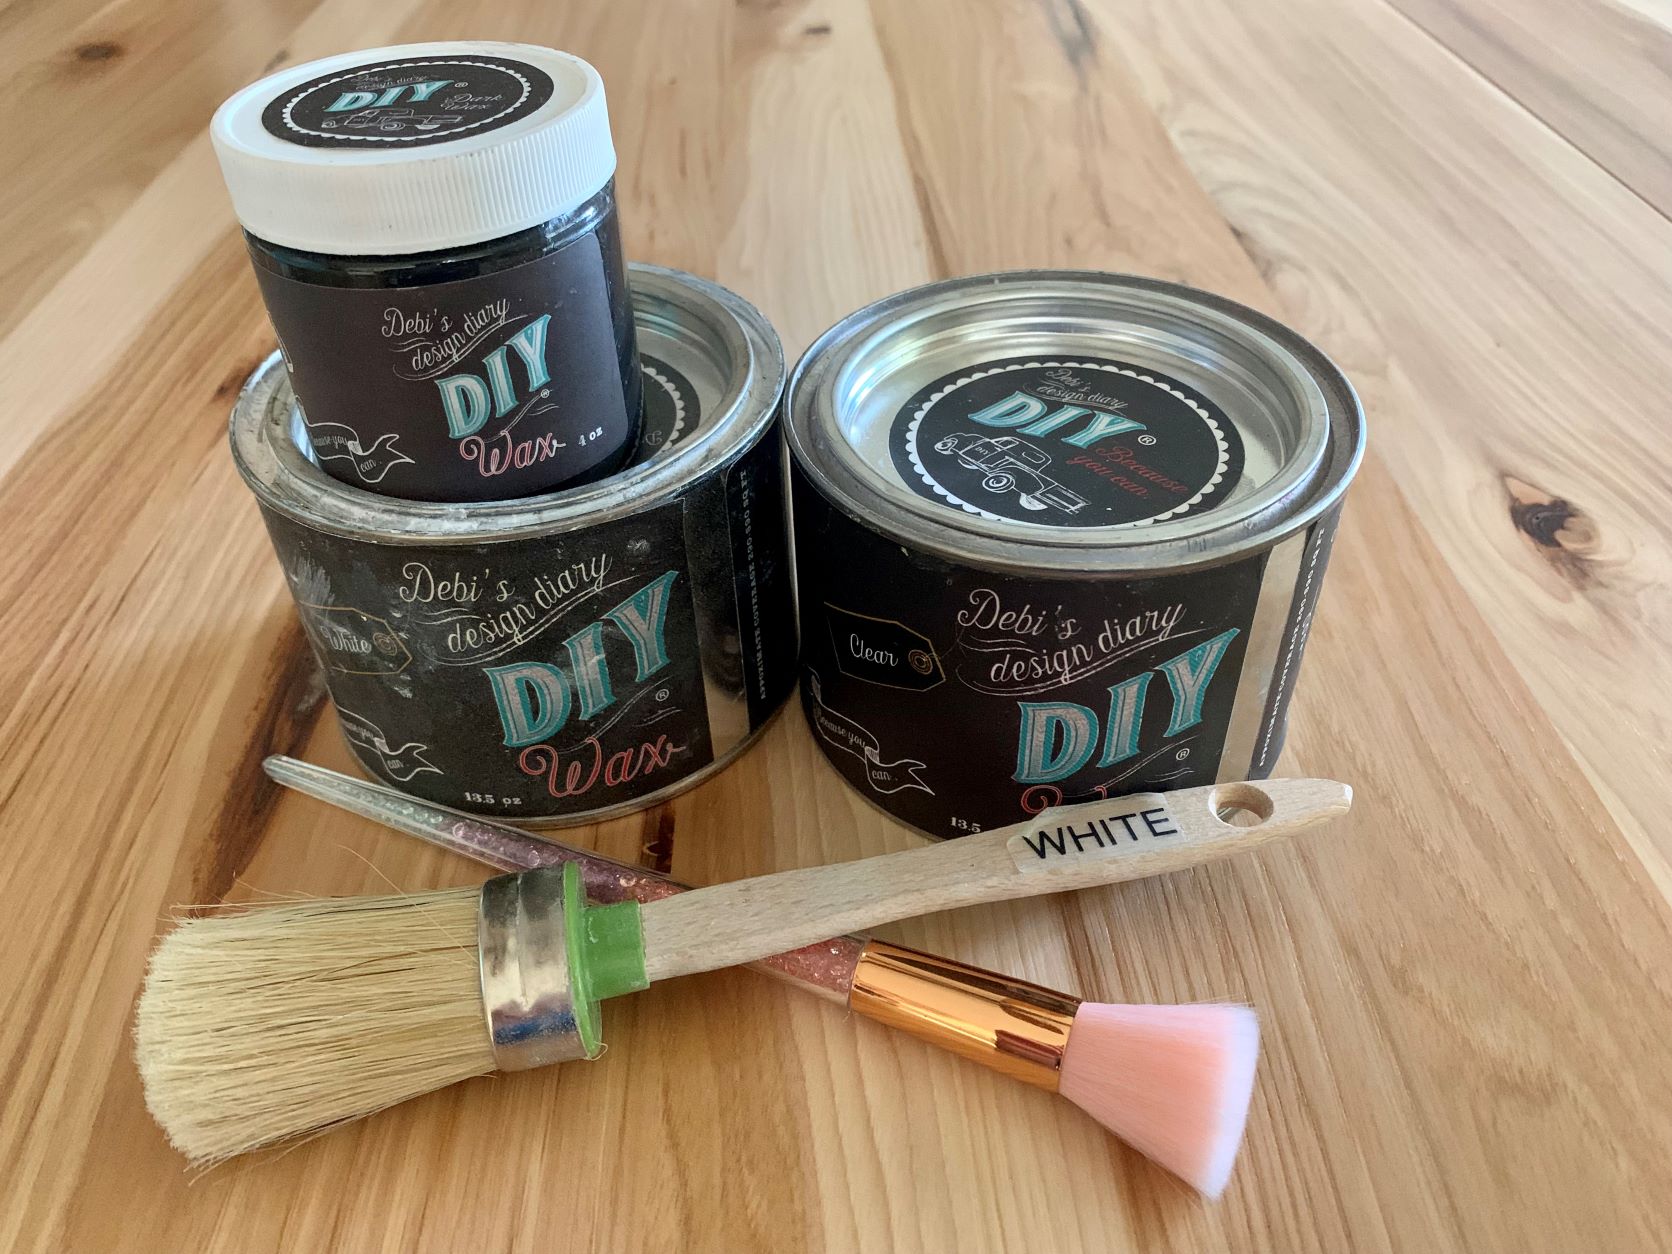
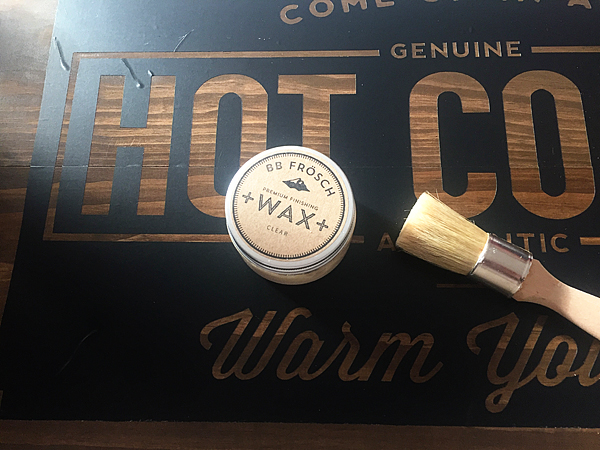
What about the BB Frosch Wax?

Well, this is how you know I’m being honest and not getting paid to say this. The BB Frosch Premium Wax is not really for me. It kind of gave me a headache because the smell is strong. The product itself is good but I don’t use it anymore.

I would recommend using Jolie Wax instead. It was cheaper and it didn’t give me a headache.

Get BB Frosch Here

The premium wax is eco-friendly and does a good job. You probably won’t ever have to re-wax anything that you use it on again. I really just can’t get over the headaches from the smell.


BB Frosch – The Final Verdict

Their products are great overall. I would definitely get the BB Frosch Chalk Paint Powder but I’d skip out on the wax if you’re sensitive to smell. The paint transformer is such a game-changer when it comes to painting furniture or any DIY project at home. Not having to prep everything to paint it is great. The paint powder helps cover everything evenly and you don’t have to put a protective coat over it if you don’t want to.

How To Seal Chalk Paint – The Best Top coats

32 · Aug 16, 2022 · Leave a Comment

chalk paint sealant


Chalk paint is a popular choice for home decor. It comes in a variety of brands and colors; something to suit anyone’s decorating style.

If you want your chalk-painted pieces to last without chipping or staining, applying a sealant coat is recommended.

If you’ve been a reader for a while you know I LOOOOVE using chalk paint for my craft projects. So, I want to share with you how to actually seal chalk paint.

What Is A Seal Coat?

A seal coat is a thin, usually transparent coating that protects your painted surface. Chalk paint is a little bit more fragile than acrylic or latex-based paints.

Chalk paint on any “high touch” surface is more likely to chip or get scratched. Chalk paint also has a tendency to stain easier, especially chalk-painted table tops and cupboards.

Fortunately, applying one or two coats of a clear sealant can prevent these things from happening. 

The Best Ways to Seal Chalk Paint

The best way to seal your chalk-painted projects depends on what type of item you’re going to seal, and what you want the final appearance to be.

It’s important to keep in mind that if you like the “chalky” smooth appearance of your painted objects, you don’t want to apply a glossy sealant on top of them.

Look for sealant with a matte or satin finish. Matte finish sealant won’t change the overall appearance of your chalk paint. A satin finish sealant will add a soft, very subtle shine to your piece, but isn’t glossy. 

The Best Seal Coats for Chalk Paint

No matter what type of sealant you choose for your chalk-painted projects, be sure to read the label thoroughly.

Make sure it will work for whatever your object is made of; some sealants that are great for wood might not work as well for chalk paint on glass or on metal pieces. 

Also check the drying or curing time, so you can estimate how long it will take you to complete your project.

Look online for video tutorials if you are curious about the application process for any sealants. Checking online reviews can be helpful, too. 

You can find all kinds of sealants for sale, but when it comes to sealing chalk paint these three types of sealant are the most popular.

Wax Finish For Chalk Paints

A wax sealant is the best choice for any chalk-painted furniture that you want to finish with an “antiqued” look.

Chalk paint sealed with wax beautifully transforms an ordinary piece of furniture to look like a treasured heirloom.

Wax sealant will give your surface a smooth, satiny finish. It does take a little more work to apply than other sealants. For best results, you should also reapply the wax sealant periodically.

To apply a wax sealant to your chalk-painted furniture, use a stiff paintbrush or a soft, lint-free cloth. Spread the wax evenly over the entire surface, in a thin layer.

Let this dry, then take a clean lint-free cloth and buff the wax finish. An old t-shirt works great for buffing.

After you’ve buffed the wax to a nice satiny finish, it can take anywhere from several days to several weeks for the wax finish to be fully cured.

During this time, be gentle with your painted piece to keep the wax finish free from scuffs or scratches. 

After the wax sealant is fully cured, you can apply a second coat if you want a little more protection for your piece. One coat is usually enough, though.

Different brands of wax will require different curing times. It’s always best to check the instructions on whatever brand you buy to get the best results.

Some brands manufacture furniture wax that is specifically formulated as a chalk paint sealer.

In addition, to clear finish wax sealants, you can buy tinted wax to add some depth to your finished piece.

Once your initial clear wax finish is completely dry, you can brush on a second coat of tinted wax in a dark or contrasting color. Let the darker wax sit for just a few minutes, then gently wipe it off with a clean, lint-free cloth. 

This method easily achieves a “distressed” or “antiqued” appearance on your chalk-painted piece.

The darker wax will highlight any carved or textured surfaces.

Wax sealants over chalk paint can make painted furniture look great, but it’s not the best choice for kitchen cabinets or anything that is in the bathroom.

In the kitchen, grease and tiny bits of dust and crumbs will show up noticeably on chalk-painted surfaces.

Humidity from being in a bathroom will eventually make the wax finish chalk painted piece look a little bit cloudy. For these rooms, using a polycrylic finish is a better choice. 

Spray Clear Coat For Chalk Paints

Just about any company that makes spray paint also makes various spray clear coats. Some even have products that are formulated especially for protecting chalk-painted surfaces.

When choosing a spray clear coat to go over chalk paint, you should look for one with a matte or satin finish.

A matte finish will work best if you want to preserve the lovely smooth, chalky look of your unsealed chalk paint. A satin finish will look similar to the finish achieved with furniture wax, with less work involved.

When using any spray sealant, you should work in a well-ventilated area, or outdoors. Be sure to have a drop cloth to protect your home or backyard from any overspray.

Be sure to shake the can of sealant vigorously to get the sealant thoroughly mixed. Spray your painted piece in light even coats, using a back-and-forth motion. 

You can apply a second coat after the first layer is completely dry. Two coats is usually perfect for optimal protection.

When your painted piece is drying, be sure it is in a place that will be free from wind and dust. Even the tiniest specks of dust that get blown onto your drying piece will show up in the sealant. 

Brush On Polycrylic Sealant For Chalk Paints

Polycrylic sealant or varnish is the most durable choice for sealing your chalk-painted projects. This is the best option for anything that will come in frequent contact with water, food, or people touching it on a regular basis.

This finish is also the easiest to clean. Usually, all you will need to do is wipe it down with soapy water. 

Polycrylic sealant is sold in cans similar to paint, and just like with a can of paint, you’ll need to stir it thoroughly before applying.

To keep the smooth appearance of your chalk paint, choose a sealant with a matte or satin finish. To apply, make sure your surface is clean and dry. Moving your paintbrush in one direction, brush on a thin coat of polycrylic sealant.

Make sure the sealant gets into any small spaces. Let it cure fully before applying a second coat. Different brands will require different curing times, so always check the label on the product you are using. 

The polycrylic sealant provides the strongest coating of the three sealants in this article. It’s very resistant to scratches and scuffing.

This is the best option for any chalk-painted surface that is going to come in frequent contact with other objects, or that will be handled by people. It’s ideal for table tops and cabinet doors.

Because polycrylic cures to a smooth surface, it can be easily wiped clean with just a damp cloth. 

Be sure to work in a well-ventilated area or outdoors when working with polycrylic sealant.

Protect your work surface with a drop cloth.  Your paint brushes should clean up easily with mineral spirits.

Polycrylic shouldn’t be confused with polyurethane sealant. Polyurethane is durable, but it has a stronger odor and has a tendency to yellow as time goes on.

Even a piece of indoor furniture sealed with polyurethane can yellow from sunlight shining through a window. 

Is There Any Reason to Not Seal Chalk Paint?

You don’t have to apply a seal coat to some chalk-painted items. Anything that isn’t going to be handled frequently, or that won’t come into contact with other objects probably doesn’t need to be seal coated if you don’t want to.

Smaller items such as vases, jars, picture frames, and desk accessories will still look nice if they haven’t had a sealant applied. If you have a chalk-painted piece of furniture, you could opt to apply a wax or polycrylic sealant only on the top surface where there will be frequent contact.

For any smaller chalk-painted item, you should apply at least two coats of paint if you aren’t going to apply a sealant. This will make the paint less likely to get scratched or to start chipping.  

Whether you choose to use a seal coat on your projects or not, chalk paint is a simple way to add distinctive accents to your home decor. Adding sealant gives an extra layer of protection to some chalk-painted objects and helps to ensure that they will look great for years to come. 

More Frequently Asked Questions About Top Coats for Chalk Paint

I tried to be as thorough as possible about the best top coats for chalk paint and how to apply them. However, there are a lot of questions readers have asked me about so I’ll answer them quickly for your below.

Can You Use Polyurethane Over Chalk Paint?

Yes. You can use polyurethane over chalk paint. Most of my recommendations are about using Polyurethane.

Can You Use Polyacrylic Over Chalk Paint?

Yes. You can use polycrylic over chalk paint. Most of my recommendations are about using poly products. The difference between polyacrylic and polyurethane is that one is oil-based and the other is water-based. Both well as a top coat for chalk paint.

Silhouette CAMEO + BB Frösch a Match Made in Heaven // GIVEAWAY

188 · Jan 12, 2016 · 477 Comments

Silhouette-CAMEO-and-BB-Frosch-GIVEAWAY

Peanut Butter & Jelly, Fred & Ginger, Mac & Cheese… Famous pairings.  We have a new one that I’m sure you’re going to fall in love with as well!

Silhouette & BB Frösch Chalk Paint Powder!

If you love to create in any way shape or form, you need to learn how these two play so well together. Here’s an example…

Silhouette-CAMEO-and-BB-Frosch-GIVEAWAY-1

This hot cocoa bar was created with BOTH Silhouette AND BB Frösch. The beautiful buffet was transformed with BB Frösch along with the fun Hot Cocoa sign. We used our Silhouette CAMEO to create the stencil for the sign along with the buffalo plaid fabric banner. WAY FUN!!

It’s super easy to make signs with Silhouette & BB Frösch.

You can download WhipperBerry’s Hot Cocoa sign design HERE.

Creating-Hot-Cocoa-Sign-with-Silhouette-CAMEO

I typically use the Silhouette Premium Vinyl when I’m making signs. You can also use the Stencil Material.

With this sign, started with a BB Frösch (more about BB Frösch in just a second) Faux Stained base. You can learn all about that HERE.

Hot-Cocoa-Sign-Stencil-from-WhipperBerry

The secret to a perfect stencil is to seal your stencil with BB Frösch Premium Finishing Wax before you paint. It helps seal any edges that might leak.

Then I paint away…

BB-Frosch-Hot-Cocoa-Sign

I distress the sign and then finish it with another coat of clear wax  to seal and protect my work. It gives the sign a beautiful sheen.

Silhouette-CAMEO-and-BB-Frosch-GIVEAWAY-3

This same BB Frösch / Silhouette sign was a part of a fun wedding recently. Witney Carson from Dancing with the Stars commissioned WhipperBerry  & BB Frösch to create a custom sign for the Hot Cocoa bar at the reception.

Witney_Carson_Wedding_1427-e1452490187527

Witney_Carson_Wedding_2729-e1452489585282

I’ve been working on signs like this for a while now, I LOVE THEM!!

FullSizeRender 2

Now, many of you are very familiar with the whole family of Silhouette cutting machines. Whether you have the Silhouette CAMEO, Portrait or the Curio… You know that you can design and create all kinds of fabulous goodies. If you didn’t know though, I’ve recently switched over to using a Cricut more often. I talk about the differences between Cricut vs Silhouette here. BUT…

What is BB Frösch Chalk Paint Powder?

BB Frosch Red Desk Makeover

Many of you may be asking, “What is BB Frösch Chalk Paint Powder?“

I’m so glad you asked! BB Frösch is an all-natural powder that you add to any flat latex paint and turn it into chalk paint. The reason why we all love chalk paint is the ease of use & manipulability .

Ease of use – NO sanding, stripping or priming.

Manipulability – You can manipulate all kinds of finishes like smooth and modern, faux stain – all the way to shabby chic.

What BB Frösch brings to the table is AFFORDABILITY & FLEXIBILITY!

Affordability – When you use BB Frösch Chalk Paint Powder vs. boutique brands of chalk paint, you cut your paint expense in HALF!

Flexibility – YOU get to select your paint color, any color of the rainbow! If you were to use one of the boutique brands, you have a limited color palette.

You can paint wood, metal, glass, fabric… We’ve painted pretty much anything from a kitchen all the way down to the rug.

Classy-Clutter-BB-Frosch-Kitchen

Classy Clutter BB Frösch Kitchen Makeover

BB-Frosch-Red-Desk-Makeover---Barn-Owl-Primitives

Barn Owl Primitives Red Desk Makeover

BB-Frosch-Chalk-Paint-Powder-painted-RUG

BB Fröshed Stenciled Rug – You can watch how we did that HERE!

You can find all kinds of BB Frösch inspiration on our Instagram account or Facebook.

Silhouette & BB Frösch

The beauty of BB Frösch is that it brings the fantastic Chalk Paint world into the crafting world as well. Before it was way to expensive to use chalk paint for anything other than painting furniture or cabinetry. The cost was way to prohibitive for small scale projects. NOT with BB Frösch!! You can get all of the magic of chalk paint without the high price tag. Couple that with any of the Silhouette products and you have a match made in HEAVEN!!

BB-Frosch-Signs

You can create custom signs like these or create your very own stencil to stencil your pillows, bags or rugs. Really the things that you can do with these two are LIMITLESS!!

GIVEAWAY

Now that we’ve wet your whistle… We would LOVE to help YOU get started on your very own Silhouette + BB Frösch project!

Silhouette-CAMEO-and-BB-Frosch-GIVEAWAY-6

Silhouette & BB Frosch have teamed up to GIVEAWAY a…

Silhouette CAMEO

+

BB Frosch Starter Kit

valued at $415

To one lucky person!

All you have to do to enter is follow the directions in the Rafflecopter box below.

a Rafflecopter giveaway

Simple Kid Friendly DIY Christmas Village

3 · Nov 28, 2015 · Leave a Comment

WhipperBerry-Christmas-Village

Who’s looking for something fun & simple to do this Christmas? Something even the kiddos will love!

This year, I’m looking to simplify. I want to simplify everything, the gift giving, the message, the decor. I want the Holidays to be more about the family and the true meaning of Christmas. Several years ago my family spent a month in Germany in December and we had a chance to enjoy a European Christmas that was simply magical. For the Germans the holiday is all about nature, simplicity & family. We fell in love! Ever since then I have wanted to create more of an old-world Christmas experience and this year is finally the year… I’m so excited!!

It’s all starting with my simple kid-friendly DIY Christmas Village. I wish I could take all of the credit for this, but I can’t. I was inspired by a friend of mine here in Lincoln from Little Red Cabin. She has this beautiful shop where she sells simple, yet stunning decor items for the home. She used to sell these Christmas Villages in her shop but she no longer carries them, therefore I had to make one of my own and of course put my WhipperBerry spin on them. It’s really quite simple, you only need a few items.

Christmas Village Supplies

WhipperBerry-Christmas-Village-5-1

2×2 Select Pine Board

BB Frösch Chalk Paint Powder

Behr Premium Plus Sample Pots FLAT – Mink & Decorator White

Krylon Premium Metallic Spray Paint – Copper Foil

DIY Christmas Village Instructions

The trickiest thing with this project is getting access to a saw. If you don’t have a saw, hit up your neighbors or family members. I’m sure someone has something you can use. I have a Rigid 10 inch Sliding Compound Miter Saw and it works like a dream for this project, but it isn’t the only saw that will work.

How-to-cut-WhipperBerry-Christmas-Village

All you need is to be able to cut at an angle for this little village. There is no rhyme or reason when you’re cutting the little buildings. I made the little buildings roughly 3-4 inches tall, with all different types of angles for their roofs. I mostly used a 30-40˚ angle when cutting to tops of my buildings.

WhipperBerry-Christmas-Village-4

The only one that needs to be exact is the larger building in the center that you place your stencil on. For that one I used a 35˚ cut and made sure both sides of the building were the same hight.

Sand your blocks if needed. My wood cut so nice that I didn’t really need to sand them at all.

Now it’s time to paint your village. I knew that I wanted to keep some natural wood, Faux Stain some building with BB Frösch & then spray some of the buildings with copper spray paint for a metallic accent. I’ve see others use puffy paint for these kinds of projects but I liked the spray paint instead. If you have kids creating these then you can use puffy paint instead because they love it.  I wrote a post about how to make your own puffy paint too!

WhipperBerry-Christmas-Village-colors

Faux Staining & Painting with BB Frösch Chalk Paint Powder

This to me is my favorite part… I LOVE working with Chalk Paint! I use BB Frösch Chalk Paint Powder when I’m crafting. Typically Chalk Paint is too expensive for crafting, but not when you use BB Frösch. I mix the chalk paint powder with a sample pot of Behr Premium Plus Flat paint from Home Depot. The BB Frösch turns the regular paint into CHALK PAINT for a fraction of the cost.

It’s so easy to mix-up your chalk paint, here’s a quick video showing you how to do it.

For the White buildings, I just brush on the Decorator White BB Frösch Chalk Paint and because it’s has the all-natural mineral additives, it dries super quick! I don’t really bother to wax these guys, they don’t really need it. Plus, I like the look of the flat finish.

Now for the Faux Stain… You use this technique that I created when you want to see the natural wood come through. Traditionally people would use Stain for this, but I use BB Frösch because it’s so much easier. You can visit this post on WhipperBerry to learn how to Faux Stain.

Faux-Stain-BB-Frösch-Chalk-Paint-Powder

I love how the faux stain turns out for this Christmas Village. I use the color MINK from Benjamin Moore for most of my Faux Staining. YES, I use the sample pots of Behr at Home Depot, but they have the color recipe for the Benjamin Moore colors in their computer. Just ask for Benjamin Moore Mink and they will be able to look it up.

Copper Buildings

Now for the copper, I use Krylon’s Premium Metallic Spray Paint in Copper Foil. It’s super simple and adds that little pop of copper that is so hot right now.

WhipperBerry-Christmas-Village-6

Just spray paint a couple of your buildings for that accent color.

Spray-Paint-some-sections-of-the-Christmas-Village

Stencil

Now for the stencil…I’ve used a Swiss Cross, but you can use whatever you like. A star, snowflake, heart… Whatever you come-up with really. I cut my stencil out of vinyl on my Silhouette CAMEO but you can either buy a pre-made stencil or create one of your own.

I put the two pieces of cut wood together and then place the stencil on top.

Stenciling-WhipperBerry-Christmas-Village

Then paint with your desired color. ALSO, don’t forget that you can use both the positive and negative parts of the stencil. That way you don’t have to waste anything!

IMG_5997

Peel-off the vinyl once it is dry and voilá… You have a stylish decorated building for your set.

WhipperBerry-Christmas-Village-1

You can also drill a hole into one of your buildings and add a star. I just glued a star ornament from Michaels to the top of a dowel and it fit perfect with the village.

I love this simple decor that is kid friendly. So many Holiday decorations are breakable and we’re constantly following the kiddos around telling them not to touch… With this simple Christmas Village they can touch and play with it all they want!

+ This was originally a guest post on 30 Handmade Days +

  • Go to page 1
  • Go to page 2
  • Go to page 3
  • Go to page 4
  • Go to Next Page »

Primary Sidebar

Heather from Whipperberry
Hello... my name is Heather and I'm the creator of WhipperBerry a creative lifestyle blog packed full of great recipes and creative ideas for your home and family. I find I am happiest when I'm living a creative life and I love to share what I've been up to along the way... Come explore, my hope is that you'll leave inspired!

Footer

  • Privacy Policy

Copyright © 2023 · Seasoned Pro