• Skip to primary navigation
  • Skip to main content
  • Skip to primary sidebar
  • Skip to footer

Whipperberry

WhipperBerry • Your Home For Creative Inspiration

  • Home
  • Recipes
    • Starters
    • Easy Weeknight Dinners
    • Main Dish
    • Salads
    • Side Dish
    • Soups & Stews
    • Desserts
    • Breakfast
    • Miscellaneous
  • Tutorials
    • Creative Crafts
    • DIY Decor
    • Fabric Crafts
    • Food How-To
    • Jewlery
    • Paint Projects
    • Paper Art
    • Party Styling
    • Photography and Graphic Design
    • Silhouette
  • Holidays
    • Easter
    • Mother’s Day
    • Father’s Day
    • 4th of July
    • Halloween
    • Thanksgiving
    • Christmas
    • Valentine’s Day
  • Gift Ideas
    • Gifts For Everyone
    • Gifts for Dad
    • Mother’s day
    • For The Girls
    • For The Kids
    • Teacher Gift Ideas
    • Christmas
  • Printables
    • Holiday
    • Gift Idea
    • LDS Primary
  • Travel
  • About
    • Terms
  • Contact
  • Nav Social Menu

    • Facebook
    • Instagram
    • Pinterest
    • RSS
    • Twitter

Chalk Paint Powder

BB Frösch Chalk Paint Powder Workshops

8 · Feb 18, 2015 · 7 Comments

+ This post brought to you by WhipperBerry & BB Frösch Chalk Paint Powder +

BB-Frosch-Chalk-Paint-Powder-Workshops

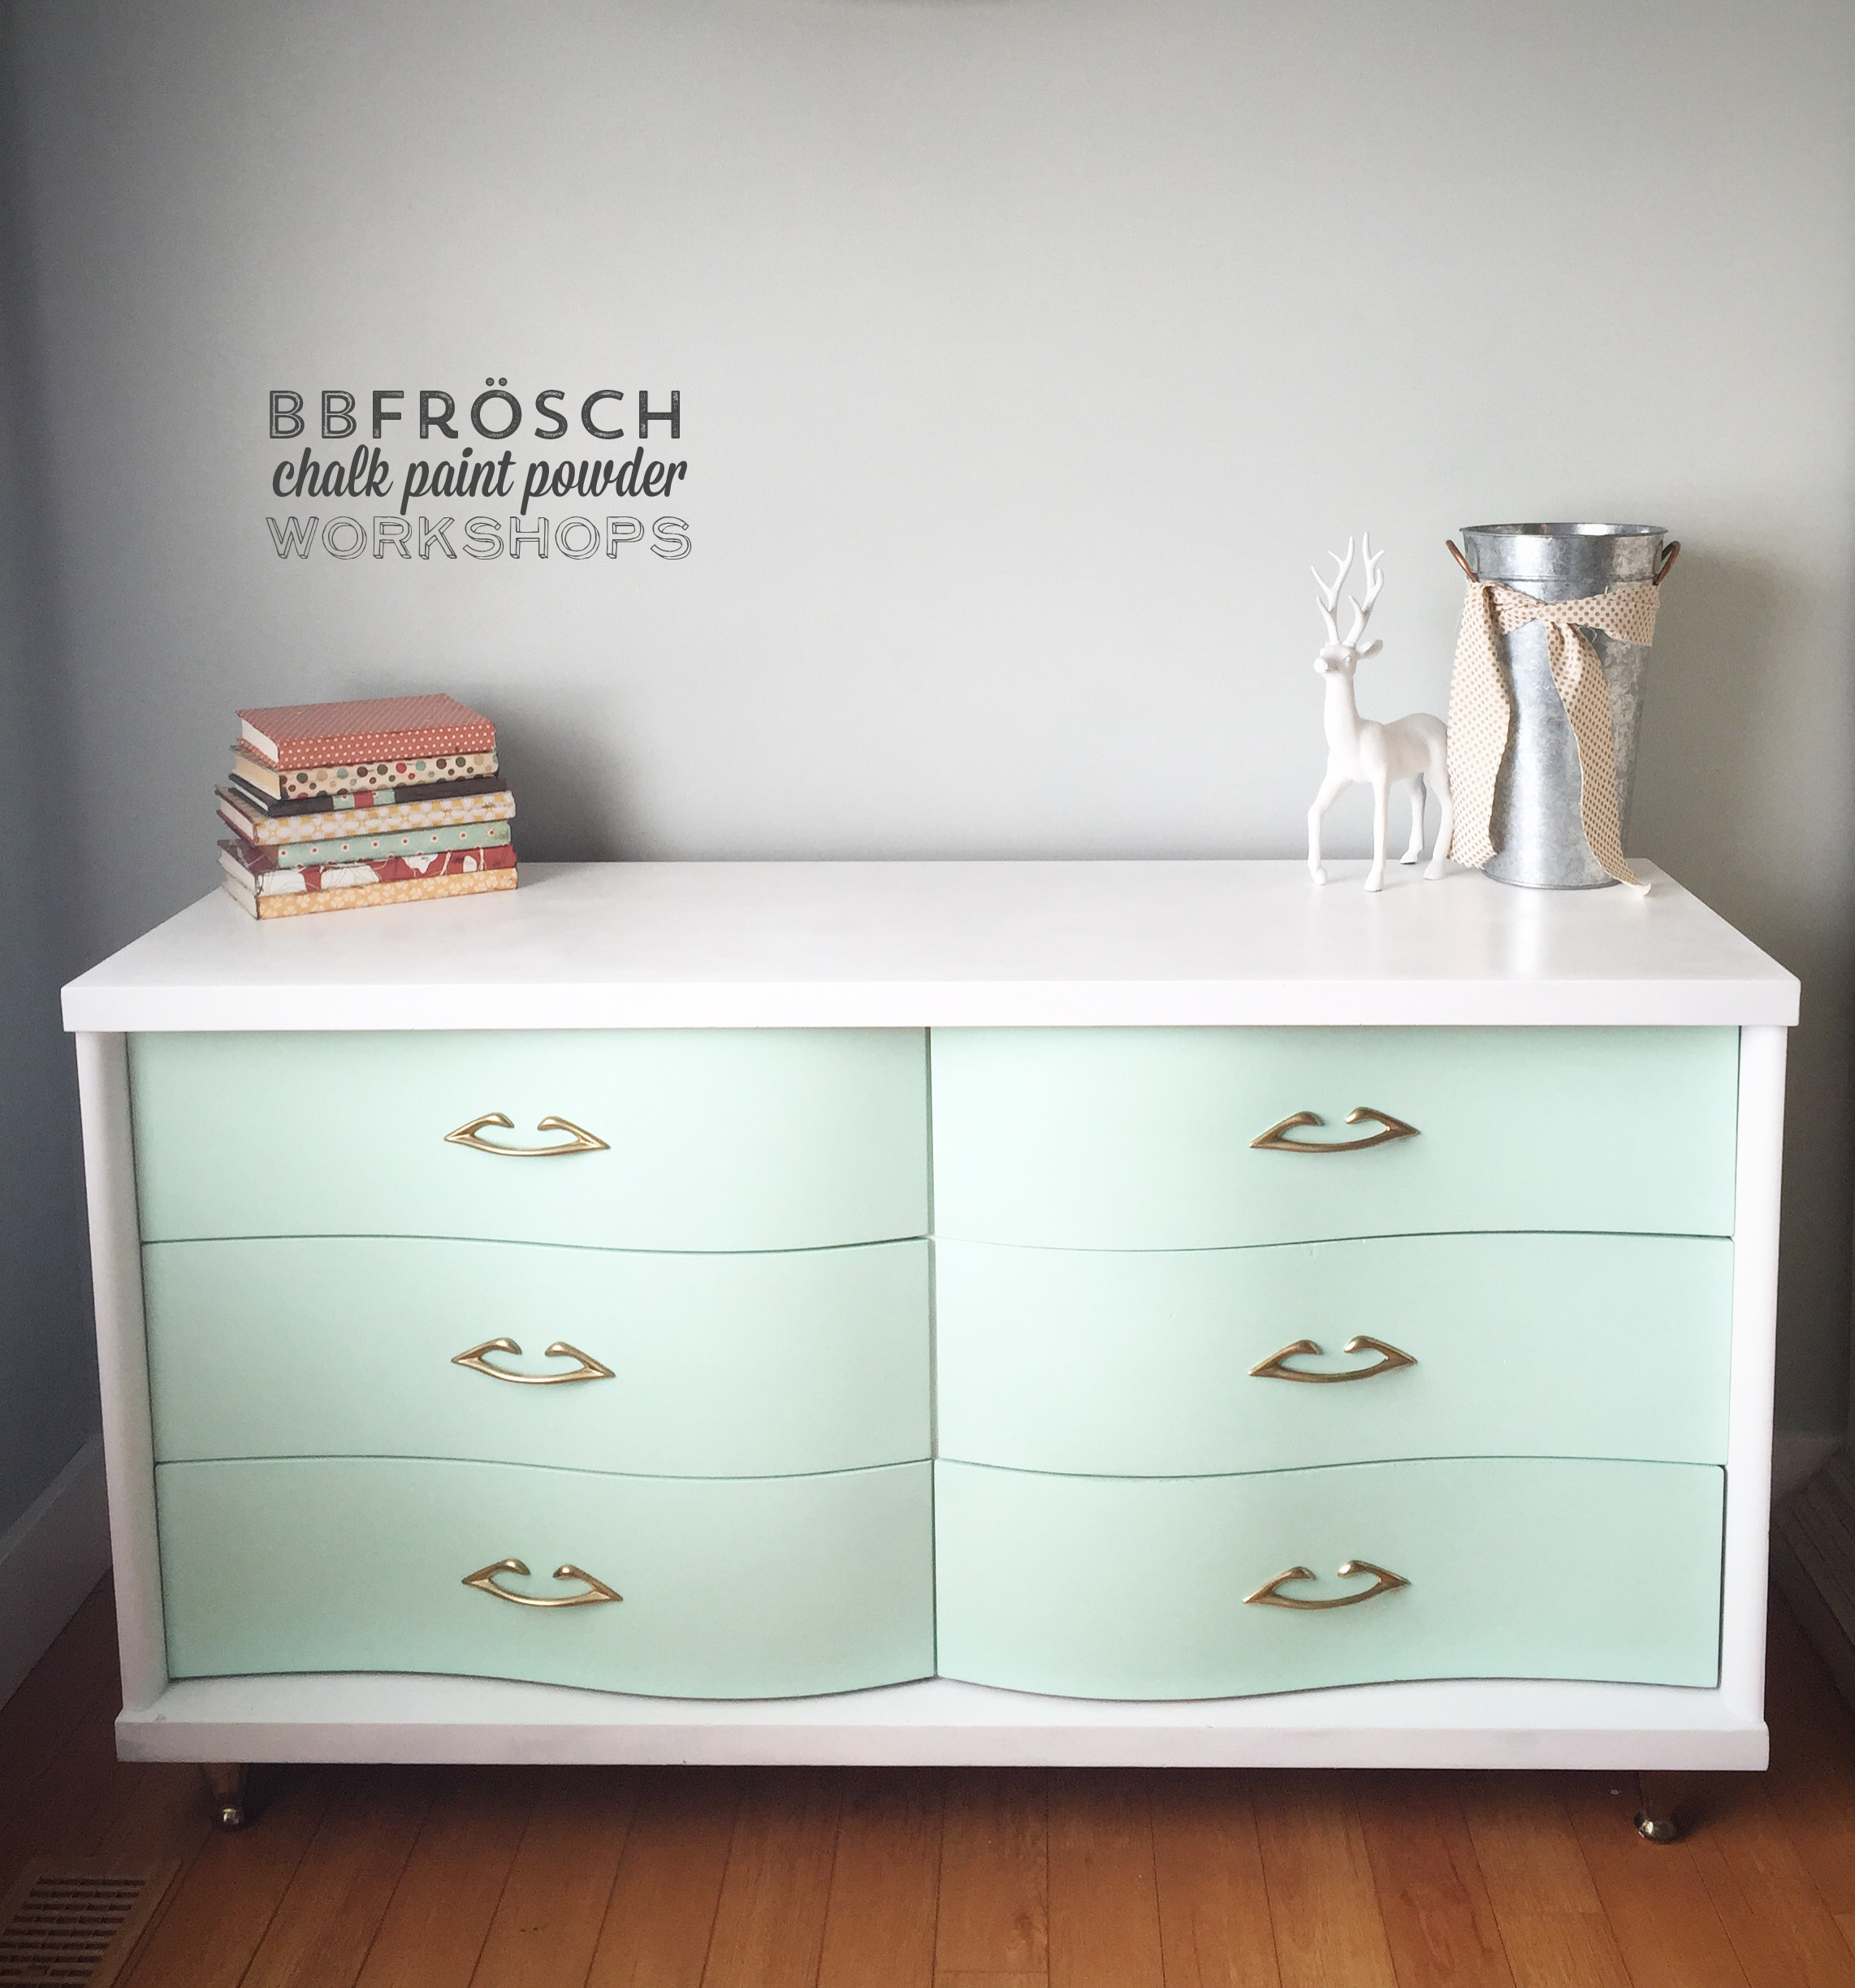
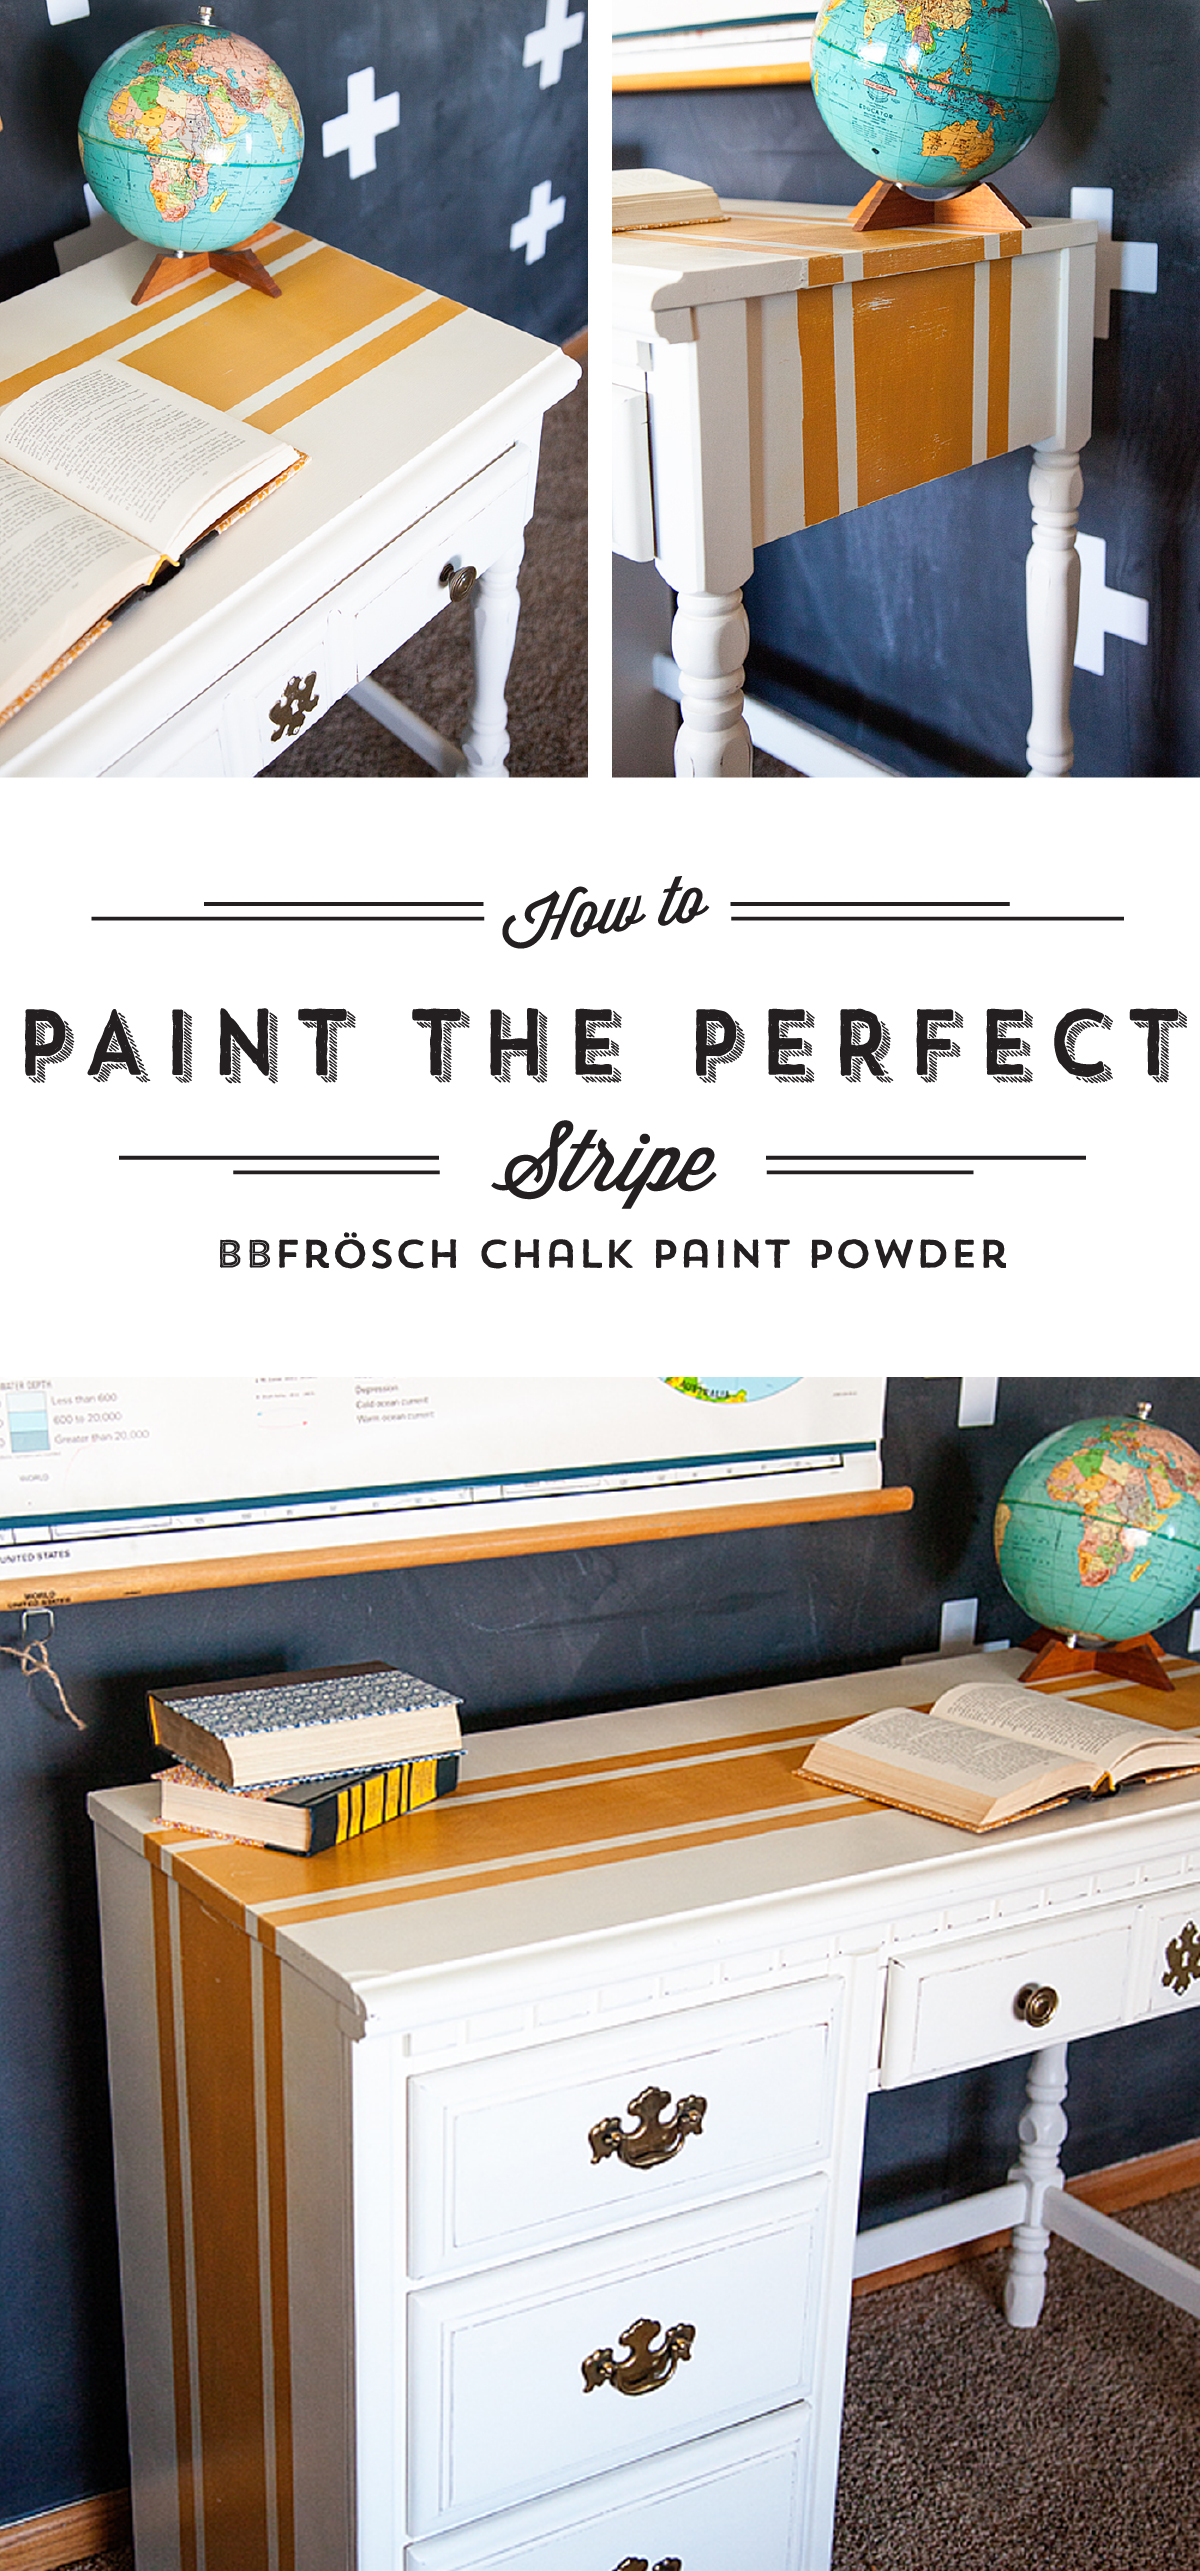
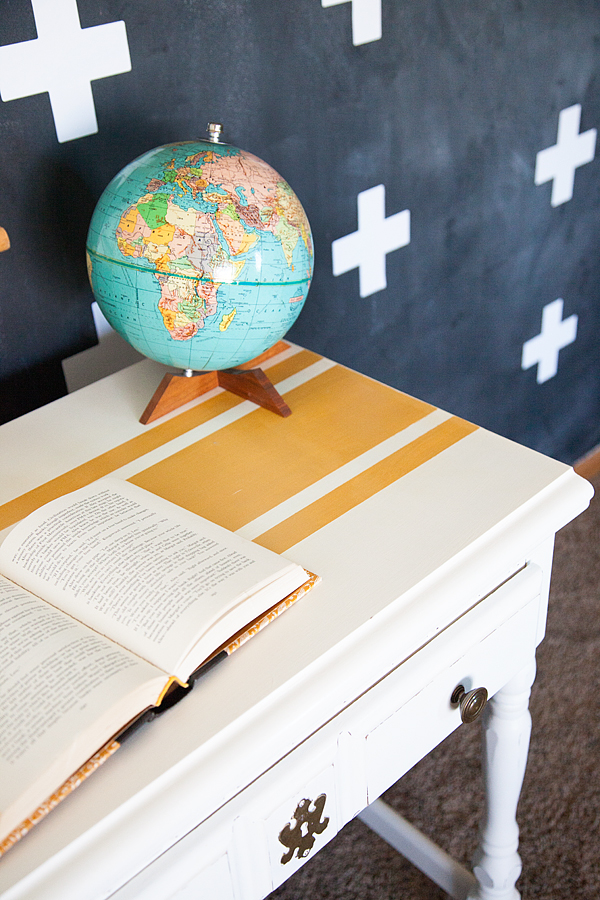
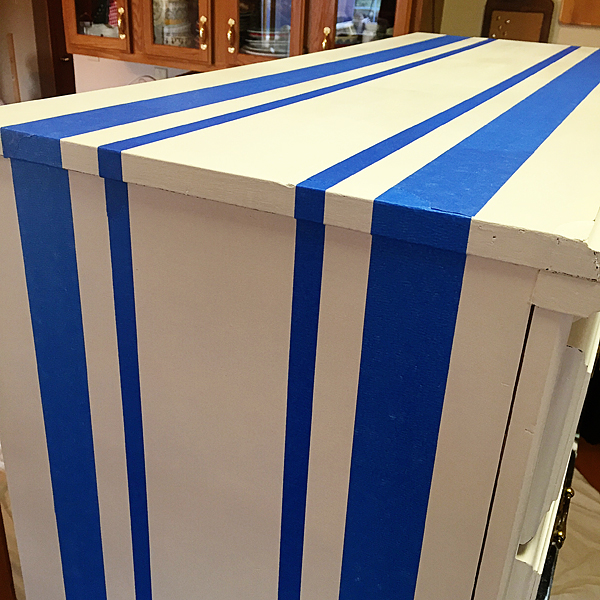
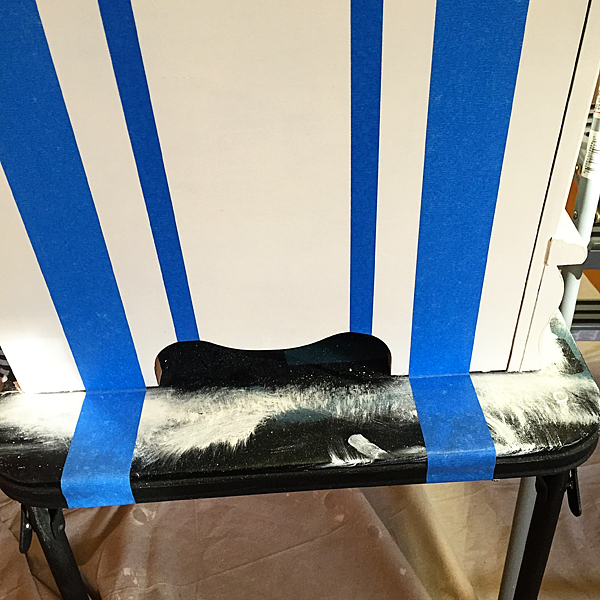
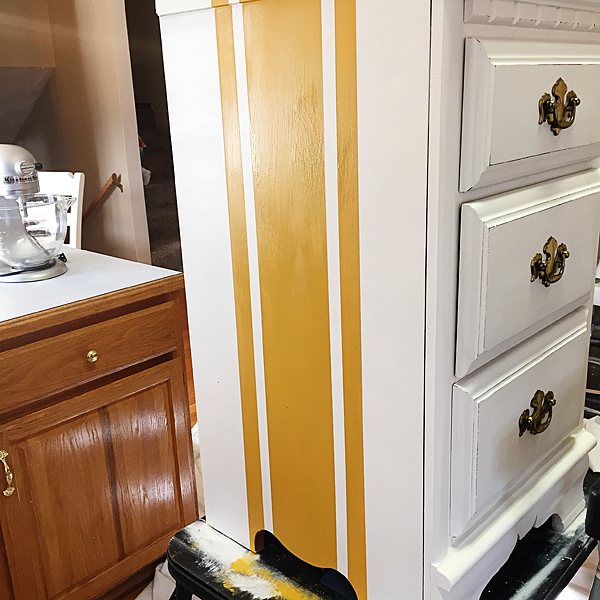
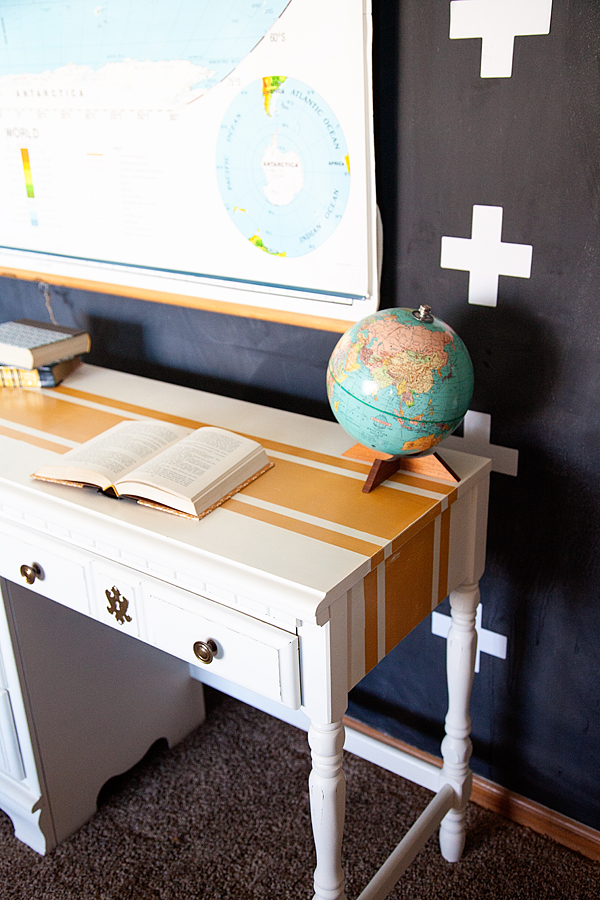
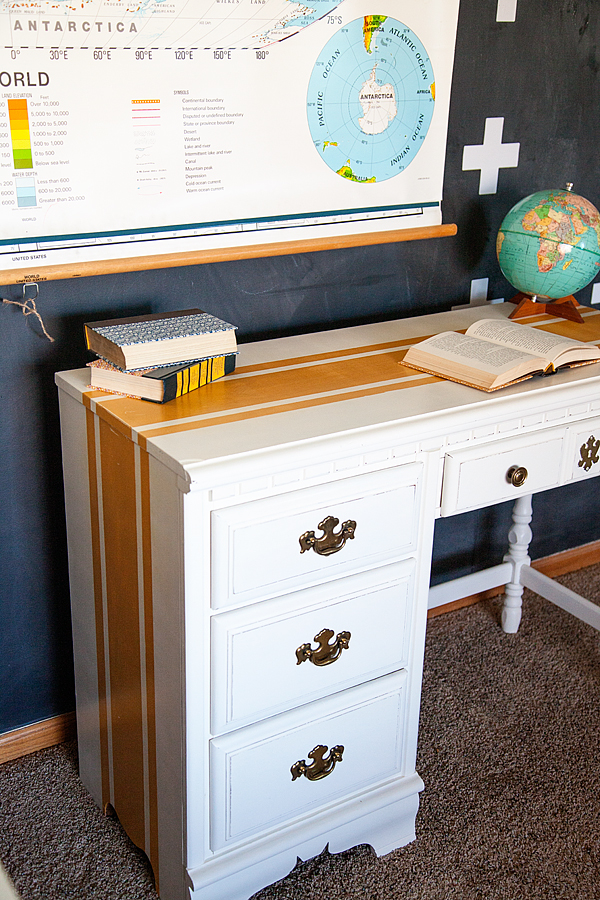
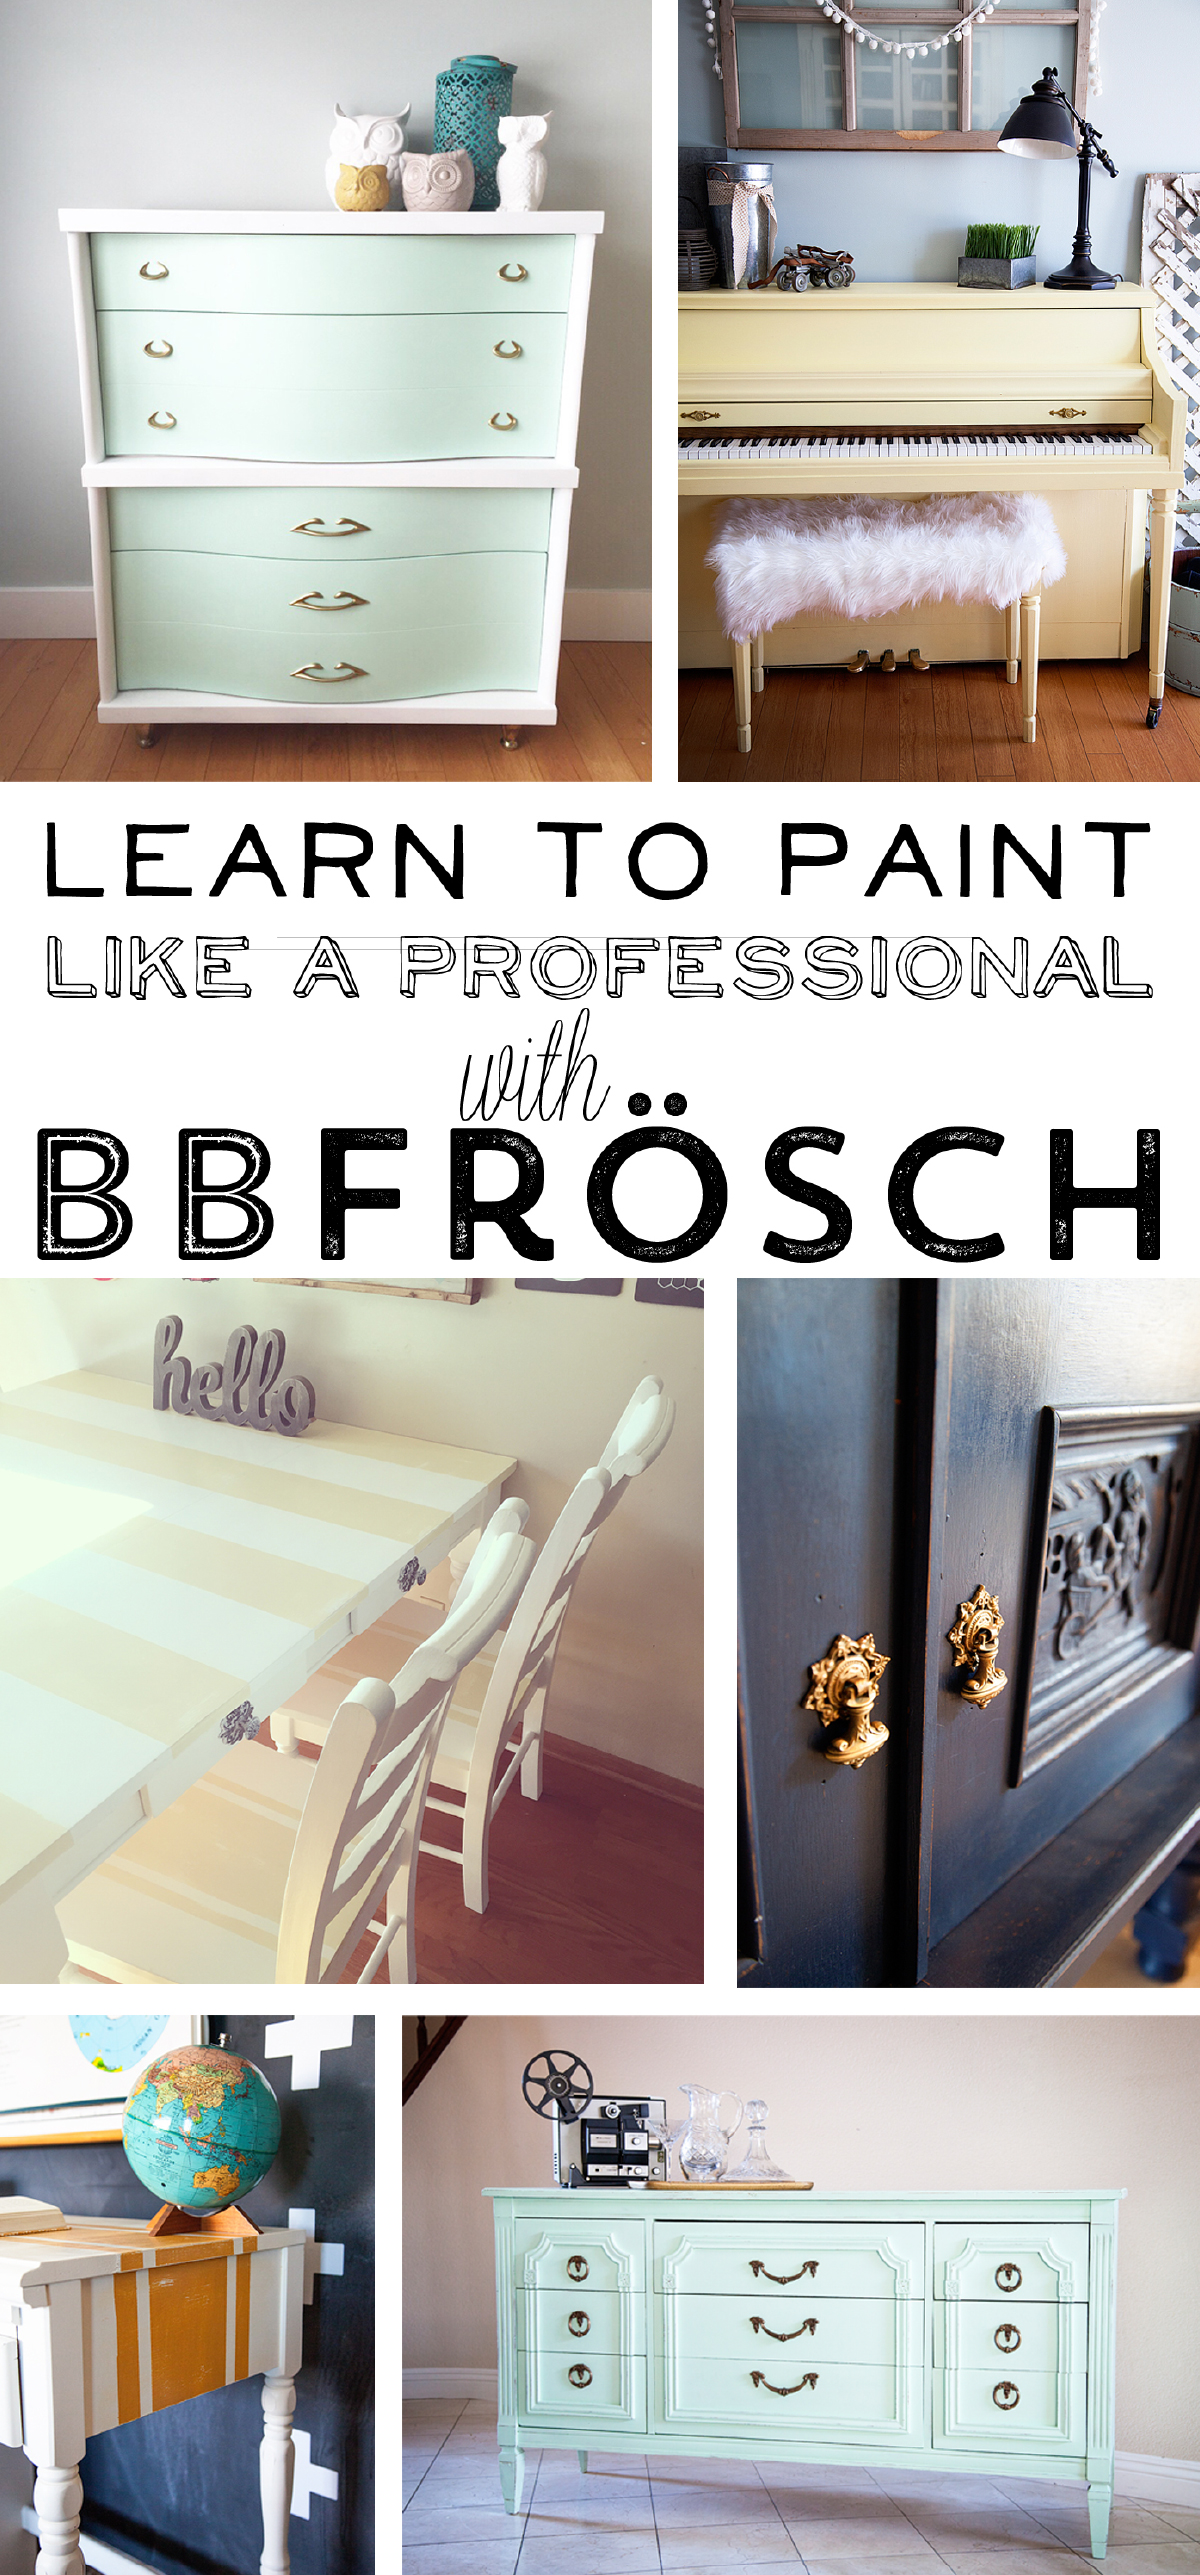
This piece painted by BB Frösch Master CorieAnn a.k.a Chalk it Up Paint Gal 

I’m sure you may have noticed things have been a little quiet around here lately. There has been a very good reason for that… Together with a good friend of mine, Kristin Smith, we have launched a new line of paint products that we are pretty proud of.

Workshop outline-5

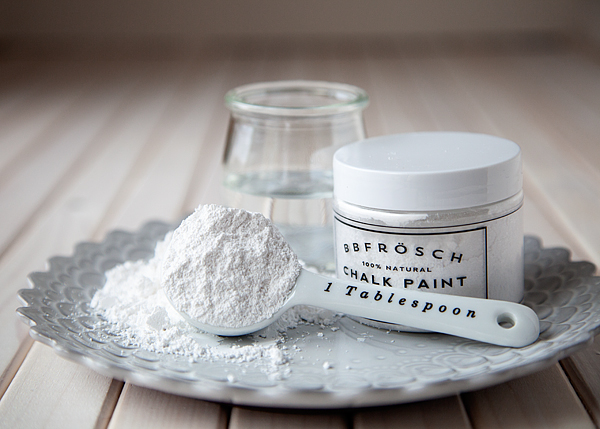
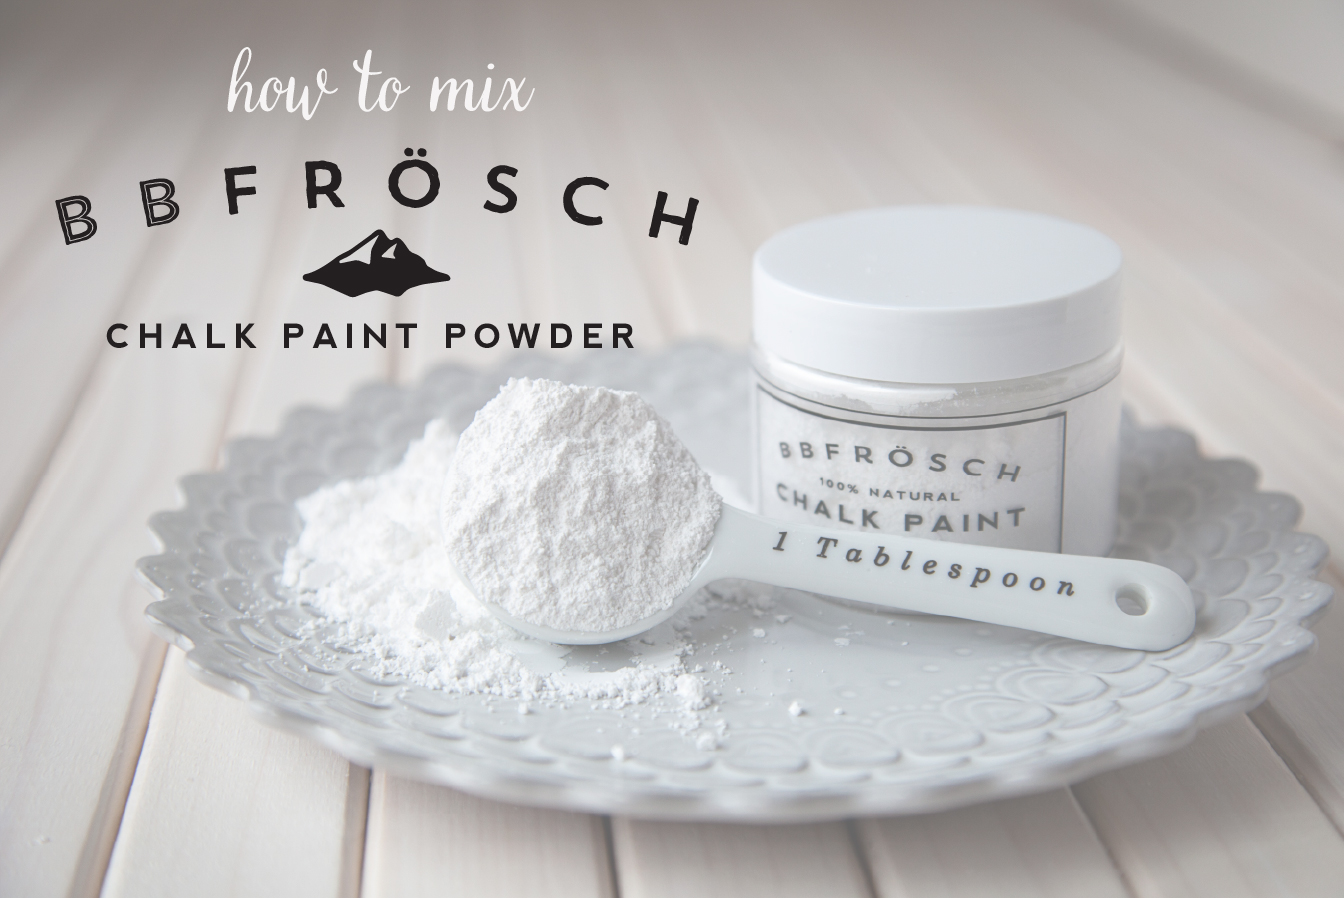
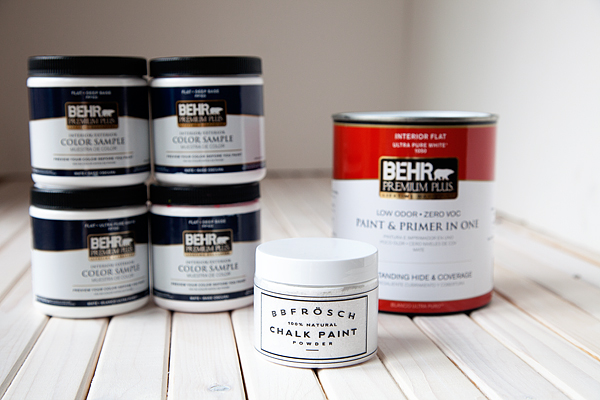
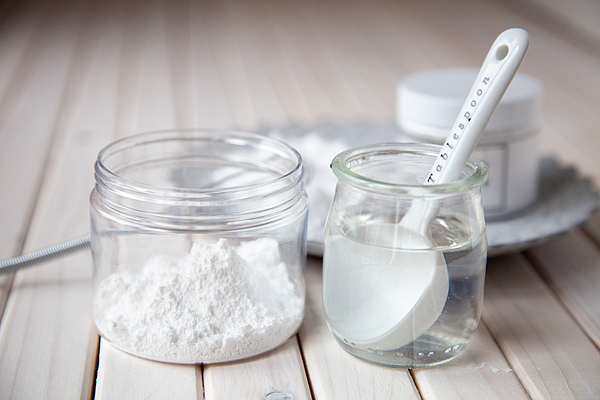
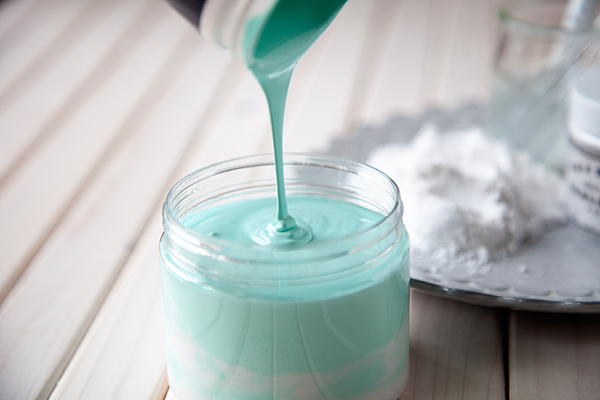
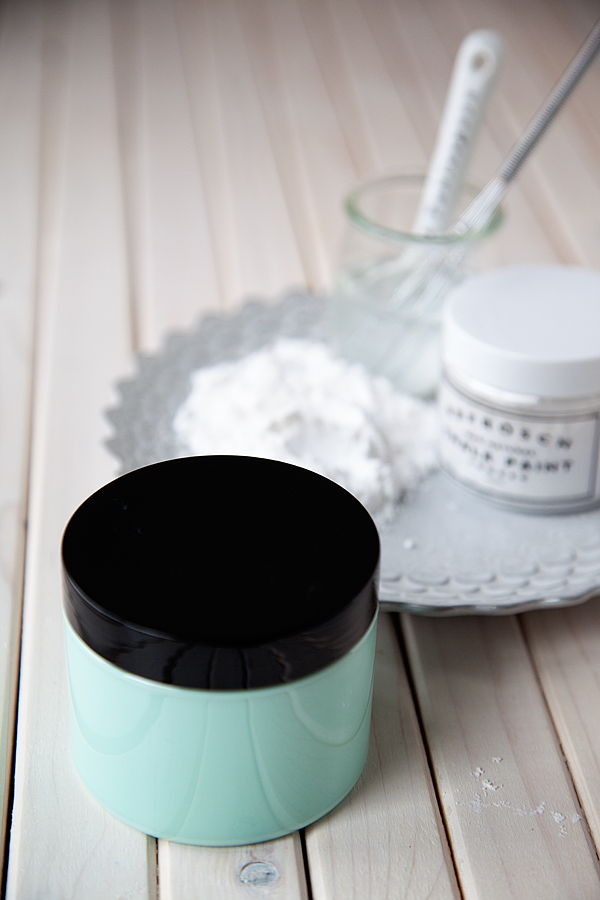
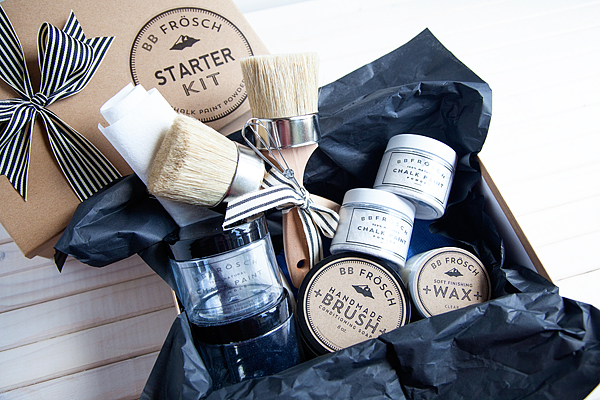
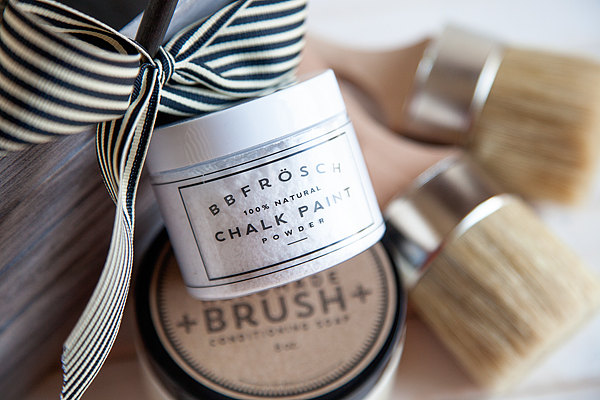
It’s called BB Frösch Chalk Paint Powder and it’s a game changer in the chalk paint world. It’s a more economical way to get the fantastic chalk paint finish!

Why is Chalk Paint fantastic?

  • NO Sanding, chemical striping or priming of your piece
  • It dries SUPER quick so you can finish your project FAST
  • It’s taking paint back to basics without all those nasty chemicals
  • Chalk paint is very durable and very forgiving

Those are all pretty fantastic features, but wait… it get’s better!

BB Frösch is roughly HALF the cost of traditional Chalk Paint not to mention YOU get to pick your color!

As you can tell, I love BB Frösch. There are some other great chalk paints though. I wrote about the top 5 chalk paints here.

Those are all pretty good reasons in my book, but I may be biased. Here is my BB Frosch chalk paint powder review.

Another thing that I LOVE about BB Frösch is that we are here to teach you how to turn your old tired pieces into masterpieces. Kristin and I have been teaching BB Frösch workshops in several different markets AND teaching others how to be BB Frösch Masters. BB Frösch Masters have been trained to teach our workshops as well.

Learn-to-paint-like-a-pro-with-BB-Frosch

We have workshops regularly available in,

Las Vegas, NV

St. George, UT

Lincoln & Omaha, NE

Phoenix & Mesa, AZ

Southern California

Highlands Ranch, Fort Collins & Castle Rock, CO

For information on class in these areas, email me heather @ whipperberry.com  and I can directed to the BB Frösch Master in your area.

AND, I will be hitting the road soon to VIRGINIA!! I’m super excited about this trip. I will be painting with some dear friends Kristi from Barn Owl Primitives & Linda from Craftaholics Anonymous

Here are the details…

Barn-Owl-Workshop-Promo

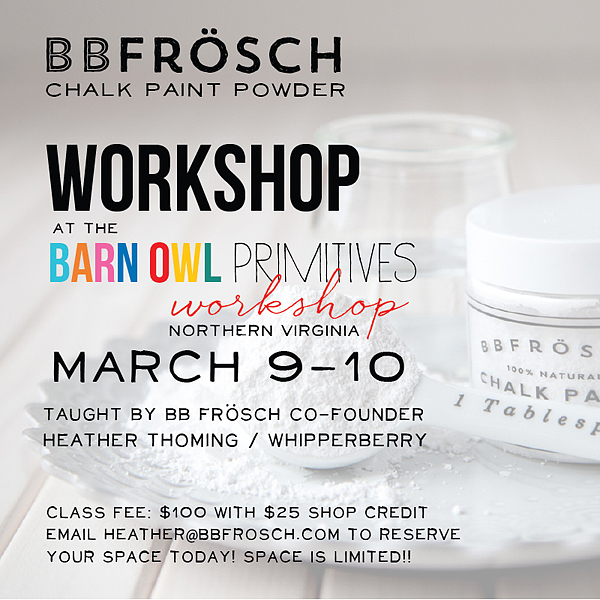
These workshops are March 9th and 10th  in Leesburg, Virginia. It’s close to Washington D.C. and we even have some ladies driving in from Pennsylvania for the workshop.  We only have one more space for March 9th and a couple more for the 10th, so if you’re interested… Sign-up QUICK! Email me heather @ whipperberry.com and I’ll give you all the deets.

Craftaholics-Workshop-Promo

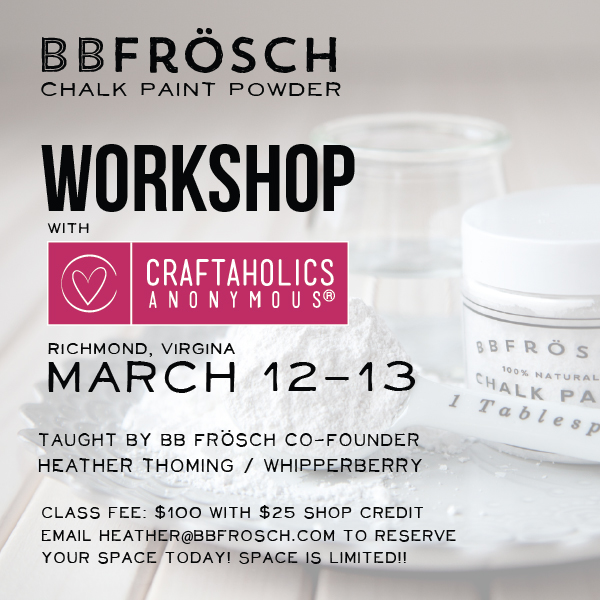
These workshops are March 12th and 13th with Linda in the Richmond, Virginia area. These workshops are filling up FAST so email me heather @ whipperberry.com to reserve your space TODAY!!

BB Frösch Workshop Details

BB Frösch Workshops are a hands-on technique class. We keep the classes small so everyone gets one-on-one time with the instructor. You will learn all about the magic of BB Frösch Chalk Paint Powder and then practice several techniques to then use to dress-up your outdated pieces, transform your kitchen/bath OR just do some fun craft projects!

We recommend that you wear old clothing or bring an apron as this is a hands-on class. We don’t want to BB Frösch your outfit!

BB Frösch Masters Program

If you are passionate about painting and would like to learn more about the BB Frösch Masters program email me and we can chat! heather @ whipperberry.com

How to Paint the Perfect Stripe

11 · Jan 26, 2015 · 4 Comments

How-to-paint-perfect-stripes-with-BB-Frösch

Raise your hand if you have ever tried to paint a stripe on furniture or any project.

Now, raise your hand if your painters tape miserably failed you!

No matter what they promise, I have yet to get a perfectly clean line from the current painters tape out there. Believe me, I’ve tried them ALL. Yes, some work better than others, but 100% of the time I will have bleeding issues. Nothing can kill your day worse than your tape failing you.

I have discovered the secret… Want to know what it is?

How to Paint the Perfect Stripe

First, I use BB Frösch Chalk Paint Powder for all of my painting projects. You can use other types of paint for furniture that may be better than chalk paint for longevity, but I don’t mind painting things every few years.

Workshop outline-5

Why? Well, I LOVE it!

You don’t have any prep work… No sanding, priming or striping. Sometimes it can be good to use stencils but not this time. I get all of the wonderful properties of chalk paint, plus I get to select my own colors! Also, it’s a fraction of the cost of boutique brands of Chalk Paint. Yea, total SCORE!!

You can learn more about BB Frösch Chalk Paint Powder HERE

Here’s your checklist…

+ Select your piece

I found mine at a local Eco Store. It’s an old desk that they had pulled out of a sorority house. Kinda funny!

BB-Frösch-desk-makeover-WhipperBerry

The desk was nice solid wood, just with some cosmetic issues. All it needed was a little paint love.

+ Select paint colors

I’m using Toasted Marshmallow and Saffron Strands, both are stock paint colors from Behr Paint found at Home Depot. When I’m painting with BB Frösch Chalk Paint Powder, I use Flat paint without primer if available. I’ve been using Toasted Marshmallow quite a bit. It’s a nice warm white that I’ve fallen in love with. I used it on my kitchen table makeover as well. I’ll be sharing that one soon!

WhipperBerry-Mustard-Striped-Desk-with-BB-Frösch-Chalk-Paint-Powder-11

+ Paint base color

Paint the base color of your piece and take it all the way through your finial finish.

WhipperBerry-Desk-Makeover-with-BB-Frösch

My typical routine when painting furniture is..

+ Paint one light layer followed by one to two more coats if I’m wanting a nice smooth modern finish.

+ Next, using a sanding block, I lightly sand my entire piece creating a nice SMOOTH finish. Some people have been turned off from chalk paint because they don’t like a rough finish. What they are missing is that you don’t have to have a rough chalky finish. Just with a light once over with a sanding block will get you that smooth feel we all love.

+ Then I vacuum the dust and give it a once over with a damp (not wet) cloth to remove any dust.

+ Finally, I wax my piece. This is quite frankly my FAVORITE PART! This is when your piece starts to come alive.

If you are planning on distressing your piece, do that now before you add your stripes. Also, I HIGHLY recommend waxing your piece as well BEFORE you start working on your stripes. I use BB Frösch Premium Finishing Wax. It is a revolutionary wax that cures within minutes rather than weeks!  That’s a huge deal in the chalk paint industry. No one wants to work hard on a piece and then have to let it sit for a month (with an armored guard) trying to keep hands off while the wax fully cures.

The wax is the final process to help the paint fully adhere to your piece. By waxing first you won’t have to worry about the tape accidentally pulling paint off your piece when you remove the tape. Again, no matter how gentle the tape says it will be with your piece… My experience is that without the wax, it will still pull paint off.

+ Tape the stripes

This is where it gets FUN!!

Make-sure-to-tape-well

Decide how you want your stripes to appear and tape your piece. For this one, I wanted a large center stripe with two thinner stripes on either side. I would love to say that I’m one of those people who measure things to the T, but I don’t. I eyeball it. I tend to trust my eye more than I trust my math skills!

Think about your piece, notice the curves and lines and plan accordingly.

Tape-your-piece-to-create-stripes

My desk has a curvy cutout on the side of the desk, so I used that as my guide for creating my stripe pattern.

Side note… I paint most of my pieces on top of a card table. It’s just so much easier to for me to tackle those hard-to-reach spots at the bottom of the piece just as well as the easy-to-reach spots at the top.

+ Paint another layer of the base color

Now, all you need to do is paint another light layer of your base color just along the tape lines.

Paint-a-layer-of-your-base-coat-over-your-tape-for-clean-lines

This will seal the edge of the tape and any bleeding that will occur will just blend right in! Let this layer dry and prepare your stripe color.

+ Paint your stripes

Now all you have to do is paint your stripes!

Finished-Stripes

 For this piece, I painted two coats of the Saffron Strand stripe. I wanted the color to be nice and rich. Sometimes, you will want a more subtle stripe and you will only need one coat.

Once I have finished painting, I let the paint settle for a few minutes, then I carefully pull the tape while it is still slightly wet. This will help avoid accidentally pulling the dry paint off when removing the tape.

Don’t sit around too long though. Paint that is treated with BB Frösch Chalk Paint Powder dries pretty quick. So, I would only wait for 5 minutes or so.

For this desk, even though I wanted a nice deep color for the stripe, I still wanted it to be distressed. I again used my trusty sand paper, for this I use a 400 grit, fine sand paper. With flat fingers or a flat hand, I work with my sand paper to get the distressed look that I like.

Don’t ever use the tip of your pointer finger to roughly gouge your piece. At that point, you are just scratching your piece (not naturally distressing) and that’s not the look you are going for… I promise. Unless you want your piece to look like your son took his soccer cleats to it, then by all means… scratch away!

WhipperBerry-Mustard-Striped-Desk-with-BB-Frösch-Chalk-Paint-Powder-10

+ Final Wax

Now, all you have to do is your final wax with the BB Frösch Premium Finishing Wax. Wax the surfaces where you added your stripes and you are finished!

WhipperBerry-Mustard-Striped-Desk-with-BB-Frösch-Chalk-Paint-Powder-4

WhipperBerry-Mustard-Striped-Desk-with-BB-Frösch-Chalk-Paint-Powder-5

Isn’t it FUN?!

Now that I’ve discovered the secret, I want to stripe EVERYTHING!!

I will keep myself in check though… maybe.

Disclaimer // This is not a sponsored post, I was not paid by any company for this piece. However, I  am the co-founder of BB Frösch Chalk Paint Powder along with Kristin Smith and we would love for you to try our product!

How to Mix BB Frösch Chalk Paint Powder

21 · Dec 16, 2014 · 5 Comments

how-to-mix-BB-Frösch-chalk-paint-powder

BB Frösch Frösch Frösch Chalk Paint Powder has been gaining in popularity and I thought I would post how to mix this BB Frösch magic in a jar!

If you want to skip the paint powder and just get chalk paint instead, I wrote a post about that here.

Really quick… BB Frösch Chalk Paint Powder turns FLAT latex paint into CHALK PAINT!!

YEA… SUPER COOL! Read my review of BB Frosch here.

It’s 100% natural so you can skip all the harmful chemicals that come with popular DIY methods. Yep, those chemicals are nasty buggers, you don’t want any of that caustic stuff around your family for sure!

What’s cool about Chalk Paint you ask…

Well, you can skip all of that yucky prep work like, sanding, stripping & priming… That’s all the stuff I HATE about painting.

The issue for most folks is that traditional forms of Boutique Chalk Paint are really expensive. You’re going to pay anywhere from $38-$42 dollars for a QUART of paint. With BB Frösch Chalk Paint Powder, you can mix up your own quart of Chalk Paint for roughly $21! 

You can’t beat those savings.

Another fantastic benefit with  BB Frösch Chalk Paint Powder is that YOU get to pick your color!

It’s super easy to mix with your favorite high-quality FLAT finish Latex paint. Let me show you…

Get BB Frosch Here

How to mix BB Frösch Chalk Paint Powder

We typically recommend that you mix only 8 ounces (1 cup) at a time. This is primarily to avoid waste. With Chalk Paint, your paint goes a lot further so you will be surprised at how little you really need for your project. I typically do most of my medium to small-size projects with just a sample pot from Home Depot!

One jar of Chalk Paint Powder will mix up one quart of paint OR 4 sample pots of paint.

Workshop outline-1

Here is what you need to do for 8 ounces (1 cup) of Chalk Paint…

Workshop outline-5

You first need to constitute the powder before you add it to the paint.

Add 2 heaping tablespoons of powder to a separate container. You don’t ever want to mix this dry directly into your paint. You will end up with a clumpy mess!

Workshop outline-7

Next, you need to add 1 tablespoon of water into the powder.

Workshop outline-9

Now all you have to do is stir your water into the powder. You are looking for a “donut glaze” consistency. Think Krispy Kreme… You know what I’m talking about!

If your mix is too pasty,  just add a few more drops of water until you get that “donut glaze” consistency that is perfect.

Workshop outline-11

At this point,  all you have to do is pour your paint right into your container.  You will see the white Chalk Paint Power which is great… Place the lid on your container and shake for 20-30 seconds or until you can’t see any more of that white paste.

Workshop outline-15

Now you’re all mixed up and ready to PAINT!!

Workshop outline-17

It’s really that EASY!!

Click here for more tips and tricks on how to use BB Frösch Chalk Paint Powder!

Get BB Frosch Here

BB Frösch Frösch has a full line of Chalk Paint products. They even have a fantastic Starter Kit that gives you everything you need to get started for less than a couple of boutique Chalk Paint brushes! Visit the shop for all the details.

BB Frosch Products-30

DIY Chalk Paint Halloween Apothecary Jars with BB Frösch Chalk Paint Powder

5 · Oct 29, 2014 · Leave a Comment

+ Guest Post by BB Frösch Master Jonelle Morris from Chalk-a-Lot +

Glass-bottles-after

EEK! It’s almost Halloween! I’m not one for the guts and gore of the holiday, but I do love me some fun Halloween decor. I have wanted to make an apothecary display for a few years now, but never got around to it thinking, “oh that will take too long,” or “that will be too expensive,” or “I wouldn’t make it look good.”

Well, since I have joined the BB Frösch team, I have been trying all sofrts of things I never thought I would do. I set out to good ol’ Michaels to see if they had any glass bottles I could turn into something amazing, and as luck would have it, they did!

Glass-bottles-before

And the best part, each one was a $1.29 or under—score! But my luck didn’t run out there. Most of their Halloween stuff was 50-60% off, so therefore I made my whole display with what I purchased at Michaels, plus a couple small things I already have for….drumroll….$25! Double score!

I wanted some of the bottles I made to be black, and thought I would put the “BB Frösch bonds to virtually anything” claim test. I started out with my plain glass bottles and put a quick few coats of BB Frösch chalk paint with some leftover black paint I had from another project. BB Frösch isn’t just for furniture!

BB Frosch Products-26

And when I say quick, I mean quick. Three coats on those four bottles took me about 25 minutes, drying time included. I then took a wet rag to wet distressed the tops and corners of the bottles to create a more authentic vintage look. I chose to leave the other bottles clear, so I could put some water with food coloring inside.

Apothecary-display

Then, because I am cheap 🙂 I searched for free vintage apothecary labels online and found some awesome options! I printed them off on regular paper and Modge Podged them under and on top of the label.
I used the labels found here:

Two Crafty Paws

Love Manor

The Graphics Fairy

For some other wonderful options you can go here:
Lil’Luna

Soap Deli News

The Graphics Fairy

Pen & Paper flowers

The Idea Room

Then to complete my display, I printed a beautiful, but slightly creepy picture of an old Victorian house (that was most likely haunted) on burlap.

Frame

Yes, you read that right, I printed on burlap, as in on my home inkjet computer.

Print-on-burlap

Amazing! You can find this easy to follow tutorial on Domestically Speaking.  It seriously took me about 10 minutes. The graphic I used as well as several other vintage halloween images can be found on The Graphic’s Fairy.

There, I did something I never thought I could do, and quickly and inexpensively! Happy Halloween!

  • « Go to Previous Page
  • Page 1
  • Page 2
  • Page 3
  • Page 4
  • Go to Next Page »

Primary Sidebar

Heather from Whipperberry
Hello... my name is Heather and I'm the creator of WhipperBerry a creative lifestyle blog packed full of great recipes and creative ideas for your home and family. I find I am happiest when I'm living a creative life and I love to share what I've been up to along the way... Come explore, my hope is that you'll leave inspired!

Footer

  • Privacy Policy
  • Crafts
  • Food
  • Gifts
  • Holidays
  • Home
  • Mom Life
  • Recipes
  • Travel

Copyright © 2026 · Seasoned Pro