UPDATE //
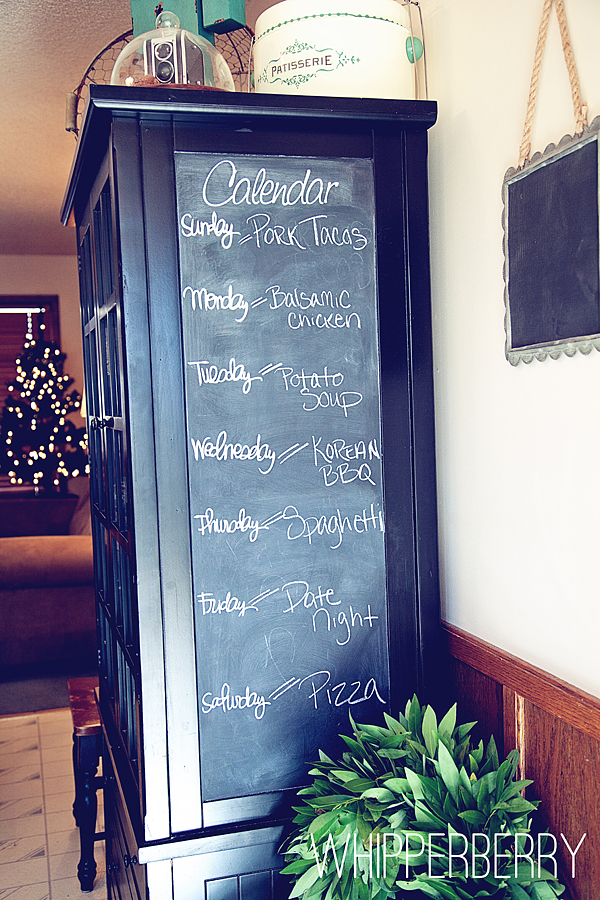
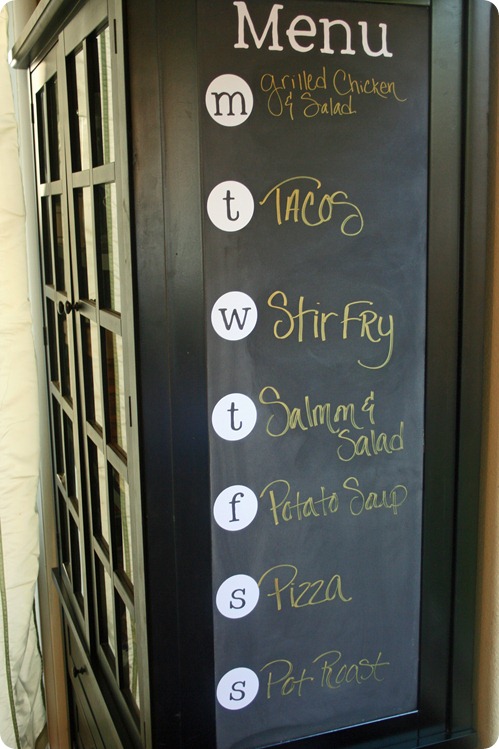
I have since redone my chalkboard menu now that I have a Silhouette and this is what the final menu now looks like…
Sooooo much better!! Below you will find the original tutorial on how to make a chalkboard menu for your family.
The other day I was reading Jen’s post from Tatertots & Jell-o about her lovely Chalkboard Chargers and it got me thinking.
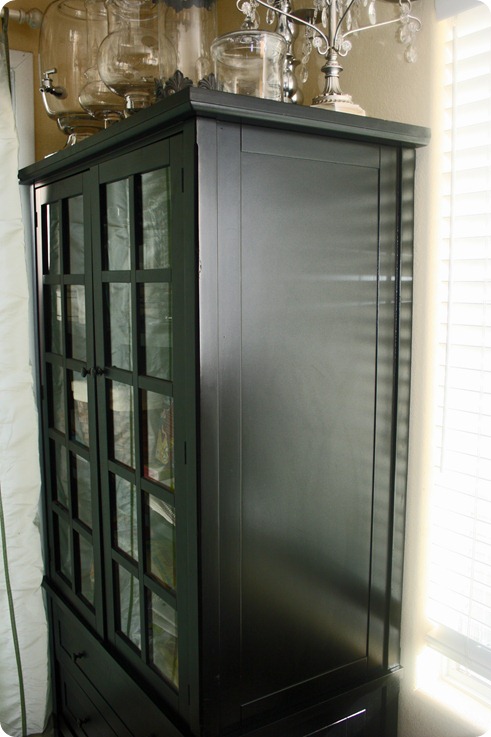
I have a beautiful black armoire in my kitchen that was screaming for some chalkboard treatment.
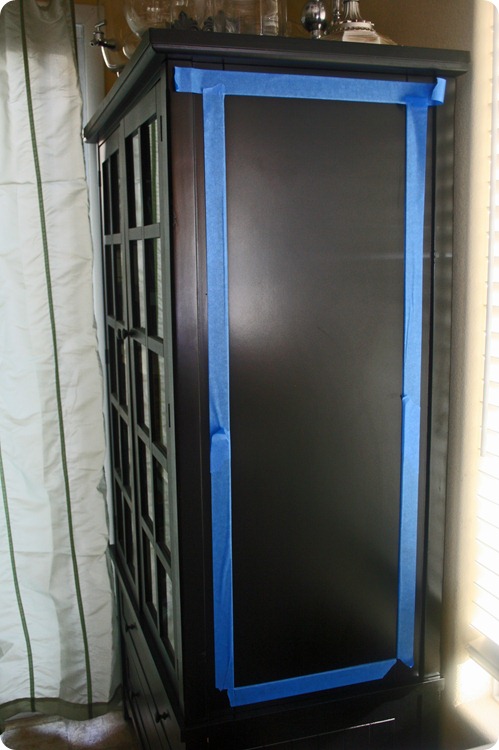
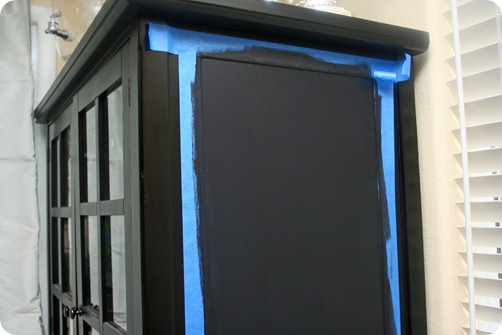
Can’t you just see it? A lovely menu board on the side! So I got to work. First I washed the side to prep it for the paint. I then taped off the section that was going to be my work space.
Now we are ready to paint!
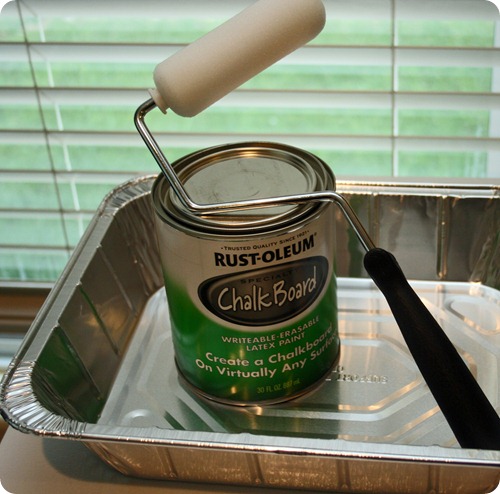
I used Rust-Oleum black chalkboard paint, and a small smooth surface roller. I painted three coats and let it cure for three days.
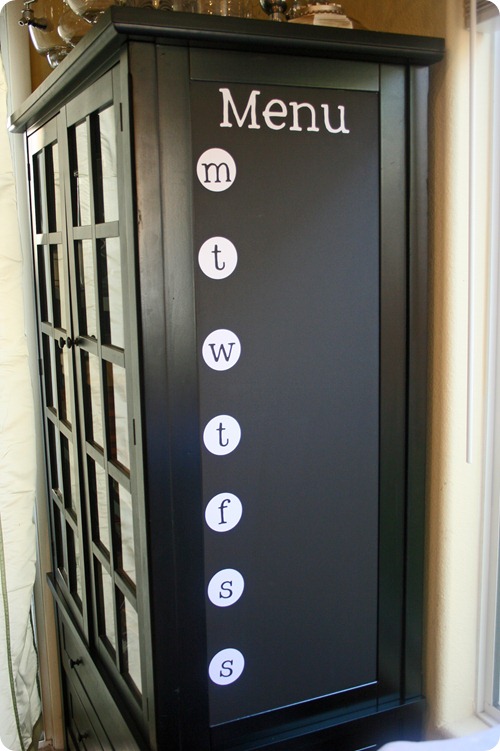
On the third day I cut vinyl lettering on my Cricut, (I used the Doodletype cartridge) and applied it to the surface before I seasoned the chalkboard.
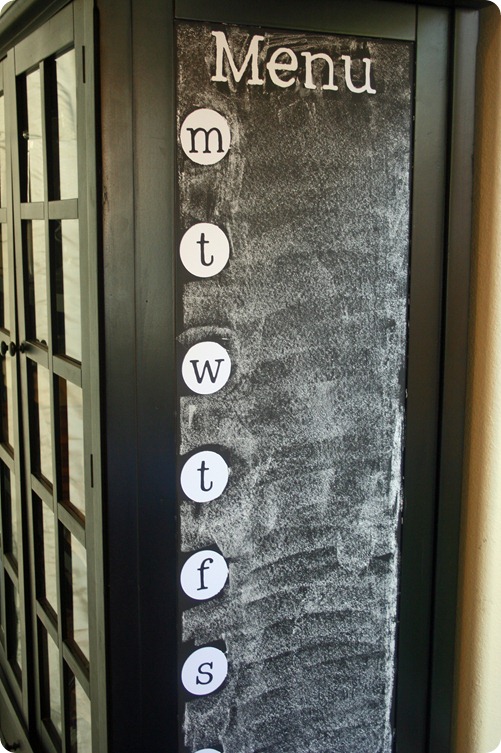
Next, and very important, you must season your new chalkboard. To do that, all you need to do is take a piece of chalk, lay it on it’s side, and gently color the entire surface of the board.
Erase the chalk and voila, your new chalkboard is ready to use.
