Back to School // Hello fabulous Whipperberry readers! Jenn here from Clean and Scentsible! I am back today with a cute and easy teacher gift idea for you. Yes, unfortunately {or fortunately for some of you!} it is almost back to school time!
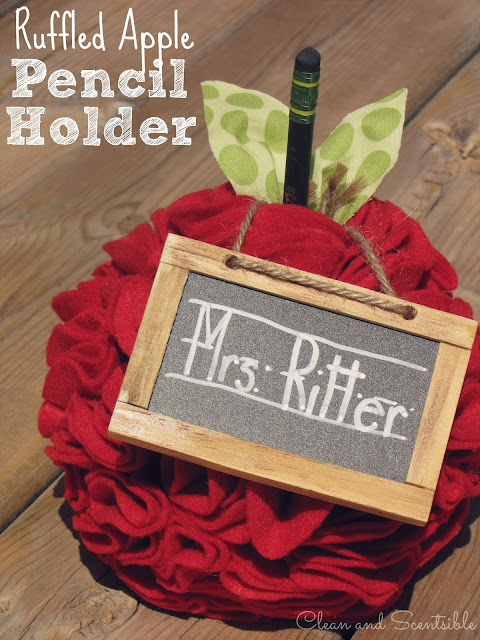


One of my favorite projects from last year were these ruffled pumpkins. With just a little change of color and a few different embellishments, this idea was easily able to be adapted into this ruffled apple pencil holder.

Materials
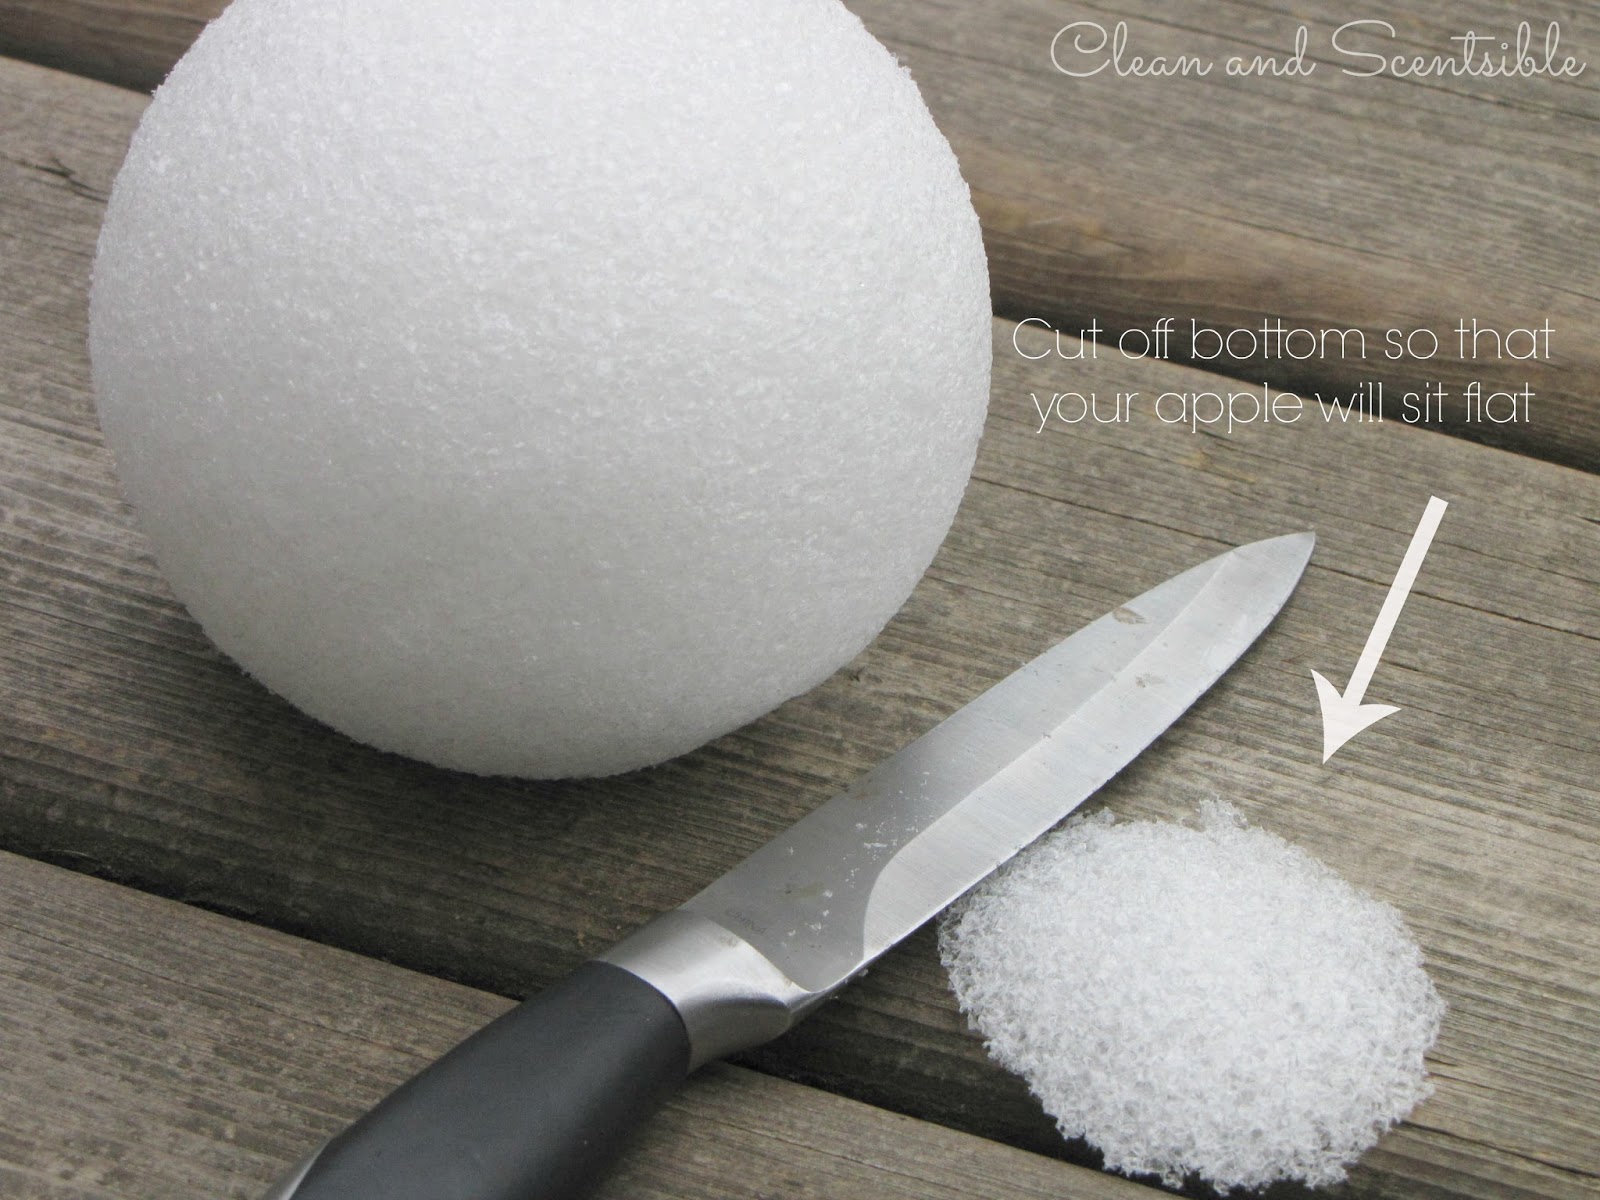
- 4 inch Styrofoam ball
- straight pins
- red felt {I used approximately 10 8.5 x11 inch felt sheets}
- green material or felt scrap {big enough to cut two leaves}
- hot glue {optional}
- pencil or pen
- 3 inch punch or other circular shape to trace for the felt circles
- mini-chalkboard {optional}
To Do
- Cut out or use a paper punch to create a circular template that is approximately 3 inches in diameter. If you are using the 8.5 inch felt sheets like I did, you may want to trim this down just a bit so you can get 3 circles across.
- Cut out your felt circles. I'm not sure exactly how many I did but definitely over a 100. Place 2 or 3 sheets of the felt together when you are cutting so you can cut out multiple circles at one time. It's a great mindless activity to do while you are watching your favorite television show! 🙂
- Using a knife, cut a small sliver off the bottom of the Styrofoam ball so that it will sit flat.
- Using a pen or pencil slightly larger than your pencil width, poke a hole through the center of your ball. {this should run the full diameter of the ball}.
- Take a felt circle, fold it in half and then fold it in half again. Place a straight pin through the pointy part of your felt circle and pin it to your Styrofoam ball. Start at the top of the ball and work your way down and around the ball overlapping your circles as you go.

- The last row of pins on the bottom of the apple were a little loose and a couple of them were starting to pop out so I hot glued one more circle over top to cover the pins up and ensure that they stayed in place. It gives it a much more finished look as well.
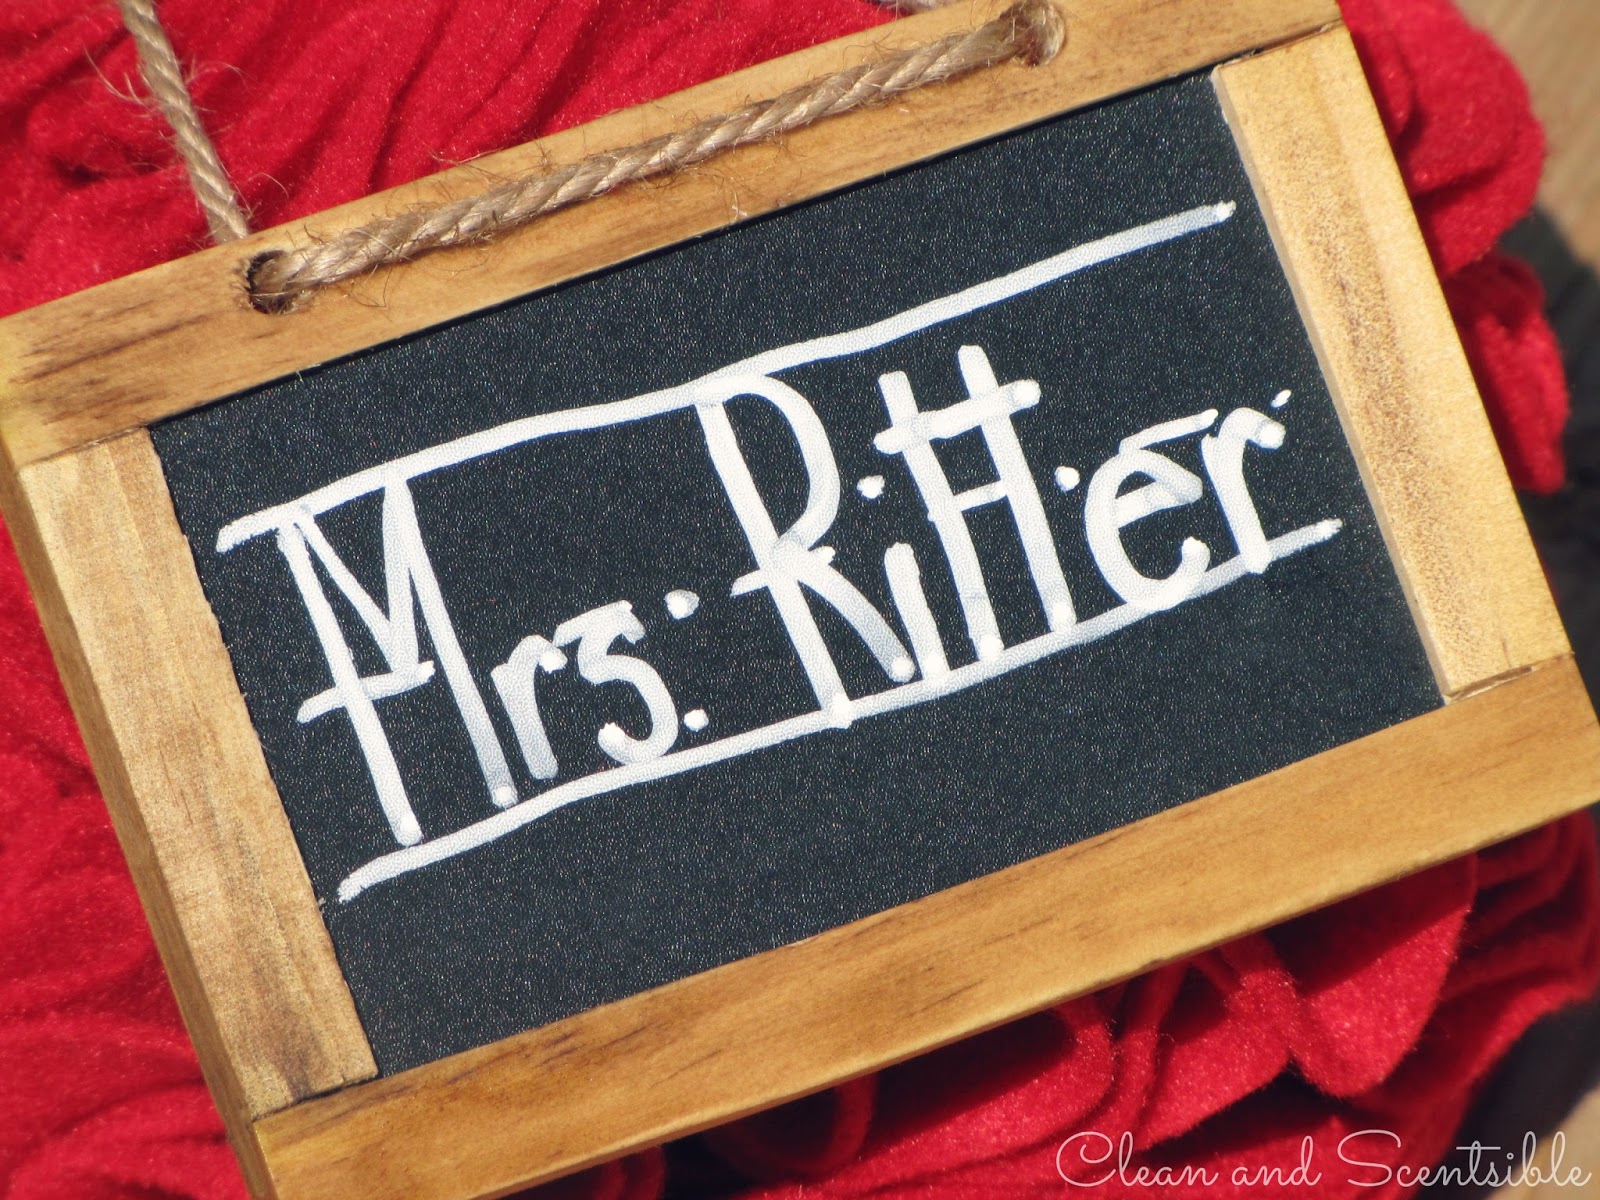
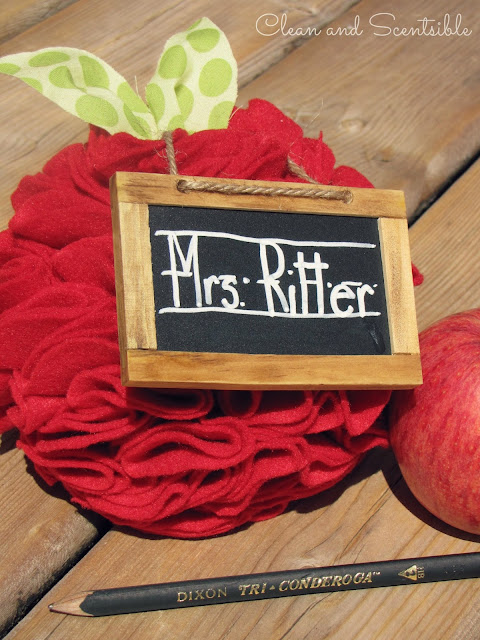
- I have had these mini-chalkboards lying around in my stash forever and I can't remember where I purchased them from. I just used one for my picnic caddy and had one left over. I just used a little stain to darken up the wood and added the teacher's name with a chalk pen. I used another straight pin to attach it to the apple.
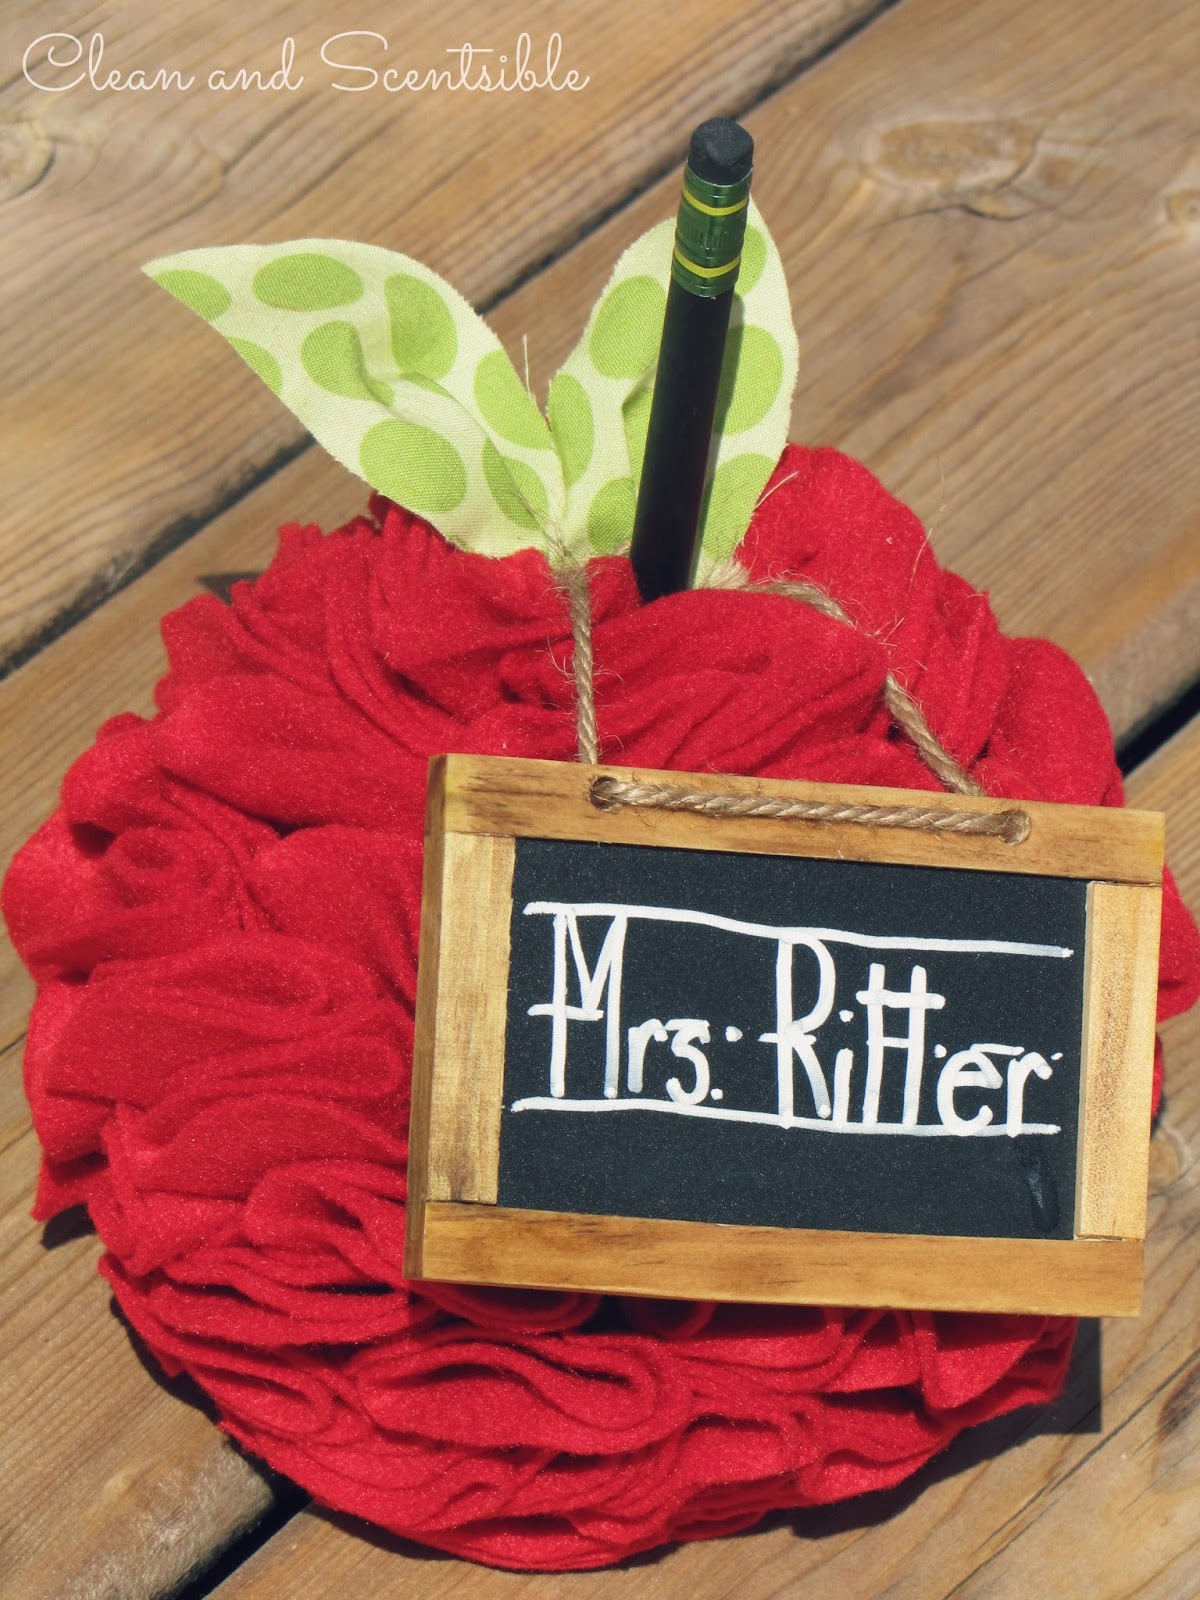
- Cut out a couple of leaf shapes from the green material and pinch at one end. The "pinch" will let it stand up more. Pin to your apple near the top.

- Now just add your pen or pencil and you are all ready to go! It's a unique and functional gift for your kiddos to give to their favorite new teacher!
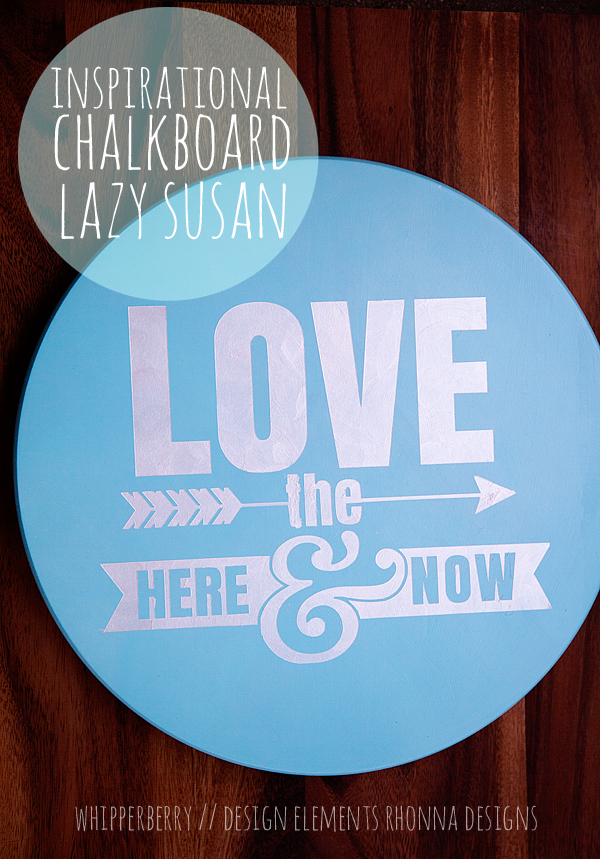
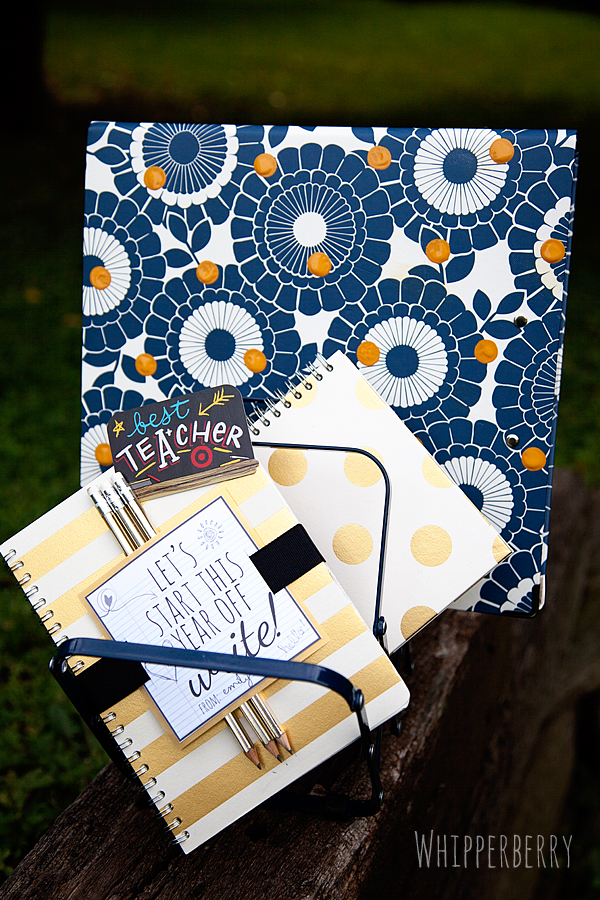
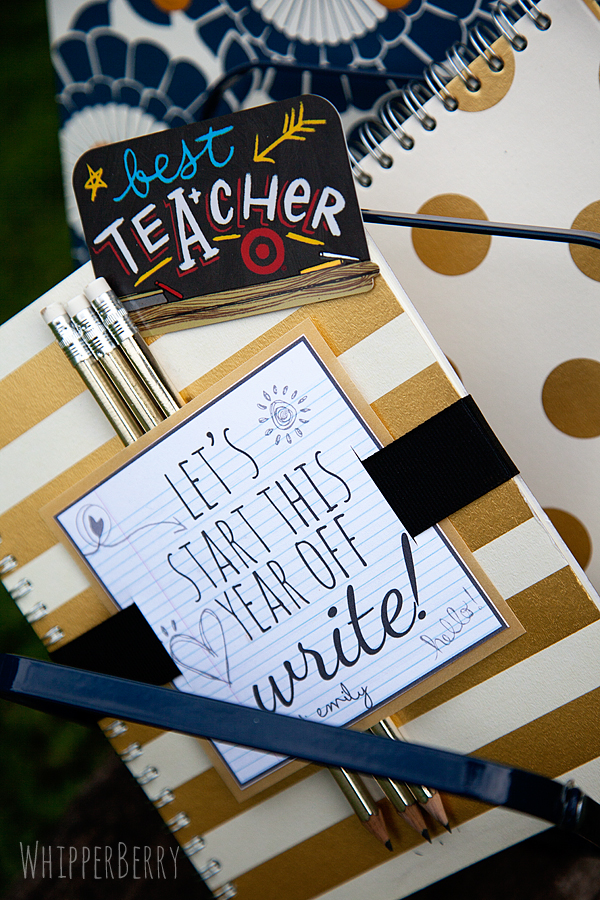
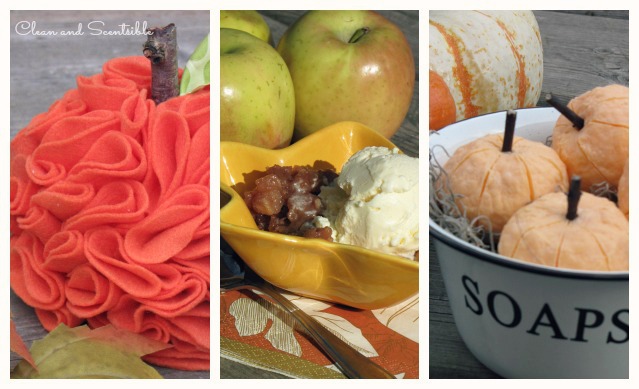
For those of you that are already looking ahead to fall, here are a few ideas to get you started….
Enjoy the rest of your summer and I hope you all have a smooth Back to School transition! 🙂