Silhouette Affiliate // The folks over at Silhouette have been madly creating all kinds of fun new ways for us to use their CAMEO & Portrait machines. Earlier this month they released their Stamp Making Kit and it was a hit. This month they have an exciting new product, their Glass Etching Kit. They are just so darn creative and we are LOVING it!!
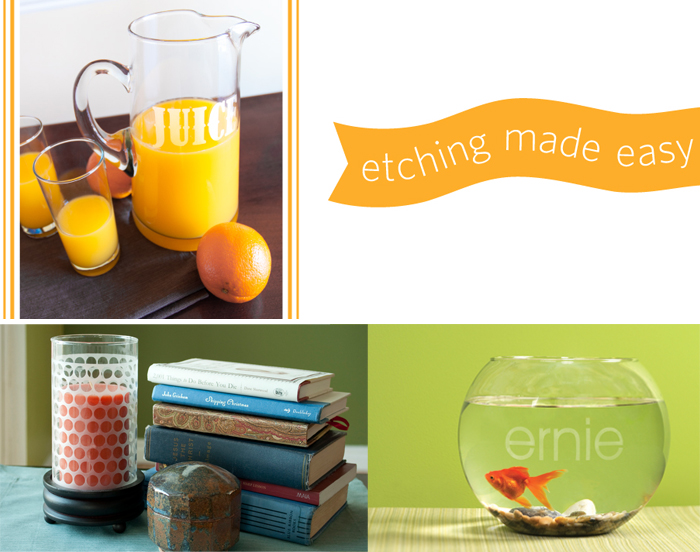
The kit comes with everything you will need to create all kinds of etched glass projects.
etching cream
stencil vinyl
transfer tape
Silhouette Hook
Silhouette Scraper
10 exclusive Silhouette etching designs
Instruction / idea book & DVD
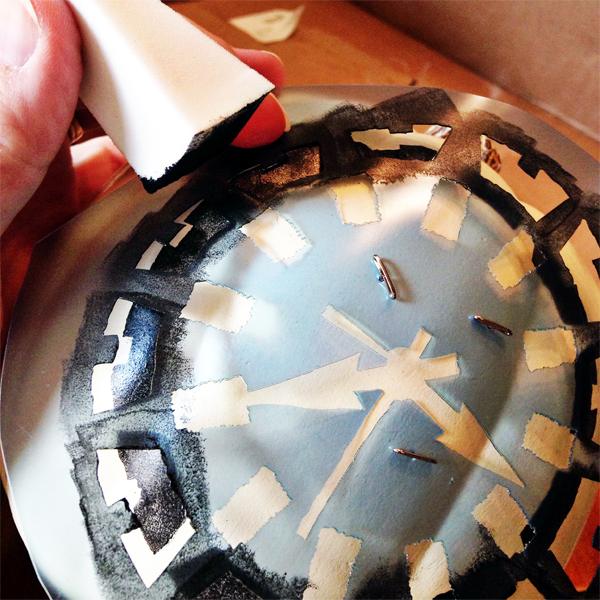
If you haven't ever etched glass before, you have to give it a try… It's soooooo easy!! All you have to do is create an image with your Silhouette CAMEO or Portrait in vinyl, affix it to your glass, brush on some etching cream and wait for a few minutes. Once your time is up, wash the etching cream off the glass, remove the vinyl and voilá you're finished!! It's just that easy.
Silhouette is making it even easier this month with a wonderful promotion to go along with their new Glass Etching Kit!
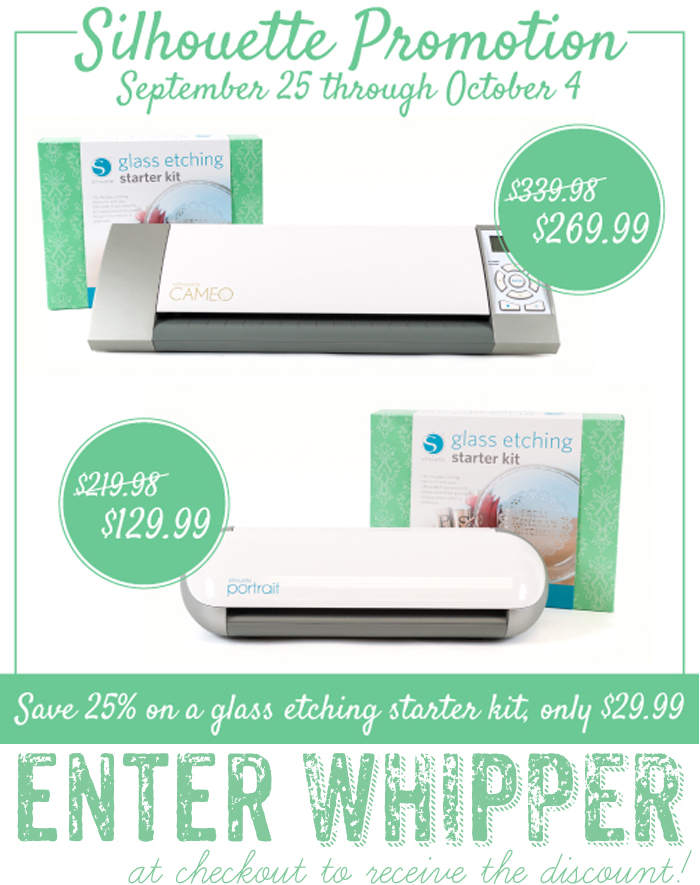
Click HERE to go to the special sale site.
To celebrate the release, Silhouette is giving away a Silhouette Portrait to one lucky WhipperBerry friend!

All you have to do is follow the instructions in the Rafflecopter box below to enter to win a Portrait of your very own!!
This giveaway is open to anyone with a shipping address within the United States. It will run from September 25th-30th at noon central time. The winner will be announced that evening here, via Facebook and then contacted by email. This giveaway is not associated or in conjunction with Facebook, Pinterest, Twitter or Instagram in anyway.