Silhouette Affiliate Post // You aren't going to believe this… Seriously, this is super cool! Silhouette now has a cool new way to create your very own stamps with the Silhouette Stamping Kit!!
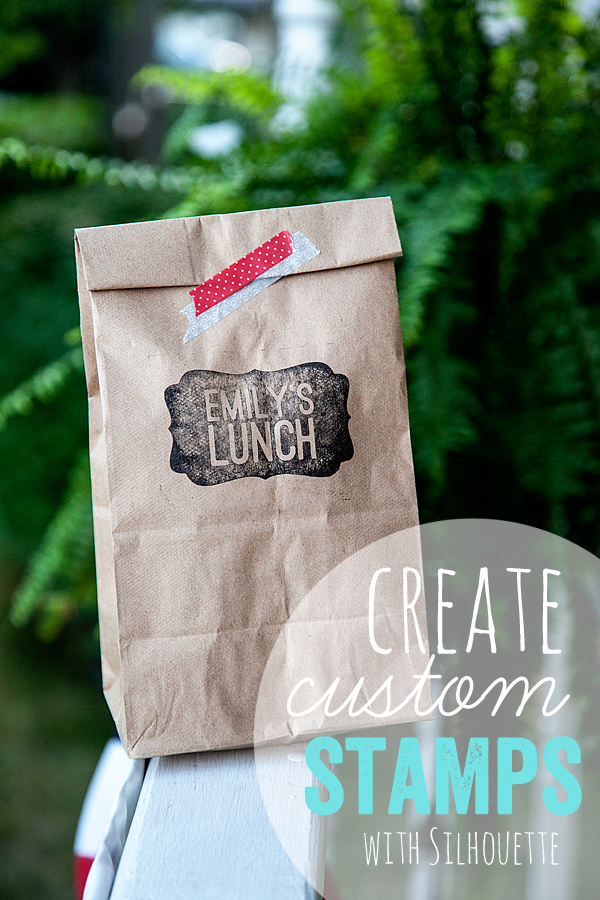
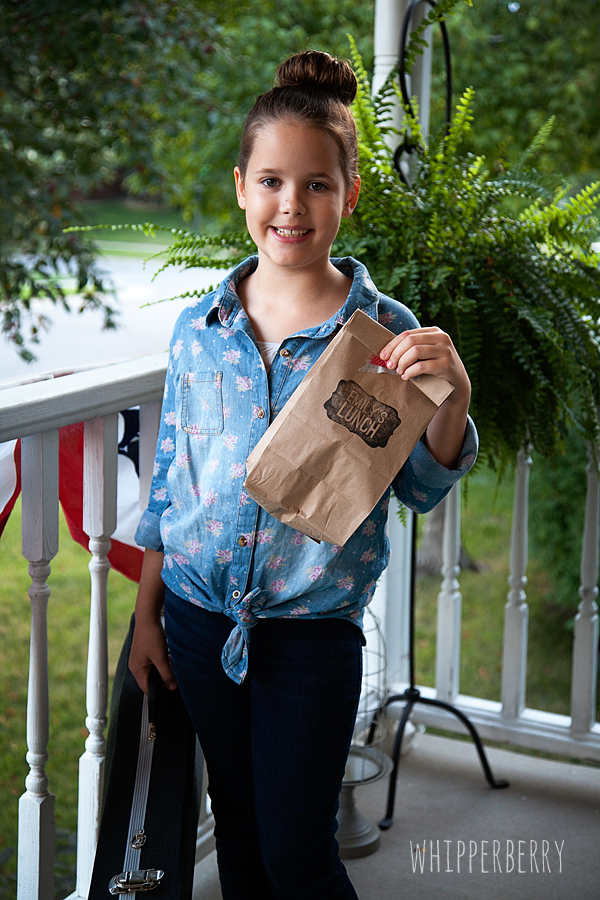
How cool is that? They have this fabulous new cutting mat made just for the clear stamp material that you can use to create any kind of custom stamp. I made a quick stamp to dress-up Emily's lunch sack each day.
It turned out so cute, and I love that I can keep it and use it all year long. No more boring old brown bags for little Miss Em!
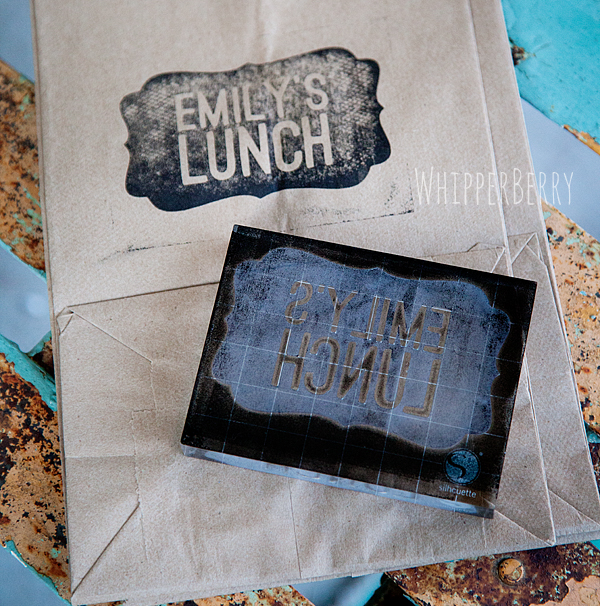
I would have to admit I was a little skeptical with this new product. I thought for sure there was no way that the stamp material would cut well with my Silhouette Portrait. I had visions of gummed up parts and hours of frustration on my part. Oh ye of little faith… I couldn't believe how well the clear stamp material cut with my Portrait! It was like butter! The lines were clean and I didn't have one single problem cutting out my design. The clear stamp material is just like any clear stamp that you would find at any craft store. It clings directly to the clear blocks that come with the Stamp Kit and can be used over an over. I LOVE that I can create stamps for my projects that have personality to them now.
I'm telling ya, this stamp kit is a keeper!! Here is what comes with the starter kit…
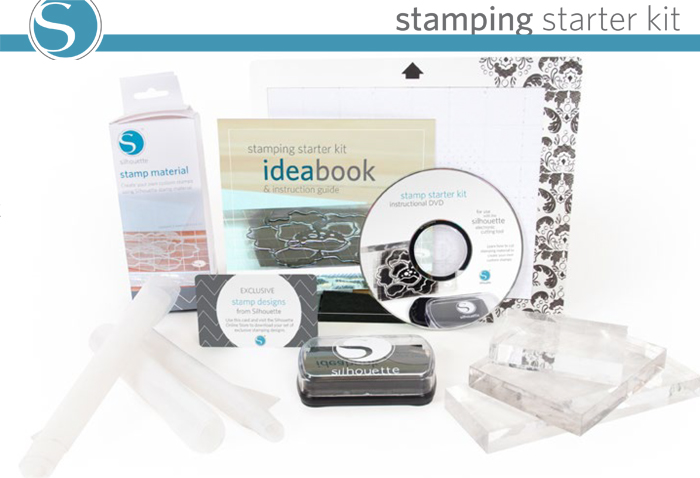
Pretty much everything you need to create your own custom stamps. Three sheets of stamp material, the clear stamp blocks in three sizes, ink, images from a download card, the new cutting mat and so much more! All you need is a Silhouette CAMEO or Portrait to get started. No worries if you don't have one of those yet… Silhouette is running a fabulous promotion this month for you to be able to stock-up on everything!!

Um, hello… That's a smokin' deal!!
To visit the Silhouette Shop to have access to this amazing deal, CLICK HERE!
If you're feeling lucky, you can enter to WIN a Silhouette Portrait of your very own!!
 All you have to do is follow the directions in the Rafflecopter box below…
This giveaway is open to anyone with a shipping address within the United States.
Disclaimer // I am a Silhouette Affiliate and I did receive free product to review for this post. However, all thoughts ideas and opinions are my very own!