• Skip to primary navigation
  • Skip to main content
  • Skip to primary sidebar
  • Skip to footer

Whipperberry

WhipperBerry • Your Home For Creative Inspiration

  • Home
  • Recipes
    • Starters
    • Easy Weeknight Dinners
    • Main Dish
    • Salads
    • Side Dish
    • Soups & Stews
    • Desserts
    • Breakfast
    • Miscellaneous
  • Tutorials
    • Creative Crafts
    • DIY Decor
    • Fabric Crafts
    • Food How-To
    • Jewlery
    • Paint Projects
    • Paper Art
    • Party Styling
    • Photography and Graphic Design
    • Silhouette
  • Holidays
    • St. Patrick’s Day
    • Easter
    • Mother’s Day
    • Father’s Day
    • 4th of July
    • Halloween
    • Thanksgiving
    • Christmas
    • New Years
    • Valentine’s Day
  • Gift Ideas
    • Gifts For Everyone
    • Gifts for Dad
    • Mother’s day
    • For The Girls
    • For The Kids
    • Teacher Gift Ideas
    • Christmas
  • Printables
    • Holiday
    • Gift Idea
    • LDS Primary
  • Travel
  • About
    • Terms
  • Contact
  • Nav Social Menu

    • Facebook
    • Instagram
    • Pinterest
    • RSS
    • Twitter

Wood

Soda Shop Wood Sign • The BEST 10 Tips for Working with the Cricut Knife Blade

38 · Jun 21, 2018 · 3 Comments

This my friends is one of the most exciting days of my crafting life! I have cut WOOD with my Cricut Maker using their new Cricut Knife Blade. All be it, thin wood but, it’s wood! My daughter Hannah graduated from High School and we made a simple soda bar for one of the elements of her Grad Party. Of course, our soda bar needed a soda shop sign and I thought it would be fun to create a retro style sign out of wood. Here’s how it turned out PLUS, the best 10 tips for working with the Cricut Knife Blade.

+ This post brought to you by the folks at Cricut +Come learn how to make this retro style soda shop sign made out of wood using the @cricut knife blade • whipperberry

When Hannah and I started working on her grad party one of the things she really wanted to have was a mini “soda shop.

Nothing too crazy or too expensive but, cute. I thought it would be fun to test out the Cricut Knife Blade and make a large scale sign out of Birchwood. Now Birch isn’t one of the officially approved woods that can be used with the Cricut Maker. However, I thought I would give it a go and see how it turned out.  It turned out beautiful! It took a little time so, I wouldn’t take on a project of this nature if you were in a hurry. Here is a quick little video along with my best 10 tips for working with the Cricut Knife Blade…

The Soda Shop Sign Design

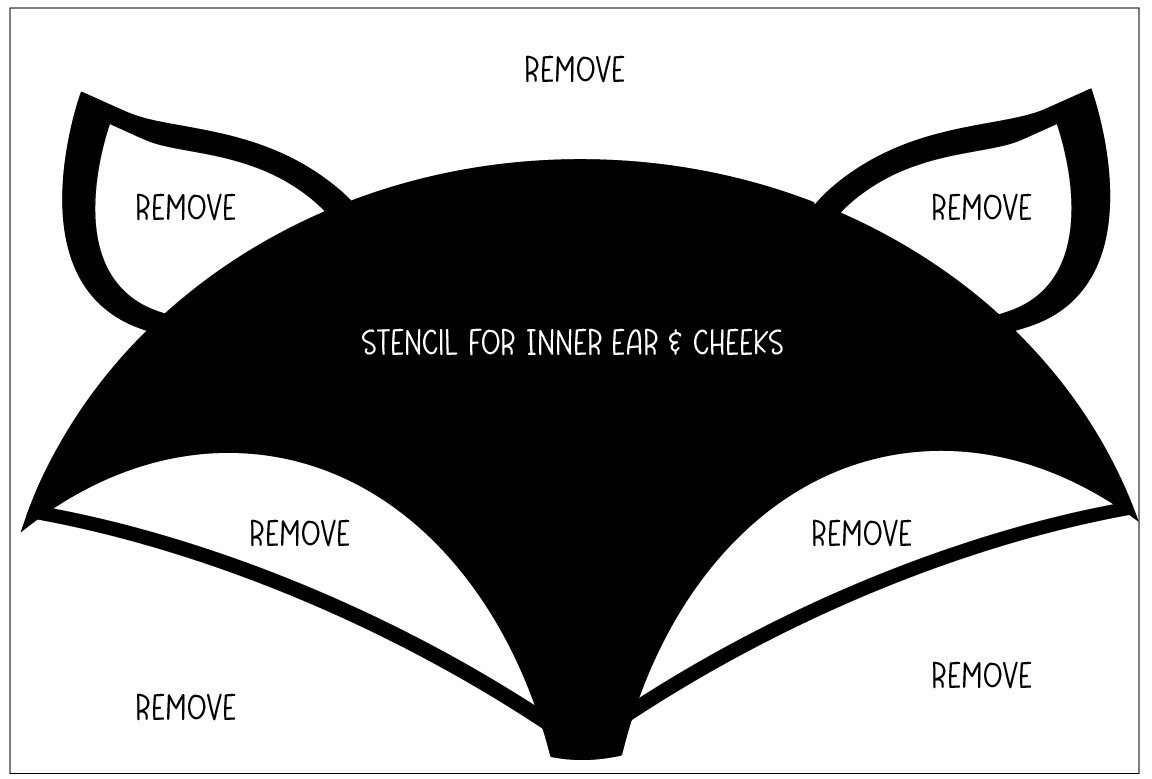
The inspiration for the design was classic retro style soda shop signs. Hannah is a bit of a retro type girl herself so I thought this was fitting. I found a retro looking soda bottle design in Cricut Design Space and thought it would be perfect to use as the base for my project.

Come learn how to make this retro style soda shop sign made out of wood using the @cricut knife blade • whipperberry

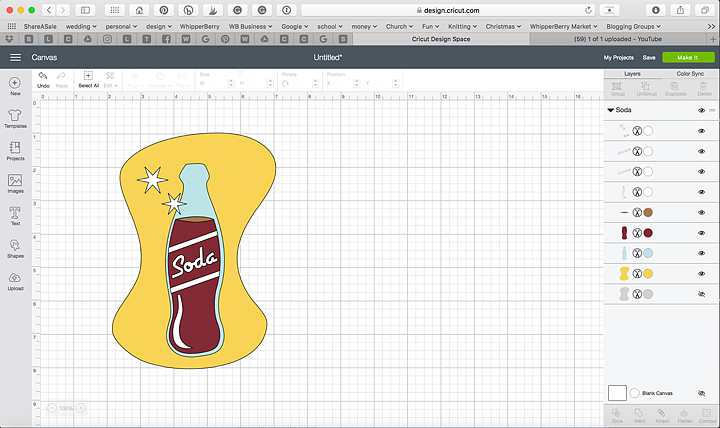
I used some of the elements of this design and then made a few tweaks here and there and this is what I eventually came up with…

Come learn how to make this retro style soda shop sign made out of wood using the @cricut knife blade • whipperberry

That’s what’s so cool about Cricut Design Space, you can play around with almost anything and make it your own. Do feel like you are stuck with whatever they have. Be creative and learn how to use the tools that Cricut provides for you to make your own style.

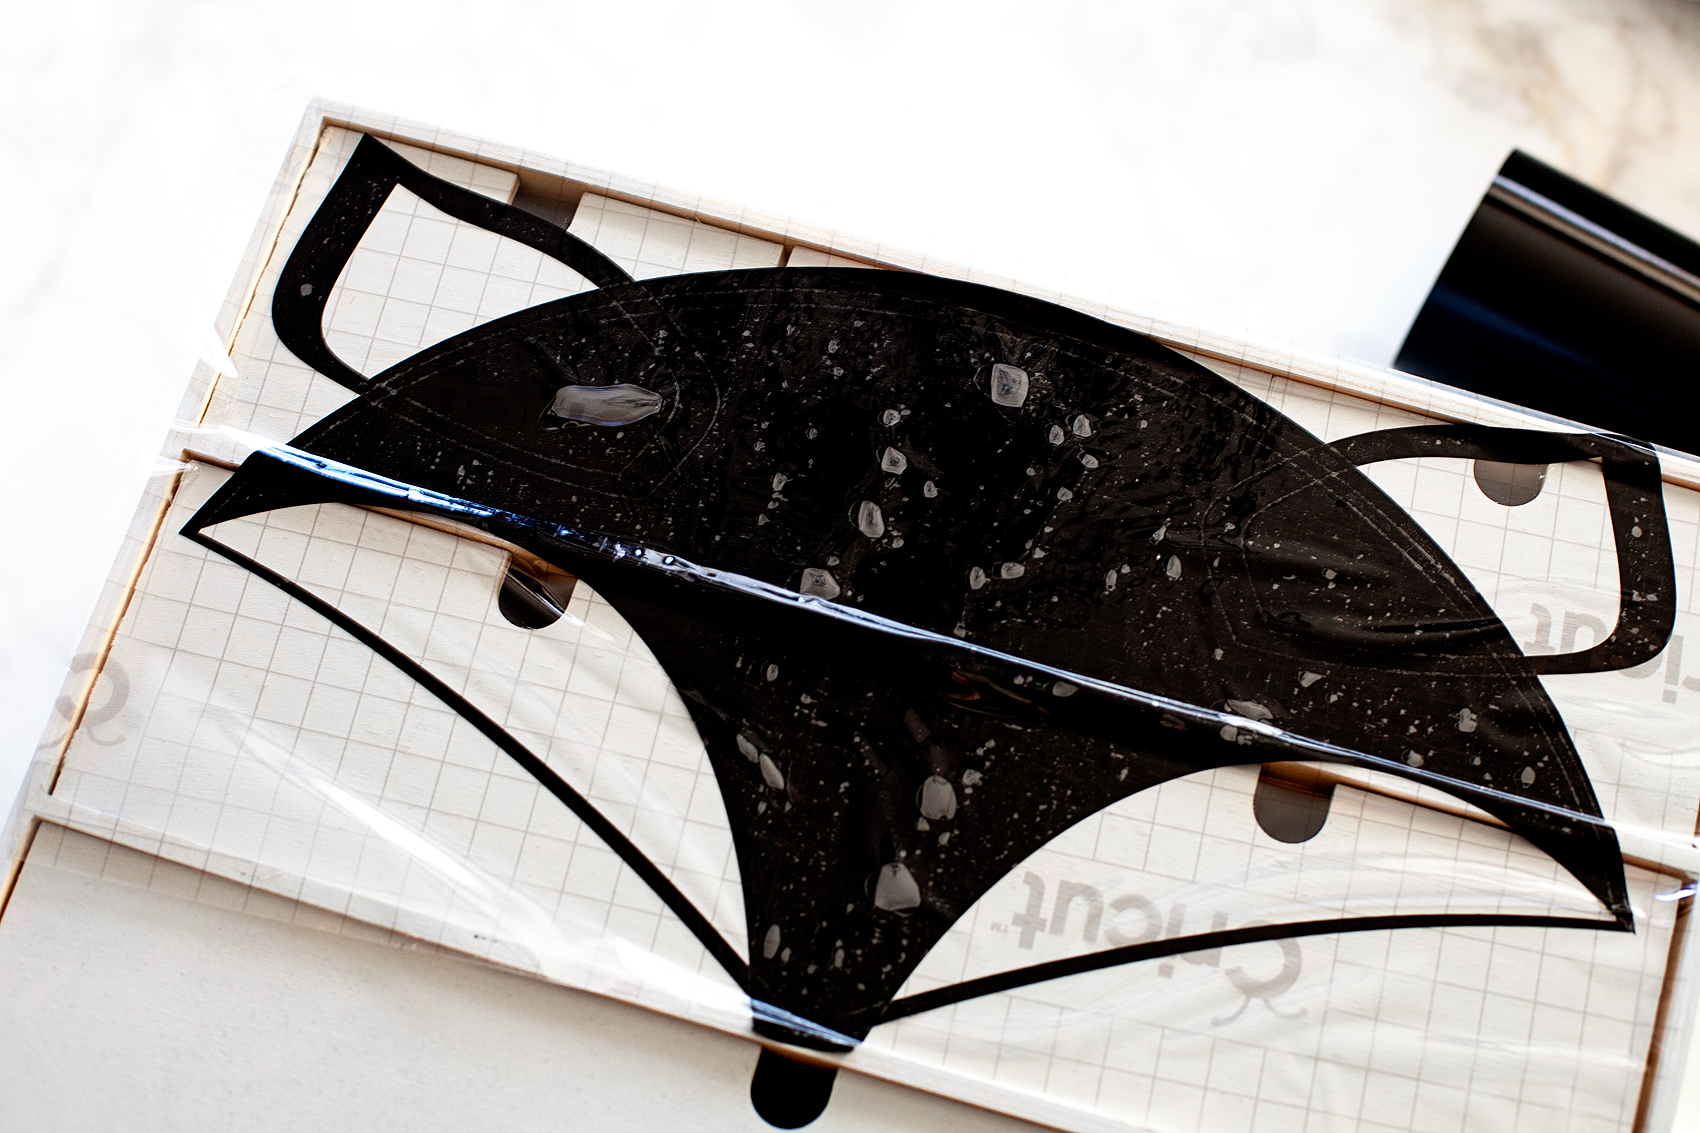
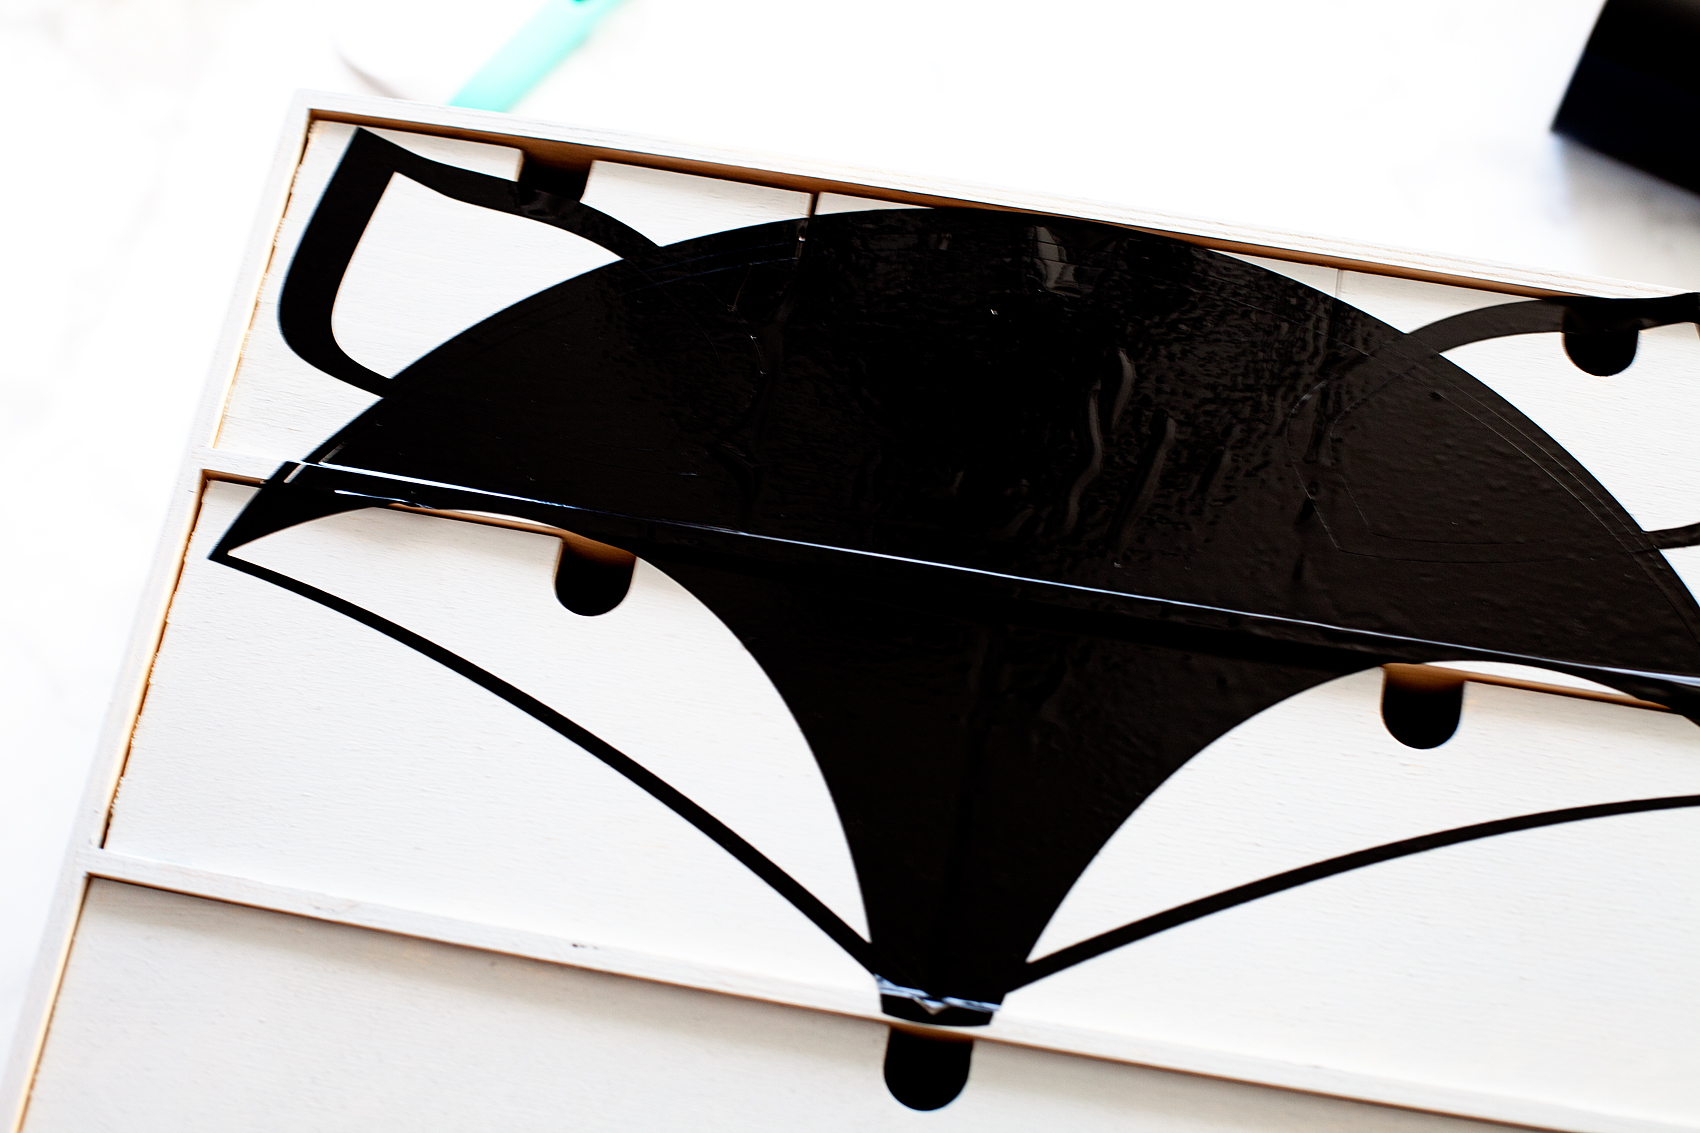
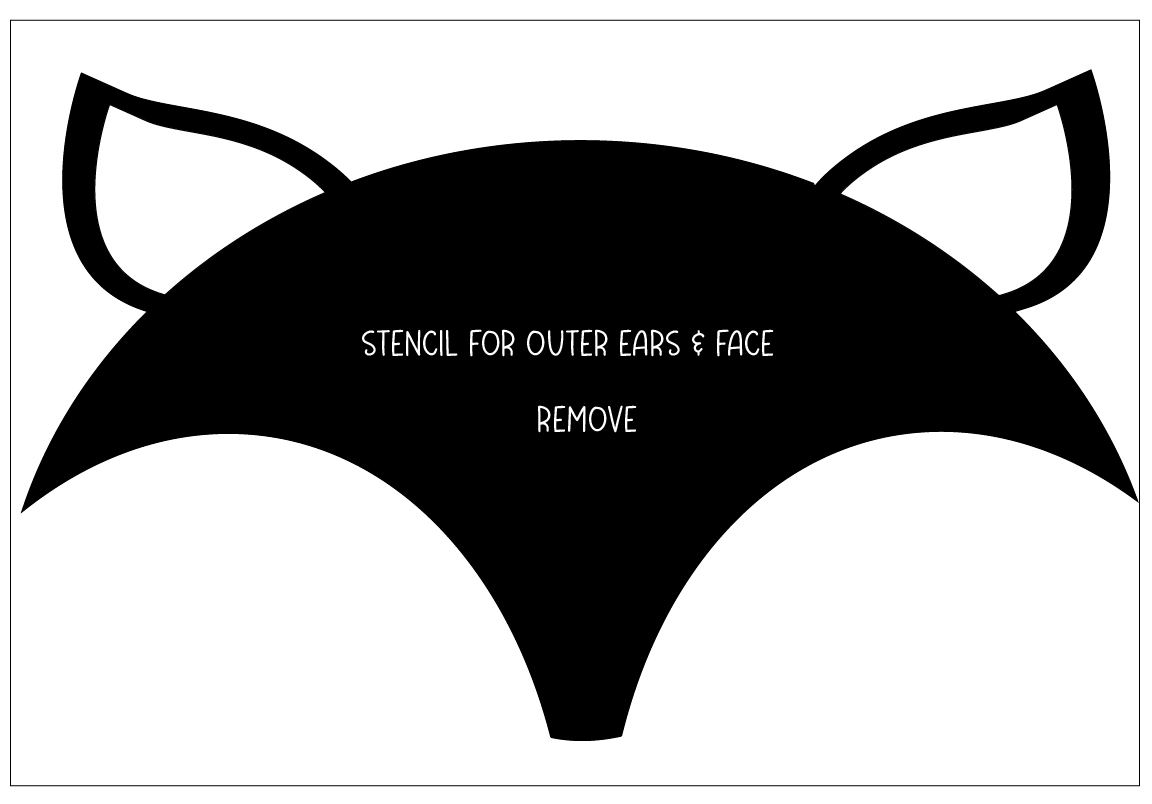
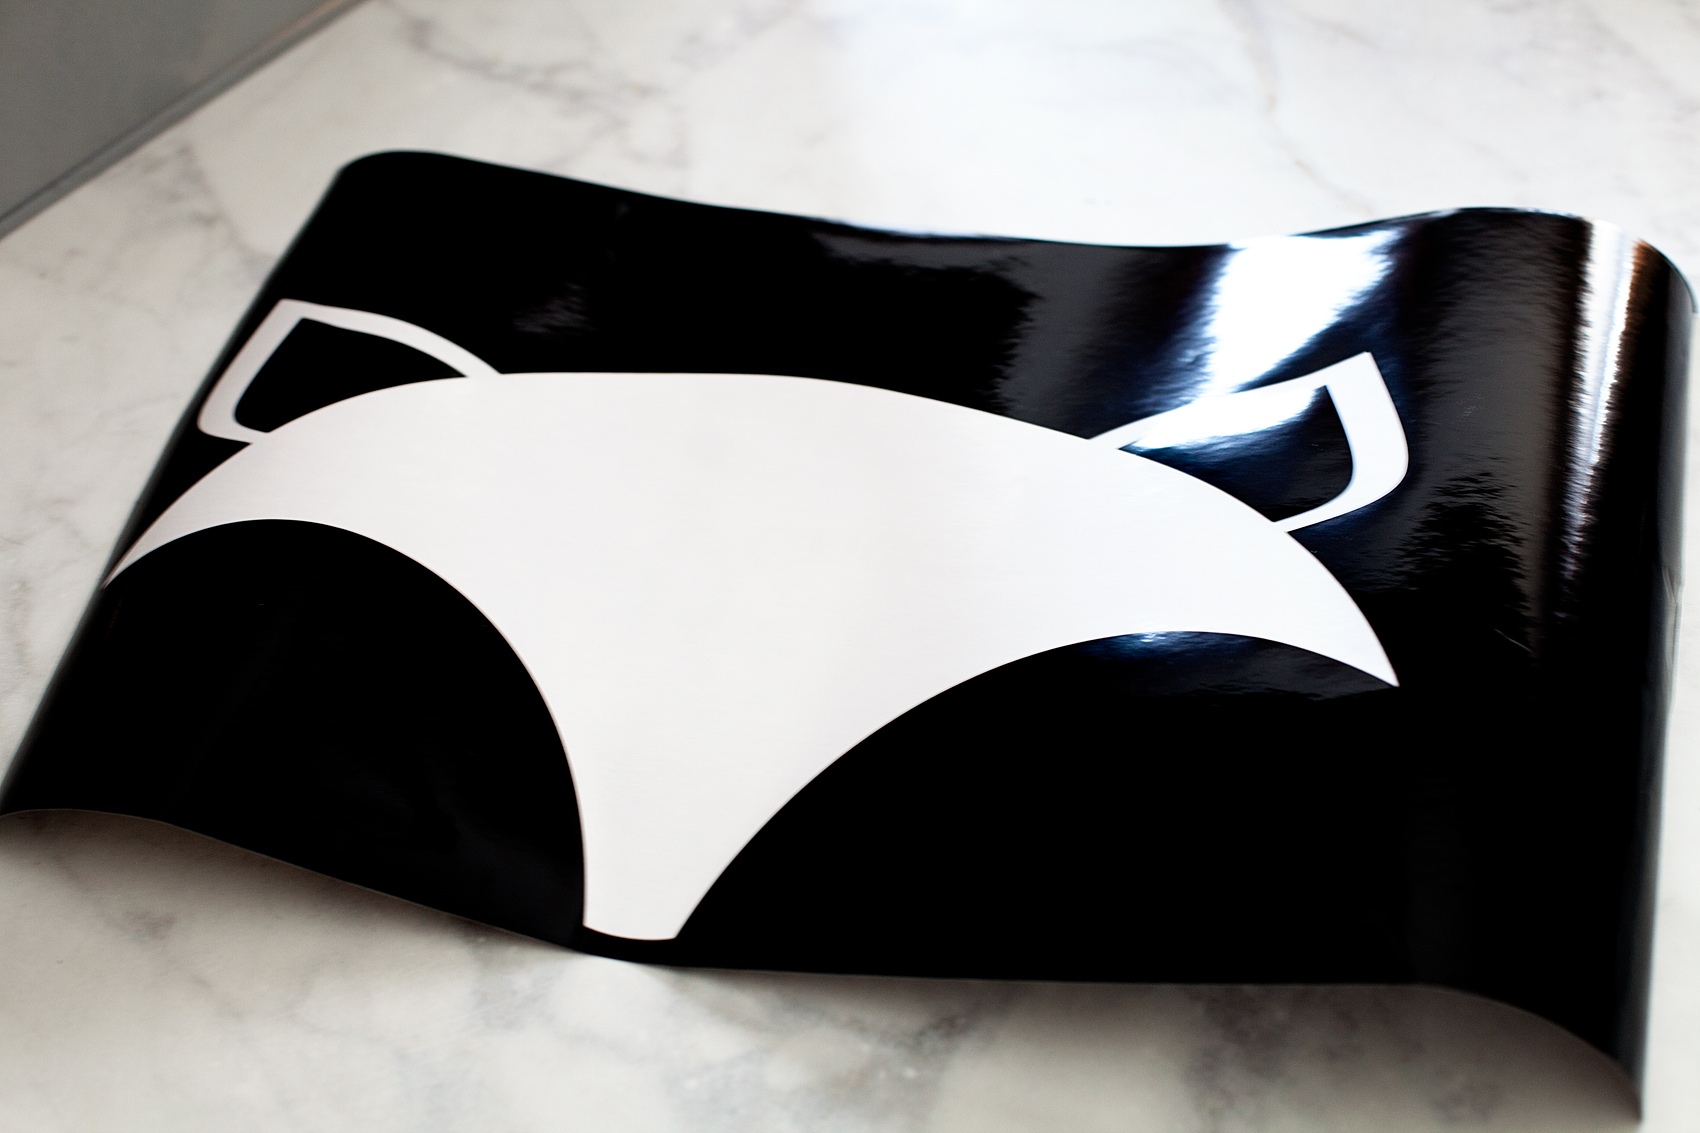
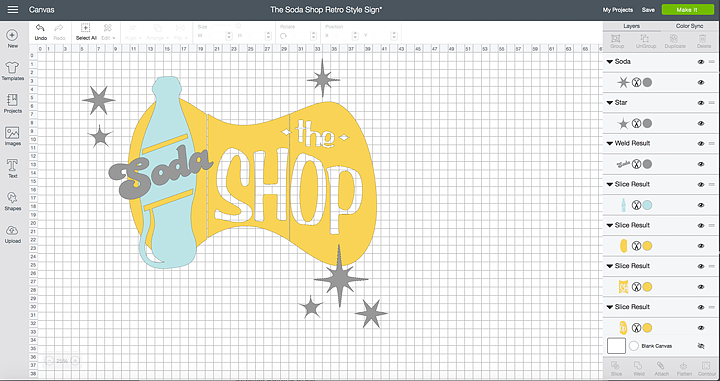
For this sign, I wanted it to be a rather large scale and knowing that with my Cricut Maker, I’m limited to 12 x24 inches I did a little creative troubleshooting. I used the slice tool to slice up my sign so that I could make it as big as I wanted it to be.

Come learn how to make this retro style soda shop sign made out of wood using the @cricut knife blade • whipperberry

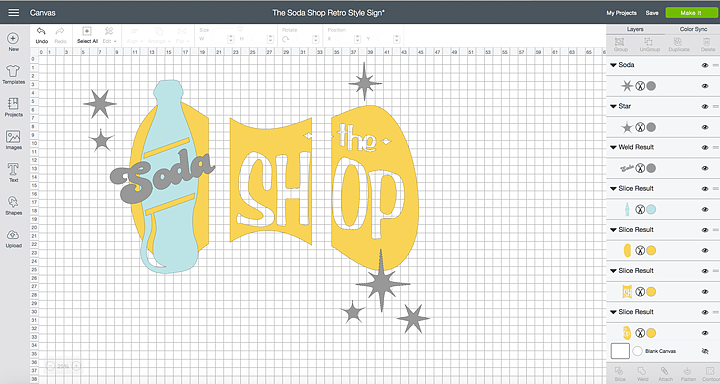
I sized the sign to the desired size and then broke it down into thirds by creatively using the square tool along with the Slice Tool. With that, each section of the yellow part of the sign would fit on a 12 x 24 cutting mat and would allow for a much larger sign. Here is how I did that.

How to Create Sections Using the Slice Tool in Cricut Design Space

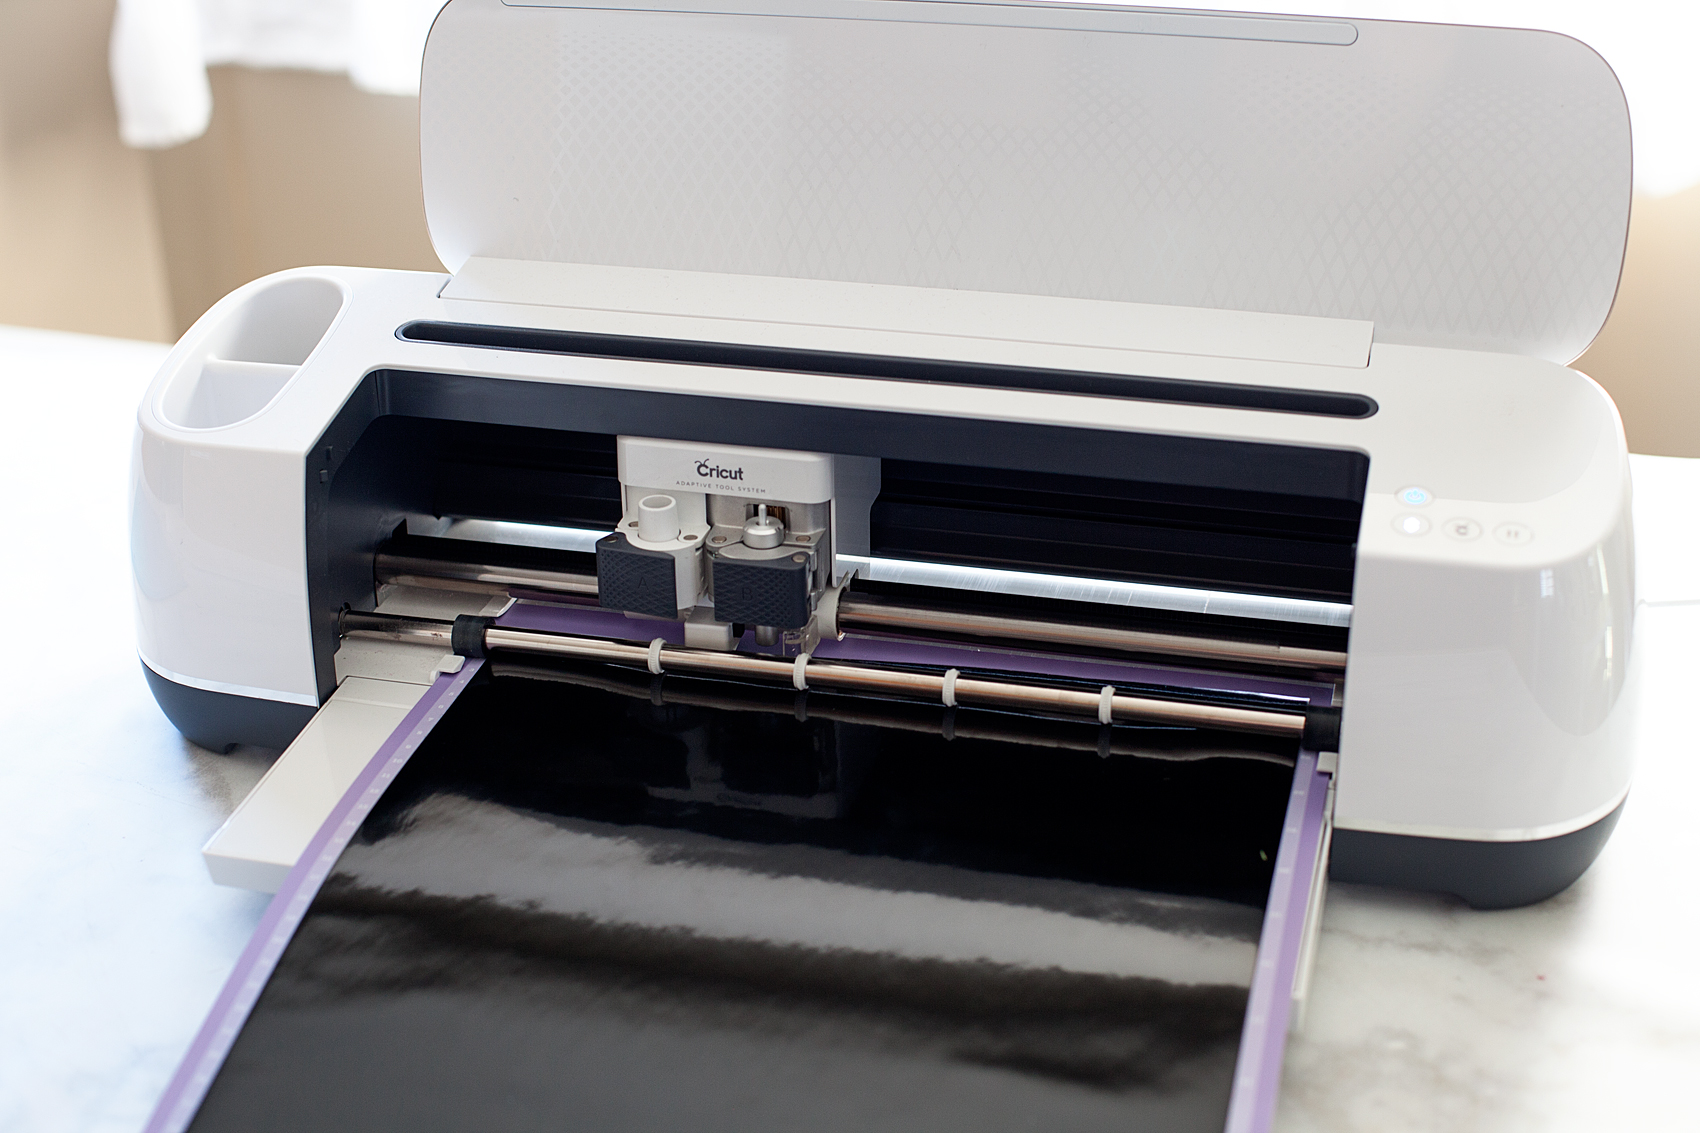
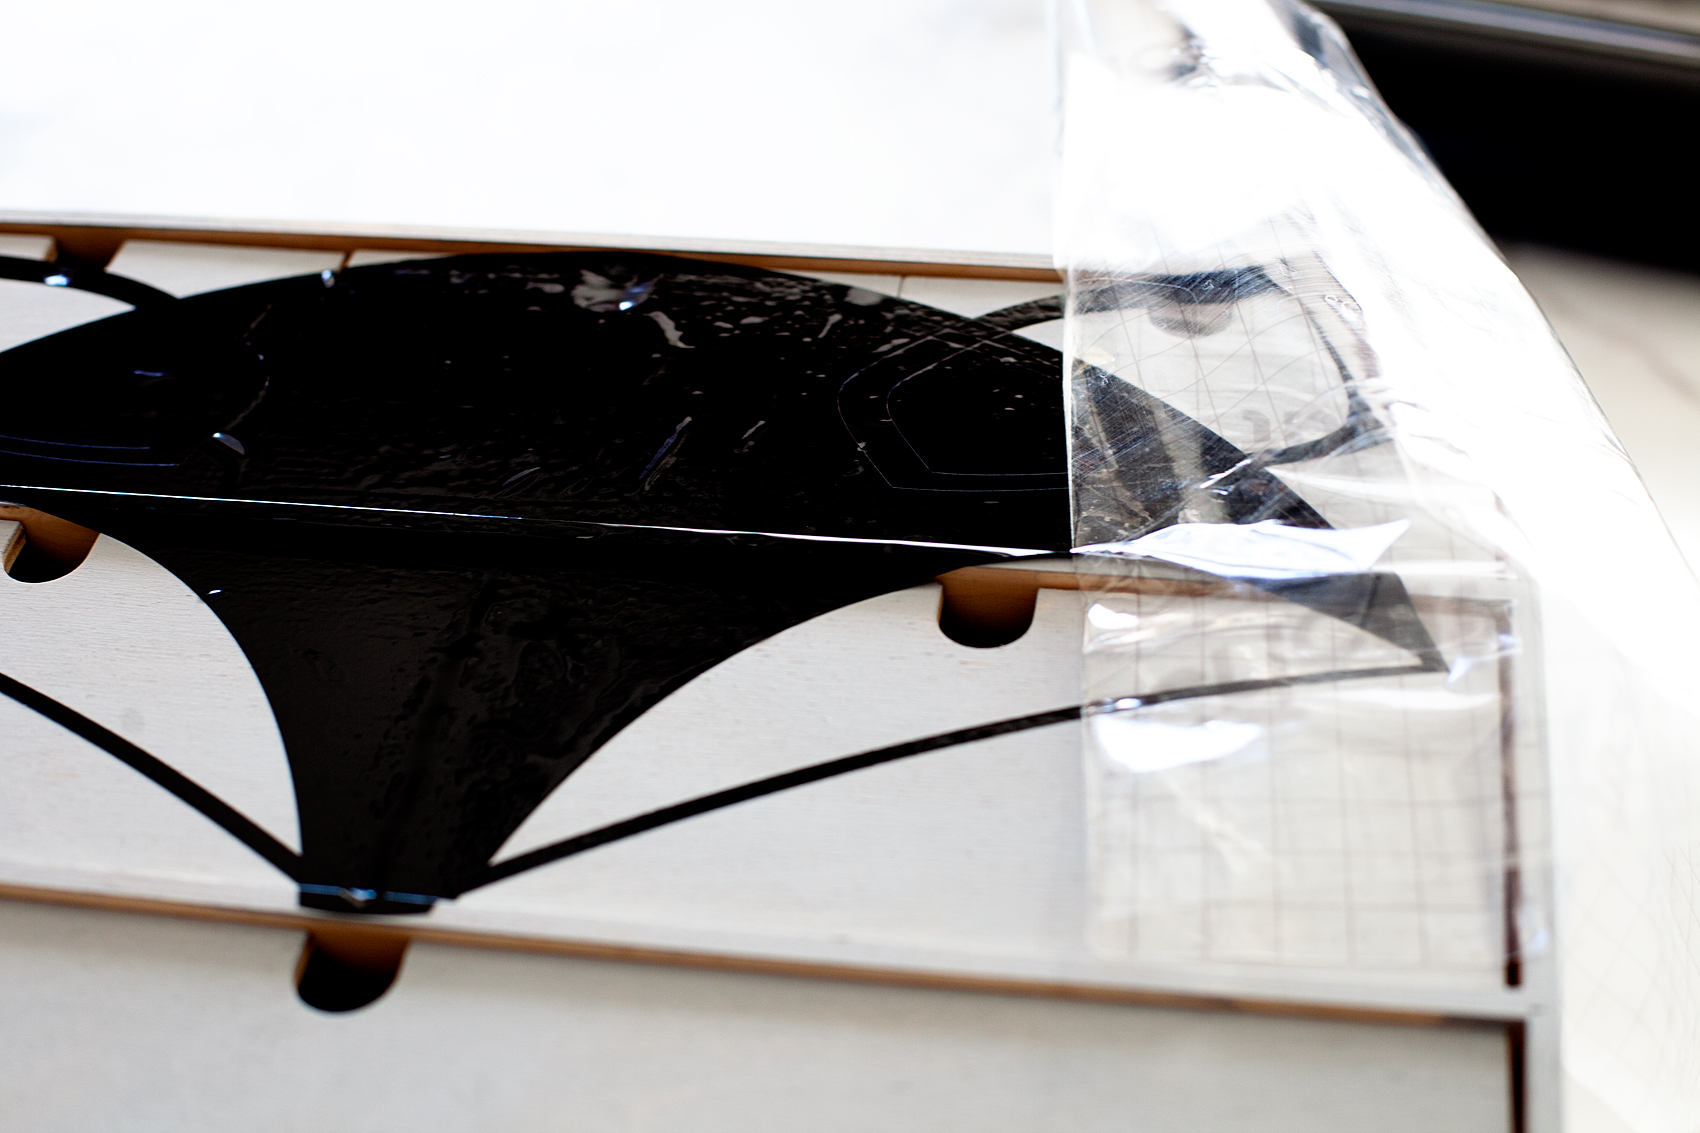
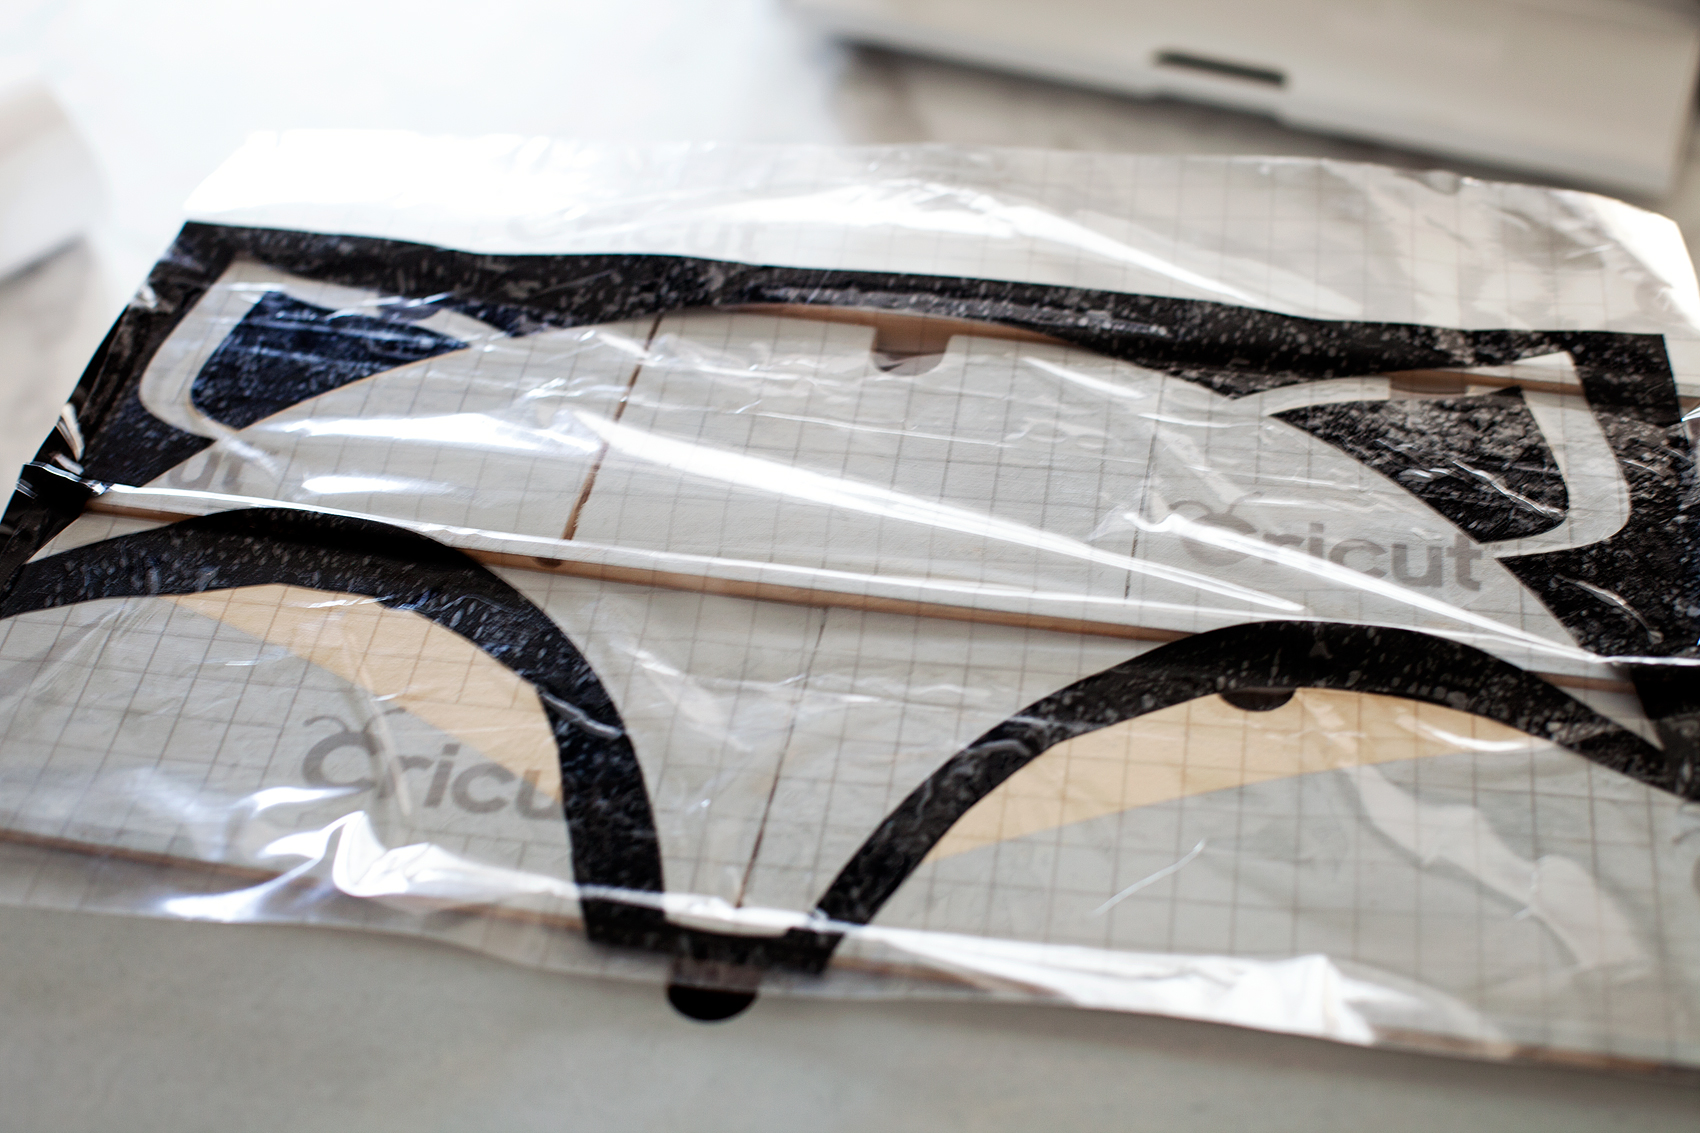
Cutting the Wood Sign on the Cricut Maker

Like I alluded to in the tips video, working with the knife blade takes more time and patience. However, it is soooo fun to work with (if you know how to use it right) so, don’t let that discourage you from using it. It is WELL WORTH IT!

I did have some frustration when making my sign at times because it wasn’t cutting through my wood at the beginning. After a little grumbling, I figured out that you really do need to calibrate your machine EACH TIME you start a cut with the knife blade. I cut the first section with the basic settings for Basswood and then had to hit the continue cut several more times to get it fully through the Birchwood. You just check each time the Maker finishes a pass (DO NOT REMOVE THE MAT FROM THE MAKER), lift up on the wood to see if it has completely cut through the wood. If it hasn’t, press the cut button and it will take another pass at the design, each time adding more pressure to go deeper through your material. Therefore, you need to keep an eye on things so that you don’t accidentally cut through your mat.

Make sure you watch my 10 tips video above for the rest of my tips for working with the knife blade. They’re pretty handy! You may also want to visit the Cricut blog to learn even more great tips for working with the new Cricut Knife Blade.

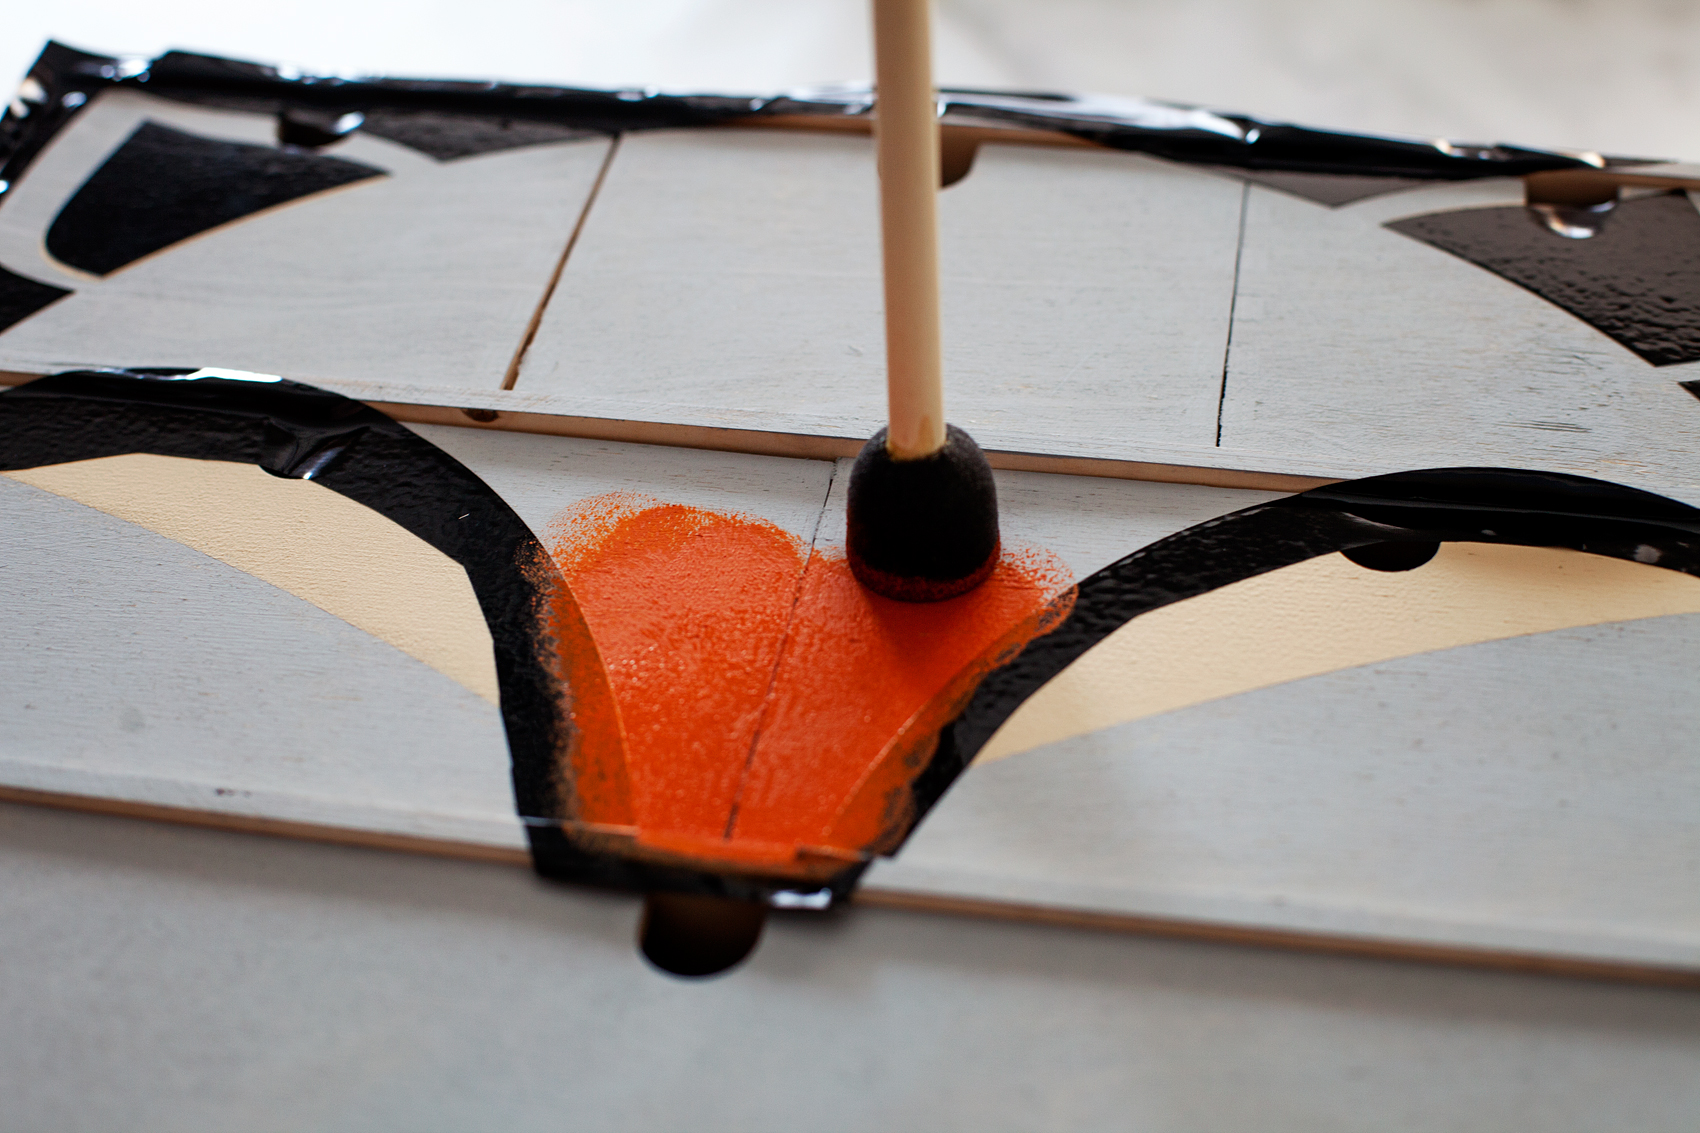
Painting and Hanging The Soda Shop Sign

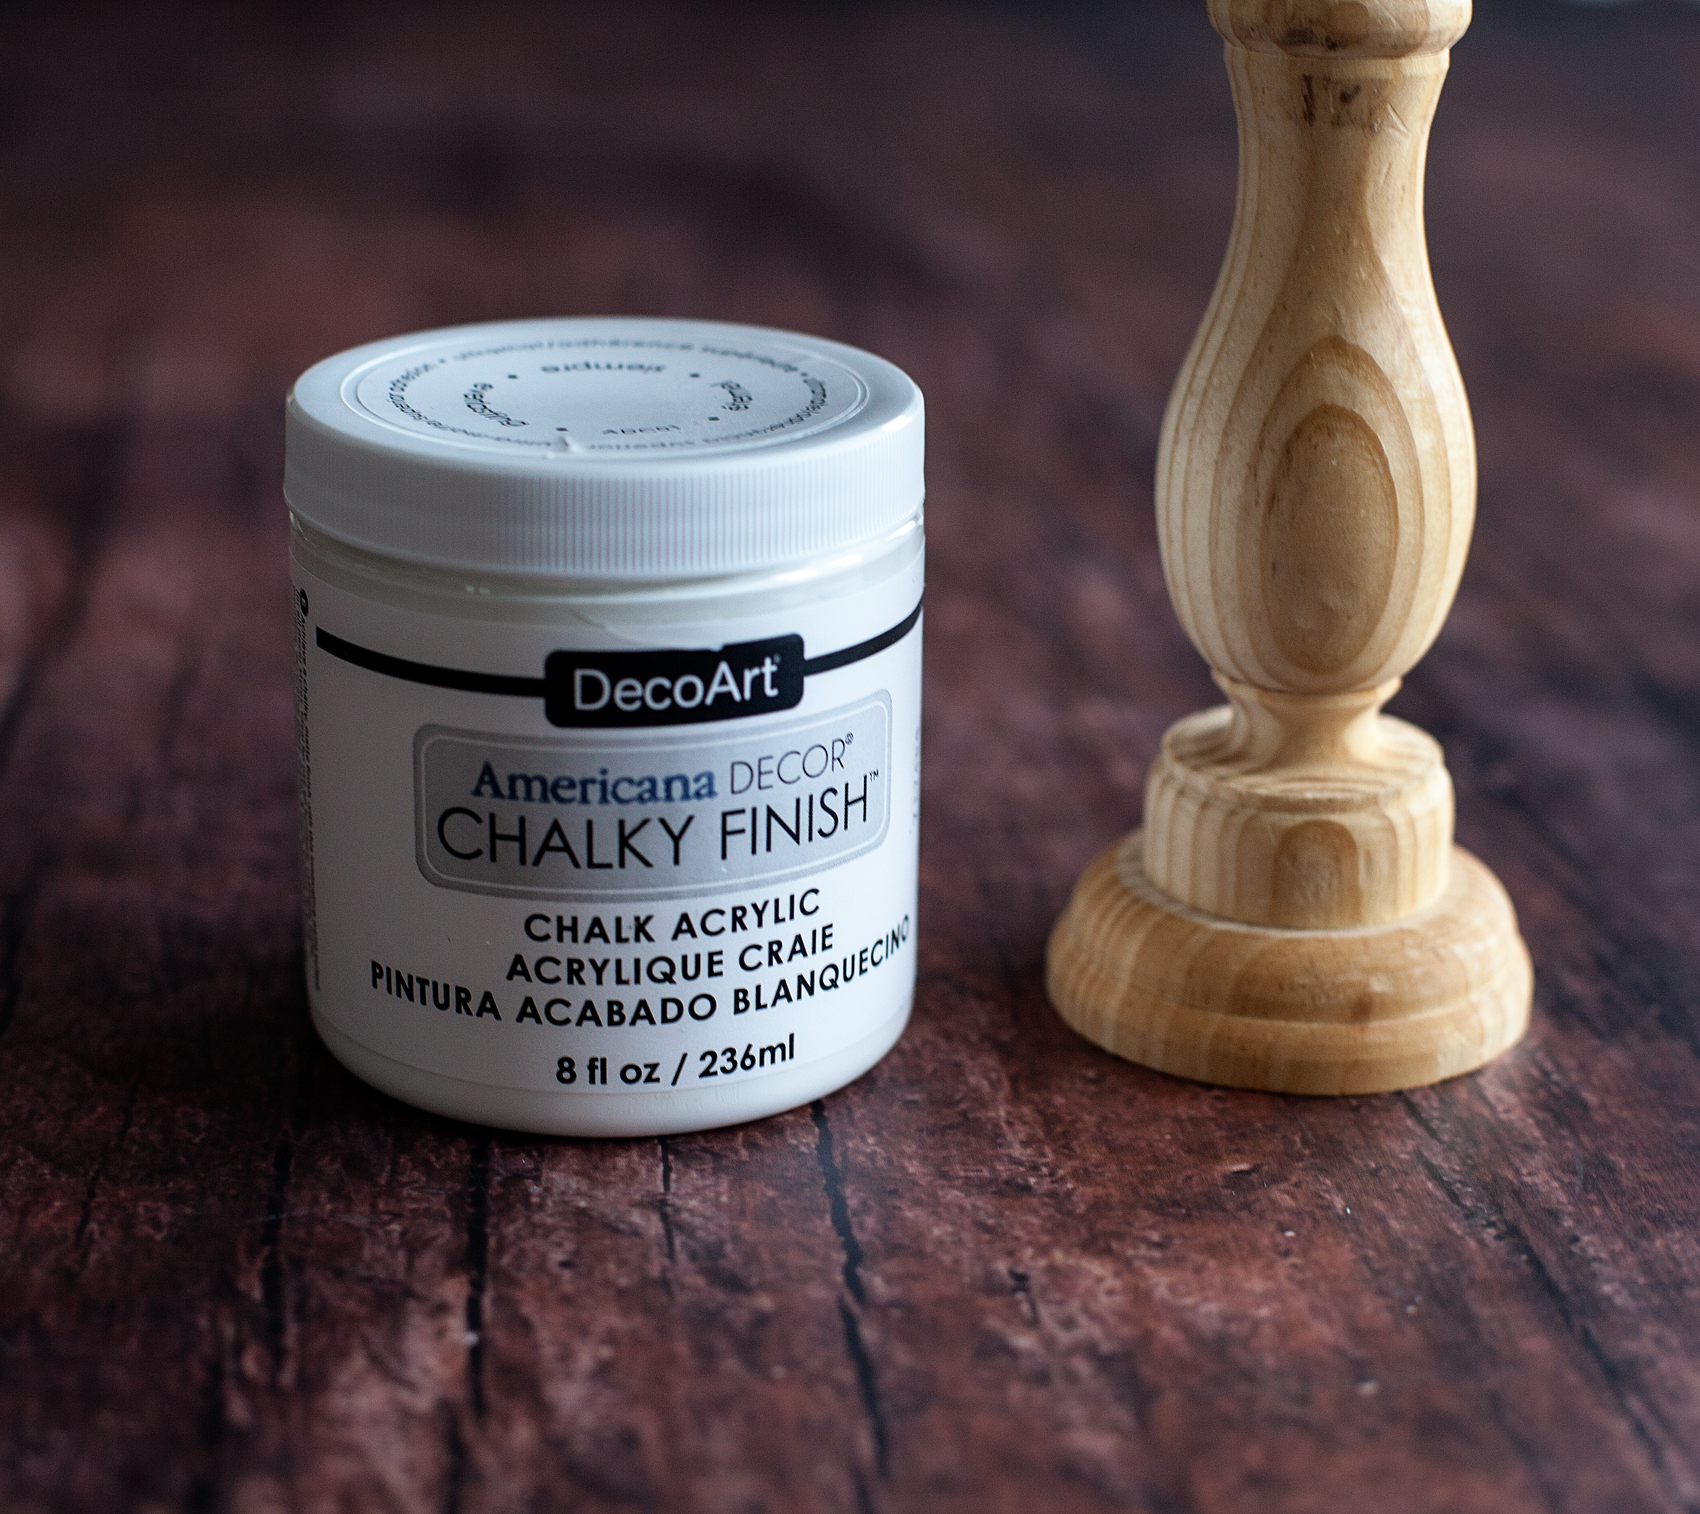
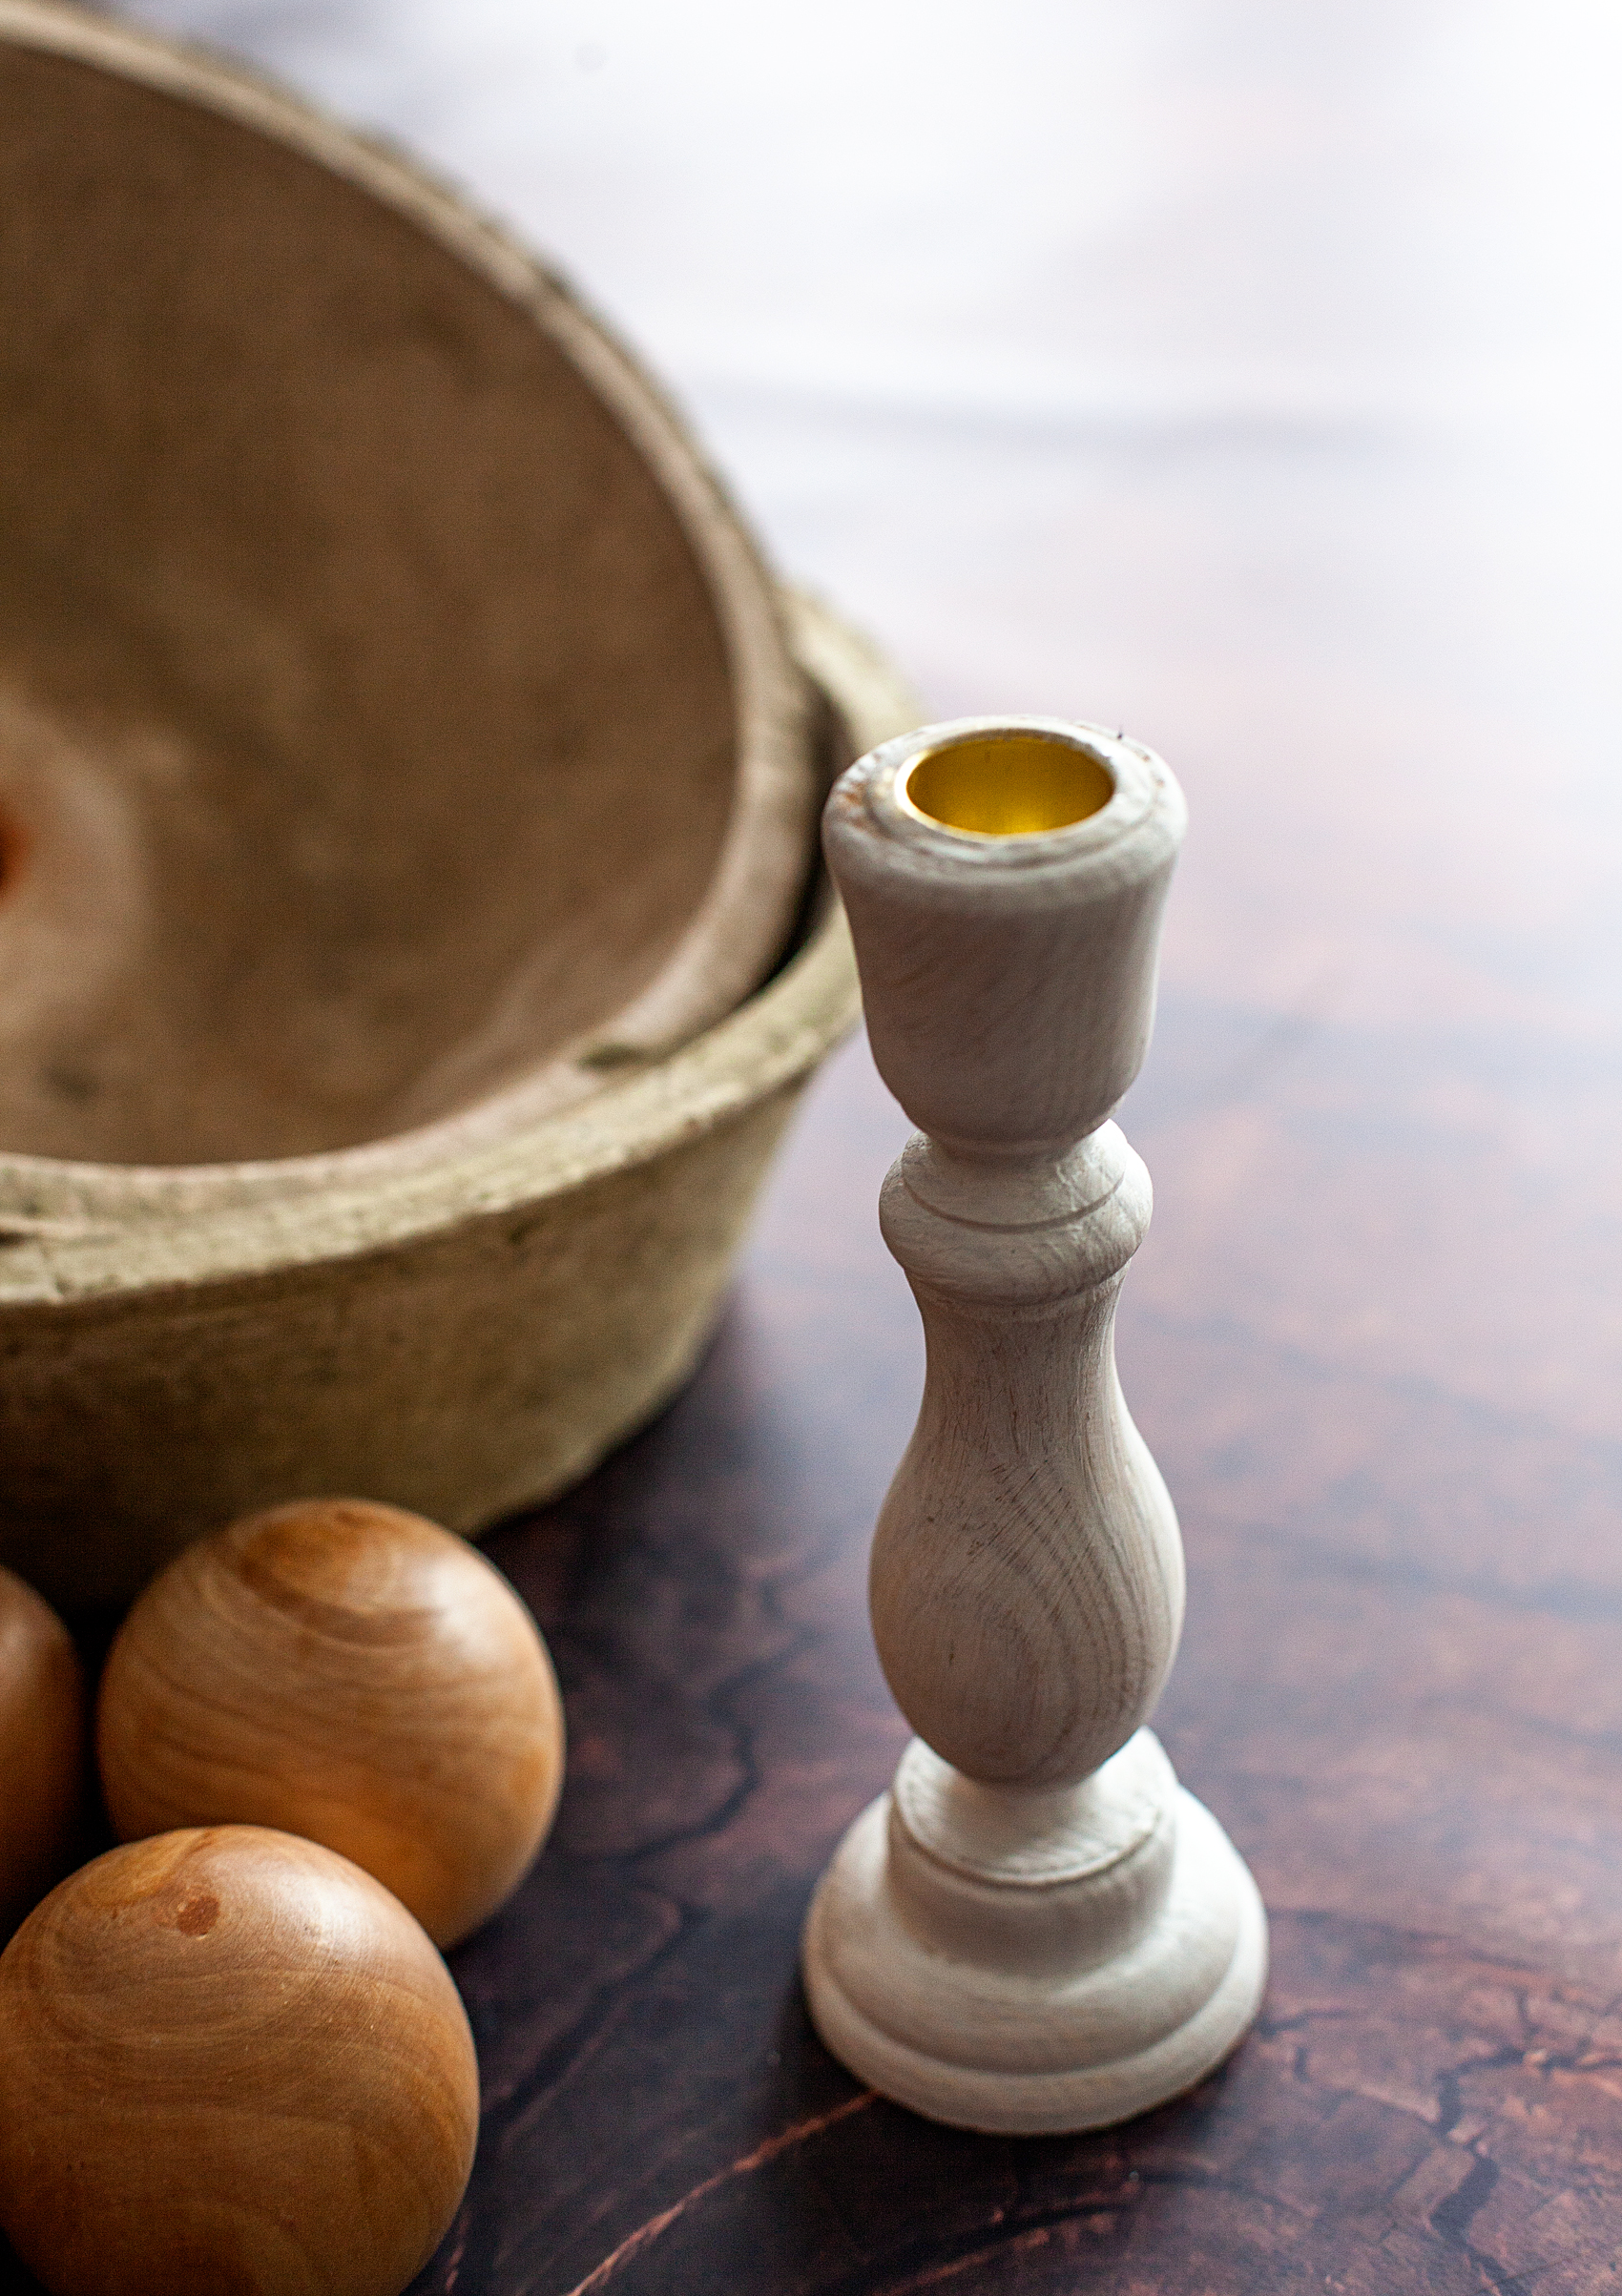
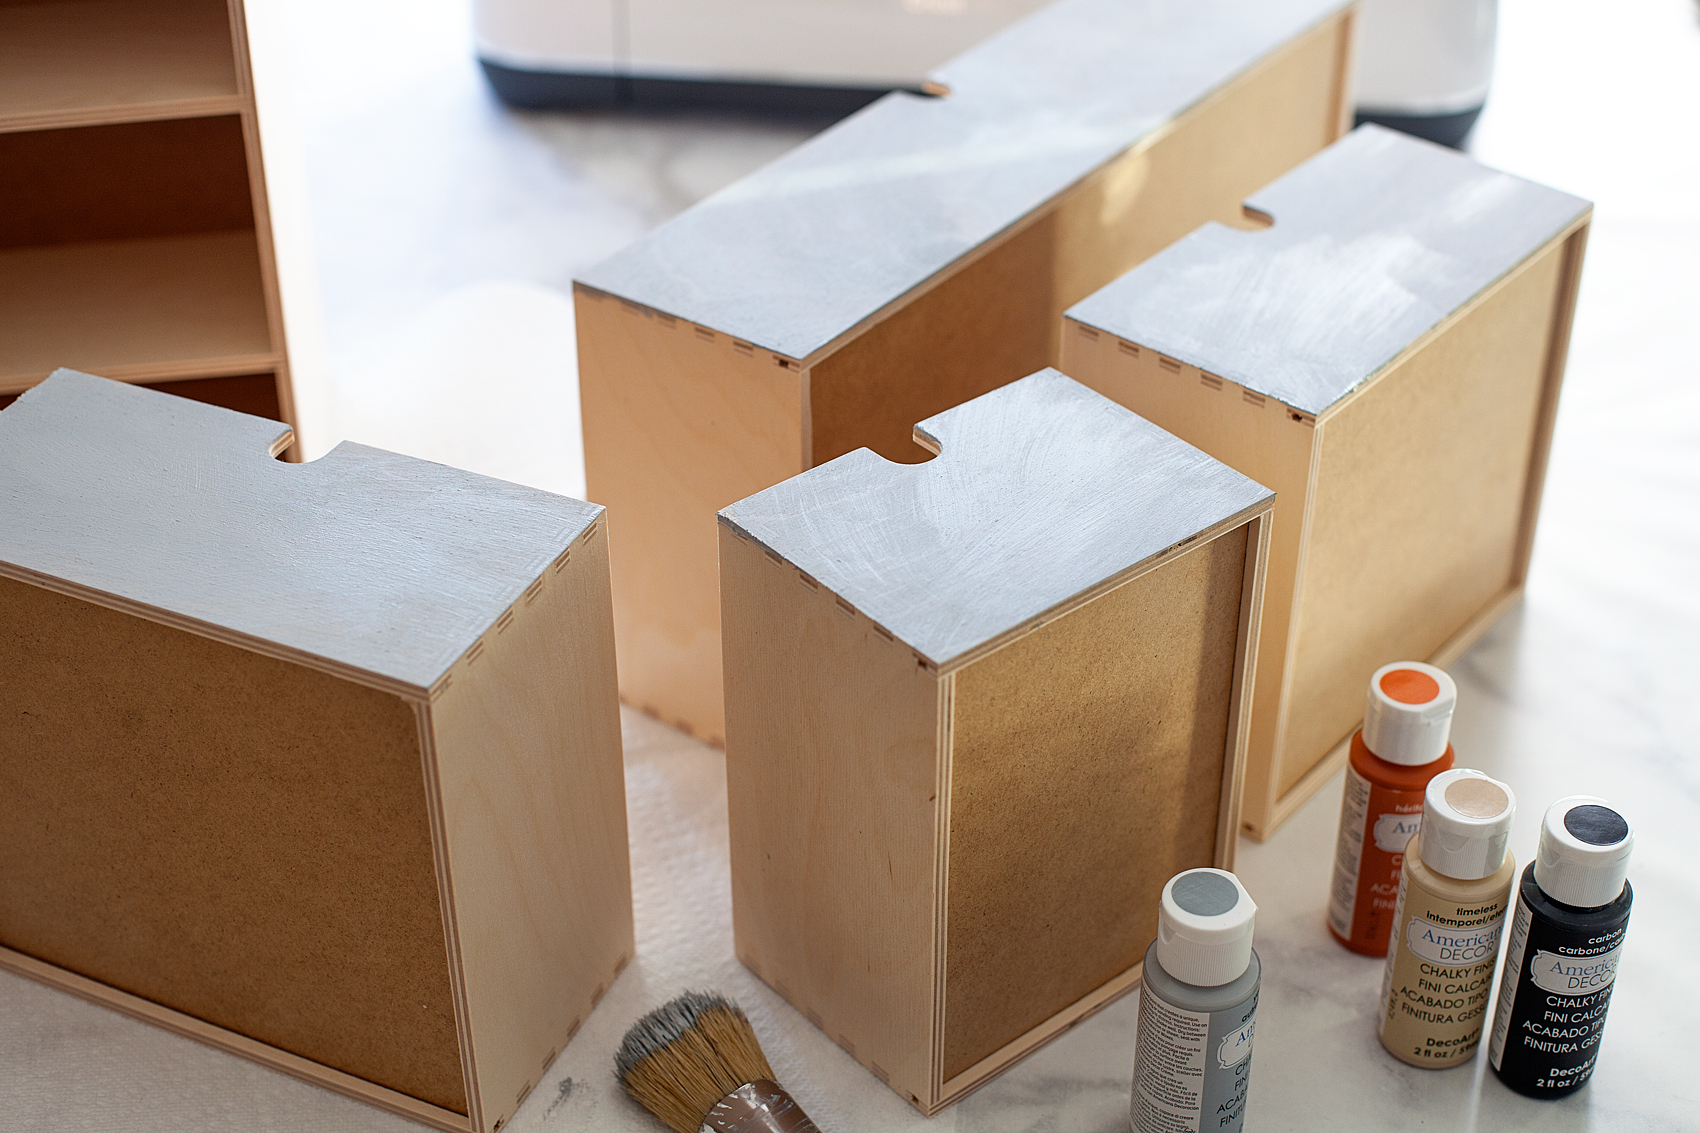
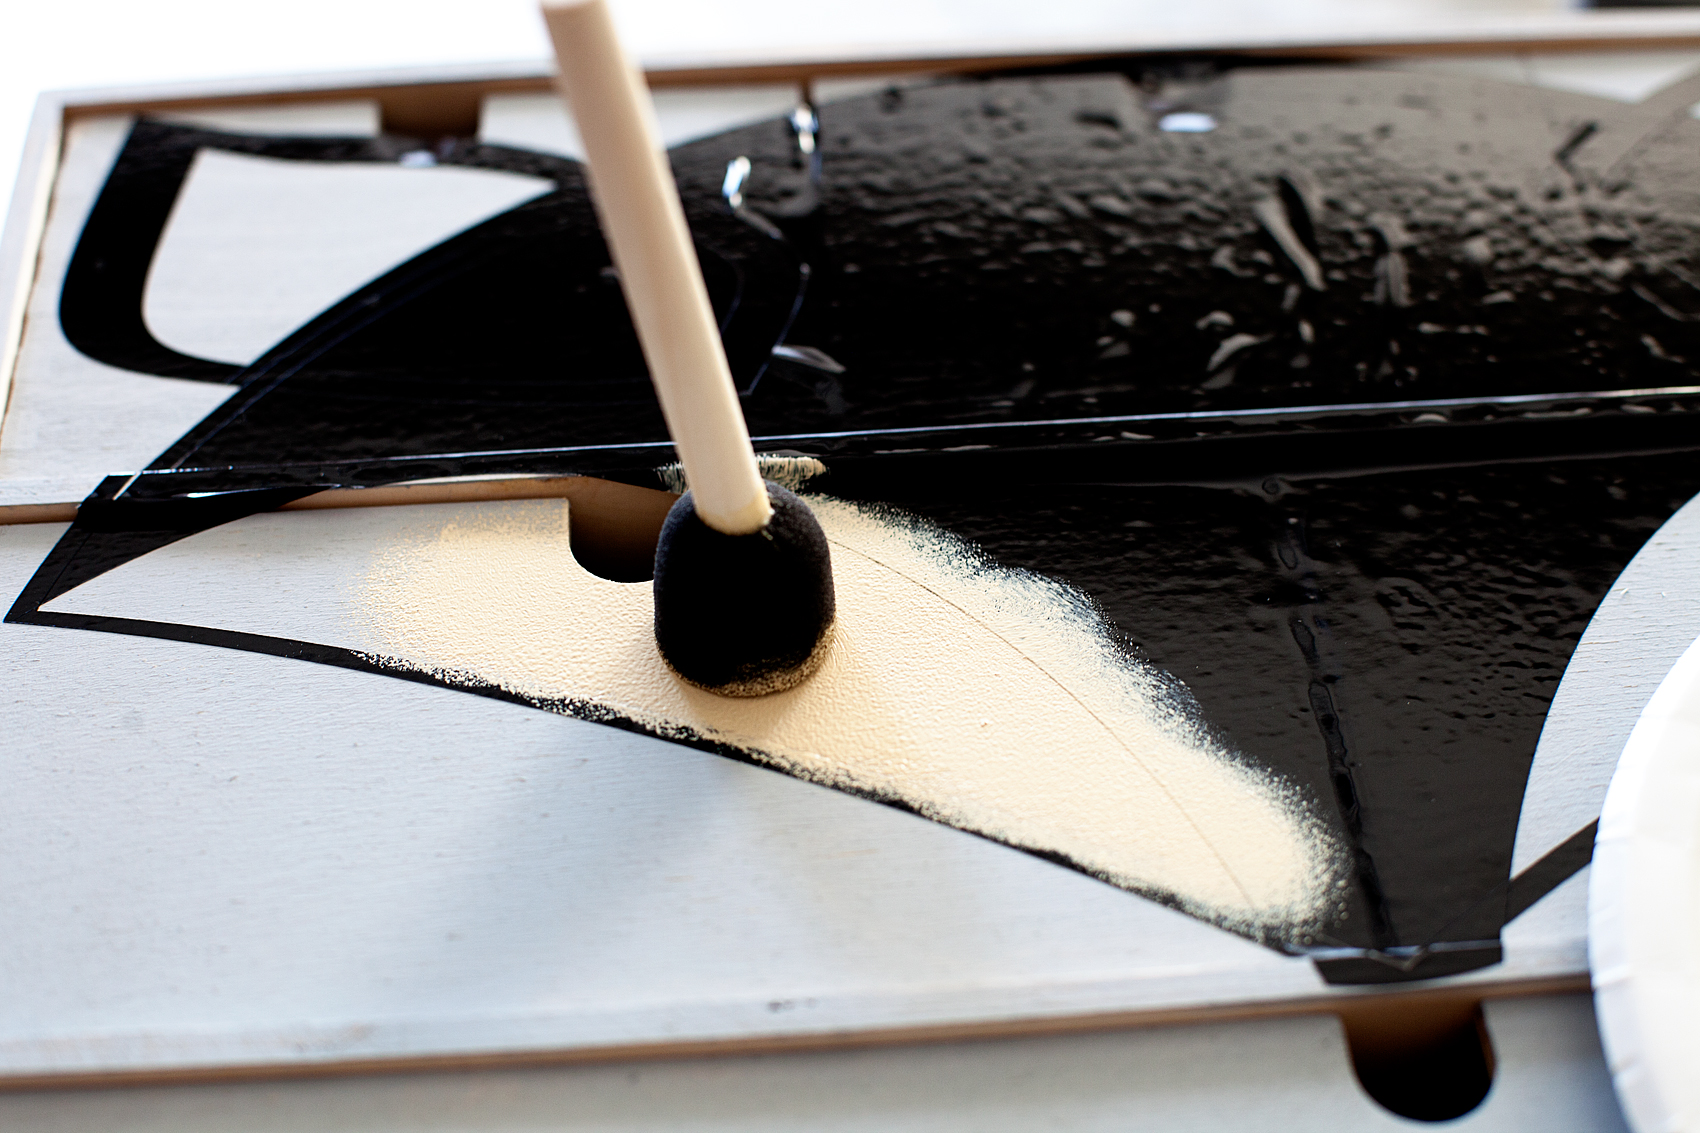
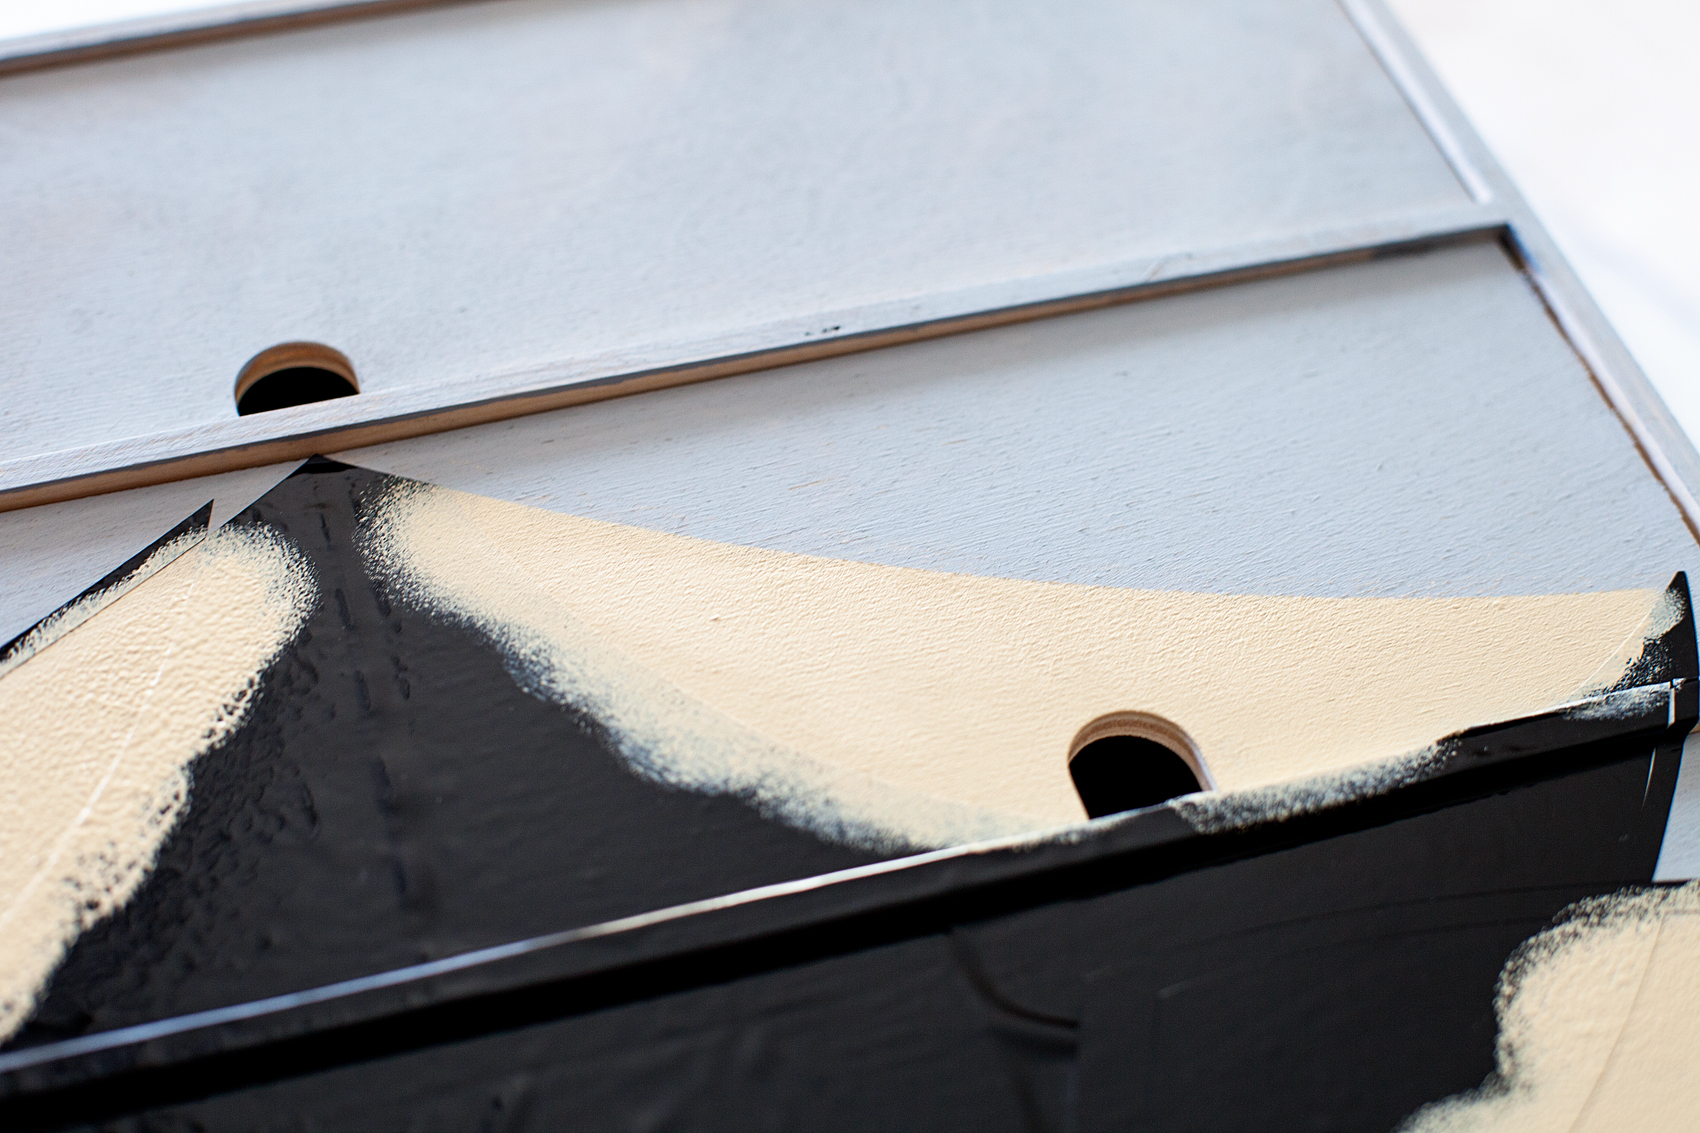
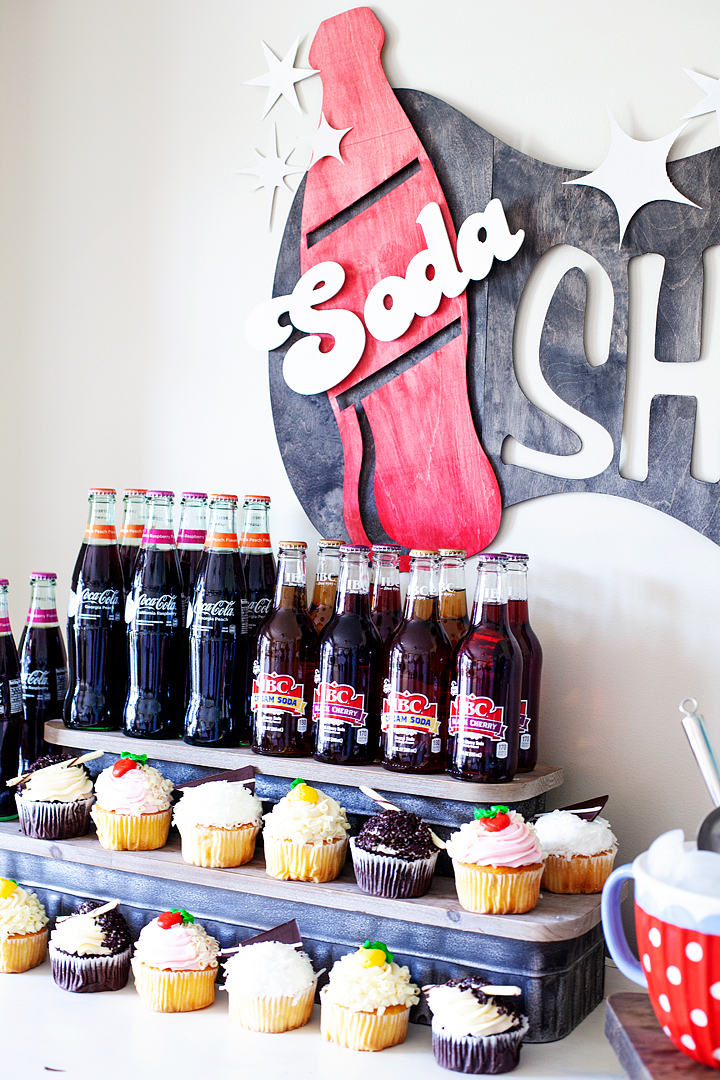
Once the sign was cut, it was time to paint it and get it all dolled up for the party. I wanted to make sure that the wood grain could still be seen through the paint so, I created a wash with some DecoArt Americana Acrylics. All you have to do is add a little water to the paint to create a color wash. You may want to have a rag on hand to wipe off the color wash, almost like you are staining the wood instead of painting it. With this technique, the sign will dry pretty fast and be ready to hang soon after painting.

Come learn how to make this retro style soda shop sign made out of wood using the @cricut knife blade • whipperberry

Hanging the Sign

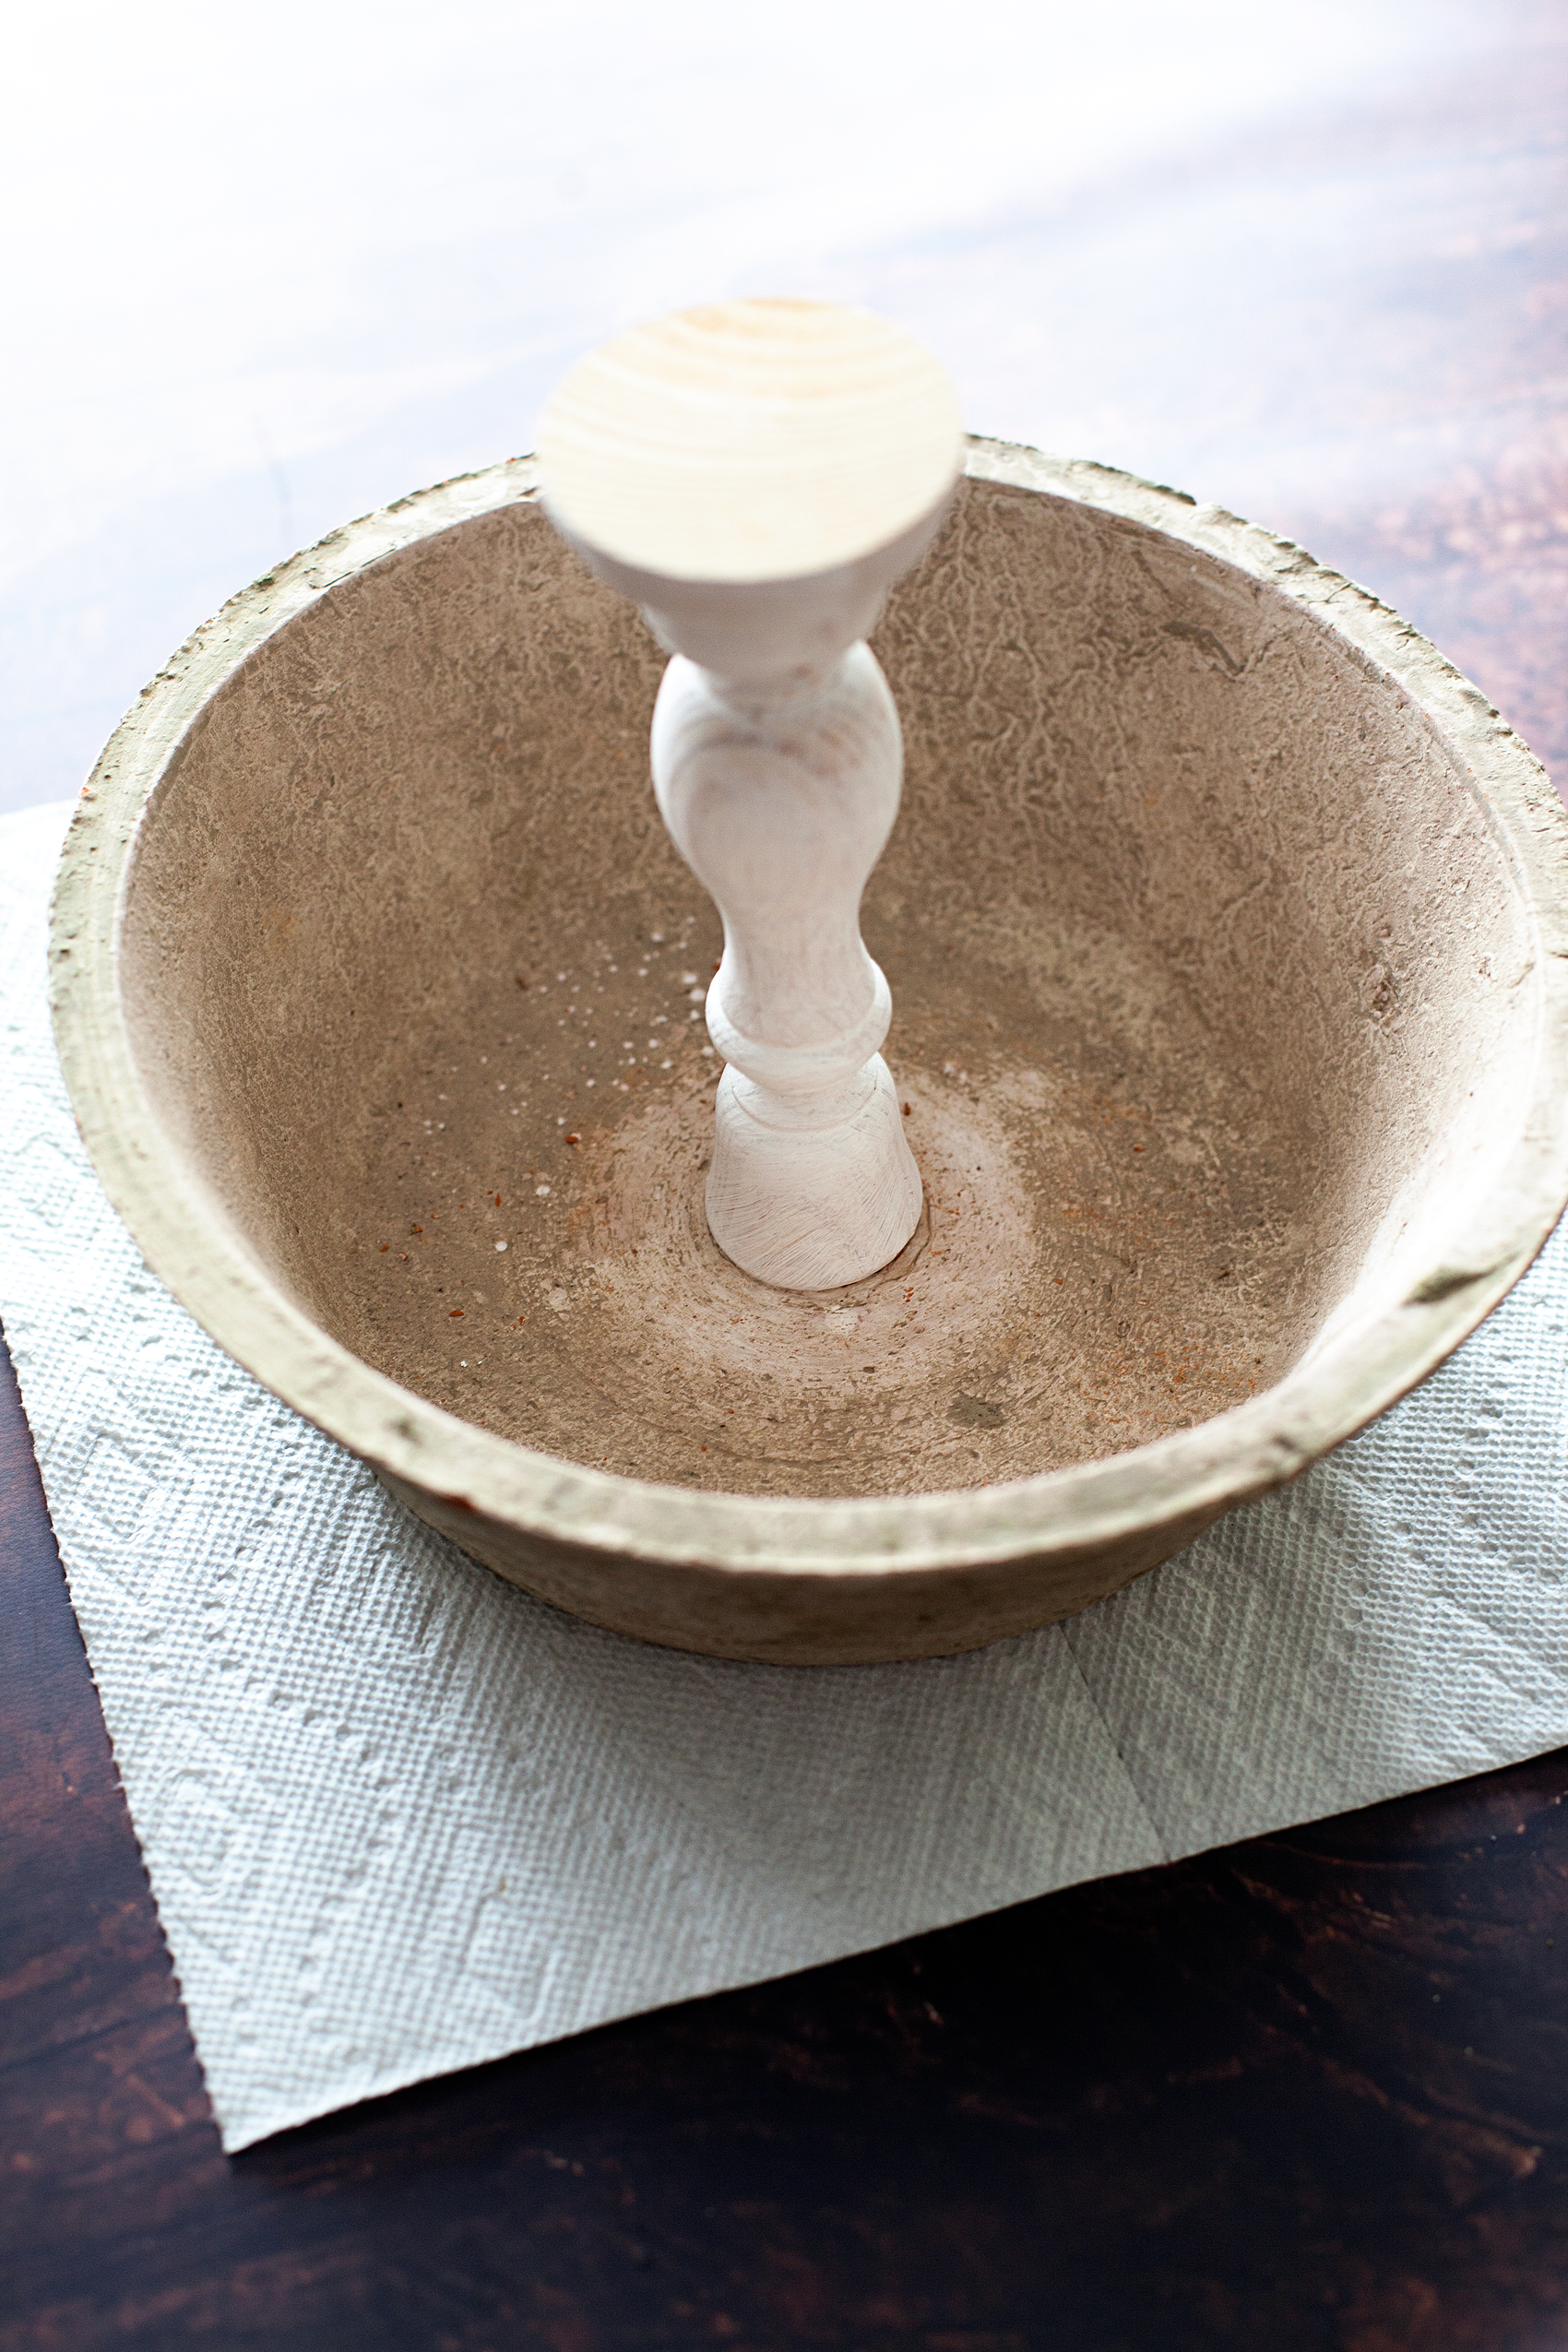
I wanted the sign to have a bit of a 3D effect and not lay flat on the wall. Typically I use Command Strips but they get pretty pricey so, I opted for some removable mounting putty from 3M to mount the sign on the wall. I could use the putty to create the 3D effects by using more putty to build up the layers. It worked like a charm!

Come learn how to make this retro style soda shop sign made out of wood using the @cricut knife blade • whipperberry

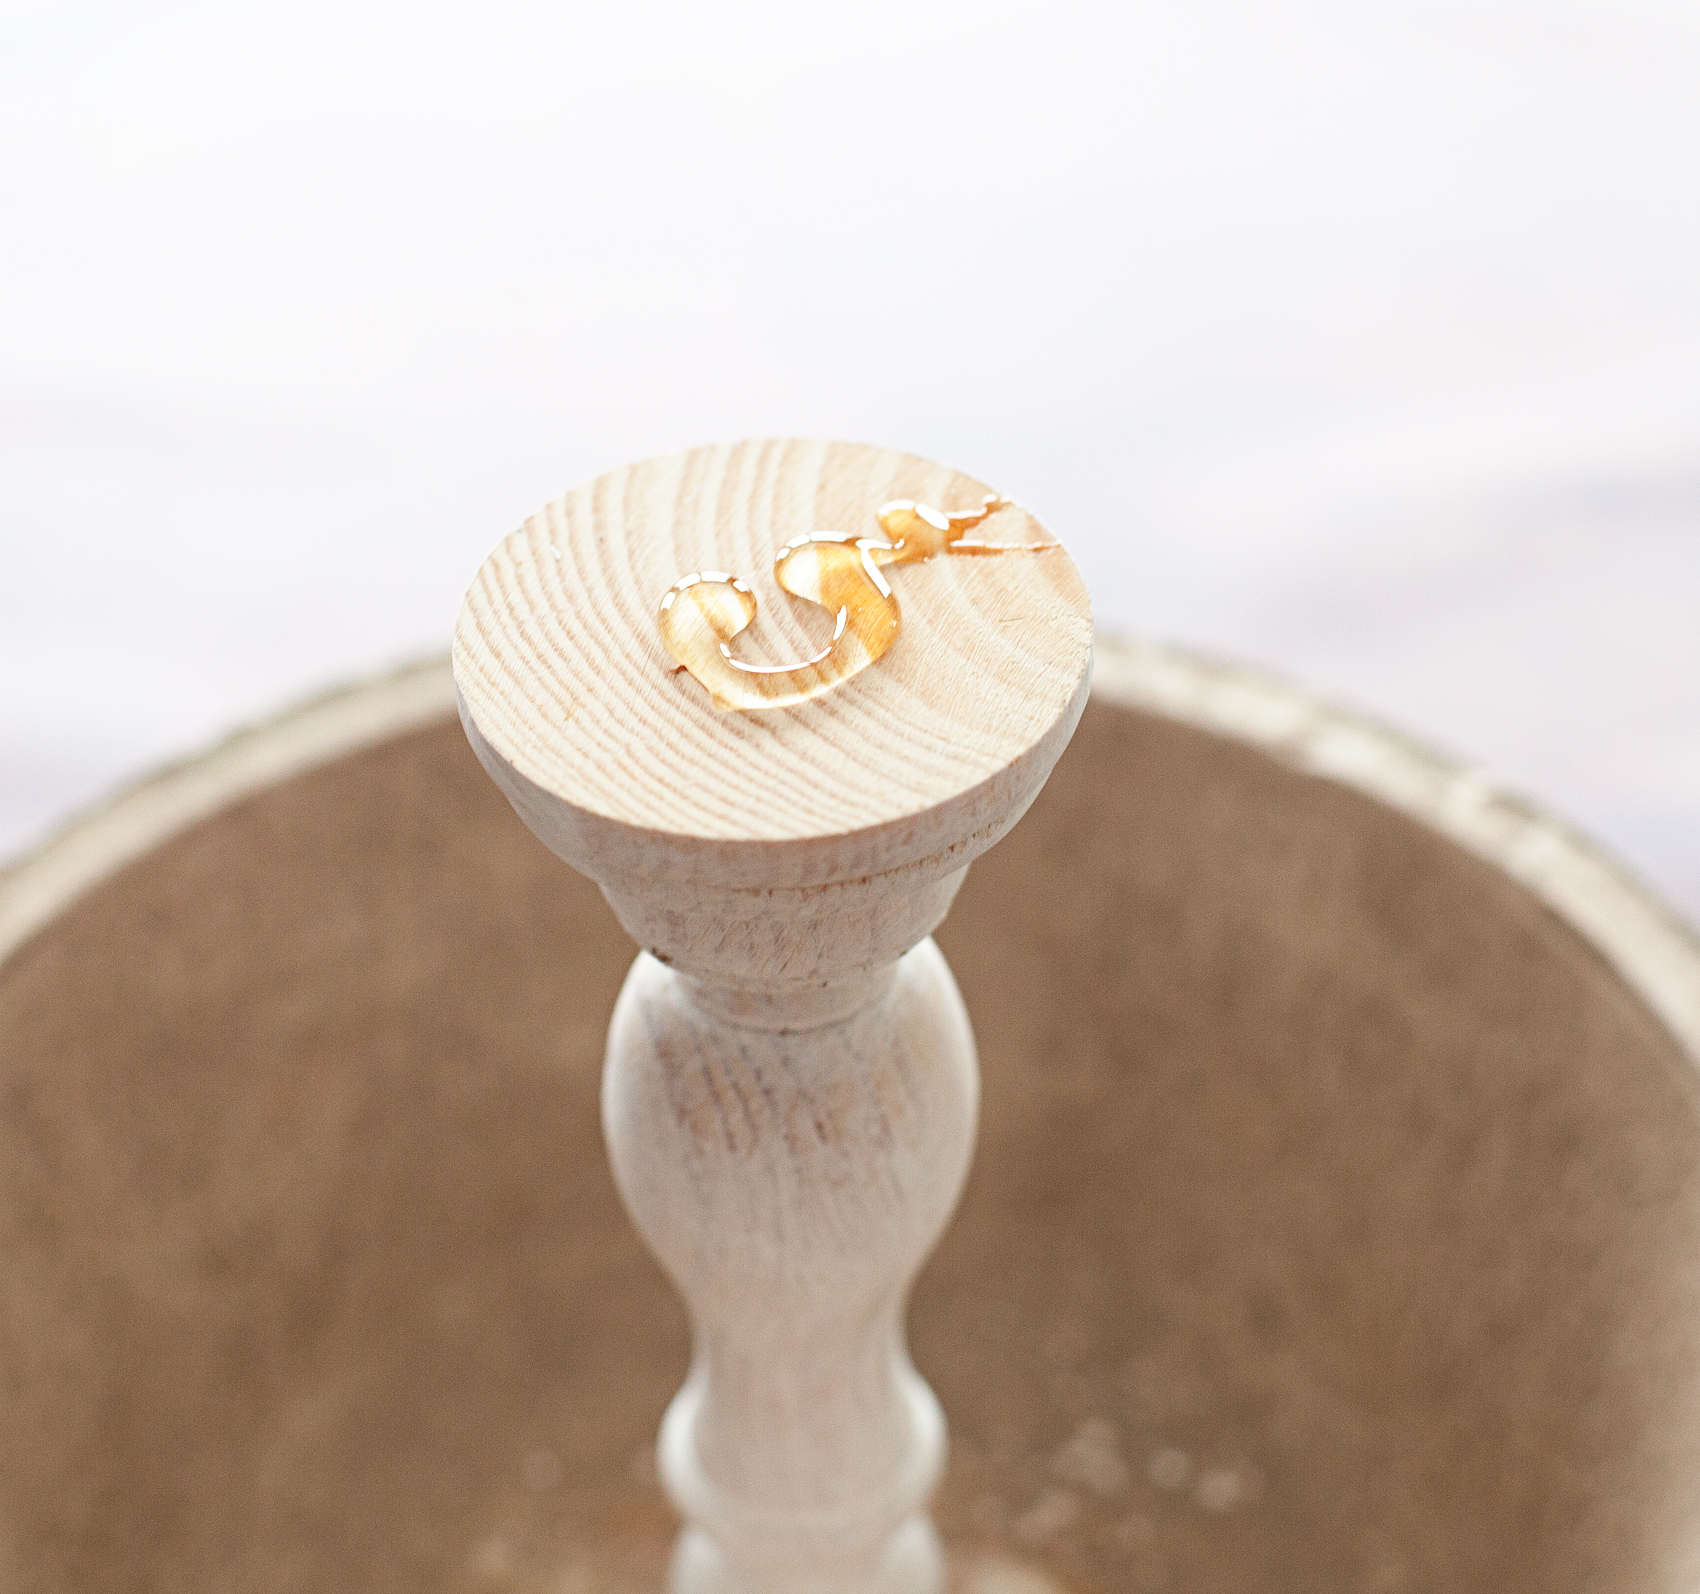
One word of advice… If you have small little pieces of a wood sign, like the center of an “O” for example. Use some painters tape to tape them to the back of the sign so that you don’t lose them in transit. Becuase, that would be a crying shame!

The party turned out great. We had a ball celebrating Hannah and all of her accomplishments. Mom brag time, she graduated a year early! Yea, high school in 3 years! Nice job Hannah.

I’m holding onto the sign to use for her sister Haley’s wedding coming up in September. It just so happens that she is going to have a soda bar as well! Stay tuned… I’m going to have all kinds of Cricut projects coming up this summer for the wedding. You won’t want to miss out!

What do you want to make with a Cricut Maker and the new Cricut knife blade?


SaveSave

SaveSave

SaveSave

SaveSave

SaveSave

SaveSave

SaveSave

SaveSave

SaveSave

This is a sponsored conversation written by me on behalf of Cricut. The opinions and text are all mine.

SaveSave

SaveSave

America The Beautiful Porch Sign

9 · Jun 8, 2018 · 3 Comments

Dressing-up the front porch at my house has become one of my favorite things to do each season. Summer is always my time to show a little love for the good ol’e USA. I host a huge 4th of July party each year and I always try to dress things up extra special for that event. This year I created a new America The Beautiful porch sign to the mix and I jazzed it up with some great stars from Michaels!

+ This post is brought to you by the fine folks at Michaels +Patriotic front porch design for the 4th of July • Let's Flamingle Sign • Sign Making 101 • WhipperBerry

Shopping at Michaels Online

Michaels has all your red, white & blue needs this summer! And it’s now easier than ever to get all your supplies with Michael’s new buy online and pick up in store feature! Simply place your order online, select your store and your items will be ready and waiting for you there! I saved a ton of time by shopping online and then running in to my local michaels store to pick-up my order. I’m LOVING this option. No more wandering the isles with kiddos in tow. I can virtually wander the isles with my kiddos happy at home. So much less stress. Then I run in and grab my order when it’s ready… Super Slick! Have you tried this out at Michaels yet?

Supplies for the America the Beautiful Porch Sign Look

Here is what I ordered for this fun patriotic look…

  • Red Stars
  • Blue Stars
  • White Stars
  • Red Star Pillow
  • Blue Star Pillow
  • 24×48 canvas
  • red spray paint
  • 3M Command Strips
  • Cricut SportFlex – Midnight Blue • This one I did have to order online via Michaels
  • Cricut Iron-On Glitter – Red
  • Cricut Foil Iron-On – Gold
  • Cricut Easy Press or personal iron
  • Cricut Design Space File
  • Let’s Flamingal Sign

How to Put This Look Together

America the Beautiful Porch Sign • WhipperBerry

Now, this look has several different elements. We have the sign and the stars on the garden wall. This was using my new tried and tested method of using the Cricut Maker to cut Iron-On Vinyl and then affixing it to a canvas using the Cricut Easy Press. This is my new favorite sign making technique. You can learn how to do everything from start-to-finish in my Sign Making 101 post.

Then all you need to do is visit Cricut Design Space with the link above in the supply list and you’ll have access to my cut files that you can re-size to your desired sign size then, cut on your Cricut Machine for your sign.

America the Beautiful Porch Sign • WhipperBerry

Once your sign is finished then it’s time to hang everything. I’ve found that the 3M Strips are BRILLIANT even on outdoor walls.

Patriotic front porch design for the 4th of July • Let's Flamingle Sign • Sign Making 101 • WhipperBerry

I hand new signs each season on my brick wall with my Command Strips. They have withstood strong winter storms without a problem at all and, let me tell you… Nebraska is no joke when it comes to strong winds and crazy storms. I have yet to have a sign fall using my Command Strips on Brick.

Hygge Canvas Sign • Sign Making 101 • WhipperBerry

I used the Command Strips to hang the large 24×48 America The Beautiful porch sign on the garden wall. With the size of the sign, I did need to use a fair number of the Command Strips to make sure the sign was secure. Then I used the command strips to hang the stars as well.

America the Beautiful Porch Sign • WhipperBerry

I kind of have a love affair with Command Strips if you can’t tell! Patriotic front porch design for the 4th of July • Let's Flamingle Sign • Sign Making 101 • WhipperBerry

I also hung one of the stars on the front door to tie the two areas together and added the great star pillows from Michaels on my old chair. Add a few plants and the look is complete. It’s perfect for your 4th of July gatherings for sure!

What are you going to order from Michaels and pick-up at your local store this week? They have some amazing sales going on right now!!


SaveSave

SaveSave

SaveSave

SaveSave

SaveSave

SaveSave

DIY Farmhouse Tiered Bowls

7 · Jan 22, 2018 · Leave a Comment

Normally a costly buy, these farmhouse tiered bowls are a stylish storage option for either the kitchen, office or craft room. Rather than breaking the bank, you can grab a few items at Michaels to make one of your own.

+ This DIY Farmhouse Tiered Bowls post brought to you by Michaels +DIY Farmhouse Tiered Bowls are easy as pie to make thanks to @michaels. Normally a costly buy, these tiered bowls won’t break the bank and they are super easy to make. A great storage option for either the kitchen or the office! Come on over to WhipperBerry to learn how to make one for your home.

I will fully admit, I love the farmhouse trend. I’ve slowly been gathering home decor pieces that help to transform my spaces into cute little farmhouse nooks.

One piece that everyone loves right now is tiered trays or tiered bowls, you see them everywhere. I’ve looked and sometimes these gems have a hefty price tag which stinks because they are great for organizing in the home. They are handy in the office to organize office supplies, pens, pencils, scissors. You can even add in some decor to dress up your office. The same is true for the craft room. Tiered bowls are great for story craft supplies; paints, brushes, markers, your Cricut tools and so much more. In the kitchen they are super handy as well. You can use them to keep healthy fruits and vegetables on the counter so that your kiddos reach for the healthy snacks that are close at hand.In need of a set of tiered bowls for the kitchen, I thought rather than purchasing one, maybe I could make one of my own.

Of course, I ran over to Michaels to see what I could find. Their isles are packed full of great storage and organization goodies this time of year. Well, all year, but this time of year especially. The cool thing about looking for storage solutions at Michaels, you can think “outside of the box” and CREATE your own storage solution from the isles there.

DIY Farmhouse Tiered Bowls Supplies

Rustic clay pots have always been a favorite of mine. I found these beautiful clay pots in the floral section at Michaels. They have that farmhouse or even old world look that I just love and, they are large… Perfect for tiered bowls.

DIY Farmhouse Tiered Bowls are easy as pie to make thanks to @michaels. Normally a costly buy, these tiered bowls won’t break the bank and they are super easy to make. A great storage option for either the kitchen or the office! Come on over to WhipperBerry to learn how to make one for your home.

• large clay pots in the floral section at Michaels (I would provide a link however, they aren’t listed online yet)

• ArtMinds™ Wood Decorative Candle Holder, 6 3/4″

• Wood Doll Head by ArtMinds®, 2.5″

• E6000® Permanent Craft Adhesive, 2.0 oz.

• Americana® Decor™ Chalky Finish Paint, 8oz. – white

Instructions

Now, this part couldn’t get any easier. To begin, I painted the candle stick with a light coat of the chalky finish paint.

DIY Farmhouse Tiered Bowls are easy as pie to make thanks to @michaels. Normally a costly buy, these tiered bowls won’t break the bank and they are super easy to make. A great storage option for either the kitchen or the office! Come on over to WhipperBerry to learn how to make one for your home.

DIY Farmhouse Tiered Bowls are easy as pie to make thanks to @michaels. Normally a costly buy, these tiered bowls won’t break the bank and they are super easy to make. A great storage option for either the kitchen or the office! Come on over to WhipperBerry to learn how to make one for your home.

That will dry in just a few minutes. While you’re waiting for that to dry, check the center point of your bowls. The bowl on that will be on the bottom may need to be sanded down a bit in order for your candle holder to sit straight.

DIY Farmhouse Tiered Bowls are easy as pie to make thanks to @michaels. Normally a costly buy, these tiered bowls won’t break the bank and they are super easy to make. A great storage option for either the kitchen or the office! Come on over to WhipperBerry to learn how to make one for your home.

Once your candle holder is dry, add your E-600 to the top and follow the package directions for adhering it to the center of the clay pot. Keep in mind, you’re going to glue the TOP of the candle holder to the bottom bowl so that the the wider BOTTOM of the candle holder will hold-up the top bowl.

DIY Farmhouse Tiered Bowls are easy as pie to make thanks to @michaels. Normally a costly buy, these tiered bowls won’t break the bank and they are super easy to make. A great storage option for either the kitchen or the office! Come on over to WhipperBerry to learn how to make one for your home.

DIY Farmhouse Tiered Bowls are easy as pie to make thanks to @michaels. Normally a costly buy, these tiered bowls won’t break the bank and they are super easy to make. A great storage option for either the kitchen or the office! Come on over to WhipperBerry to learn how to make one for your home.

I placed a paper towel underneath to protect my surface from any glue drips. Once that is nice and secure, you can glue the wood feet i.e. doll heads, to the bottom of the bowl again, with the E-6000.

DIY Farmhouse Tiered Bowls are easy as pie to make thanks to @michaels. Normally a costly buy, these tiered bowls won’t break the bank and they are super easy to make. A great storage option for either the kitchen or the office! Come on over to WhipperBerry to learn how to make one for your home.

Let those cure according to package directions and then do the same with the top bowl.

DIY Farmhouse Tiered Bowls are easy as pie to make thanks to @michaels. Normally a costly buy, these tiered bowls won’t break the bank and they are super easy to make. A great storage option for either the kitchen or the office! Come on over to WhipperBerry to learn how to make one for your home.

Once that has properly cured, you’re all finished! You now have farmhouse tiered bowls!

I’m using mine to hold fruit in my kitchen. It fits perfect on my counter tops right under my cabinets.

DIY Farmhouse Tiered Bowls are easy as pie to make thanks to @michaels. Normally a costly buy, these tiered bowls won’t break the bank and they are super easy to make. A great storage option for either the kitchen or the office! Come on over to WhipperBerry to learn how to make one for your home.

I love the look of these pots so much, I stocked up on some smaller ones for all of my plants this spring.

What are you looking to organize? Do you need a creative storage solution? Michaels has everything you need to get organized for the new year! From washi storage to lexington carts, you can MAKE your year the most organized one yet!

What to keep this project idea close at hand? Feel free to pin the image below to your favorite DIY board so that you can find it later.

DIY Farmhouse Tiered Bowls are easy as pie to make thanks to @michaels. Normally a costly buy, these tiered bowls won’t break the bank and they are super easy to make. A great storage option for either the kitchen or the office! Come on over to WhipperBerry to learn how to make one for your home.

SaveSave

SaveSave

SaveSave

SaveSave

SaveSave

SaveSave

SaveSave

SaveSave

SaveSave

SaveSave

SaveSave

SaveSave

Fox Storage Chest • DecoArt IKEA Moppe Challenge

18 · Jan 2, 2018 · 4 Comments

You guys, I’m so excited for today’s post! If you’ve been following along on my Instagram Stories, you’ll know that I’m in the process of making over my little guys room. I’m getting so close to being finished and I can’t wait to share what we’ve been working on. Today, I’m sharing one of the fun elements that we will be putting in his room to dress it up. It’s a cute Fox Storage Chest for all of his little trinkets and toys. You know all of the little bits and pieces that little boys tend to collect. The timing couldn’t be more perfect, DecoArt gave all of their bloggers a challenge for January. The challenge was to make over a mini storage chest from IKEA. The IKEA Moppe to be exact. It turned out so cute and I can’t wait to tell you all about it.

+ This post brought to you by DecoArt +Transform a simple mini storage chest from IKEA into this cute little fox storage chest for your little ones little toys and trinkets. I used some of the @decoart chalky finish paint along with my @cricut Maker to create this fun design for my little boys room • WhipperBerry

The Challenge

DecoArt sent out a challenge a little while back to transform this simple wood storage chest from IKEA any way that we would like. It may sound crazy but, I struggled coming up with a concept for the design. There were so many directions I could go; farmhouse, industrial, buffalo check, stripes… So many different ways I could take the design. This little chest sat in my craft room for weeks and I couldn’t figure out what I wanted to do. For some reason, the word challenge puts so much pressure on me and I freeze. Finally, I decided that before I could decide on a design, I needed to figure out what I wanted to do with the storage chest when I was finished. I am in the process of making over my little boys room and I decided this would be the perfect place for him to store his little things.

With that MAJOR decision made, I placed the storage chest on the table and looked at it for awhile. Again, paralyzed by all of the different directions I could go. Finally, you’re going to think I’m crazy, I was looking at the piece and all of a sudden, I saw a face looking back at me. A cute little fox face and that’s when I knew what I needed to do.

Transform a simple mini storage chest from IKEA into this cute little fox storage chest for your little ones little toys and trinkets. I used some of the @decoart chalky finish paint along with my @cricut Maker to create this fun design for my little boys room • WhipperBerry

I set to work designing my fox and preparing it to cut on my Cricut Maker. As we have discussed before, I really have zero talent when it comes to freehand painting but, with the help of my Cricut, I can create some great stencils. I may not be able to freehand paint but, I have mad stenciling skills!

Supplies

I realize that this is a rather specific project but really, This stencil and the concept can work on all kinds of furniture or signs. So, don’t get discouraged if you don’t live close to an IKEA. You can find something that this will look super cute on. Here are the basic supplies.

  • Mini Storage Chest – We used the Moppe from IKEA
  • Americana Decor Chalky Finish Paint – colors; Yesteryear, Heritage & Timeless
  • foam stencil brush
  • small foam brush
  • Cricut machine
  • download my fox SVG file
  • vinyl
  • transfer tape

Instructions

The first thing you’ll want to do is paint your base coat of the Americana Decor Chalky Finish Paint in the Yesteryear color. The reason why I selected the Chalky finish is that I prefer the matte look rather than a satin or enamel type paint. Plus, I think it’s a little more forgiving.

Transform a simple mini storage chest from IKEA into this cute little fox storage chest for your little ones little toys and trinkets. I used some of the @decoart chalky finish paint along with my @cricut Maker to create this fun design for my little boys room • WhipperBerry

Transform a simple mini storage chest from IKEA into this cute little fox storage chest for your little ones little toys and trinkets. I used some of the @decoart chalky finish paint along with my @cricut Maker to create this fun design for my little boys room • WhipperBerry

Since this piece is raw wood, it really soaked up the paint and it dried super fast (which I LOVE!) This whole project, once I had the design finished, only took about an hour.

The Fox Stencil

While I was waiting for the base coat to dry, I cut the first part of my fox stencil, you can download that HERE.

Transform a simple mini storage chest from IKEA into this cute little fox storage chest for your little ones little toys and trinkets. I used some of the @decoart chalky finish paint along with my @cricut Maker to create this fun design for my little boys room • WhipperBerry

Because I was using two different colors for the fox, I had to create two different stencils. One for the inner part of the ears and cheeks, the second for the outer ears and face. Below, you will see how to weed the vinyl once you’ve cut the design.

Transform a simple mini storage chest from IKEA into this cute little fox storage chest for your little ones little toys and trinkets. I used some of the @decoart chalky finish paint along with my @cricut Maker to create this fun design for my little boys room • WhipperBerry

Painting

I really don’t think the order matters but, just in case, I stenciled the inner ears and cheeks first.

Transform a simple mini storage chest from IKEA into this cute little fox storage chest for your little ones little toys and trinkets. I used some of the @decoart chalky finish paint along with my @cricut Maker to create this fun design for my little boys room • WhipperBerry

Once I weeded the excess vinyl, I covered the design with transfer tape to transfer the image onto the storage chest.

Transform a simple mini storage chest from IKEA into this cute little fox storage chest for your little ones little toys and trinkets. I used some of the @decoart chalky finish paint along with my @cricut Maker to create this fun design for my little boys room • WhipperBerry

I used my scraper tool to press the vinyl down especially on the ridges of the chest. Then I carefully removed the transfer tape. Take your time here and move slowly if needed.

Transform a simple mini storage chest from IKEA into this cute little fox storage chest for your little ones little toys and trinkets. I used some of the @decoart chalky finish paint along with my @cricut Maker to create this fun design for my little boys room • WhipperBerry

Transform a simple mini storage chest from IKEA into this cute little fox storage chest for your little ones little toys and trinkets. I used some of the @decoart chalky finish paint along with my @cricut Maker to create this fun design for my little boys room • WhipperBerry

Using your finger go around the edges of the areas that you will be painting and make sure you have a good seal with the vinyl. With the Timeless color, I used a foam stencil brush to get started. With a light amount of paint on my brush, using a gentle up and down motion, I painted the inner ears and cheeks.

Transform a simple mini storage chest from IKEA into this cute little fox storage chest for your little ones little toys and trinkets. I used some of the @decoart chalky finish paint along with my @cricut Maker to create this fun design for my little boys room • WhipperBerry

Transform a simple mini storage chest from IKEA into this cute little fox storage chest for your little ones little toys and trinkets. I used some of the @decoart chalky finish paint along with my @cricut Maker to create this fun design for my little boys room • WhipperBerry

Once you’ve finished painting those sections, carefully remove the vinyl. I typically don’t really wait for the paint to completely dry, you just need to be careful when lifting and removing the vinyl so that you don’t mess up the paint.  If you’ve been careful and not used too much paint or pressure, you’ll have a beautiful line.

Transform a simple mini storage chest from IKEA into this cute little fox storage chest for your little ones little toys and trinkets. I used some of the @decoart chalky finish paint along with my @cricut Maker to create this fun design for my little boys room • WhipperBerry

Now, you’ll need the 2nd section of your stencil weeded like the image below.

Transform a simple mini storage chest from IKEA into this cute little fox storage chest for your little ones little toys and trinkets. I used some of the @decoart chalky finish paint along with my @cricut Maker to create this fun design for my little boys room • WhipperBerry

Transform a simple mini storage chest from IKEA into this cute little fox storage chest for your little ones little toys and trinkets. I used some of the @decoart chalky finish paint along with my @cricut Maker to create this fun design for my little boys room • WhipperBerry

Like before, use the transfer tape to place the stencil carefully on the storage chest. You’ll need to line-up the ears and cheeks but, with the Cricut clear transfer tape that’s not hard at all.

Transform a simple mini storage chest from IKEA into this cute little fox storage chest for your little ones little toys and trinkets. I used some of the @decoart chalky finish paint along with my @cricut Maker to create this fun design for my little boys room • WhipperBerry

Repeat the same painting technique with the Heritage color for the outer ear and face of the fox.

https://shop.cricut.com/en_us/cutting-materials/vinyl/transfer-paper/new-cricut-reg-transfer-tape.html

When you’re finished with that, remove the vinyl and let the paint fully dry. That will really only take 10 minutes or so. (That’s another reason why I love the chalky finish paint.)

You’re finished!

Transform a simple mini storage chest from IKEA into this cute little fox storage chest for your little ones little toys and trinkets. I used some of the @decoart chalky finish paint along with my @cricut Maker to create this fun design for my little boys room • WhipperBerry

How cute is that for a little guys room? You could even add some cute girly eyelashes and it would look super cute in a girls room as well. I just LOVE it!!

Transform a simple mini storage chest from IKEA into this cute little fox storage chest for your little ones little toys and trinkets. I used some of the @decoart chalky finish paint along with my @cricut Maker to create this fun design for my little boys room • WhipperBerry

Now, Gage will have the perfect spot for his little things. If you had a chance to do the mini storage chest challenge, what would you like to create? How would you like to use it? What DecoArt products would you use?

Disclaimer • I am a DecoArt Blogger and have received product and compensation for my time and efforts. All thoughts, ideas, and opinions are my very own.

  • « Go to Previous Page
  • Go to page 1
  • Go to page 2
  • Go to page 3
  • Go to page 4
  • Interim pages omitted …
  • Go to page 10
  • Go to Next Page »

Primary Sidebar

Heather from Whipperberry
Hello... my name is Heather and I'm the creator of WhipperBerry a creative lifestyle blog packed full of great recipes and creative ideas for your home and family. I find I am happiest when I'm living a creative life and I love to share what I've been up to along the way... Come explore, my hope is that you'll leave inspired!

Footer

  • Privacy Policy

Copyright © 2023 · Seasoned Pro