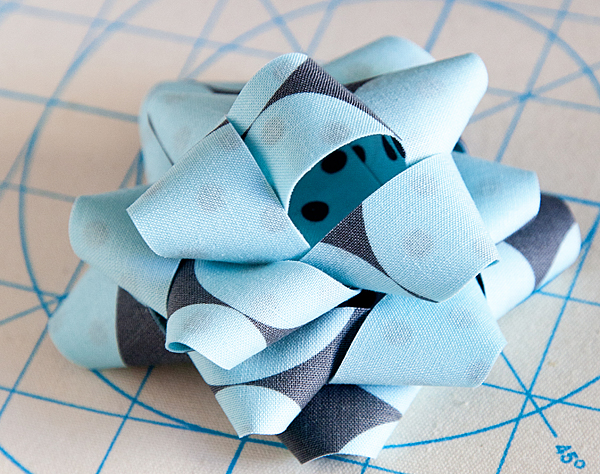
If you’ve be reading WhipperBerry for any time at all, you know I LOVE good packaging. I love those extra special embellishments that really say that you’ve taken the time and effort to make the gift or goodie something extra special. Not too long ago I saw a tutorial on how to make one of those generic bows out of burlap from For the Love, and it got me thinking… I wonder if you could make a fancy stacked bow out of fabric and have it still have a crisp form? I started to play around and sure enough, you can. Here is how to make a DIY fancy bow out of fabric…
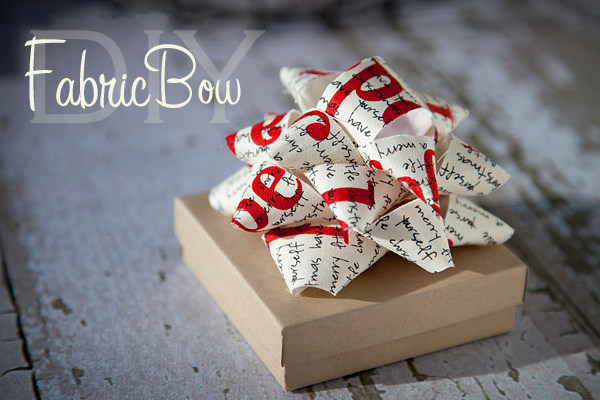
Here is Your Supply List to Make Your Own Fabric Bow
- Fabric ~ I used fat quarters and they work perfectly for this.
- Interfacing ~ I used Wonder Under
- Stapler & Staples
- Glue Gun & Glue Sticks
- Iron & Ironing Board
If you don’t have some of these supplies it’s quite easy to find them. You can get them at Amazon, your local craft store, or with a quick Google search online.
DIY Fabric Bow Tutorial
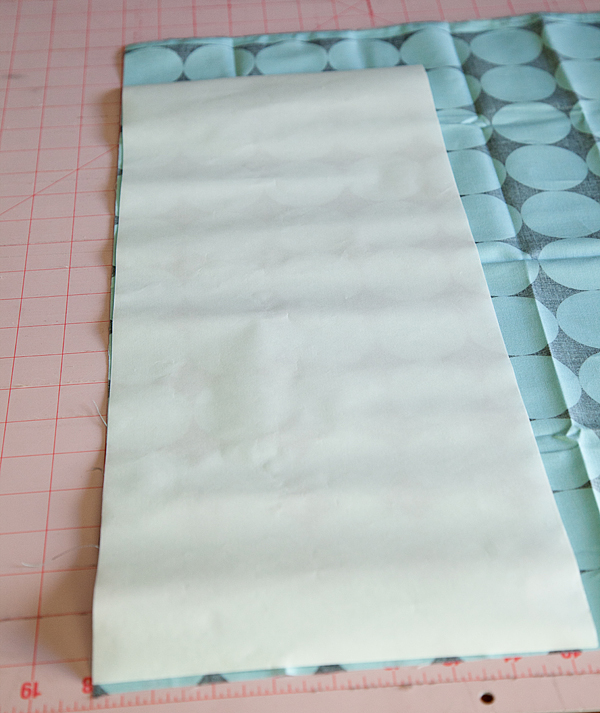
Cut fabric interfacing {Wonder Under} to 8×20 inches. Iron the “right” side of the interfacing to the wrong side of the fabric.
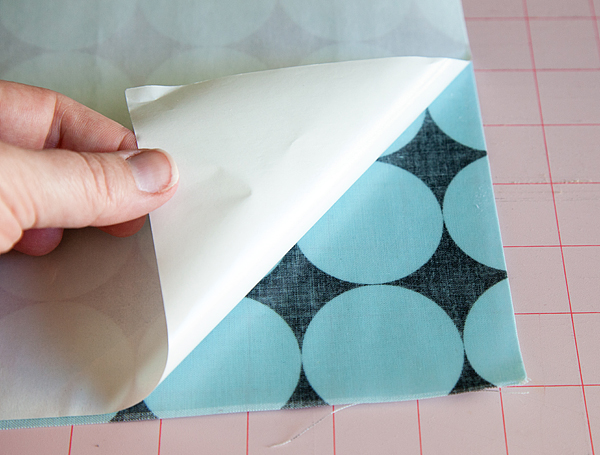
Let the fabric cool and then peel the paper from the interfacing that is now affixed to the fabric.
Place another piece of 8×20 fabric “right” side up on the top of the “wrong” side, with the interfacing sandwiched in the middle and then iron together.
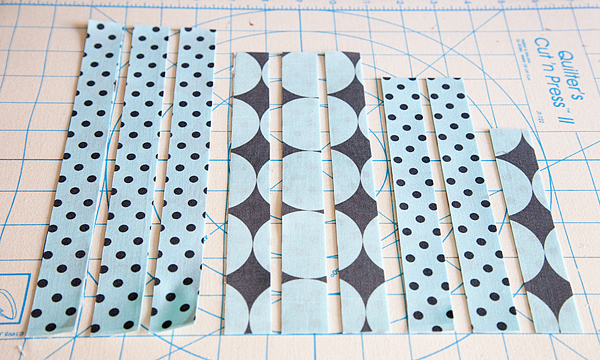
Cut fabric into 9 strips…
- Three 10 inches
- Three 9 inches
- Two 8 inches
- One 6 inches
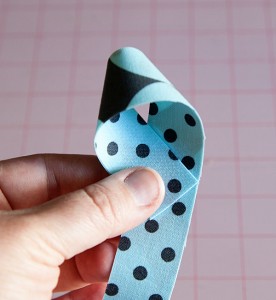
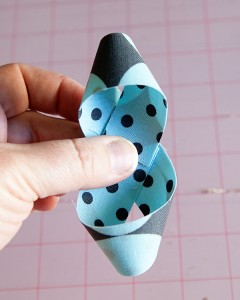
Starting with the first 10-inch strip of fabric, make a loop on one end with the tail meeting up in the middle. Flip the fabric over and do the same with the opposite end with the tails meeting in the middle and overlapping slightly.
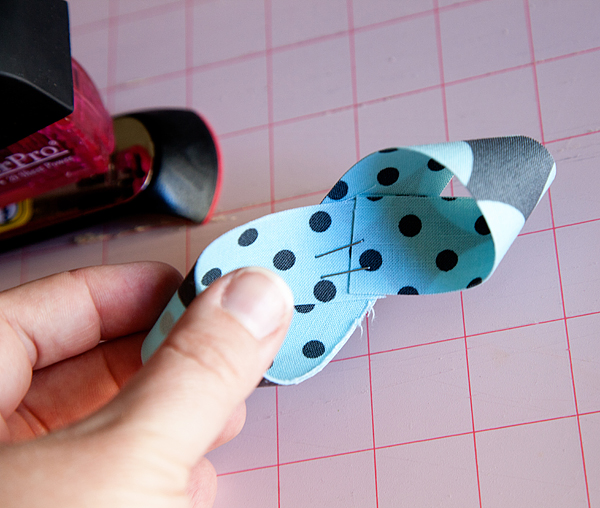
Place a staple or two to secure the two loops.
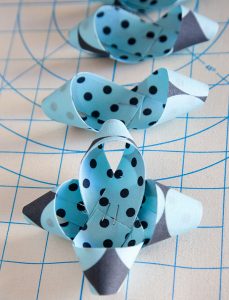
Repeat with the rest of the 10, 9 & 8-inch strips of fabric.
Start to layer each section starting with the largest {10 in.} loops crisscrossing them and adding a dab of hot glue in the middle to secure.
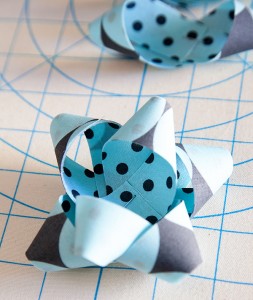
Continue Layering the largest to the smallest in the criss-cross pattern until you have used all of the 10, 9 & 8-inch loops. With the 6-inch strip of fabric, make a simple loop making sure to size it to bow. Secure with a staple or a dab of hot glue. Then place at the top of the bow with a dab of hot glue. Voila… You now have a stunning fabric bow!
If you would like to print the instructions for this tutorial click here for the PDF version…
This wraps up my fancy DIY fabric bow tutorial. Have any other questions or tips for how to make a fabric bow? Leave them down in the comments below. Or, if you want some more crafts to do when you’re bored make sure to check out that page.
