+ Moms, Dads & Grads Pinterest Party AND Printable Mother’s Day Gift Idea +
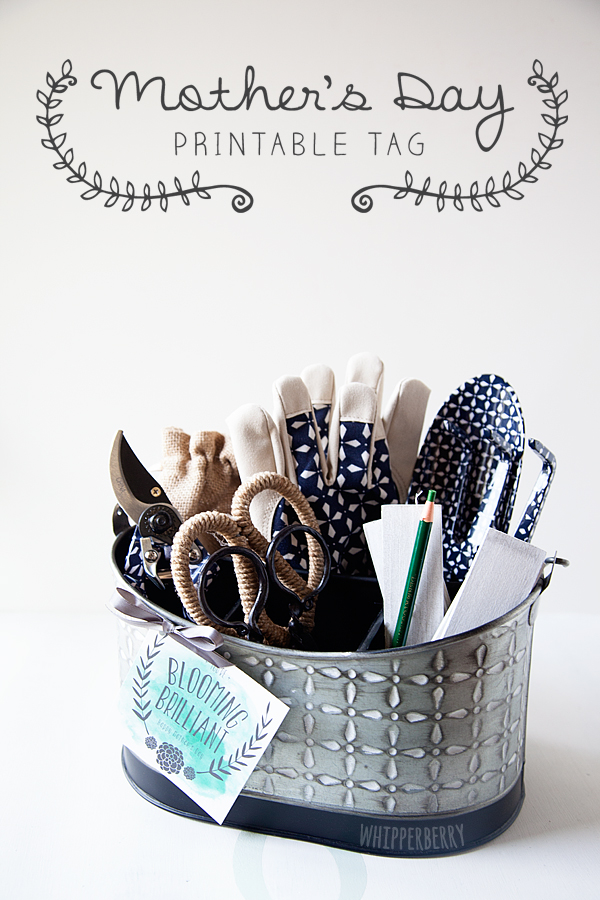
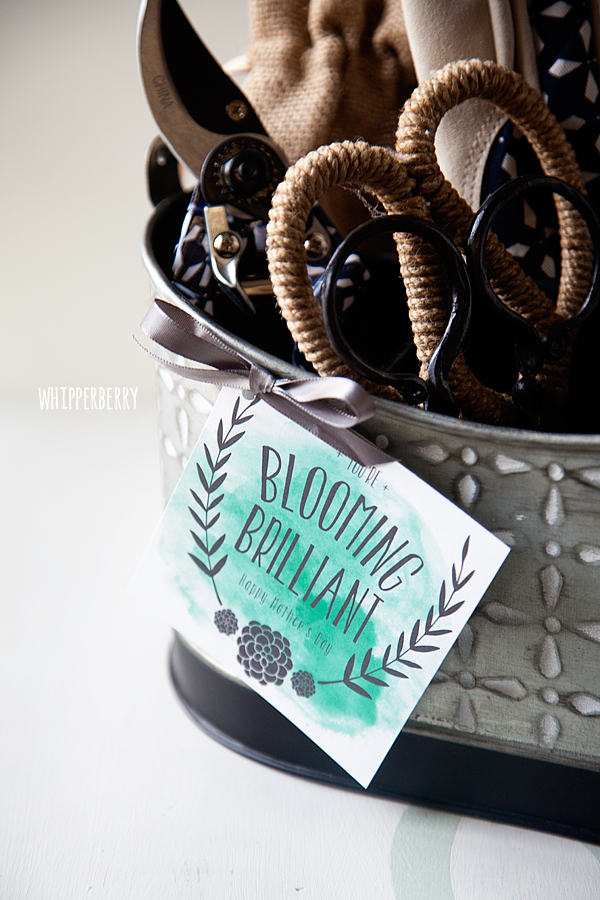
Mother’s Day is right around the corner and now’s the time to start planning. My Mom is an avid gardener so when I saw these cute gardening tools at Target I immediately thought of my Mom. I know that many Moms out there are big fans of the garden arts, so I thought I would make up a cute gift tag to go along with any type of gardening gift!

It has a bit of a British ring to it and I just fell in love with the idea of a fun watercolor type card. You can even print it on textured paper and it would look like you added a little water color flair to your gift tag. If the green doesn’t work for your gift, I am also offering it in just the basic black and white as well.
You can download the free printable gift tag HERE!
Now all you have to do is find a fun garden themed gift and add this fun tag and you’re set with a fabulous gift for your Mom!!
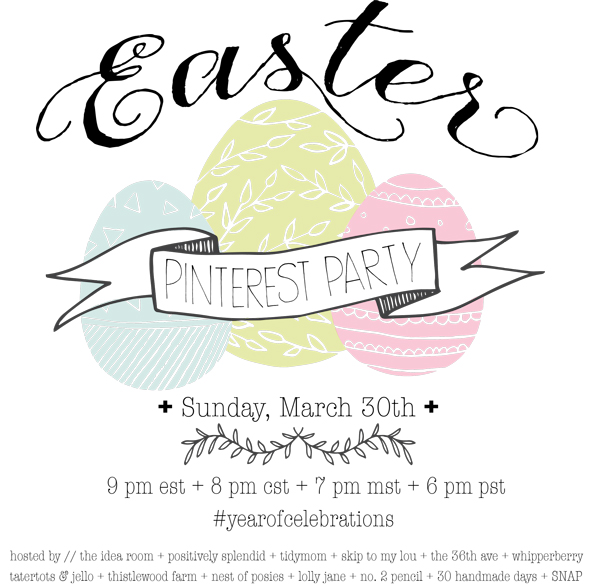
I’m sharing this gift idea along with a bunch of talented friends during this month’s YEAR OF CELEBRATIONS blog hop!
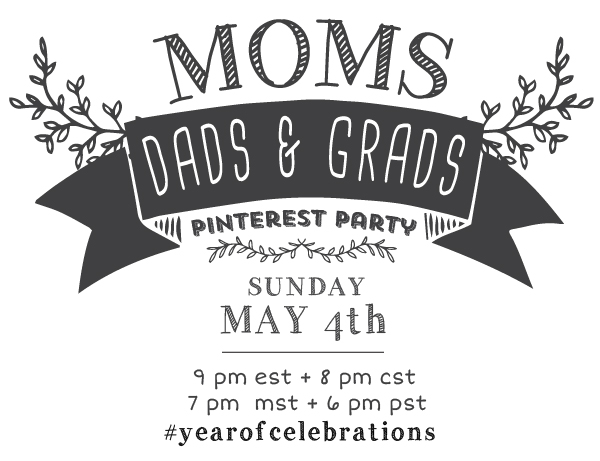
This months theme is Moms, Dads & Grads and you’re invited to join along!
The Mom/Dad/Grad-themed Year of Celebrations Pinterest party will be held this Sunday, May 4, and you all are all cordially invited to join in!
Hosted by…
- Amy from The Idea Room // Follow Amy on Pinterest
- Amy from Positively Splendid // Follow me on Pinterest
- Cheryl from TidyMom // Follow Cheryl on Pinterest
- Cindy from Skip to My Lou // Follow Cindy on Pinterest
- Desiree from The 36th Avenue // Follow Desiree on Pinterest
- Heather from Whipperberry // Follow Heather on Pinterest
- Jen from Tatertots and Jello // Follow Jen on Pinterest
- Kari Ann from Thistlewood Farms // Follow Kari Ann on Pinterest
- Kellie from Nest of Posies // Follow Kellie on Pinterest
- Kristi and Kelli from Lolly Jane // Follow Lolly Jane on Pinterest
- Melissa from No. 2 Pencil // Follow Melissa on Pinterest
- Mique from 30 Handmade Days // Follow Mique on Pinterest
- Tauni from SNAP! // Follow Tauni on Pinterest
The monthly Year of Celebrations Pinterest Party is the place to find THE most comprehensive, inspiring Pinterest board on the block. Each and every month, we’ll be focusing on a different holiday or celebration, and this month is all about Moms, Dads and Grads! Here are all of the details for how YOU can participate:
- What: A Pinterest Party to celebrate all things Mom/Dad/Grad!
- When: THIS Sunday, May 4, 2014 at 9 p.m. EST/ 8 p.m. Central/ 7 p.m. MST/ 6 p.m. PST
How you can participate:
- Round up YOUR favorite Mom, Dad or Graduation projects and recipes. Anything goes: crafts, decor, sweet treats, and more!
-
Follow the Year of Celebrations Pinterest board.
- When the party kicks off, tweet YOUR favorite project and/or link using the hashtag #yearofcelebrations. Helpful hint: We highly recommend putting the hashtag at the beginning of your tweet to ensure it doesn’t get cut off.
- On Sunday, May 4, tune in at 9 p.m. EST and watch as we build a board full of amazing ideas – including yours!
- Be sure to follow along during the party to repin and comment on the board’s posts using the hashtag #yearofcelebrations.