• Skip to primary navigation
  • Skip to main content
  • Skip to primary sidebar
  • Skip to footer

Whipperberry

WhipperBerry • Your Home For Creative Inspiration

  • Home
  • Recipes
    • Starters
    • Easy Weeknight Dinners
    • Main Dish
    • Salads
    • Side Dish
    • Soups & Stews
    • Desserts
    • Breakfast
    • Miscellaneous
  • Tutorials
    • Creative Crafts
    • DIY Decor
    • Fabric Crafts
    • Food How-To
    • Jewlery
    • Paint Projects
    • Paper Art
    • Party Styling
    • Photography and Graphic Design
    • Silhouette
  • Holidays
    • Easter
    • Mother’s Day
    • Father’s Day
    • 4th of July
    • Halloween
    • Thanksgiving
    • Christmas
    • Valentine’s Day
  • Gift Ideas
    • Gifts For Everyone
    • Gifts for Dad
    • Mother’s day
    • For The Girls
    • For The Kids
    • Teacher Gift Ideas
    • Christmas
  • Printables
    • Holiday
    • Gift Idea
    • LDS Primary
  • Travel
  • About
    • Terms
  • Contact
  • Nav Social Menu

    • Facebook
    • Instagram
    • Pinterest
    • RSS
    • Twitter

Gifts

12 Free Start of School Printables // Great Teacher Gift Ideas

142 · Aug 14, 2013 · 24 Comments

12 free back to school printables // It's here, it's here! Well for some of us anyway. It's back to school time! My kiddos actually started school yesterday, so we are already in full swing school mode. Some of you still have a couple more weeks before those school bells start ringing. 

Today, I've teamed up with my talented Printable Club friends to share 12 fabulous back to school printables that are sure to make this year even more magical for your kiddos!

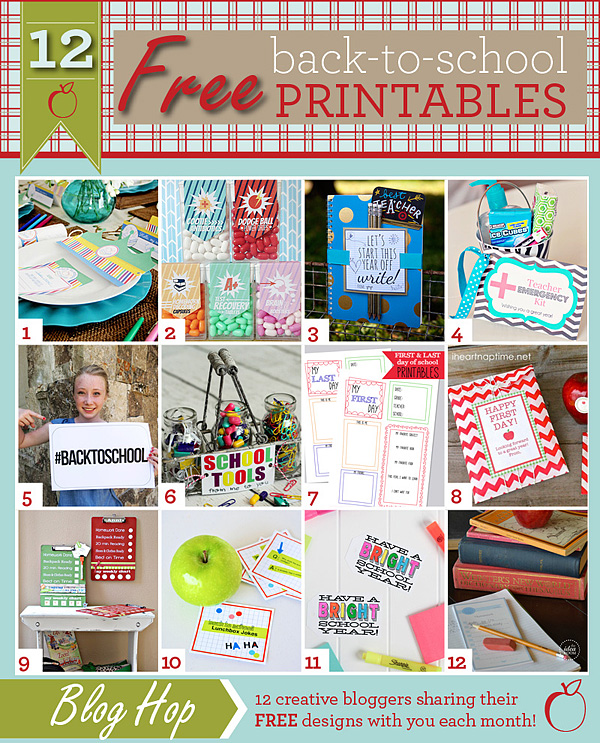
12 Free Back to School Printables

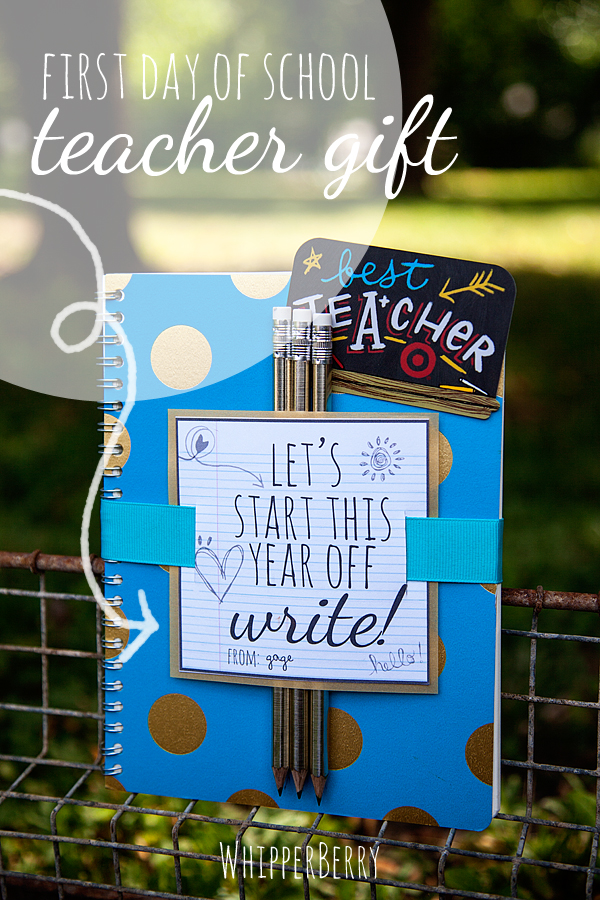
I created a fun printable tag, that when added to a stylish notebook along with some pencils or pens will make a great 1st day teacher gift. If you're feeling extra generous, you can add a Target gift card or something to really earn some extra brownie points. 

First Day of School Teacher Gift from WhipperBerry

I found my notebooks at Target along with the gold pencils that paired nicely with the gold accents on the notebooks…

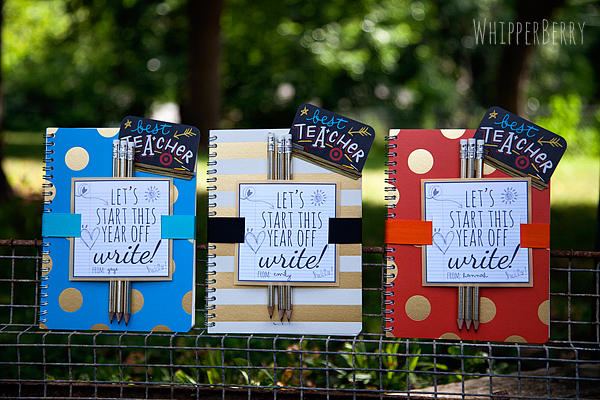
Let's Start this Year Off Write Printable from WhipperBerry #teachergifts

I layered the printable tag with some gold vellum and then cut slits into the sides and fed a ribbon through to secure the tag to the book. I used glue dots on the back of the book to secure the ribbon in the back. It worked rather slick! If you would like to print a fun tag for your kiddo's new teachers this year, all you have to do is click on the arrow in the box below to download the printable tag from Box.com…

For even more printable fun, click through this blog hop to find 11 more free back to school printables from some pretty talented ladies!!

back to school printable blog hop

1 // The Dating Divas – A Back To School themed dinner for setting goals with your spouse AND the kids!
2 // Somewhat Simple – Fun and quirky Back To School Tic Tac Labels: Arm your kids this school year with cootie antibiotics, brain cell boosters, and more!
3 // Whipperberry – A great gift for your teacher to start the year off right!
4 // Crafting Chicks – Teacher Emergency Kit to wish them a great year!
5 // Tatertots & Jello – Instagram-ready "hashtag" first day of school photo props.
6 // L'il Luna – An adorable Back to School Teacher Gift!
7 // My Sister's Suitcase – Printable Keepsake to record first and last days of school memories!
8 // I Heart Nap Time – A small gift for the first day of school.
9 // The 36th Avenue – A weekly chart to help keep your kids on track.
10 // Paging Supermom – Free Printable Lunchbox Jokes to brighten your kiddo's school day.
11 // The TomKat Studio – A "Bright" Printable Gift Tag for Teachers!
12 // The Idea Room – DIY Back-to-School Homework "To-Do" Notepad

Ruffled Apple Pencil Holder // Back to School

1 · Aug 11, 2013 · 3 Comments

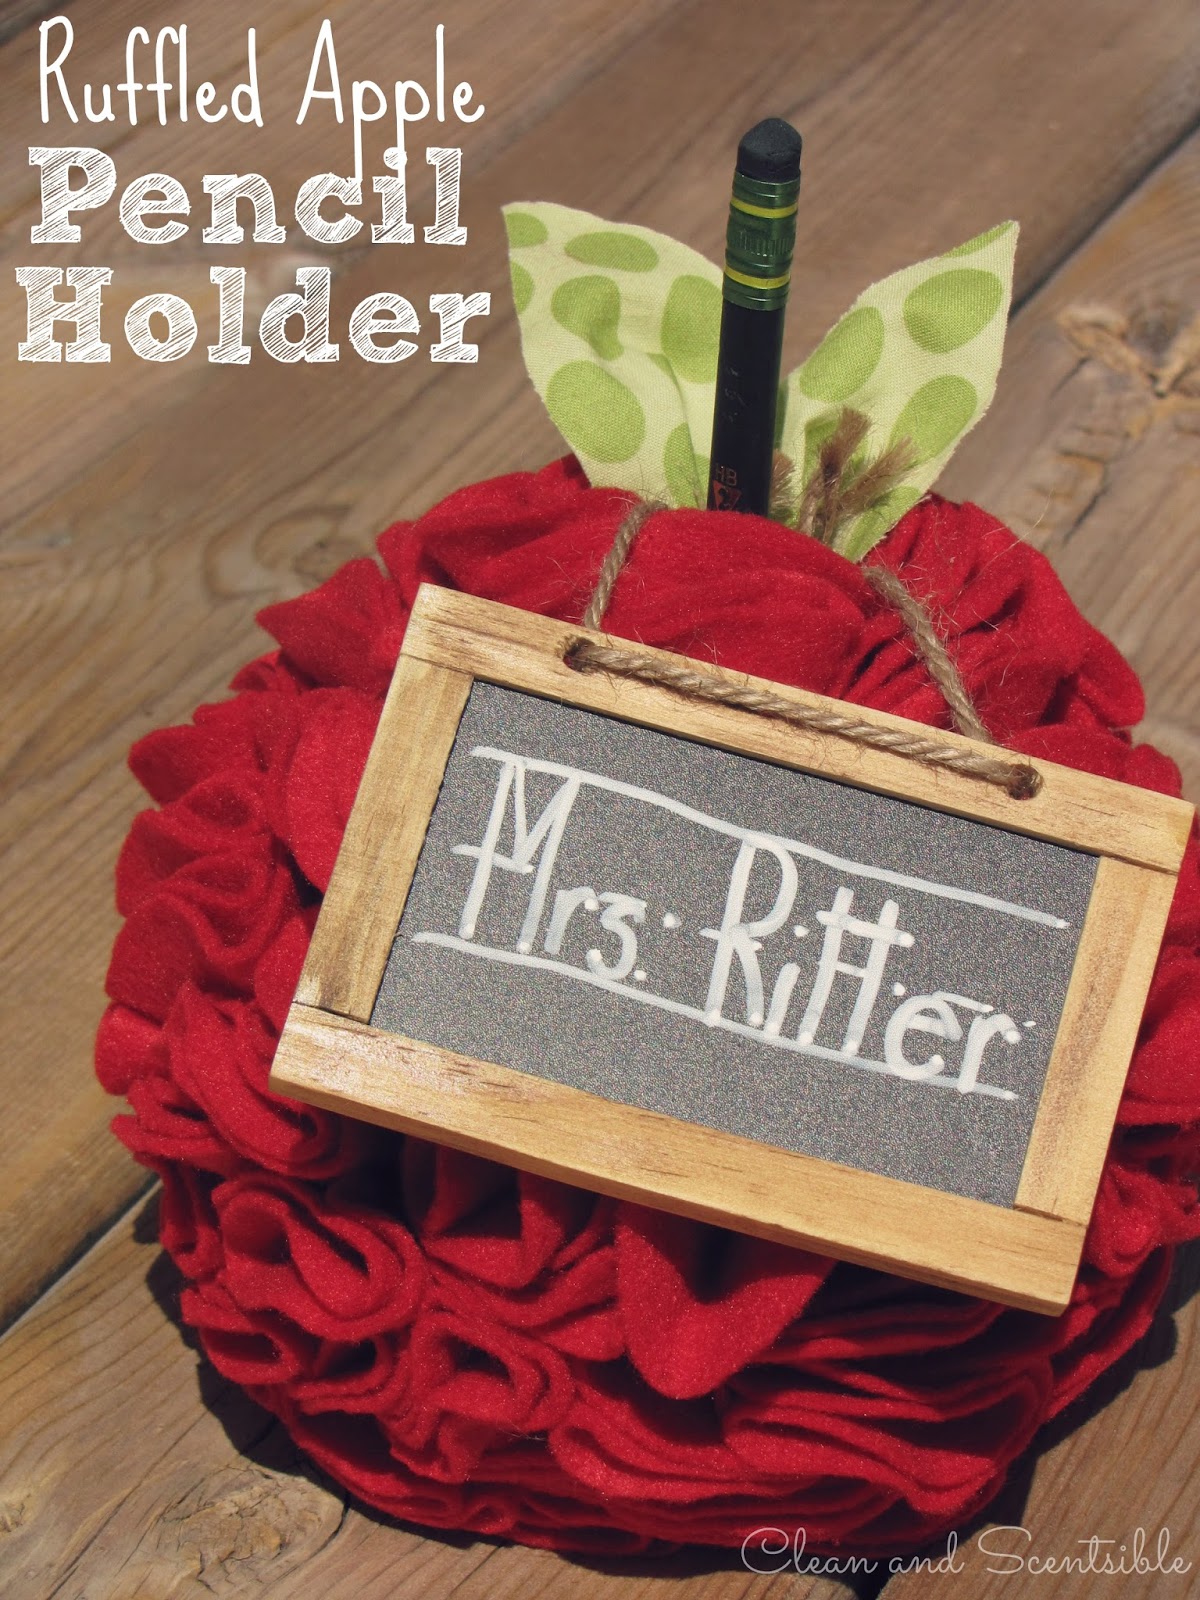
Back to School // Hello fabulous Whipperberry readers! Jenn here from Clean and Scentsible! I am back today with a cute and easy teacher gift idea for you. Yes, unfortunately {or fortunately for some of you!} it is almost back to school time!

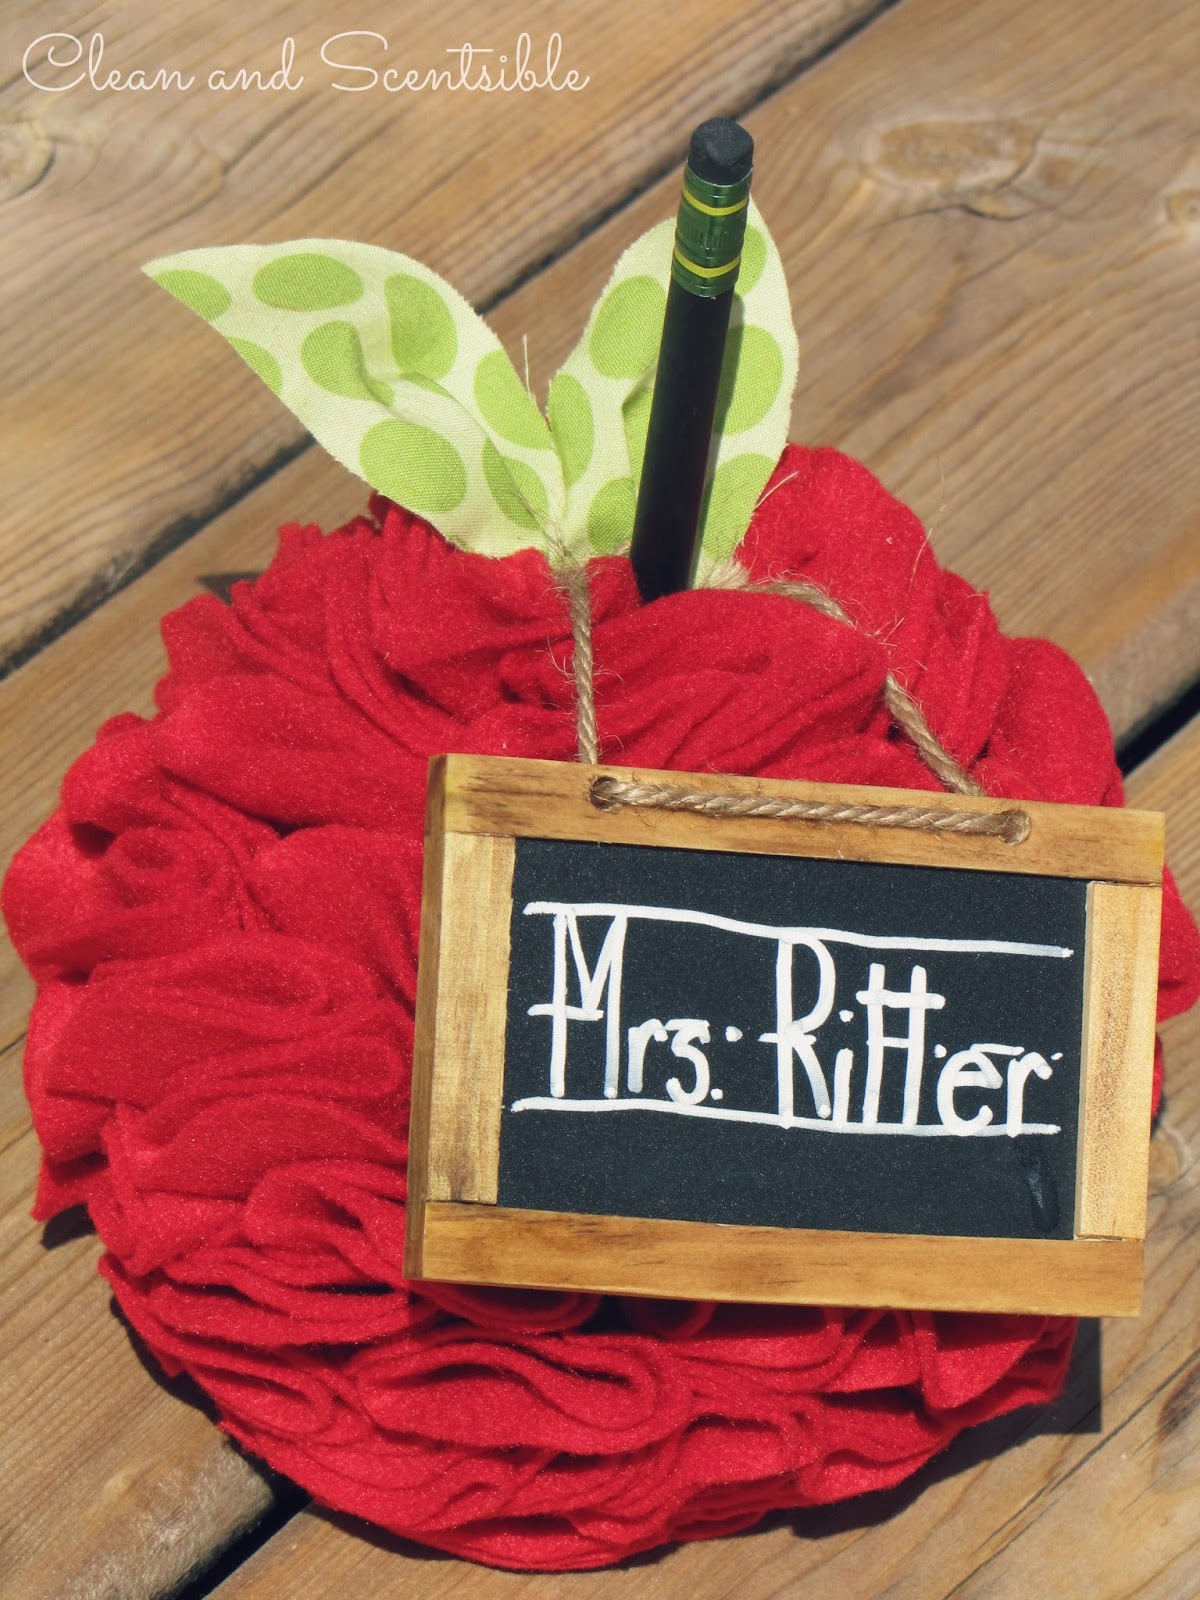
One of my favorite projects from last year were these ruffled pumpkins.  With just a little change of color and a few different embellishments, this idea was easily able to be adapted into this ruffled apple pencil holder.
 

Materials
  • 4 inch Styrofoam ball
  • straight pins
  • red felt {I used approximately 10  8.5 x11 inch felt sheets}
  • green material or felt scrap {big enough to cut two leaves}
  • hot glue {optional}
  • pencil or pen 
  • 3 inch punch or other circular shape to trace for the felt circles 
  • mini-chalkboard {optional}

To Do 

  • Cut out or use a paper punch to create a circular template that is approximately 3 inches in diameter.  If you are using the 8.5 inch felt sheets like I did, you may want to trim this down just a bit so you can get 3 circles across.
  • Cut out your felt circles.  I'm not sure exactly how many I did but definitely over a 100.  Place 2 or 3 sheets of the felt together when you are cutting so you can cut out multiple circles at one time.  It's a great mindless activity to do while you are watching your favorite television show! 🙂
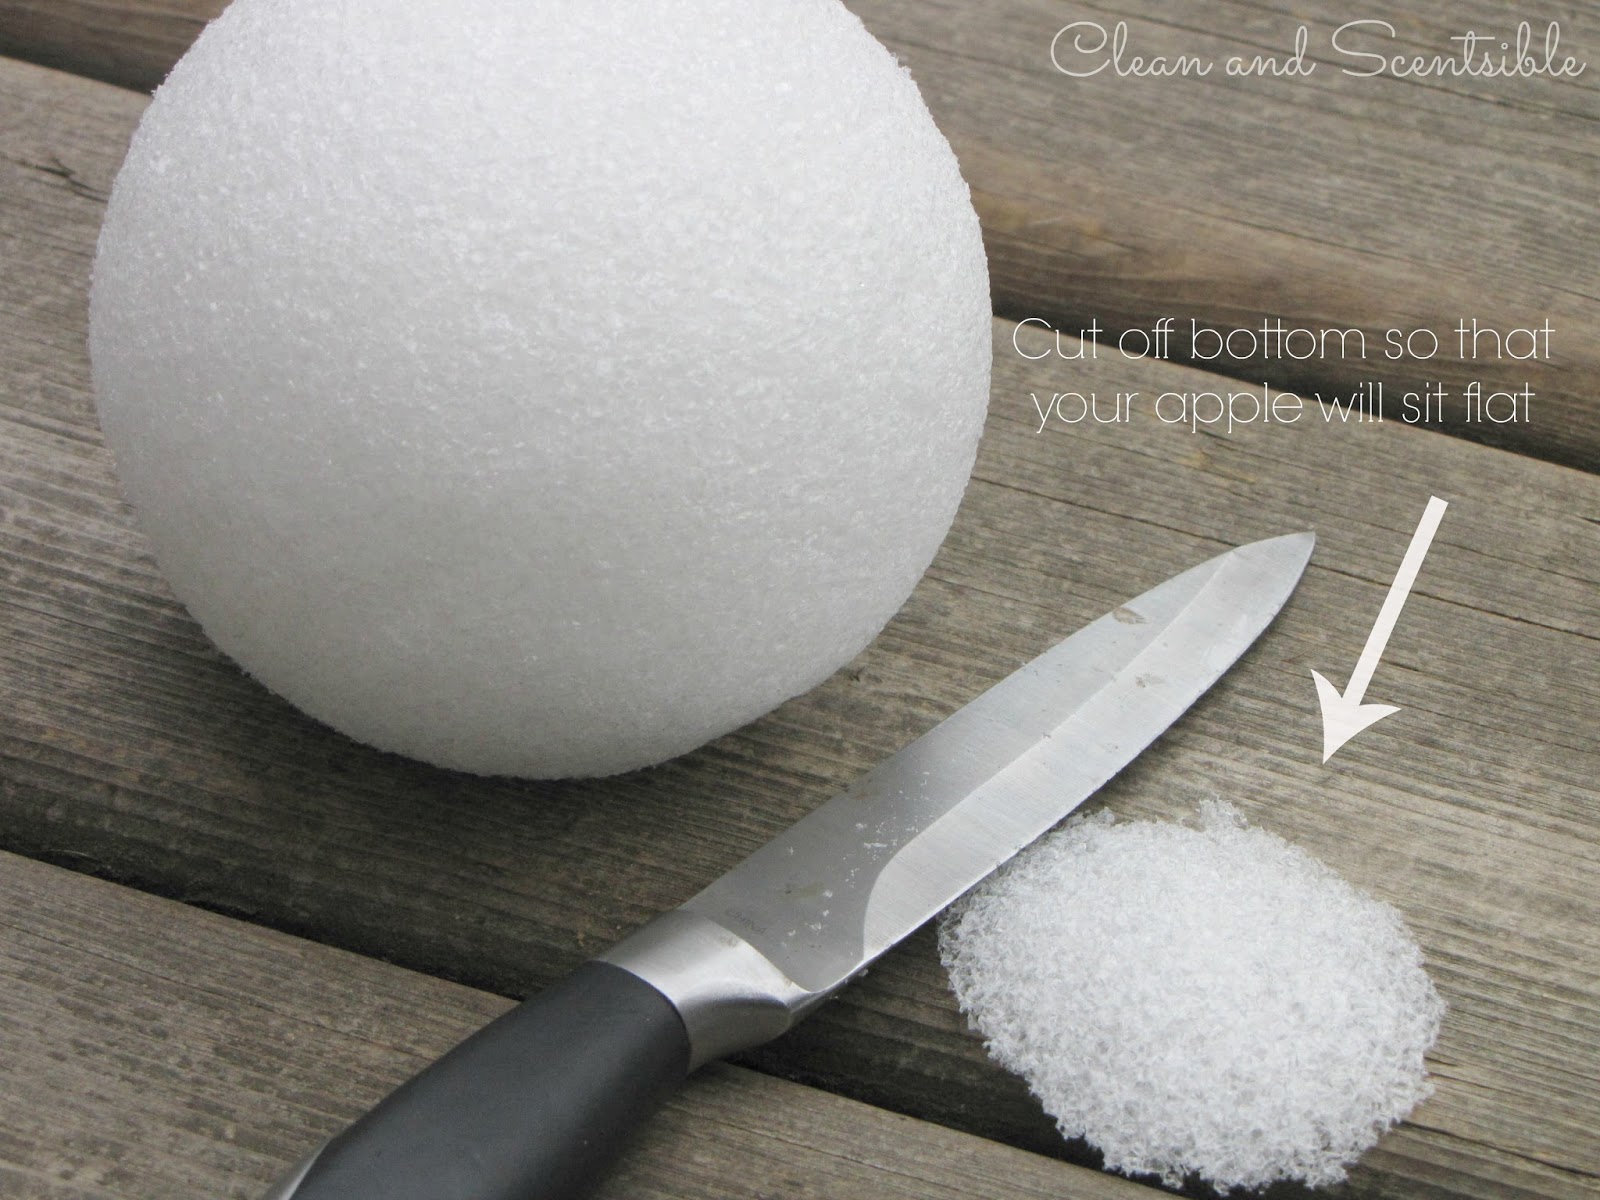
  • Using a knife, cut a small sliver off the bottom of the Styrofoam ball so that it will sit flat.
 
  • Using a pen or pencil slightly larger than your pencil width, poke a hole through the center of your ball. {this should run the full diameter of the ball}. 
  • Take a felt circle, fold it in half and then fold it in half again.  Place a straight pin through the pointy part  of your felt circle and pin it to your Styrofoam ball.  Start at the top of the ball and work your way down and around the ball overlapping your circles as you go.  
 
  • The last row of pins on the bottom of the apple were a little loose and a couple of them were starting to pop out so I hot glued one more circle over top to cover the pins up and ensure that they stayed in place.  It gives it a much more finished look as well.
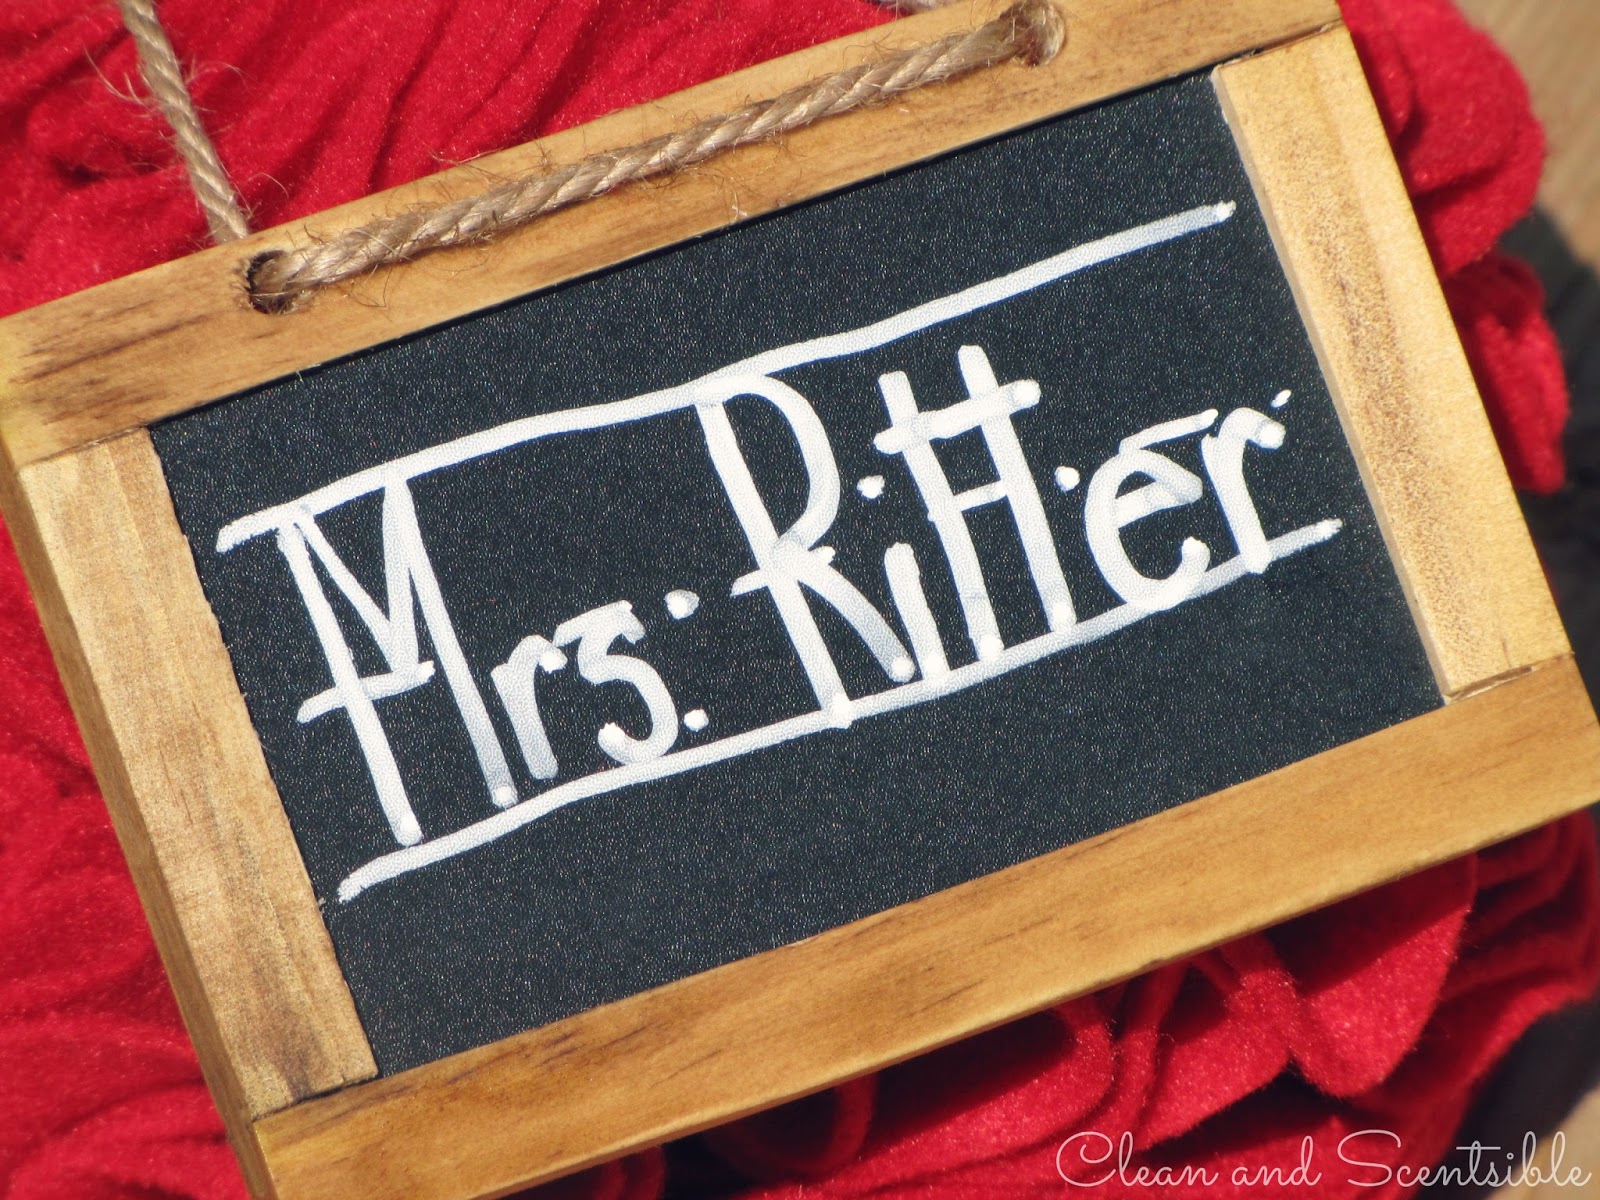
  • I have had these mini-chalkboards lying around in my stash forever and I can't remember where I purchased them from.  I just used one for my picnic caddy and had one left over.  I just used a little stain to darken up the wood and added the teacher's name with a chalk pen.  I used another straight pin to attach it to the apple.
  • Cut out a couple of leaf shapes from the green material and pinch at one end.  The "pinch" will let it stand up more.  Pin to your apple near the top.
  • Now just add your pen or pencil and you are all ready to go!  It's a unique and functional gift for your kiddos to give to their favorite new teacher!
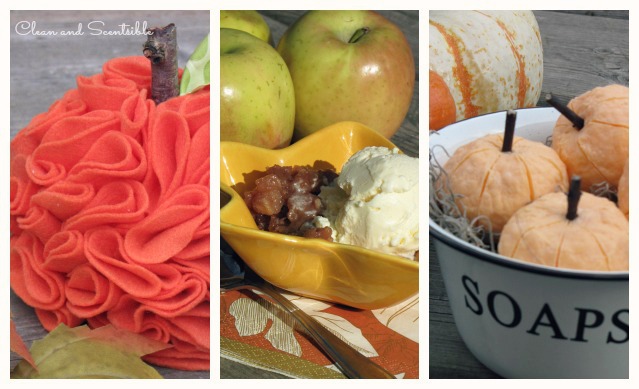
For those of you that are already looking ahead to fall, here are a few ideas to get you started….
 
 
Ruffled Pumpkin
Slow Cooker Apple Crisp
Pumpkin Soap
 
Enjoy the rest of your summer and I hope you all have a smooth Back to School transition! 🙂
 

Silhouette CAMEO GIVEAWAY & Vinyl Promotion

4 · Aug 5, 2013 · 323 Comments

Silhouette Affiliate Post // It's Silhouette Promo time again and this month it's a DOOZIE!! It's a fabulous deal on my favorite Silhouette products, the CAMEO & their Premium Vinyl. As an added goodie, I'm giving away a Silhouette CAMEO to one lucky WhipperBerry friend!

I made a quick little chalkboard with the Silhouette Chalkboard Vinyl that literally took me 20 minutes to make, start to finish. 

Silhouette Chalkboard Vinyl To Do List from WhipperBerryEasy Chalkboard to do list with Silhouette Vinyl copyAll you need is an inexpensive clipboard that you can find at most major retailers, some Silhouette Chalkboard Vinyl & a Silhouette CAMEO. I designed my chalkboard using a classic frame shape from the Silhouette Store and then I added the cut-out "to do list" using the SNF Miss Molly font. 

Silhouette Screen Shot

Make a fun chalkboard to do list with Silhouette Chalkboard Vinyl

I love the peak-a-boo lettering! This whole project is SUPER simple and would make a great gift for new teachers, new students, new friends… basically anyone!  I cut out the vinyl on my CAMEO and then using the Silhouette Transfer Tape, transferred the vinyl to the clipboard, added a cute bow and voilá, it was finished.

Need a CAMEO? Need to stock-up on some vinyl? This is the week to do just that! Silhouette is running an amazing promotion for all our vinyl loving friends out there…

WhipperBerry August Silhouette Promotion and Giveaway

Click here to visit the Silhouette Shop to cash in on this great deal!!

If you're feeling lucky, you can enter to WIN a SILHOUETTE CAMEO!

Follow the directions in the Rafflecopter box below to enter. This giveaway is open from August 6-11 with the winner announced via Facebook and email on August 12th. This giveaway is open to anyone with a shipping address within the United States.

a Rafflecopter giveaway

Disclaimer // I am a Silhouette affiliate. I was not paid for this post, but I will receive a percentage of the sales made from this post. 

$2.00 DIY Beach Bag

0 · Jul 25, 2013 · 3 Comments

Hi Whipperberry readers!  It's Jenn from My Fabuless Life back this month to show you a super simple, super affordable little beach bag I threw together for a recent family vacation.  Literally, if you have five minutes and a five dollar bill, you can make this–you don't even need a personal cutter!  And what's extra awesome about this project is that you can use this method to "screen print" just about anything that's fabric!  


Our family recently went on vacation to the beautiful Oregon Coast and this trip meant two things for us: LOTS of time in the car (we drove from Utah to Oregon) and LOTS of time at the beach.  I always pack my 3 year old daughter a road trip bag and a brand new bag to hold all of the goodies is part of the fun.  For this trip, my $2.00 bag pulled double-duty by holding all of her stuff during the car ride and then all of our treasures and toys once we got there and were ready to spend our days on the beach.

To make your own bag you'll need:
Freezer paper
Craft paint + Fabric Medium
A cloth bag (I got mine for $1.99 at Hobby Lobby without the 40% coupon)
Iron

Find the image you want to use: for this one, I just Googled "Whale Silhouette" and found one that I liked.  Click on the image so it shows up on your screen like this (in Google, you can also click "view original image"):


Zoom in or out on the image until it's the size you want and then just lay your freezer paper right over the computer screen and trace GENTLY!  Let's not go ruining any computer screens here, since that would sort of negate this whole $2.00 project thing.  You should be tracing on the freezer paper shiny side down (pencil marks will be on the dull side).

Next, just cut out the image with an Exacto knife.  Make sure to leave plenty of room around your shape to "slop" your paint so it stays on the paper and doesn't smudge all over your fabric.  Make sense?  If not, you'll see what I mean below.


I wanted this to be sort of "kid chic" so I left the cute little face off of the whale–not to mention, it makes it that much easier to cut and paint.  Next, iron your freezer paper onto your fabric shiny side down.  Make sure to iron it down good and tight so your paint doesn't bleed underneath (I do it with my iron on the highest setting).  Also be sure to iron your bag or shirt or whatever you're using prior to painting it.  Painting on wrinkled fabric will not give you pretty results.

Next comes paint: mix the paint and medium according to the instructions on the bottle of fabric medium (which can be found with the craft paints).  I used gold paint (like I said, I was going "kid chic" here and it glitters in the sun–BONUS!) and my fabric medium ratio was 2 parts paint to 1 part medium.  This gives you a softer finish on the fabric once the paint dries.  You can do this without the medium, but your paint will be stiff and won't soften as much in the wash.  YES–you CAN wash it!!

Apply your paint (you can use a brush or a dobber), let the paint dry a little and then pull the freezer paper off and let the paint dry overnight.  DONE & DONE!!
 

This is such a fun easy way to personalize gifts.  Onesies for baby showers, book bags for kids, team t-shirts for little ones…the possibilities are really endless.  Later this week over at MFL, I'll be showing you what I filled this bag with for my little one and my favorite tips for LONG road trips with kids so make sure to stop by!

My Fabuless Life

diy screen printed team shirts // summer printable // memories in a jar 

jenn from my fabuless life

  • « Go to Previous Page
  • Page 1
  • Interim pages omitted …
  • Page 20
  • Page 21
  • Page 22
  • Page 23
  • Page 24
  • Interim pages omitted …
  • Page 35
  • Go to Next Page »

Primary Sidebar

Heather from Whipperberry
Hello... my name is Heather and I'm the creator of WhipperBerry a creative lifestyle blog packed full of great recipes and creative ideas for your home and family. I find I am happiest when I'm living a creative life and I love to share what I've been up to along the way... Come explore, my hope is that you'll leave inspired!

Footer

  • Privacy Policy
  • Crafts
  • Food
  • Gifts
  • Holidays
  • Home
  • Mom Life
  • Recipes
  • Travel

Copyright © 2026 · Seasoned Pro