• Skip to primary navigation
  • Skip to main content
  • Skip to primary sidebar
  • Skip to footer

Whipperberry

WhipperBerry • Your Home For Creative Inspiration

  • Home
  • Recipes
    • Starters
    • Easy Weeknight Dinners
    • Main Dish
    • Salads
    • Side Dish
    • Soups & Stews
    • Desserts
    • Breakfast
    • Miscellaneous
  • Tutorials
    • Creative Crafts
    • DIY Decor
    • Fabric Crafts
    • Food How-To
    • Jewlery
    • Paint Projects
    • Paper Art
    • Party Styling
    • Photography and Graphic Design
    • Silhouette
  • Holidays
    • Easter
    • Mother’s Day
    • Father’s Day
    • 4th of July
    • Halloween
    • Thanksgiving
    • Christmas
    • Valentine’s Day
  • Gift Ideas
    • Gifts For Everyone
    • Gifts for Dad
    • Mother’s day
    • For The Girls
    • For The Kids
    • Teacher Gift Ideas
    • Christmas
  • Printables
    • Holiday
    • Gift Idea
    • LDS Primary
  • Travel
  • About
    • Terms
  • Contact
  • Nav Social Menu

    • Facebook
    • Instagram
    • Pinterest
    • RSS
    • Twitter

Gifts

Italian Soda Valentine with International Delights

1 · Feb 13, 2013 · 7 Comments

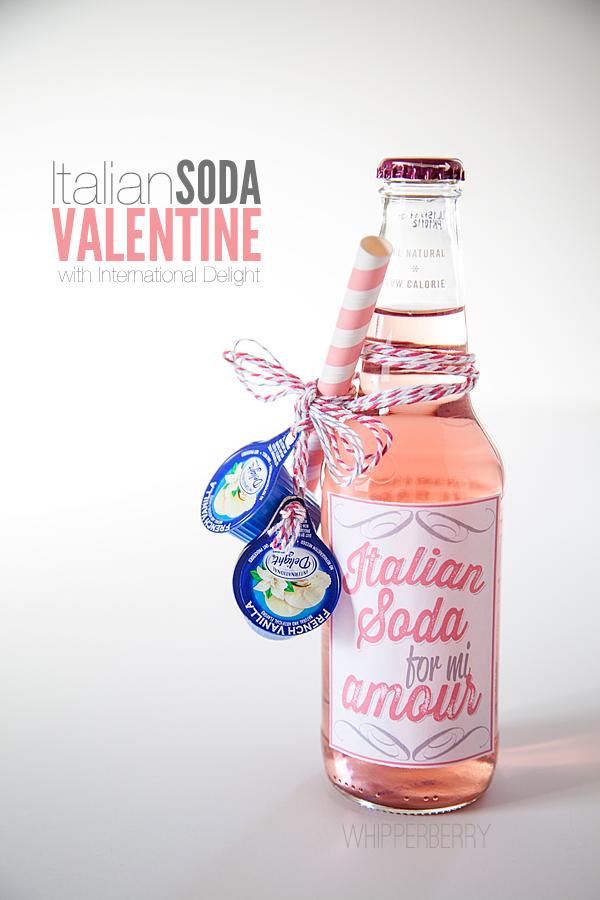
Italian Soda Valentine with International Delights // Every year for Valentine's Day my family has a special tradition… We have a fun Valentine's Day dinner together with all the pink, red and heart fixin's. Some of the items on the menu heart shaped pizza, heart shaped jell-o and for a special drink we have Italian Sodas with some type of red or pink soda. With all the heart shaped fun, my kiddos favorite is the Italian soda. If you don't know what an Italian soda is, it's basically some type of flavored soda as the base and then you add a shot of cream to make it extra special. I thought I could take it a step further and create a fun little gift that we can give out as Valentine's to our friends and family this year. With the help of International Delight's handy little creamer cups it worked like a charm!

Italian Soda with International Delight 

It is jus the cutest little Valentine and something original that everyone will just adore. Here is what you will need…

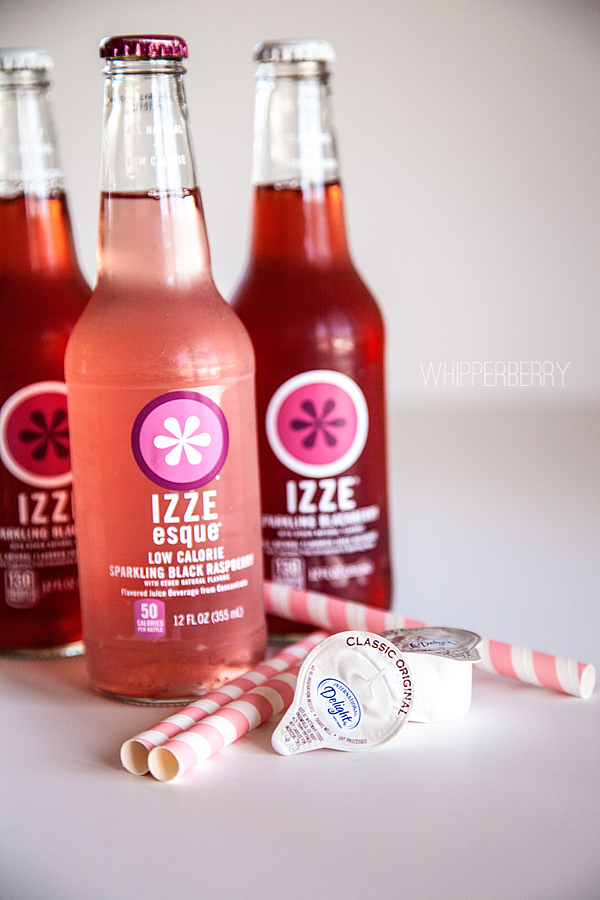
Italian Soda Supplies with International Delight 

Supplies

  • Red or pink soda of your choice
  • International Delight creamer cups,  in original or vanilla 
  • A fun straw
  • Baker's twine
  • A standard hole punch
  • scissors & paper cutter
  • Printable bottle label 
  • Double sided tape
  • Plain printer paper

Instructions

Print the label that I created for this project on plain printer paper. 

Cut the labels out and secure to the bottle with double sided tape.

Carefully punch a hole in the tab of the creamer cup and set aside. 

Italian Soda 

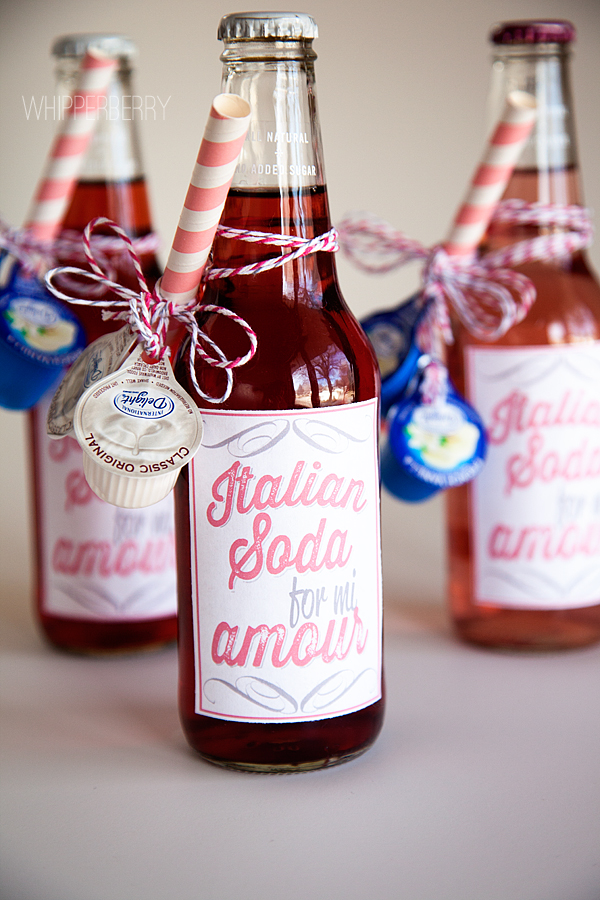
Cut baker's twine long enough to wrap around the bottle twice, roughly 24 inches.  Wrap the bottle with the bakers twine twice and tie into a basic knot. Tie the straw on next and secure with a bow with long ends. Thread the creamer cup onto the ends of the baker's twine bow and secure with a knot. Voila, you have the cutest Valentine and your kiddos and friends will love it.

International Delight Italian Soda 

Now, you can create you Italian Soda two ways… Pour your chilled soda into a glass and add the creamer or, take a few drinks out of the bottle and then carefully add the creamer to the bottle of soda. Be careful with the second method because the soda will bubble up with the addition of the creamer. Stir or swirl the soda to mix and enjoy!

This Valentine’s Day, share the love with recipes and homemade gift ideas! Don’t miss the International Delight Valentine’s Day Twitter Giveaway. Enter by following International Delight on Twitter and by tweeting your favorite ID flavor  with the hashtag #IDLove. Winners will be contacted on February 15th and will receive ID Valentine’s Day Sampler Packages!

This is a sponsored conversation written by me on behalf of International Delight. The opinions and text are all mine.

Gift Giving with Styled by Tori Spelling

1 · Jan 30, 2013 · 3 Comments

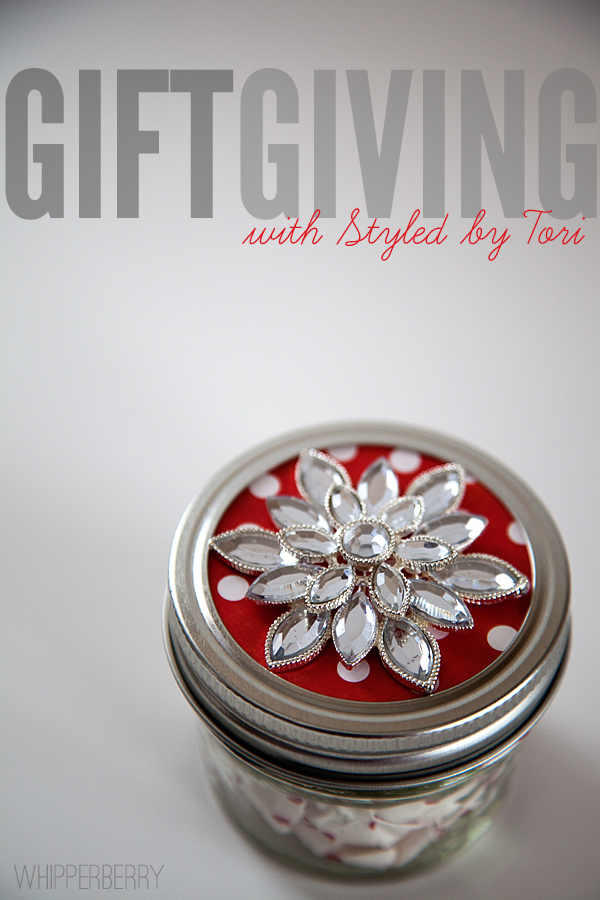
Gift Jar with Styled by Tori Spelling Key Chain // Hello my friends!  We're running slow today with another snow day here in Lincoln. Can't complain at all in my book. Snow days are the BEST!!!! We've settled down with a Harry Potter marathon and I, of course had to do a little creating on the side. With Valentine's day around the corner I thought it would be fun to make some simple little gifts for teachers and such with some of my favorite Styled by Tori Spelling goodies…

Gift Giving with Styled by Tori and WhipperBerry

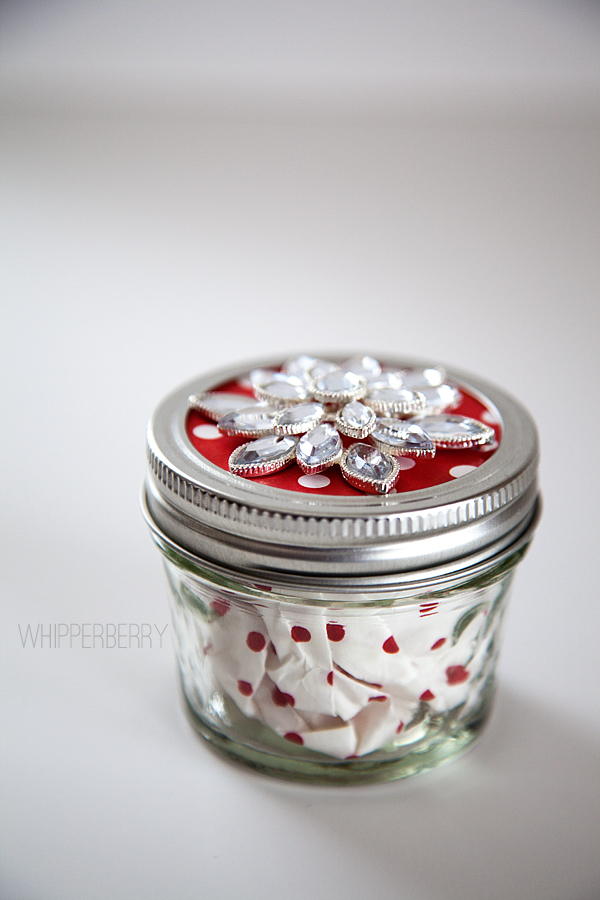
I thought it would be fun to create a gift jar (of course) and make a little key chain for my daughters teacher this year. For the jar I just took a little 4 oz. jelly jar and cut some craft paper to fit the lid and glued on a gem flower from Styled by Tori on top…

Creating a gift jar with Styled by Tori

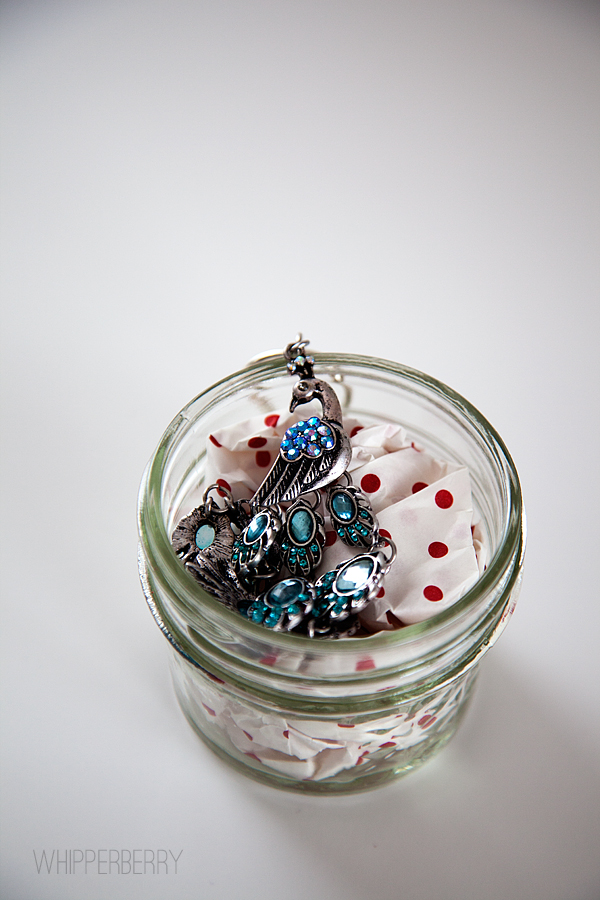
Toss in some coordinating tissue paper and you have a simple yet beautiful little gift jar. Couldn't be any easier than that. The jar, quite frankly is also part of the gift. The person who receives it will be able to use it to store little items in and they will adore it!! 

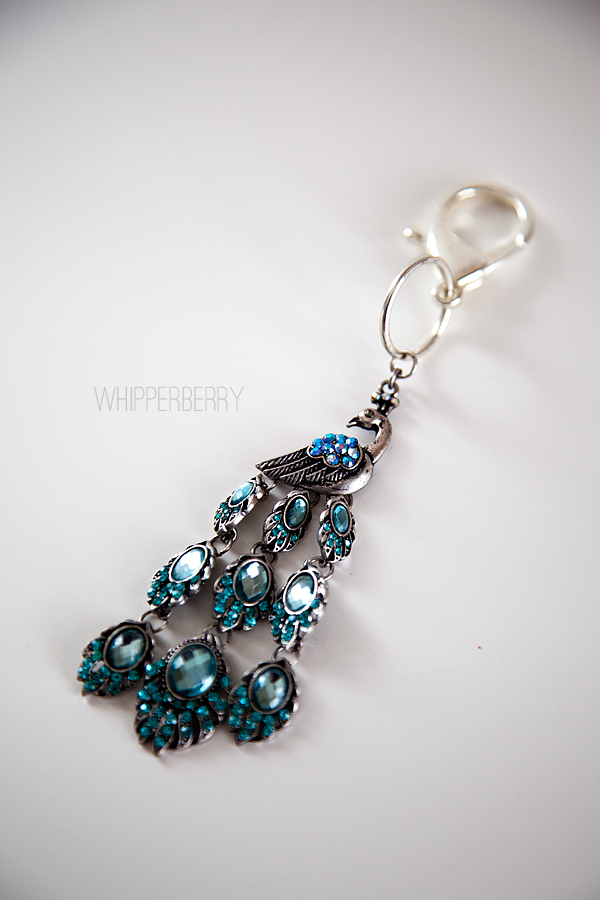
Next, I created a fun peacock key chain for the "gift" in the pretty jar…

gift jar with styled by tori

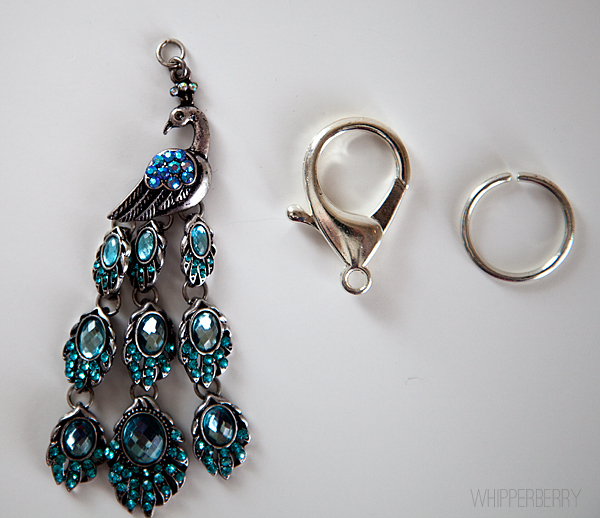
This one is super simple as well. I found this lovely peacock charm from the Styled by Tori line and then I bought a nice clip to attach to it to make the key chain…

key chain components

You may need to use some needle nose pliers to open the ring up a bit to attach the clasp and peacock. Close the ring and voila, you have a fancy new key chain…

key chain made with styled by tori

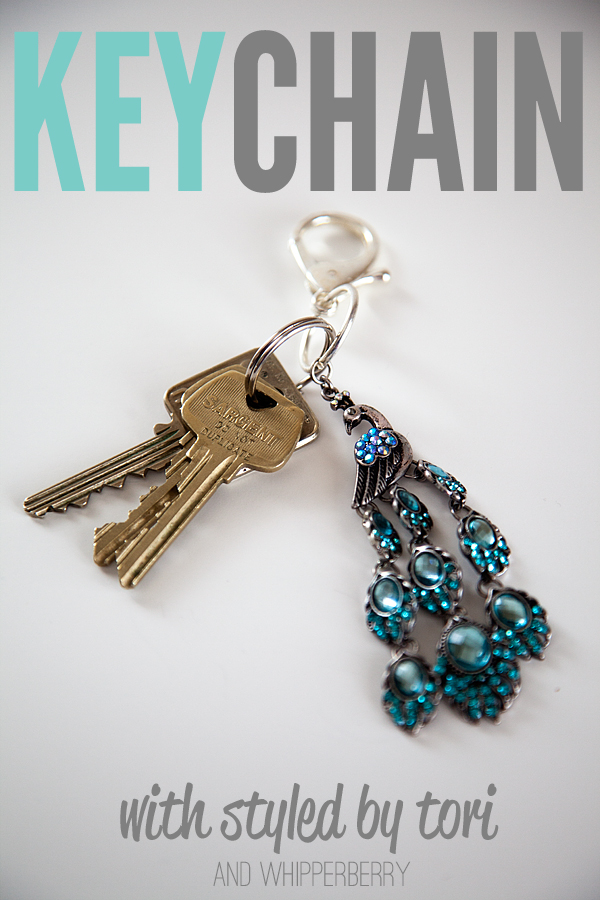
Many of the Styled by Tori charms will work perfect to make a fun decorative key chain. Next, all you need to do is to attach your key ring with your keys and you are in business. I always like to have little clip on my keys so I don't lose them in my bag, so that was a must!

key chain with styled by tori and whipperberry

Won't this be a fun little gift for teachers or friends for Valentine's Day, teacher appreciation,  mother's day, birthdays, anything really. You can make up a bunch and keep them in your gift stash and always be ready with a fun gift at hand. 

Last Minute Holiday Gifts with GiftGloss

210 · Dec 4, 2012 · 4 Comments

Do you ever find yourself in a pinch over the Holidays? You need a gift for a friend, neighbor, colleague and you just don’t have time to make some goodies to share!  You find yourself heading to the market to find some store bought goodies but feel like a total dope for bring bringing something that’s not homemade. Don’t you worry!  All you need to do is keep some GiftGloss on hand with a few other handy packaging supplies and you are GOLDEN!

Christmas Goodies with GiftGloss

design elements // rhonna designs

I ran to the store yesterday and checked out the bakery section to find some goodies that I could repackage and give as fun gifts for friends & neighbors when you are in a pinch.  Here are some suggestions that I have…

No. 1 Select a Theme

GiftGloss 024

Even when you are in a hurry, take a few minutes to come up with a cohesive theme. This will kick your quick goodie up a notch and turn it into a stunning gift. It took just a few minutes to go through the bakery and candy section at the store to find a few items that would go with my red, white & chocolate theme.

No. 2 Packaging

Nothing screams LAME more than store bought goodies brought in their store containers. To save myself from that mistake I keep a few items on hand to save me when in a pinch…

  • GiftGloss – Not sure what GiftGloss is click here to see their video. I keep both the 6 & 12 inch rolls on hand
  • Decorative plates or containers – The skies the limit here, as long as they fit in the 6 or 12 inch GiftGloss tube.
  • Fancy parchment paper – I found my red dot parchment paper at Cost Plus World Market
  • Ribbon, twine, yarn or some type of decorative tie – I found my fun personalized ribbon on Pick Your Plum not too long ago. It says “Merry Christmas from the Thoming Family” LOVE it!!

GiftGloss 028

No. 3 Placement

You’ve taken the time to get the goodies, stock the fun packaging… Now you need to make sure you create a beautiful goodie package or plate by making sure you place thing well.

  • Don’t over crowd the plate.
  • Use the color to your advantage with color groups.
  • Think of your patterns and textures and place accordingly.
  • For large plates have one item be the show stopper then add to it with a good supportive selection of items. For example, in my large plate I have the beautiful cookies as my show stopper and then the supportive cast accentuates the beautiful cookies.

Now, if you keep all of those things well stocked, you can have some amazingly SIMPLE yet STUNNING holiday gifts in a snap. 

GiftGloss 017

The FoofQueens are making that extra easy right now with a special deal for EVERYONE!!

Christmas GiftGloss Deal

Head on over and visit the FoofQueens to stock-up on GiftGloss so you won’t be caught empty handed.

Here are some more easy ideas from the FoofQueens…

  • Forget the envelope and use GiftGloss for your GIFT CARDS!!
  • Giving cold hard cash isn’t boring with GiftGloss
  • More ides for holiday goodies
  • Holiday garlands and advents with GiftGloss

What are some of your ideas? What would you foof-up with your new GiftGloss?

Heather copy

Discloser Statement

Thanksgiving Place Cards with GiftGloss

0 · Nov 15, 2012 · 2 Comments

‘Tis the season my friends… The season to pull out your GiftGloss from the FoofQueens to get ready for your Thanksgiving feast!

GiftGloss place cards

I made this fun place card with my six inch GiftGloss.  I love that you can hang this little goodie on the back of everyone’s chair and then they have a sweet goodie to take home with them after your feast.  A dual purpose place card/ party favor!!

Thanksgiving place card with GiftGloss

This couldn’t be any easier thanks to GiftGloss. I place a fun heart ornament that I found at Target inside the GiftGloss with a Kraft paper gift tag tied onto it with my guest’s name.  I wrote the name and drew the stripes with a white chalk marker that you can find at your local craft store. I love the simple handwritten look. Then I added a little sweet to the package with some Hershey Kisses with almonds and that’s it! I tied the two ends together with some tiny pom poms and then created a hanger with some fun Sashay yarn from Red Heart Yarn.

Now, all you have to do is hang it from everyone’s chair to decorate for your Thanksgiving Feast!

Don’t have any GiftGloss? Well, that’s no problem!! The FoofQueen’s have sent over a great deal for you guys, to help you join the GiftGloss craze!

GiftGloss Thanksgiving Deal

Head on over to the GiftGloss site to stock up and then you two can dream  up some fun ideas to spoil your guests with this Thanksgiving!!

Heather copy

  • « Go to Previous Page
  • Page 1
  • Interim pages omitted …
  • Page 21
  • Page 22
  • Page 23
  • Page 24
  • Page 25
  • Interim pages omitted …
  • Page 35
  • Go to Next Page »

Primary Sidebar

Heather from Whipperberry
Hello... my name is Heather and I'm the creator of WhipperBerry a creative lifestyle blog packed full of great recipes and creative ideas for your home and family. I find I am happiest when I'm living a creative life and I love to share what I've been up to along the way... Come explore, my hope is that you'll leave inspired!

Footer

  • Privacy Policy
  • Crafts
  • Food
  • Gifts
  • Holidays
  • Home
  • Mom Life
  • Recipes
  • Travel

Copyright © 2026 · Seasoned Pro