Monday mornings have a way of undoing even the best intentions. Someone needs help finding a backpack, lunches still have to be packed, and before you know it, breakfast is whatever you can grab on the way out the door. That’s exactly why breakfast jars have become one of my favorite meal-prep shortcuts. Spend a little time putting them together on Sunday, and you’ll have breakfast ready all week long.
Whether you’re heading to the office, working from home, or getting the kids out the door before school, having breakfast waiting in the refrigerator makes busy mornings feel just a little more manageable.
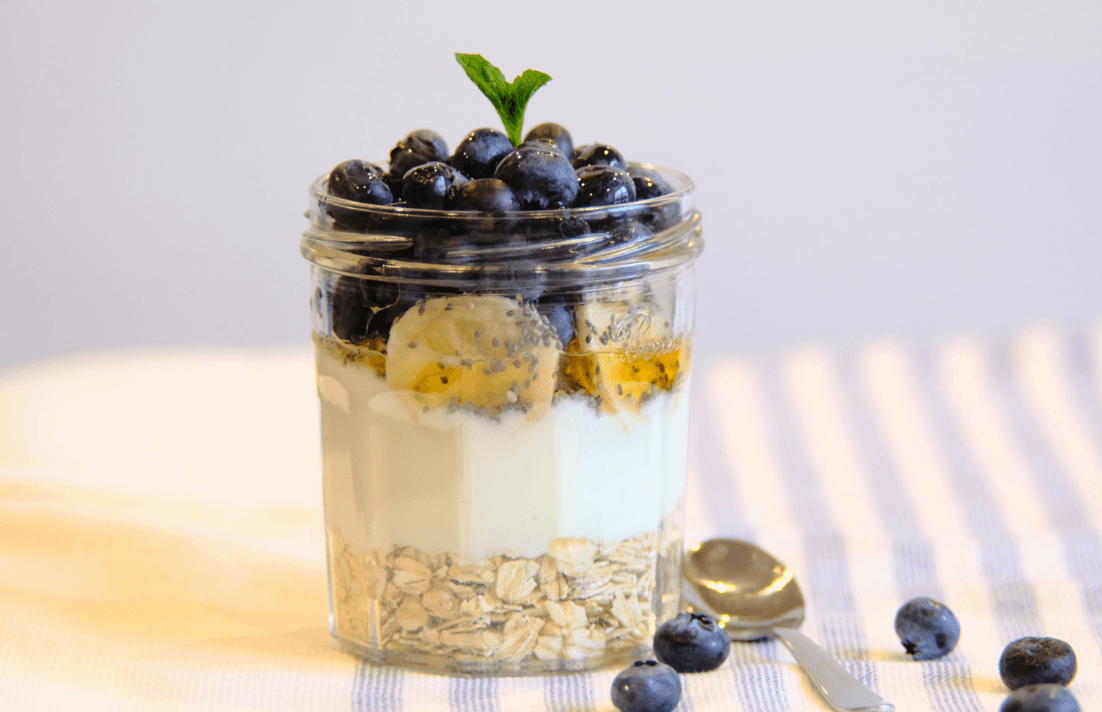
Why Breakfast Jars Work So Well
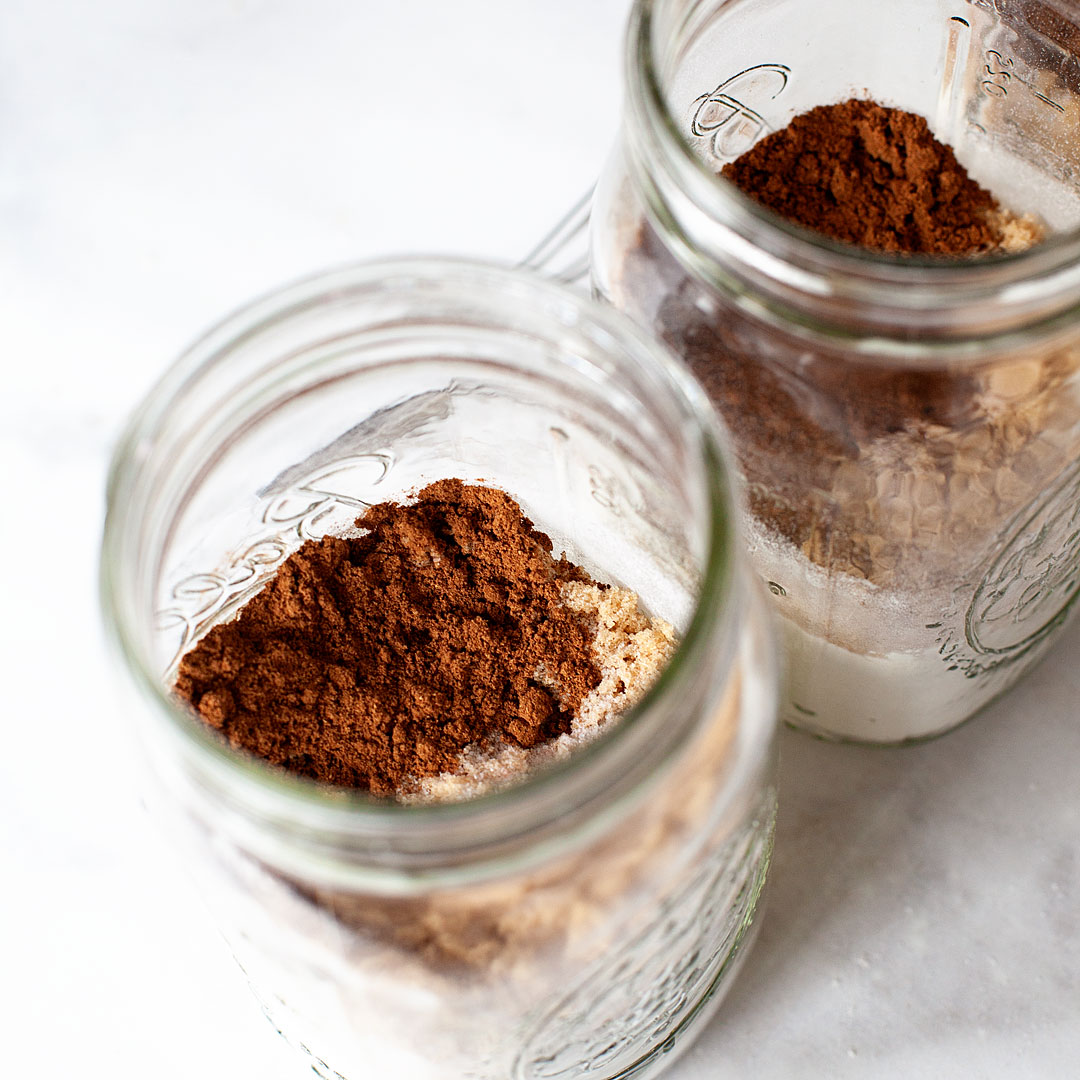
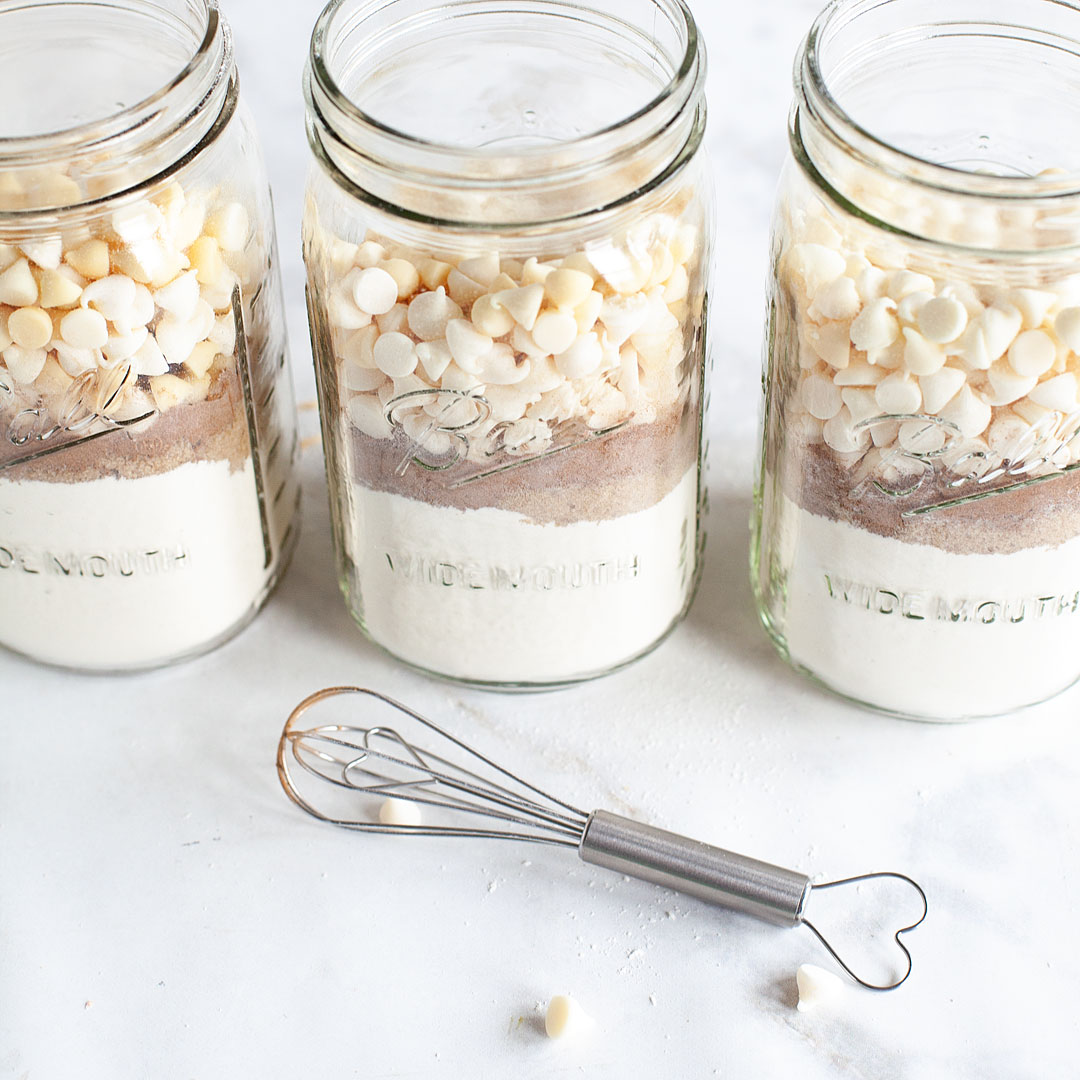
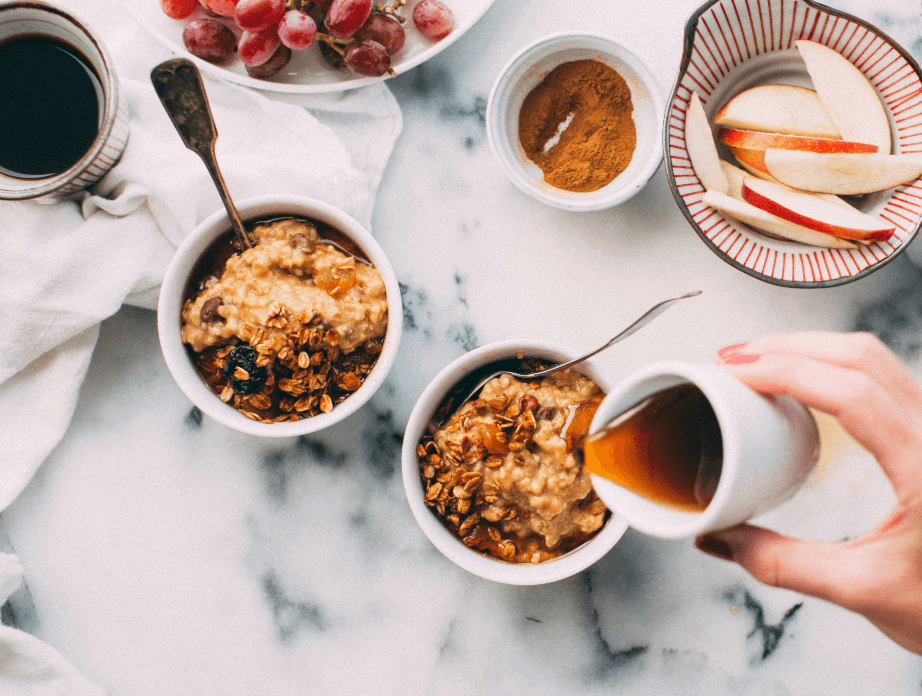
Breakfast jars are as simple as they sound: layer your ingredients into a mason jar, refrigerate overnight (or prep ahead for several days), and breakfast is ready when you are.
They’re perfectly portioned, easy to grab from the refrigerator, and travel well if you’re eating breakfast at your desk or on the go. Better yet, they save you from making one more decision during a hectic morning.
The layering also keeps everything tasting fresh. Oats and chia seeds absorb liquid overnight, while crunchy toppings like granola or nuts can be added just before serving for the best texture.
Stock Your Kitchen for Easy Breakfast Prep
The beauty of breakfast jars is that you only need a handful of versatile ingredients to create several different combinations throughout the week.
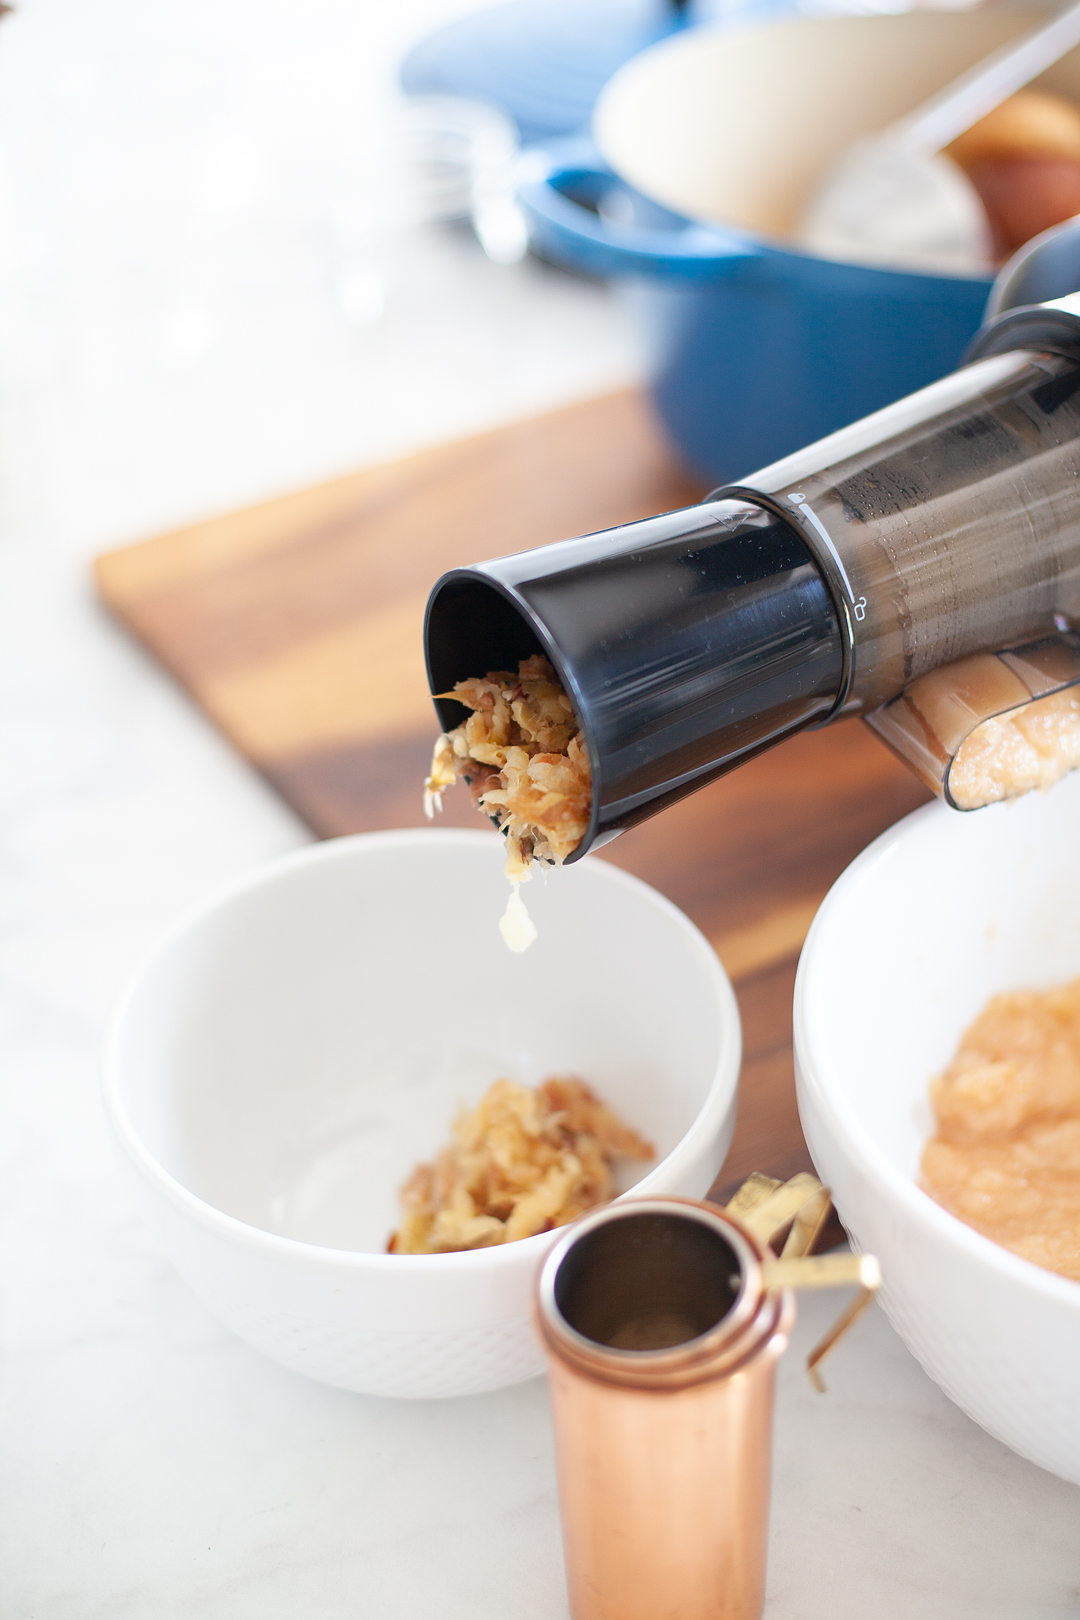
Keep staples like rolled oats, Greek yogurt, milk, chia seeds, frozen fruit, fresh apples, bananas, nut butter, cinnamon, vanilla extract, honey, maple syrup, granola, and chopped nuts on hand. With those basics, you can mix and match flavors without making a special trip to the grocery store.
If you’d like a little extra protein without measuring another ingredient, products like Protein Oats combine oats and protein in one mix, making breakfast even quicker on busy mornings.
5 Breakfast Jars to Prep This Weekend
1. Blueberry Cobbler Overnight Oats
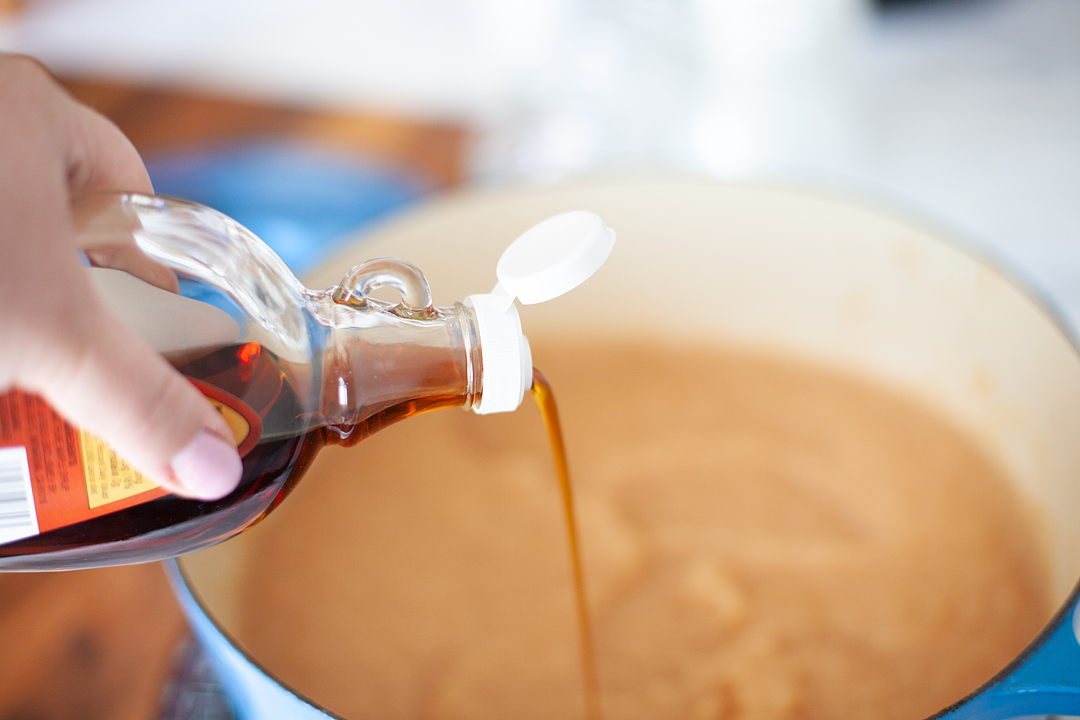
Combine ½ cup rolled oats with ¾ cup milk and 1 tablespoon chia seeds. Top with frozen blueberries and a drizzle of honey before refrigerating overnight. Add granola just before serving for extra crunch.
For an even quicker option, a Blueberry Cobbler Protein Oats blend already combines the oats, flavor, and protein in one mix, making assembly especially easy on busy weeks.
2. PB&J Chia Pudding
Mix 3 tablespoons chia seeds with 1 cup almond milk and ½ teaspoon vanilla extract. Refrigerate overnight until thickened, then top with peanut butter and your favorite strawberry jam before serving.
It’s a nostalgic combination that’s just as enjoyable for adults as it is for kids.
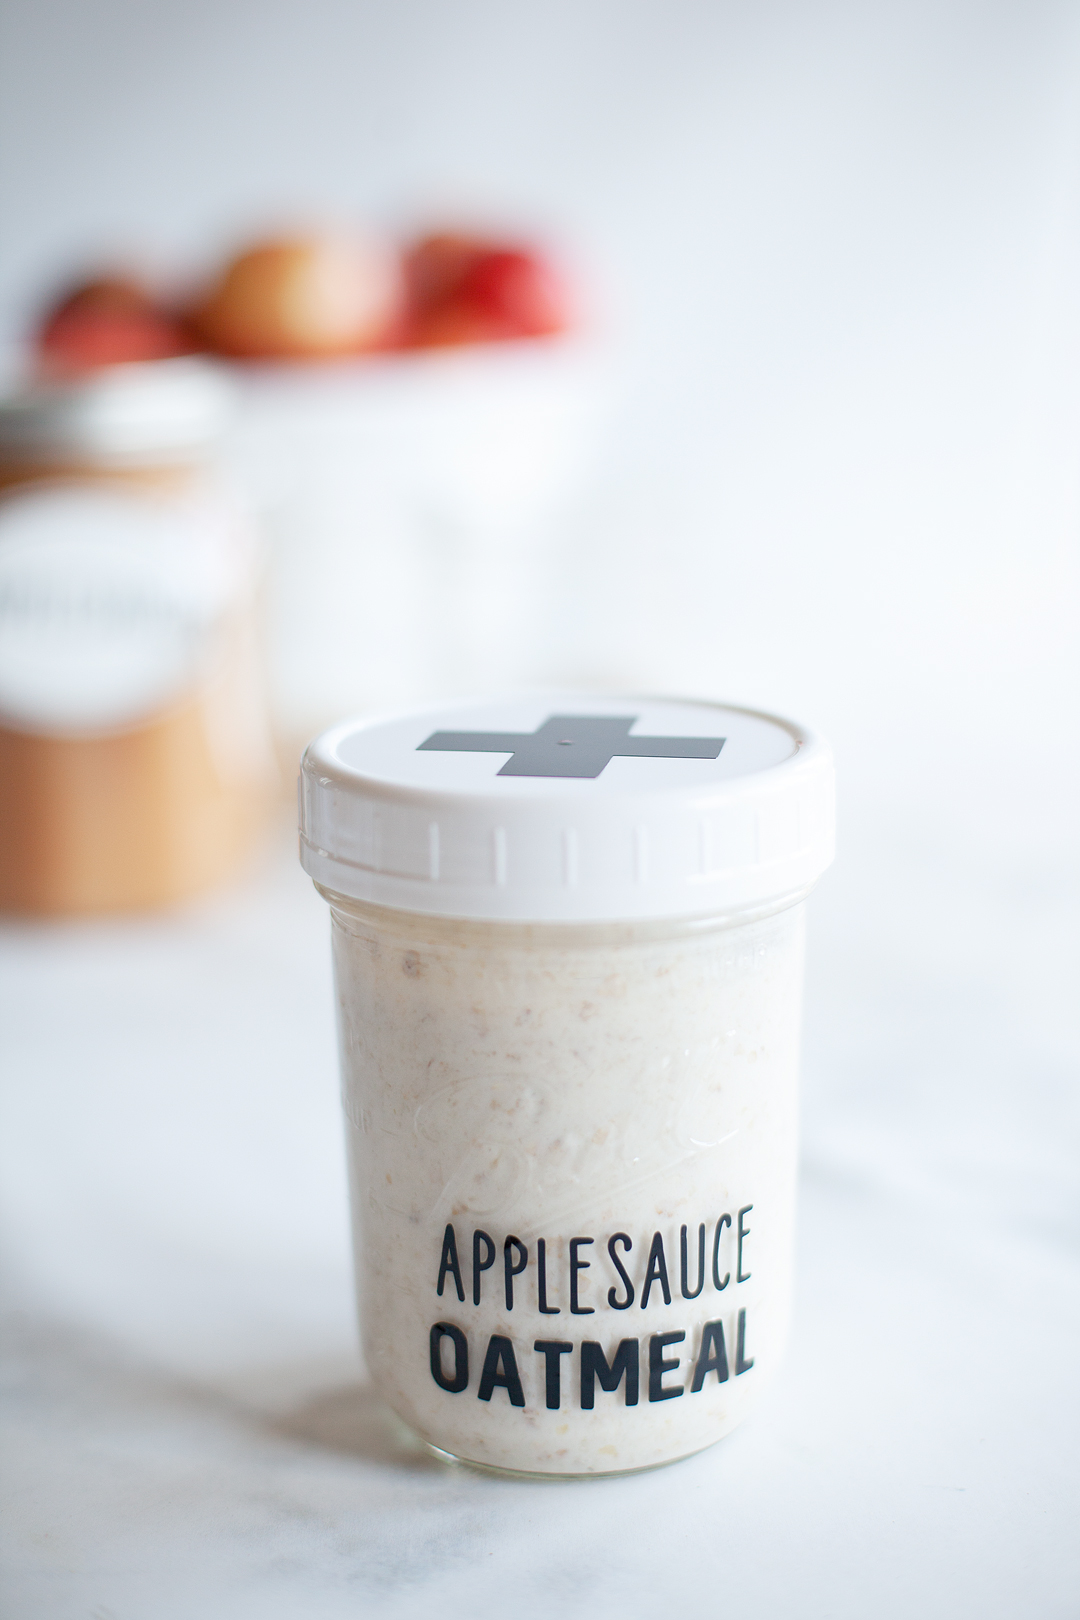
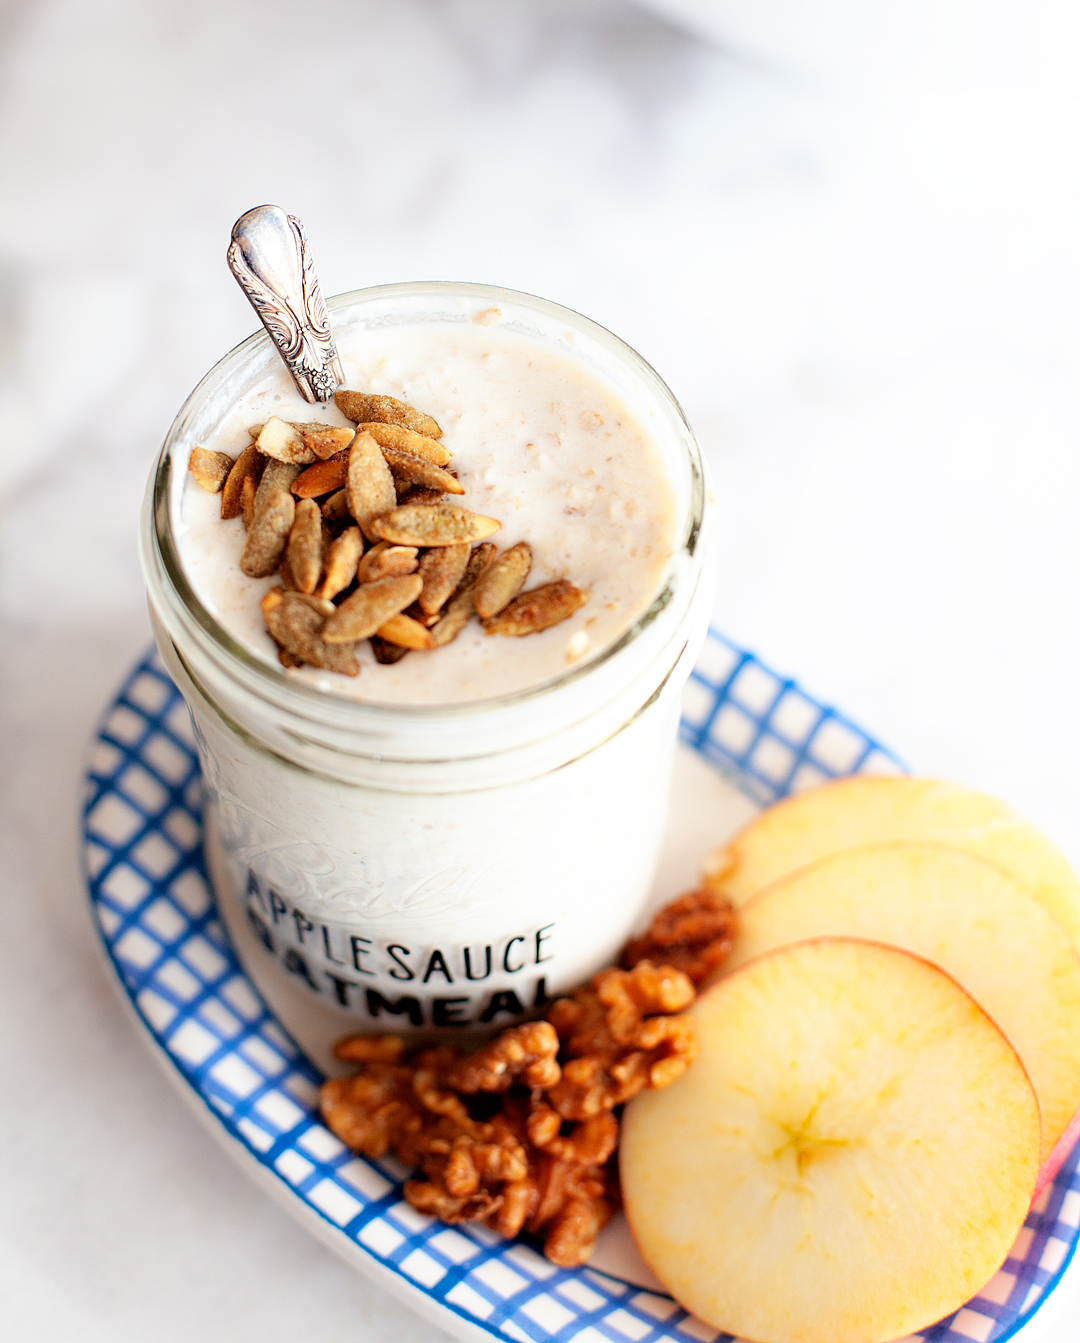
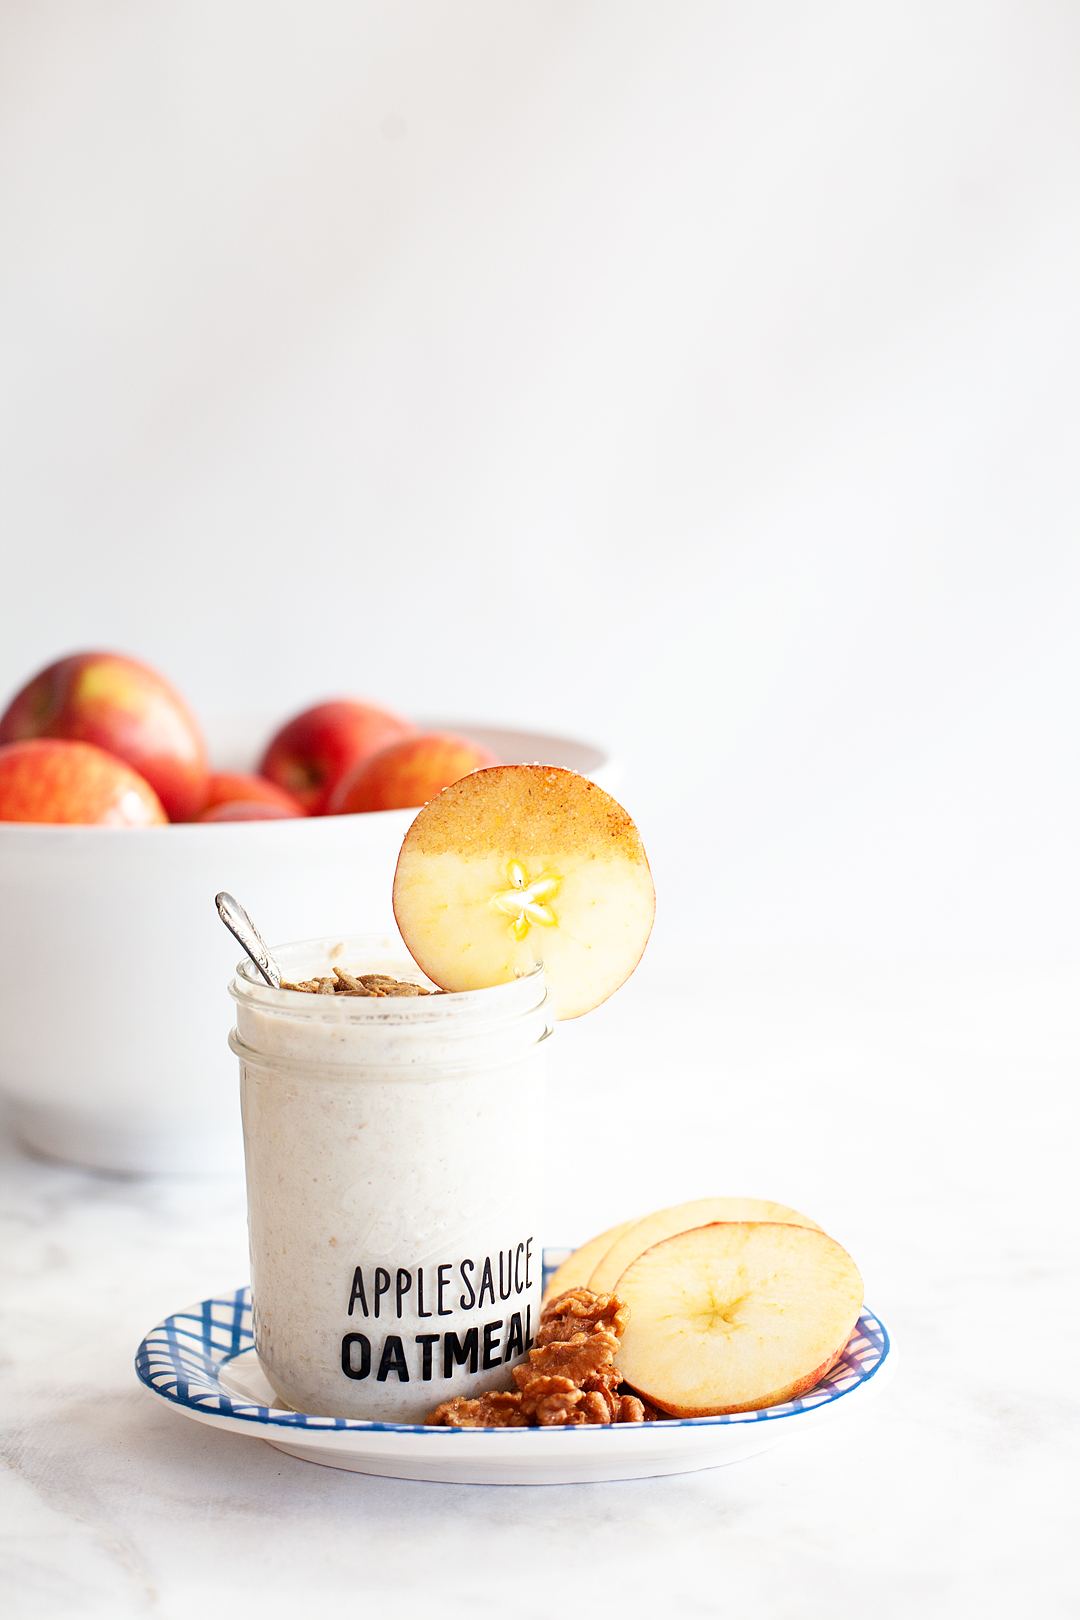
3. Apple Cinnamon Oat Jar
Start with your favorite overnight oat base, then stir in grated apple and a sprinkle of cinnamon before refrigerating. In the morning, finish with chopped walnuts and a drizzle of maple syrup for a cozy breakfast that tastes like apple pie.
4. Tropical Yogurt Parfait
Layer Greek yogurt with frozen mango, pineapple, or berries, then refrigerate overnight. Add toasted coconut and granola just before eating to keep everything crisp.
This one takes only a few minutes to prepare but feels like something you’d order at your favorite café.
5. Savory Egg & Veggie Breakfast Jar
If sweet breakfasts aren’t your thing, scramble eggs and layer them with sautéed spinach, roasted peppers, and crumbled feta in a mason jar. Warm it in the microwave for about a minute before eating.
It’s a hearty option that keeps you satisfied throughout a busy morning.
A Fun Idea for the Whole Family
Breakfast jars can also become part of your weekly family routine.
Set out bowls of fruit, granola, coconut flakes, cinnamon, nut butter, or mini chocolate chips and let everyone build their own jar for the week. Kids are often much more excited to eat a breakfast they helped create, and it’s an easy way to spend a few minutes together on a Sunday afternoon.
Tips for Making Breakfast Jars Ahead
A few simple tricks help breakfast jars stay fresh throughout the week.
- Prepare oat jars up to five days in advance.
- Yogurt parfaits are best enjoyed within three days.
- Add crunchy toppings like granola, toasted nuts, or coconut just before eating.
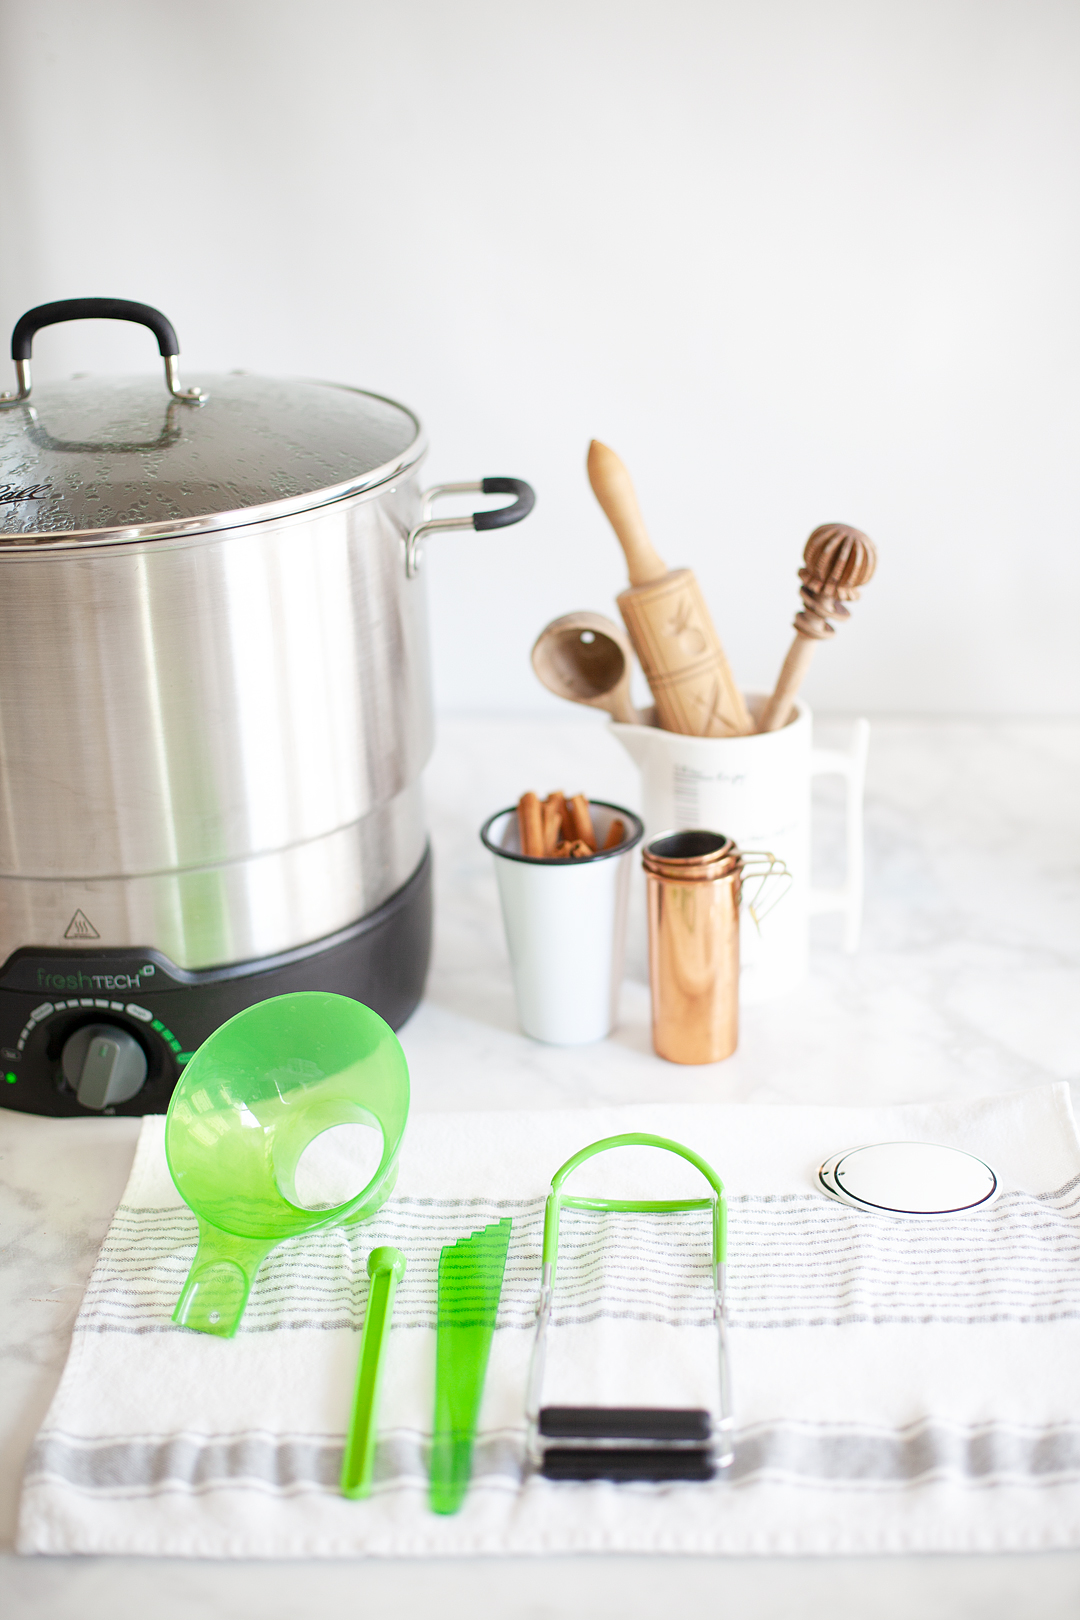
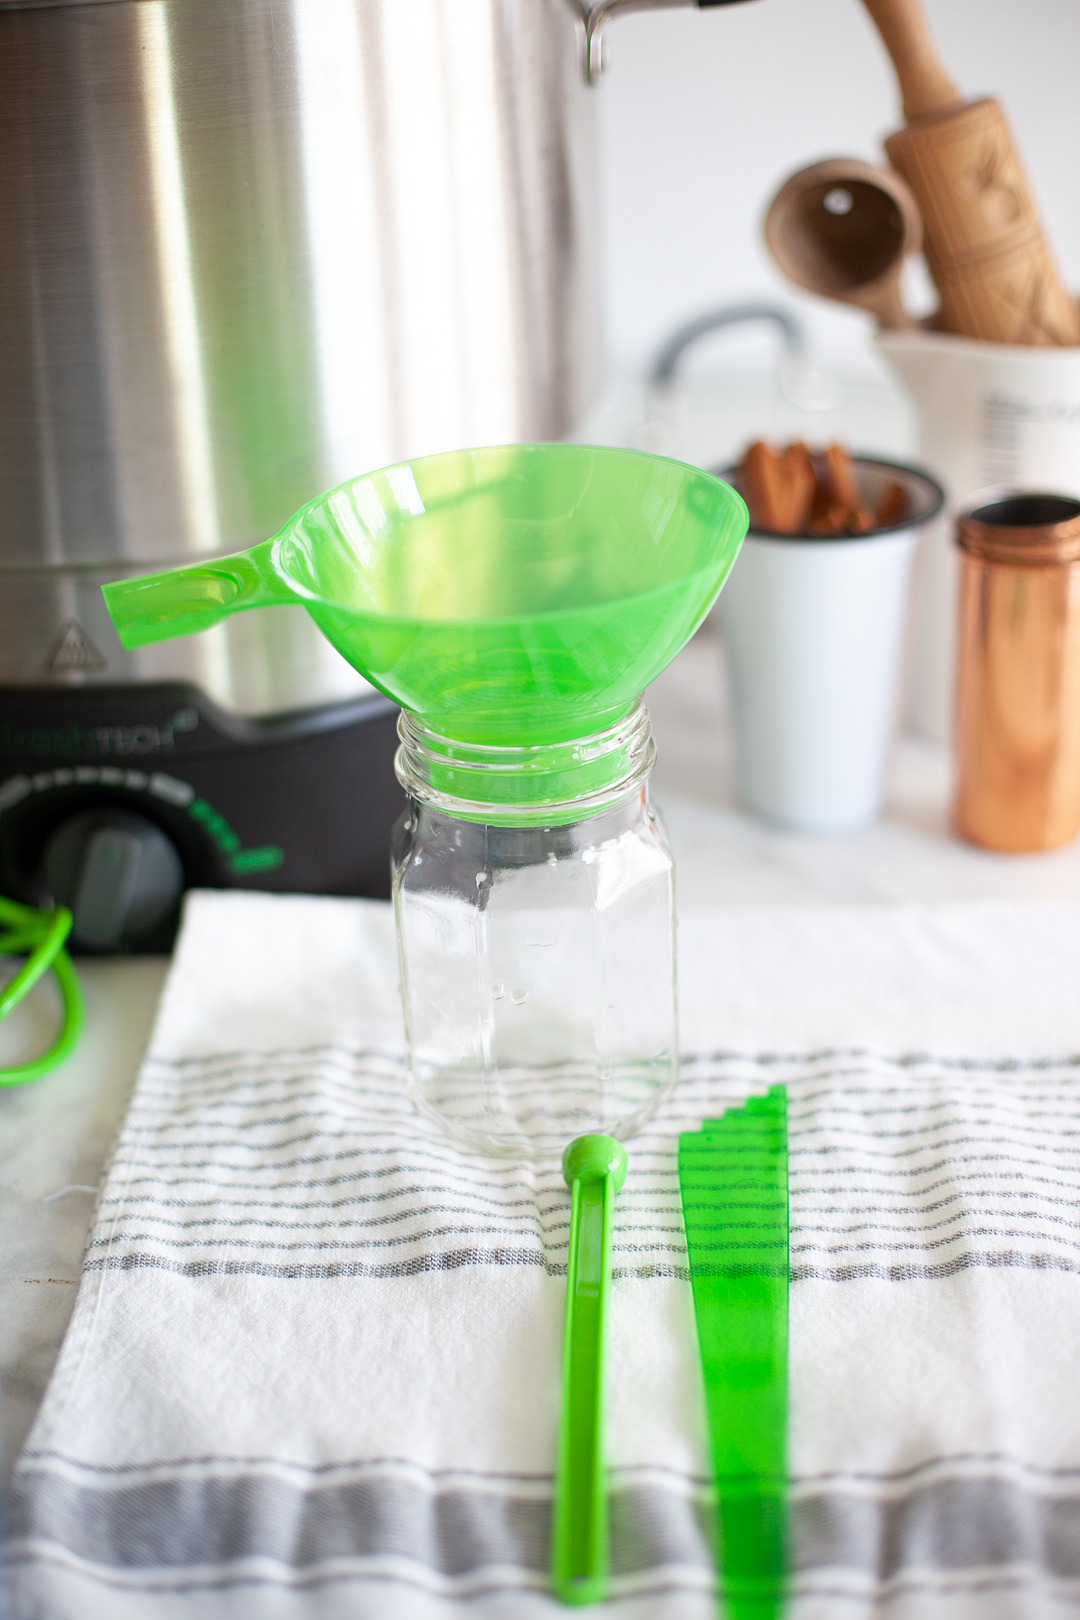
- Wide-mouth mason jars are the easiest to fill, clean, and eat from.
Labeling each jar with the day of the week can also make mornings even simpler, especially if you’re preparing breakfasts for multiple family members.
Easy Ways to Customize Every Jar
Breakfast jars are easy to adapt for different dietary needs and preferences.
For dairy-free versions, use your favorite plant-based yogurt and milk. If you need gluten-free breakfasts, choose certified gluten-free oats. Looking for something a little more filling? Add extra Greek yogurt, nuts, seeds, or a protein-rich oat blend to help keep you satisfied until lunchtime.
The beauty of these recipes is that they’re endlessly flexible—you can easily swap fruits, spices, or toppings based on what’s already in your kitchen.
A Little Prep Goes a Long Way
You don’t have to make all five recipes every week. Start with two or three favorites and see which combinations your family enjoys most.
A small amount of prep on Sunday evening can make weekday mornings feel far less rushed. With breakfast already waiting in the refrigerator, there’s one less thing to think about before the day begins.
Sometimes the simplest routines make the biggest difference—and a few mason jars in the fridge might just become your new favorite weekday shortcut.