My daughter, Hales and I worked on a fun project together and shared it a few weeks ago over at Craftaholics Anonymous and thought I would share it here just in case you missed it. Here is our fun Shirt to Skirt refashion…
Hales and I have had quite the challenge trying to find skirts that,
A. I find modest
B. She finds stylish
So… we decided to make one of our own out of some old t-shirts and then thought we would share it with all of you! This is the PERFECT first sewing project for your girls or for you, if you are new to sewing. If I can do it {I'm a rather novice seamstress} ANYONE can do this!! Not only that, but it is super quick as well. Here is what you are going to need…
- 2 t-shirts
- cutting mat
- rotary cutter
- scissors
- yard stick or some type of straight edge to help with cutting the fabric
- sewing machine
- thread
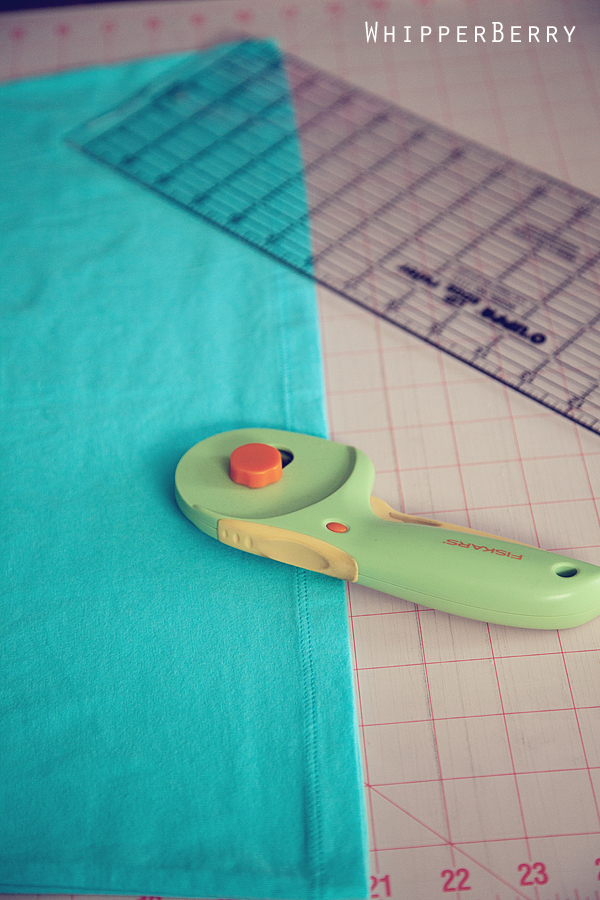
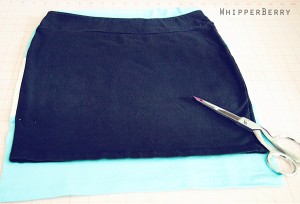
To begin, I carefully laid out one of the shirts and cut a 7 inch strip out of the bottom of the t-shirt using the cutting mat, rotary cutter and straight edge ruler. Now, the 7 inch measurement works for my daughters size, you may want to measure against one of your skirts and figure out what the best measurement will be for your height.
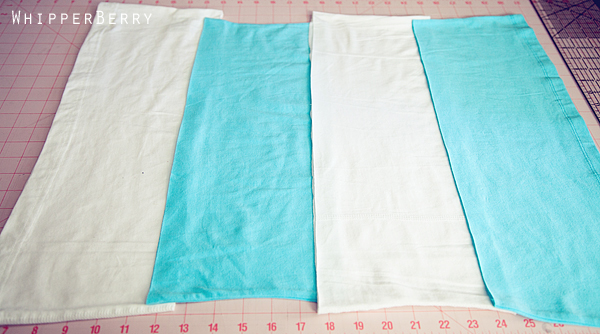
I preserved the finished bottom of the shirt to use as the finished bottom of the skirt, so as to not have to worry about the finished seam. I then cut one more 7 inch strip from the blue shirt and then two 7 inch strips from the white shirt.
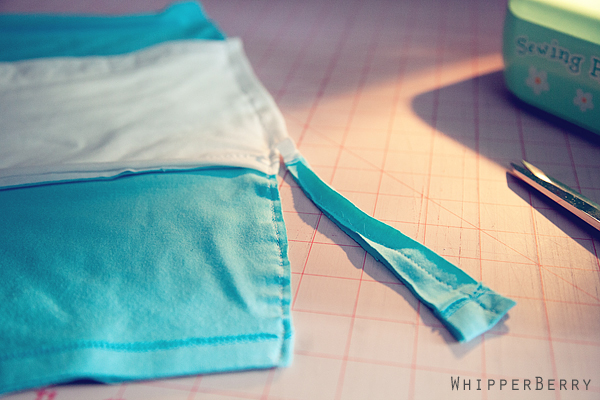
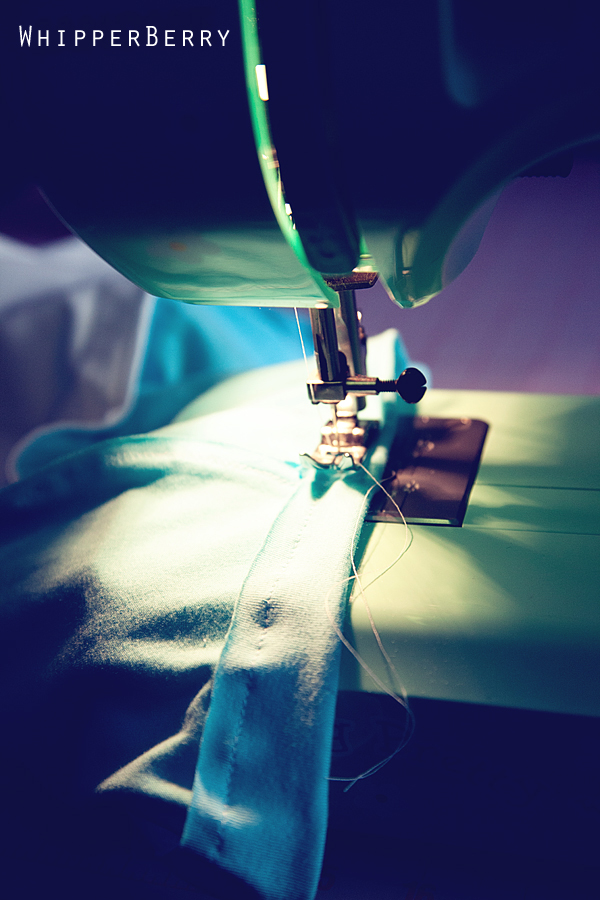
Now as you lay them out, don't worry when they don't match-up. That's not going to be an issue, we are going to cut down the sides and even things out in just a bit. At this point the t-shirt strips are tubes. What you need to do is open up the tube by cutting down one side of each of the strips and then opening them up to make long strips of fabric. Hales and i decided that we should double up the white fabric so she didn't have to worry about it being see-through. We layered the two white strips and stitched them together on the the sewing machine.
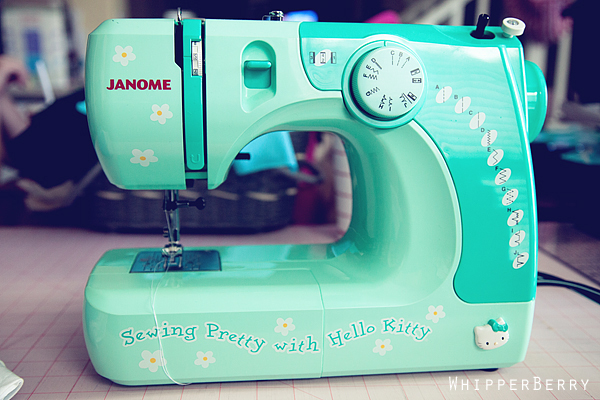
O.K. I am going to pause right here and offer a TRUE CONFESSION… I own a Hello Kitty sewing machine!!!
Phew… I've been holding that in for almost two years of blogging now. I don't LOVE nor do I HATE Hello Kitty. I found this fabulous starter sewing machine on clearance at Target for $40 {it was normally over $100} and had to buy it. The funny thing is that I now LOVE this little green machine… We've had a lot of fun together her and I! Now I can finish the photo tutorial without trying to hide my Hello Kitty machine. he he!
The next step is to sew the long strips of fabric together. Make sure that you place the finished bottom of the t-shirt at the bottom of the skirt for the finished bottom and then sew the layers together layering them one on top of the other… Blue, white, blue {or whatever colors you select.
Once you have the layers sewn together, fold the long strips on half, basically like you are recreating the tube of the the cut t-shirt. I placed one of Hales' skirts on top of the fabric to measure the perfect width of the skirt making sure to leave a little room for seam allowance. {That skirt was one of those a little too short skirts that i didn't like, so I kept the length of the skirt quite a bit longer on purpose.}
Turn the two different layers so that the you have the wrong sides on the out side and carefully match-up the stripes. Sew a seam down the length of each side. Go slow, keep in mind that the jersey knit fabric can be a bit of a challenge to sew with. Just take your time and you won't have to worry about the fabric stretching out of place. When you finish the two sides, take a look at the sides of the skirt. If you find you have too much fabric on the sides {that will make the sides of the skirt lay funny when you are wearing it} trim down the sides a bit to create a skirt that will lay properly.
Once you complete both sides, turn your attention to the top of the skirt, the waist. Because of the type of fabric you are using, you won't have a need to worry about adding elastic or anything. If you take the proper waist measurements the skirt will naturally hug the hips and stay in place. I folded down the waist of the skirt one inch, and then sew around the top of the skirt to finish off the top of the skirt.
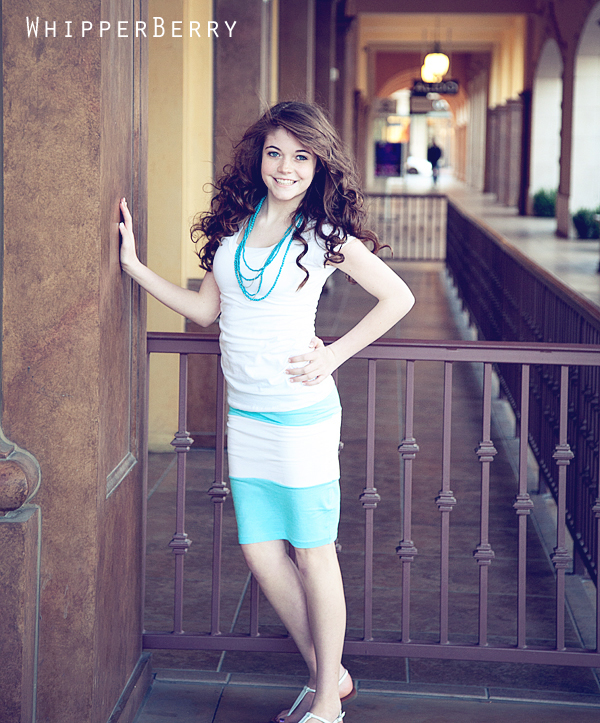
I actually went around the top twice with a quarter of an inch between the two stitches to create the same look as the finished bottom of the skirt. Turn the skirt right side out and voila you have a super cute skirt made out of two old t-shirts!! How fun and easy is that?! Oh, and doesn't Hales look cute?
I think I may have a budding fashion designer on my hands! What kind of projects do you like to do with your kiddos? With Spring Break season upon us, what do you guys have planned?
9





LOVE it, Heather! You guys did a great job, and your daughter is gorgeous!! Can’t wait to see you next week. 🙂
Great tutorial! I’ll have to go dig up some old t-shirts – I love soft casual skirts for summer!
This is so super cute! Thanks so much for doing step by step instructions! I want one of these bad!! And your daughter is so pretty! Maybe you have a budding model on your hands! Too cute! Yall did awesome on the skirt! I love it!
I would love for you to stop by and link this up at our naturally-nifty linky party!!
http://www.natural-nester.blogspot.com
The skirt is great, your machine is too cute, and your daughter is gorgeous!
SOOO super cute! Love the colors! Thanks for the tute! Oh, and I love your hello kitty machine. My daughter would adore that if I had one! 😀
This is adorable! I’m totally going to try it, but I assure you that I’m probably going to mess it up. 😉
Bwahahaha! I laughed out loud at your Hello Kitty Sewing Machine confession. I have a Janome Magnolia that has yellow flowers on it. I LOVE it to death because it has never once given me a problem after 3 years of hard core sewing.
I have got to make one (or five) of these! Absolutely adorable! And your model is gorgeous! Thanks for the how-to!
Super great idea and tutorial! Must give this a try. Your daughter is beautiful and very luckyy to have such a “hip” Mom!
AJ@queenofmynest
This is so absolutely adorable! Sharing it with my daughter and her friends to do with old team shirts! Thx!!!!
I want one of those Hello Kitty machines! My friend got one on sale at Target and I wished she’d called me. I would have told her to get me one too. 🙂 It’s a great machine and good for lugging around.
What a beautiful daughter! And the skirt is adorable too!
Your daughter is stunning, the sewing machine is adorable and the skirt is awesome!
I’ve found that if you use a “dull” needle – one specifically for jersey/knits, you won’t have the issues with the fabric bunching up. I learned that lesson after using a regular “sharp” needle and getting very frustrated. Finally I asked my mom and she advised me (kindly) what I was doing wrong!
I love this skirt! I wish I could pull that kind of fabric off – It just doesn’t work for my body shape. Maybe I’ll have to try with a different fabric!
Can you tell me where you took your daughter’s pics?
Totally hear ya on the fabric issue, that’s why my cute skinny daughter is wearing the skirt, not me! 🙂
I took her picture at Town Square here in Las Vegas.
kisses
heather
Awesome, thanks! 🙂
Your daughter stunning, the skirt beatiful and the tutoriol really simple.
I love your sewing machine and your beautiful skirt 🙂