• Skip to primary navigation
  • Skip to main content
  • Skip to primary sidebar
  • Skip to footer

Whipperberry

WhipperBerry • Your Home For Creative Inspiration

  • Home
  • About
    • Terms
  • Recipes
    • ZipList
    • Starters
    • Easy Weeknight Dinners
    • Main Dish
    • Salads
    • Side Dish
    • Soups & Stews
    • Desserts
    • Breakfast
    • Miscellaneous
  • Tutorials
    • Creative Crafts
    • DYI Decor
    • Fabric Crafts
    • Food How-To
    • Jewlery
    • Paint Projects
    • Paper Art
    • Party Styling
    • Photography and Graphic Design
    • Silhouette
  • Holidays
    • St. Patrick’s Day
    • Easter
    • Mother’s Day
    • Father’s Day
    • 4th of July
    • Halloween
    • Thanksgiving
    • Christmas
    • New Years
    • Valentine’s Day
  • Gift Ideas
    • Gifts For Everyone
    • Gifts for Dad
    • Mother’s day
    • For The Girls
    • For The Kids
    • Teacher Gift Ideas
    • Christmas
  • Printables
    • Holiday
    • Gift Idea
    • LDS Primary
  • Travel
  • Contact
  • Nav Social Menu

    • Facebook
    • Instagram
    • Pinterest
    • RSS
    • Twitter

Parties

How to Make Stylish Fabric Banners with the Cricut Maker

4 · Feb 26, 2018 · Leave a Comment

Forget the scissors & craft knife! I have a sure-fire way to create the most amazing graphic-driven fabric banners for your kiddos room or next event. NO sewing skills required! How cool are those fabric banners that are made out of felt? You know where I’m going with this! Come learn how to make graphic banners with the fabric without mind-numbing hand-cutting. If you want to see which is best, the Cricut or the Silhouette then read about that comparison here.

+ This post brought to you by the lovely folks at Cricut +How to Create Fabric Banners • They are easy to make with the Cricut Maker and have such impact in your room or for a party. Come learn how easy they are to make at whipperBerry.
Tools of the Trade

Having always been in LOVE with creating graphics, the idea of being able to design graphic driven projects out of fabric has always been a desire of mine. However, I don’t have the patience to sit with scissors or craft knifes to cut out my graphic elements. I was thrilled at the advent of the original Cricut back in the day. It revolutionized crafting, as we knew it, at the time. However, it just didn’t have the cutting chops for fabric. The new Cricut Maker is just as revolutionary as the first cartridge based Cricut in the Fabric world. It’s TOPS for sure!

Vintage Adventure Room

I’ve been working on a room makeover for my little guy, Gage. We created a vintage adventure room that covers everything land and sea. It’s all about adventure in this great big world of ours. I wanted to have some animals of the sea & land represented in the room. I used my Cricut Maker to make a vinyl stencil for this cute fox storage chest for his little gadgets and gizmos.
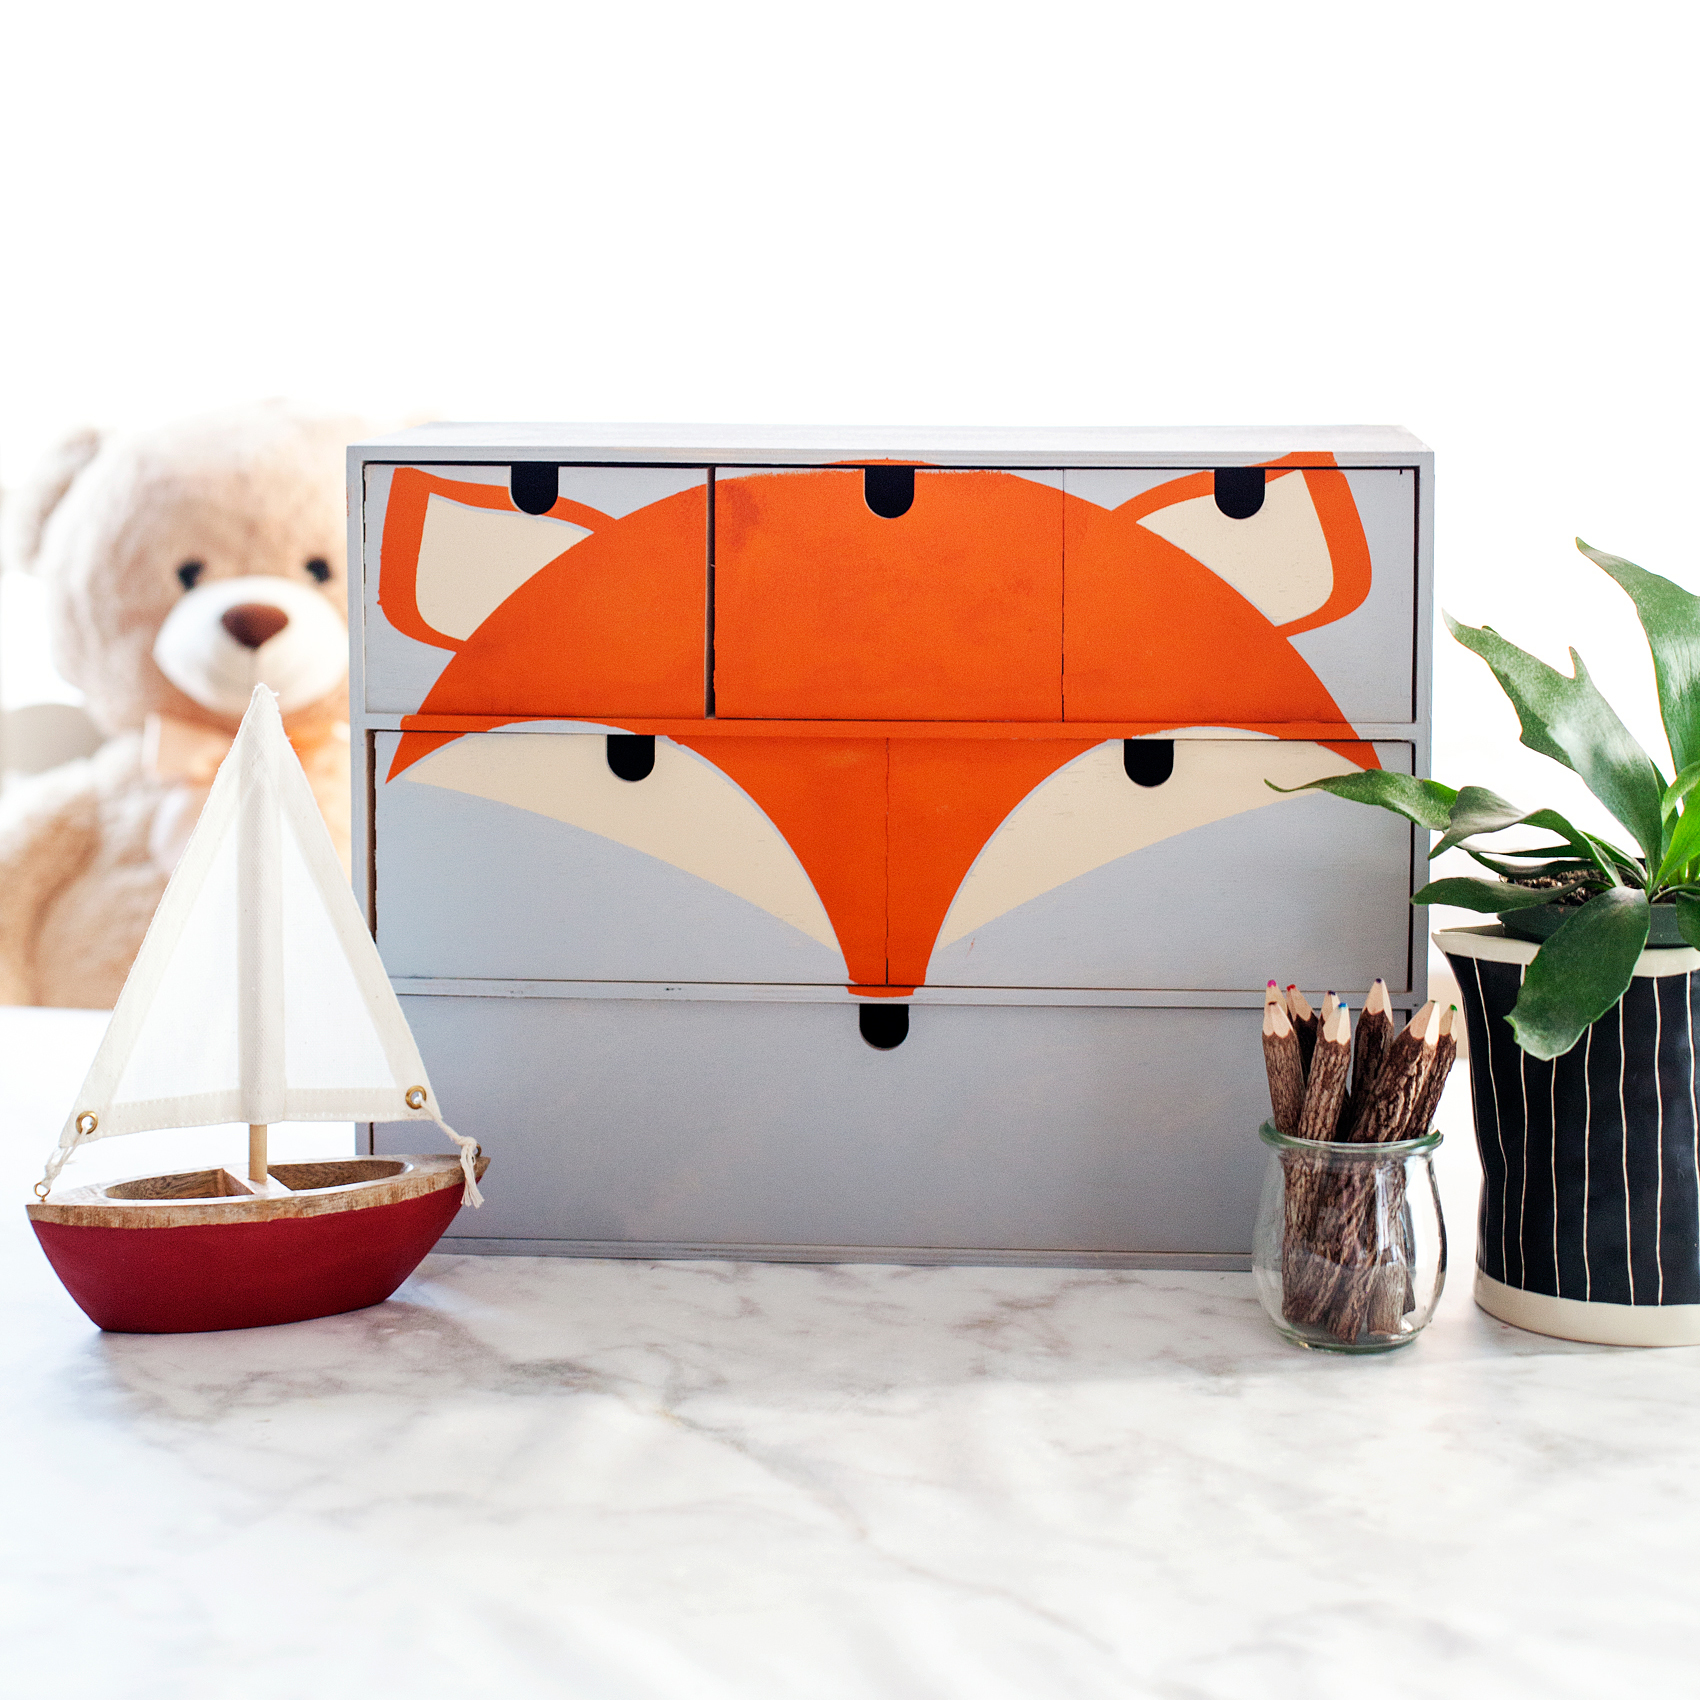
Transform a simple mini storage chest from IKEA into this cute little fox storage chest for your little ones little toys and trinkets. I used some of the @decoart chalky finish paint along with my @cricut Maker to create this fun design for my little boys room • WhipperBerry

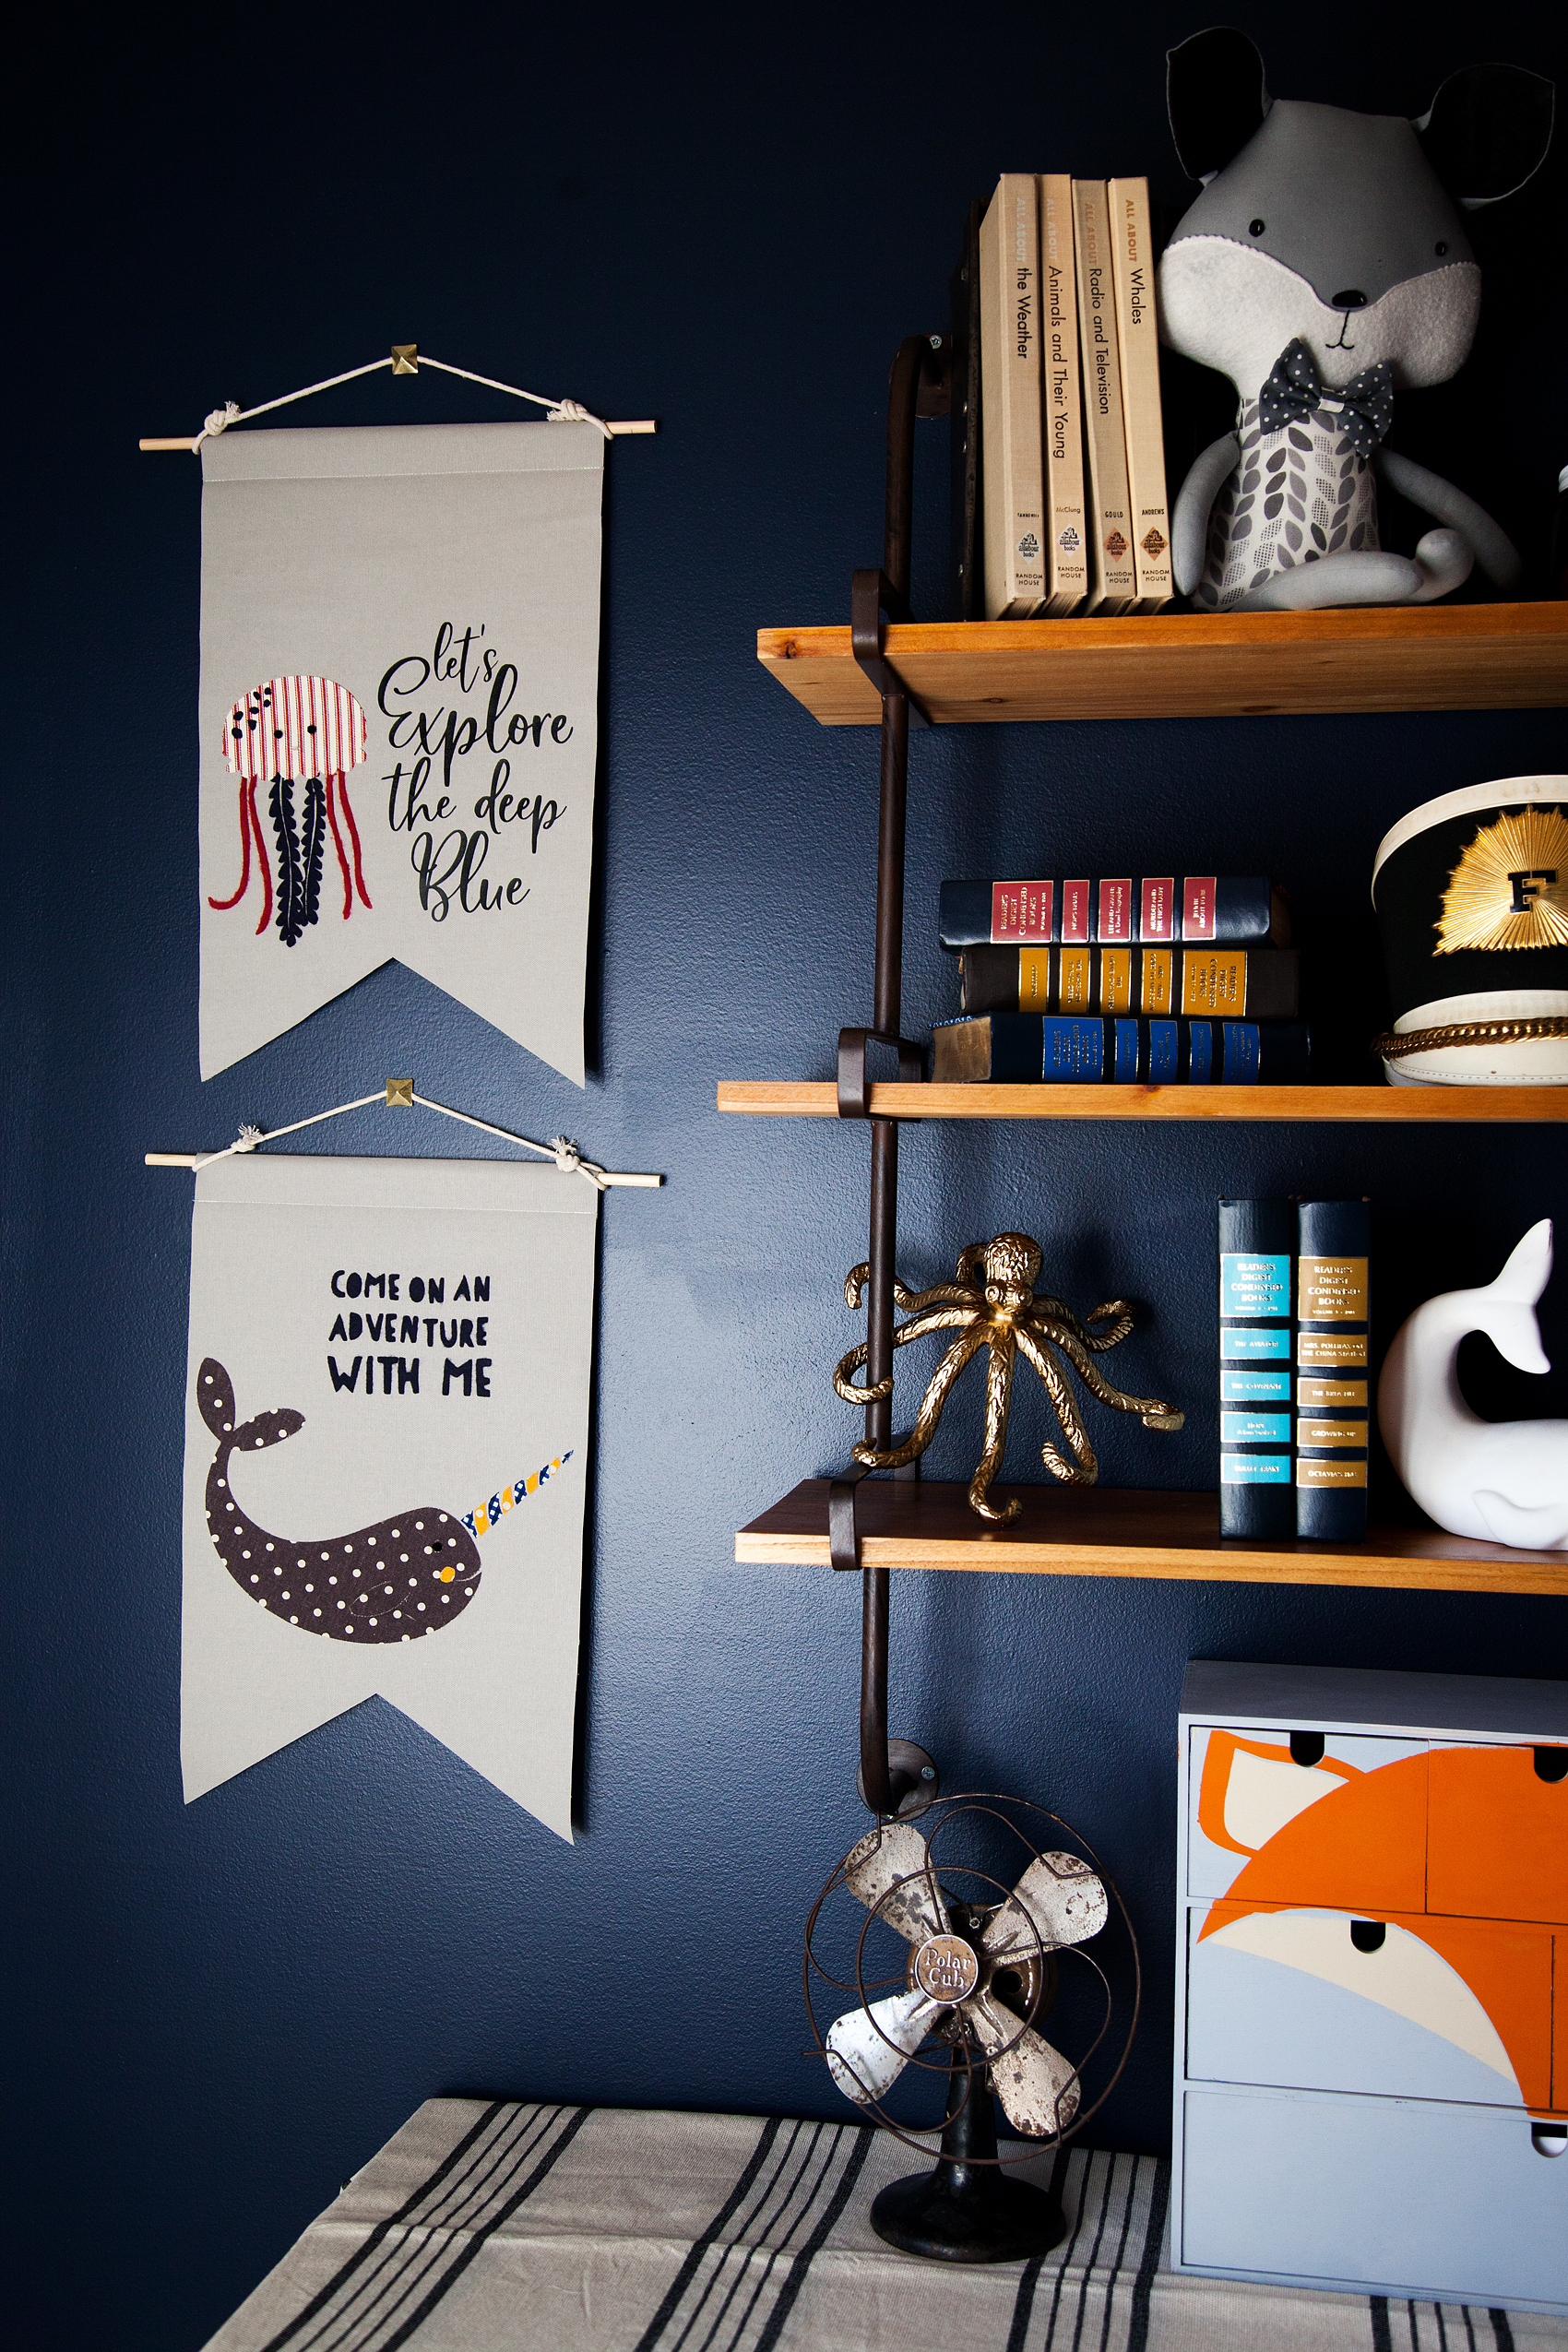
Next, I wanted to make some sea loving creatures for some fabric banners on his wall. We LOVE Narwhals and jellyfish at our house quite a bit so, I knew I had to create something with these two ocean gems. After a little design work, I came up with these cute designs. Let's Explore the Deep Blue Banner created by WhipperBerry • A great banner idea for your little ones room.
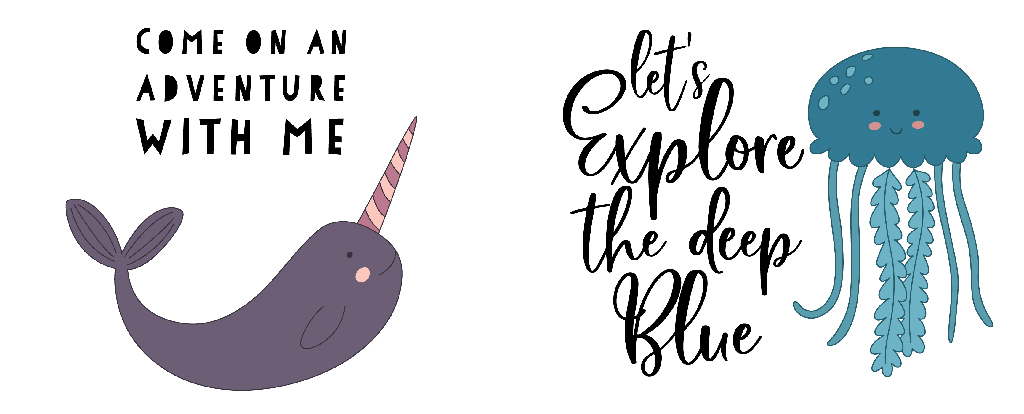
Supplies for Fabric Banners

The next trick, making these designs into fabric banners for Gage’s room. I rummaged through my fabric stash and found some colors that would go well with the room design.
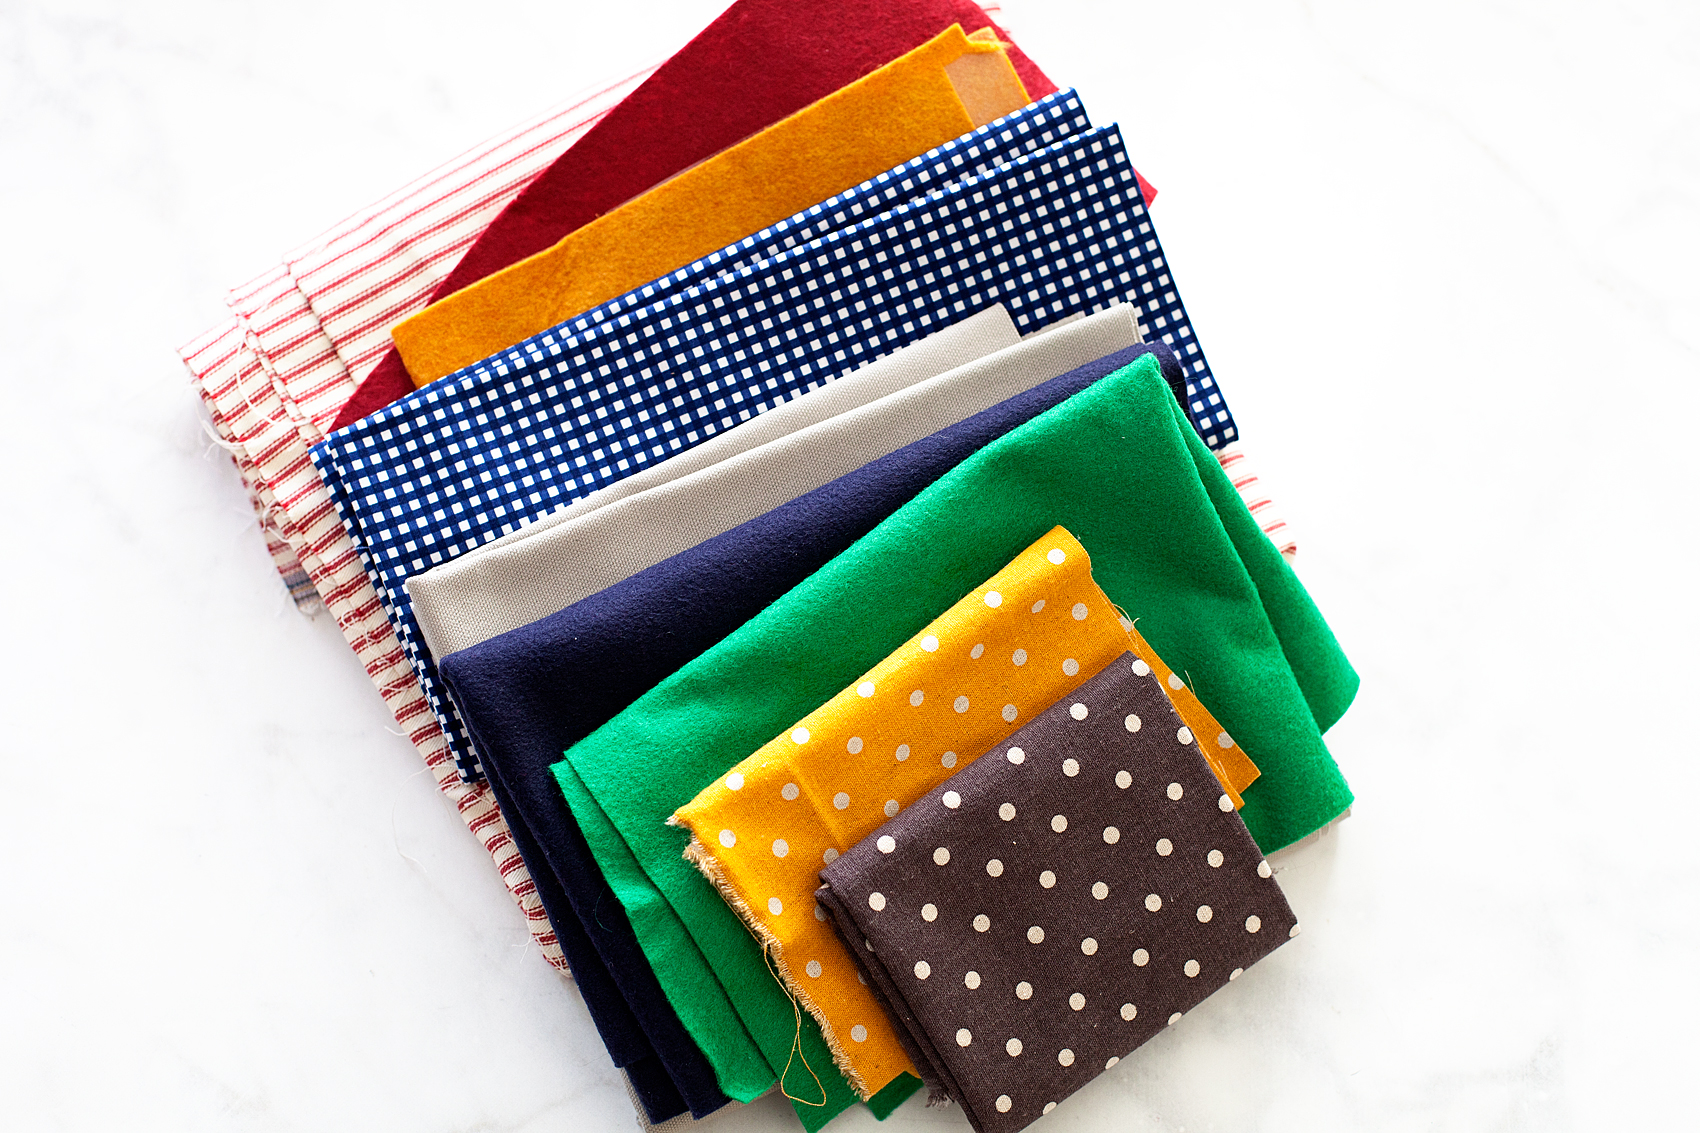
Fabric Banners • Great colors for a little boys room

Here’s the rest of the supplies you will need.

  • fabric
  • Heat n’ Bond
  • Cricut Maker
  • Cricut Rotary Cutter
  • Cricut Bonded Fabric Blade
  • Cricut Fabric Cutting Mat
  • fabric glue
  • wood dowel
  • cotton rope
  • sewing machine (optional)
  • thread (optional)

How to Create Graphic Banners with Fabric • They are easy to make with the Cricut Maker and have such impact in your room or for a party. Come learn how easy they are to make at whipperBerry.

Instructions

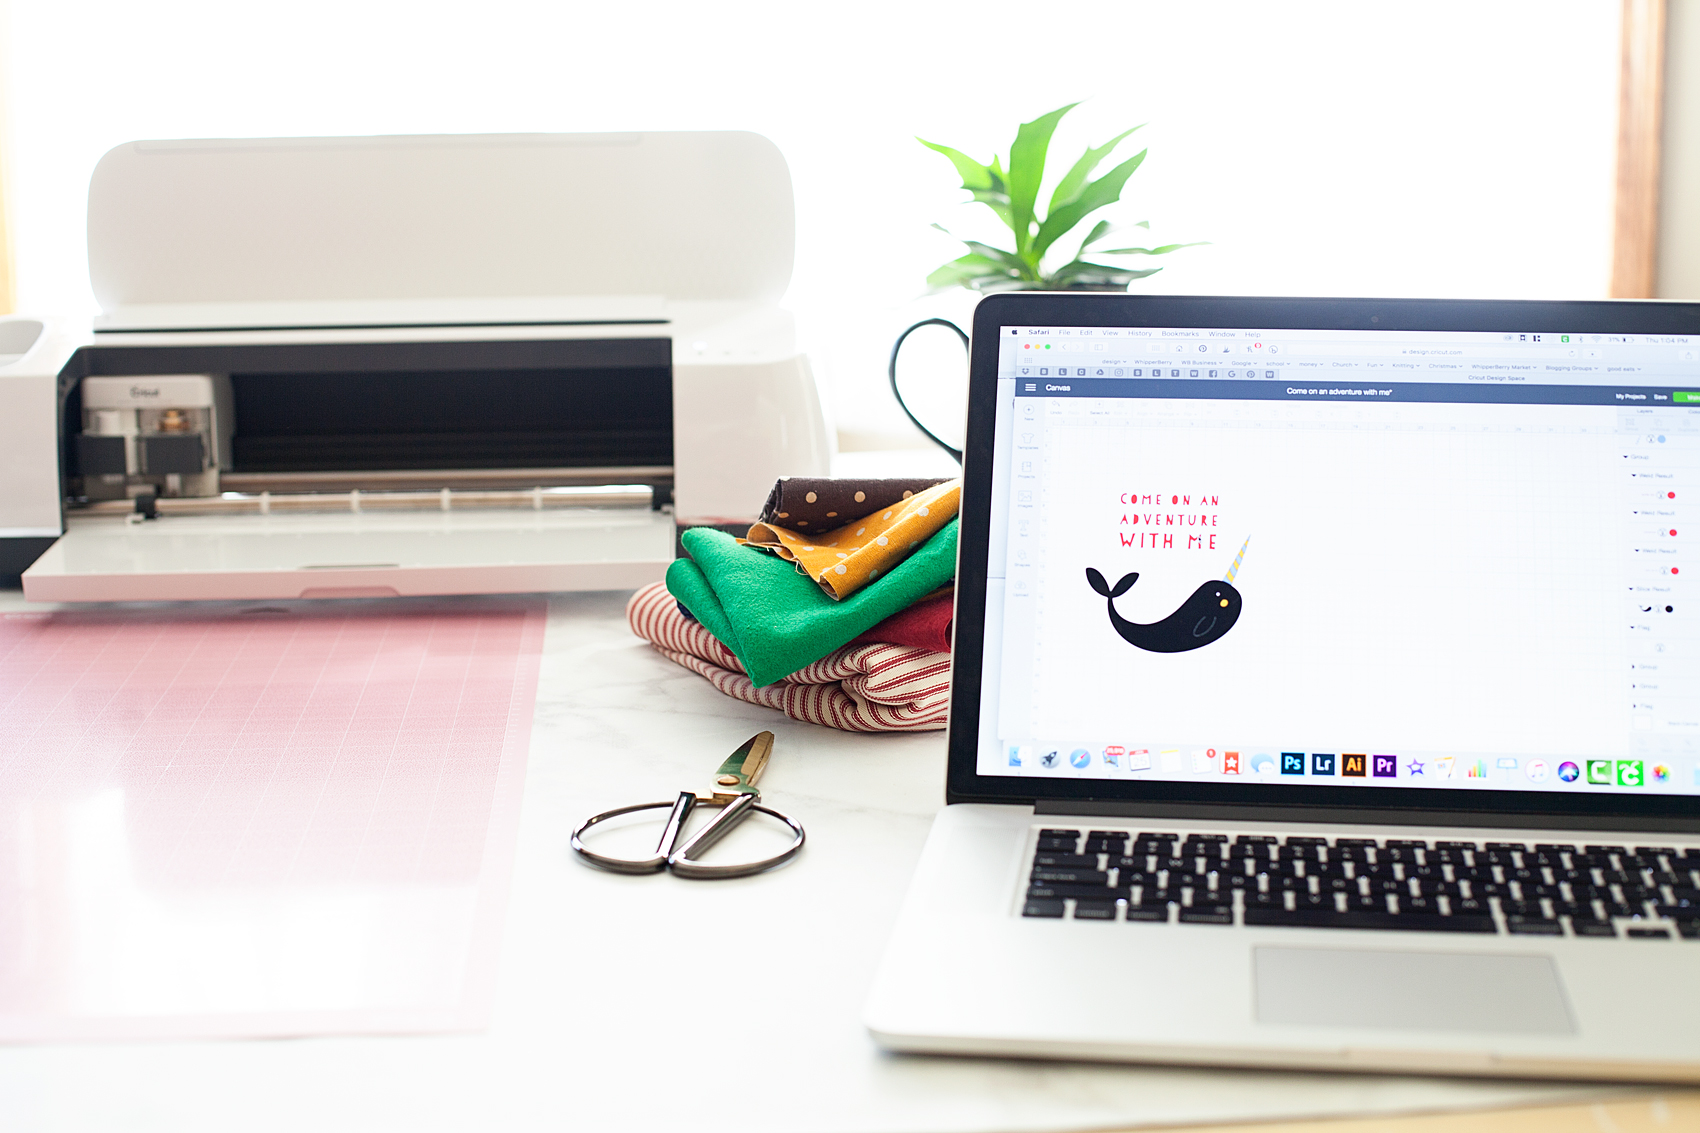
First, you need to create your design within Cricut Design Space. You can use either the large library of fonts that they have compiled at Cricut or, use your favorite fonts on your computer. You also have access to thousands of graphics that you can use to personalize your space or dress-up your party.

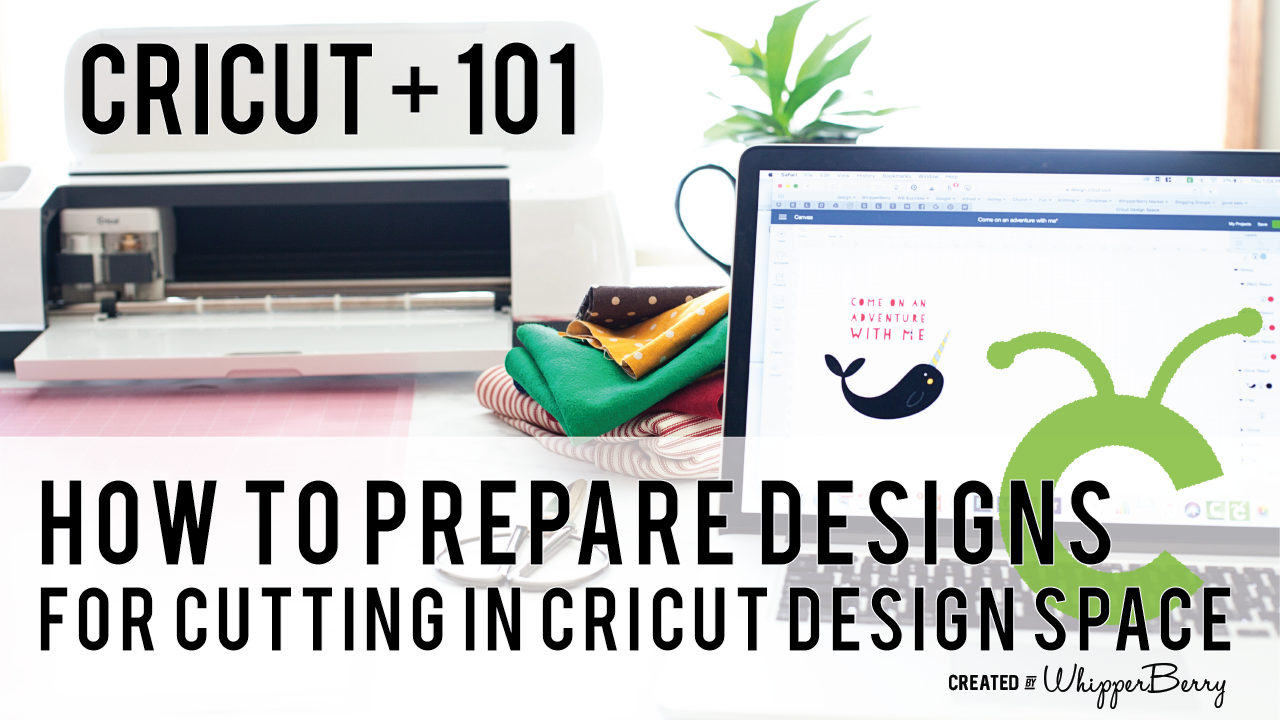
How to Prepare Graphic to Cut in Cricut Design Space

When you are working with multiply colors of fabric or paper, Cricut Design Space has some brilliant features that I really like. Instead of typing them all out I thought I would create a video for you watch that teaches you exactly how to prepare your designs to cut that really makes the cutting process so much easier. Click on the image below to watch the video.When you are working with multiply colors of fabric or paper, Cricut Design Space has some brilliant features that I really like. Instead of typing them all out I thought I would create a video for you watch that teaches you exactly how to prepare your designs to cut that really makes the cutting process so much easier.- WhipperBerry
Cutting Fabric

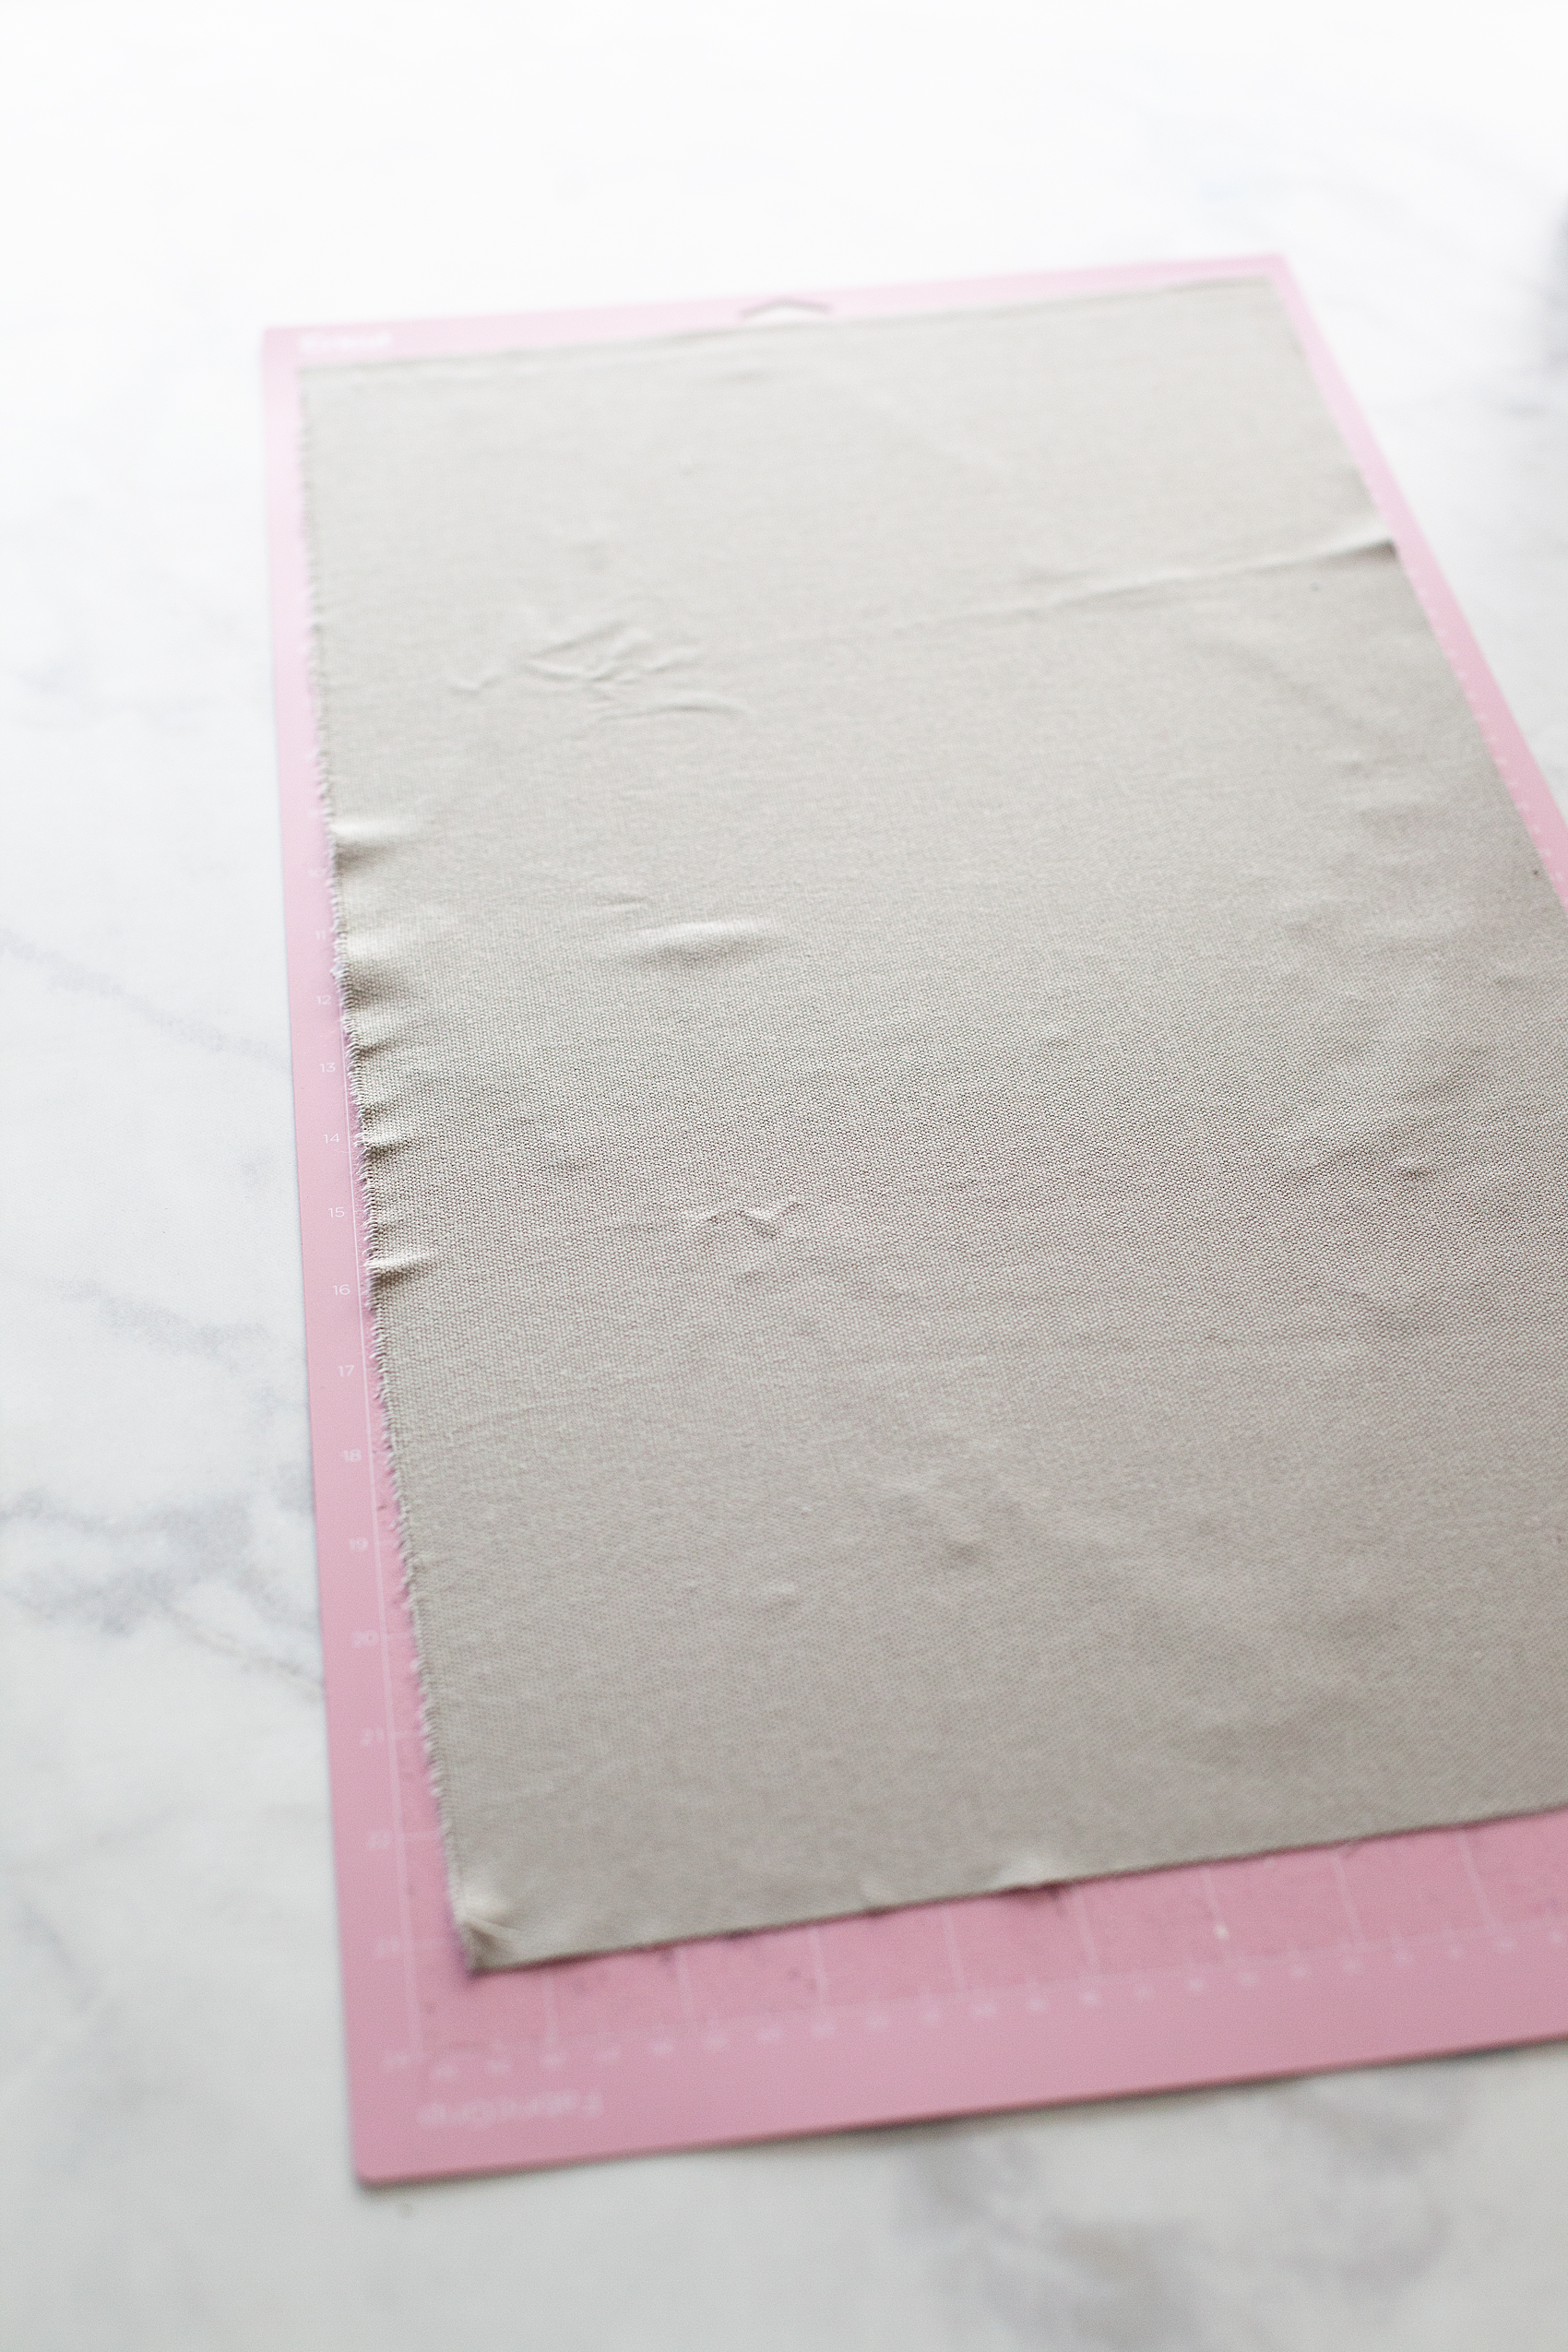
Now that your designs are ready to cut, it’s time to prepare your cutting mats. If you are cutting fabric, you need to make sure you are using the fabric cutting mat and the fabric rotary cutter. If you happen to have a rotary cutter that needs to be changed, here is a tutorial on how to do that. Cut your fabric to fit the cutting mat and place it on the mat.

PRO TIP • Don’t worry about cleaning the fabric cutting mat of all the fuzz & threads after you use it. It will work just fine with fuzz & threads. Attempting to clean the mat actually does more harm than good.
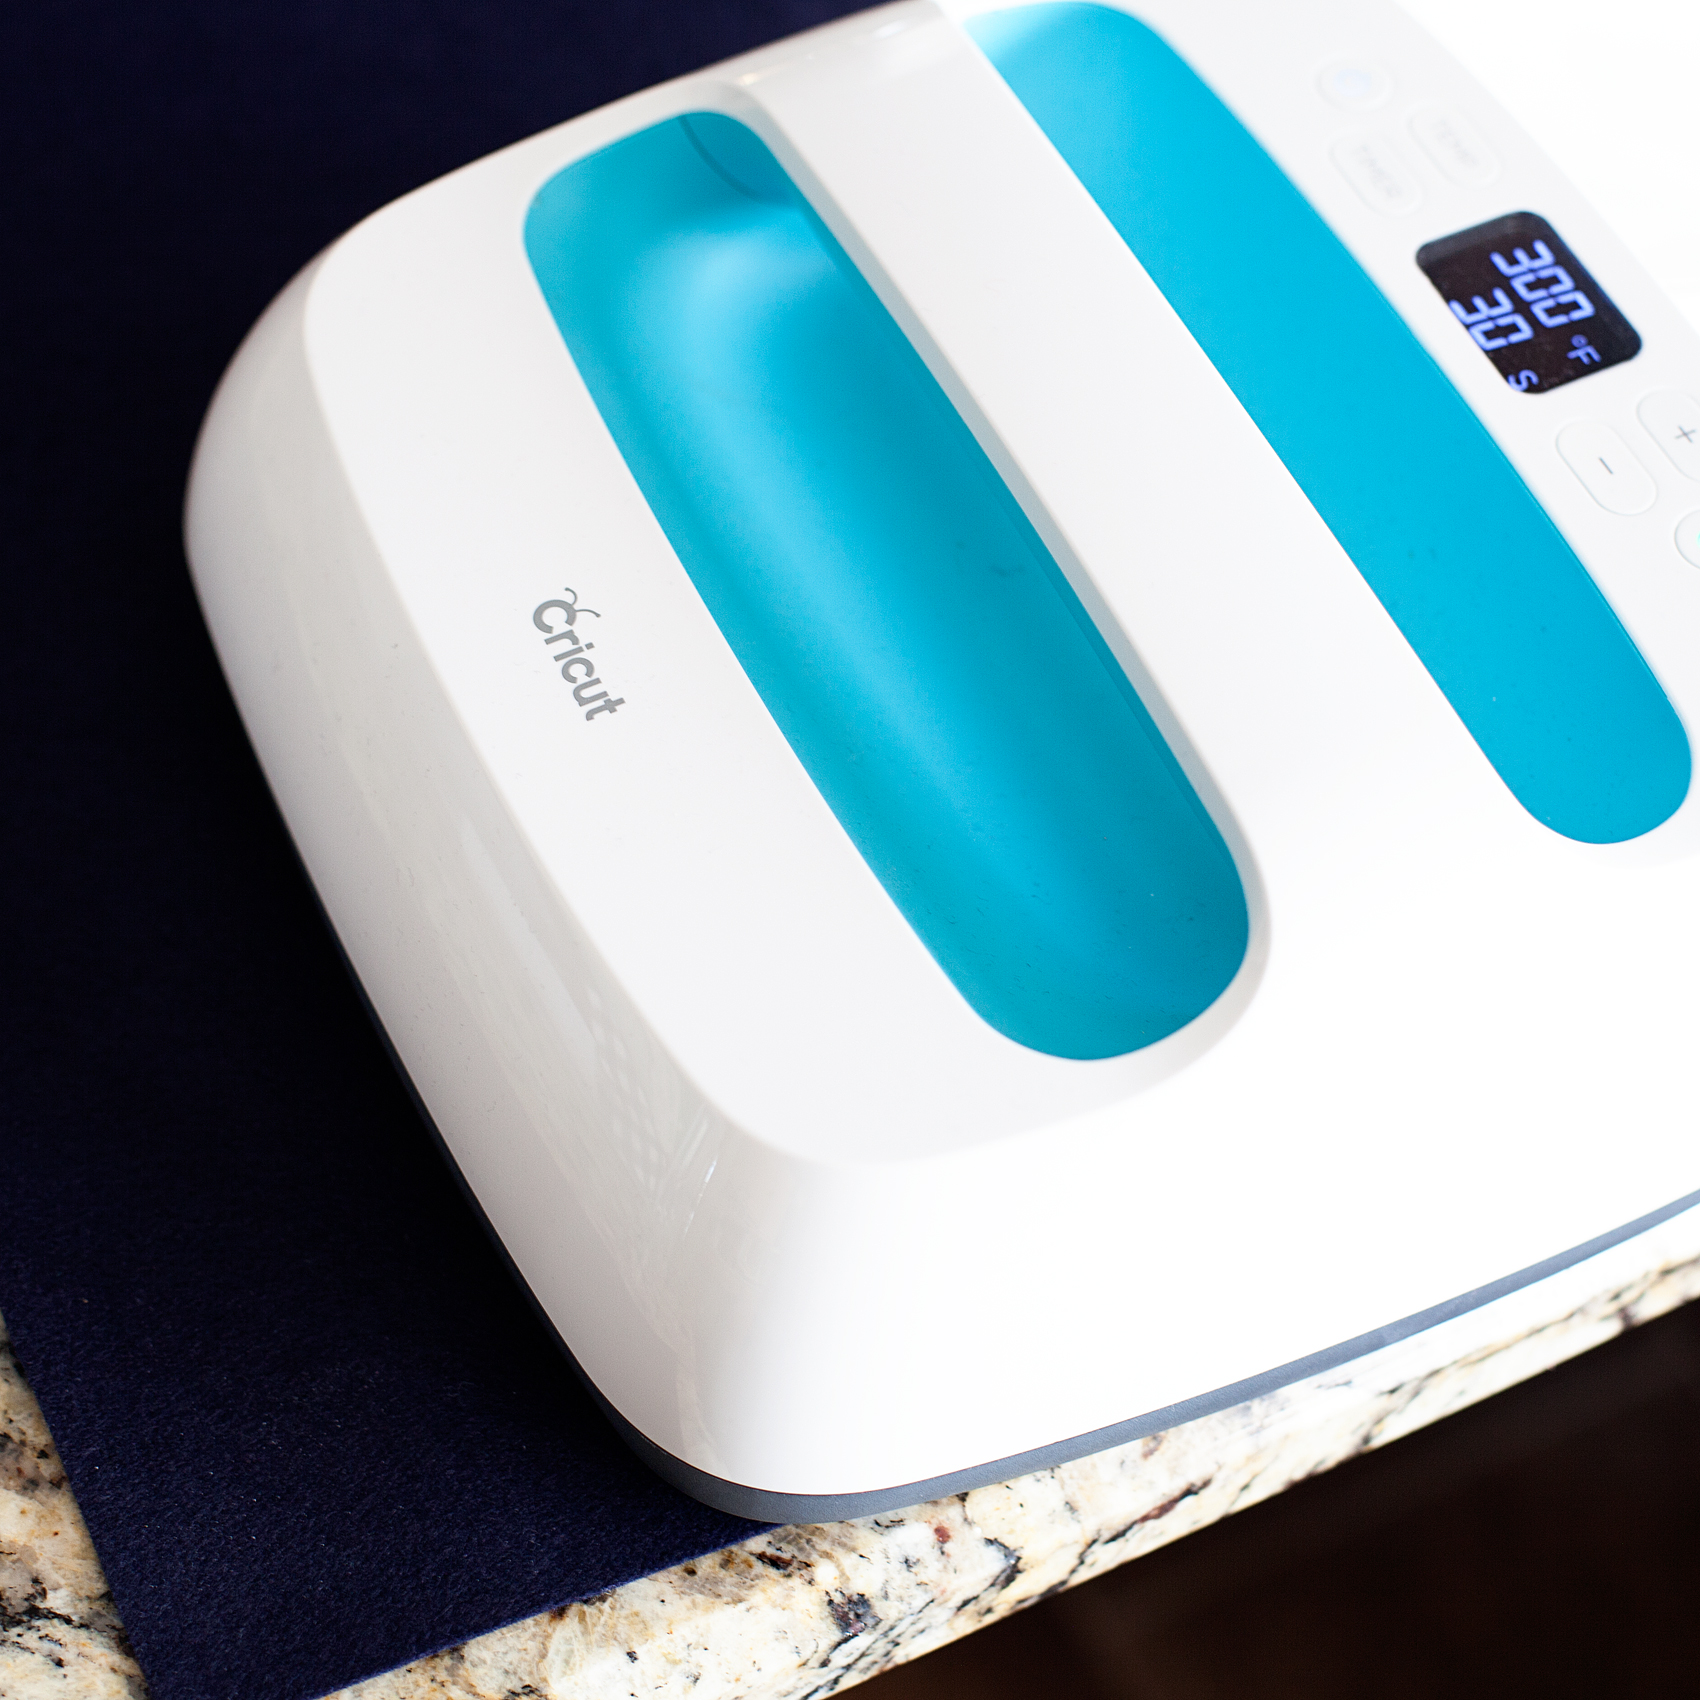
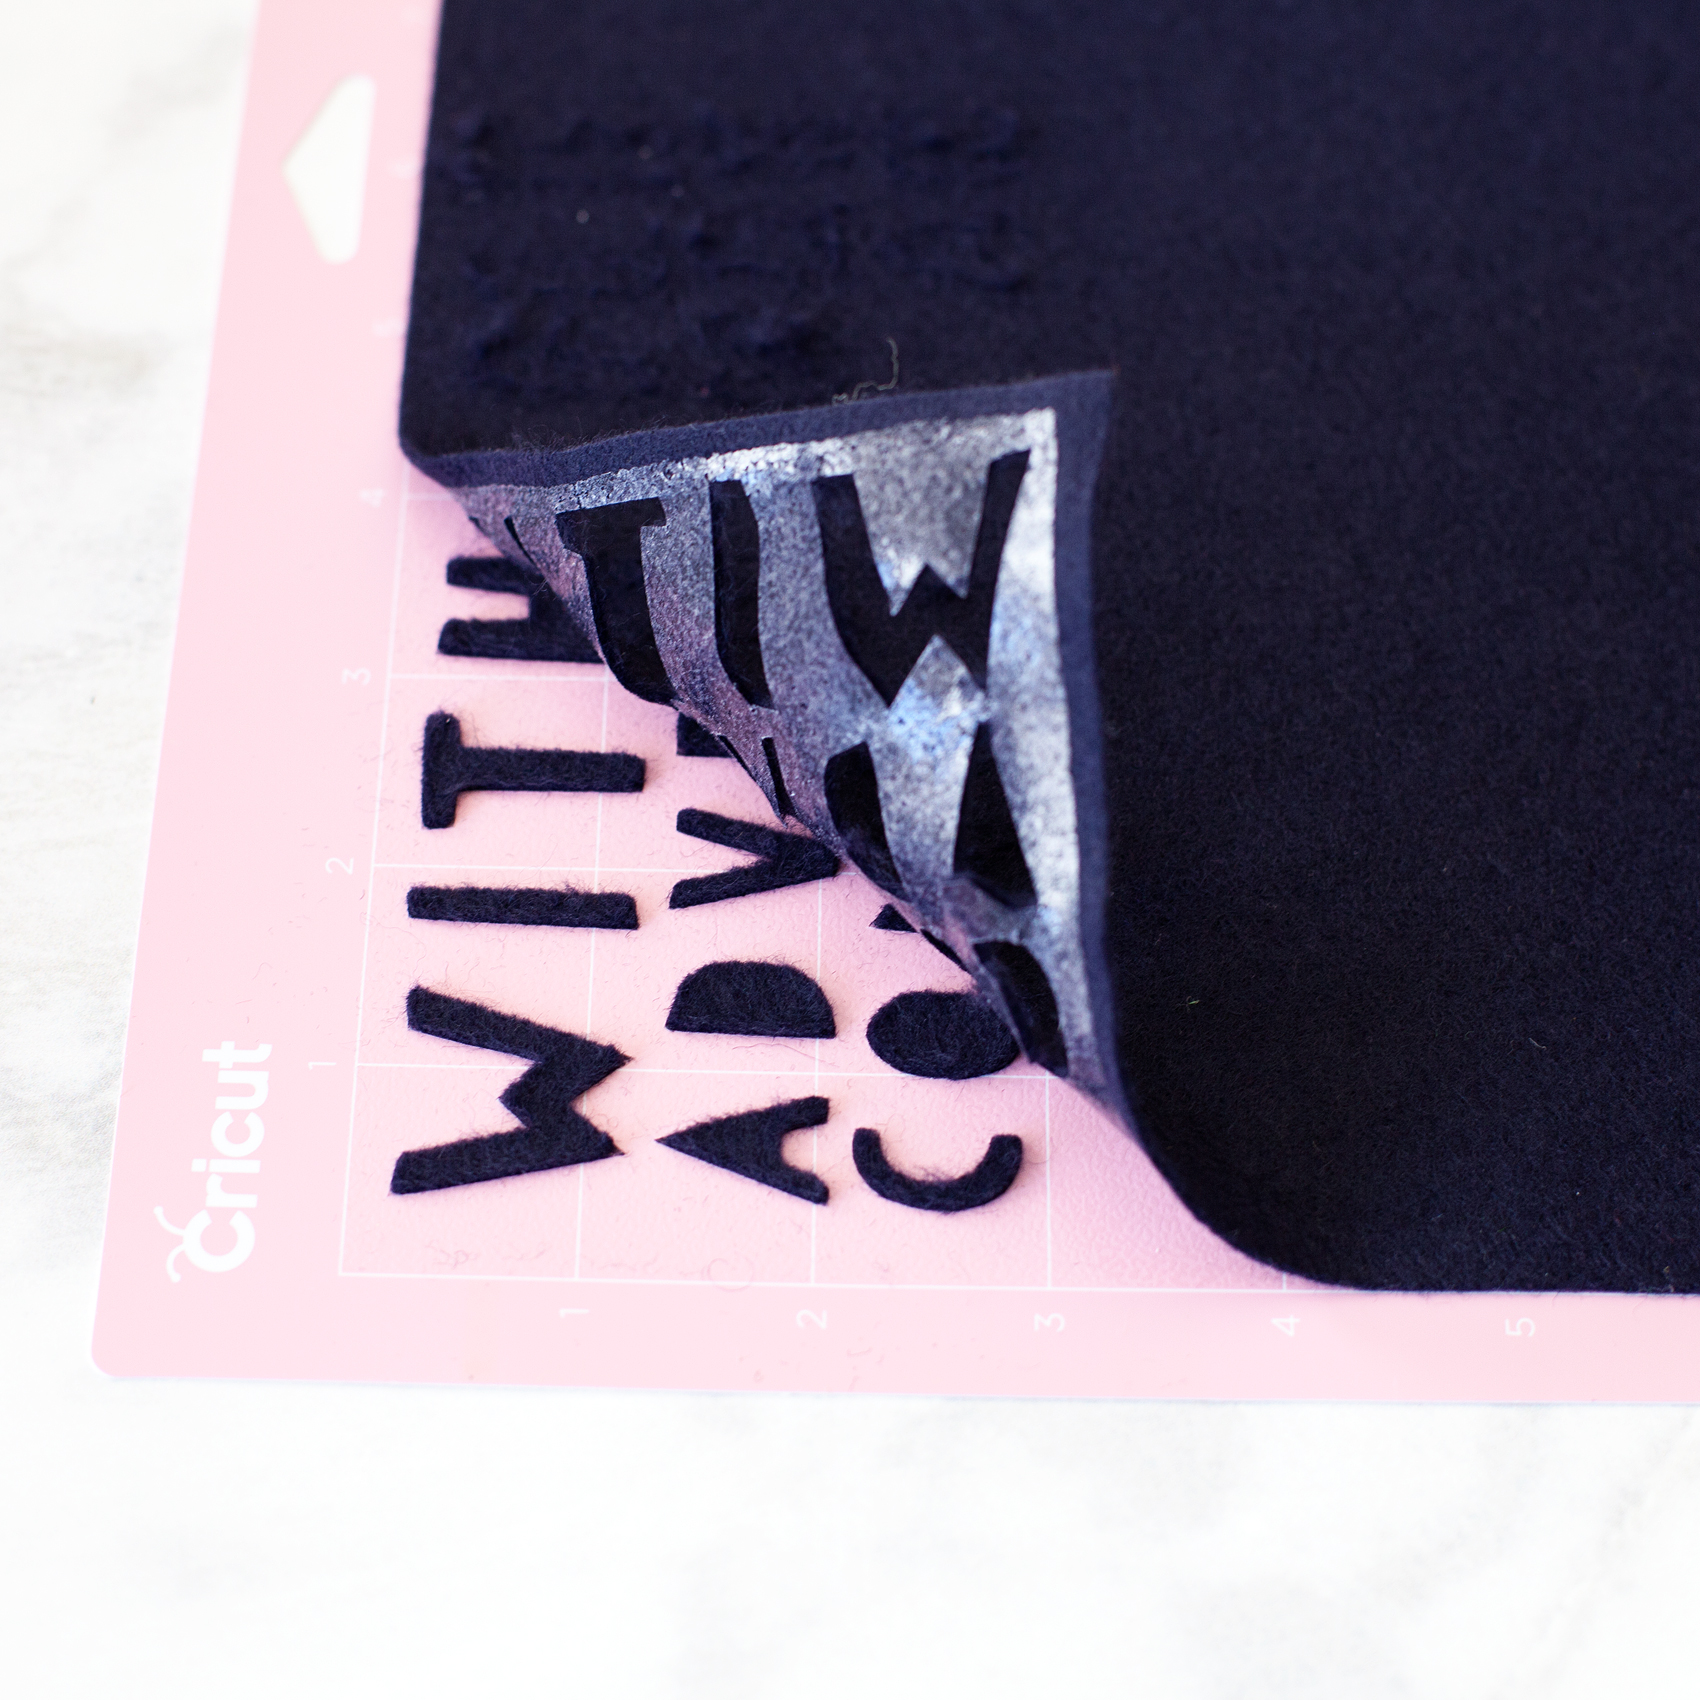
If you are planning on ironing your graphics onto the banners, you’ll want to iron-on the Heat n’Bond BEFORE you cut your fabric. (I use my Easy Press, which I LOVE!) In that case, you may want to use the Bonded Fabric Blade when cutting your fabric. I say that with a caveat, I found that the bonded felt that I used cut better with the rotary cutting blade.
Graphic Placement on Banners

Once you have all of your graphic element cut, you’re ready to place them on the banners. I like to layout my design onto the fabric banner first, to make sure I like the placement. That’s where the Cricut Weeding Tools come in real handy. I LOVE those tweezers!
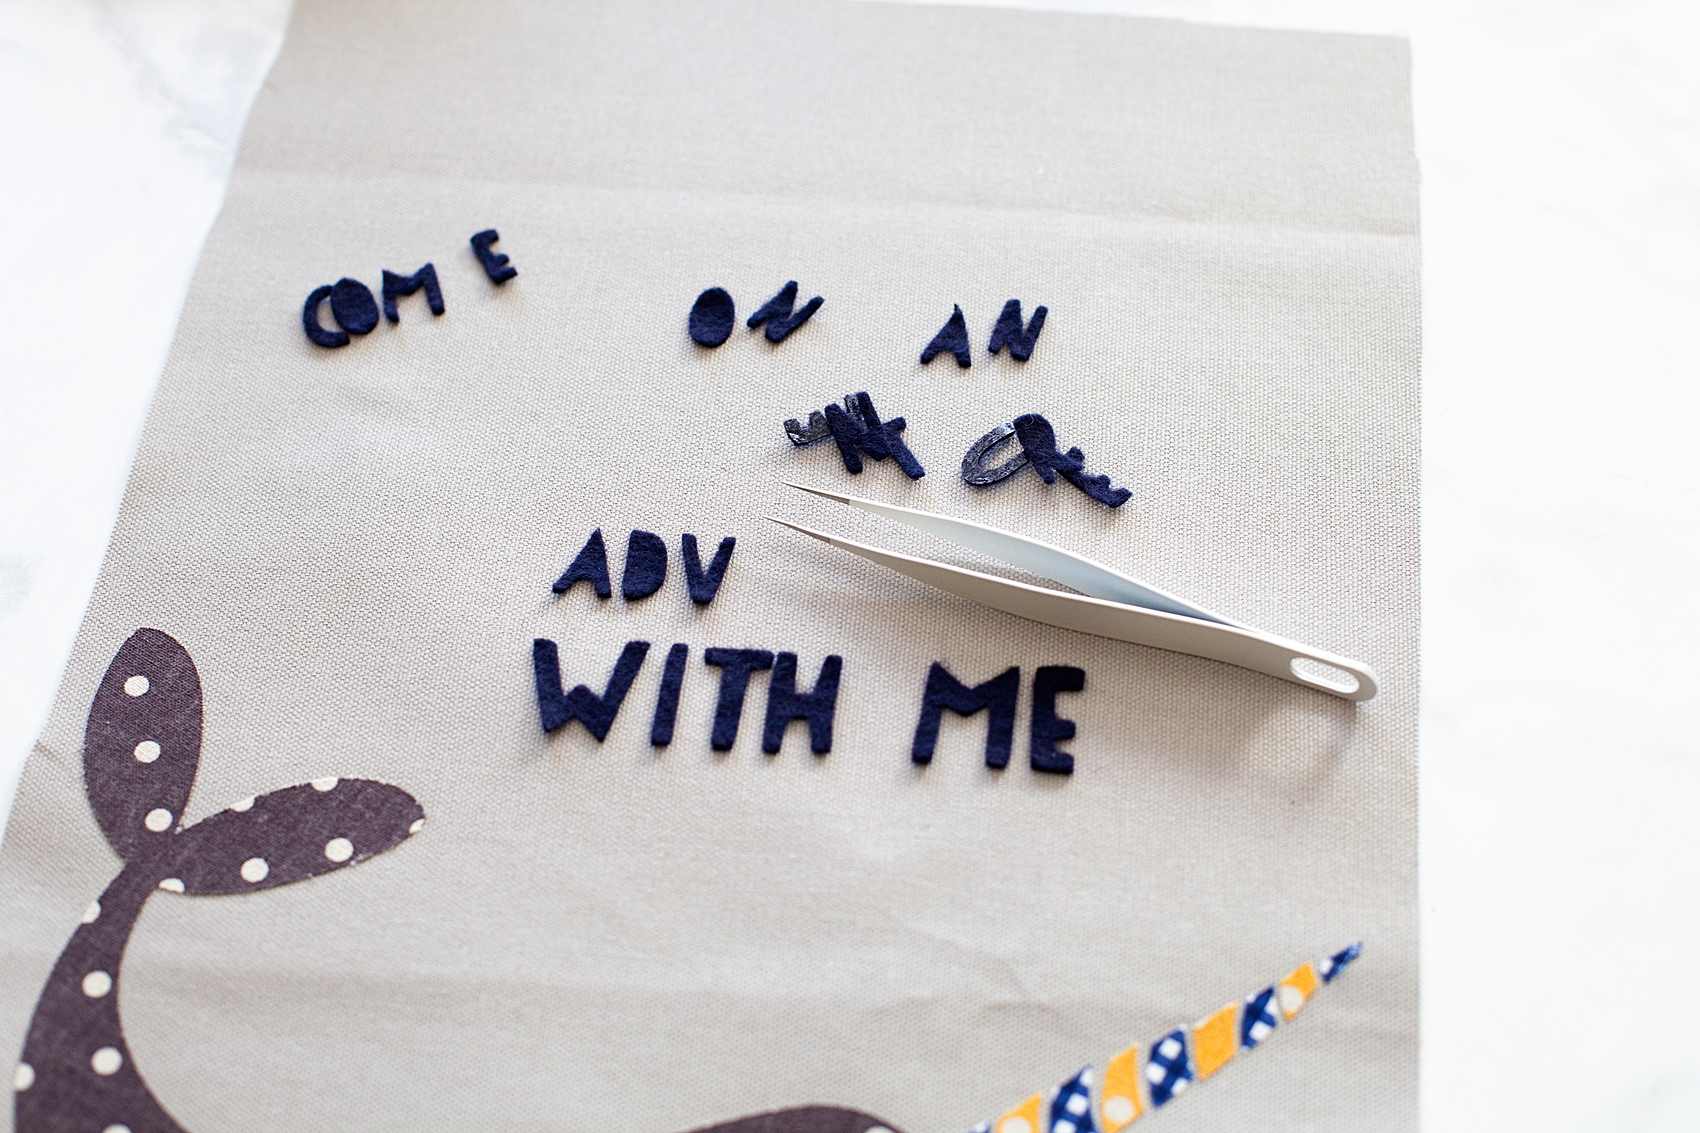
Next, I use the Easy Press to warm the surface of the fabric banner and then lay down my graphics again quickly. Then, I cover them with the Iron-On Protective Sheet or a cotton dish towel if using a standard iron and press my graphics onto the banner according to the Heat n’ Bond directions.

3D Graphics on Banner

One really fun thing you can do when cutting graphics in this manner, you can add some little 3D elements to your design. I thought it would be fun to have my narwhal’s fin to pop out a bit to give him a little more character. When I was pressing the narwhal onto the banner, I placed the used backing of the Heat n’ Bond under the fin with the shiny side of the paper facing the fin. That would mean the it wouldn’t stick to the fabric or the paper.
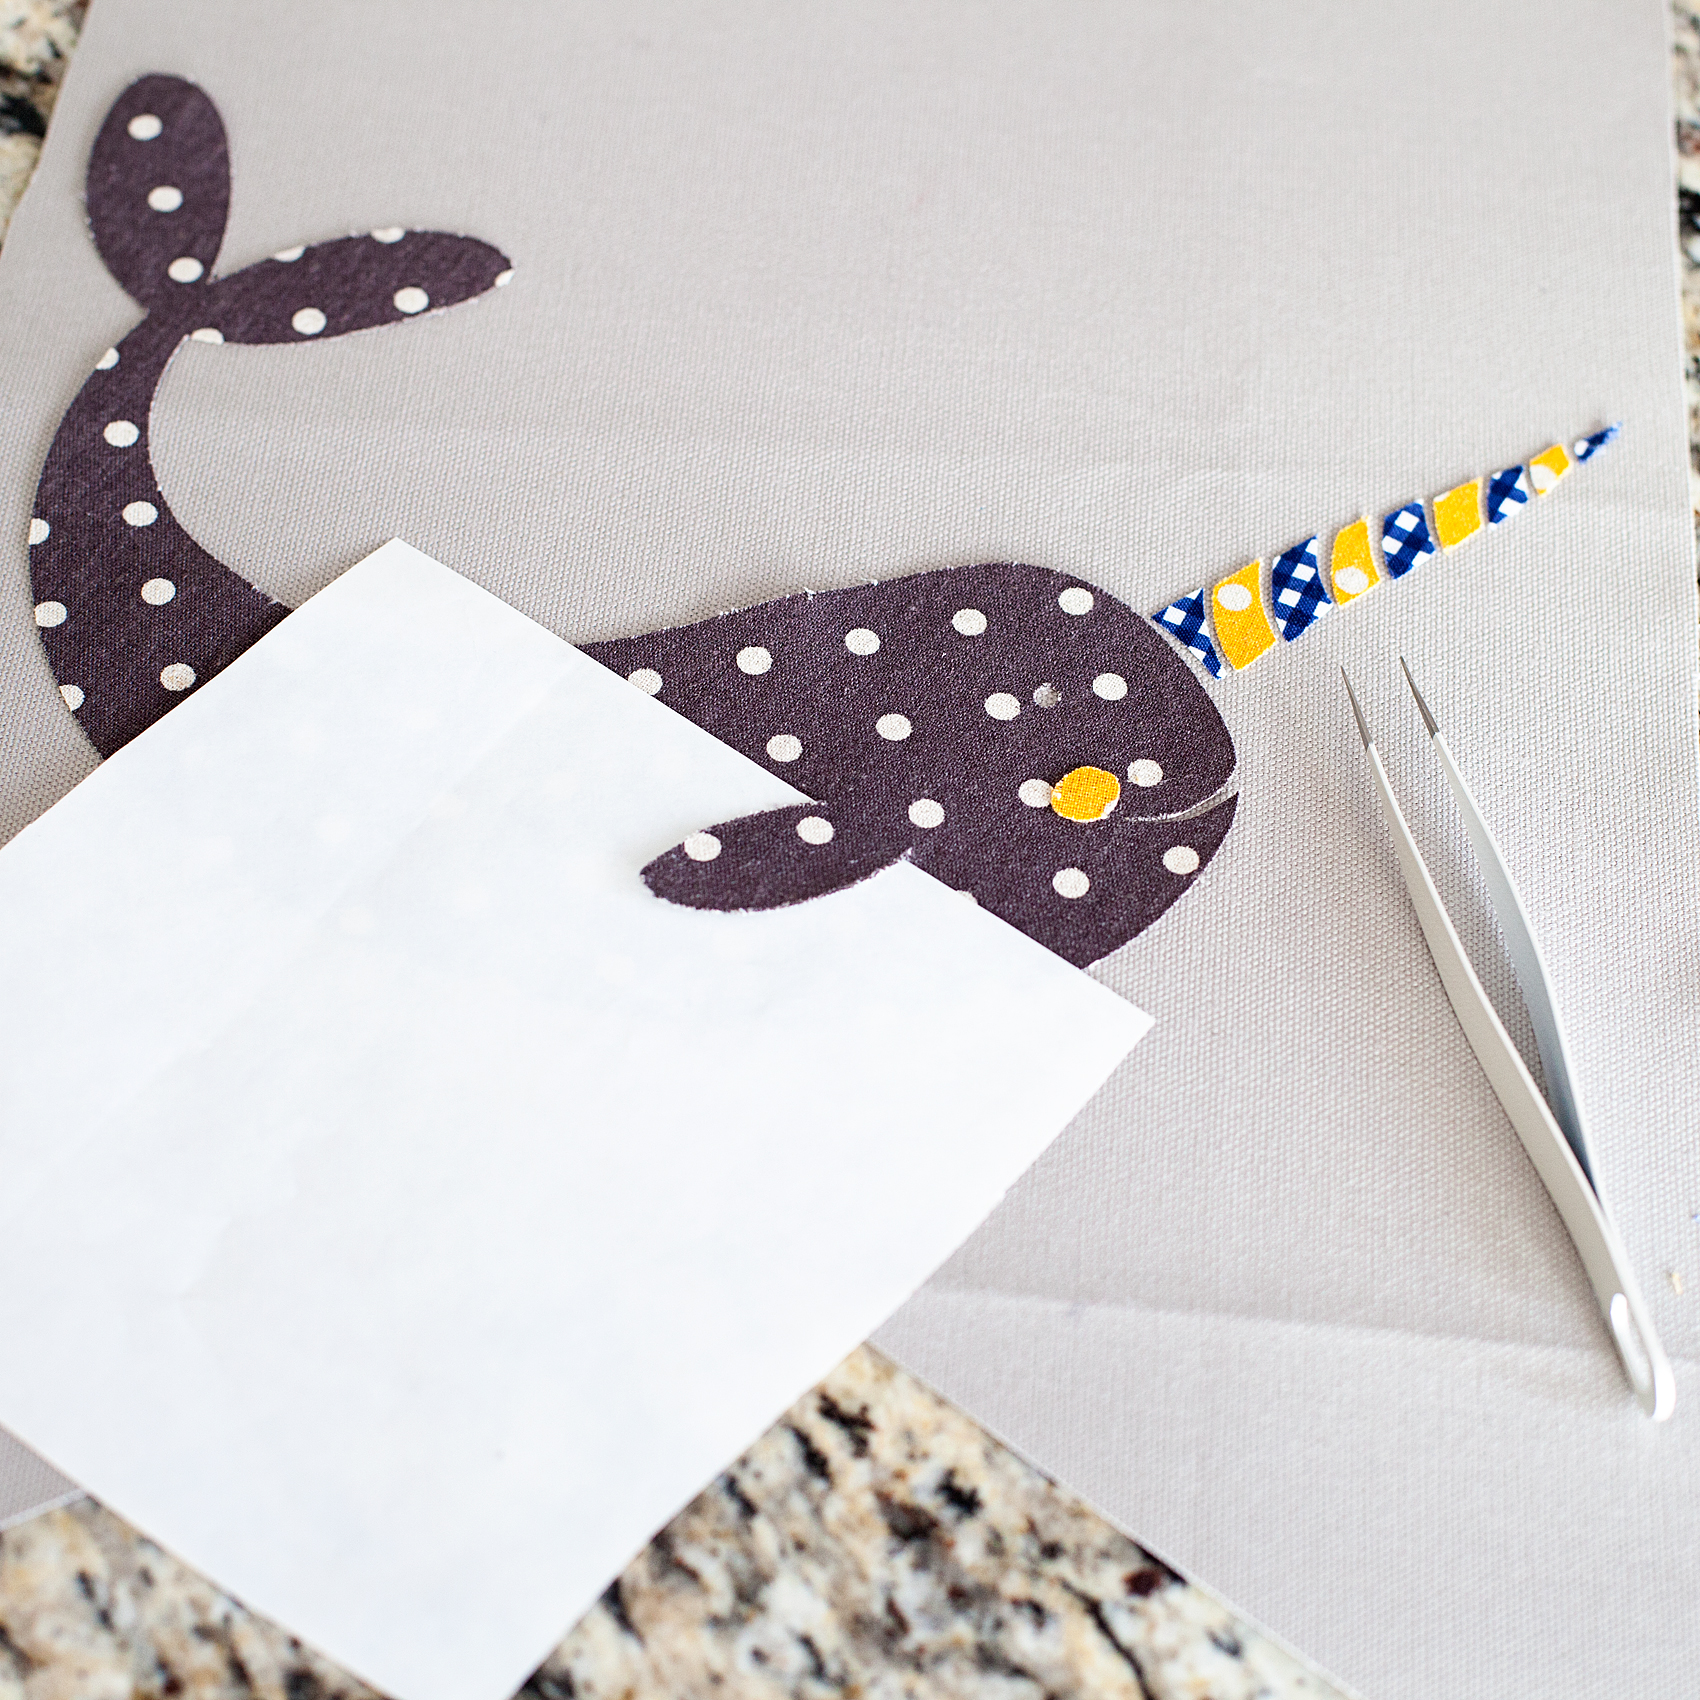
Now, his cute little fin will pop right out!

Creating Banner Hanger

Now, to hand the cute banners that you just made. You need to either sew a pocket for the dowel or use fabric glue to create create the pocket. I prefer the sewing method however, if you don’t have a sewing machine, you don’t need to run out and purchase one just for this project.

You need to fold your fabric over to create a pocket large enough to feed your dowel through.
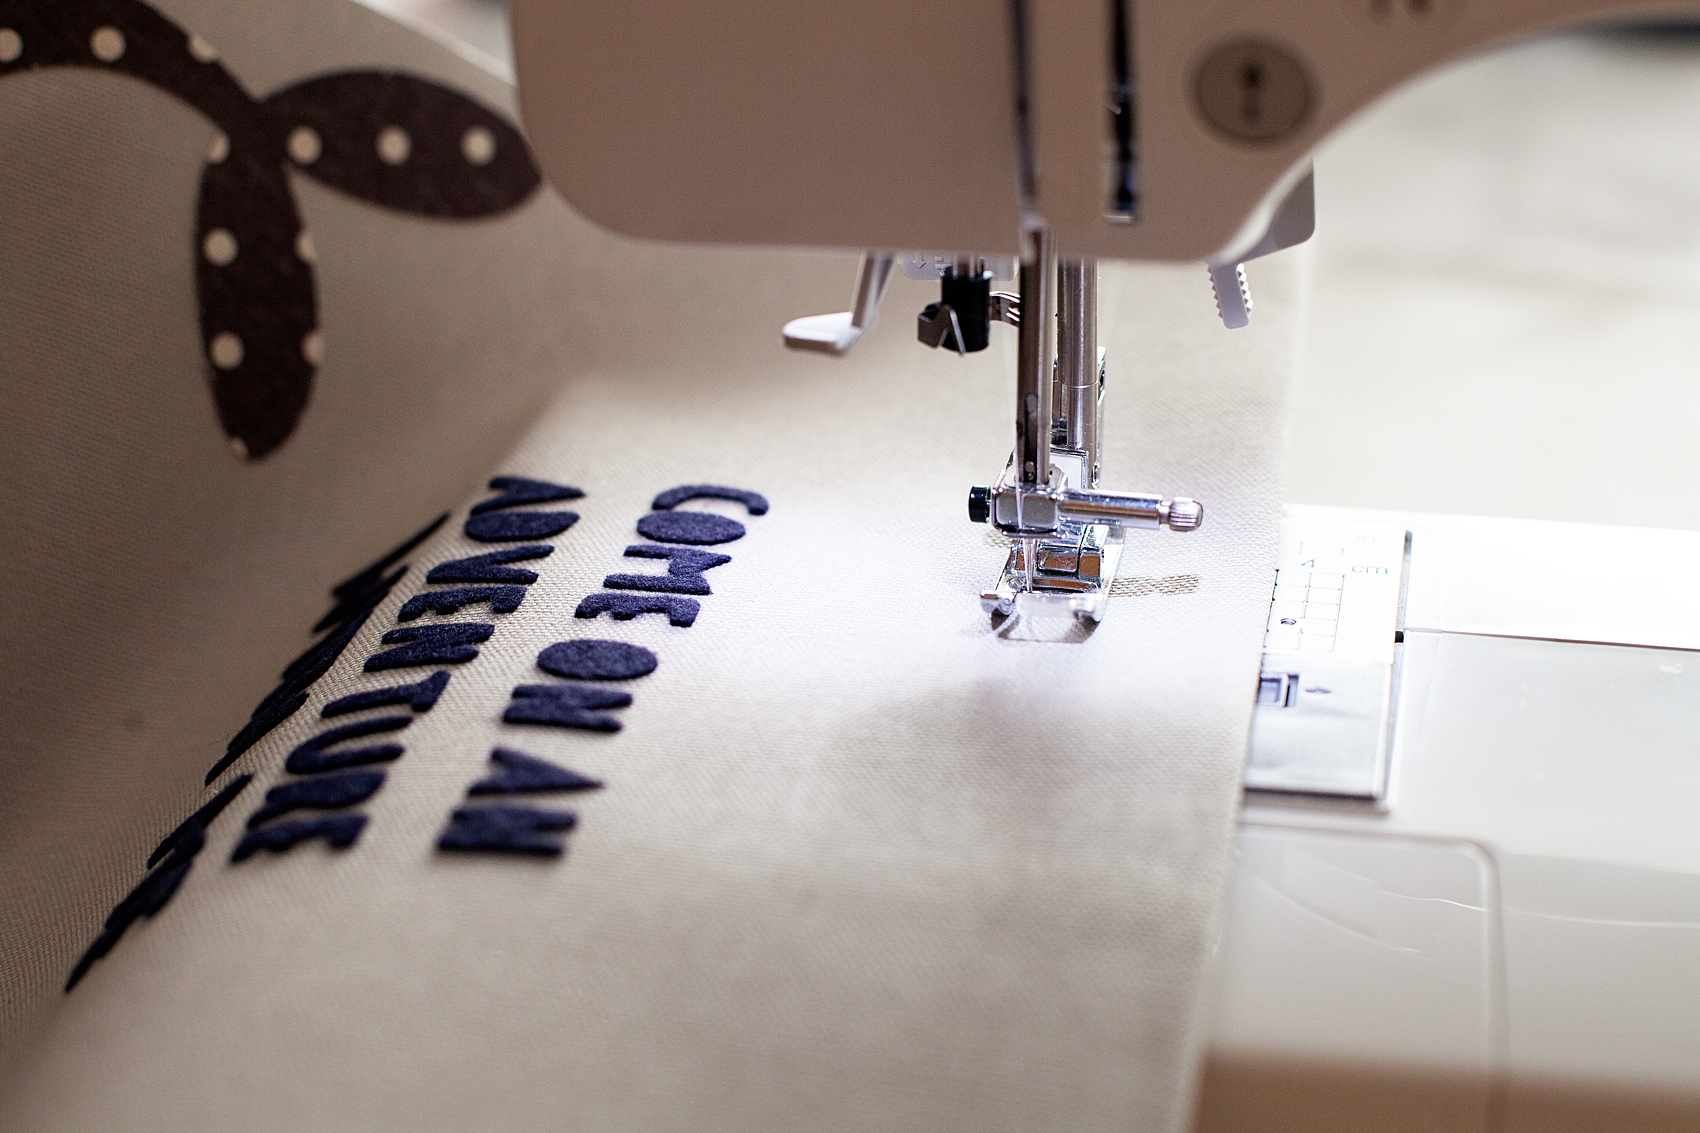
When you have the banner with the dowel ready to hang, attach the rope and hang on the wall!
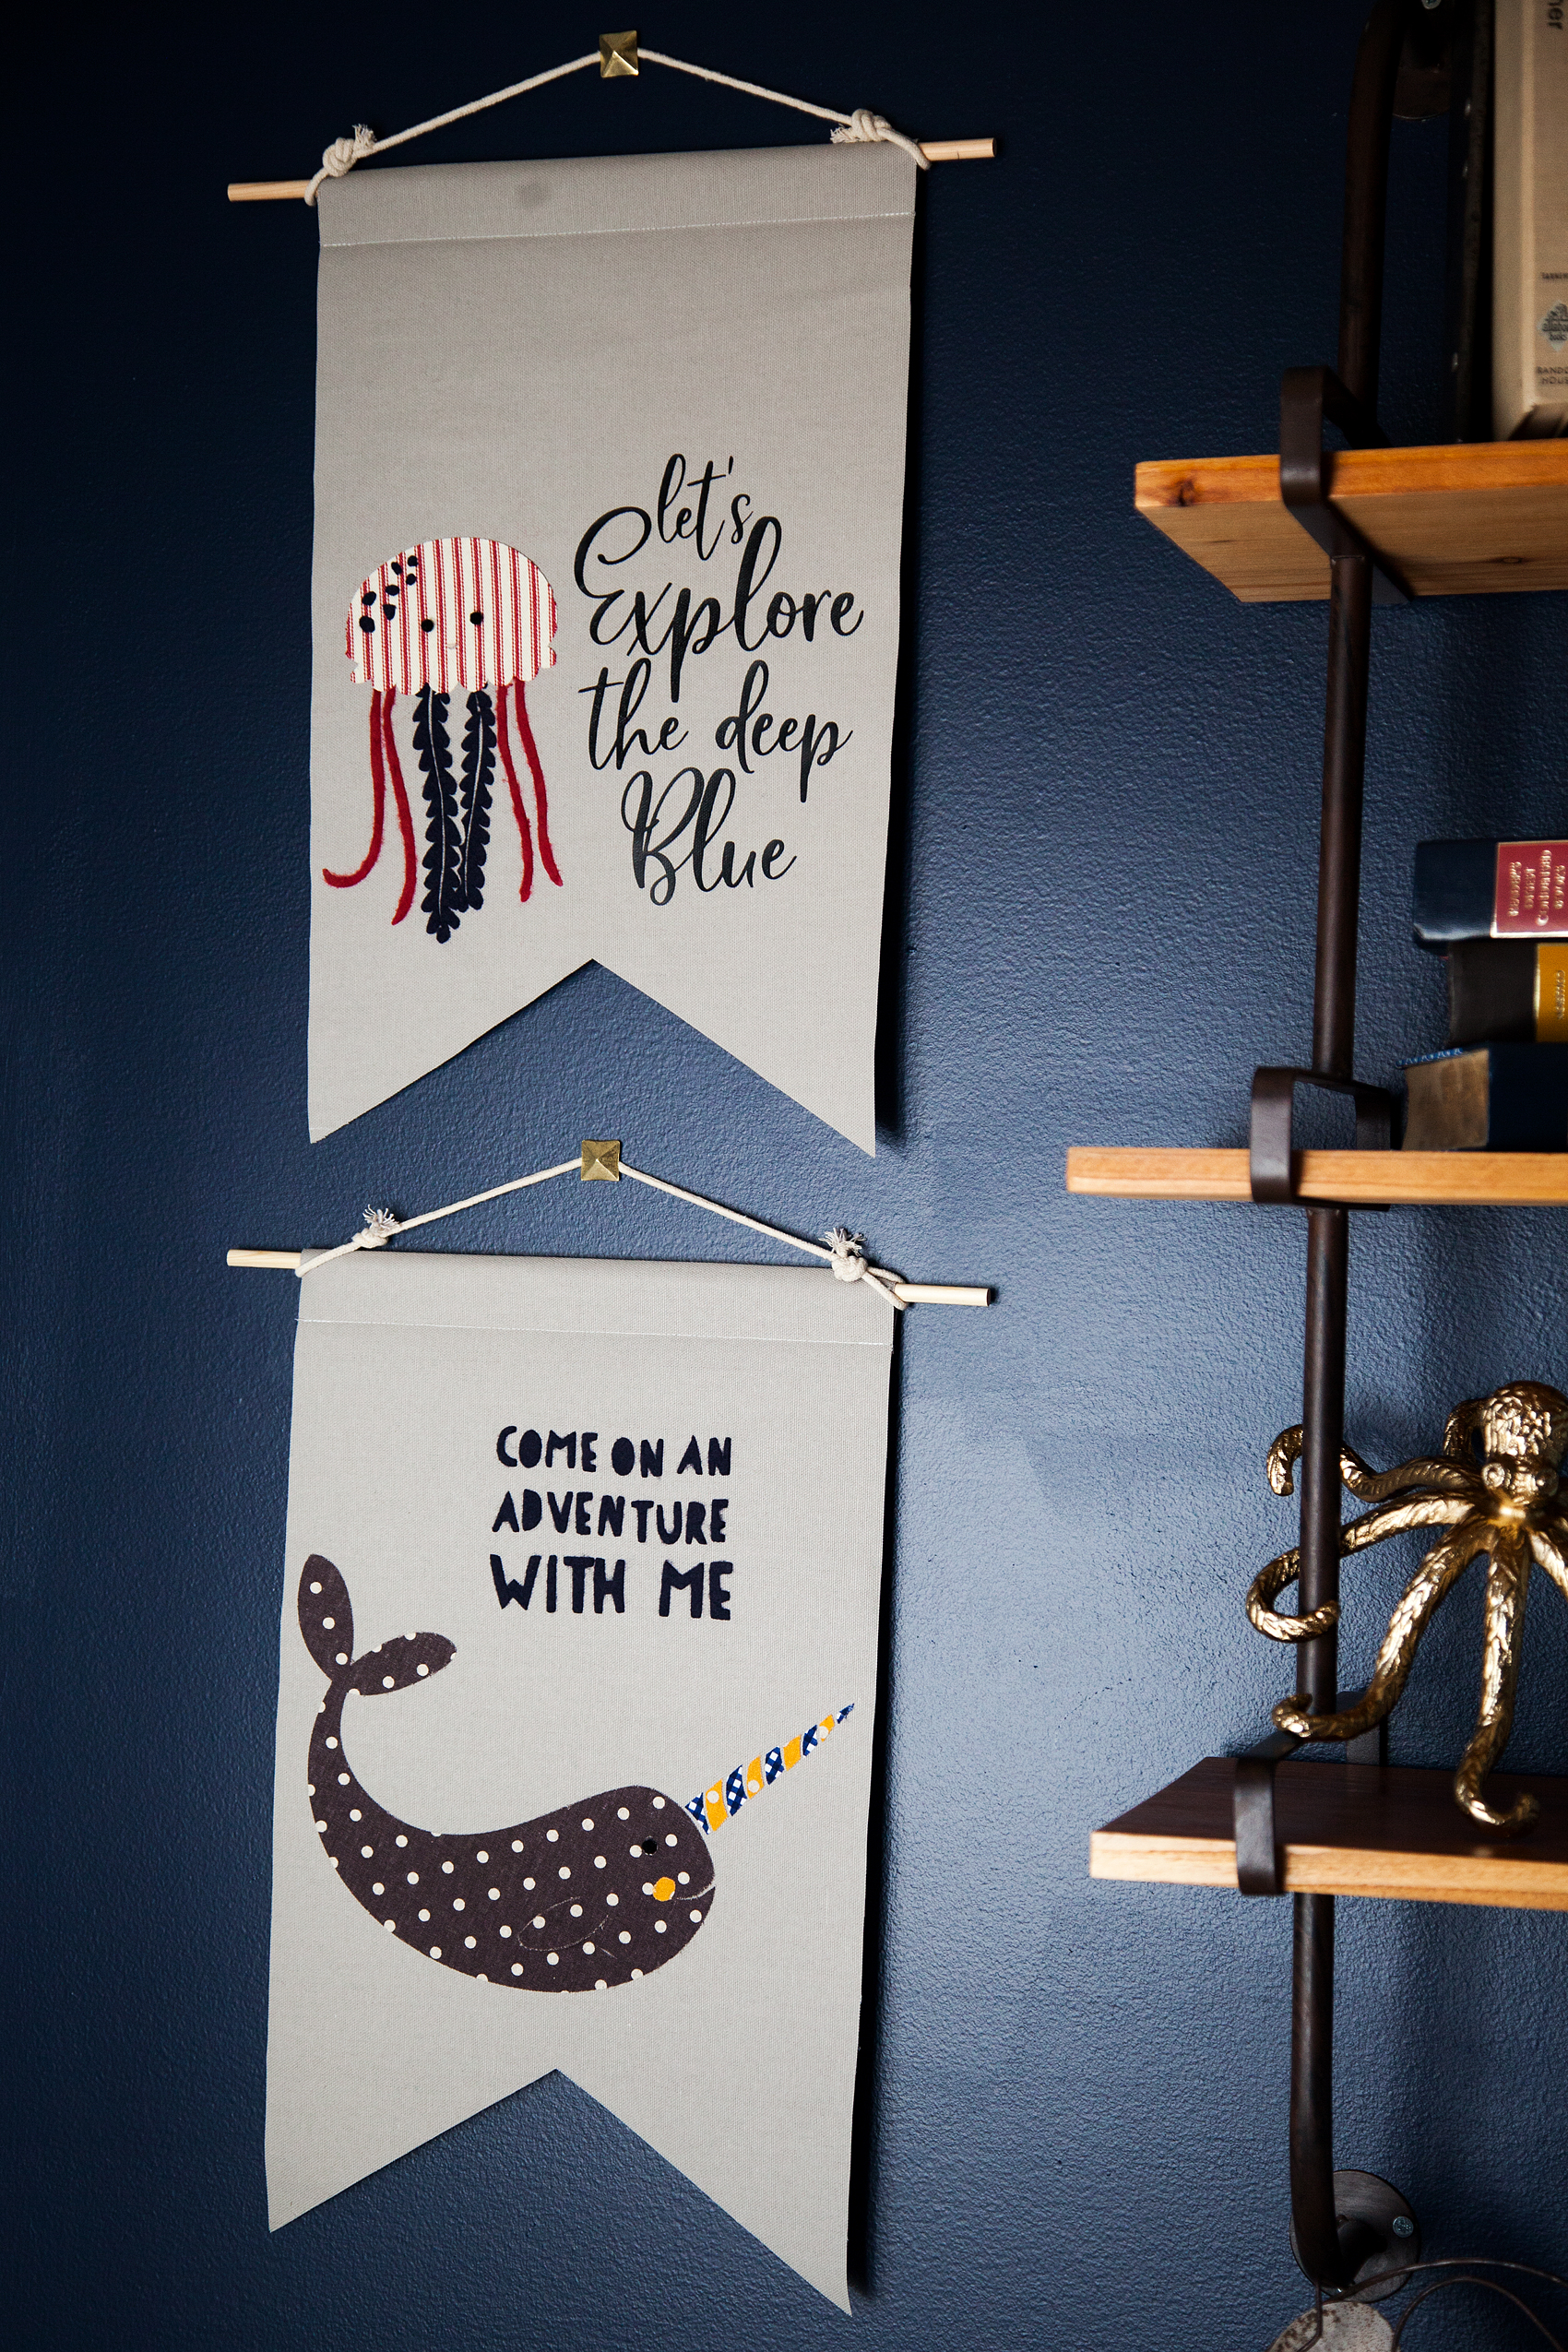
How to Create Graphic Banners with Fabric • They are easy to make with the Cricut Maker and have such impact in your room or for a party. Come learn how easy they are to make at whipperBerry.

Now, I know you are going to want to save this tutorial and share it with all of your friends (wink, wink!) Here is a handy graphic to Pin…
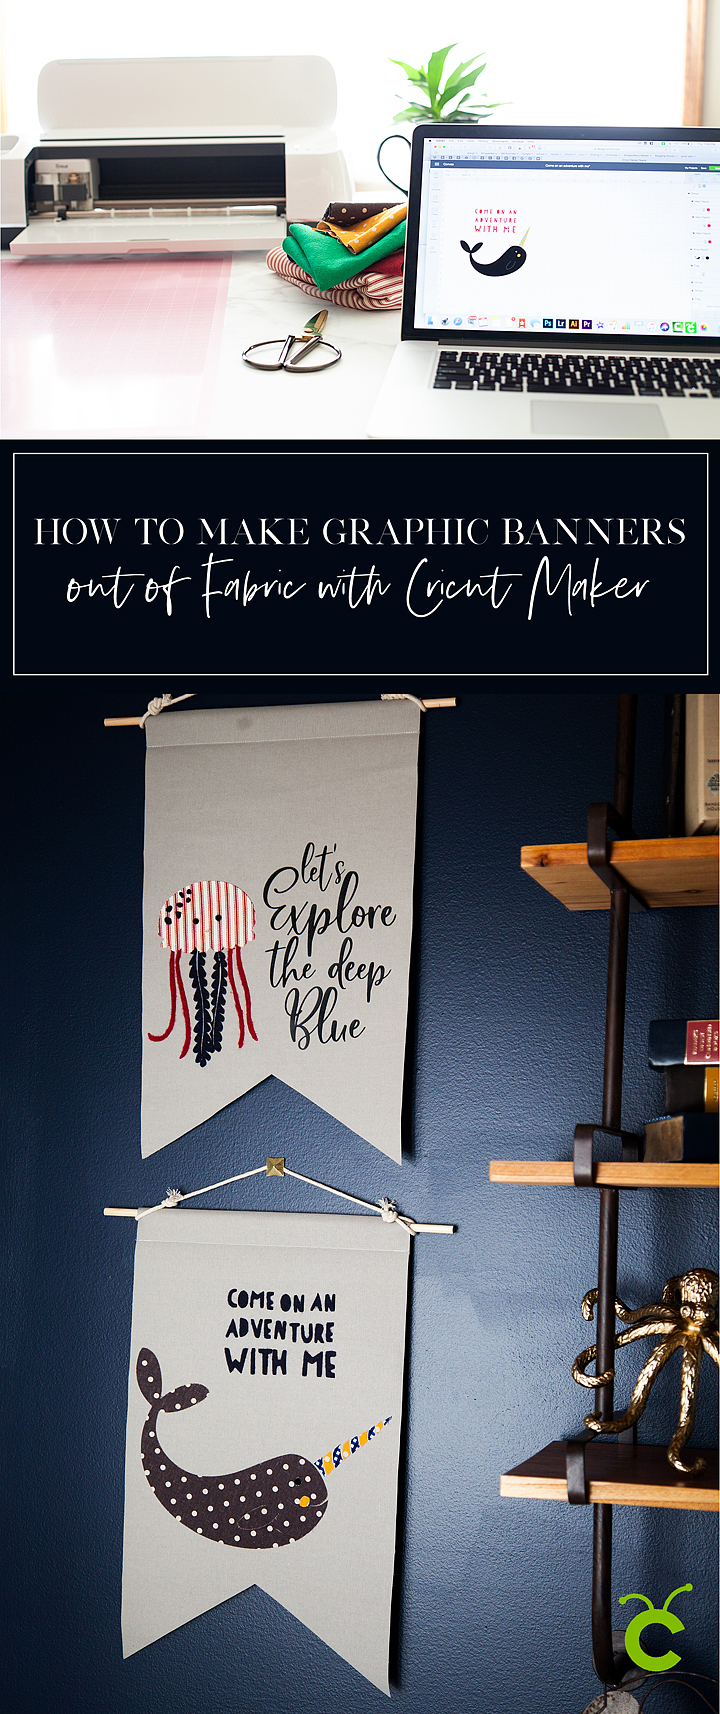
How to Create Graphic Banners with Fabric • They are easy to make with the Cricut Maker and have such impact in your room or for a party. Come learn how easy they are to make at whipperBerry.

SaveSave

SaveSave

SaveSave

SaveSaveSaveSave

This is a sponsored conversation written by me on behalf of Cricut. The opinions and text are all mine.
SaveSave

SaveSave

SaveSave

SaveSave

SaveSave

SaveSave

Party Like A Pineapple Party

19 · May 30, 2017 · 5 Comments

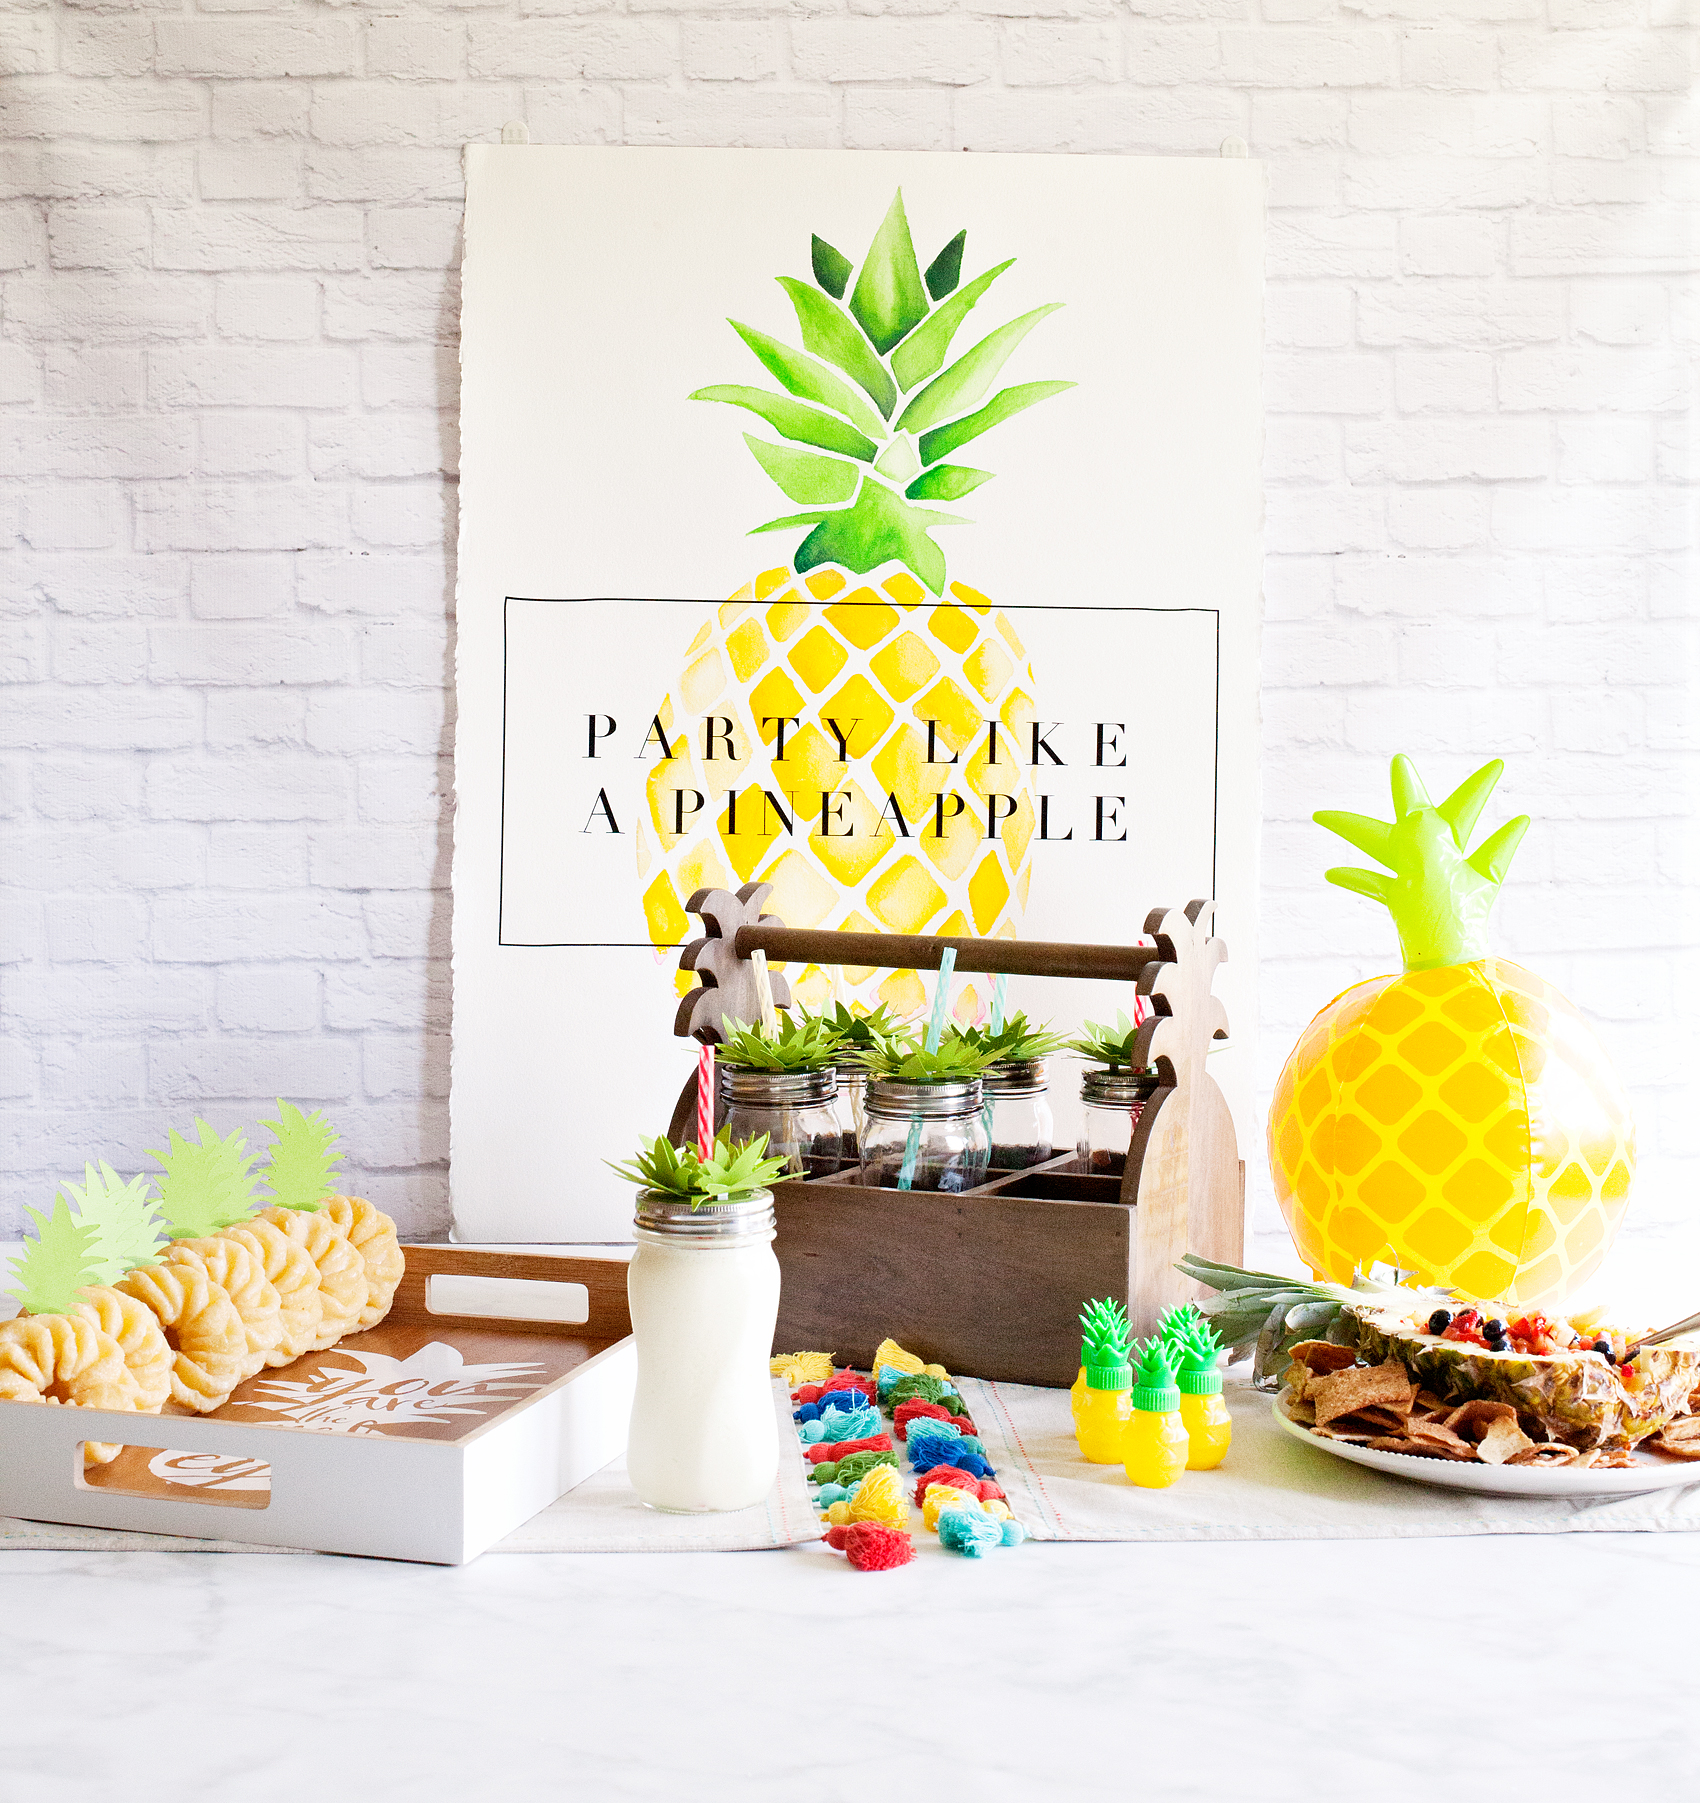
Whimsical and tasty, this Pineapple Party is the perfect summer hit for all ages. Come learn how I created this EASY and scrumptious party…

Who doesn’t love a whimsical and tasty party? This Pineapple Party is perfect for all ages. Come on over to WhipperBerry to learn how to recreate this EASY party!

Party Like a Pineapple post brought to you by • Cricut

My sweet Em just turned 13 and of course we needed to have a fabulous, colorful party to celebrate this fun milestone. Em and I chatted about some party theme ideas and finally settled a PINEAPPLE PARTY, because… Who doesn’t love to Party like a Pineapple?! Well, to be quite honest, I’m not really sure how pineapples party BUT, the idea sounded colorful and fun. We set to work coming up with a few ideas for the party.

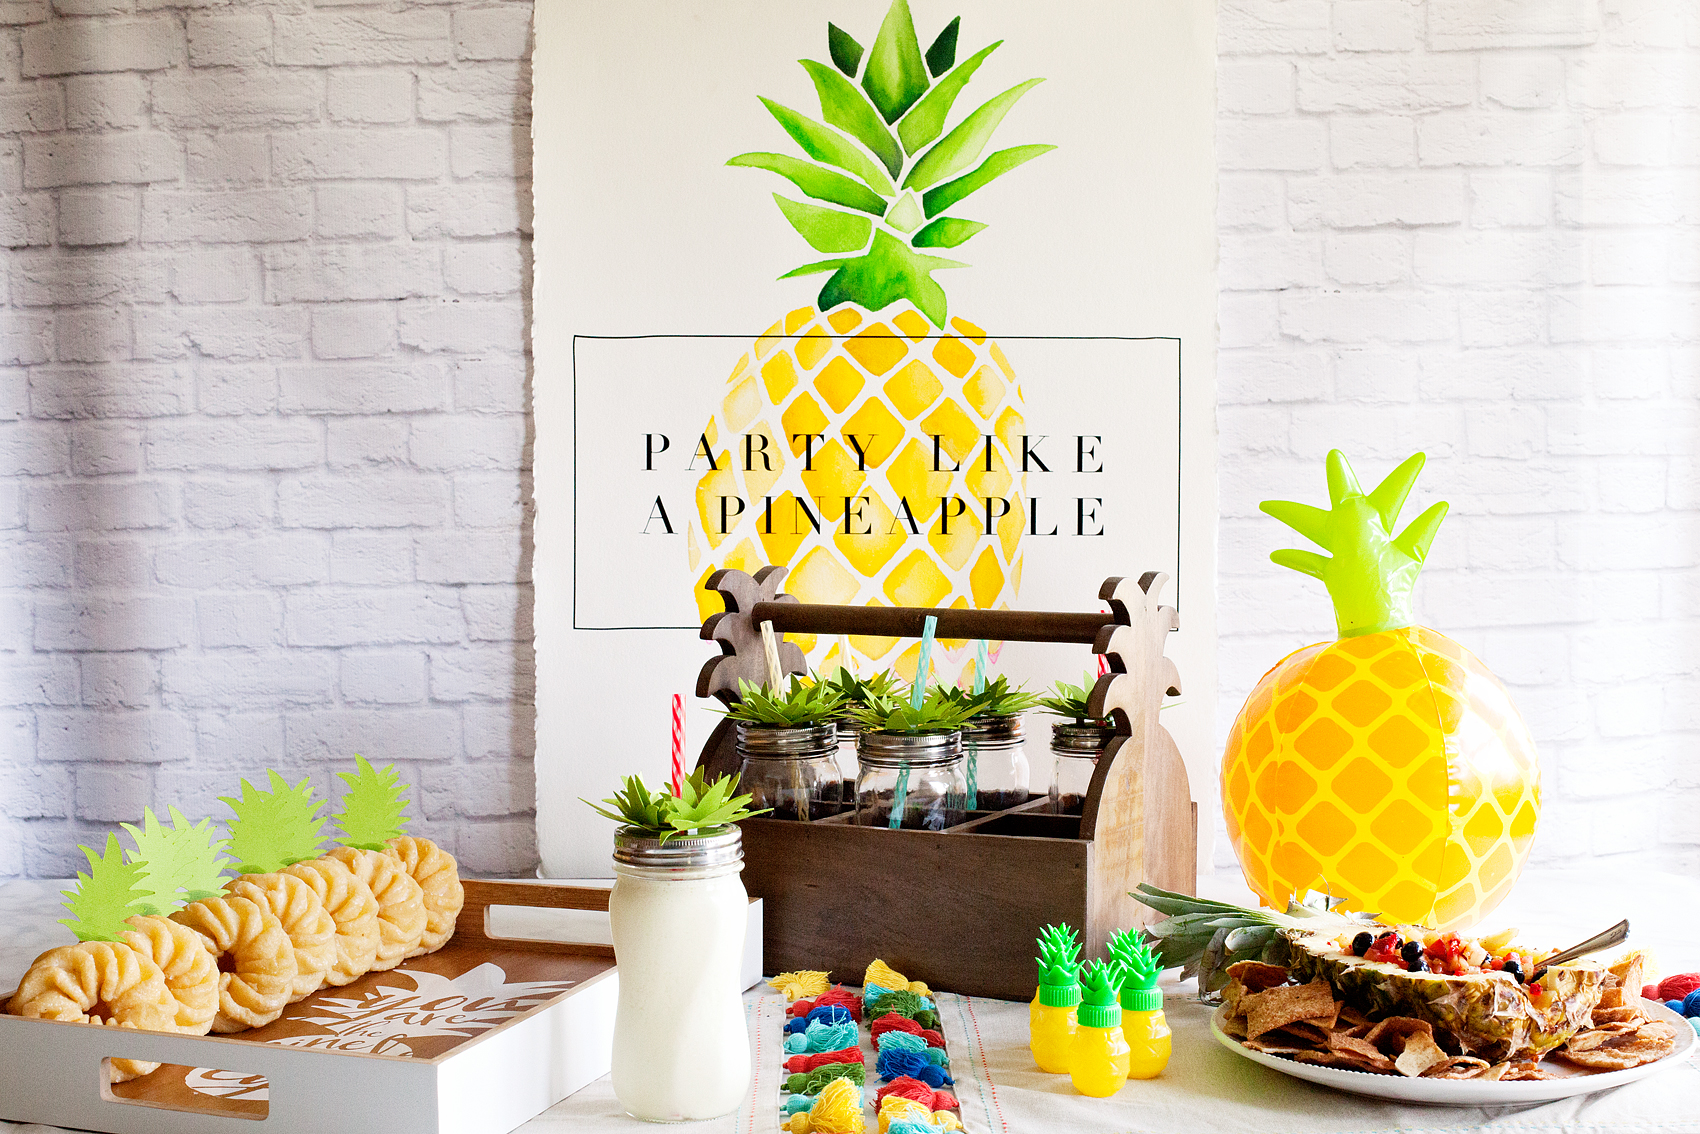
Now, my idea of a good party is one that doesn’t overwhelm me. I don’t want 20 different dishes and elements to put together. I also don’t want it to cost an arm and a leg either. Together Em and I decided on 6 design elements, 3 simple treats and 2 playful party favors. All of this in my mind was eye catching, scrumptious and easy to pull together. Here are the basic elements…

Who doesn’t love a whimsical and tasty party? This Pineapple Party is perfect for all ages. Come on over to WhipperBerry to learn how to recreate this EASY party!

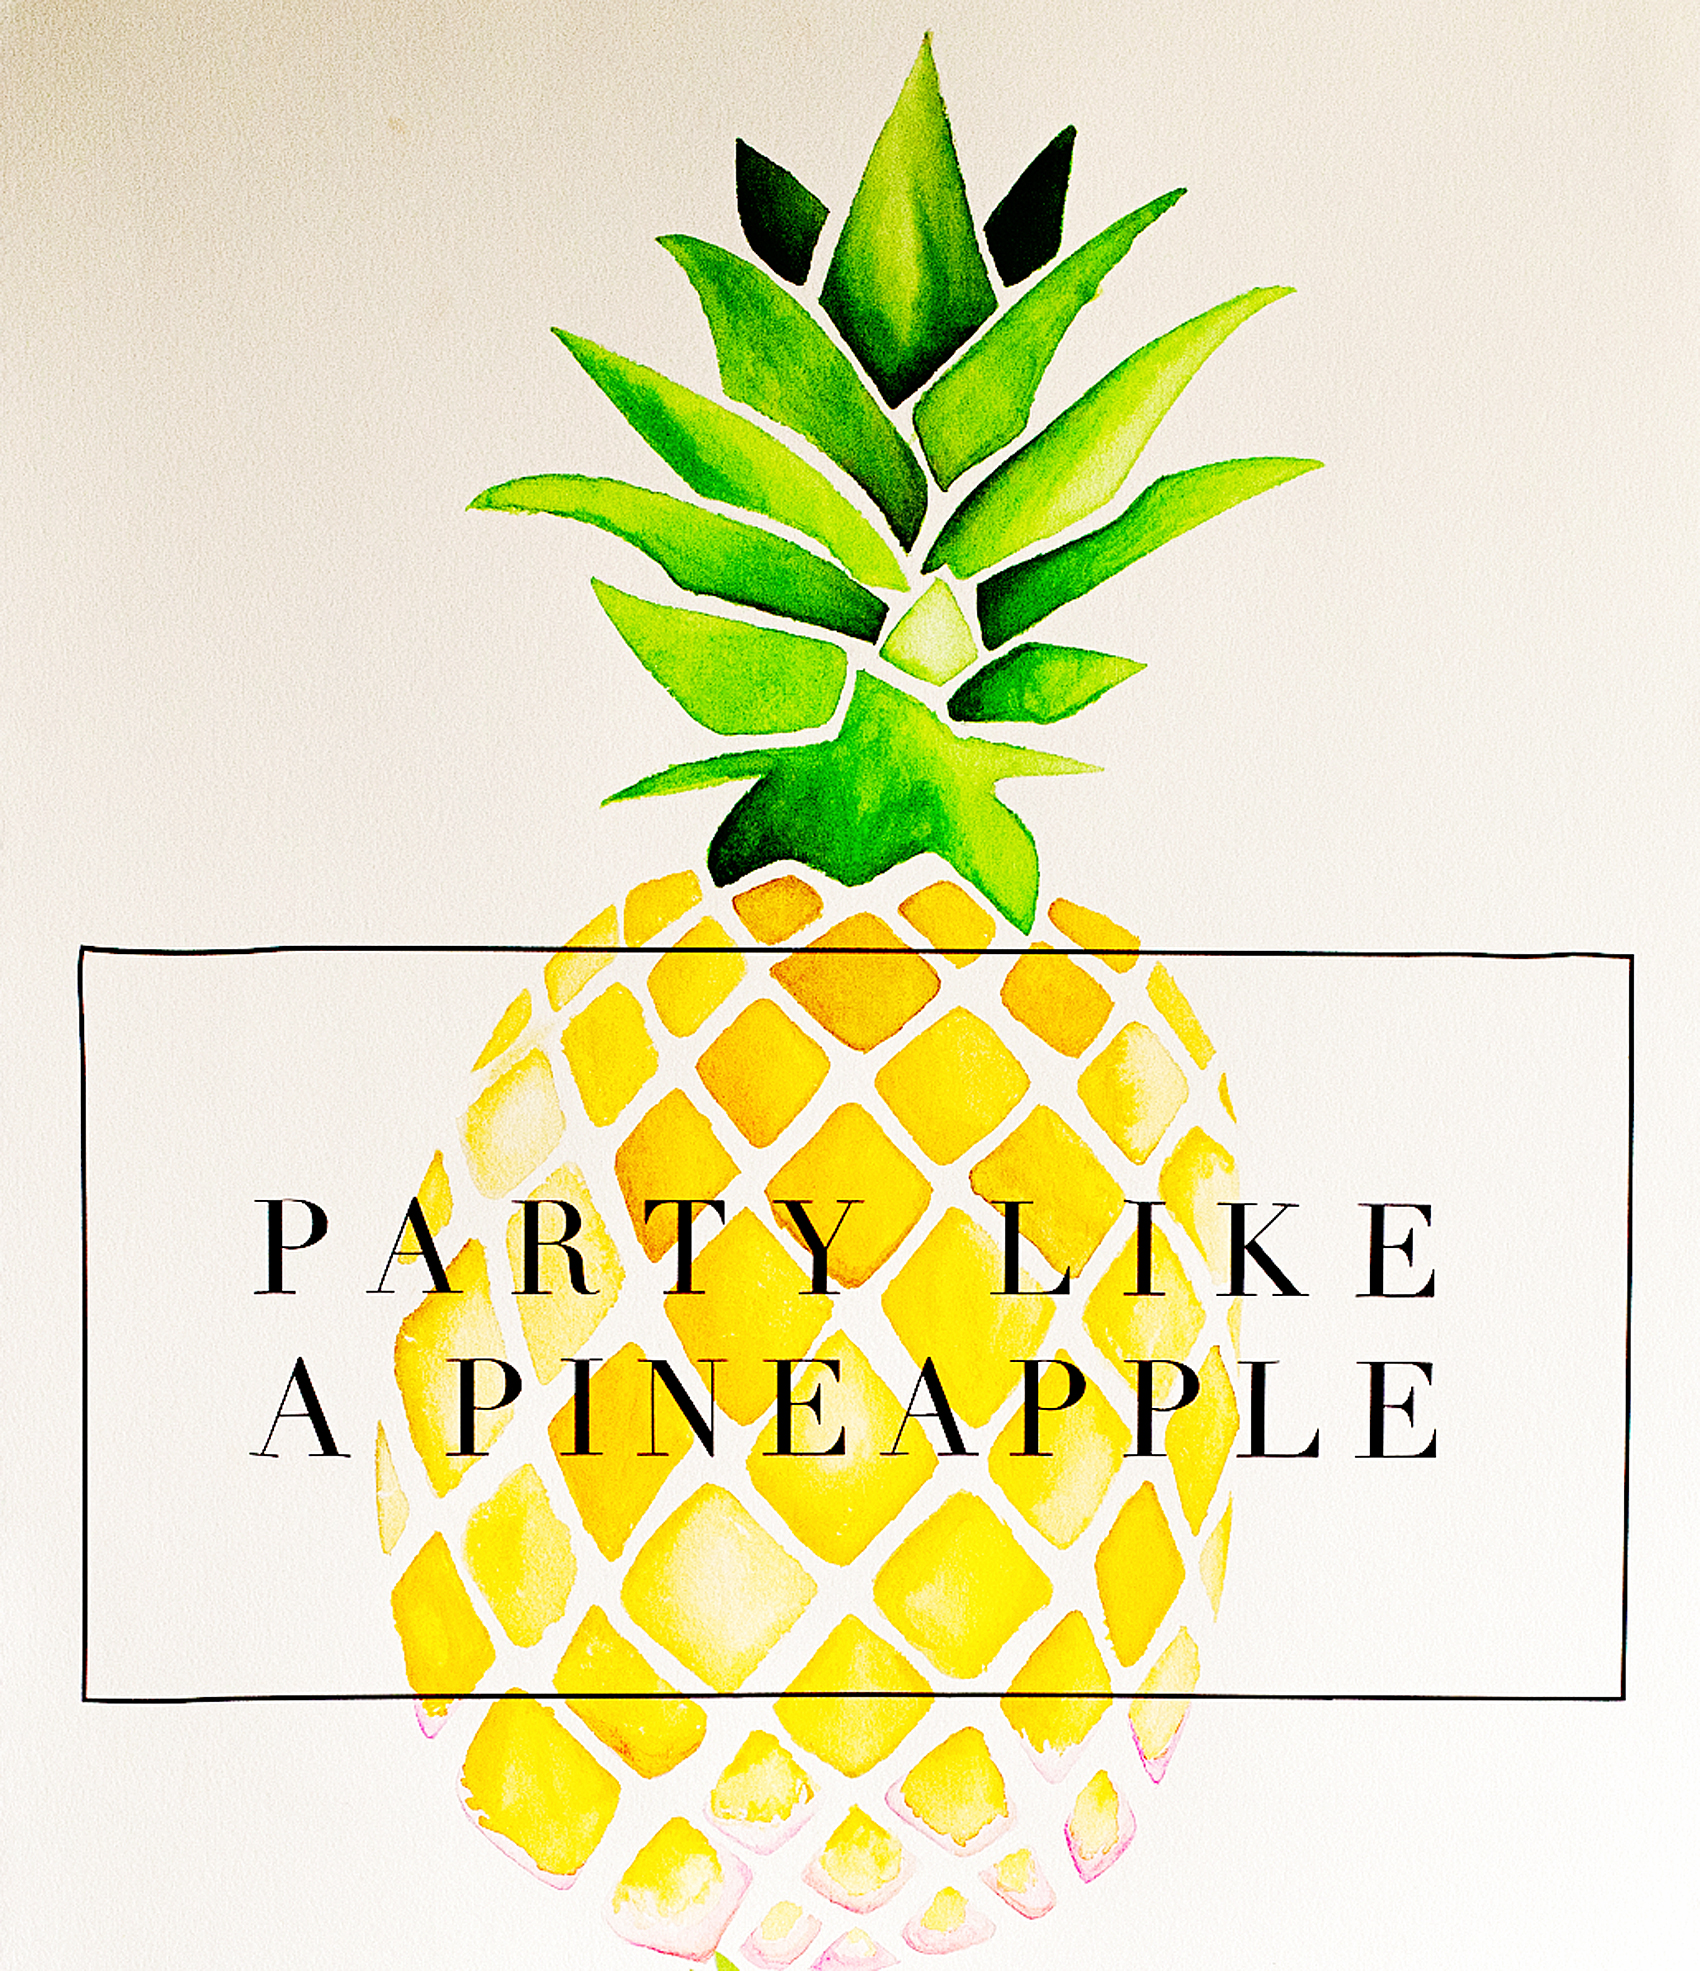
Design Element 1 | Party Like a Pineapple Watercolor Sign

This beautiful sign was a fun collaboration with my other daughter Jane and myself. Jane is super talented when it comes to art and I had her create this large water color pineapple for me and then I overlaid it with black vinyl cut on my Cricut Explore Air 2 to create the backdrop of the party. Don’t worry though… If you don’t have the watercolor gene, I have you covered there and will teach you how coming up in my next post so stay tuned!

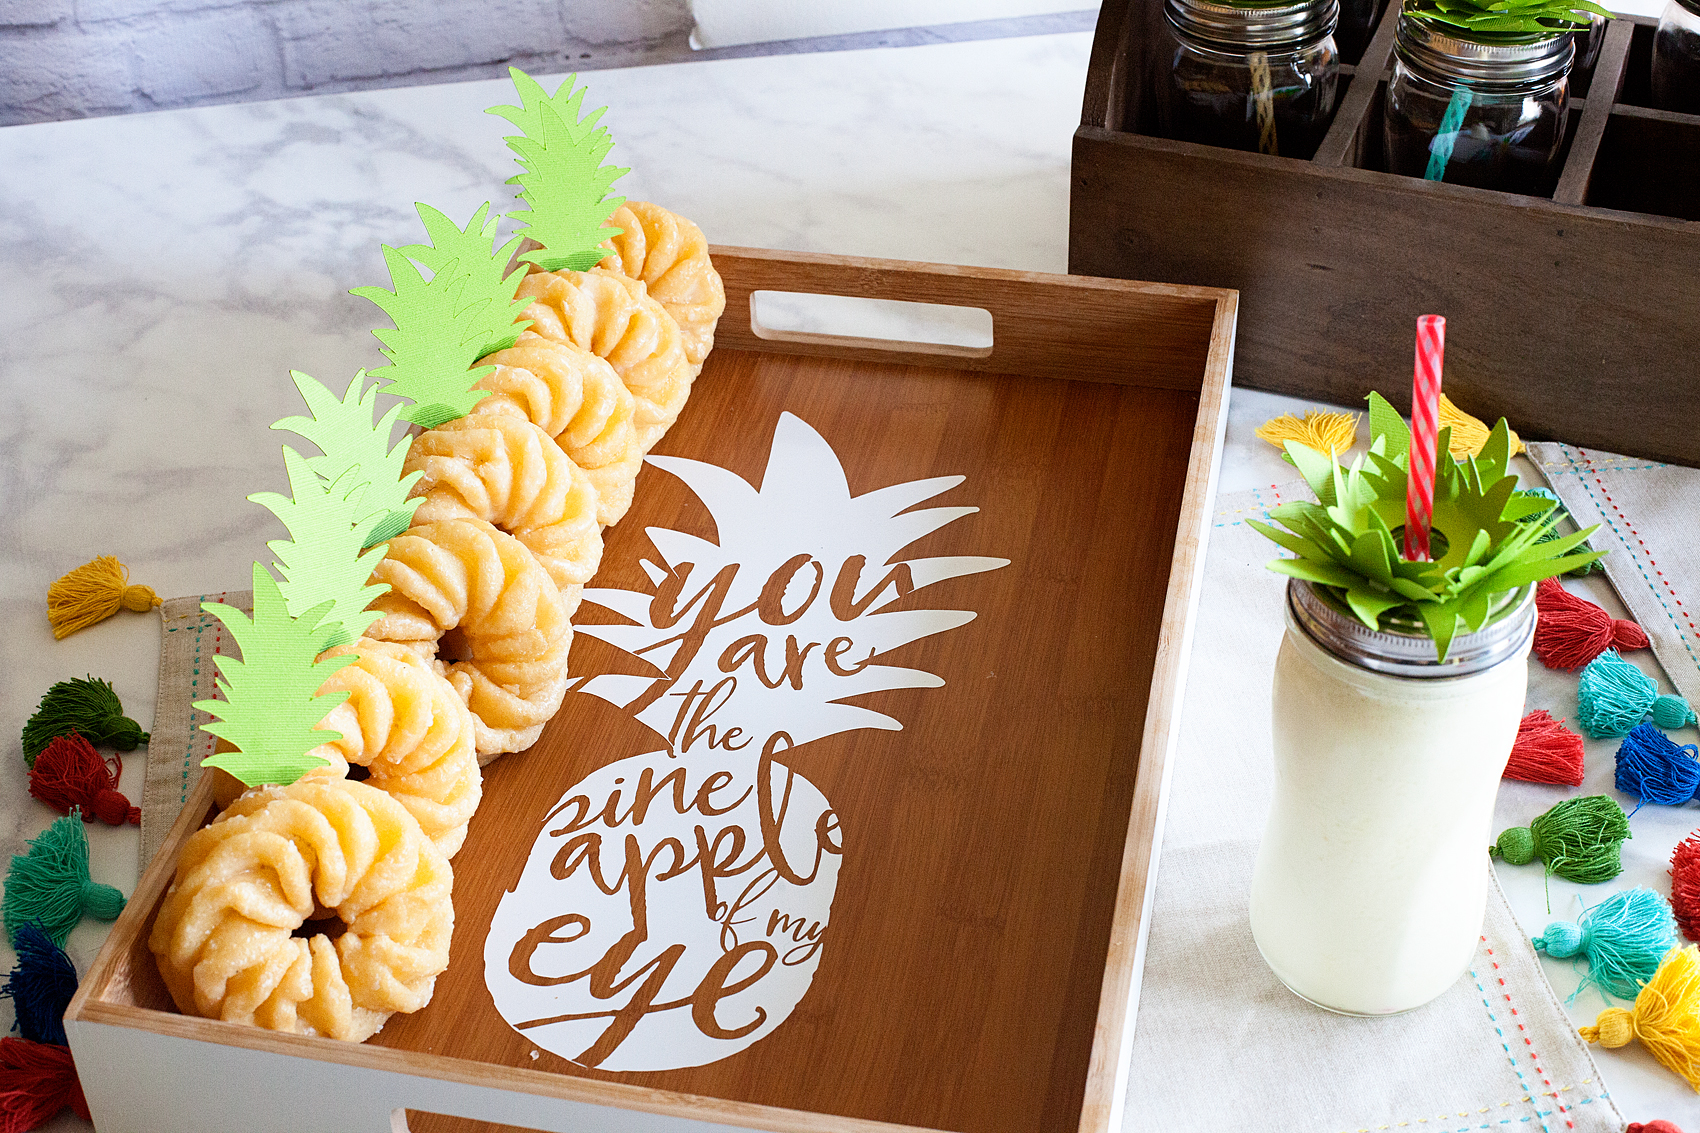
You are the Pineapple of my Eye tray created for a Pineapple Party • This Pineapple Party is perfect for all ages. Come on over to WhipperBerry to learn how to recreate this EASY party!

Design Element 2 | You are the Pineapple of my Eye Doughnut Tray

This tray turned out so cute! Em has always preferred doughnuts over cake so, I thought it would be fun to create a tray with a secret message. As the guests take their doughnuts the secret message is revealed. How fun is that?! Again, I created this with my favorite Premium Outdoor Vinyl from Cricut and I’ll be sharing my design with you guys so you can use it for your own projects.

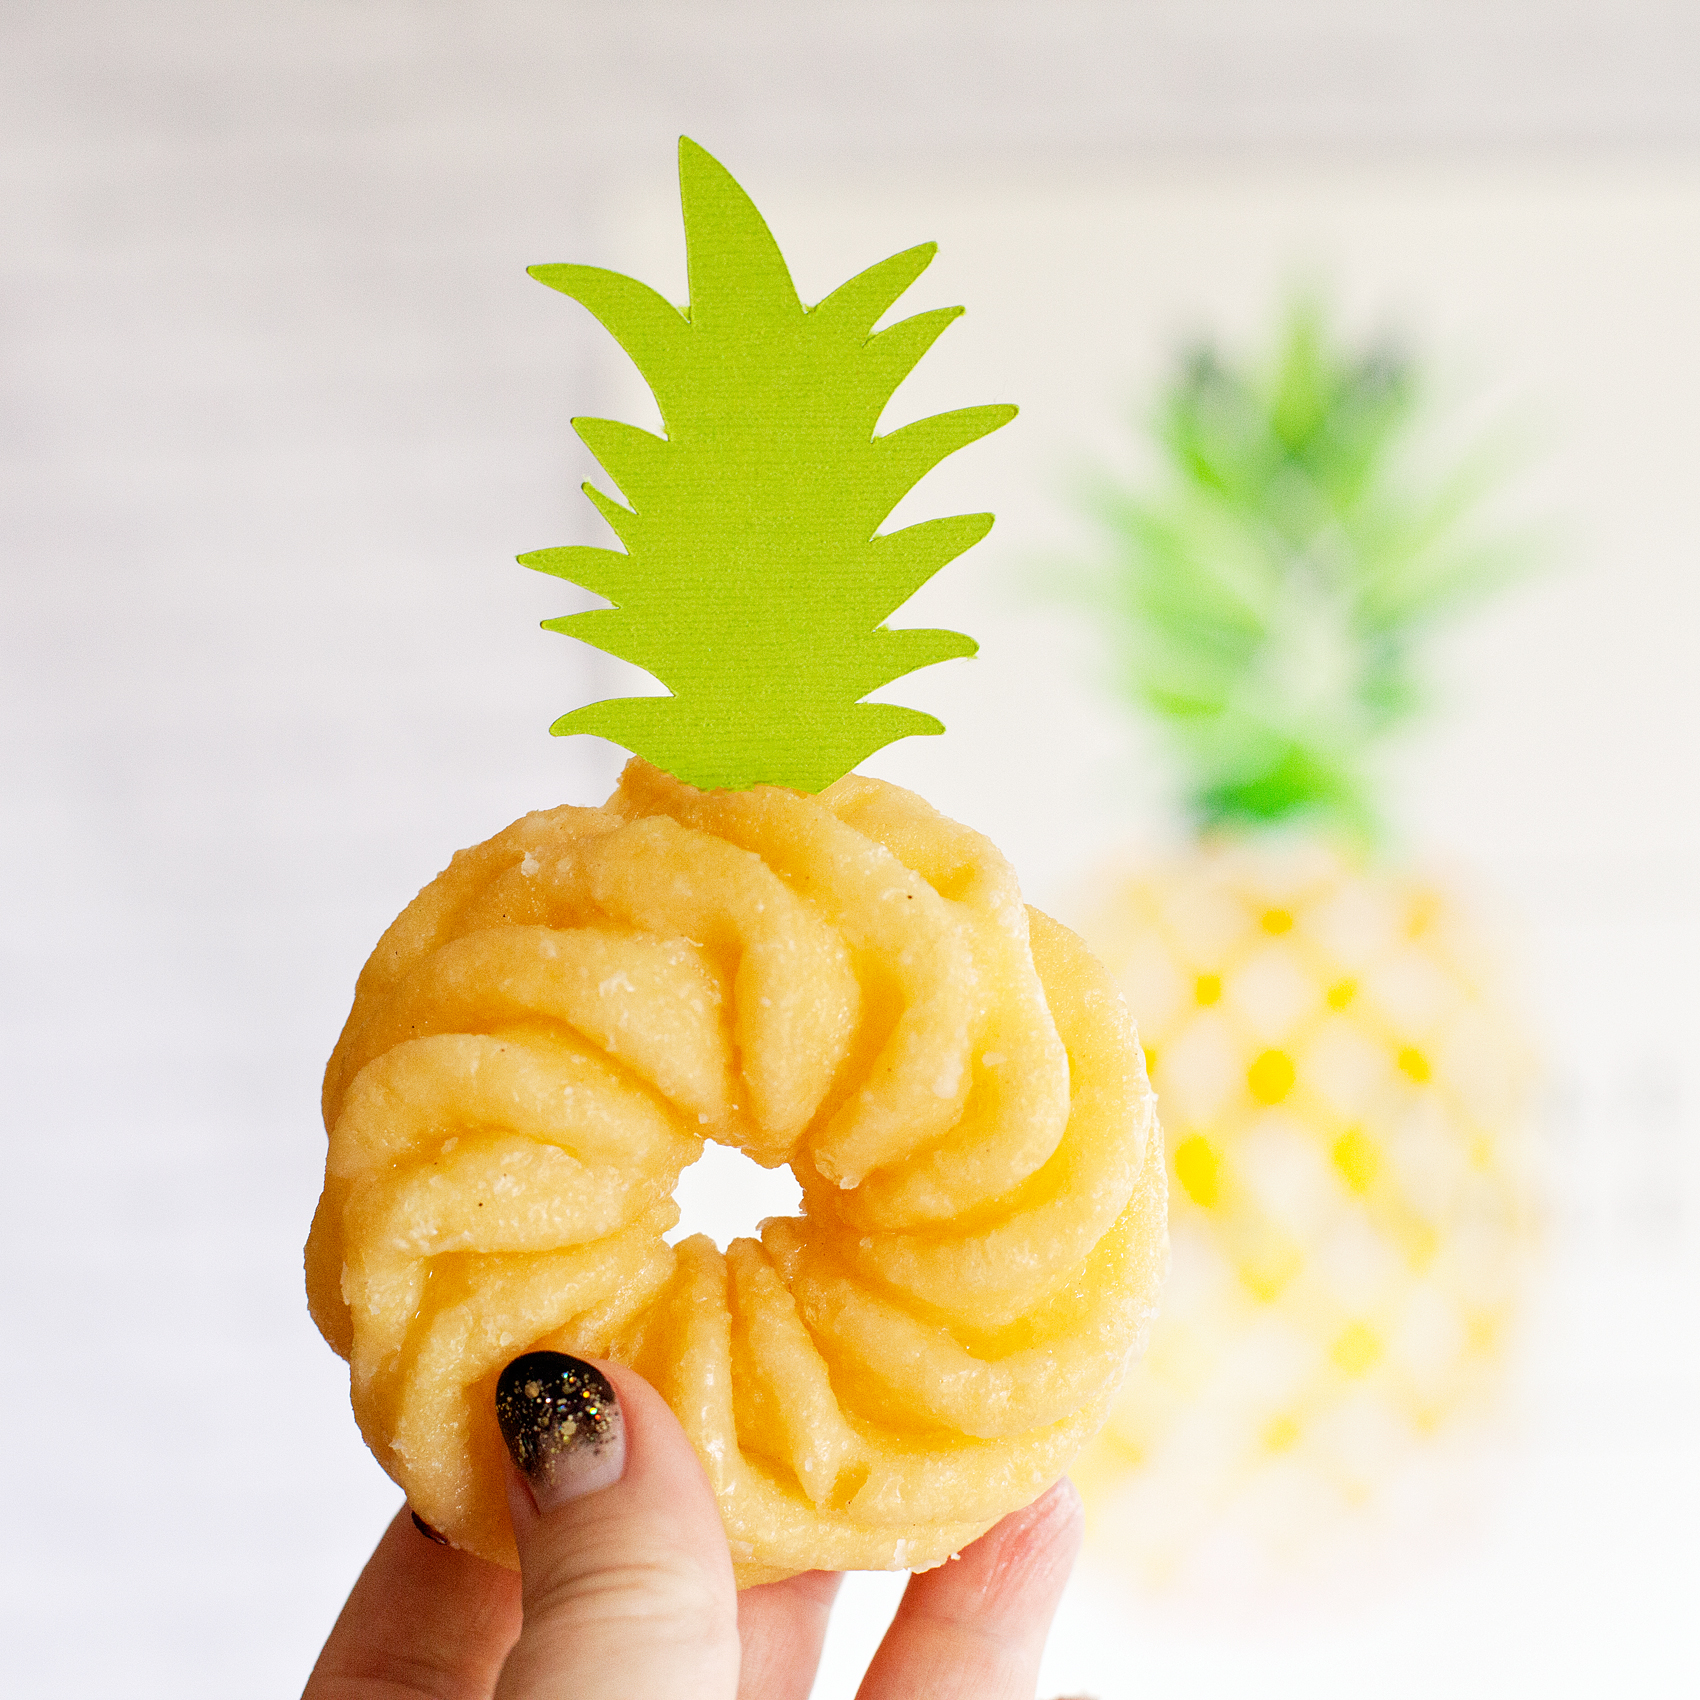
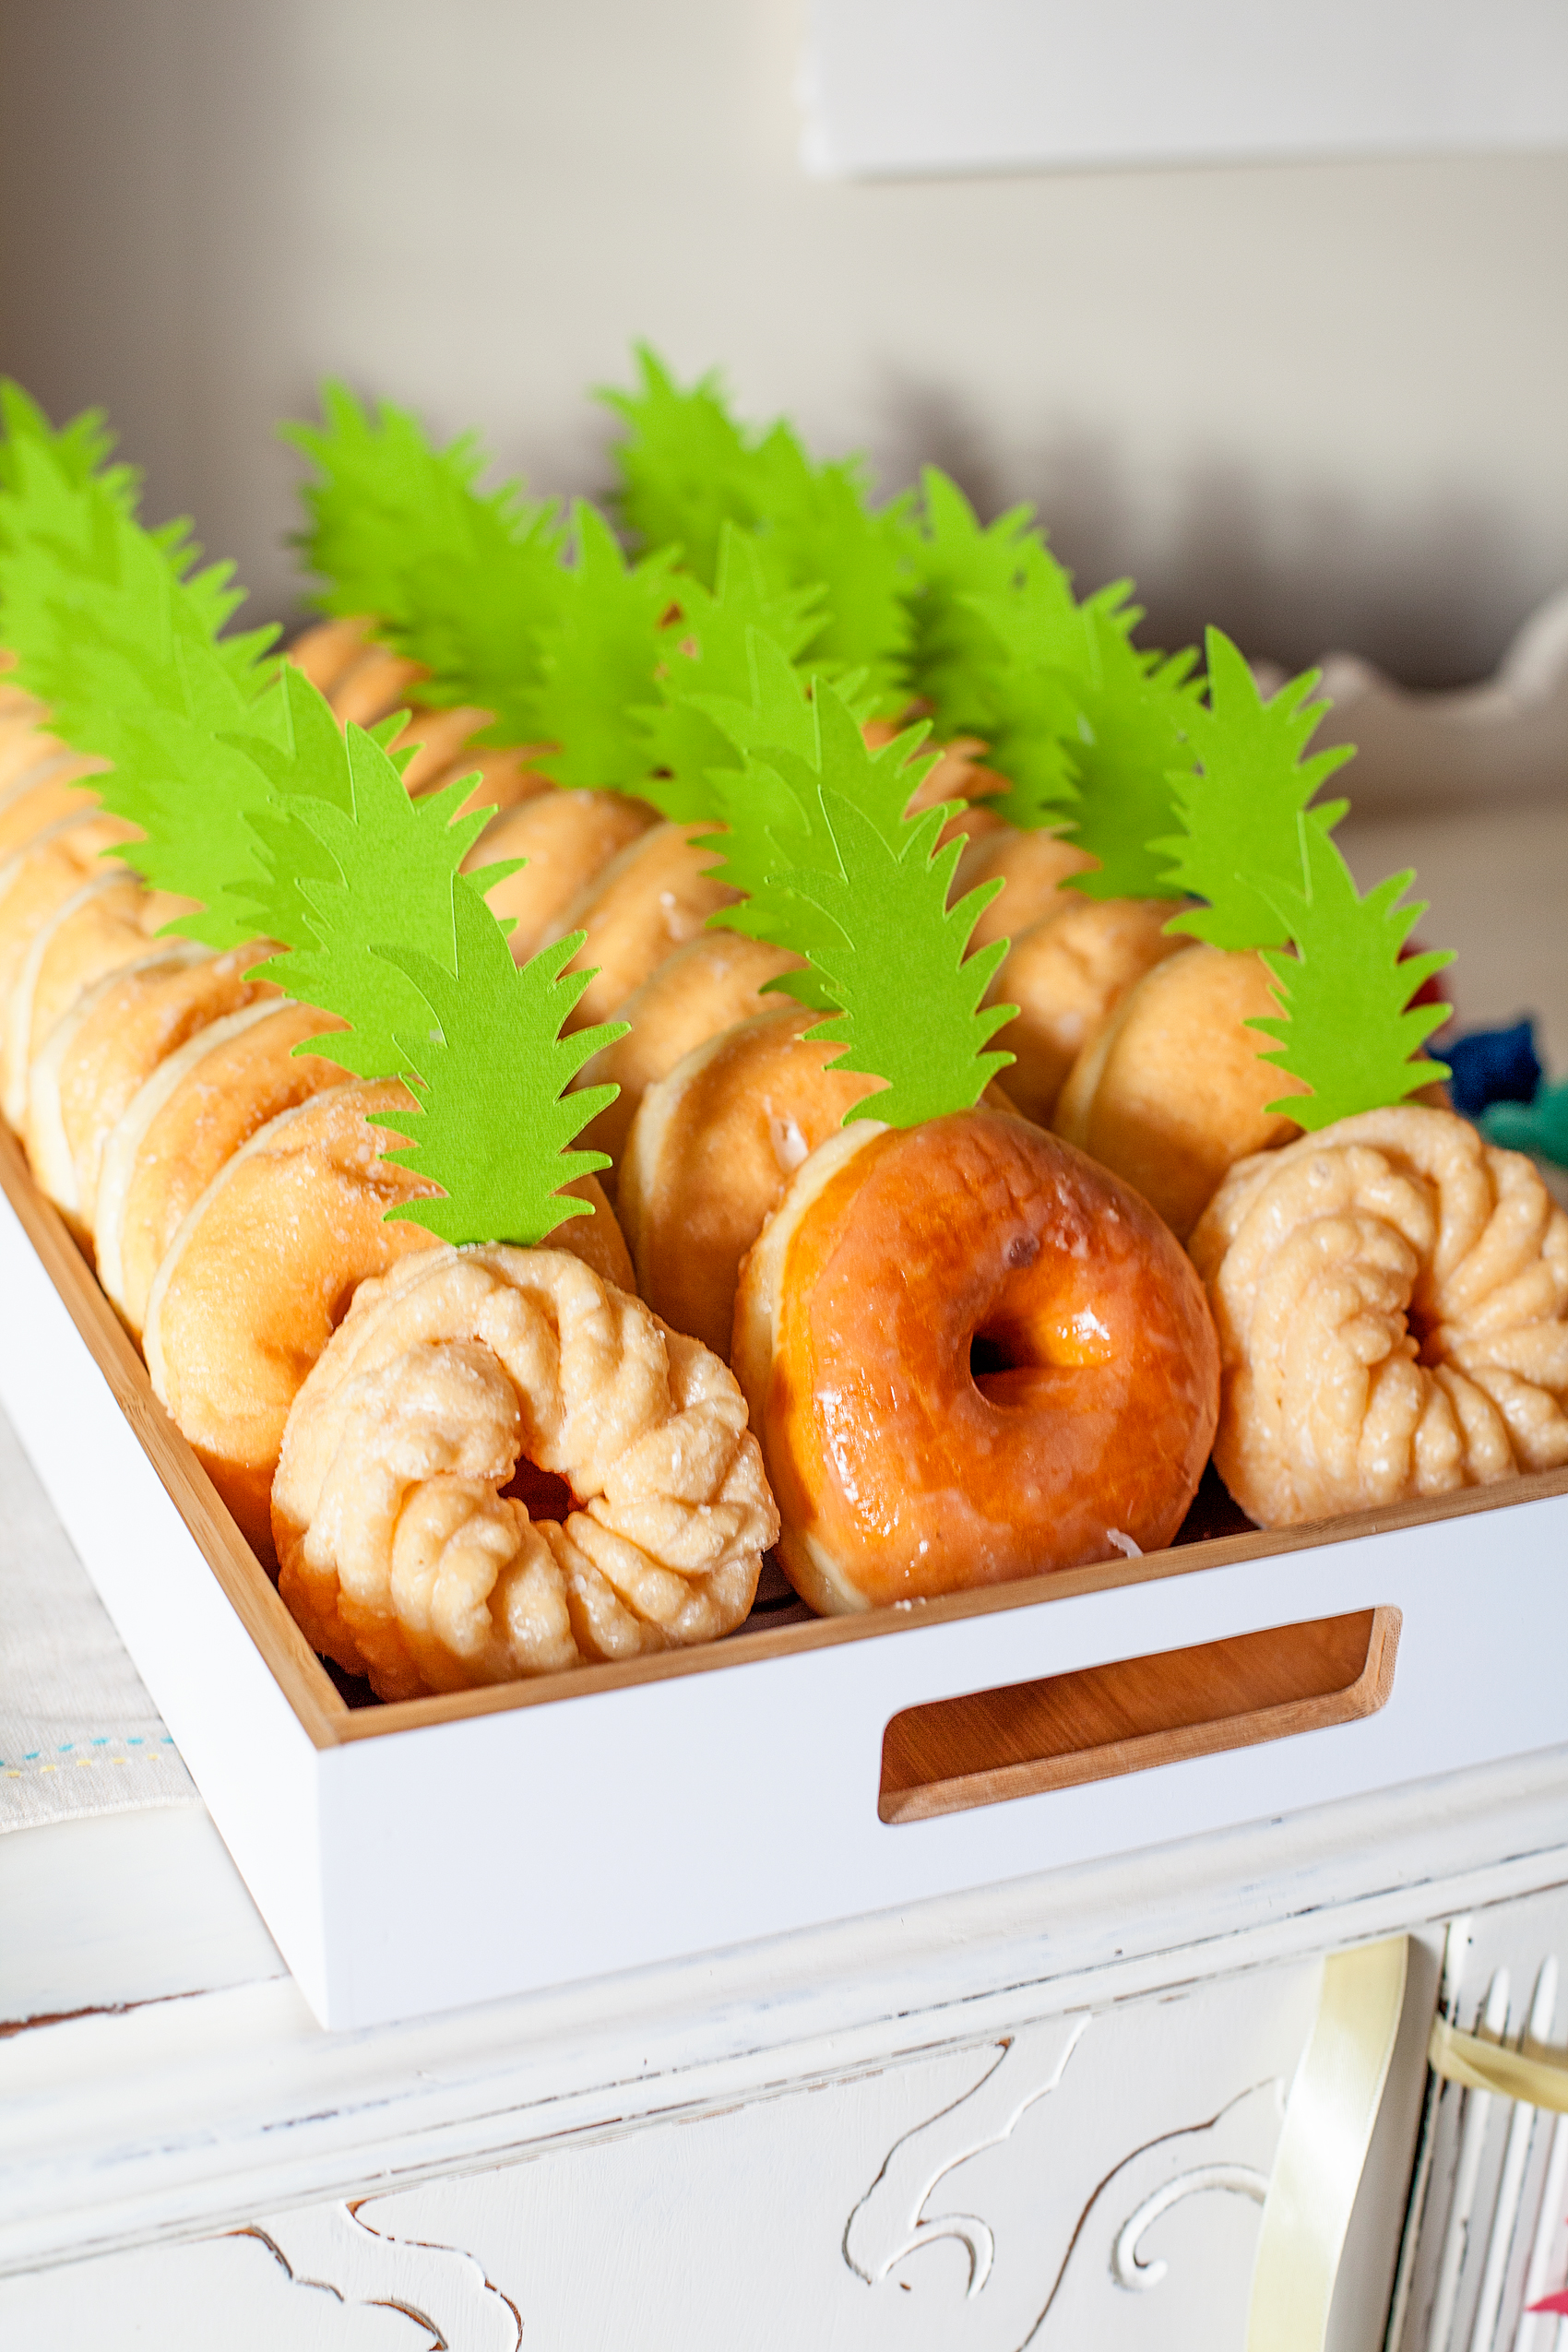
How CUTE are these "pineapple" doughnuts? This Pineapple Party is perfect for all ages. Come on over to WhipperBerry to learn how to recreate this EASY party!

Design Element 3 | The cutest Pineapple Doughnuts EVER

Um, hello? Are these not CUTE?! This is by far the EASIEST birthday cake I have ever “made.” I cut out the pineapple leave topper with my Cricut and then taped the leaves onto a toothpick, stuck it in the doughnut and voilá… A Pineapple Doughnut! I’ll be sharing my cut files for this simple project as well shortly.

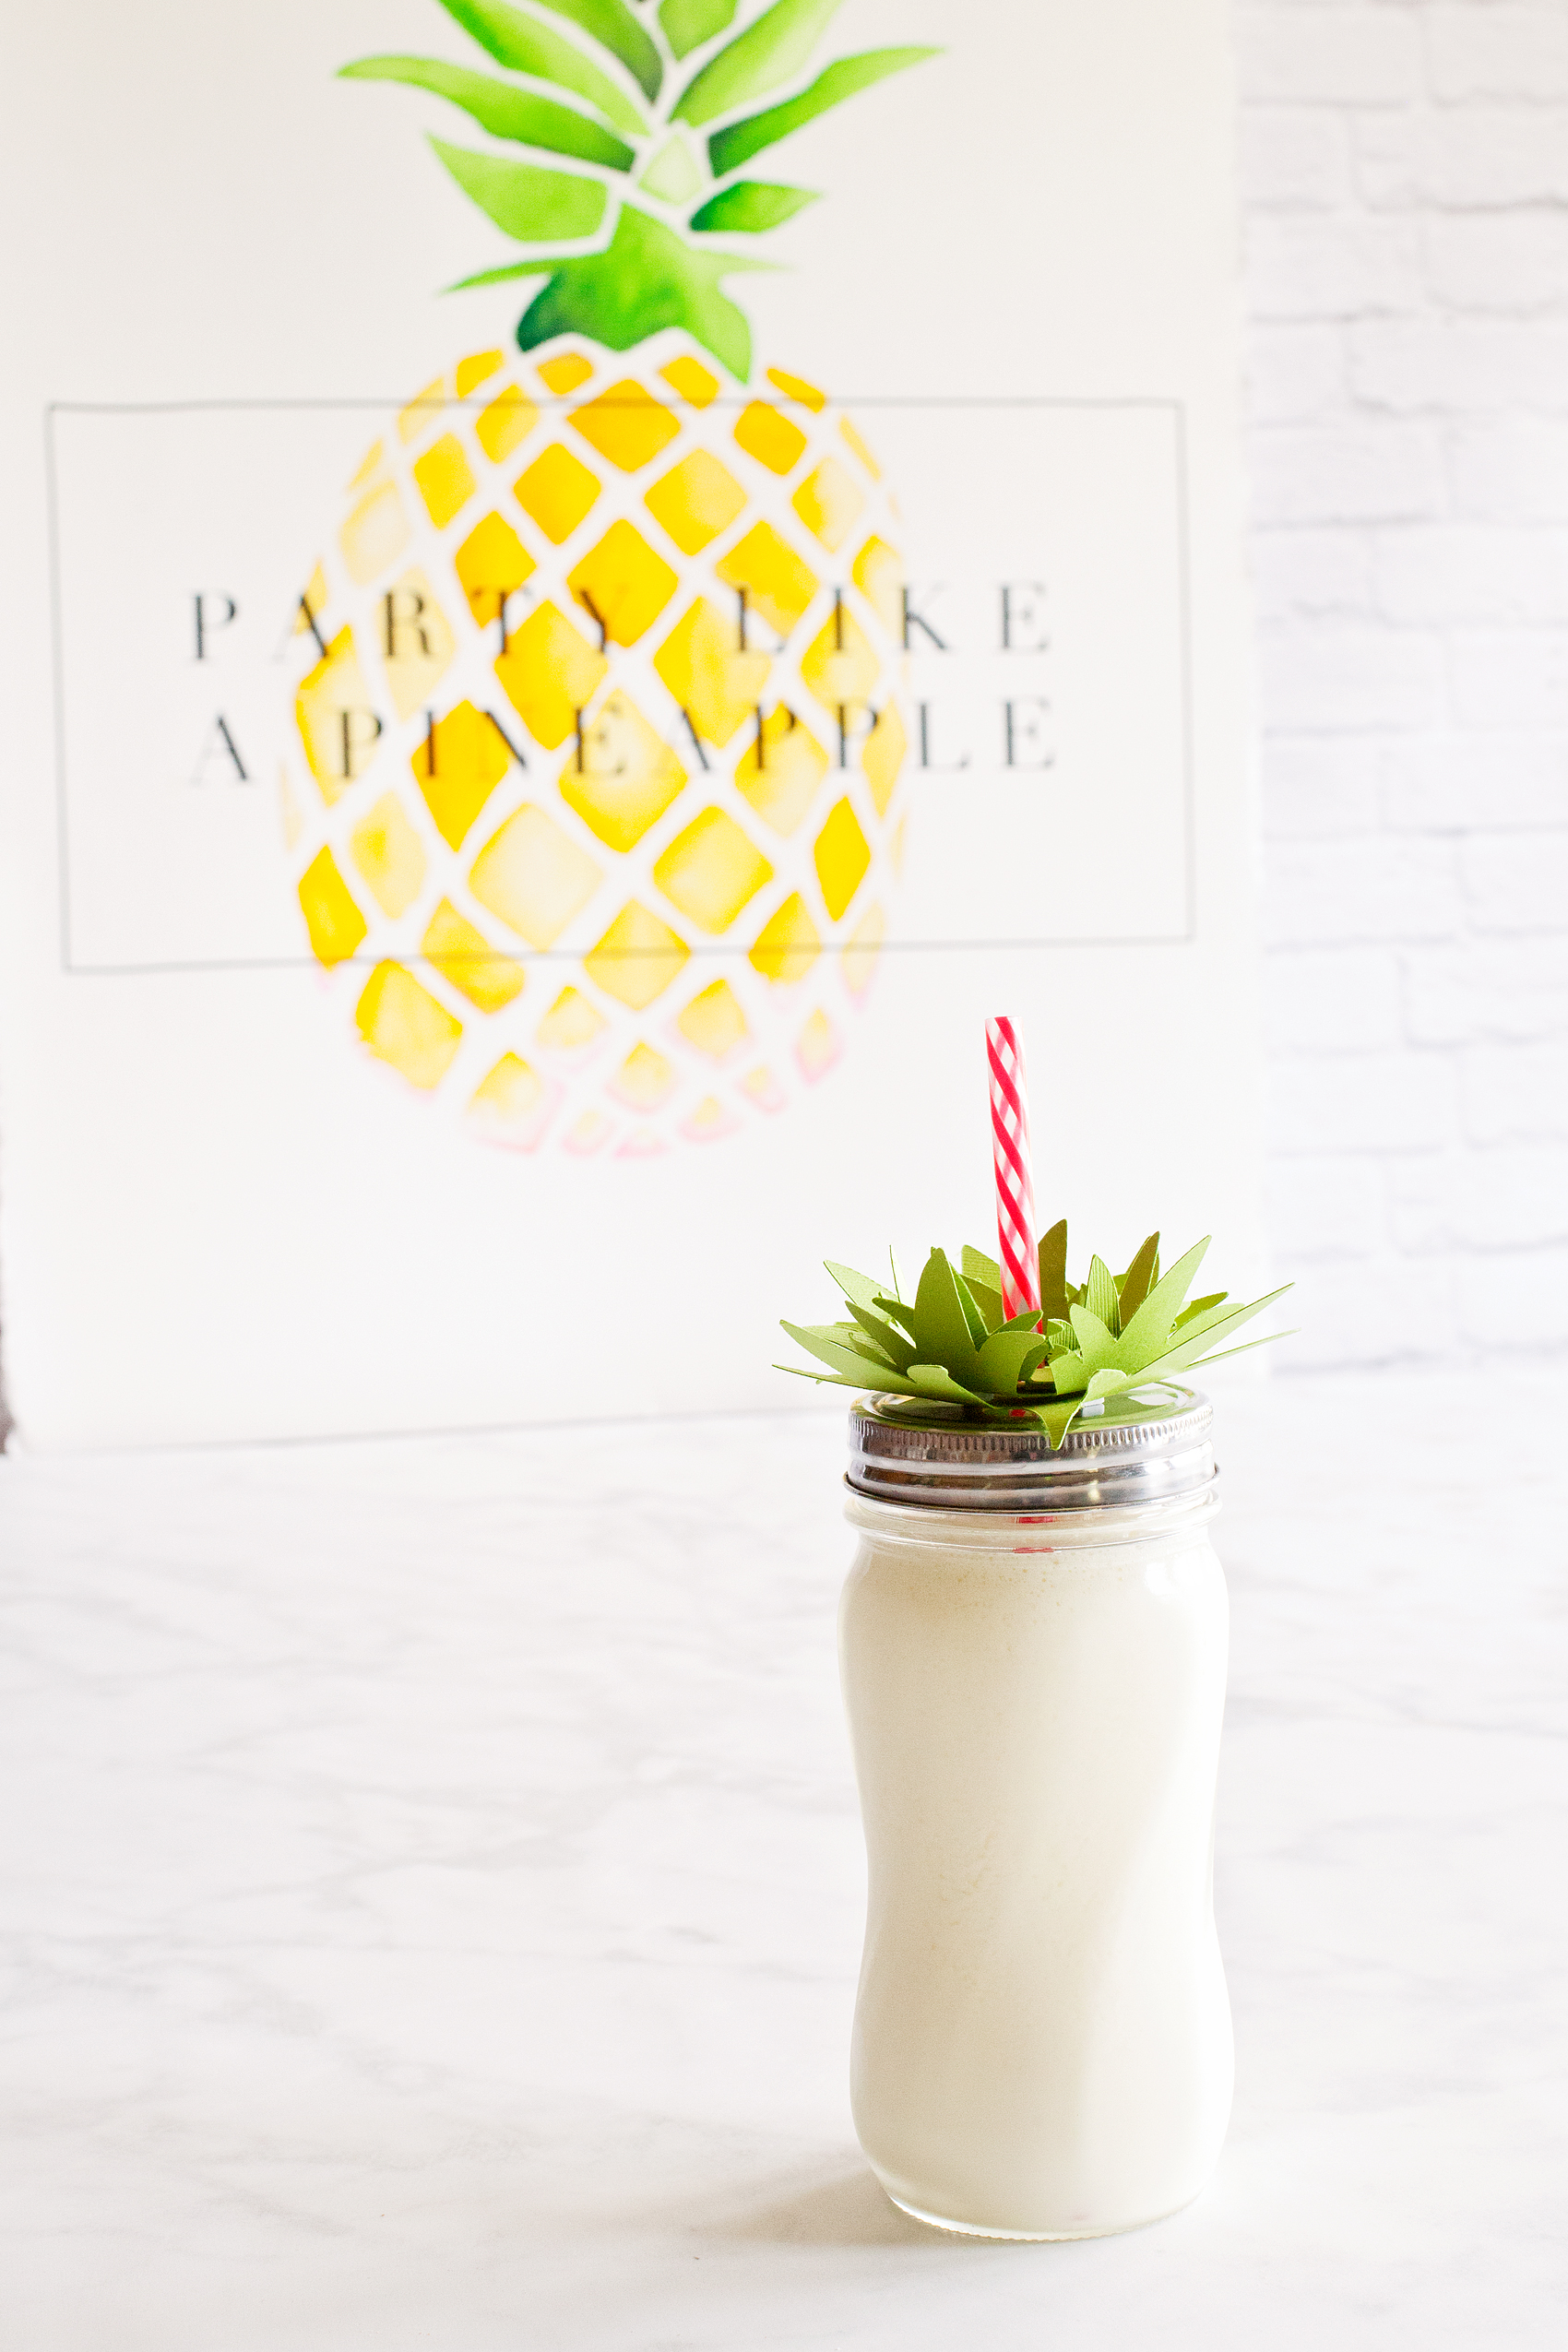
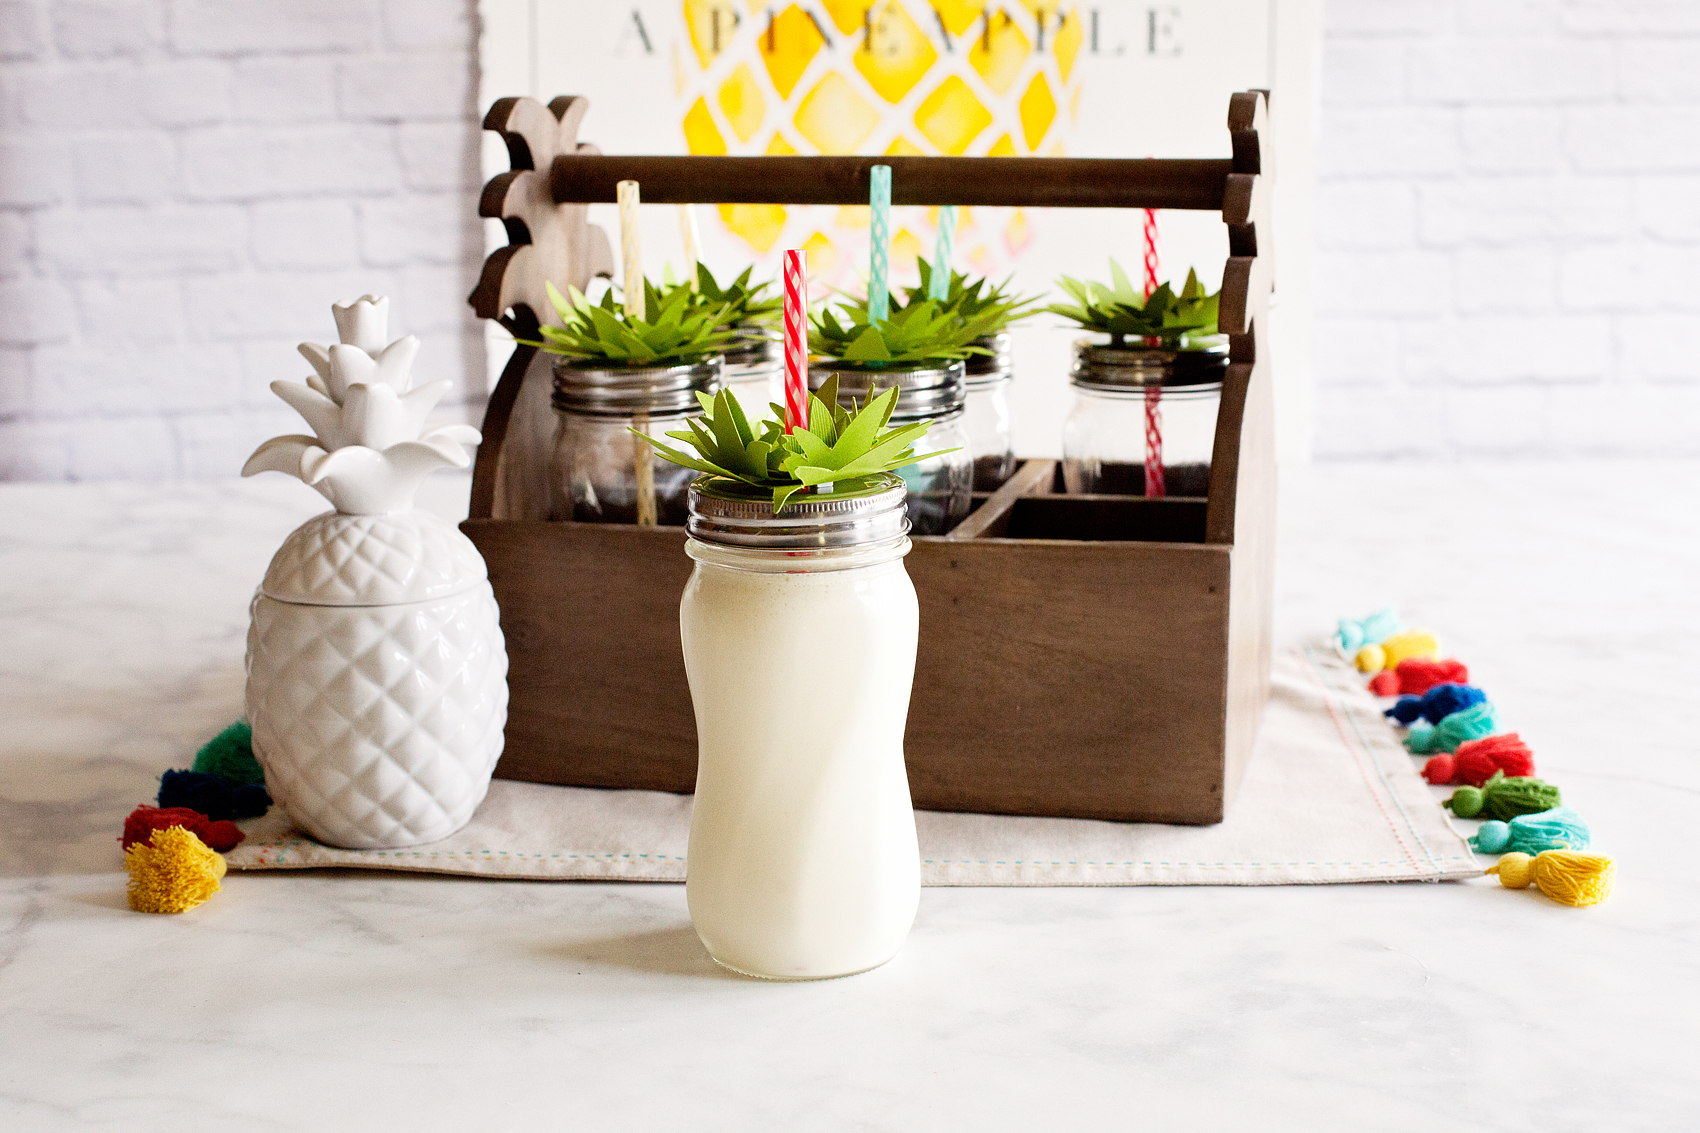
The cutest Dole Whip EVER! This Pineapple Party is perfect for all ages. Come on over to WhipperBerry to learn how to recreate this EASY party!

Design Element 4 | Pineapple Jars For Our Drinks

Another simple, yet eye catching design element that everyone will LOVE! I created my leaf pattern in Adobe Illustrator and then turned it into a cut file via the NEW Cricut Design Space software. Again, don’t worry! I’m sharing my files and will teach you how and what to use to recreate this fun drink idea.

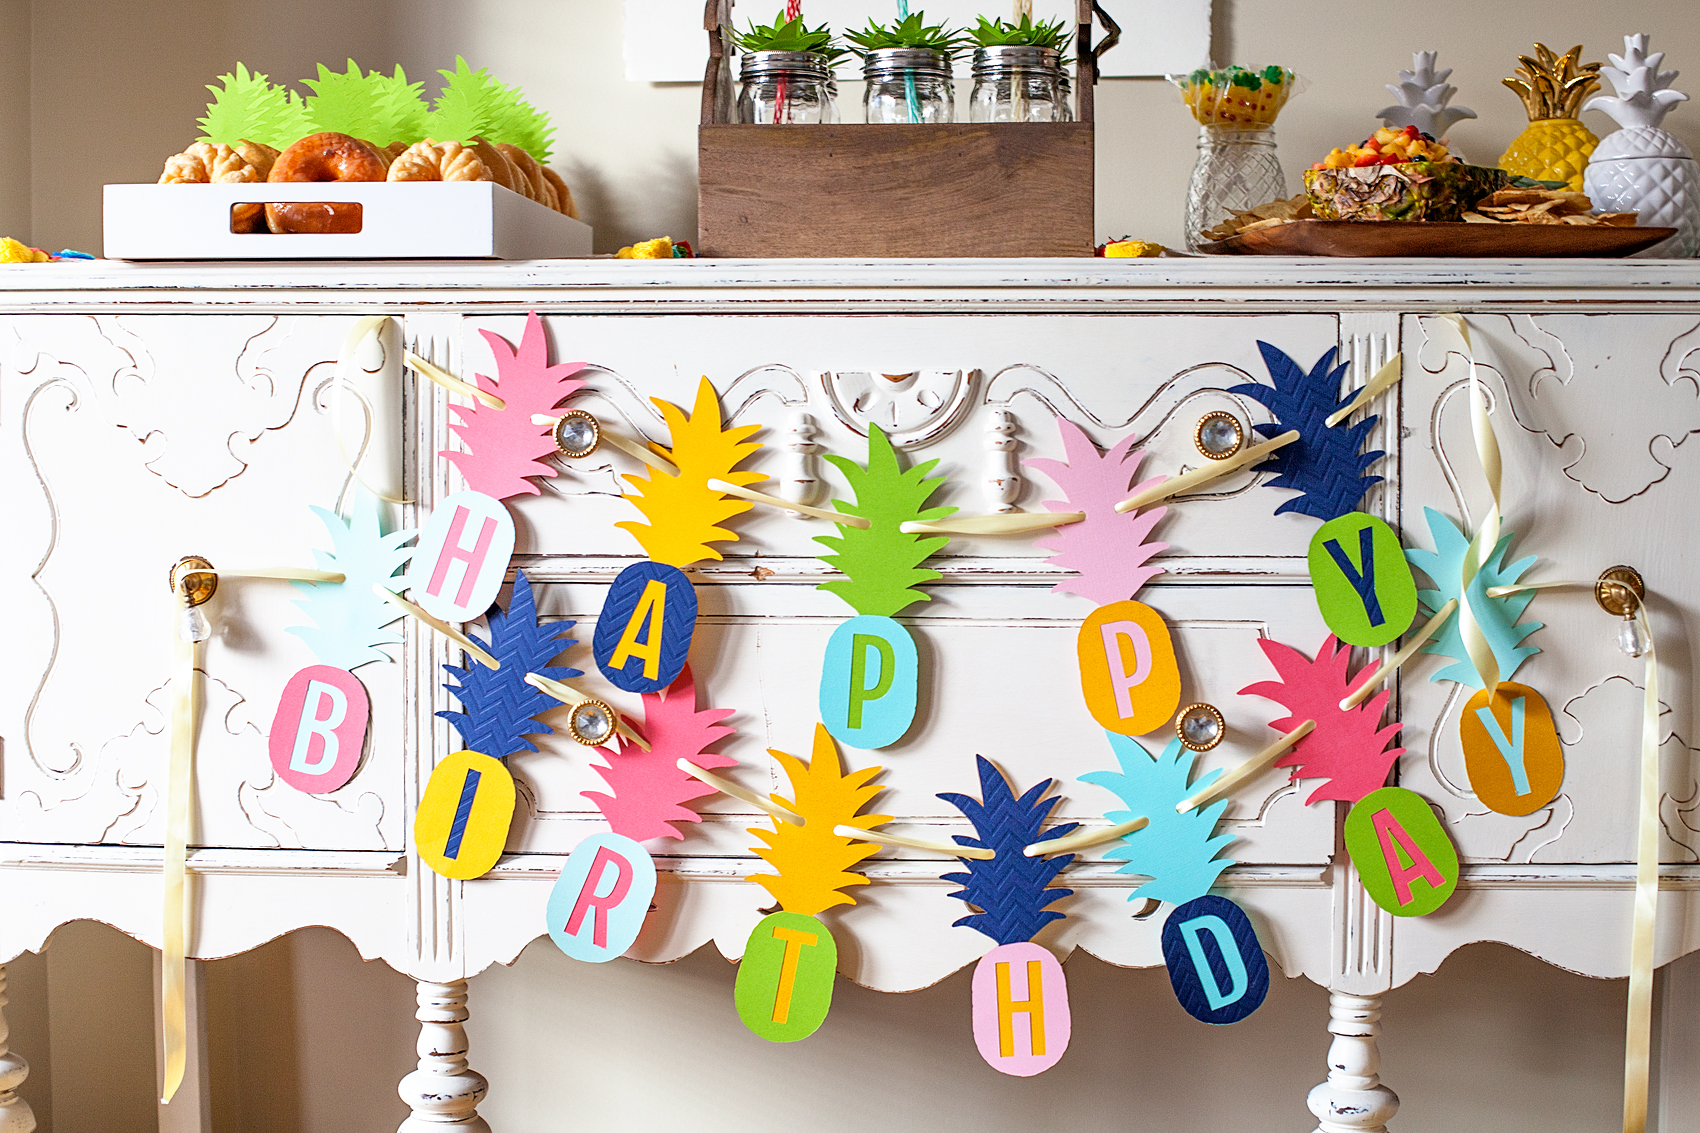
Who doesn’t love a whimsical and tasty party? This Pineapple Party Banner is perfect for all ages. Come on over to WhipperBerry to learn how to recreate this EASY party!

Design Element 5 | Pineapple Party Birthday Banner

You know… One of my favorite things about creating with my Cricut Explore Air 2 is, I’m not tied to someone else’s color scheme. I can use whatever colors I would like! Em and I went to Michaels and picked out some of her favorite colors in their craft paper section and when to town creating this fun pineapple birthday banner. Yep, you got it. I’ll be sharing this design that I created with you for your little pineapple’s birthday.

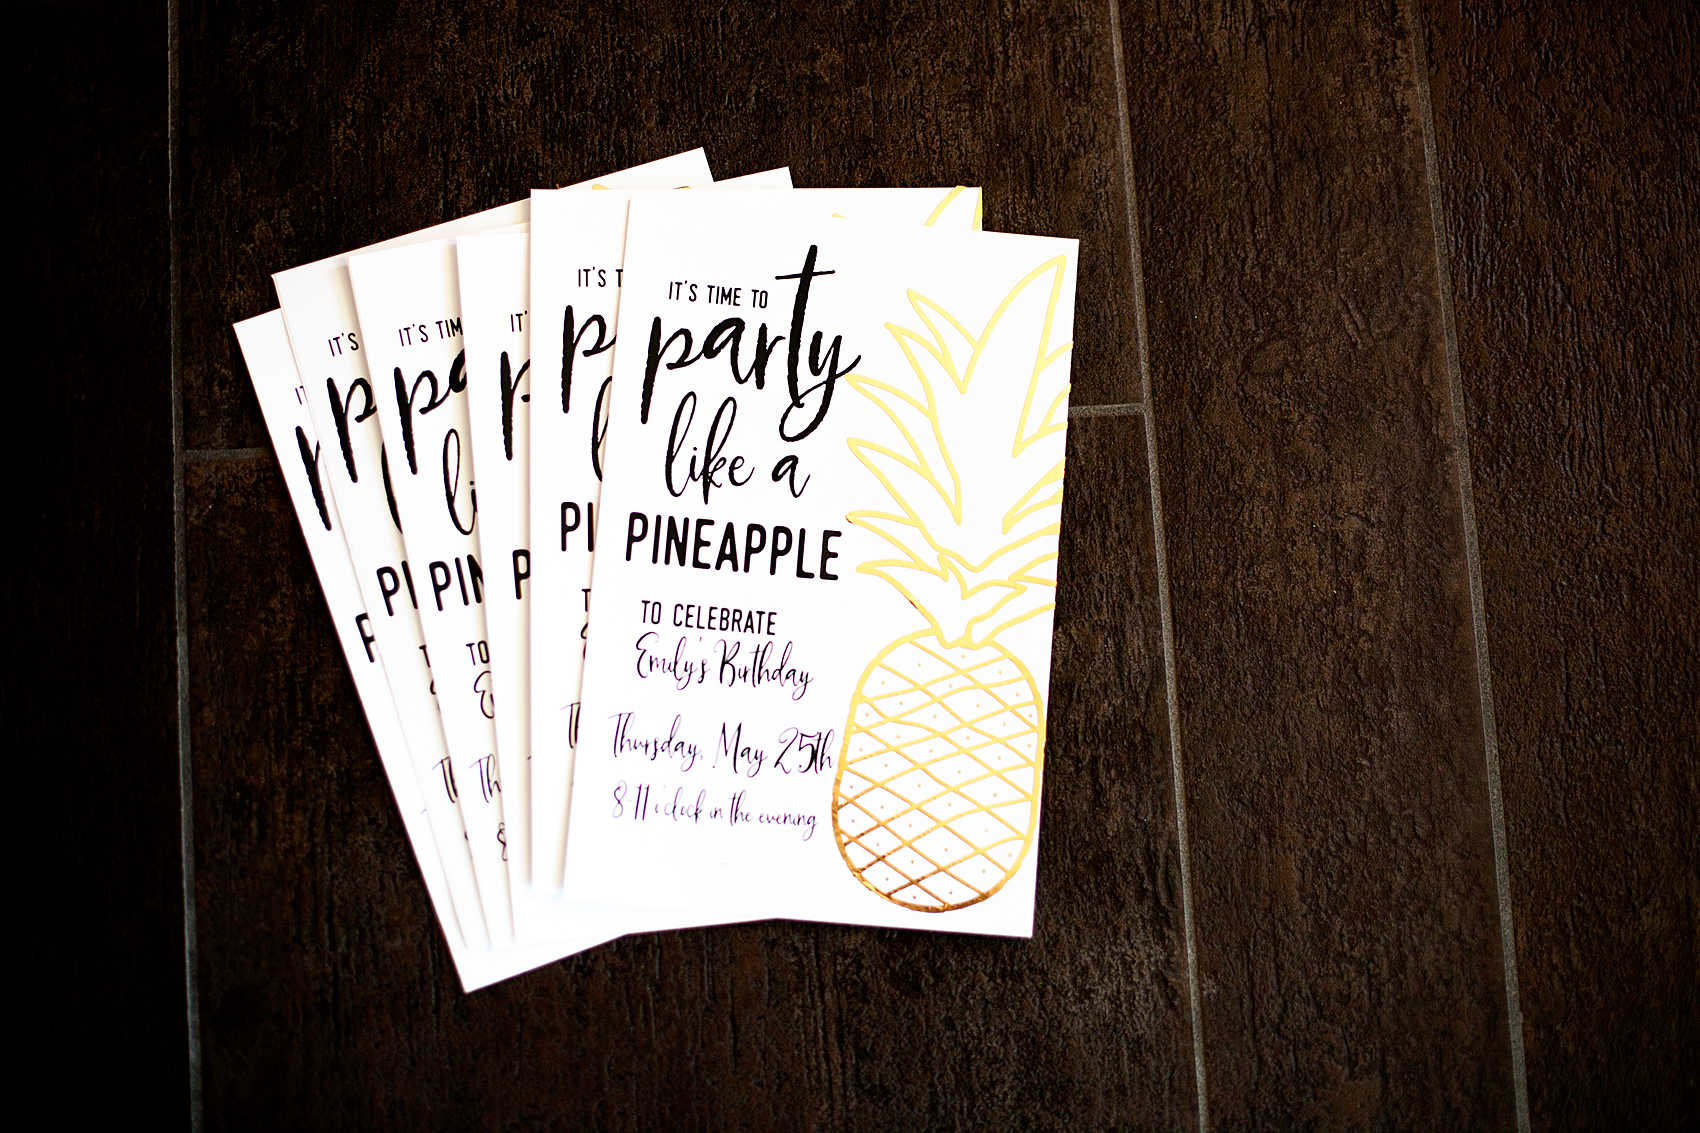
Pineapple Party Birthday Invitations • Who doesn’t love a whimsical and tasty party? This Pineapple Party is perfect for all ages. Come on over to WhipperBerry to learn how to recreate this EASY party!

Design Element 6 | Party like a Pineapple Invitations

Every good party starts with fabulous invitations! That’s my motto anyway. I printed this simple invitations right at home on cardstock and then added some foil love with the Cricut Adhesive Foil. Oh foil, how do I love thee, let me count the ways. I love adding foil elements to all kinds of stuff and the Cricut Adhesive Foil is top notch. I’ll share all of my files for this invitation as well.

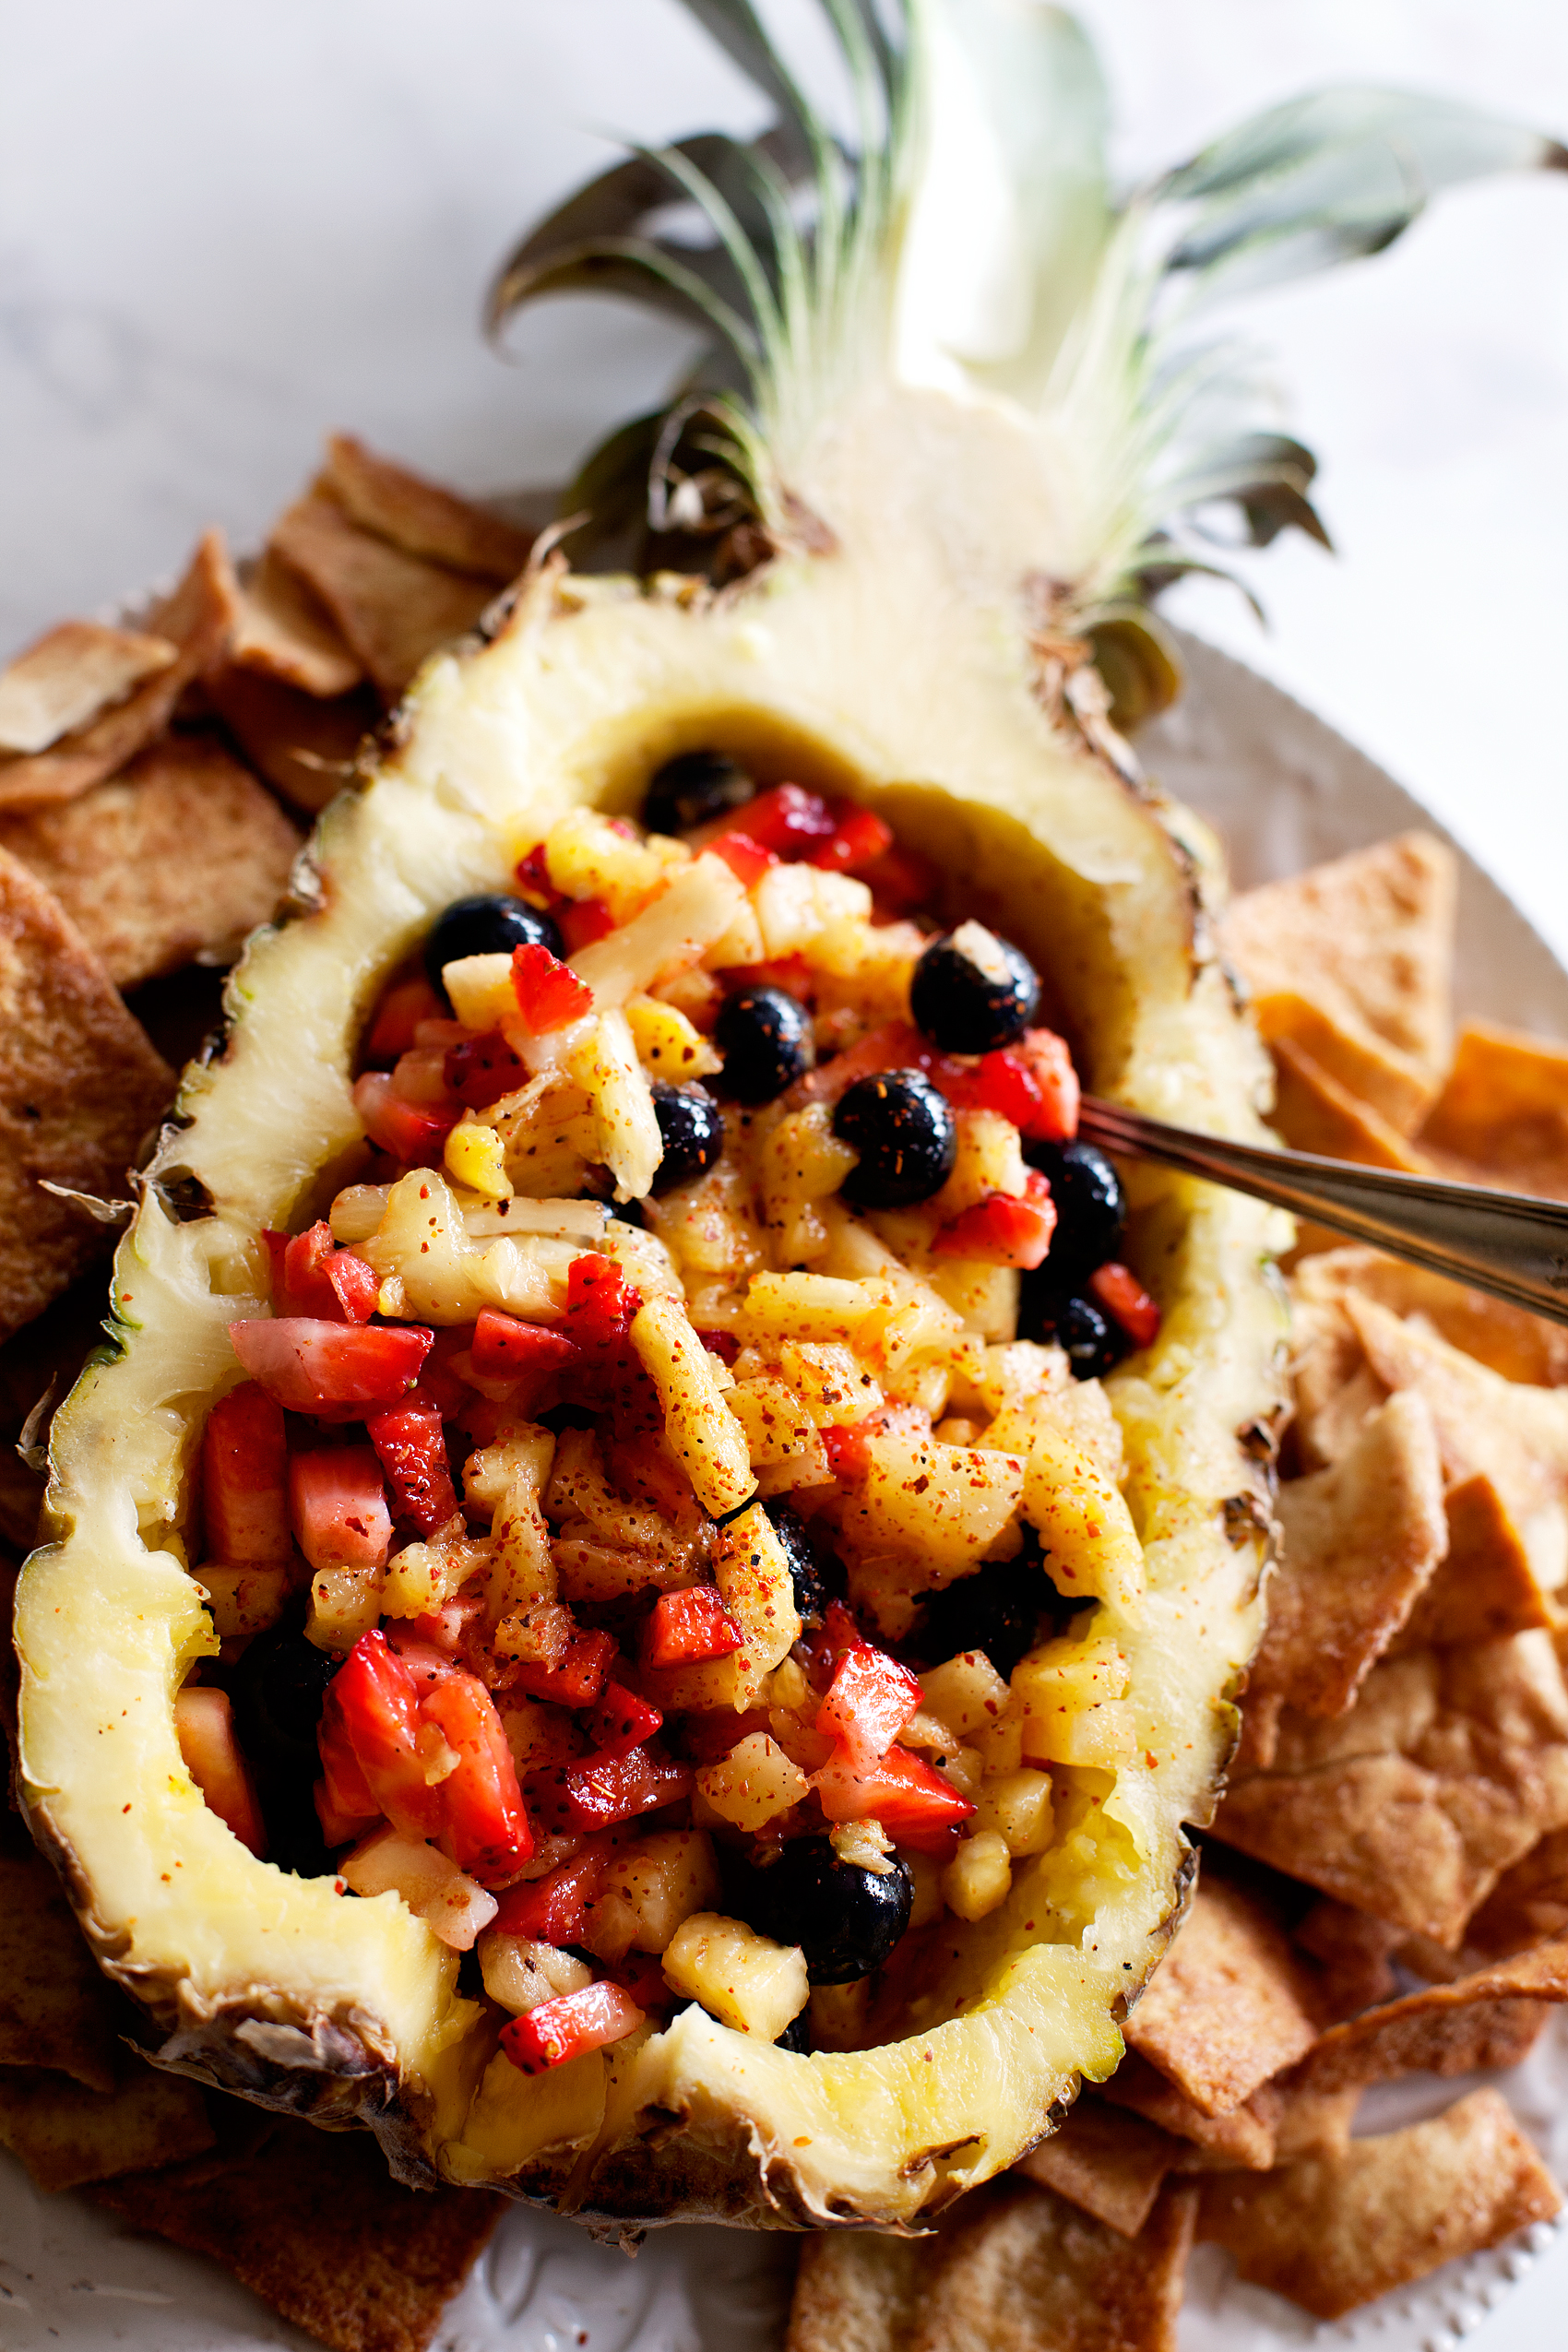
Pineapple Salsa, perfect treat for any summer party. Come on over to WhipperBerry to learn how to make it.

Tasty Treat 1 | Pineapple Salsa and Cinnamon Chips

This fruity pineapple salsa is the bee’s knees. It’s full of fresh flavor and a few secret ingredient that I’m sure will tickle your taste buds. Soon, I’ll be sharing this recipe so you can mix it up for your next party!

How CUTE are these "pineapple" doughnuts? This Pineapple Party is perfect for all ages. Come on over to WhipperBerry to learn how to recreate this EASY party!

Tasty Treat 2 | “Pineapple” Doughnut Cake

Like I said before, the EASIEST birthday cake EVER!! I ran to my favorite local doughnut shop and grab a couple dozen, topped them with my paper toppers and we were good to go. Done! Love those quick little time savers when it comes to party planning.

The cutest Dole Whip EVER! This Pineapple Party is perfect for all ages. Come on over to WhipperBerry to learn how to recreate this EASY party!

Tasty Treat 3 | Dole Whips

Now, any Pineapple Party worth it’s weight will for sure have Dole Whips at some point in the evening. It’s a must my friends. I have the perfect Dole Whip recipe that only has three ingredients and you’ll LOVE it.

Who doesn’t love a whimsical and tasty party? This Pineapple Party is perfect for all ages. Come on over to WhipperBerry to learn how to recreate this EASY party!

Party Favors | Pineapple Beach Balls & Pineapple Bubbles

I’m sorry, I don’t care what your age is, everyone loves beach balls and bubbles. The fact that you can get the two from Oriental Trading is just icing on the pineapple cake. I’ll be sharing all of the details here as well.

Doesn’t it all look fun? Well, with that… I need to get to work. I have several posts to work on to help you guys have a fun Pineapple Party too. Keep and eye out, follow along on Facebook and Instagram to see when the posts go live.

Don’t forget to PARTY LIKE A PINEAPPLE!

Dreamy Backyard Summer Birthday Party

2 · Jun 1, 2016 · Leave a Comment

Dreamy-Smore's-Birthday-Party-from-WhipperBerry-27

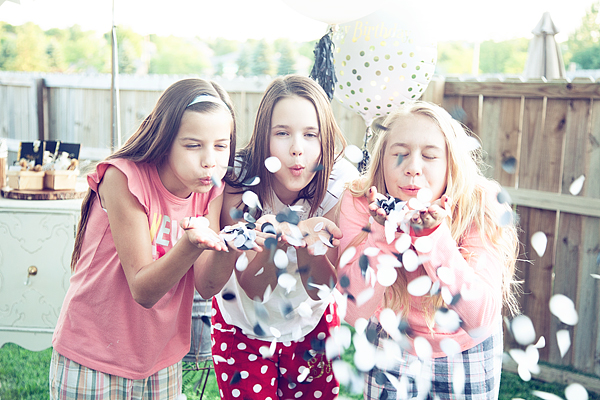
 There is nothing more magical than a summer birthday party when you’re turning 12…

Ok, well maybe 16 and 18… Oh well, you get the idea. Birthdays are pretty special. We’re big fans at our house.

I’m not one of those Mom’s that throws over the top parties every year for each child. We like to alternate years. Some years we do something special with the just family and other years we like to create a simple yet fun party for friends.

This months Michael’s Makers Challenge was timed absolutely perfect! The challenge is…

69216_MS_MM_June-Challenge_l

 …And my sweet Emily just happened to turn 12!

We are a family of summer birthdays so it seems like summer is always the time that we party the most.  The cool thing is, with Michaels… Parties are a snap!

Dreamy-Smore's-Birthday-Party-from-WhipperBerry-7

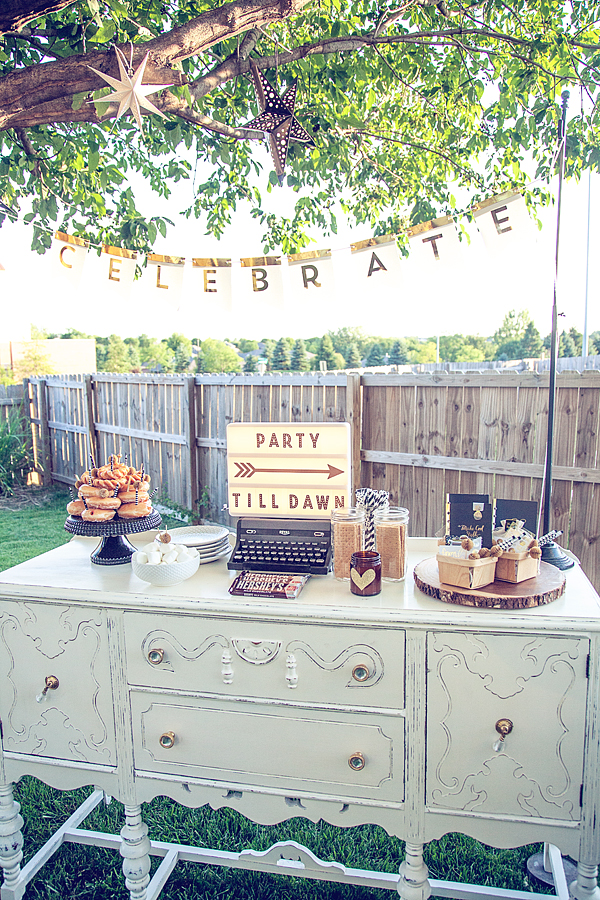
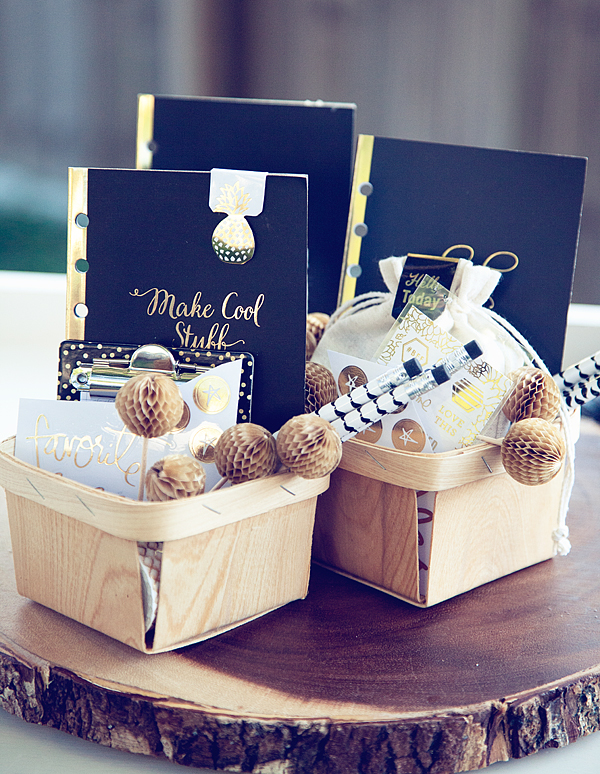
 My first stop was at the Michael’s Party section where we found the perfect little accessories for our event. Some canvas flags to make a banner. Some gold letters that would go with Emily’s color choice; black, white & gold. They had the cute berry baskets that are perfect for party favors and black and white straws that were perfect to add to the color of the night.

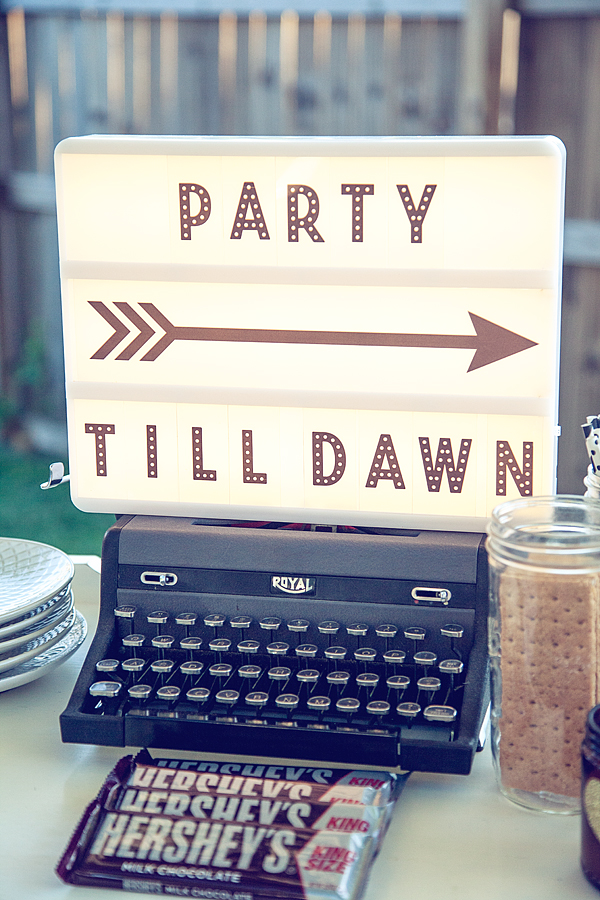
The center piece was our favorite Heidi Swapp Light Box that is perfect to add a little pizzaz to you summer party.

Dreamy-Smore's-Birthday-Party-from-WhipperBerry-14

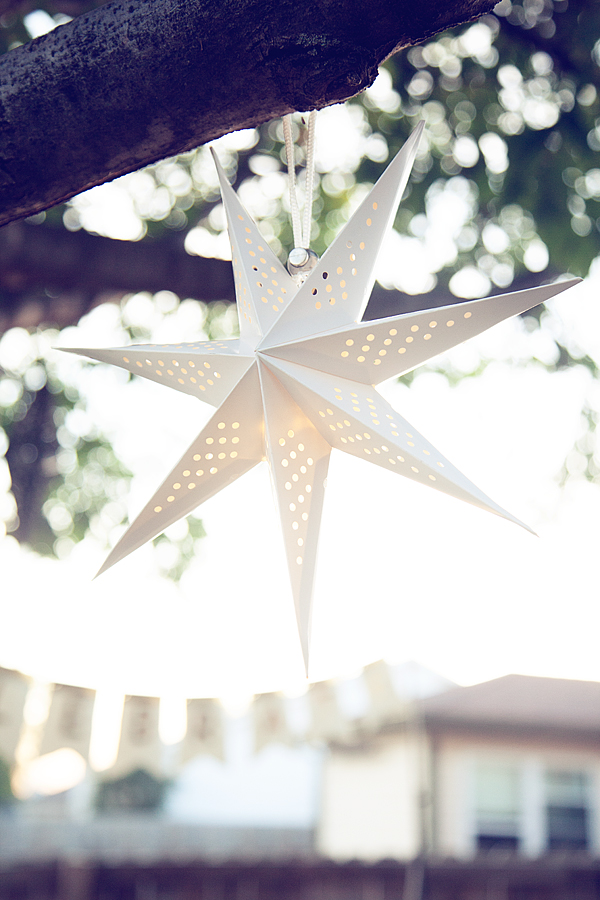
 Another little Heidi Swapp gem… Her fun Light Star Lanterns that you can find at Michaels.

Heidi Swapp Light Star Lantern for a Dreamy Backyard Party from WhipperBerry

 We bought a few of these guys and placed them throughout the tree to add a little dreamy air to the night.

Dreamy-Smore's-Birthday-Party-from-WhipperBerry-15

 We scoured the store and found all kinds of fun goodies in gold and black to add to our favor baskets. They turned out so cute. We have some notebooks, some Heidi Swapp stickers, cute pencils, some washi tape, little clipboards. They were perfect!

Dreamy-Smore's-Birthday-Party-from-WhipperBerry-23

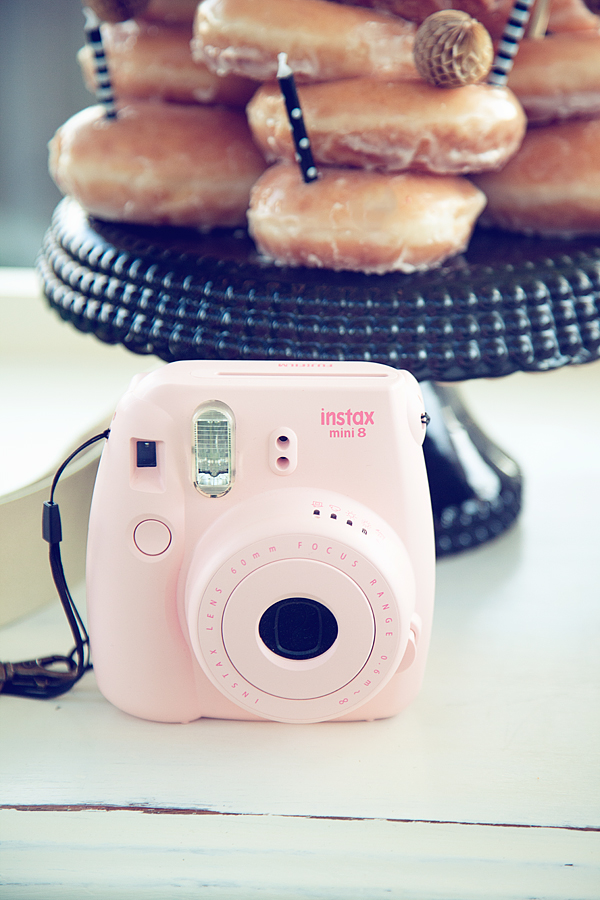
 The girls had a ball playing with another Michaels gem, our Fujifilm Instax™ Mini 8 Camera

I grabbed some film and let the girls go nuts taking photos…

Dreamy-Smore's-Birthday-Party-from-WhipperBerry-30

Duck Lips anyone? A must at a 12 year old’s birthday!

Dreamy-Smore's-Birthday-Party-from-WhipperBerry-32

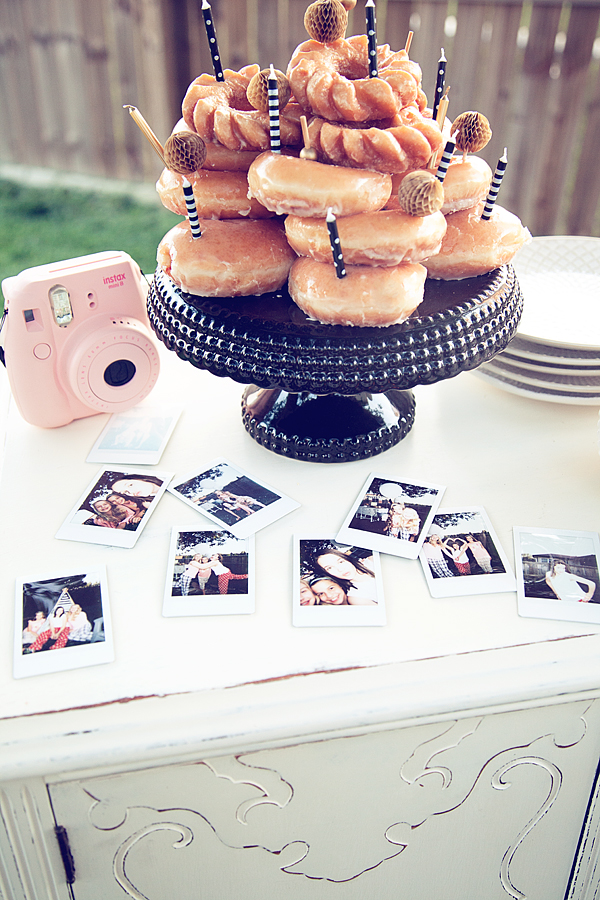
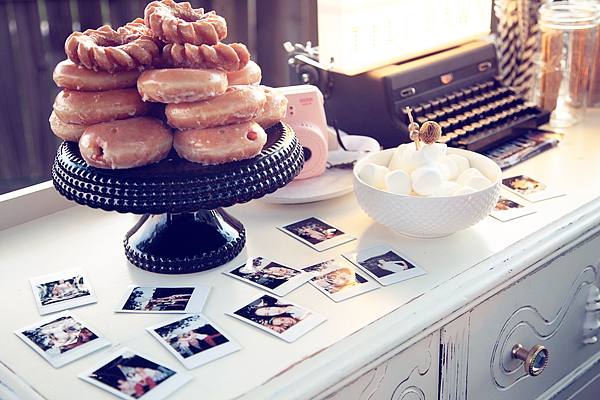
 It was so fun to place the photos on the buffet to add to the memories of the night.

Dreamy-Smore's-Birthday-Party-from-WhipperBerry-43

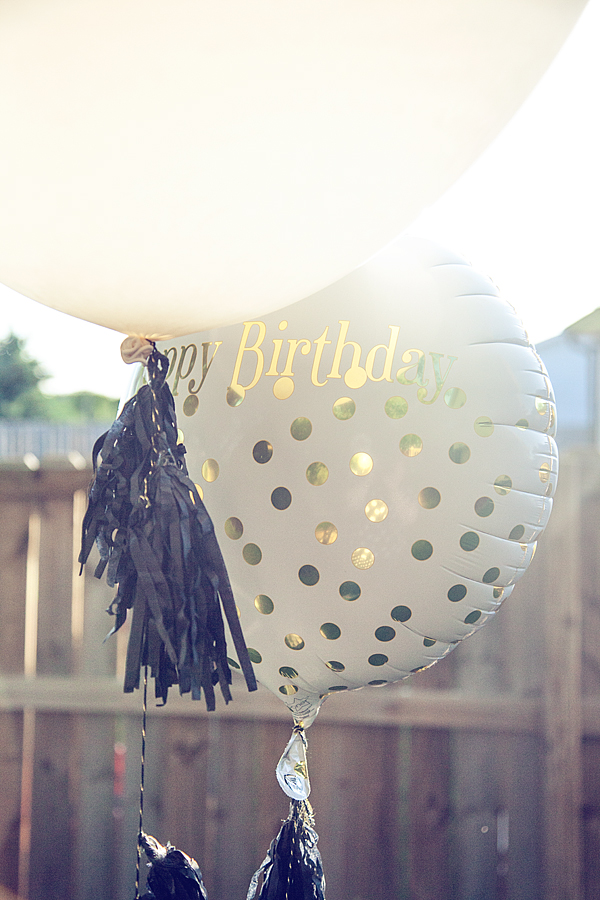
 I even found these great Happy Birthday balloons at Michaels along with the ever popular tassels AND the helium tank to blow them up! SCORE!!

Dreamy-Smore's-Birthday-Party-from-WhipperBerry-2

So many fun ways to dress up your backyard and turn it into a dreamy scene, perfect for a fabulous party! I have a few more details that I’ll share tomorrow.

For now… Here are even more amazing ideas from the rest of the Michael’s Makers.

An InLinkz Link-up

Disclosure // I am a member of the Michaels Makers Crew and receive product in order to complete my challenge assignment.

DIY Yard Yahtzee

5 · Aug 20, 2015 · 4 Comments

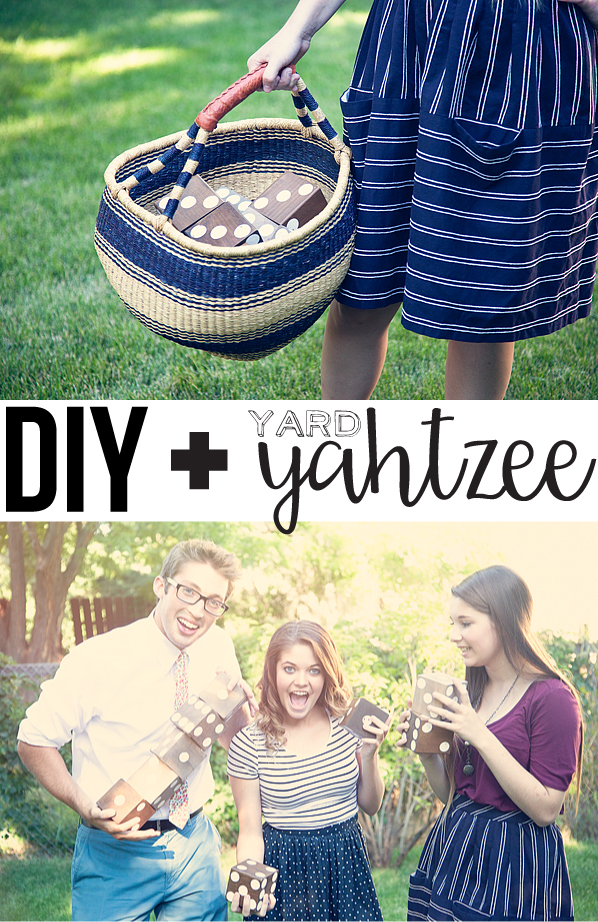
Are you looking for something fun for your summer holiday gatherings or even a lazy Sunday afternoon? Labor Day is coming up & kiddos love games. The bigger they get, the bigger they want their games! We were getting ready for a family event and I thought it would be super fun to create a DIY Yard Yahtzee game with large dice for the family to enjoy!

DIY-Yard-Yahtzee-from-WhipperBerry

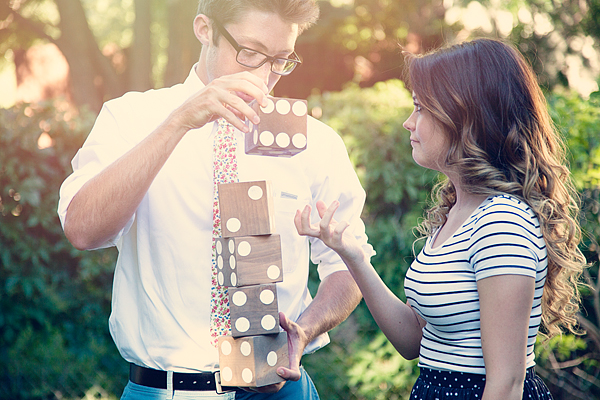
This is a great way to gather everyone for a little fun this summer. The dice are super easy to make, I whipped up 2 sets in a couple of hours. They are simple 4x4x4 blocks of wood that are faux stained with BB Frösch Chalk Paint. When they aren’t being used to play games, they make great decor for your home.

Here’s your materials list…

12 4x4x4 blocks ( I bought a 4x4x10 board at Home Depot and cut it into 4x4x4 blocks.)

8 oz. BB Frösch Chalk Paint  – Brown

(You can select whatever color you like, I’ve used Mink from Benjamin Moore mixed with  BB Frösch Chalk Paint Powder. You can just grab a sample pot of paint at Home Depot in your favorite color and mix it with BB Frösch. You can even ask them for Mink, they have it in their system even though they don’t carry Ben Moore products.)

8 oz. BB Frösch Chalk Paint  – White

BB Frösch Premium Finishing Wax – Clear & Dark

Paint Brush

Wax Brush

Round sponge

Directions

Please make sure you sand your blocks once they are cut, you don’t want any rough edges. Dust them off and get your space ready for a quick paint session. CLICK HERE for a quick video tutorial on how to make these cute dice.

Large Dice for Yard Yahtzee from Heather Thoming on Vimeo.

It’s really just that simple. A little paint & wax and you’re good to go. This is a great painting technique for furniture and all kinds of stuff… It’s not just for dice!

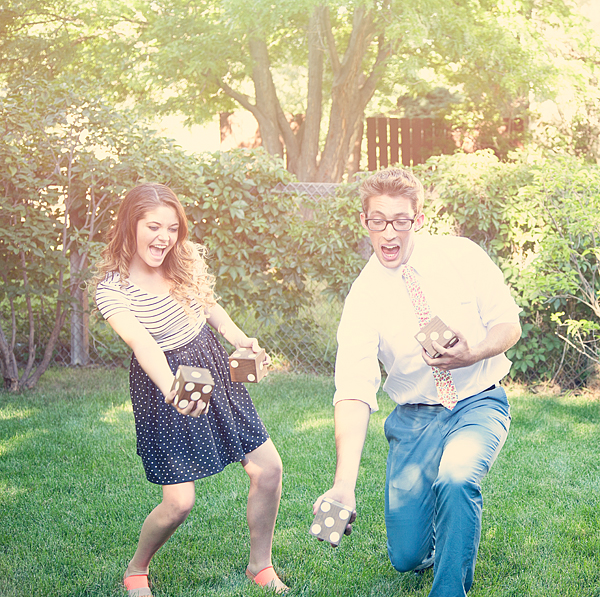
Now, all you need to do is gather the troops and PLAY!!

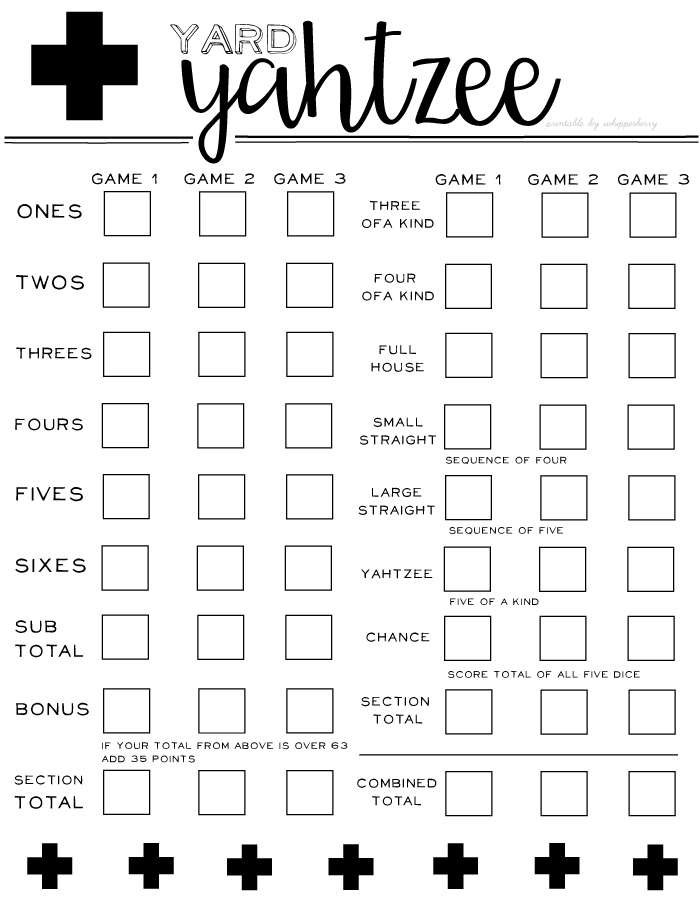
If you’re new to Yahtzee, here’s a link to the rules of the game that you can print if needed. You can download your printable Yahtzee score sheet here.

I’ve also created a fun printable that you can download.

Yard-Yahtzee-Printable-Score-Card

Click HERE to download Yahtzee Score Card

Now all you have to do is grab the troops and have a ball!!

Yard-Yahtzee-free-printable-from-WhipperBerry-13

Yard-Yahtzee-free-printable-from-WhipperBerry-4

+ This post originally aired on Skip to my Lou +

  • Go to page 1
  • Go to page 2
  • Go to Next Page »

Primary Sidebar

Heather from Whipperberry
Hello... my name is Heather and I'm the creator of WhipperBerry a creative lifestyle blog packed full of great recipes and creative ideas for your home and family. I find I am happiest when I'm living a creative life and I love to share what I've been up to along the way... Come explore, my hope is that you'll leave inspired!

Footer

  • Privacy Policy

Copyright © 2023 · Seasoned Pro