• Skip to primary navigation
  • Skip to main content
  • Skip to primary sidebar
  • Skip to footer

Whipperberry

WhipperBerry • Your Home For Creative Inspiration

  • Home
  • Recipes
    • Starters
    • Easy Weeknight Dinners
    • Main Dish
    • Salads
    • Side Dish
    • Soups & Stews
    • Desserts
    • Breakfast
    • Miscellaneous
  • Tutorials
    • Creative Crafts
    • DIY Decor
    • Fabric Crafts
    • Food How-To
    • Jewlery
    • Paint Projects
    • Paper Art
    • Party Styling
    • Photography and Graphic Design
    • Silhouette
  • Holidays
    • Easter
    • Mother’s Day
    • Father’s Day
    • 4th of July
    • Halloween
    • Thanksgiving
    • Christmas
    • Valentine’s Day
  • Gift Ideas
    • Gifts For Everyone
    • Gifts for Dad
    • Mother’s day
    • For The Girls
    • For The Kids
    • Teacher Gift Ideas
    • Christmas
  • Printables
    • Holiday
    • Gift Idea
    • LDS Primary
  • Travel
  • About
    • Terms
  • Contact
  • Nav Social Menu

    • Facebook
    • Instagram
    • Pinterest
    • RSS
    • Twitter

Parties

Affordable Tips for Planning Memorable Backyard Events on a Budget

0 · May 20, 2025 · Leave a Comment

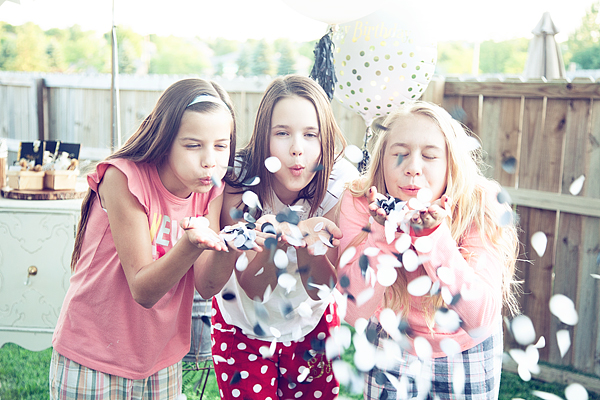
There’s something magical about opening your backyard gate and welcoming loved ones into your own little world. As a mom who finds joy in photography, travel, and creating meaningful moments at home, I’ve learned that you don’t need a big budget to make gatherings truly special. With a bit of thoughtful planning and a creative spark, our outdoor spaces can become the perfect stage for unforgettable celebrations.

Whether it’s a sunny afternoon barbecue, a whimsical garden party, or a festive family movie night under the stars, hosting backyard events is one of my favorite ways to bring people together. And guess what? It doesn’t have to cost a fortune.

With a little creativity and some planning, we can transform our outdoor spaces into unforgettable venues without breaking the bank. Whether it’s a birthday bash, a cozy barbecue, or a festive holiday gathering, memorable events don’t have to come with a hefty price tag.

From DIY decorations to budget-friendly menus, a little ingenuity can elevate our gatherings.  Let’s explore some of my go-to ideas for keeping things fun, fabulous, and affordable – all from the comfort of home.

Understanding Your Budget

Understanding our budget sets the foundation for a successful event. We can enjoy our gatherings without overspending when we categorize expenses clearly.

Setting a Realistic Budget

Setting a realistic budget involves evaluating our financial capacity while keeping event goals in mind. We’ll consider factors like the number of guests, menu options, and required decorations. It helps to allocate specific amounts for each category, ensuring we stay organized. Tools that help you create paystubs can also support better tracking of expenses, especially for staffing or vendor payments. By prioritizing what matters most, we can maximize our resources without sacrificing quality.

Memorable Backyard Events on a Budget

Photo by Ron Lach on Pexels

Identifying Essential Expenses

Identifying essential expenses ensures we cover the basics effectively. Key categories typically include venue needs, food and drink costs, and entertainment options. For example, we might budget for outdoor seating and lighting, along with a menu featuring affordable but delicious dishes. Recognizing areas where we can reduce spending, such as opting for DIY decorations instead of store-bought ones, allows us to allocate funds for unique elements like fireworks blue for a special effect. Understanding these essentials helps create a memorable event within budget constraints.

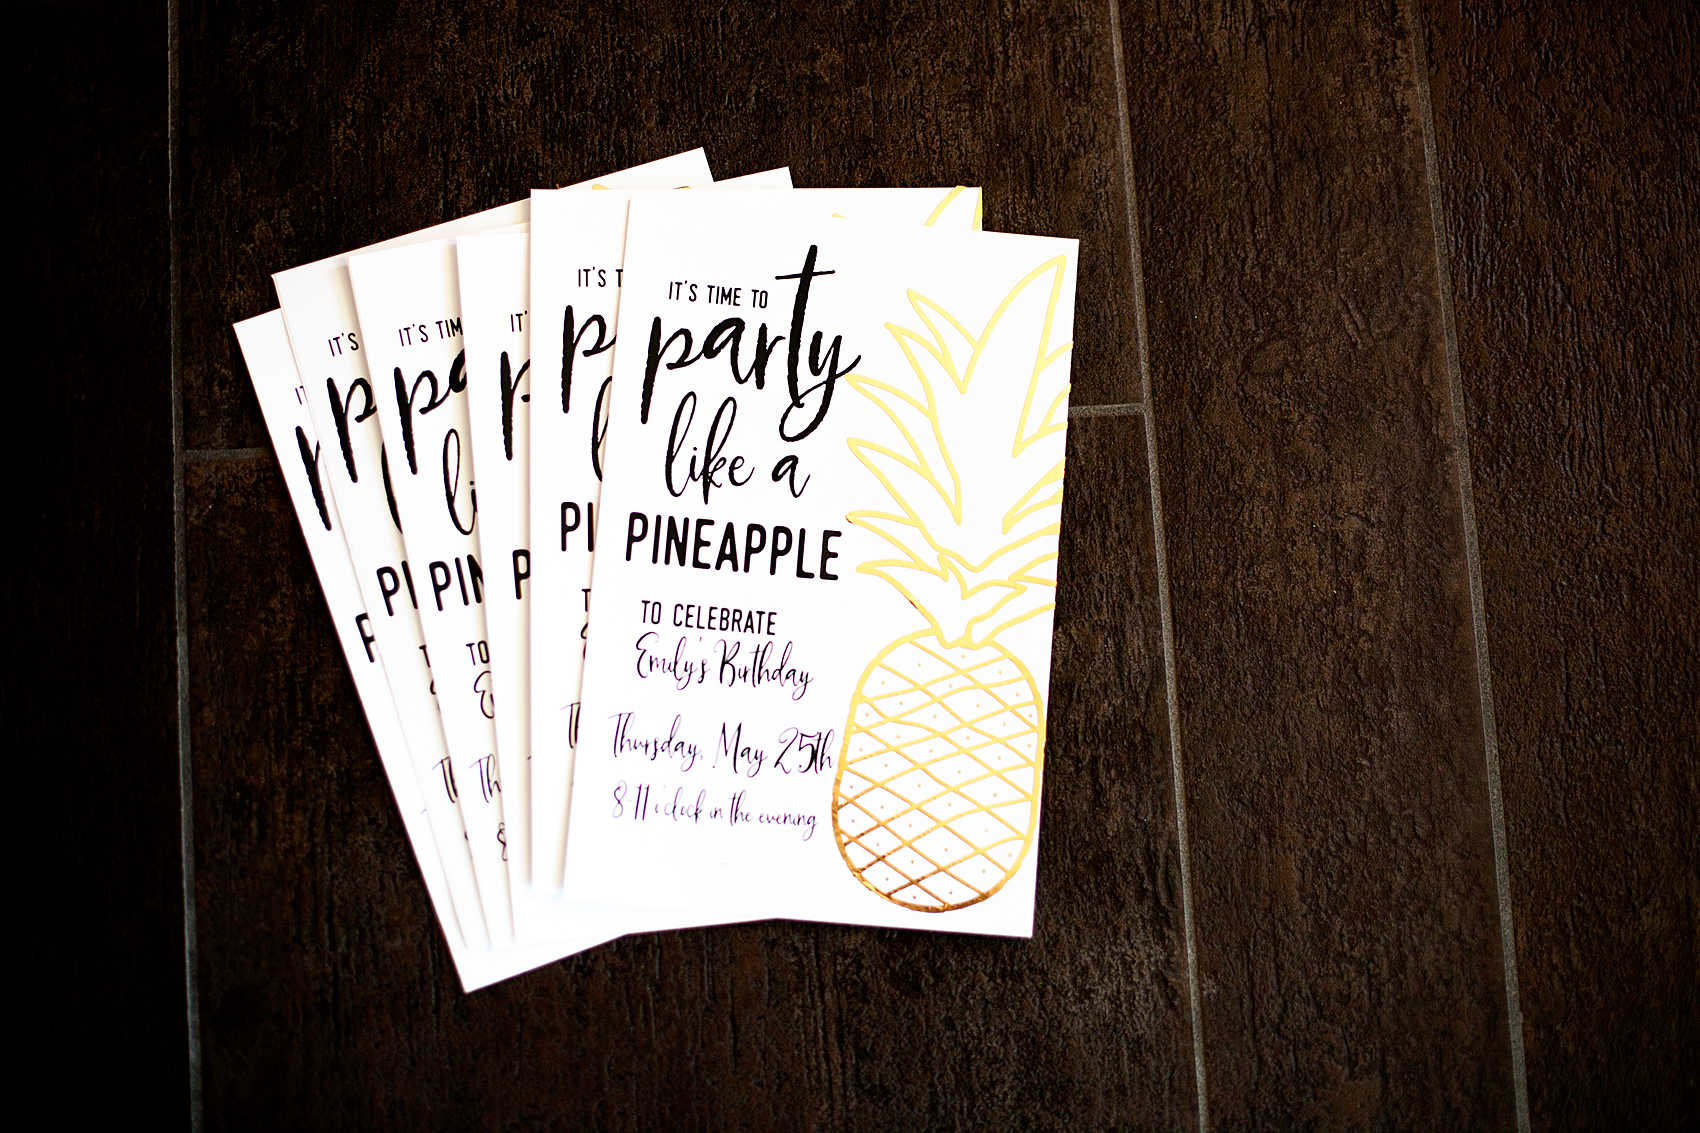
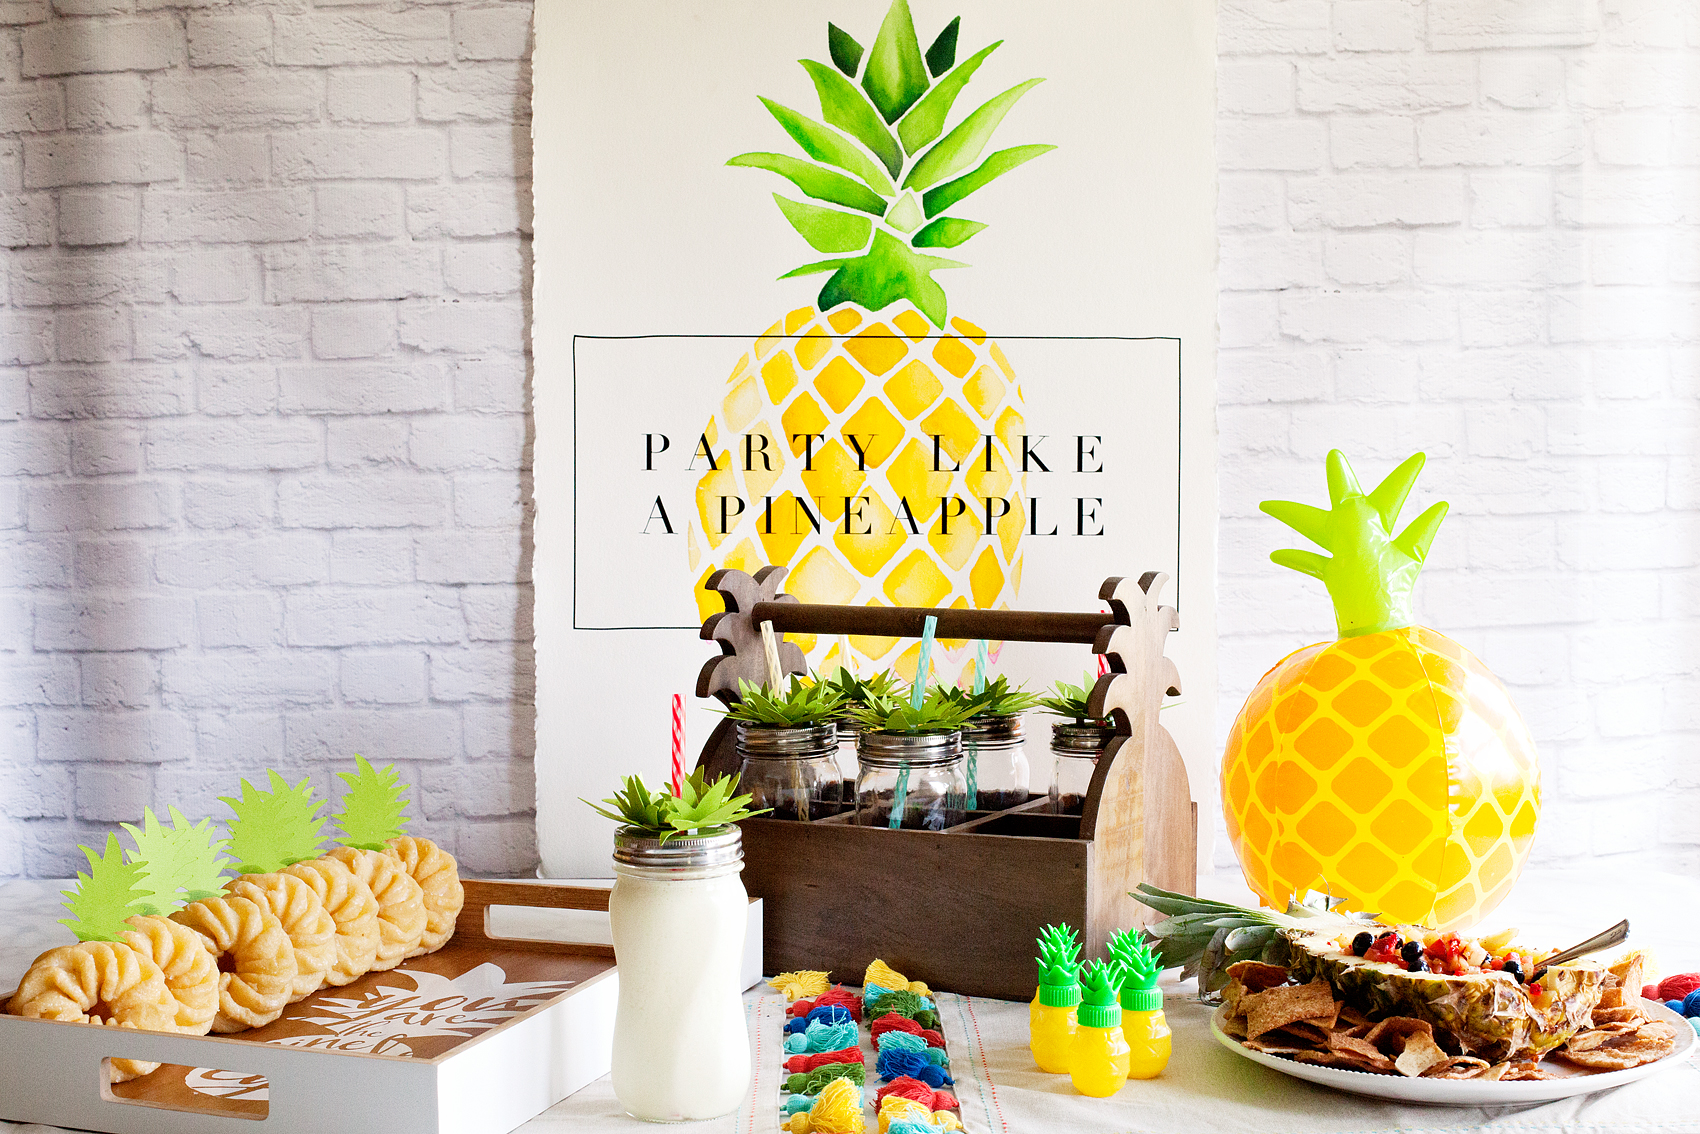
Choosing the Right Theme

Selecting the right theme sets the tone for our backyard event, ensuring guests enjoy a cohesive experience. A well-chosen theme engages participants and enhances the overall atmosphere.

Popular Themes for Backyard Events

We can explore various popular themes that cater to different occasions. Options include:

  • Garden Party: Enrich outdoor settings with flowers, string lights, and rustic furniture.
  • Barbecue Bash: Focus on grilled meats and outdoor games; create a casual vibe.
  • Movie Night: Install an outdoor screen, provide cozy seating, and serve popcorn for an engaging film experience.
  • Fiesta: Incorporate vibrant decorations, traditional cuisine, and festive music to promote a lively atmosphere.

Tailoring Themes to Your Budget

We should tailor themes to align with our budget, maximizing impact while minimizing costs.

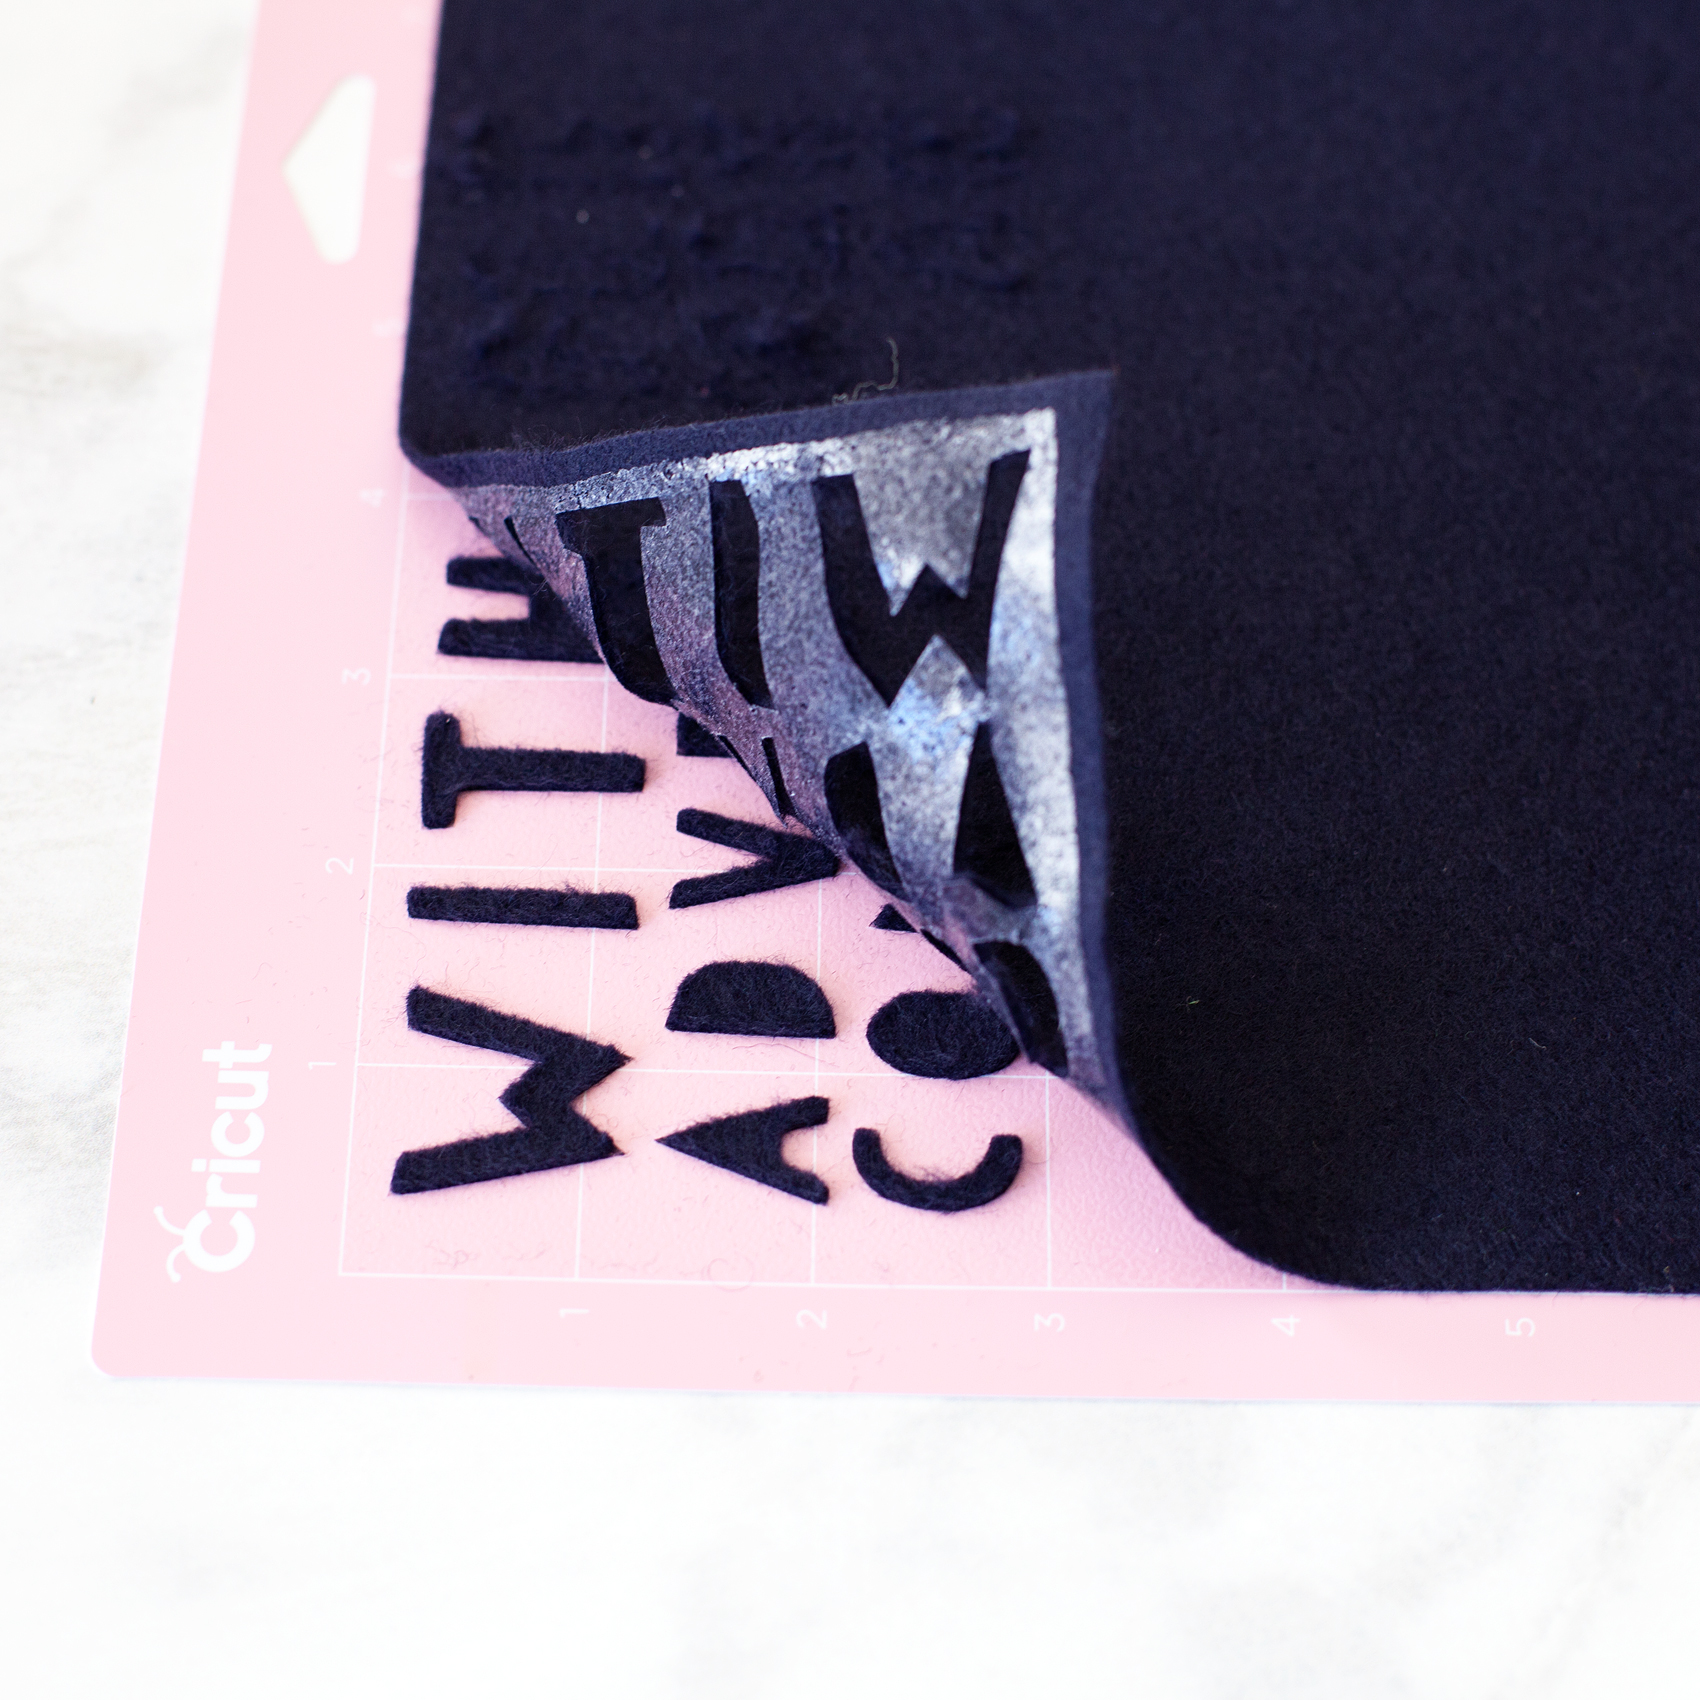
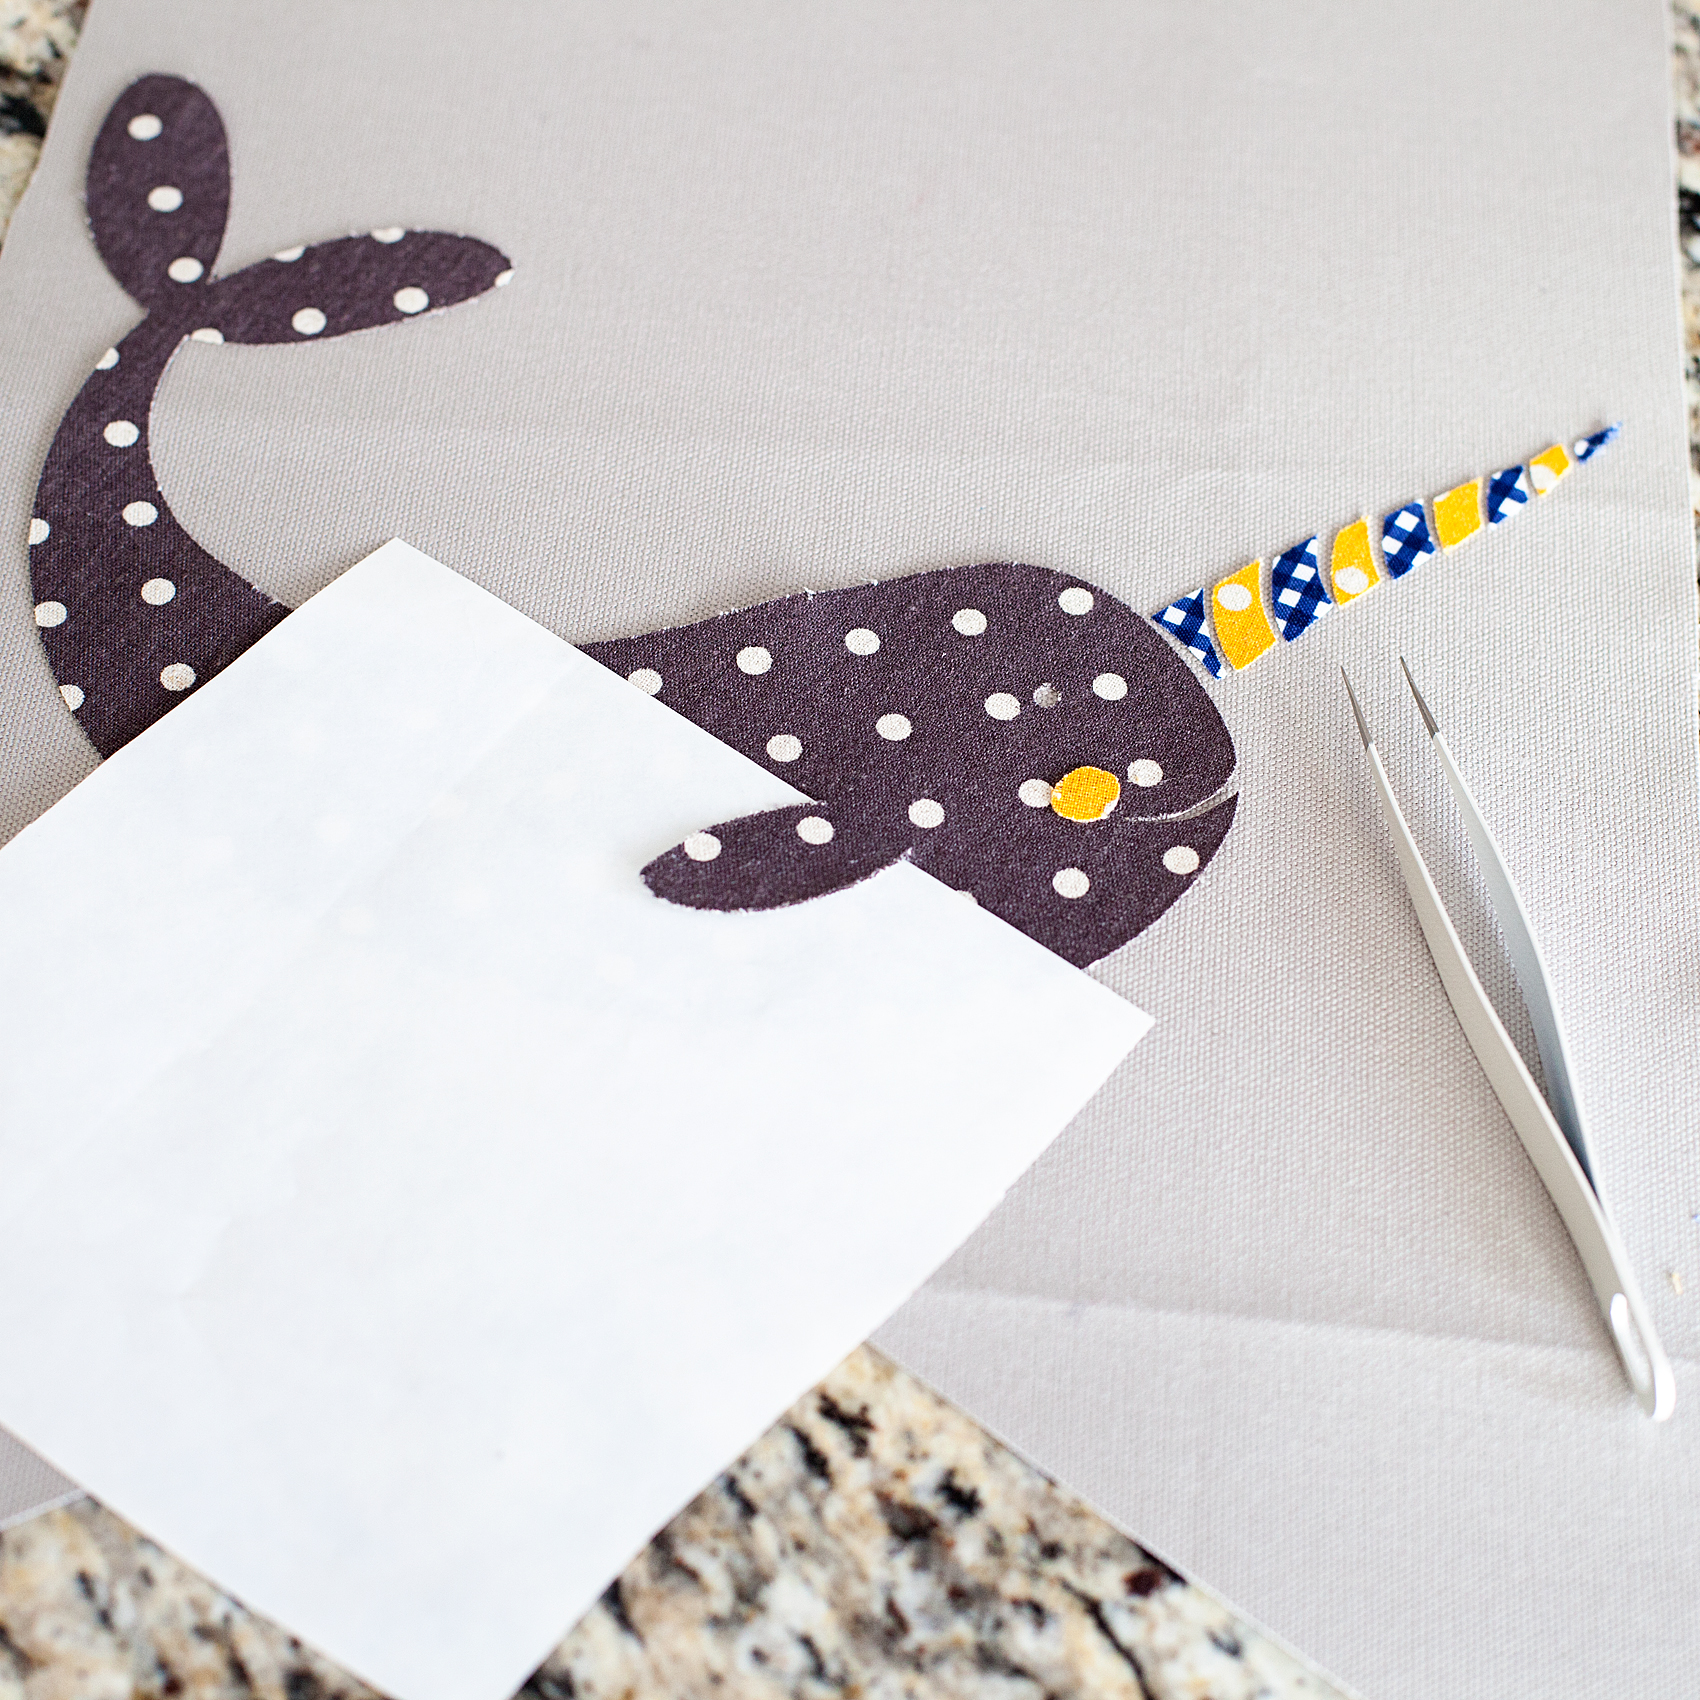
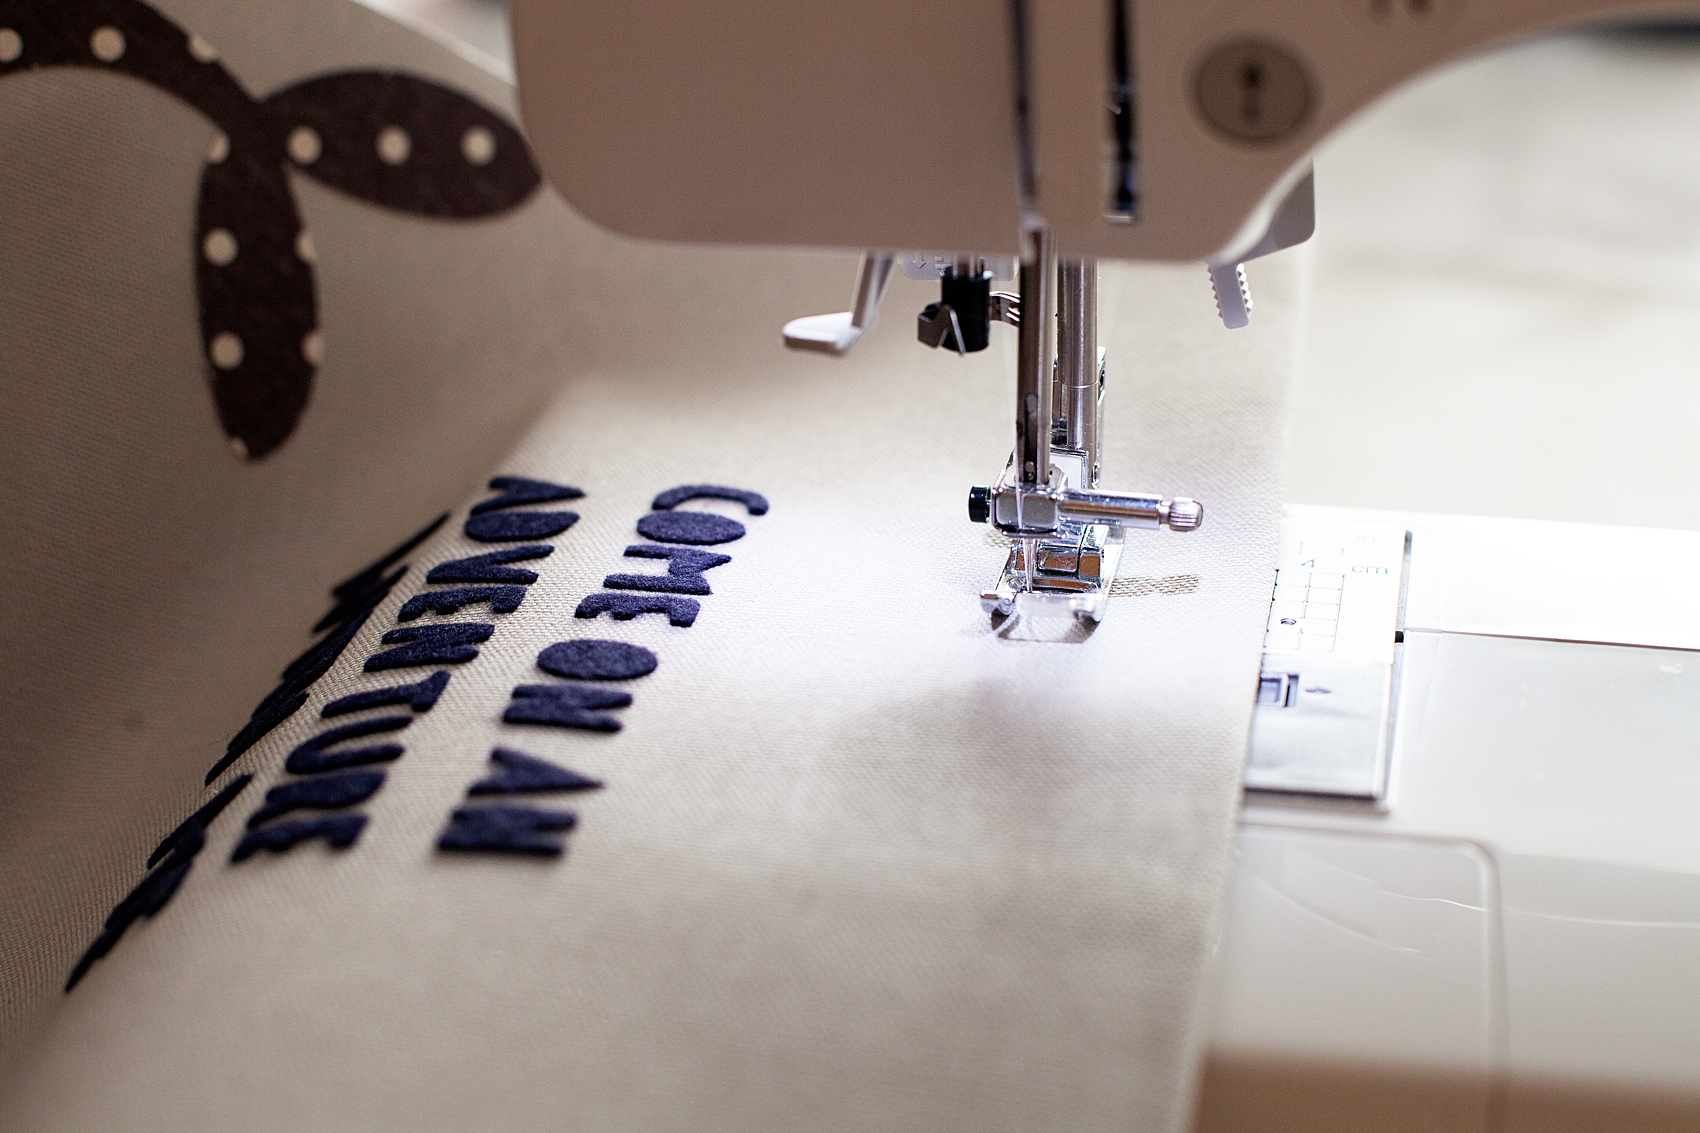
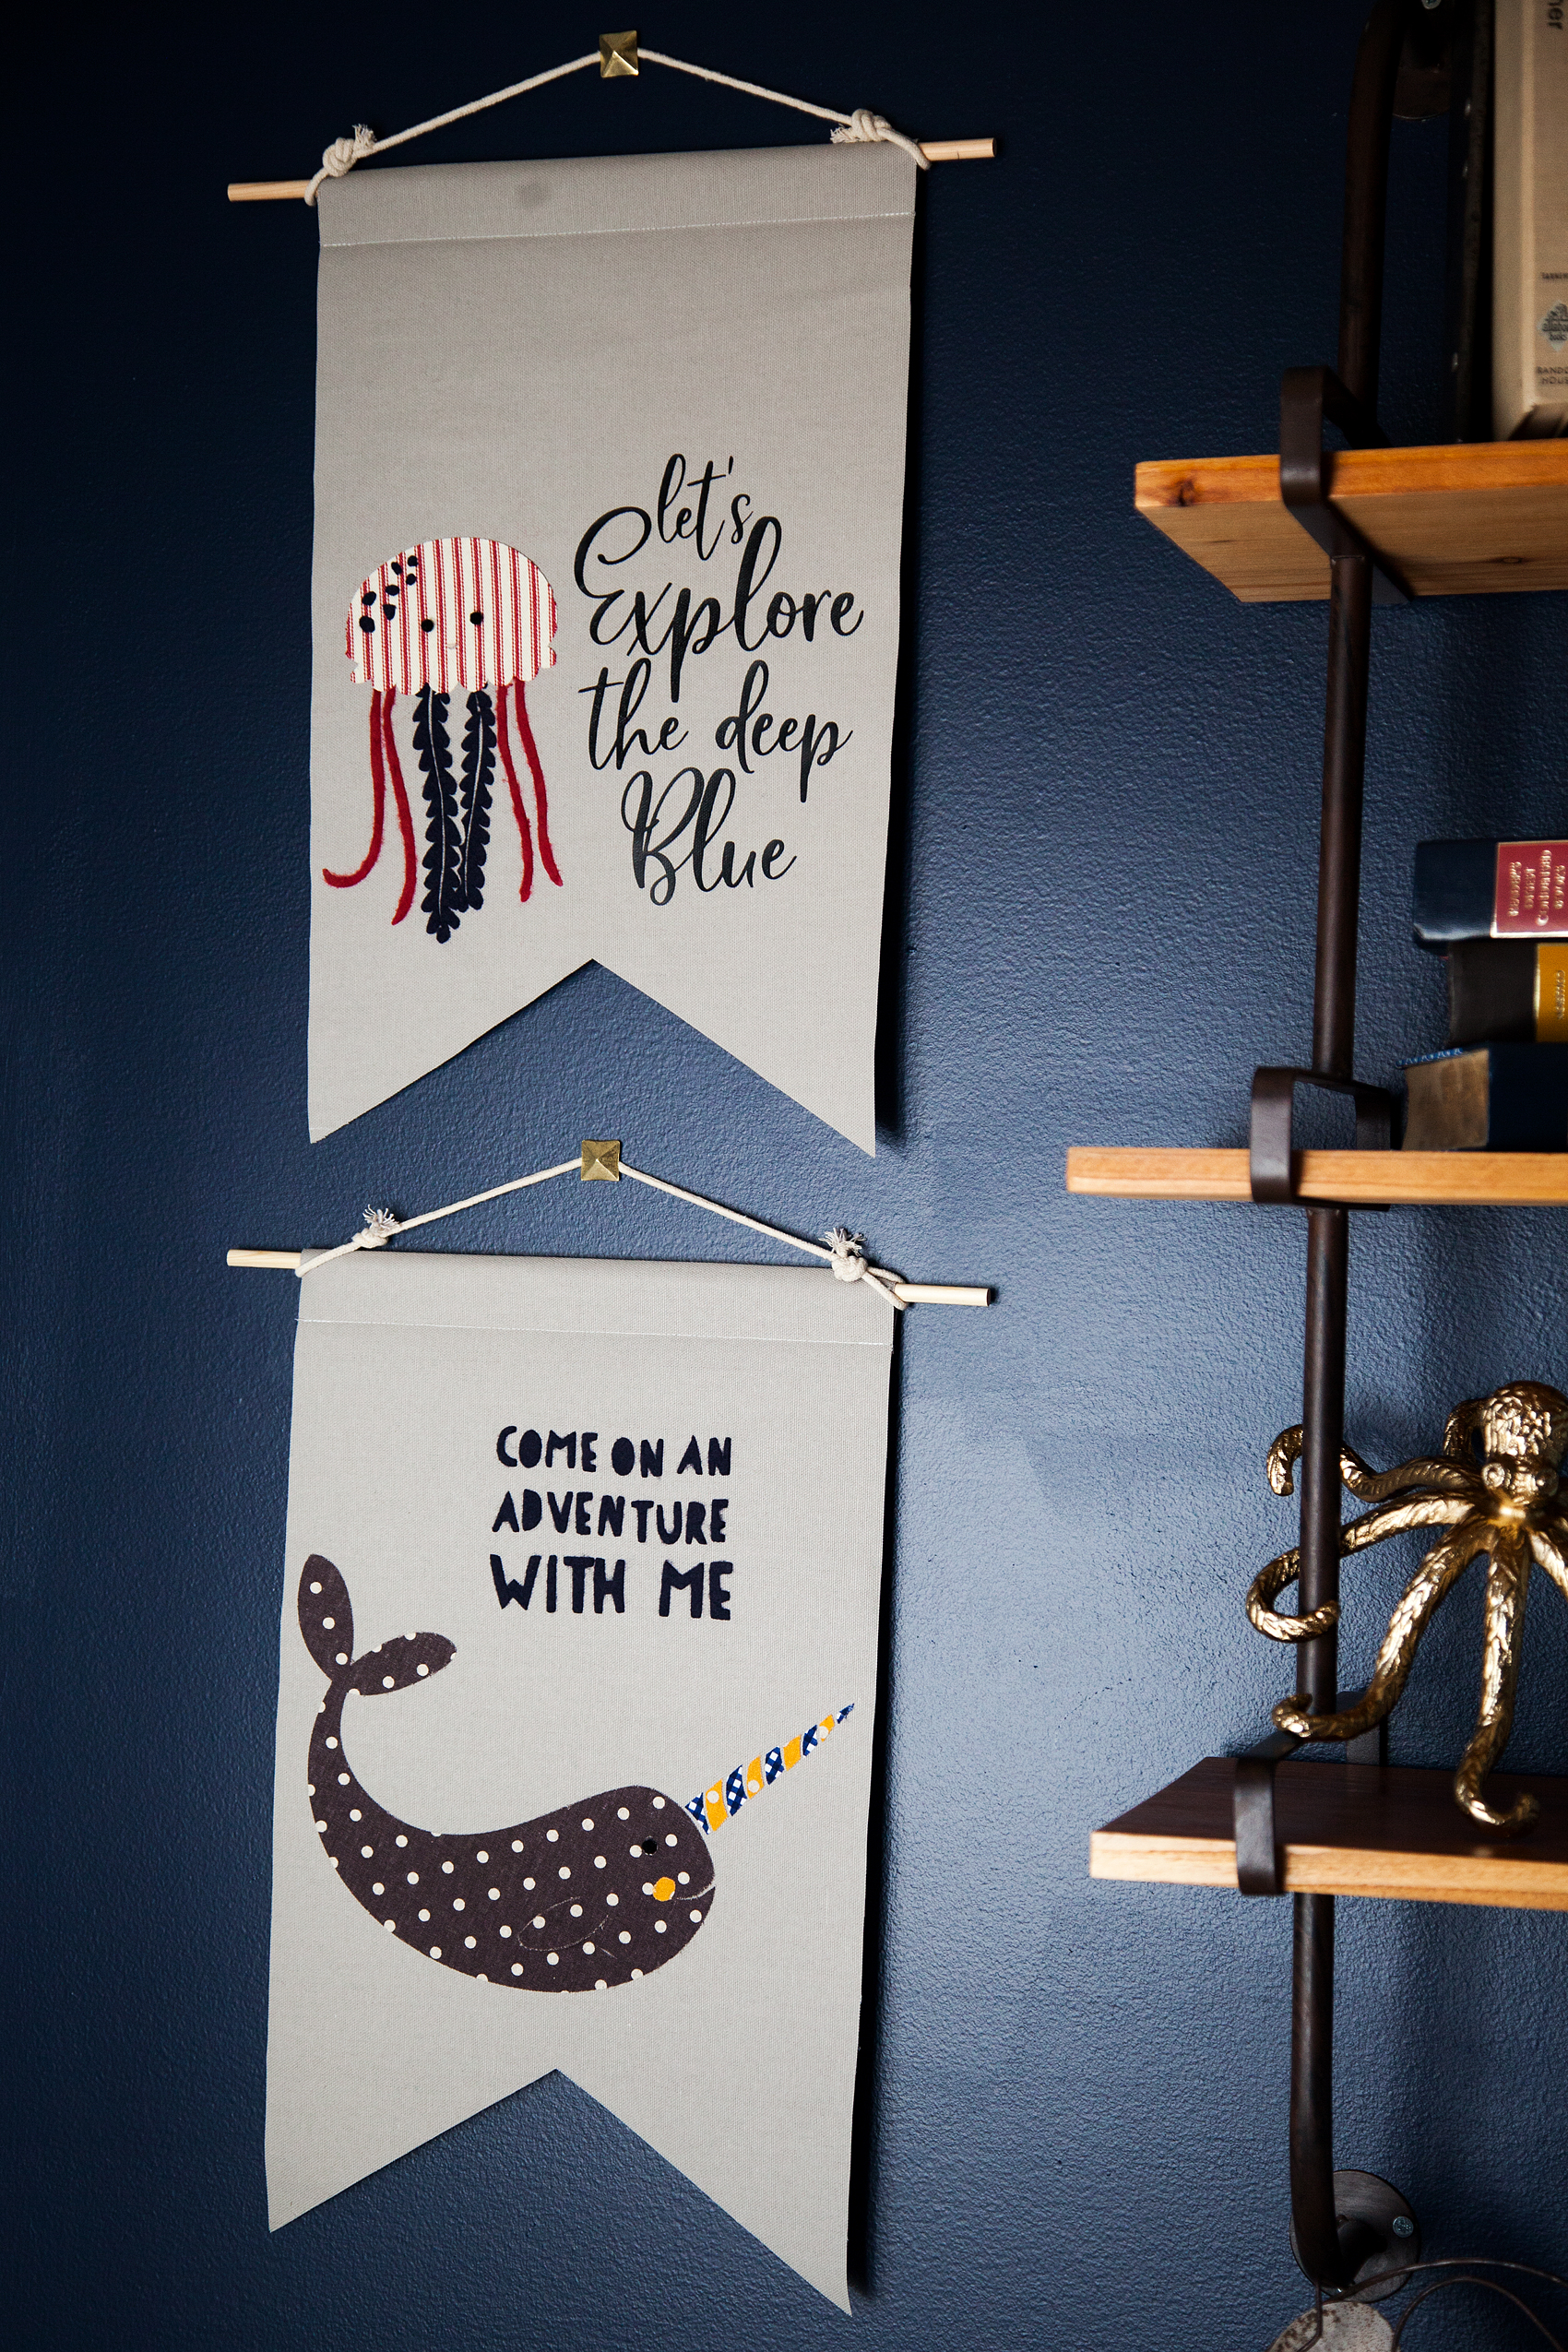
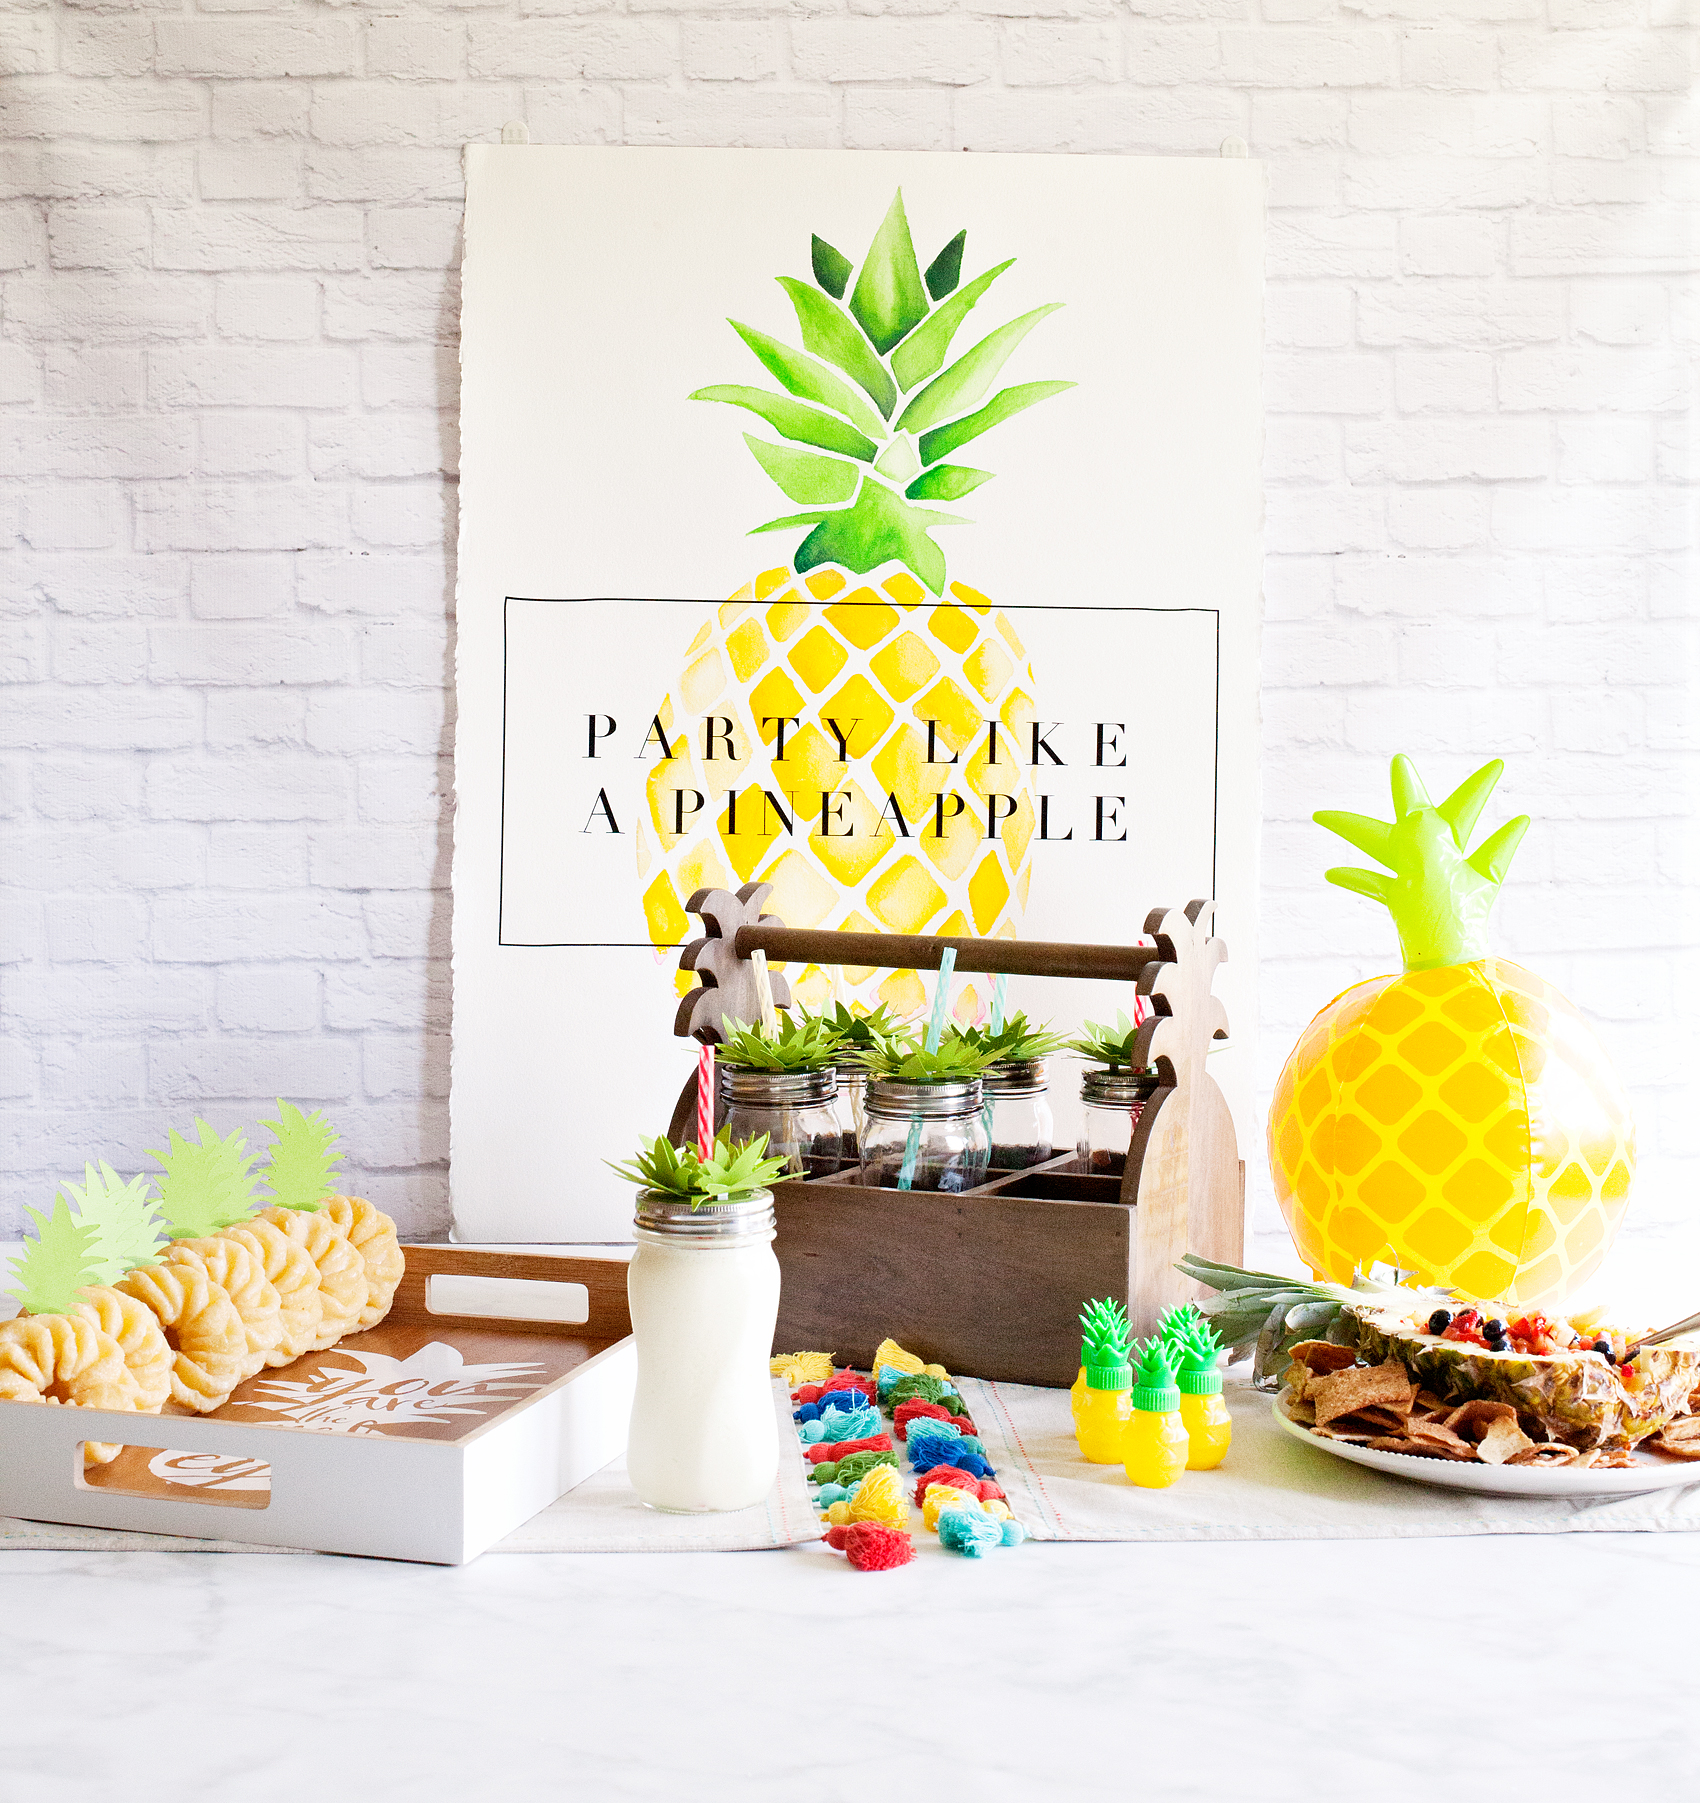
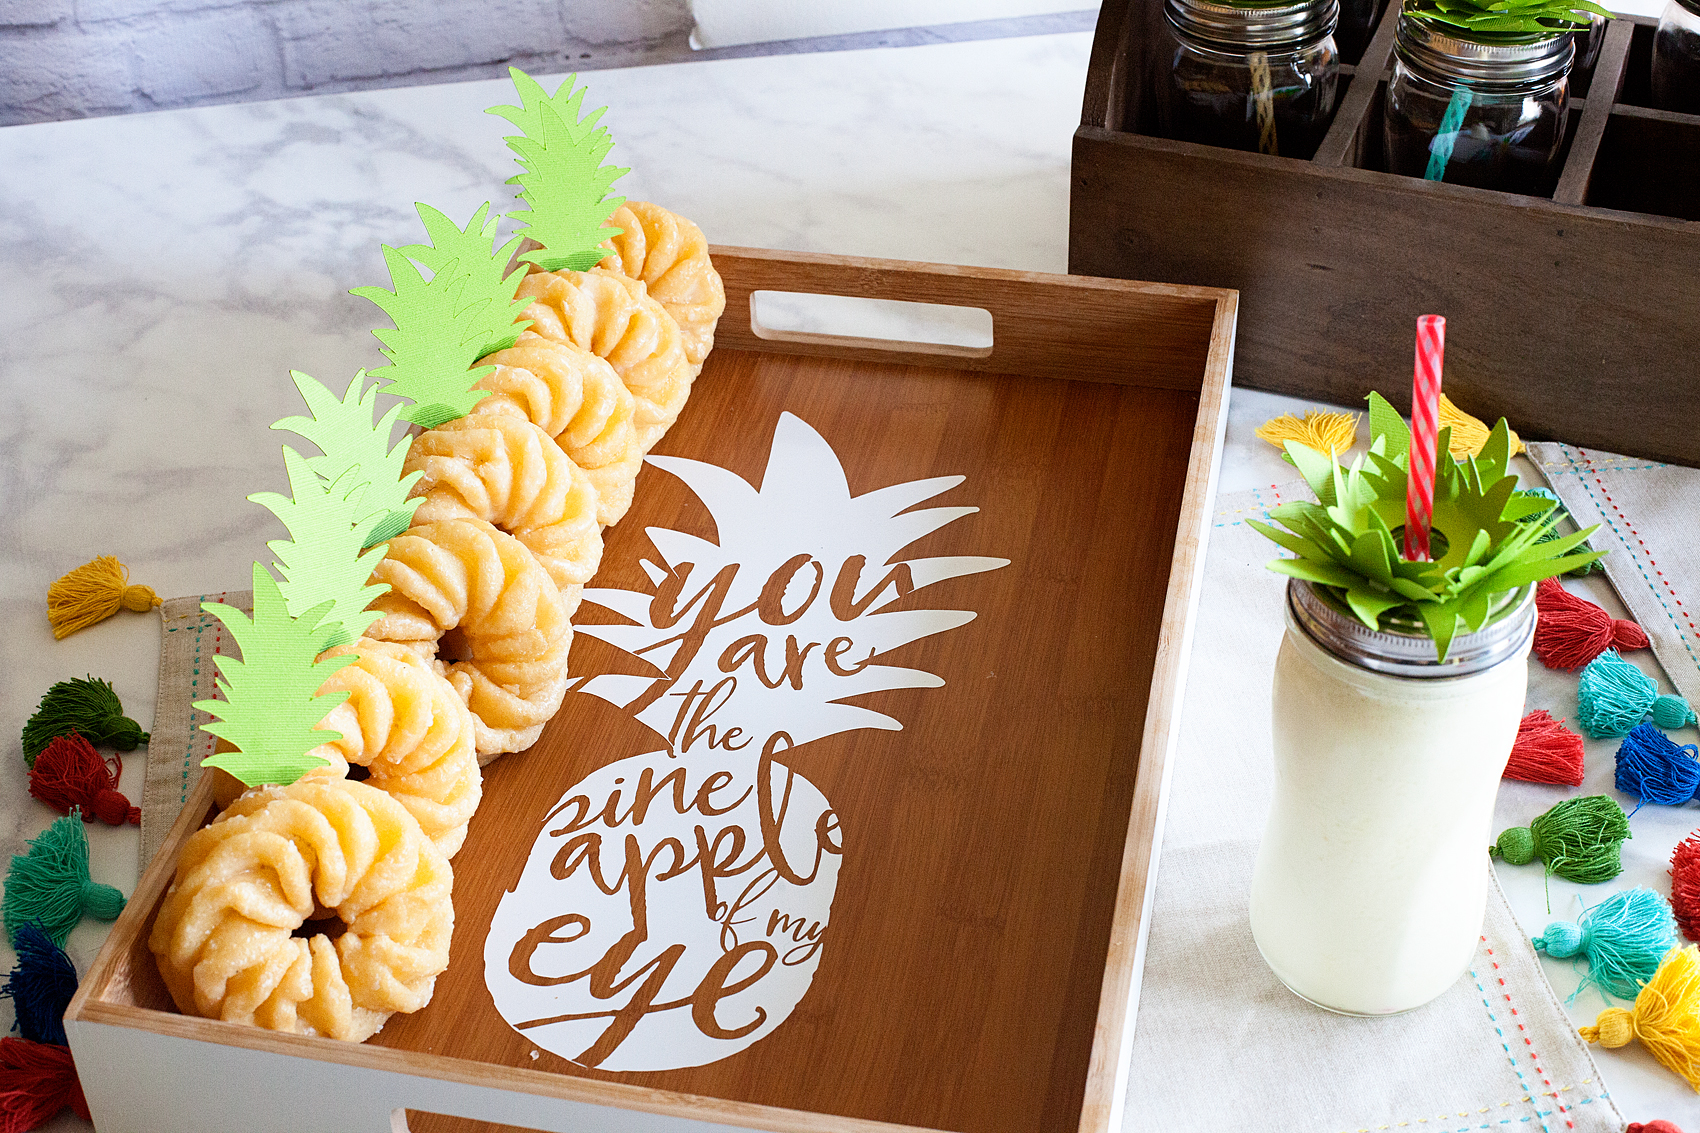
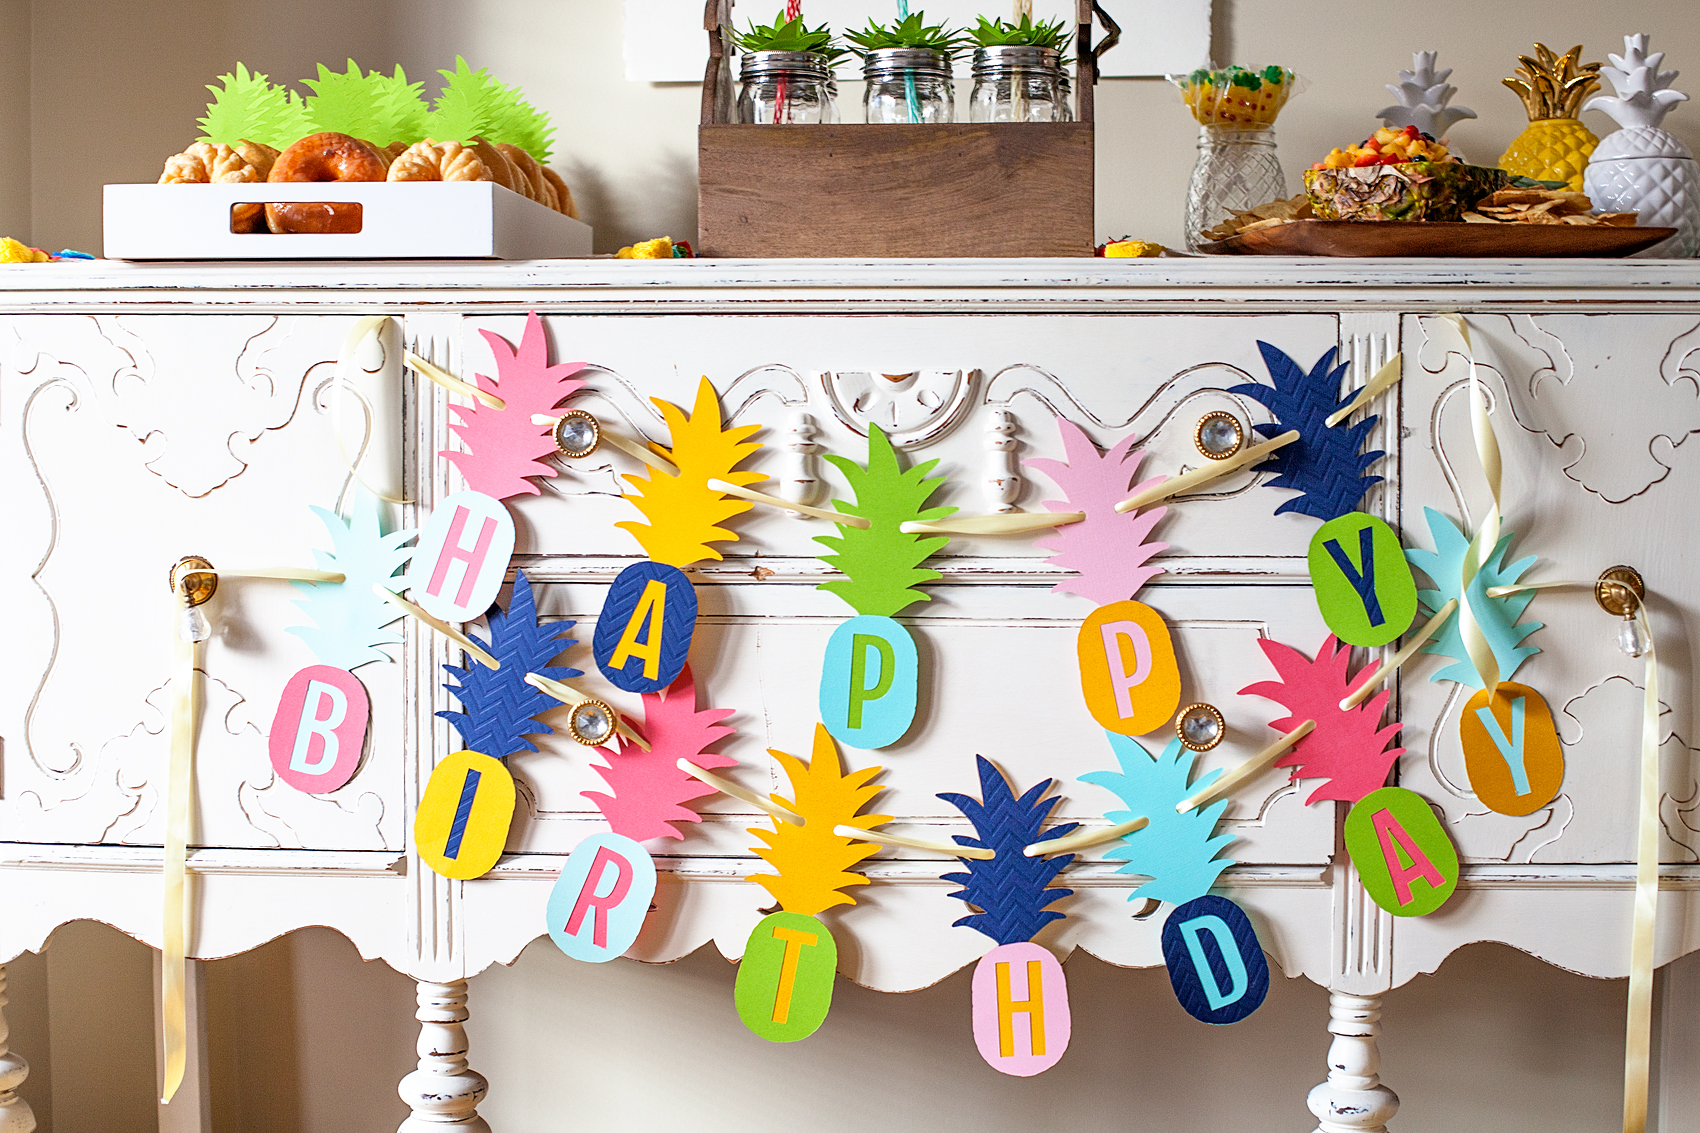
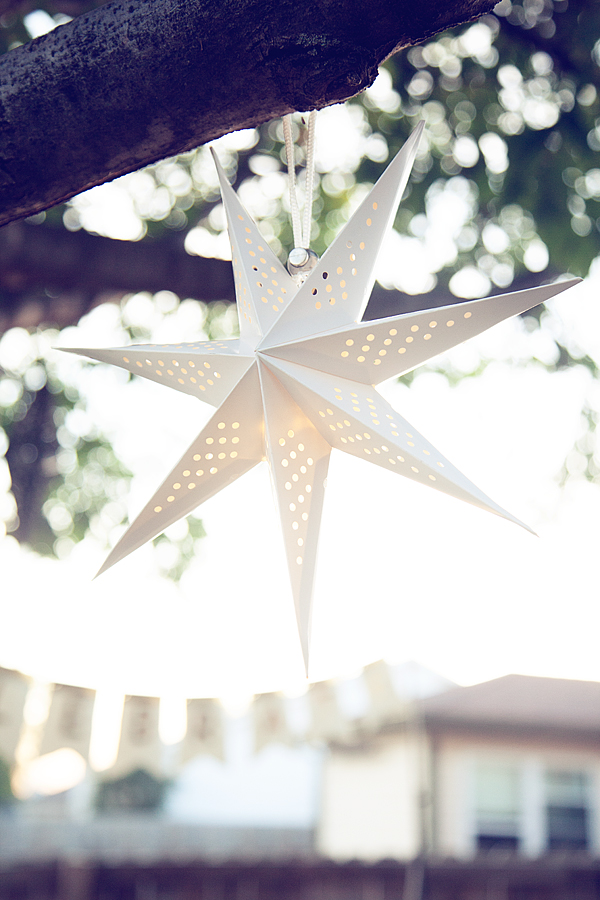
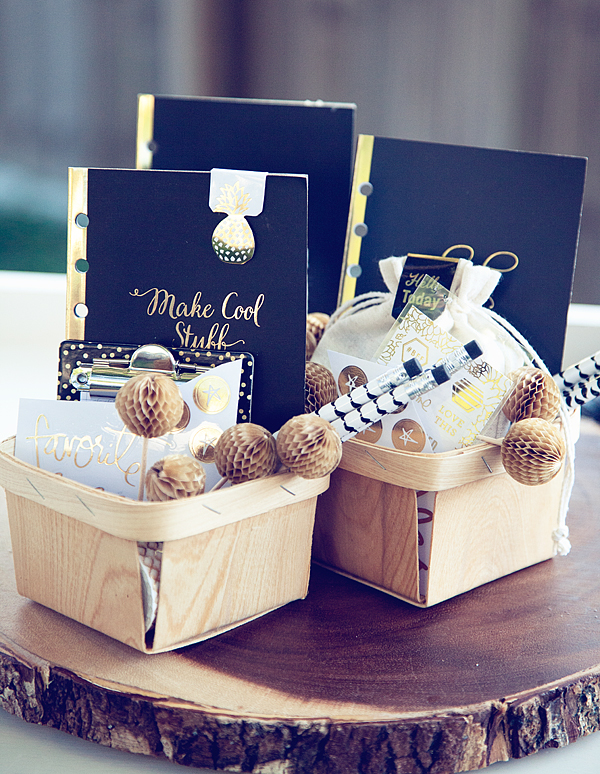
  • DIY Decorations: Create unique items using materials at hand or thrift store finds; hand-painted signs and fairy lights can transform spaces affordably.
  • Local Sourcing: Choose local vendors for catering or flower arrangements to reduce costs without sacrificing quality.
  • Guest Participation: Encourage guests to bring contributions, like dishes or drinks, to foster community while managing expenses.
  • Seasonal Touch: Utilize seasonal elements for decor and menus, which can be less expensive and readily available.

By aligning our theme with budget considerations, we can create a memorable event within financial limitations.
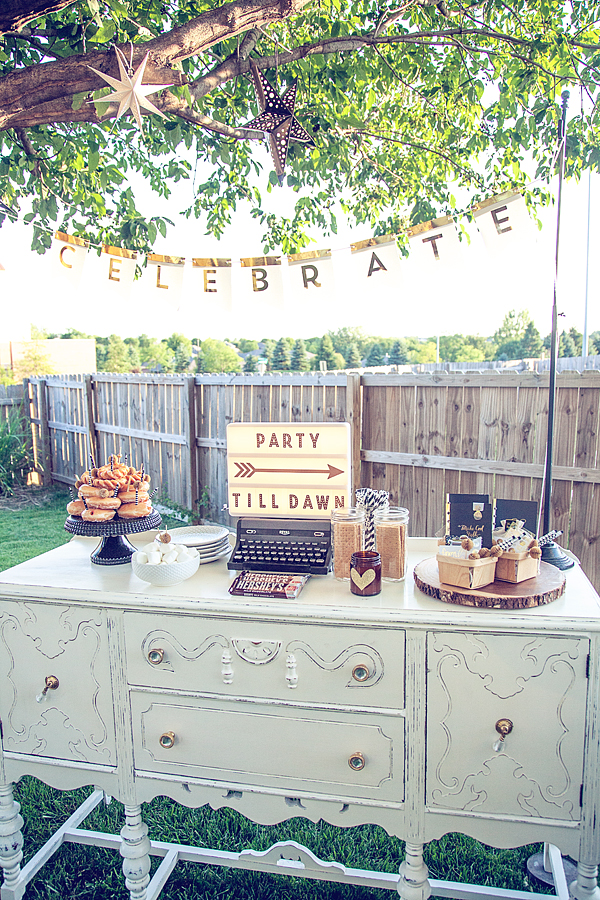
Planning the Setup

Setting up our backyard event requires thoughtful planning to create a welcoming and memorable atmosphere. Using creativity, we can craft an inviting space without overspending.

Memorable Backyard Events

Photo by Muneer ahmed ok on Unsplash

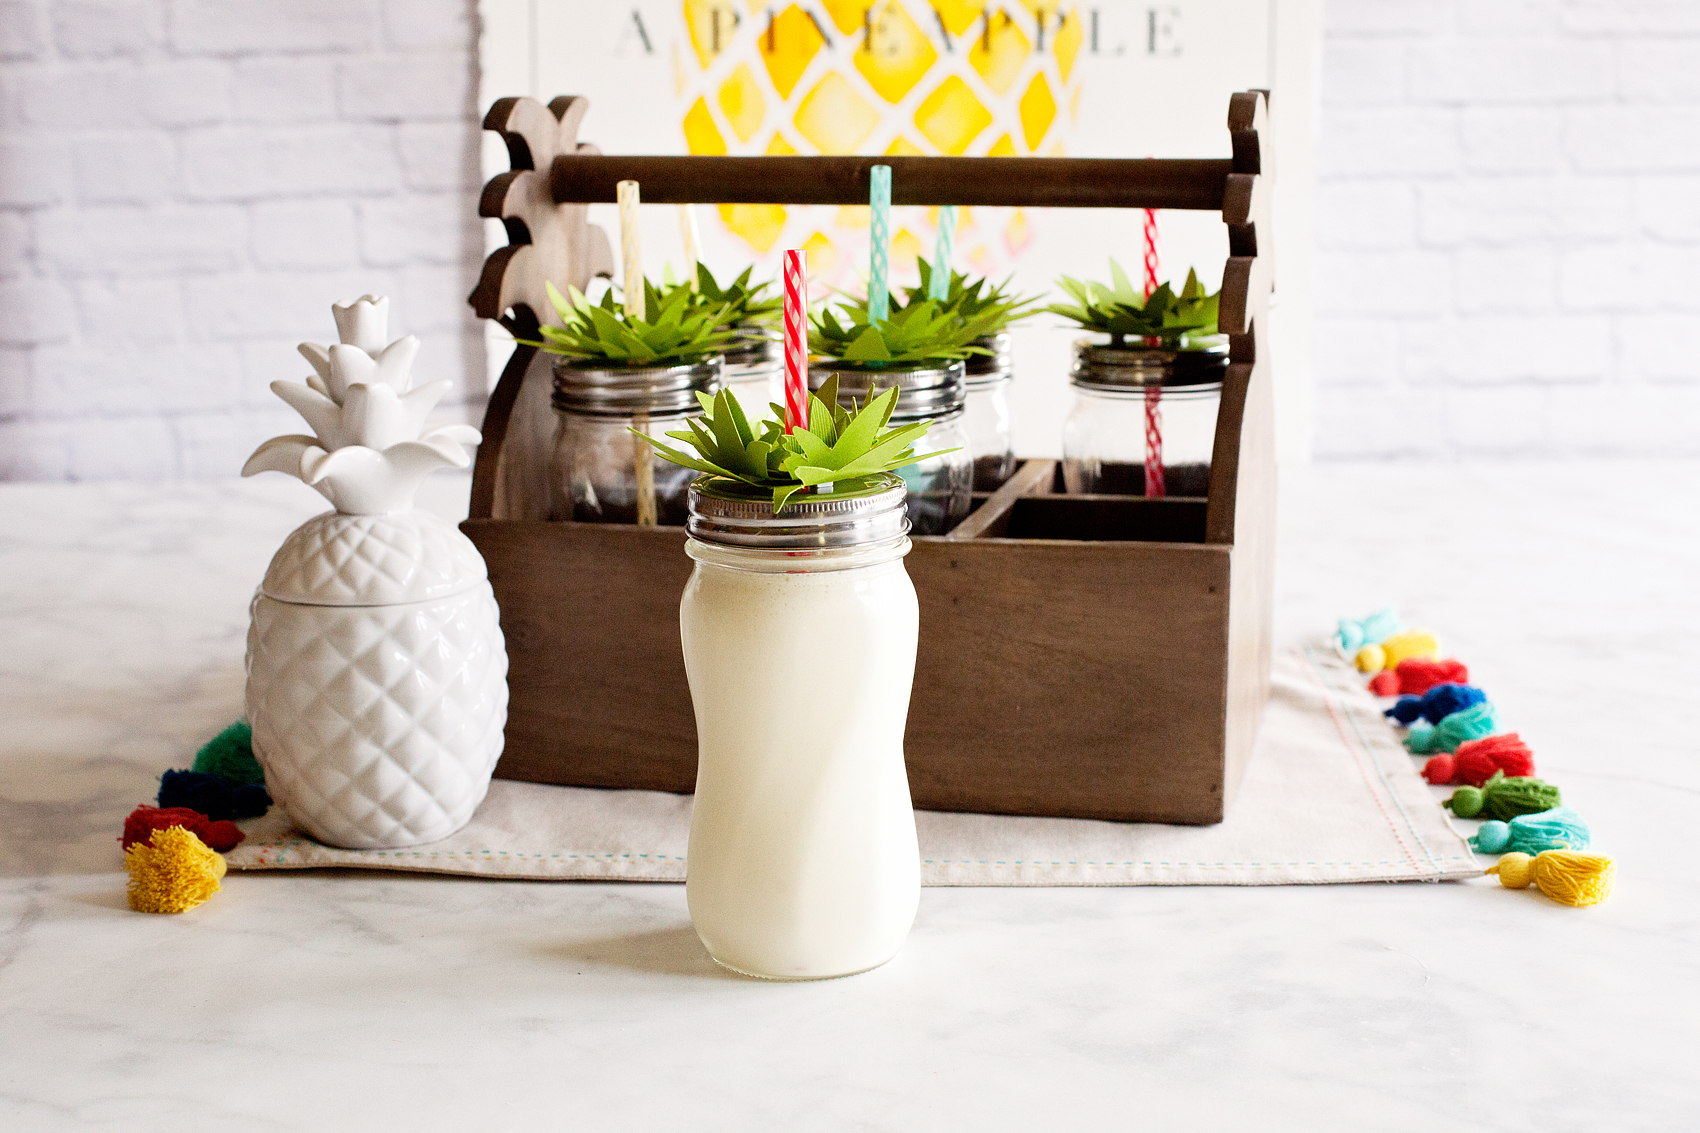
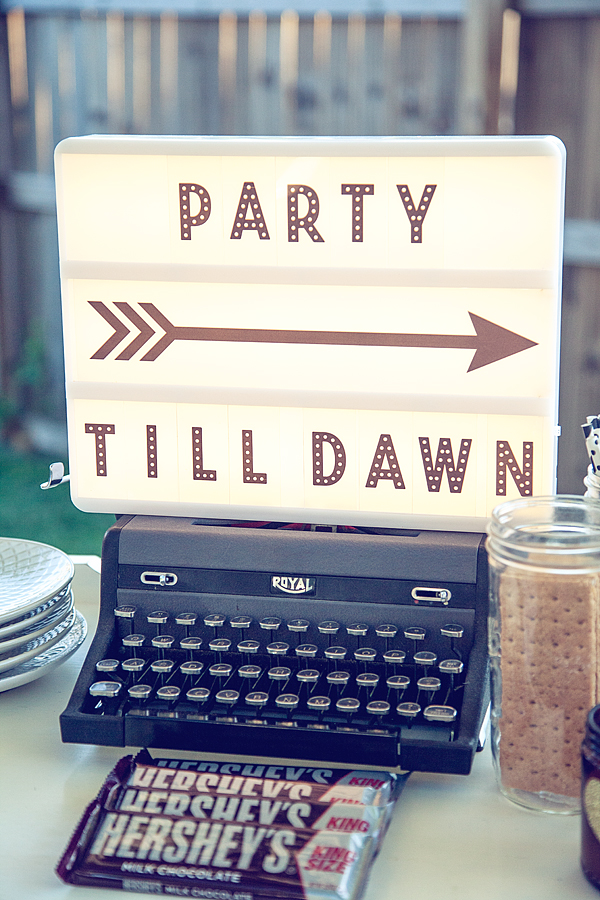
DIY Decorations and Equipment

Creating DIY decorations transforms our backyard on a budget. We can use items like string lights, fabric bunting, and repurposed materials to enhance the aesthetic. Simple additions, like lanterns or homemade centerpieces, add charm. Utilizing versatile equipment such as outdoor speakers for music can elevate the event’s ambiance. Themes also guide our decoration choices, allowing us to incorporate elements that reflect our vision. Engaging friends for help often results in unique ideas and fosters a collaborative spirit.

Budget-Friendly Seating Arrangements

Maintaining comfort is essential for our guests, so budget-friendly seating plays a crucial role. We can use picnic blankets, folding chairs, or even benches to provide ample seating options. Incorporating cushions or pillows from our living space enhances comfort without significant costs. Arranging seats in circles promotes conversation and connection among guests. If we need additional seating, asking friends to bring their own chairs can help. By creatively repurposing furniture or using outdoor-friendly materials, we create a relaxing environment for everyone.

Food and Beverages

Food and beverages play a critical role in hosting memorable backyard events on a budget. By choosing affordable options and being creative, we can delight our guests without overspending.

Affordable Catering Options

We can explore local catering services that offer budget-friendly packages tailored for casual gatherings. Many food trucks or small businesses provide customizable menus, often allowing us to create a unique experience while minimizing costs. Additionally, considering potluck-style events encourages guests to contribute a dish, reducing our expenses while fostering community spirit. Check community boards for local catering deals or seasonal promotions from vendors to ensure value for money on food choices.

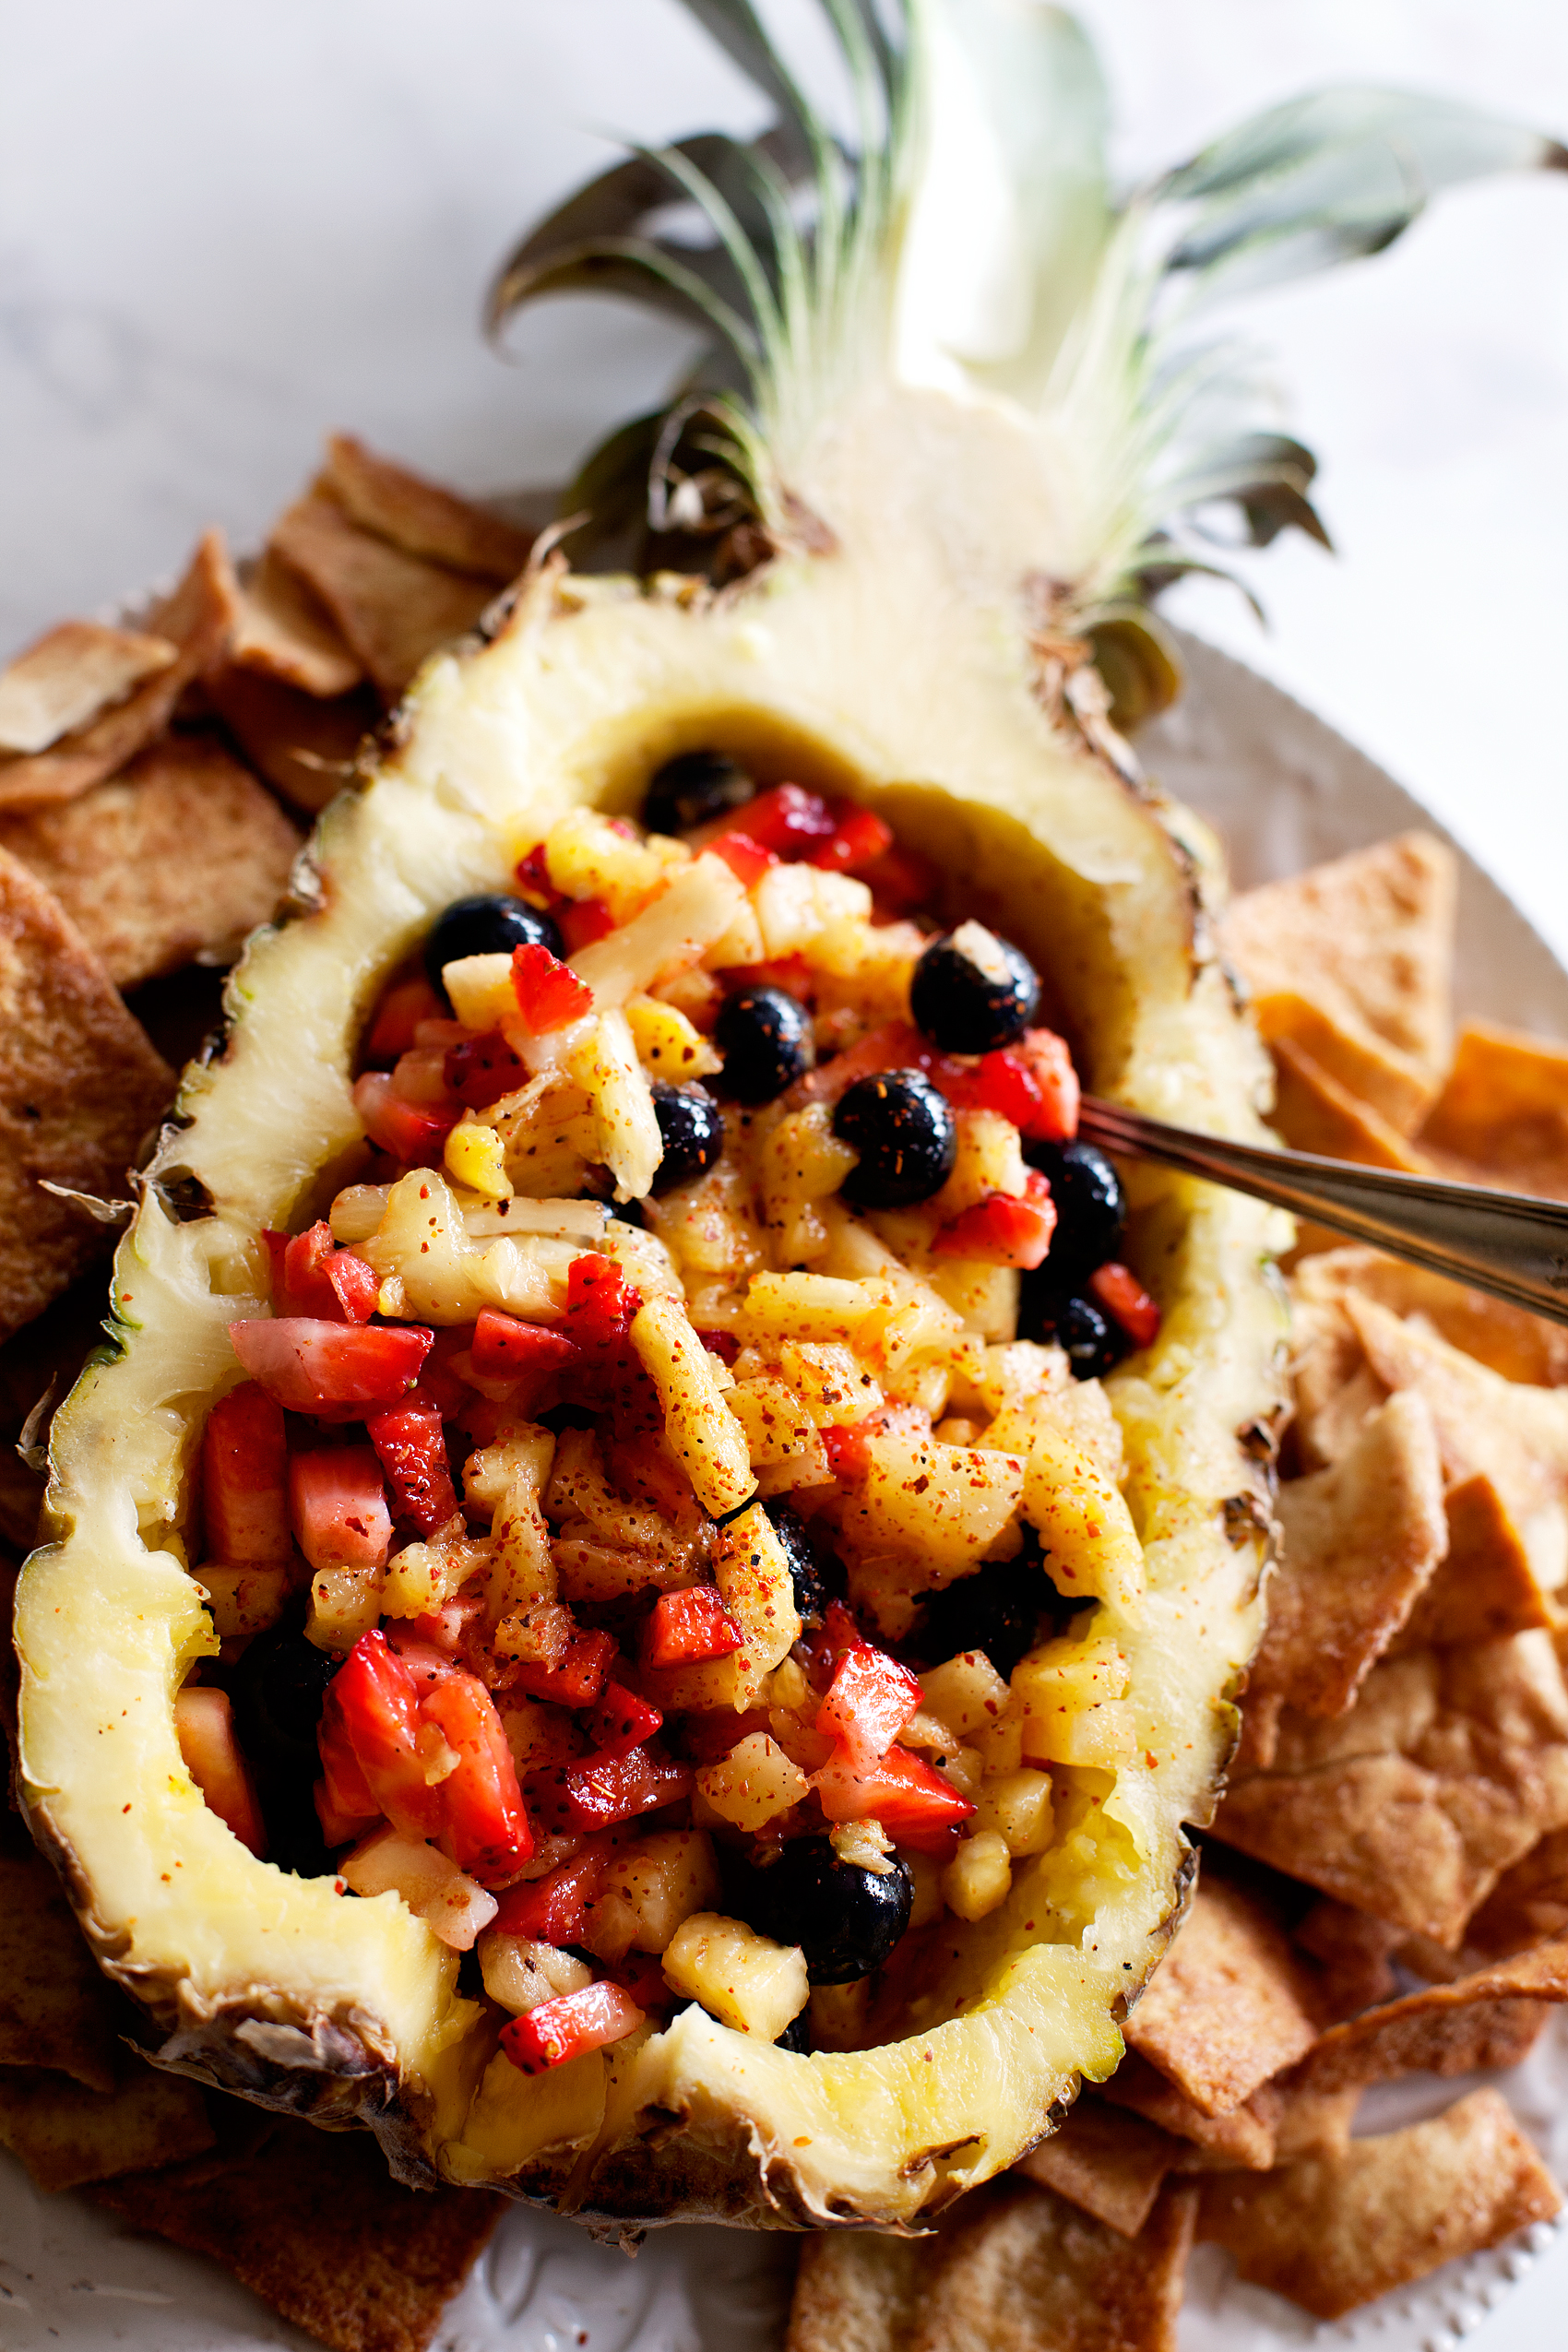
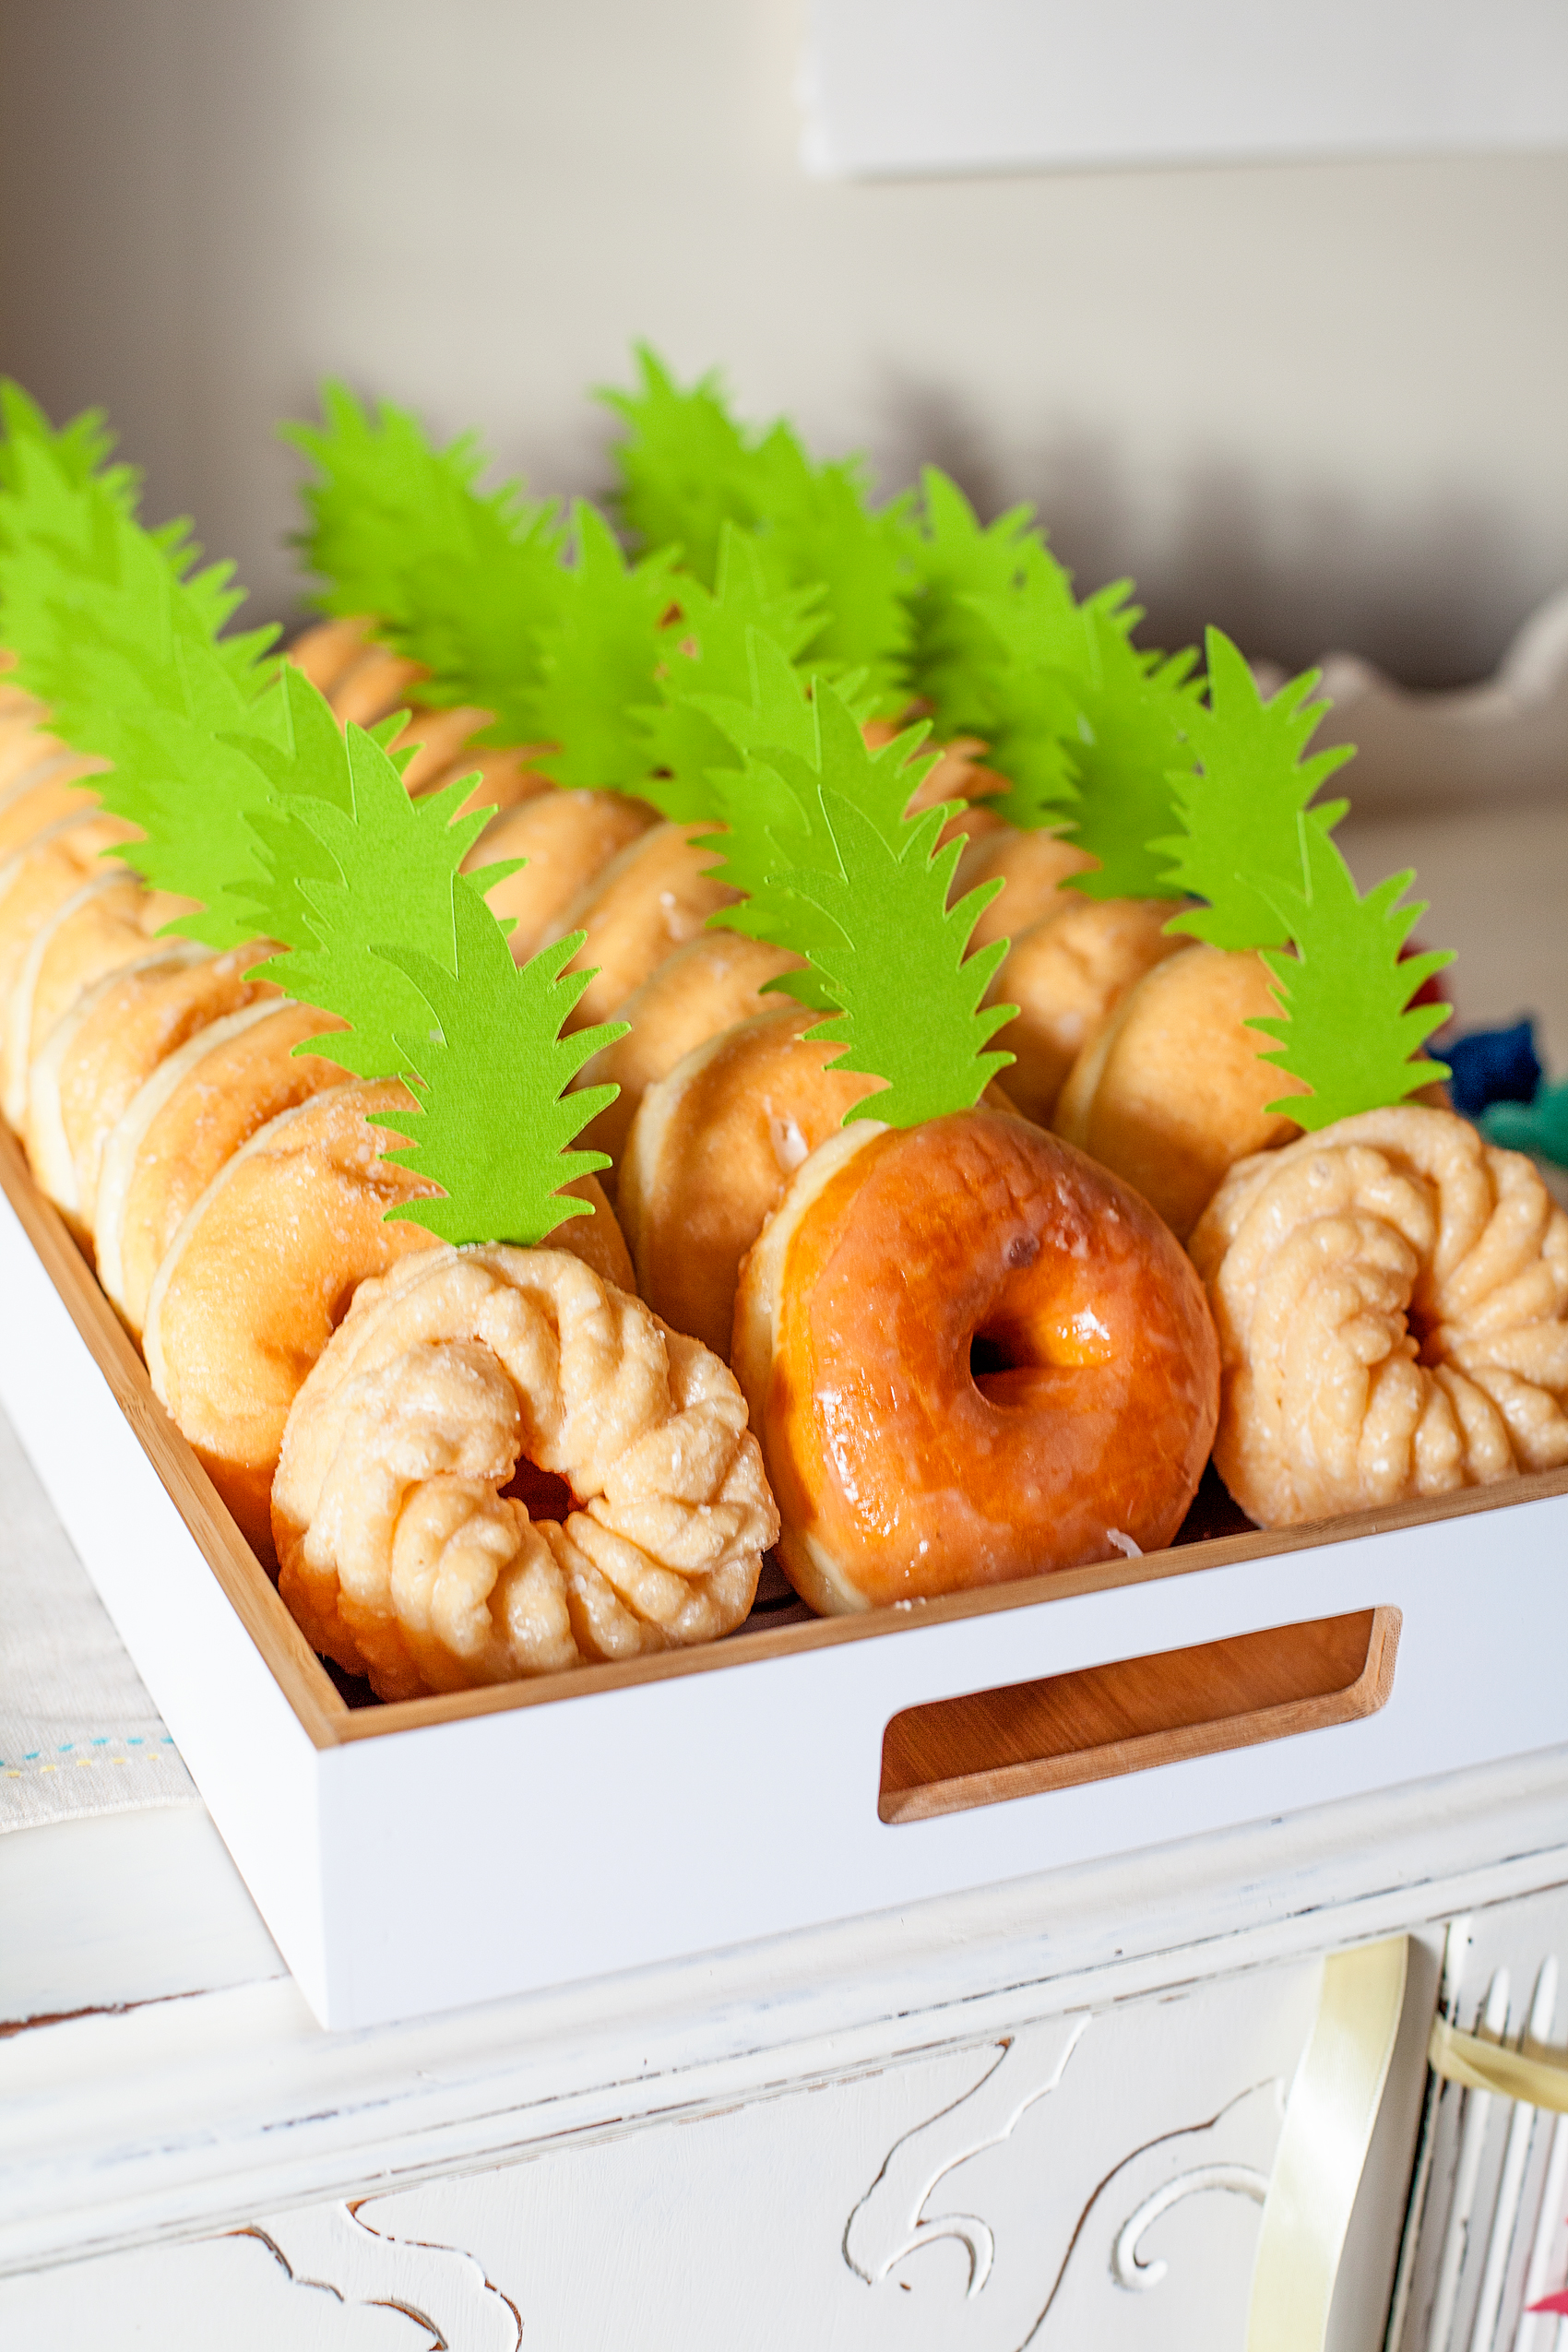
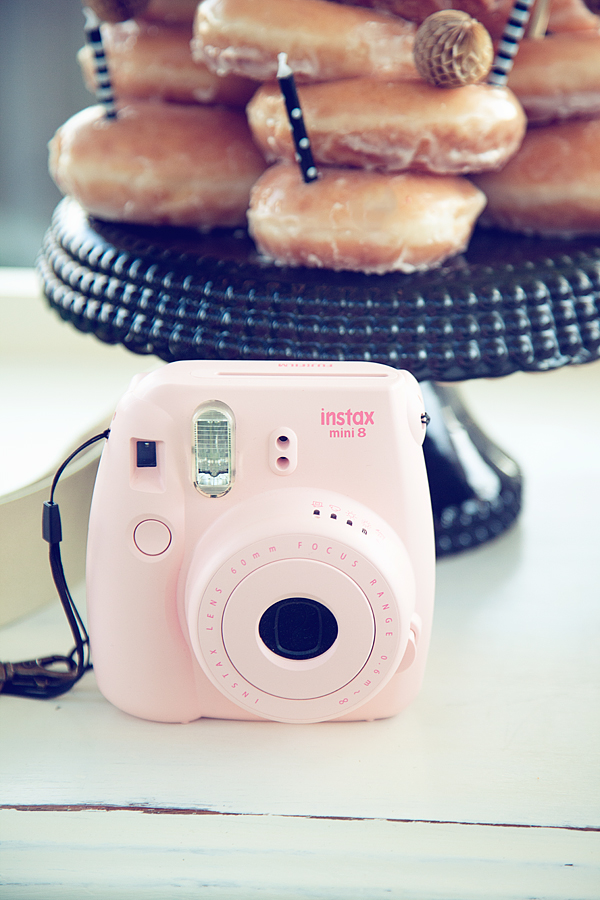
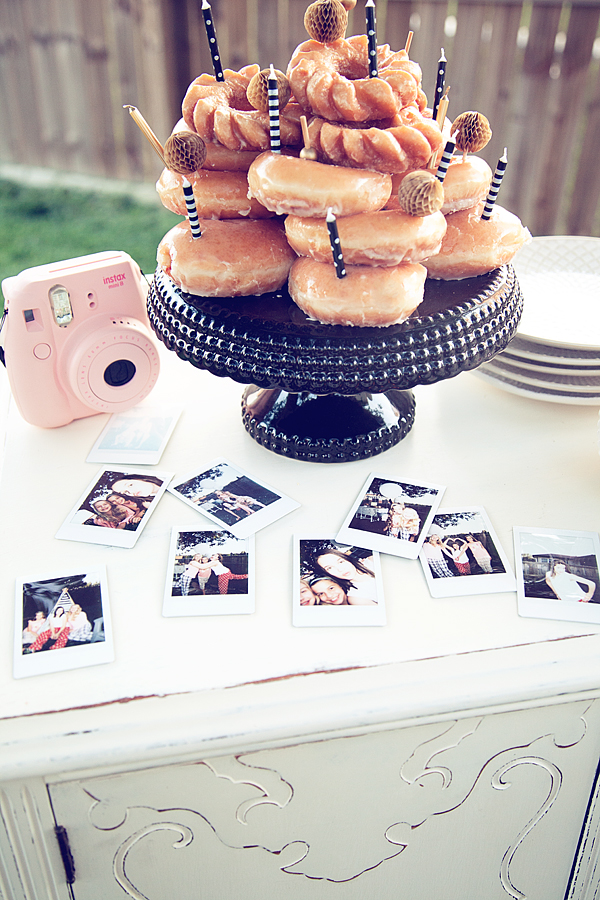
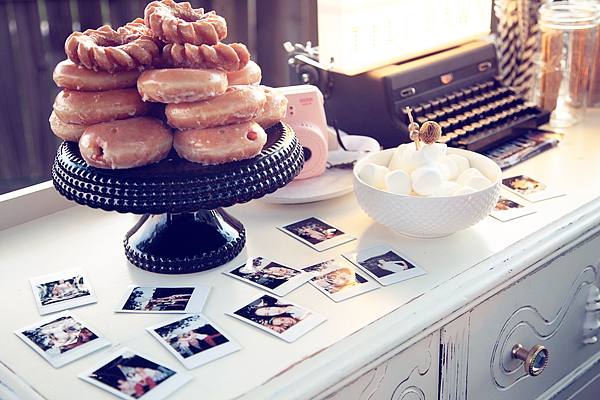
Creative DIY Food Ideas

We can impress our guests with creative DIY food options that are both affordable and delicious. Setting up a taco or burger bar allows guests to personalize their meals while keeping costs down. Simple, homemade appetizers like vegetable platters or cheese boards can provide variety without breaking the bank. Incorporating seasonal produce from local markets enhances flavor and freshness, catering to different tastes. Lastly, utilizing themed desserts, like fireworks blue cupcakes for a festive touch, adds a special flair while still being budget-conscious.

Entertainment Options

We can enhance our backyard events with engaging entertainment options that won’t strain our wallets. Creativity plays a significant role in keeping our guests entertained while adhering to budget constraints.

Cost-Effective Entertainment Ideas

Utilizing simple yet fun entertainment options keeps our costs low. Outdoor movie nights using a projector and a white sheet can create a captivating atmosphere. We can also consider DIY karaoke setups by connecting speakers to a smartphone. Additionally, inviting local musicians for informal performances can add a vibrant ambiance at minimal cost. For holidays, fireworks options can provide a stunning visual without breaking the bank, ensuring our gatherings leave lasting memories.

Incorporating Games and Activities

Incorporating games and activities offers enjoyment for all ages. We can set up classic lawn games like cornhole, badminton, or ring toss using easily sourced materials. Organizing a scavenger hunt encourages friendly competition and teamwork among guests. We can also host trivia or charades to engage everyone and spark laughter. By creating a relaxed atmosphere with activities, we foster connections that enhance the overall experience, making our events truly memorable. For more budget-friendly tips, check out The Spruce, a great resource for all things home and garden.

Plan Your Memorable Backyard Events on a Budget

In the end, some of the most cherished memories come from the simplest celebrations. With a touch of creativity, a pinch of planning, and a whole lot of heart, we can turn our backyards into cozy, beautiful spaces that our friends and family will never forget. As someone who loves capturing the joy of everyday life—whether through a camera lens or a homemade banner—I’ve found that it’s the love and laughter that truly make an event shine.

So don’t stress about the budget. Focus on the moments. Make it meaningful. And most of all—have fun! Because at the end of the day, it’s not about how much we spend, but the memories we make along the way.

How to Make Stylish Fabric Banners with the Cricut Maker

7 · Feb 26, 2018 · Leave a Comment

Forget the scissors & craft knife! I have a sure-fire way to create the most amazing graphic-driven fabric banners for your kiddos room or next event. NO sewing skills required! How cool are those fabric banners that are made out of felt? You know where I’m going with this! Come learn how to make graphic banners with the fabric without mind-numbing hand-cutting. If you want to see which is best, the Cricut or the Silhouette then read about that comparison here.

+ This post brought to you by the lovely folks at Cricut +How to Create Fabric Banners • They are easy to make with the Cricut Maker and have such impact in your room or for a party. Come learn how easy they are to make at whipperBerry.

Tools of the Trade

Having always been in LOVE with creating graphics, the idea of being able to design graphic driven projects out of fabric has always been a desire of mine. However, I don’t have the patience to sit with scissors or craft knifes to cut out my graphic elements. I was thrilled at the advent of the original Cricut back in the day. It revolutionized crafting, as we knew it, at the time. However, it just didn’t have the cutting chops for fabric. The new Cricut Maker is just as revolutionary as the first cartridge based Cricut in the Fabric world. It’s TOPS for sure!

Vintage Adventure Room

I’ve been working on a room makeover for my little guy, Gage. We created a vintage adventure room that covers everything land and sea. It’s all about adventure in this great big world of ours. I wanted to have some animals of the sea & land represented in the room. I used my Cricut Maker to make a vinyl stencil for this cute fox storage chest for his little gadgets and gizmos.

Transform a simple mini storage chest from IKEA into this cute little fox storage chest for your little ones little toys and trinkets. I used some of the @decoart chalky finish paint along with my @cricut Maker to create this fun design for my little boys room • WhipperBerry

Next, I wanted to make some sea loving creatures for some fabric banners on his wall. We LOVE Narwhals and jellyfish at our house quite a bit so, I knew I had to create something with these two ocean gems. After a little design work, I came up with these cute designs. Let's Explore the Deep Blue Banner created by WhipperBerry • A great banner idea for your little ones room.

Supplies for Fabric Banners

The next trick, making these designs into fabric banners for Gage’s room. I rummaged through my fabric stash and found some colors that would go well with the room design.

Fabric Banners • Great colors for a little boys room

Here’s the rest of the supplies you will need.

  • fabric
  • Heat n’ Bond
  • Cricut Maker
  • Cricut Rotary Cutter
  • Cricut Bonded Fabric Blade
  • Cricut Fabric Cutting Mat
  • fabric glue
  • wood dowel
  • cotton rope
  • sewing machine (optional)
  • thread (optional)

How to Create Graphic Banners with Fabric • They are easy to make with the Cricut Maker and have such impact in your room or for a party. Come learn how easy they are to make at whipperBerry.

Instructions

First, you need to create your design within Cricut Design Space. You can use either the large library of fonts that they have compiled at Cricut or, use your favorite fonts on your computer. You also have access to thousands of graphics that you can use to personalize your space or dress-up your party.

How to Prepare Graphic to Cut in Cricut Design Space

When you are working with multiply colors of fabric or paper, Cricut Design Space has some brilliant features that I really like. Instead of typing them all out I thought I would create a video for you watch that teaches you exactly how to prepare your designs to cut that really makes the cutting process so much easier. Click on the image below to watch the video.When you are working with multiply colors of fabric or paper, Cricut Design Space has some brilliant features that I really like. Instead of typing them all out I thought I would create a video for you watch that teaches you exactly how to prepare your designs to cut that really makes the cutting process so much easier.- WhipperBerry

Cutting Fabric

Now that your designs are ready to cut, it’s time to prepare your cutting mats. If you are cutting fabric, you need to make sure you are using the fabric cutting mat and the fabric rotary cutter. If you happen to have a rotary cutter that needs to be changed, here is a tutorial on how to do that. Cut your fabric to fit the cutting mat and place it on the mat.

PRO TIP • Don’t worry about cleaning the fabric cutting mat of all the fuzz & threads after you use it. It will work just fine with fuzz & threads. Attempting to clean the mat actually does more harm than good.

If you are planning on ironing your graphics onto the banners, you’ll want to iron-on the Heat n’Bond BEFORE you cut your fabric. (I use my Easy Press, which I LOVE!) In that case, you may want to use the Bonded Fabric Blade when cutting your fabric. I say that with a caveat, I found that the bonded felt that I used cut better with the rotary cutting blade.

Graphic Placement on Banners

Once you have all of your graphic element cut, you’re ready to place them on the banners. I like to layout my design onto the fabric banner first, to make sure I like the placement. That’s where the Cricut Weeding Tools come in real handy. I LOVE those tweezers!

Next, I use the Easy Press to warm the surface of the fabric banner and then lay down my graphics again quickly. Then, I cover them with the Iron-On Protective Sheet or a cotton dish towel if using a standard iron and press my graphics onto the banner according to the Heat n’ Bond directions.

3D Graphics on Banner

One really fun thing you can do when cutting graphics in this manner, you can add some little 3D elements to your design. I thought it would be fun to have my narwhal’s fin to pop out a bit to give him a little more character. When I was pressing the narwhal onto the banner, I placed the used backing of the Heat n’ Bond under the fin with the shiny side of the paper facing the fin. That would mean the it wouldn’t stick to the fabric or the paper.

Now, his cute little fin will pop right out!

Creating Banner Hanger

Now, to hand the cute banners that you just made. You need to either sew a pocket for the dowel or use fabric glue to create create the pocket. I prefer the sewing method however, if you don’t have a sewing machine, you don’t need to run out and purchase one just for this project.

You need to fold your fabric over to create a pocket large enough to feed your dowel through.

When you have the banner with the dowel ready to hang, attach the rope and hang on the wall!

How to Create Graphic Banners with Fabric • They are easy to make with the Cricut Maker and have such impact in your room or for a party. Come learn how easy they are to make at whipperBerry.

Now, I know you are going to want to save this tutorial and share it with all of your friends (wink, wink!) Here is a handy graphic to Pin…

How to Create Graphic Banners with Fabric • They are easy to make with the Cricut Maker and have such impact in your room or for a party. Come learn how easy they are to make at whipperBerry.

SaveSave

SaveSave

SaveSave

SaveSaveSaveSave

This is a sponsored conversation written by me on behalf of Cricut. The opinions and text are all mine.

SaveSave

SaveSave

SaveSave

SaveSave

SaveSave

SaveSave

Party Like A Pineapple Party

21 · May 30, 2017 · 5 Comments

Whimsical and tasty, this Pineapple Party is the perfect summer hit for all ages. Come learn how I created this EASY and scrumptious party…

Who doesn’t love a whimsical and tasty party? This Pineapple Party is perfect for all ages. Come on over to WhipperBerry to learn how to recreate this EASY party!

Party Like a Pineapple post brought to you by • Cricut

My sweet Em just turned 13 and of course we needed to have a fabulous, colorful party to celebrate this fun milestone. Em and I chatted about some party theme ideas and finally settled a PINEAPPLE PARTY, because… Who doesn’t love to Party like a Pineapple?! Well, to be quite honest, I’m not really sure how pineapples party BUT, the idea sounded colorful and fun. We set to work coming up with a few ideas for the party.

Now, my idea of a good party is one that doesn’t overwhelm me. I don’t want 20 different dishes and elements to put together. I also don’t want it to cost an arm and a leg either. Together Em and I decided on 6 design elements, 3 simple treats and 2 playful party favors. All of this in my mind was eye catching, scrumptious and easy to pull together. Here are the basic elements…

Who doesn’t love a whimsical and tasty party? This Pineapple Party is perfect for all ages. Come on over to WhipperBerry to learn how to recreate this EASY party!

Design Element 1 | Party Like a Pineapple Watercolor Sign

This beautiful sign was a fun collaboration with my other daughter Jane and myself. Jane is super talented when it comes to art and I had her create this large water color pineapple for me and then I overlaid it with black vinyl cut on my Cricut Explore Air 2 to create the backdrop of the party. Don’t worry though… If you don’t have the watercolor gene, I have you covered there and will teach you how coming up in my next post so stay tuned!

You are the Pineapple of my Eye tray created for a Pineapple Party • This Pineapple Party is perfect for all ages. Come on over to WhipperBerry to learn how to recreate this EASY party!

Design Element 2 | You are the Pineapple of my Eye Doughnut Tray

This tray turned out so cute! Em has always preferred doughnuts over cake so, I thought it would be fun to create a tray with a secret message. As the guests take their doughnuts the secret message is revealed. How fun is that?! Again, I created this with my favorite Premium Outdoor Vinyl from Cricut and I’ll be sharing my design with you guys so you can use it for your own projects.

How CUTE are these "pineapple" doughnuts? This Pineapple Party is perfect for all ages. Come on over to WhipperBerry to learn how to recreate this EASY party!

Design Element 3 | The cutest Pineapple Doughnuts EVER

Um, hello? Are these not CUTE?! This is by far the EASIEST birthday cake I have ever “made.” I cut out the pineapple leave topper with my Cricut and then taped the leaves onto a toothpick, stuck it in the doughnut and voilá… A Pineapple Doughnut! I’ll be sharing my cut files for this simple project as well shortly.

The cutest Dole Whip EVER! This Pineapple Party is perfect for all ages. Come on over to WhipperBerry to learn how to recreate this EASY party!

Design Element 4 | Pineapple Jars For Our Drinks

Another simple, yet eye catching design element that everyone will LOVE! I created my leaf pattern in Adobe Illustrator and then turned it into a cut file via the NEW Cricut Design Space software. Again, don’t worry! I’m sharing my files and will teach you how and what to use to recreate this fun drink idea.

Who doesn’t love a whimsical and tasty party? This Pineapple Party Banner is perfect for all ages. Come on over to WhipperBerry to learn how to recreate this EASY party!

Design Element 5 | Pineapple Party Birthday Banner

You know… One of my favorite things about creating with my Cricut Explore Air 2 is, I’m not tied to someone else’s color scheme. I can use whatever colors I would like! Em and I went to Michaels and picked out some of her favorite colors in their craft paper section and when to town creating this fun pineapple birthday banner. Yep, you got it. I’ll be sharing this design that I created with you for your little pineapple’s birthday.

Pineapple Party Birthday Invitations • Who doesn’t love a whimsical and tasty party? This Pineapple Party is perfect for all ages. Come on over to WhipperBerry to learn how to recreate this EASY party!

Design Element 6 | Party like a Pineapple Invitations

Every good party starts with fabulous invitations! That’s my motto anyway. I printed this simple invitations right at home on cardstock and then added some foil love with the Cricut Adhesive Foil. Oh foil, how do I love thee, let me count the ways. I love adding foil elements to all kinds of stuff and the Cricut Adhesive Foil is top notch. I’ll share all of my files for this invitation as well.

Pineapple Salsa, perfect treat for any summer party. Come on over to WhipperBerry to learn how to make it.

Tasty Treat 1 | Pineapple Salsa and Cinnamon Chips

This fruity pineapple salsa is the bee’s knees. It’s full of fresh flavor and a few secret ingredient that I’m sure will tickle your taste buds. Soon, I’ll be sharing this recipe so you can mix it up for your next party!

How CUTE are these "pineapple" doughnuts? This Pineapple Party is perfect for all ages. Come on over to WhipperBerry to learn how to recreate this EASY party!

Tasty Treat 2 | “Pineapple” Doughnut Cake

Like I said before, the EASIEST birthday cake EVER!! I ran to my favorite local doughnut shop and grab a couple dozen, topped them with my paper toppers and we were good to go. Done! Love those quick little time savers when it comes to party planning.

The cutest Dole Whip EVER! This Pineapple Party is perfect for all ages. Come on over to WhipperBerry to learn how to recreate this EASY party!

Tasty Treat 3 | Dole Whips

Now, any Pineapple Party worth it’s weight will for sure have Dole Whips at some point in the evening. It’s a must my friends. I have the perfect Dole Whip recipe that only has three ingredients and you’ll LOVE it.

Who doesn’t love a whimsical and tasty party? This Pineapple Party is perfect for all ages. Come on over to WhipperBerry to learn how to recreate this EASY party!

Party Favors | Pineapple Beach Balls & Pineapple Bubbles

I’m sorry, I don’t care what your age is, everyone loves beach balls and bubbles. The fact that you can get the two from Oriental Trading is just icing on the pineapple cake. I’ll be sharing all of the details here as well.

Doesn’t it all look fun? Well, with that… I need to get to work. I have several posts to work on to help you guys have a fun Pineapple Party too. Keep and eye out, follow along on Facebook and Instagram to see when the posts go live.

Don’t forget to PARTY LIKE A PINEAPPLE!

Dreamy Backyard Summer Birthday Party

2 · Jun 1, 2016 · Leave a Comment

Dreamy-Smore's-Birthday-Party-from-WhipperBerry-27

 There is nothing more magical than a summer birthday party when you’re turning 12…

Ok, well maybe 16 and 18… Oh well, you get the idea. Birthdays are pretty special. We’re big fans at our house.

I’m not one of those Mom’s that throws over the top parties every year for each child. We like to alternate years. Some years we do something special with the just family and other years we like to create a simple yet fun party for friends.

This months Michael’s Makers Challenge was timed absolutely perfect! The challenge is…

69216_MS_MM_June-Challenge_l

 …And my sweet Emily just happened to turn 12!

We are a family of summer birthdays so it seems like summer is always the time that we party the most.  The cool thing is, with Michaels… Parties are a snap!

Dreamy-Smore's-Birthday-Party-from-WhipperBerry-7

 My first stop was at the Michael’s Party section where we found the perfect little accessories for our event. Some canvas flags to make a banner. Some gold letters that would go with Emily’s color choice; black, white & gold. They had the cute berry baskets that are perfect for party favors and black and white straws that were perfect to add to the color of the night.

The center piece was our favorite Heidi Swapp Light Box that is perfect to add a little pizzaz to you summer party.

Dreamy-Smore's-Birthday-Party-from-WhipperBerry-14

 Another little Heidi Swapp gem… Her fun Light Star Lanterns that you can find at Michaels.

Heidi Swapp Light Star Lantern for a Dreamy Backyard Party from WhipperBerry

 We bought a few of these guys and placed them throughout the tree to add a little dreamy air to the night.

Dreamy-Smore's-Birthday-Party-from-WhipperBerry-15

 We scoured the store and found all kinds of fun goodies in gold and black to add to our favor baskets. They turned out so cute. We have some notebooks, some Heidi Swapp stickers, cute pencils, some washi tape, little clipboards. They were perfect!

Dreamy-Smore's-Birthday-Party-from-WhipperBerry-23

 The girls had a ball playing with another Michaels gem, our Fujifilm Instax™ Mini 8 Camera

I grabbed some film and let the girls go nuts taking photos…

Dreamy-Smore's-Birthday-Party-from-WhipperBerry-30

Duck Lips anyone? A must at a 12 year old’s birthday!

Dreamy-Smore's-Birthday-Party-from-WhipperBerry-32

 It was so fun to place the photos on the buffet to add to the memories of the night.

Dreamy-Smore's-Birthday-Party-from-WhipperBerry-43

 I even found these great Happy Birthday balloons at Michaels along with the ever popular tassels AND the helium tank to blow them up! SCORE!!

Dreamy-Smore's-Birthday-Party-from-WhipperBerry-2

So many fun ways to dress up your backyard and turn it into a dreamy scene, perfect for a fabulous party! I have a few more details that I’ll share tomorrow.

For now… Here are even more amazing ideas from the rest of the Michael’s Makers.

An InLinkz Link-up

Disclosure // I am a member of the Michaels Makers Crew and receive product in order to complete my challenge assignment.

  • « Go to Previous Page
  • Page 1
  • Page 2
  • Page 3
  • Go to Next Page »

Primary Sidebar

Heather from Whipperberry
Hello... my name is Heather and I'm the creator of WhipperBerry a creative lifestyle blog packed full of great recipes and creative ideas for your home and family. I find I am happiest when I'm living a creative life and I love to share what I've been up to along the way... Come explore, my hope is that you'll leave inspired!

Footer

  • Privacy Policy
  • Crafts
  • Food
  • Gifts
  • Holidays
  • Home
  • Mom Life
  • Recipes
  • Travel

Copyright © 2026 · Seasoned Pro