Spring Burlap Sign brought to you by Elmer’s Glue // It’s almost here and I just can’t seem to get spring off my mind these days! The folks at Elmer’s challenged me to come up with a fun spring project and I was super excited to get busy working on it. Not to long ago I attended the product launch event for the new Cricut Explore and all of the fun projects we saw at the event inspired this fun Hello Spring Sign…
Doesn’t it just look cheery? Spring has no choice but to appear with this fun sign.
Everyone is still in love with burlap, and this new polka dot burlap that I found at Jo-Ann’s Fabrics I think is going to extend the life of the burlap trend. It is just so fun. I glued it onto a rustic palette wood board that I also found pre-made at Jo-Ann’s. Score on that one… I’ve made plenty of my own palette wood signs and it’s such a time saver to not have to build it yourself. I topped it off with some Basic Grey Hey Girl paper, the graphic elements of the paper together with the burlap makes this sign just pop!
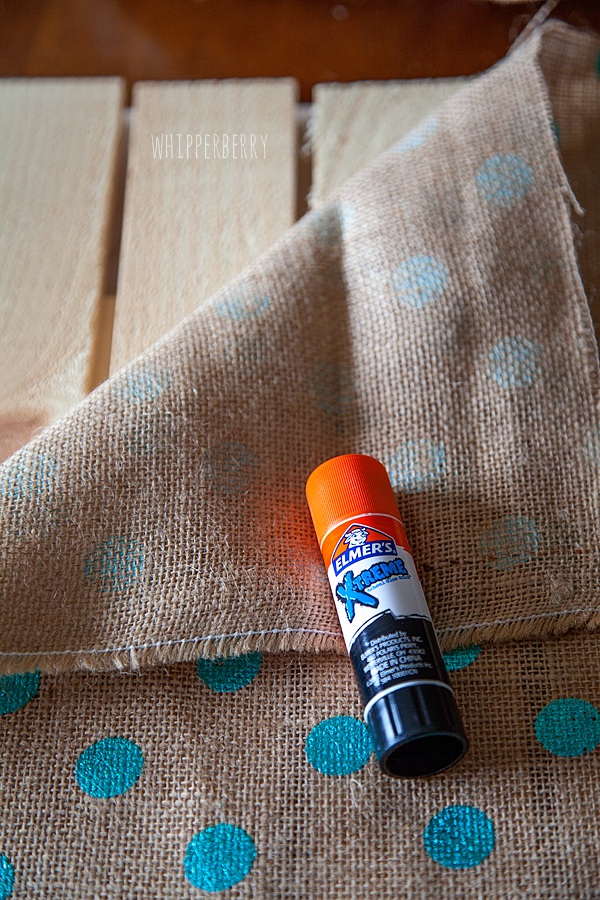
Now, I was super excited to try something new with one of Elmer’s glue sticks that I’ve been wanting to try. It’s their Elmer’s Xtreme School Glue Stick and it works like magic!! I would have to say I was a little skeptical, I, like many of you have been a little let down at times with the performance of glue sticks in the past. They just don’t have the chops for some projects. I thought for sure the glue stick wasn’t going to be able to handle affixing the burlap to my palette sign, but sure enough it did. Not only that, it only took minutes rather than hours for the glue to dry and my sign was ready to work on in a snap… LOVE that! Needless to say, the Xtreme Glue Stick has won me over, it’s defiantly a case of “under promise, and OVER DELIVER.” Here’s how I made my sign…
Hello Spring Burlap Sign Supplies
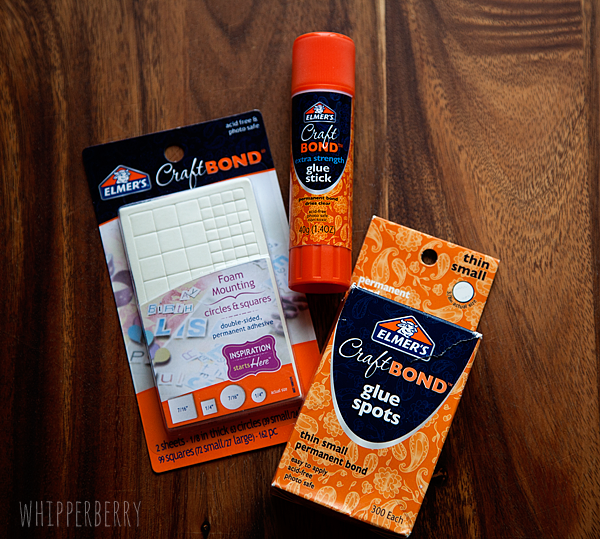
- Elmer’s Xtreme School Glue
- Elmer’s Glue Spots
- Elmer’s Foam Mounting Squares & Dots
- Basic Grey Hey Girl paper pack
- Wood palette sign
- 1/2 a yard of polka dot burlap
- 10 mini brads
- scissors
- X-ACTO knife
- X-ACTO self healing cutting mat
- Cricut Explore (optional)
Hello Spring Burlap Sign Directions
Lay your palette sign on a flat surface and lay your burlap on top.
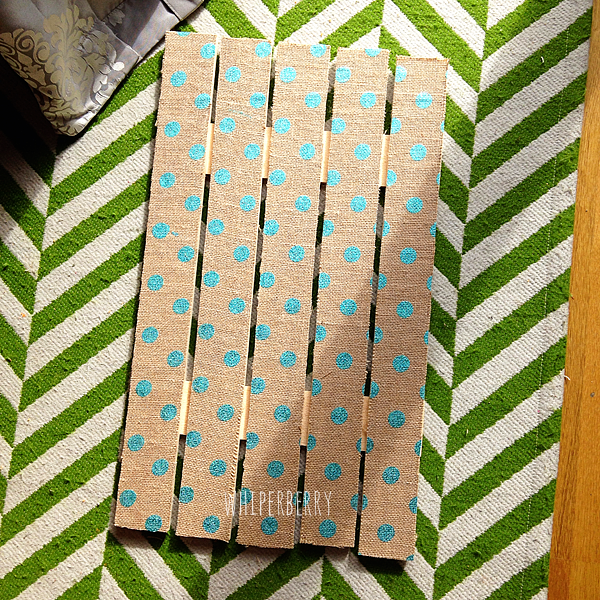
Cut the fabric to roughly the size of the sign with about a 1 inch boarder around the board. Then center the burlap and using your Elmer’s Xtreme Glue Stick affix the burlap to the wood. I started on one slat at a time and in small 3-4 inch sections smoothing the burlap and I went along.
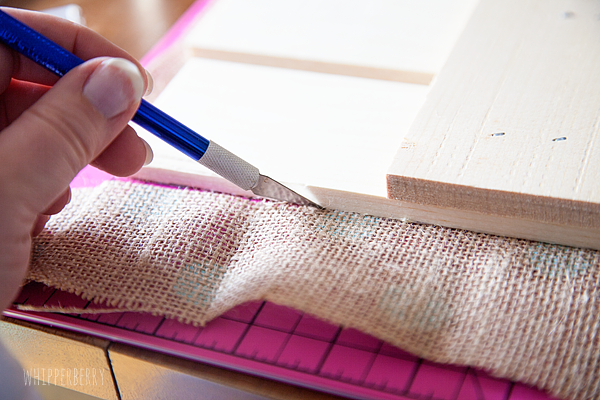
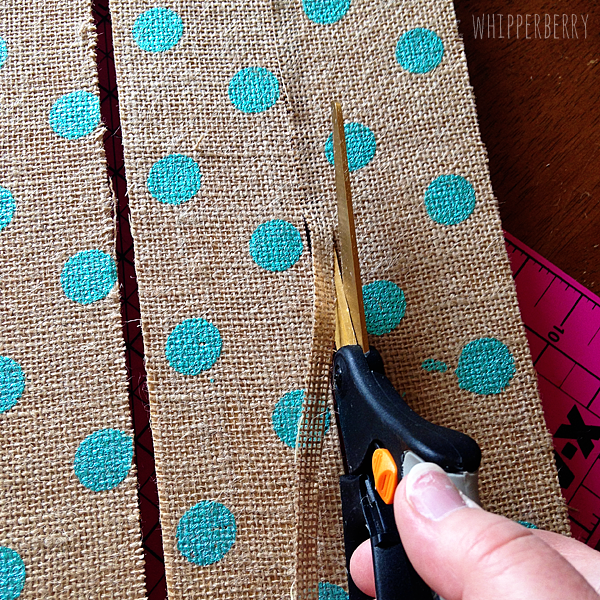
Wait for 15-20 minutes until the glue has completely dried. Next, you will trim your burlap. I used both an X-ACTO knife and scissors. Either one will work just fine. I did find that the scissors were a bit easier in certain places.
I was thrilled with how well the burlap trimmed up and my palette slats look fantastic with the addition of the burlap.
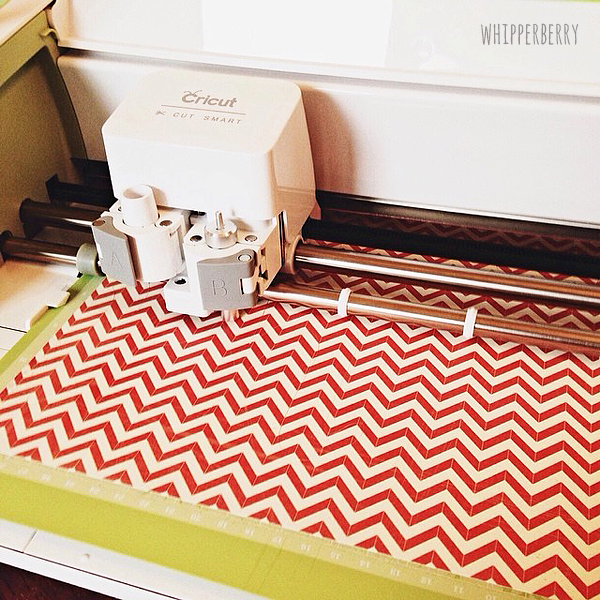
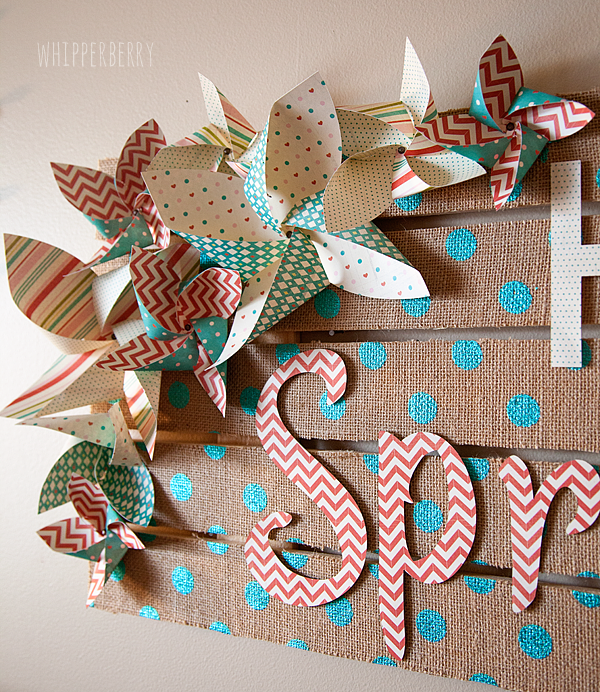
Next, I cut out my pinwheels on my Cricut Explore,
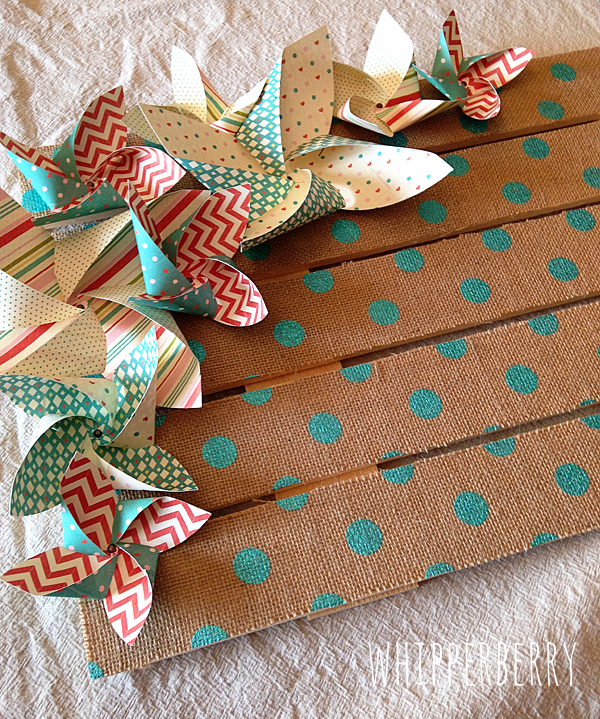
NOW, I know that the Cricut Explore isn’t available until March 15th, soooo… You can cut basic pinwheels using this great tutorial from First Palette. I used Elmer’s Glue Spots to secure the pinwheels and then dressed them up with a mini brad in the center. Then I used the Elmer’s Foam Mounting Square to affix the pinwheels to the sign…
Next, I cut my lettering using a couple of my favorite fonts on my Cricut Explore. The fonts are League Gothic and Suburbia. League Gothic is a pretty standard font, but Suburbia will be available in the Cricut Design Space once that is launch on February 27th. Now, if you don’t have a Cricut or a Silhouette to cut your letters, you can always print them out from your computer and cut them out with your X-ACTO knife. That’s super slick as well. So… choose whatever font you would like for the Hello Spring and select your paper for the words.
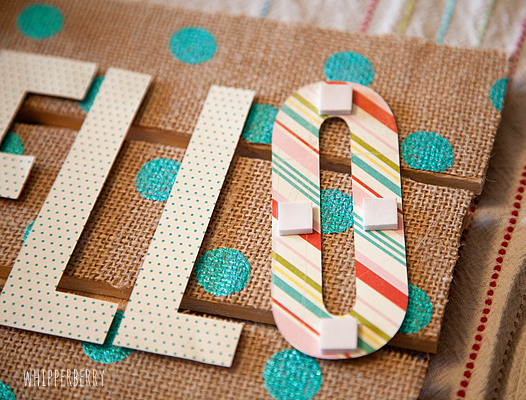
Next, I affixed the letters to the burlap sign with my Elmer’s Foam Mounting Squares…
I LOVE these mounting squares, they give your letters a 3D effect which just adds more dimension to the sign…
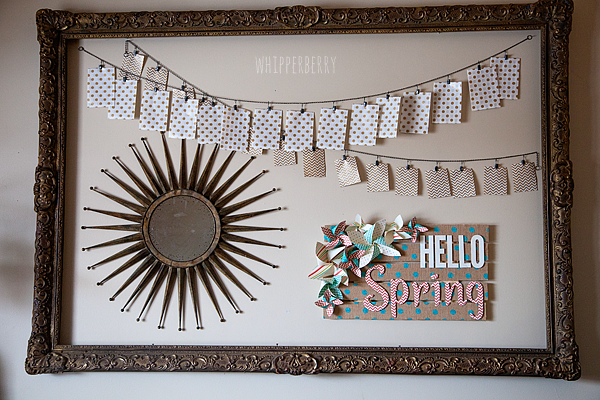
Isn’t that fun?! Once you have everything mounted to the sign, you’re finished! I added it to my giant frame in my living room to update it for the season…
Isn’t that a fun project that will brighten up any space? You can use it for any kind of saying, the polka dot burlap comes in a bunch of different colors and the skies the limit as to what you can create with that! One of my Creative team, Jenn from My Fabuless Life even used it to dress up some old folding chairs. All you need to do now is head over to JoAnn’s, stock up on supplies and get busy, you’ll have a fun new sign in just a couple of hours!
Disclaimer // I am a member of the 2014 Elmer’s Craft it Crew and received product and compensation for this post. Please keep in mind… I will only endorse products and brands that I believe in 100% and use in my day to day life!
2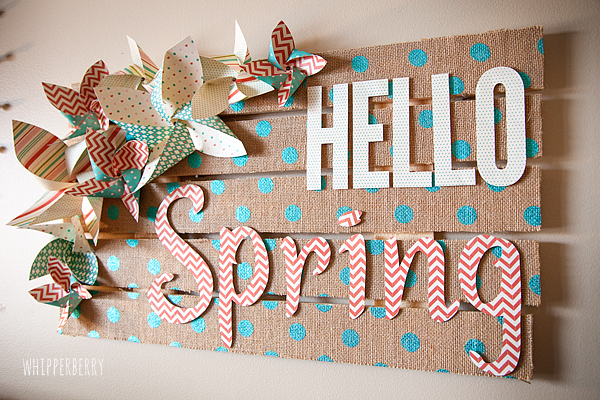

Love it friend! So fun. The burlap is to die for!!
This turned out just gorgeous! Can you believe I still haven’t had a moment to break out my Cricut Explore yet?! I need to get on that ASAP!!
Super cute! Love pinwheels!!!
Beautiful, such a perfect piece for spring. Love the pinwheels.
Such a fun sign! I love the polkadot burlap.
Adorableness!! Pinned 🙂
ooxo
I love this!! I do have my Explore already and just want to make some of these pinwheels now 🙂
Love your sign!! It’s beautiful!!! Pinned 🙂