• Skip to primary navigation
  • Skip to main content
  • Skip to primary sidebar
  • Skip to footer

Whipperberry

WhipperBerry • Your Home For Creative Inspiration

  • Home
  • Recipes
    • Starters
    • Easy Weeknight Dinners
    • Main Dish
    • Salads
    • Side Dish
    • Soups & Stews
    • Desserts
    • Breakfast
    • Miscellaneous
  • Tutorials
    • Creative Crafts
    • DIY Decor
    • Fabric Crafts
    • Food How-To
    • Jewlery
    • Paint Projects
    • Paper Art
    • Party Styling
    • Photography and Graphic Design
    • Silhouette
  • Holidays
    • Easter
    • Mother’s Day
    • Father’s Day
    • 4th of July
    • Halloween
    • Thanksgiving
    • Christmas
    • Valentine’s Day
  • Gift Ideas
    • Gifts For Everyone
    • Gifts for Dad
    • Mother’s day
    • For The Girls
    • For The Kids
    • Teacher Gift Ideas
    • Christmas
  • Printables
    • Holiday
    • Gift Idea
    • LDS Primary
  • Travel
  • About
    • Terms
  • Contact
  • Nav Social Menu

    • Facebook
    • Instagram
    • Pinterest
    • RSS
    • Twitter

Cricut Explore

Cricut Explore Air 2 Review – Is it Still Good? (2024)

8 · Dec 25, 2022 · Leave a Comment

The Cricut Explore Air 2 is the most popular machine in the Cricut brand of cutting machines, according to their website. It’s a popular choice for crafters, with the capability to create unique greeting cards, party decorations, custom t-shirts, home decor, and so much more. 

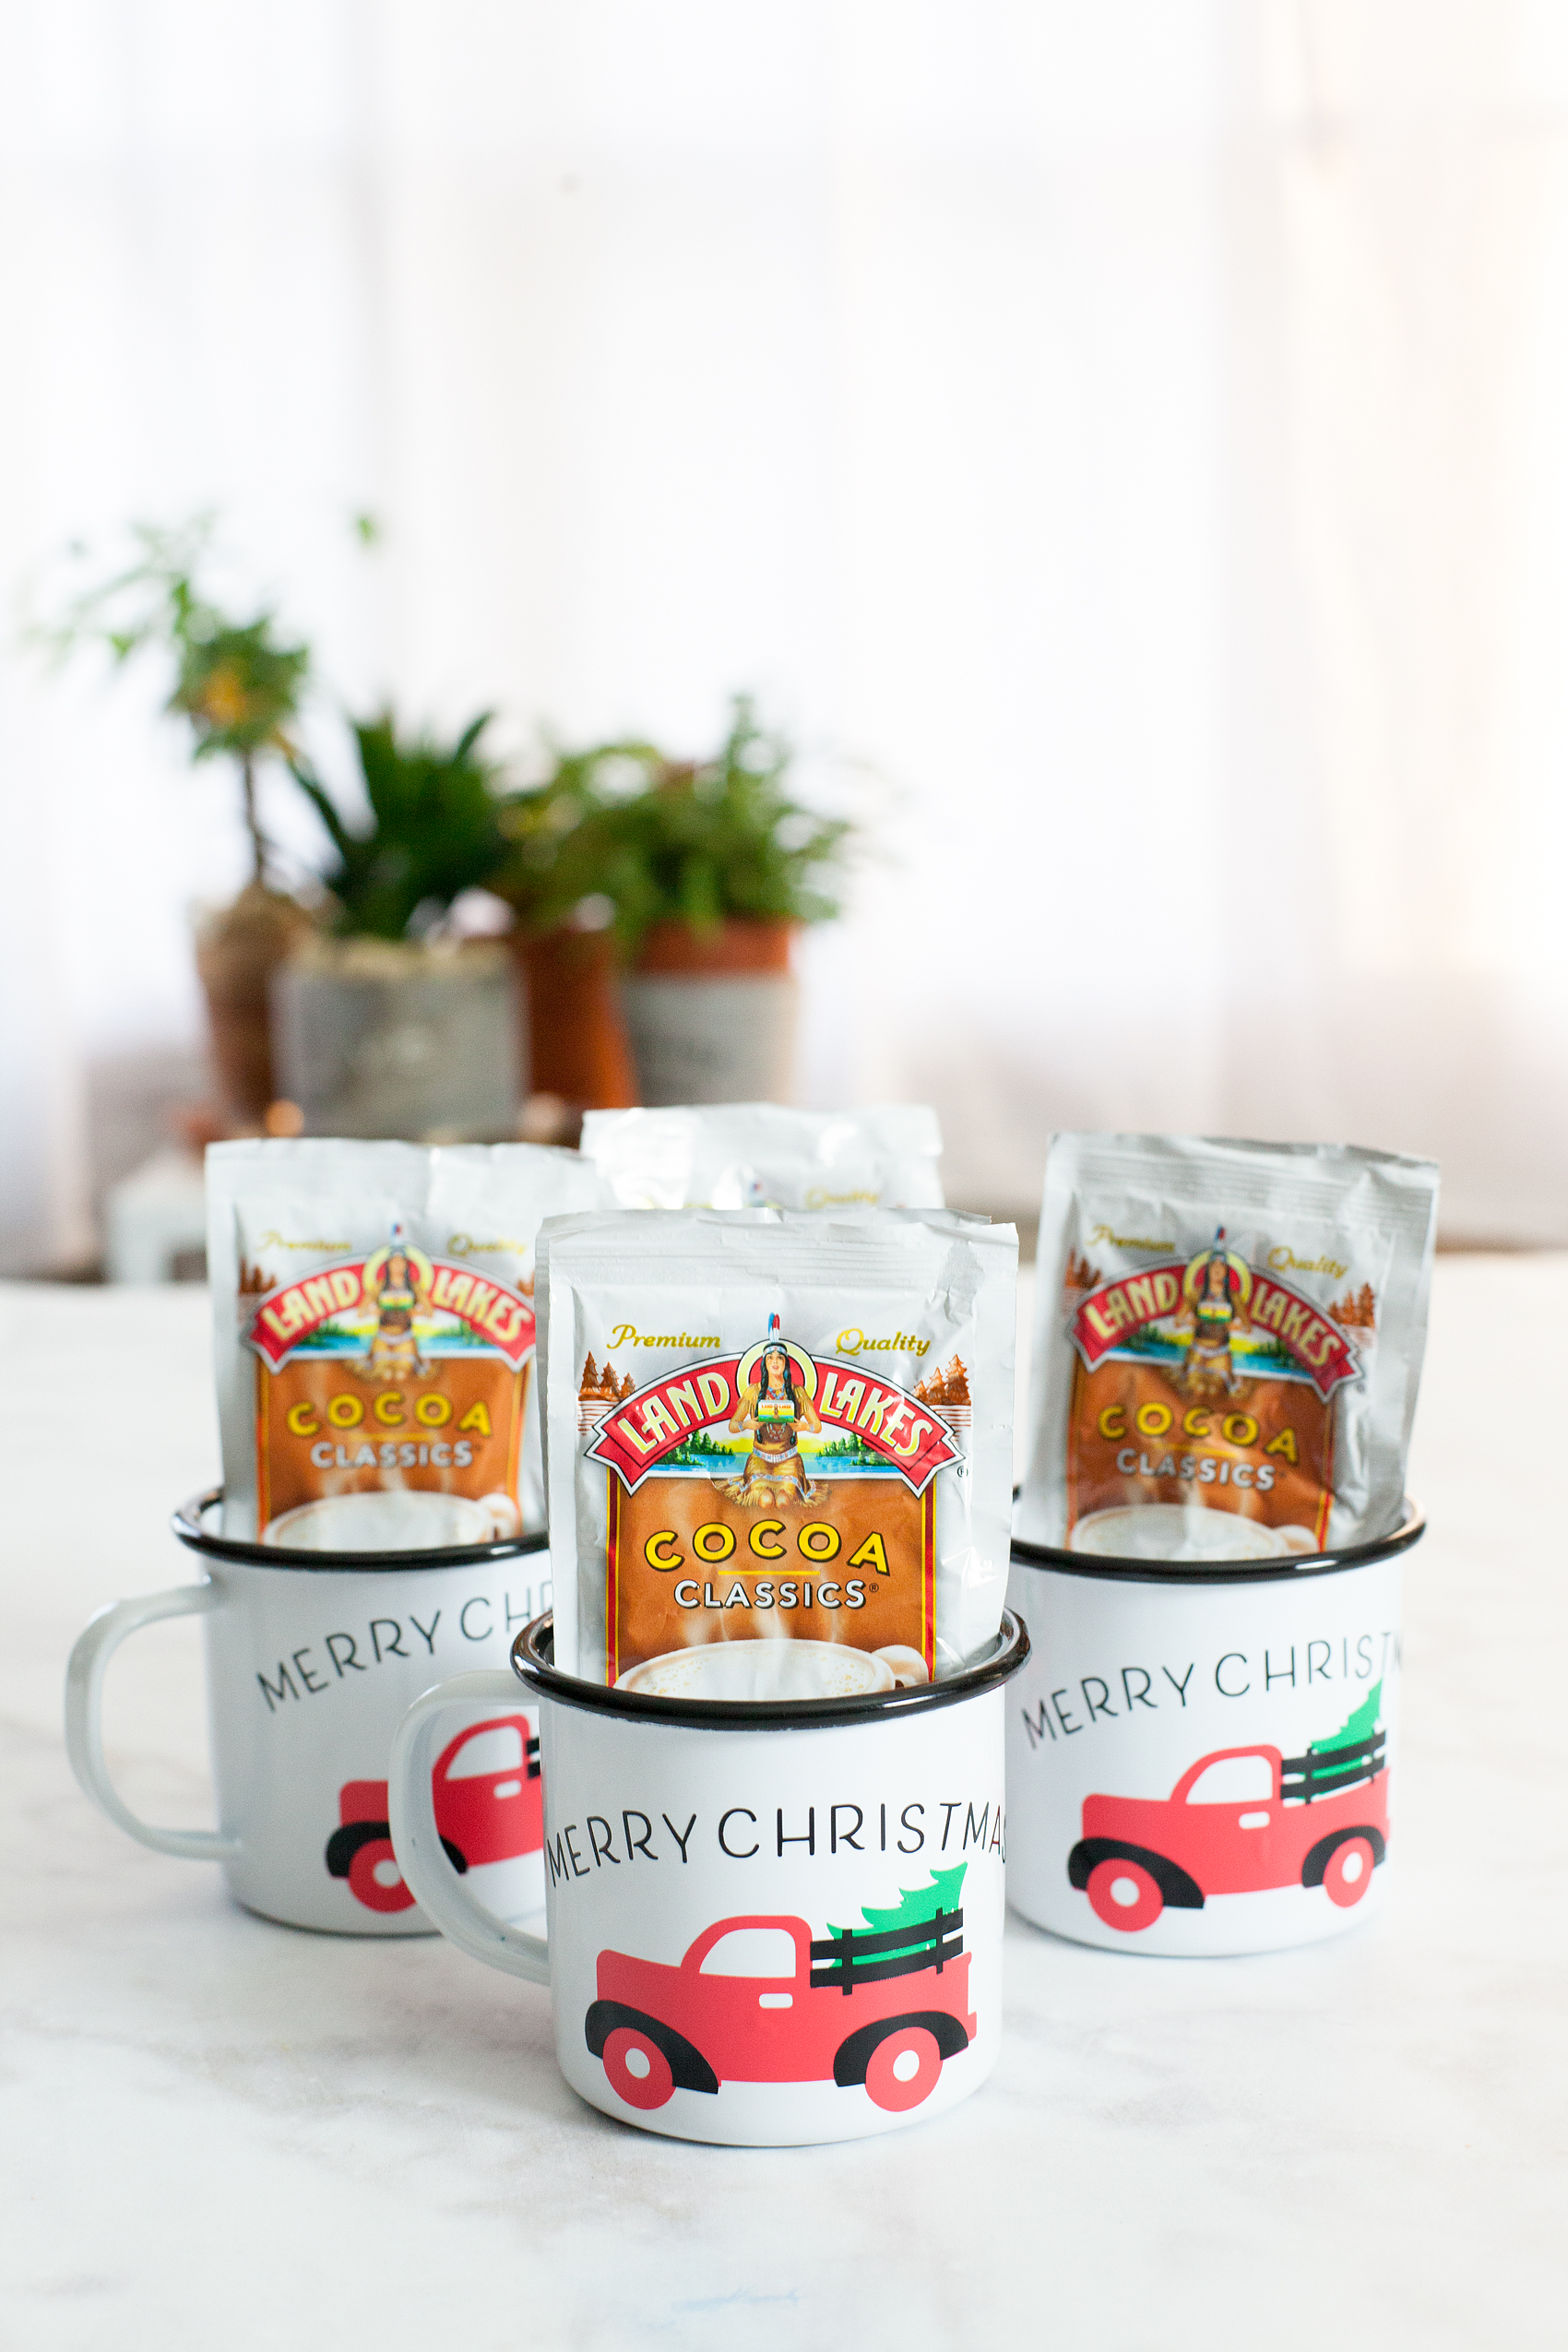
This machine can cut over 100 different materials, such as cardstock, adhesive vinyl, iron-on, glitter paper, window cling material, faux leather, and others. It can even cut some fabrics; perfect for anyone who enjoys sewing and quilting.

The Cricut Explore Air 2 is impressive right out of the box. It comes in a variety of attractive colors, in case you want the machine to complement your craft room decor.

It’s a fairly large machine, measuring 24″ wide by 9.5″ tall, with a depth of 9.5″. It weighs approximately 12 pounds.  Because this is a large, somewhat heavy machine, you’ll want to set it up on a strong stable surface. 

Short Verdict of this machine…

Get it instead of the Cricut 3. The Cricut Air 2, especially the bundle, is the way to go.

What Does the Cricut Explore Air 2 Come With?

When you purchase an Explore Air 2, you’ll get the following:

  • The Explore Air 2 machine
  • Premium Fine-Point Blade + Housing to hold the blade
  • A fine-point black Cricut pen
  • 12” X 12” LightGrip Cricut Machine Mat (this is suitable for most cutting projects)
  • USB cable and power adapter
  • Cricut Welcome Book and start-up instructions
  • Materials for a small practice project
  • One Year Limited Warranty information
  • Free trial membership to Cricut Access


The included Welcome Book outlines the basic features of the machine and what it can do. It also has a useful quick reference guide with easy-to-follow instructions and illustrations.

Of course, to start crafting with your machine you’ll need to purchase more materials, and maybe a few basic accessories. Instead of trying to decide what supplies you need to buy separately, Cricut sells this machine in a couple of different bundled packages that include a variety of materials and tools. These bundle packages are a great value, and you’ll have what you need to start creating right away.

Cricut Explore Air 2 Features

The Explore Air 2 is a versatile machine, with wide capabilities. Here are the Explore Air 2’s basic features:

Versatility

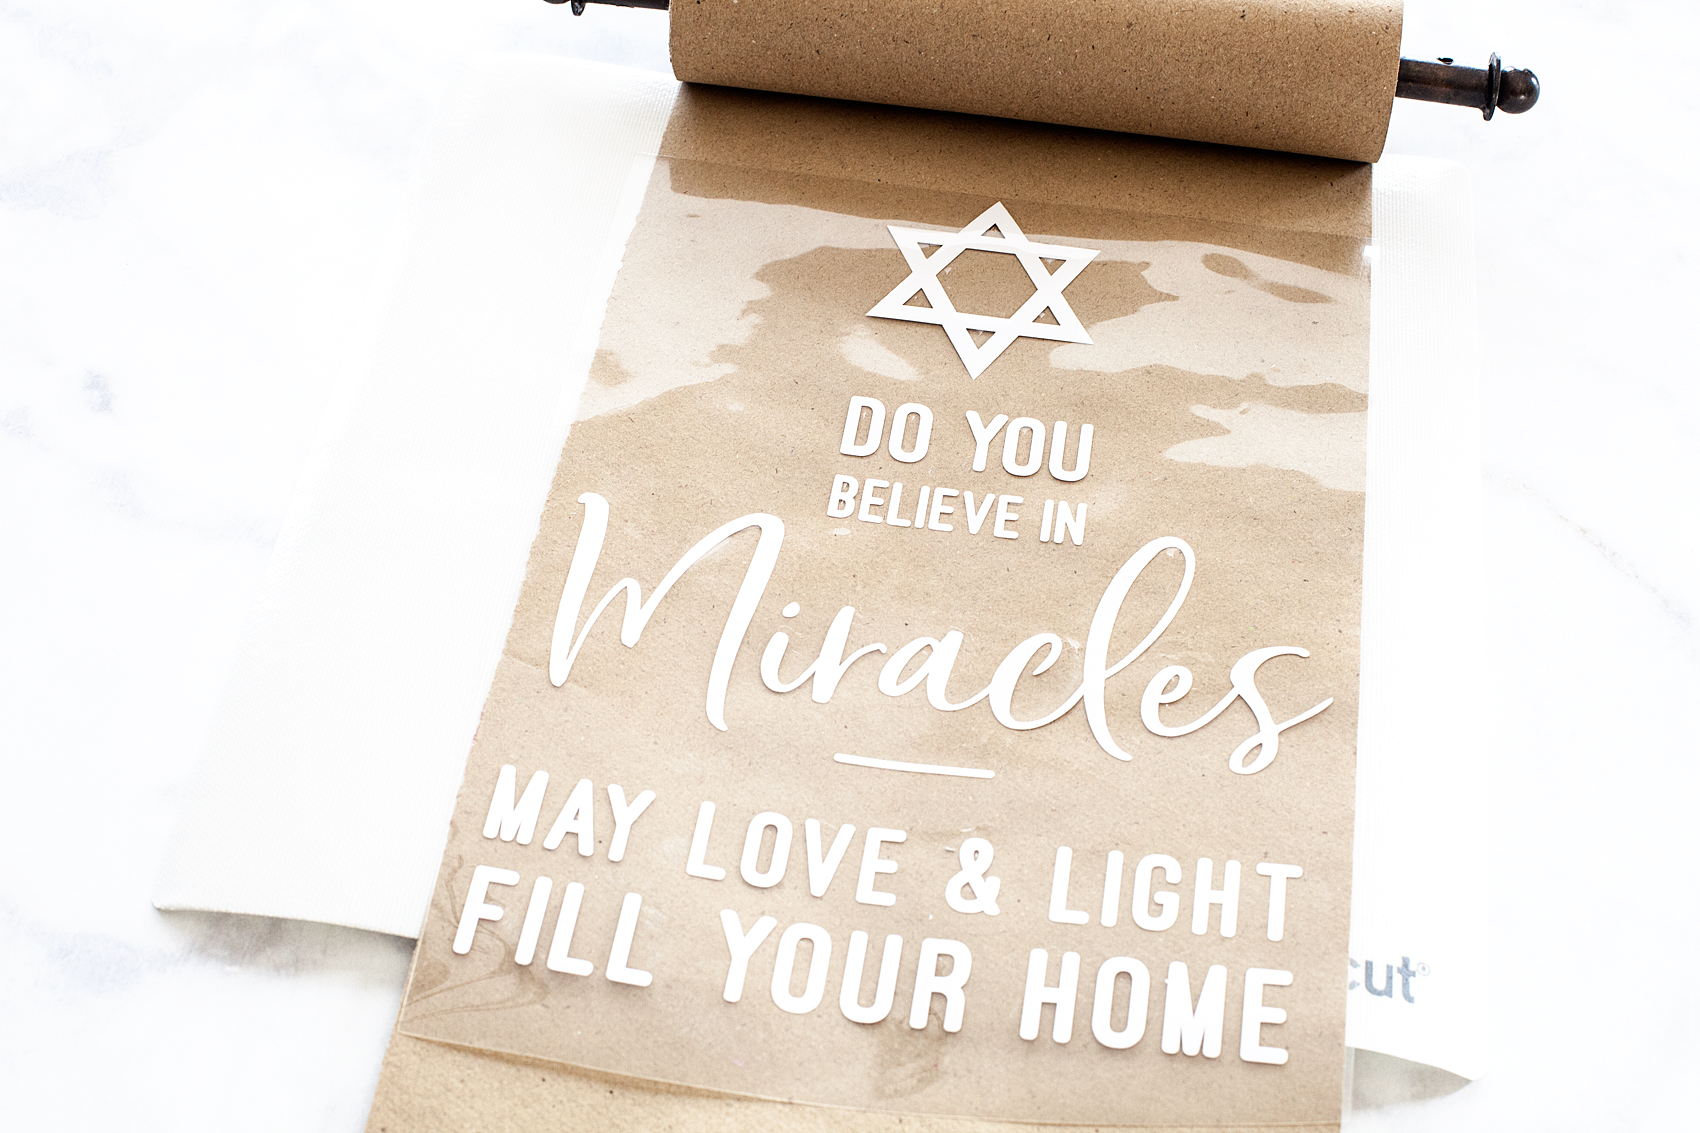
The most prominent feature of the Explore Air 2 might simply be how versatile it is! This machine can cut over 100 types of materials. It can also draw, write, score, and add foil accents to paper crafts.

The Explore Air 2 comes with the Premium Fine-Point Blade, made of German carbide steel, which is good for most card stock, vinyl, and iron-on materials. This long-lasting blade provides potentially dozens of precision cuts. You can purchase replacements when the original blade gets dull, and they’re easy to replace in the blade housing.

Additionally, you can purchase specialty blades, such as the Deep Point Blade for cutting faux leather, cardboard, and craft foam, or the Bonded-Fabric Blade to cut fabric pieces. Another accessory that adds to this machine’s versatility is the foiling tool. With this tool and foil sheets, you can add eye-catching metallic accents to your crafts.

Easy To Use Smart Set Dial

In order to set the blade to the proper pressure for different materials, all you have to do is turn a dial. It’s that easy! The Smart Set Dial on the Explore Air 2 has settings for the most commonly used materials, as well as a “custom” setting.  When you load your materials into the machine, just adjust the dial for whatever material you are cutting.

The custom setting on the dial is used in conjunction with Cricut Design Space software to create your own material descriptions and settings.

The custom setting is especially useful if you’re using non-Cricut brand materials that might work best with different cutting settings than the standardized Cricut material settings.

2X Fast Mode For Cutting

The Explore Air 2 has a “fast mode” option that works beautifully with thinner materials such as cardstock, paper, and vinyl. It cuts twice as fast as the previous Cricut machine models.

This can be a huge time saver, as large projects can take quite a bit of time to cut. It’s also handy if you’re making multiples of one project. 

Setting the machine to use the fast mode feature is as easy as clicking on a button when you’re setting up your project for cutting in Design Space software.

Fast Mode doesn’t work as well for very intricate cuts. In that case, you’ll get better results by cutting at the normal speed, even if it does take a little bit longer.

Another thing to keep in mind when using Fast Mode is that the machine does sound louder when this feature is used. It’s not an unreasonable noise level, but it’s good to keep in mind if you need a quieter work environment.

Double Tool Clamps

Another useful time-saving feature is the double tool clamps. With two clamps, you can load a Cricut pen in one clamp, and your cutting blade in the other clamp, and the machine will perform the cutting and draw/write functions without interruption. There is no need for you to pause and switch out the tools in the middle of your project.

The double tool clamps can also be used to hold the scoring stylus (sold separately). This is great if you’re making cards or decorations that need to be folded and assembled. The machine will cut your project, and score along any fold lines in one process.

Tool Storage

A small, but useful feature is a compartment on top of the machine to hold your tools. Cricut sells a variety of tools to assist with your Cricut craft projects. The tool storage compartment easily holds tweezers, a Cricut weeding tool, extra pens, small scissors, and more.

Compatibility With Cricut Cartridges

Older Cricut machines had data cartridges to store your projects and image files, instead of utilizing the cloud-based Design Space software. If you had one of these older machines, the Explore Air 2 has a cartridge port, so you can link your old cartridges to Design Space. 

How Does the Cricut Explore Air Work?

To get started with your Explore Air 2, you’ll need Cricut Design Space, their managing software. Design Space is online software that works anywhere you can get an internet connection. 

Software updates are done automatically on a regular basis, both to fix any software bugs and introduce fun new design features.  

Cricut Design Space is very user-friendly, and not at all difficult to learn. If you have a basic familiarity with any designing or graphic software, you’ll be using Design Space like a pro in no time.

Otherwise, new users can go to learn.cricut.com for excellent tutorials on how to use all the features of Design Space. Don’t let the thought of learning new software intimidate you; it is quite intuitive.

In addition to the thousands of files already available on Design Space, you can also upload your own SVG (scalable vector graphics) files to make your own one-of-a-kind projects.

Get the Cricut Air 2 Here

The Design Space homepage is where you’ll find files and project ideas for your machine. The “canvas” page is the workspace where you can customize and make your project, or where you can play around with your own designs. Once you have your design just the way you like it on your canvas, you simply click the “make it” button, then follow the on-screen instructions for your machine.

Buttons on top of the Explore Air 2 control loading the materials, when to begin cutting, and then unloading the materials when done. The buttons light up when you need to press each one; it couldn’t be much easier!

Design Space connects to your machine via a Bluetooth connection, so there is no need to plug the machine into your computer or mobile device. It is compatible with any Bluetooth-enabled desktop computer or laptop, and there is even a version for use with tablets and cell phones.

Design Space is free for any Cricut user.

There are hundreds of free projects and images available, and literally thousands that can be purchased for very low costs. If you don’t want to purchase files individually, there is a subscription service known as Cricut Access.

Subscriptions to Cricut Access start as low as $9.99 a month, and you get access to literally thousands of images, projects, and fonts.  When you purchase a new Cricut machine, new subscribers can get a free 30-day trial membership to Cricut Access. This is a great way to decide if the paid subscription option is something you’ll make good use of.

How Much Does a Cricut Explore Air 2 Cost?

A Cricut Explore Air 2 has a regular price of  $249.99 on the Cricut website. That may seem like a sizeable investment for a hobby, but when you consider all the capabilities this machine has to offer, it is not an unreasonable price. Cricut machines are also available at most major craft supply stores. The Cricut website frequently has these machines on sale, so it’s a good idea to check for good deals.

Cricut also sells the Explore Air 2 in bundles that include a variety of tools and supplies. The “Essentials Bundle” is regularly priced at $383.42, and includes the machine plus various material samples, mats, and tools.

The “Everything Bundle” has a regular price of $497.82, and includes an even larger amount of material samples, mats, and various tools/accessories.

These bundles are only available on the Cricut website, and they do frequently go on sale. While purchasing a bundle is still a sizeable cost, it’s a better deal than separately buying a machine, tools, and materials to get started. 

Cricut Support and Community

Buying a Cricut machine is a sizeable expense, and before you buy one you might be wondering such things as “who can help me if my machine isn’t working properly?”, or “how can I get help with Design Space?”

Fortunately, Cricut has toll-free phone numbers for every region where they sell Cricut products. Although the time on hold can be a little bit long at times, their friendly representatives are very knowledgeable and helpful.

They’ll help troubleshoot any technical issues with the machines or walk you through anything you’re trying to accomplish on Design Space. If the hold times on the phone lines are excessively long, there is an option for a representative to call you back.

In addition to the excellent telephone help, the Cricut website has resources for all their products. There is also a Cricut YouTube channel that is filled with videos showcasing everything from how to use their products, to instructions for specific projects. If you are a visual learner, these videos make it easy to see exactly how to use your machine, as well as how to navigate the Design Space software.

For more useful yet social interactions, there are official Cricut Facebook groups where members can exchange ideas, ask questions and share crafting tips, and show off their creations.

Is The Cricut Explore Air 2 Right for You?

While there are other cutting machines on the market that perform similar functions as the Explore Air 2, and at a comparable price, most of them don’t have the versatility and cutting power of this machine.

Get the Cricut Air 2 Here

If you enjoy making cards and decorations for your home, or maybe want to make custom t-shirts for your friends and family, you’ll be thrilled with the Explore Air 2.

This is also a good choice for teachers to use to create classroom decorations and fun supplies for their students. Small business owners who sell their art and handmade creations can use the Explore Air 2 to make personalized packaging for their products. The Explore Air 2 is an excellent choice for any creative person. Possibilities are only limited by your imagination!

Stylish Organization Ideas

18 · Jan 21, 2019 · 1 Comment

The New Year always brings on the organization bug… I have it for sure! I hit up Michaels the other day looking for stylish ways to get my office organized. To be fair, I don’t really have an office, my “office” is my kitchen table and the space around my kitchen table. It’s out where everyone can see my creative mess therefore, I need to find a stylish way to keep it nice and tidy. Here’s what I came up with…

+  This stylish organization ideas post is brought to you by the amazing folks at Michaels  +

Stylish Organization Ideas for my “Office”

The New Year always brings on the organization bug... I have it for sure! I hit up Michaels the other day looking for stylish ways to get my office organized. To be fair, I don't really have an office, my "office" is my kitchen table and the space around my kitchen table. It's out where everyone can see my creative mess therefore, I need to find a stylish way to keep it nice and tidy. Here's what I came up with...

My kitchen has always been my office… It’s where I work my magic. It’s my photo studio, my creative space, my office, where I entertain and where I feed my family. Therefore, the way I use to organize my tools of the trade needs to be tidy, portable & stylish.  Here is a video that I put together to show you how I create the perfect little space to organize all of my odds & ends.

Supply List

The New Year always brings on the organization bug... I have it for sure! I hit up Michaels the other day looking for stylish ways to get my office organized. To be fair, I don't really have an office, my "office" is my kitchen table and the space around my kitchen table. It's out where everyone can see my creative mess therefore, I need to find a stylish way to keep it nice and tidy. Here's what I came up with...

I thought it turned out super cute! Ok, stylish… not just cute. Creating a station that is super functional was very important to me. A place that doesn’t just get cluttered-up and then written off as another messy place to have to clean and ORGANIZE. I love that when I’m wanting to entertain, these four Lexington carts can be rolled into the laundry room and then my kitchen is nice and tidy for our guests. Here’s what you’ll need to create your stylish organization station.

  • Enamel Tabletop Magazine Organizer 
  • Small galvanized tabletop box
  • Large galvanized tabletop box
  • Lexington Cart – black
  • Lexington Cart topper – white
  • Cricut Explore Air 2 – Sunflower
  • Premium Vinyl – permanent- White & Black
  • White cardstock
  • Cricut pens – black
  • WhipperBerry Cricut cut files

This project is super easy, if you watch the video it will show you exactly how to create a space like this for yourself. Plus, as an added bonus, I’m sharing my Cricut Design Space files that are fully editable so you can create the exact same look for your space. Here are some tips on how to apply vinyl if you’re new to vinyl.  The rest is super easy!

The New Year always brings on the organization bug... I have it for sure! I hit up Michaels the other day looking for stylish ways to get my office organized. To be fair, I don't really have an office, my "office" is my kitchen table and the space around my kitchen table. It's out where everyone can see my creative mess therefore, I need to find a stylish way to keep it nice and tidy. Here's what I came up with...

I love how each cart has a different purpose. I have my office cart, my plant lady cart and then my creative carts full of my favorite craft supplies. Let’s see what kind of stylish spaces you create!! Tag me on Instagram @whipperberry to show me what you’ve created.

How to Make a Paper Roll Sign for Hanukkah • Video Tutorial

4 · Dec 12, 2017 · 1 Comment

Back in October, I ventured out of the sign-making box and tried the idea of making paper rolls signs with heat transfer vinyl. As much as I would love to have mad hand lettering skills, I have come to accept the fact that this is a talent I do not have. I can however, design on the computer and cut my design with my Cricut Maker out of Cricut Iron-On Lite and press the vinyl onto the sign with my Cricut Easy Press. It’s PERFECT!! I decided I wanted to make a meaningful sign for my Jewish friends as they begin their Hanukkah celebrations this week and the paper roll sign is perfect for that. Now, if you don’t have a Cricut, then I’d suggest checking out the Cricut vs Silhouette post to see if we can change that.

+ This post brought to you by Cricut +Create this meaningful sign for Hanukkah this year using a vintage style paper roll and your Cricut Maker or Explore Air machine and the @cricut Easy Press • Video Tutorial created by WhipperBerry

Why a Paper Roll Sign

Now, whether you celebrate Hanukkah or not, this tutorial is fun for all kinds of sign making. My last sign was for Halloween and my next sign will most likely be for the New Year.

I love the concept of the paper roll sign because I don’t typically like to use the same stuff year after year. I want something new for each new season. The paper roll is so much more economical that making the sign out of wood or canvas every time I want to change-up my decor. When I am finished with that sign, I tear off the bottom of the paper with the vinyl on it and start over with a new design. It’s totally the way I like to “roll.”

I found my paper roll (NOT and affiliate) on Amazon. I know that many home decor stores carry them as well. They also come in various sizes. I am using the small size for this project.

Tools and Materials

I am using my trusted Cricut tools again for this project. You just can’t go wrong with them. Even the New York Times feels the same way. They listed the Cricut Explore Air 2 as one of the best gifts this holiday season in The New York Times 2017 Holiday Gift Guide with the Cricut Maker as the upgrade gift. Can’t go wrong there!

For this project you only need a few items…

  • vintage style paper roll
  • Cricut Iron-On Lite
  • Cricut Machine
  • Cricut Easy Press
  • Cricut Iron-On Protective Sheet
  • towel or heat resistant ironing mat
  • Hanukkah Sign SVG file

Create this meaningful sign for Hanukkah this year using a vintage style paper roll and your Cricut Maker or Explore Air machine and the @cricut Easy Press • Video Tutorial created by WhipperBerry

Instructions

First, you’ll need to download the design file listed above or create your own design in Cricut Design Space. Once you have your design ready in Design Space, you are ready to cut your file and make your sign. Here is a quick video showing you how I created my paper roll sign.

How to Create a Paper Roll Sign for Hanukkah created by WhipperBerry from Heather Thoming on Vimeo.

Super easy, right? All you need to do is make sure you have the RIGHT tools and the skies the limit. Here’s a quick recap…

  • Cut design on your cutting machine out of Cricut Iron-On Lite. Make sure that you mirror the image so that it will cut right. You will also want to make sure that the shiny side of the heat transfer vinyl is down when cutting out your design.
  • Weed the vinyl. This means to remove the excess vinyl from your cut vinyl leaving only the design that is mirrored and ready to adhere to your paper roll.
  • Lay the design down onto the surface of the paper.

Create this meaningful sign for Hanukkah this year using a vintage style paper roll and your Cricut Maker or Explore Air machine and the @cricut Easy Press • Video Tutorial created by WhipperBerry

  • Cover the design with the Cricut Iron-On Protective Sheet.
  • Turn your Cricut Easy Press onto 325˚ and set the timer for 50 seconds.
  • Place the Easy Press or your iron onto the paper and hold for 50 seconds. Make sure to heat the entire surface of the sign before removing the clear protective sheet on top of the heat transfer vinyl.
  • Remove clear plastic sheet.
  • Hang your new sign!

For more Cricut inspiration, follow Cricut on Pinterest. They have all kinds of amazing project! Want to make sure you don’t forget this idea and tutorial? Here’s an image that you can pin to make sure you can find it again…

Create this meaningful sign for Hanukkah this year using a vintage style paper roll and your Cricut Maker or Explore Air machine and the @cricut Easy Press • Video Tutorial created by WhipperBerry

This is a sponsored conversation written by me on behalf of Cricut. The opinions and text are all mine.

Christmas Tree Truck Mug • Cricut Holiday Gift Giving

10 · Nov 29, 2017 · 2 Comments

Always, always, always… Looking for fun and unique gifts that I can create for friends and family during the holidays. This Christmas Tree Truck Mug, that I created with my Cricut Maker, has my heart! I Now if you aren’t sure which is better, Cricut vs Silhouette, then make sure you check out that comparison! Anyways, I love how it turned out. This Christmas Tree Mug filled with hot chocolate packets is fun to give to friends, neighbors, teachers, and so on. I typically stick with black and white in my designs because I LOVE black and white. This time, I branched out and layered different colors of vinyl to create a fun look on a white and black enamelware mug. While I was making them I created a video tutorial on how to layer your vinyl when working with multicolored vinyl projects. Come check it out…

+ This post brought to you by Cricut +Always, always always looking for fun and unique gifts that I can create for friends and family during the holidays. This one that I created with my Cricut Maker has my heart! I love how it turned out. This Christmas Tree Mug is so cute and fun to give to friends, neighbors, teachers and so on.

Christmas Tree Truck Mug

Inspired by the ever-popular red truck with a Christmas Tree in the back, I thought it would translate nicely into a fun neighbor gift. This project is really quite simple. However, it looks impressive and your friends who receive it are going to LOVE it! I know I would if someone gave it to me. Here’s what you’ll need to make some of your own.

Materials

For the mug, I found some enamel ware mugs at Amazon (I’m not an affiliate) but they can be pretty pricey. If you want a more budget friendly option, I would visit a Dollar Store, Dollar Tree or even a thrift store to find just some basic white mugs.

  • white mug
  • design file for Cricut Design Space
  • black vinyl
  • red vinyl
  • green vinyl
  • Cricut Transfer Tape
  • Cricut Cutting Machine ie. Cricut Maker or Cricut Explore Air 2
  • Cricut Light Grip Cutting Mat
  • hot chocolate packets

Instructions

The first thing you might want to do is watch a video tutorial that I created that shows how to create curved text in Cricut Design Space AND how to apply the vinyl to the mug. It would be really helpful. Don’t worry though, I’ve handled the entire design process for you! Once you watch the video, make sure you have clicked on the link to my design file so that you can easily create this project in Cricut Design Space. Select the click it button on the bottom right and follow the steps to cut all three colors of vinyl. Next step, you’ll need to weed your vinyl. That means that you need to remove all of the vinyl around your image and inside the image. Once you’ve weeded the vinyl, you’re ready to apply it to the mug. Here is a quick video tutorial on how to easily layer your vinyl.

WhipperBerry Cricut Design School-How to Easily Layer Vinyl Video Tutorial from Heather Thoming on Vimeo.

Now, all you need to do is fill your cute mugs with your favorite hot chocolate packets. Then, make a list of all your favorite friends & neighbors to give one if these fun mugs to this Christmas.

Learn how to create stylish curved text in Cricut Design Space • Video Tutorial created by WhipperBerry

Cricut Questions

Have any Cricut questions? I’d be happy to tackle them if you’d like. Leave a comment or email me at heather @ whipperberry . com and I’ll put together a video to help shine some light on what has been perplexing you.

This is a sponsored conversation written by me on behalf of Cricut. The opinions and text are all mine. I have included some Share-a-Sale links for tracking purposes only. I am not a Cricut Affiliate.

  • Page 1
  • Page 2
  • Go to Next Page »

Primary Sidebar

Heather from Whipperberry
Hello... my name is Heather and I'm the creator of WhipperBerry a creative lifestyle blog packed full of great recipes and creative ideas for your home and family. I find I am happiest when I'm living a creative life and I love to share what I've been up to along the way... Come explore, my hope is that you'll leave inspired!

Footer

  • Privacy Policy
  • Crafts
  • Food
  • Gifts
  • Holidays
  • Home
  • Mom Life
  • Recipes
  • Travel

Copyright © 2026 · Seasoned Pro