• Skip to primary navigation
  • Skip to main content
  • Skip to primary sidebar
  • Skip to footer

Whipperberry

WhipperBerry • Your Home For Creative Inspiration

  • Home
  • Recipes
    • Starters
    • Easy Weeknight Dinners
    • Main Dish
    • Salads
    • Side Dish
    • Soups & Stews
    • Desserts
    • Breakfast
    • Miscellaneous
  • Tutorials
    • Creative Crafts
    • DIY Decor
    • Fabric Crafts
    • Food How-To
    • Jewlery
    • Paint Projects
    • Paper Art
    • Party Styling
    • Photography and Graphic Design
    • Silhouette
  • Holidays
    • Easter
    • Mother’s Day
    • Father’s Day
    • 4th of July
    • Halloween
    • Thanksgiving
    • Christmas
    • Valentine’s Day
  • Gift Ideas
    • Gifts For Everyone
    • Gifts for Dad
    • Mother’s day
    • For The Girls
    • For The Kids
    • Teacher Gift Ideas
    • Christmas
  • Printables
    • Holiday
    • Gift Idea
    • LDS Primary
  • Travel
  • About
    • Terms
  • Contact
  • Nav Social Menu

    • Facebook
    • Instagram
    • Pinterest
    • RSS
    • Twitter

Cricut Explore

How to Import and Use a SVG File in Cricut Design Space

55 · Nov 21, 2017 · 2 Comments

I LOVE to create my own designs for all kinds of things like signs, printables, special gifts and now, thanks to the Cricut Maker… Sewing projects! The issue that I ran into at the beginning was figuring out how to effectively use my own SVG files in Cricut Design Space. If you’re like me, and would like to either use either your own designs or other designs that you purchase from Etsy or other sites, this video tutorial is for you! You could use a Silhouette or a Cricut. If you’re unsure of which is better you can read my review of Cricut vs Silhouette here. Whether you are a sign maker, a paper crafter or you love to work with fabric, chances are you've wanted to either create your own SVG files or download files that you've purchased and use them with your Cricut Projects Here’s a great video tutorial on how to import your own SVG files into Cricut Design Space and how to easily use it in the software.

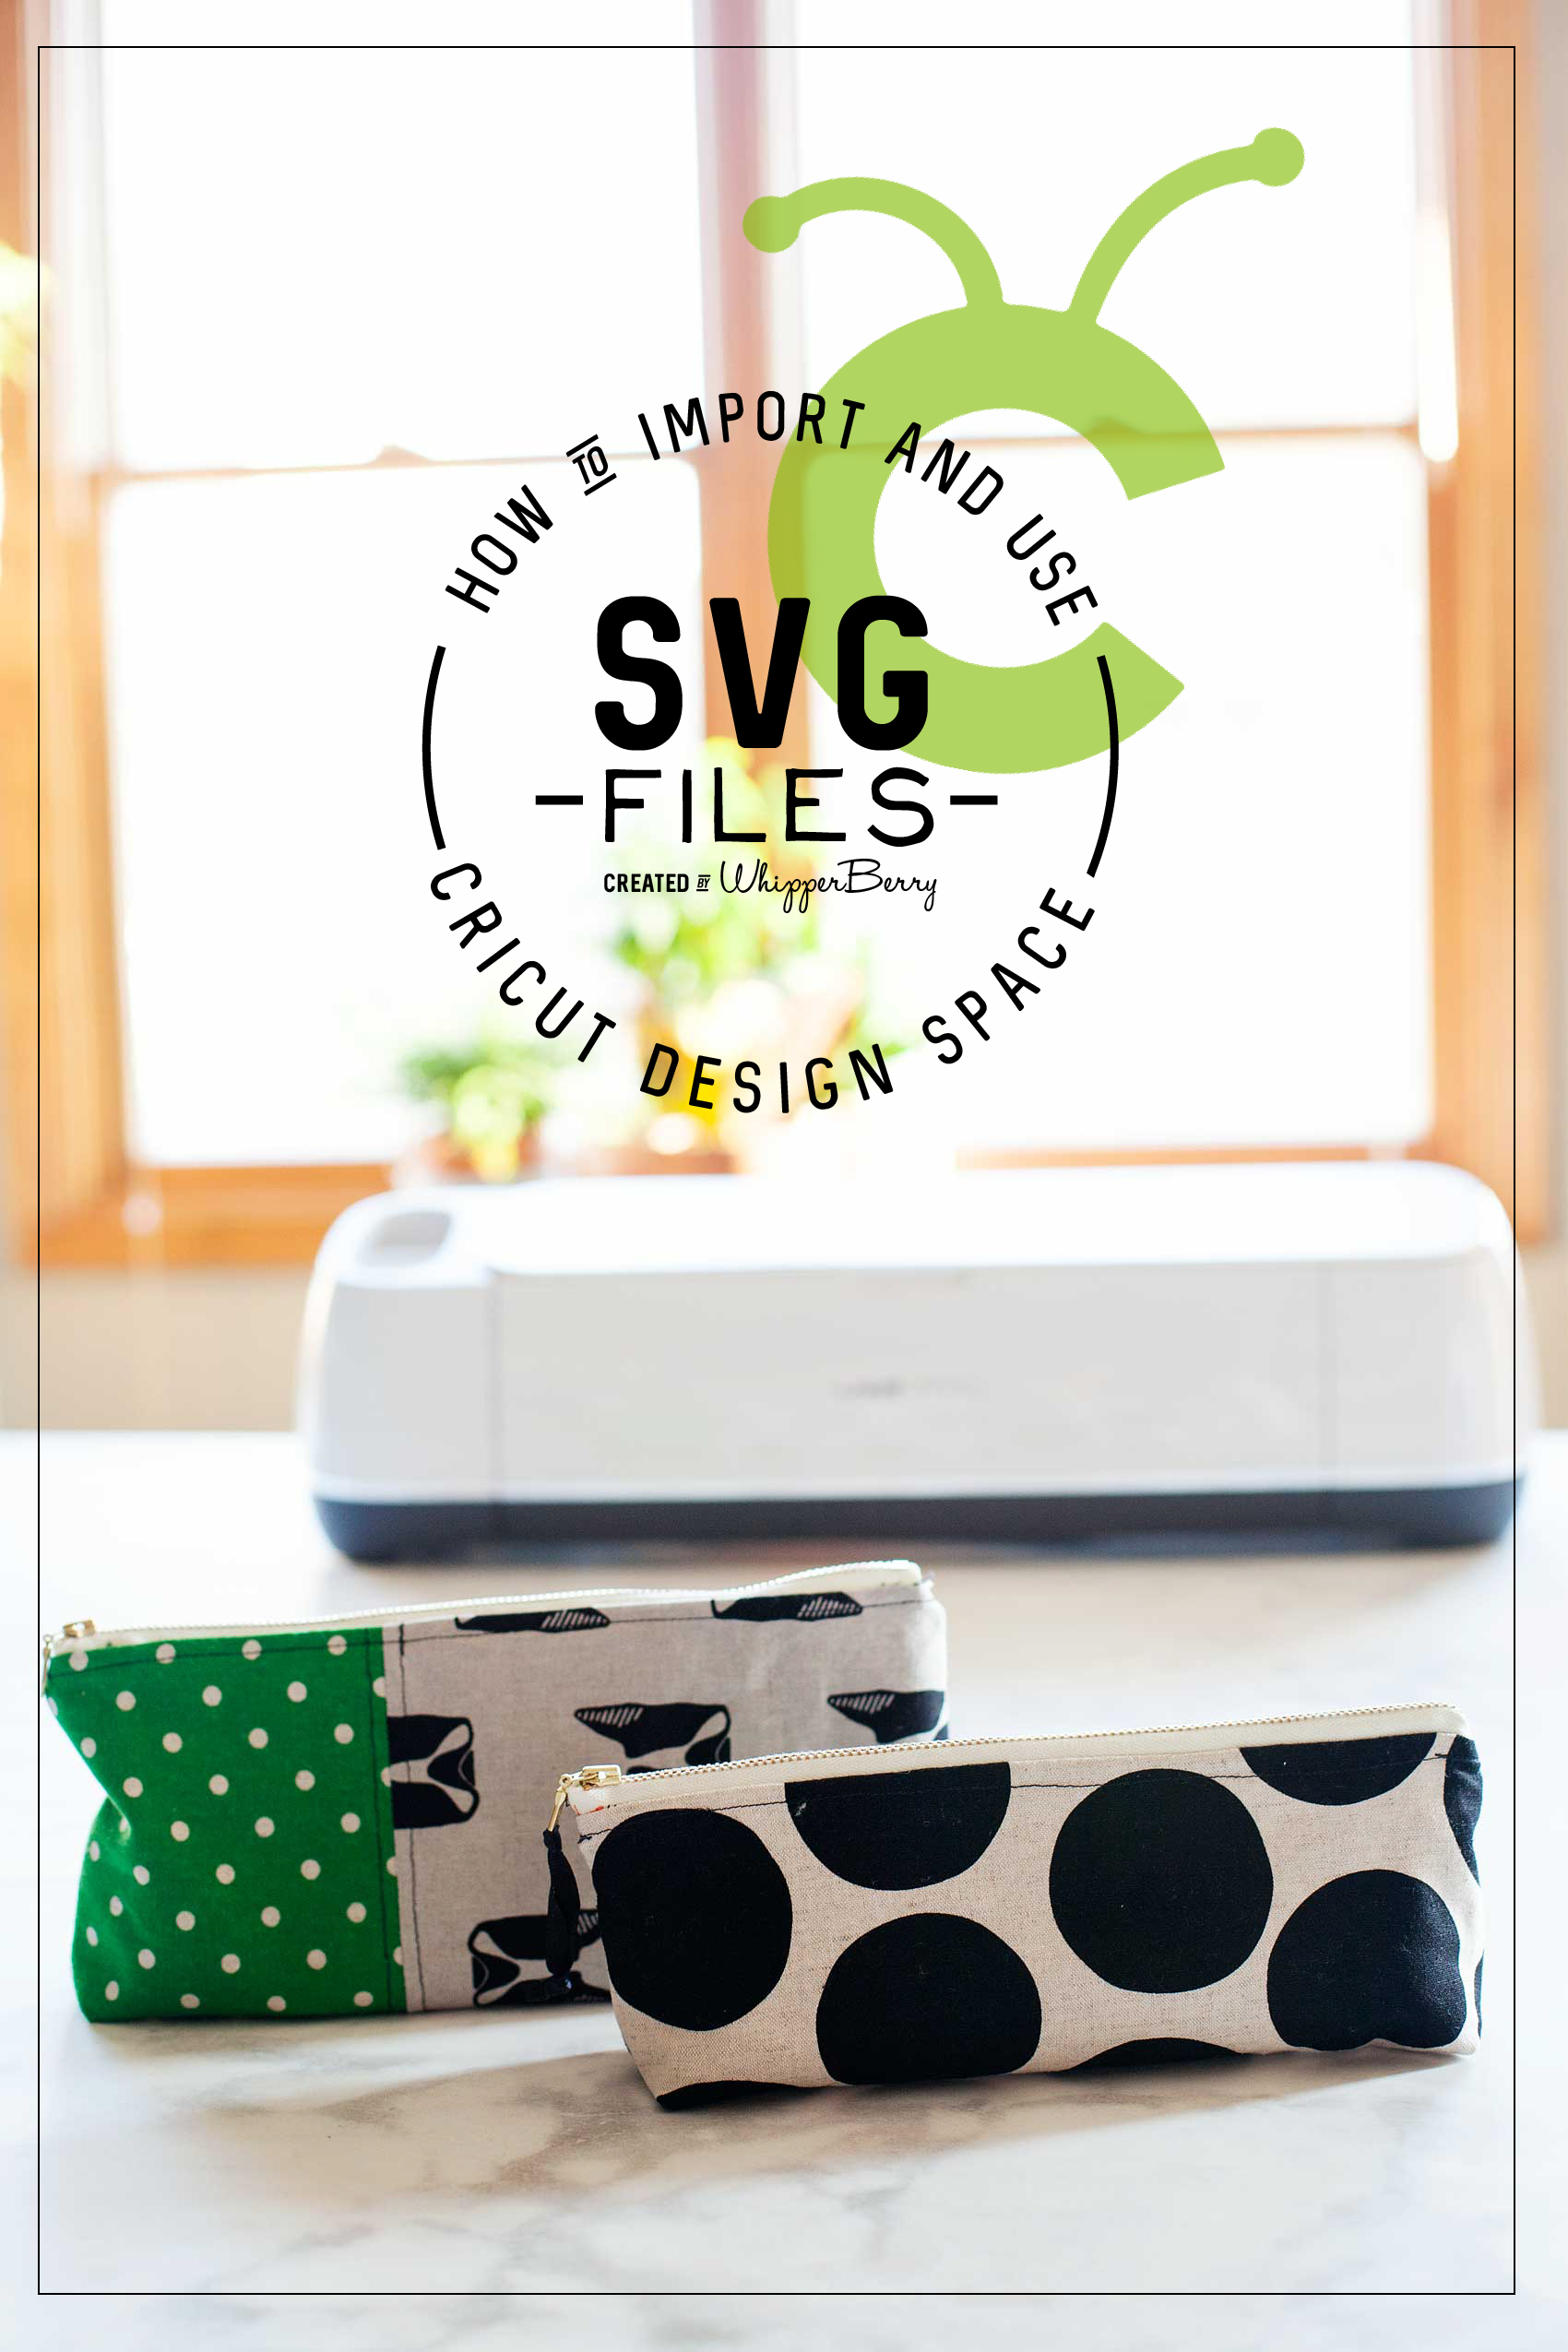
Whether you are a sign maker, a paper crafter or you love to work with fabric, chances are you’ve wanted to either create your own SVG files or download files that you’ve purchased and use them with your Cricut Projects. The Cricut Design Space is pretty robust but there are times when you need a little more in the design area. For example, create curved text and such for a project. I stumbled across a way to covert PDF sewing patterns into SVG files to use with my Cricut Maker.  Don’t worry, I’ll have a tutorial for that soon. Today, I want to focus on how to import and use that SVG file into Cricut Design Space and use it effectively. I’ve been working on this for a bit so I’ve managed to come-up with some great tips and tricks to help speed-up your work flow in order to cut down on possibly technology frustration.

Video Tutorial on How to Import and Use Your SVG Files in Cricut Design Space

Take a few minutes to sit and watch this video. I promise it will make your time in the Cricut Design Space much easier!

DIY Farmhouse Christmas Carol Star Tree Ornaments

111 · Nov 1, 2017 · 6 Comments


It’s officially Holiday Season! One thing that I LOVE about the Holidays is creating my own custom decor for our home. Love FARMHOUSE decor?

Then you are going to LOVE this Farmhouse-inspired Christmas Carol Star ornament that you can create for your home. This week I’ve teamed-up with DecoArt and Cricut to create some new ornaments for my Christmas tree this year.

We decided to go with the star of Christmas theme, so… I thought it would be fun to chalk paint some large wood stars and then put titles of Christmas Carols on them. They turned out so cute… Come learn how to make them for yourself.Create your own farmhouse Christmas decorations with a little help from WhipperBerry - Christmas Carol Stars

A few years ago, one of my good friends had the most beautiful Christmas trees. She had large stars all over the tree and I just adored it.

I asked her where the stars were from and I was devastated to learn that they were given to her from a friend who found them discarded from a department store after the holidays. DANG! There was no way of finding a set of my own.

This year, I decided it was time to make some large stars of my own. The timing couldn’t be more perfect! DecoArt and Cricut have teamed up this year to create all kinds of fabulous fun this Holiday season…

22520087_10212667444788382_464973044413398504_o

I love it when to amazing companies come together to inspire all of us to bring a little bit of our personalities into our home. These two are perfect for that. I’m sure that this will tickle your fancy… You’ll want to visit the DecoArt Blog to check out the GIVEAWAYS DecoArt & Cricut have up their sleeves this year!

Christmas Carol Stars Supply List

  • raw wood stars from Amazon
  • Americana Decor Curb Appeal – Black
  • Americana Decor Chalky Finish – Everlasting
  • paint brush
  • 250 grit sandpaper
  • Cricut vinyl – midnight
  • Cricut transfer tape
  • Cricut cutting machine like the  Cricut Maker

Instructions for Christmas Carol Stars

raw-star

First, grab your raw wood stars and wipe them down with a damp cloth to make sure they are dust and dirt free. Then paint your base coat with the Americana Decor Curb Appeal paint.

painting-the-star-black-first

The reason why I used the Curb Appeal paint is… One, it’s a durable paint and will stand up to the distressing of the chalk paint. Two, I just happened to have some left over after I painted my front door. I wanted to have a black base because I wanted it to show through when I distressed the white (Everlast) paint.

PRO TIP +  When using chalk paint, you will typically distress your paint to create the look that is typical with chalk paint. You’ll need to keep in mind what color you want to show through once distressed. You’ll need to use that color as your base color then paint your finishing color on top. Then make sure when you are distressing your piece, you don’t use too much pressure. You don’t want to accidentally distress down through your base coat.

Once your base coat is dry, paint your top coat with the Americana Decor Chalky Finish paint in Everlasting.

painting-farmhouse-wood-star

Pro Tip + Don’t worry about making your top coat look PERFECT with multiple layers of paint. You will be distressing them, no need for perfection. The heavier your layer of paint, the harder your piece will be to distress. No need to make extra work for yourself.

To distress, use a 250 grit sandpaper and lightly sand the raised edges of the stars.

how-to-distress-wooden-star-4

Christmas Carol Graphics

Now, it’s time to break out your Cricut machine. I’ve used the Cricut Explore machines and the Cricut Maker and I LOVE them both. For this project, I used my Cricut Maker but, either one is fine.

Athena_shop_hero_no-copy-copy2

Learning how to cut iron on vinyl with the Cricut Maker via WhipperBerry

To begin, I created these designs to put on the chalk painted stars…Farmhouse Christmas Carol Ornaments from WhipperBerry

I love how they help to usher in the spirit of the season. They remind us of seasons past and they also help to remember the true meaning of the season… The birth of our Savior Jesus Christ.

You can download these Christmas Carol designs HERE

Then all you need to do is to upload the SVG files to the Cricut Design Space. You can check out this post on how to upload a design in the Cricut Design Space to learn how to do that.

Then you’ll cut your designs on your Cricut machine and then apply the vinyl to your stars. To learn how to apply vinyl, visit this post… How to Apply Vinyl Tutorial that I created.

It’s really not hard if you follow a few simple steps. It truly is one of my favorite ways to create for my home.

Pro Tip + Make sure you wipe down your stars with a damp cloth to remove any remaining paint dust. It will make applying the vinyl much easier.

Now your stars are ready to add to your tree!

Farmhouse-Star-Christmas-Tree-via-WhipperBerry-3

Farmhouse-Star-Christmas-Tree-via-WhipperBerry-9

I can’t wait to see what you guys create this Holiday Season! Make sure to tag me on your social media posts. You can follow me on Facebook, Instagram & Pinterest.

Easter Buddies + An Easter Pinterest Party

0 · Mar 26, 2014 · 3 Comments

// Easter Buddies with Free Printable // 

Easter-Egg-Animals-with-free-printable-2

I have decided that when it comes to candy and all around cuteness… Easter is my favorite holiday.  I mean really, Cadbury Mini Eggs, Jelly Beans, Reese’s Peanut Butter Eggs, Cadbury Creme Eggs, black jelly beans, the list could go on and on. Not to mention all of the cute basket of Easter goodies that they have available at the stores these days.

I’m a sucker for fun plastic eggs and I found this CUTE set of animal Easter eggs at Target and thought it would be perfect little goodie for my kiddos. I could add a fun curled up message along with the candy inside, add some feet to the bottom of the plastic eggs and they turn them into something extra special…

Easter-Egg-Animals-with-free-printable-4

This project is super quick and with my free printable, you can make them up in a snap! Here’s what you will need…

Supply List

  • Animal Easter Eggs
  • card stock paper
  • Elmer’s Craft Bond Foam Mounting Shapes
  • scissors
  • printer paper
  • pencil
  • candy

Instructions

First,  you will need to print the free printable sayings on just your basic printer paper…

Easter-Buddy's-Printables-from-#whipperberry

You can download the printable HERE.

Once you have that printed, you will need to use scissors or a paper cutter to cut out the strips and then curl them around a pencil…

Easter-Egg-Animals-with-free-printable-6

Next cut out some small 1- 1 1/2 inch hearts to use as the feet for your little animal eggs…

Easter-Egg-Animals-with-free-printable-13

I used my Cricut Explore, but you could easily use any cutting machine or free hand it as well.  Then you will use your Elmer’s Craft Bond foam circles to affix the feet to the egg. These little foam adhesives are PERFECT for this project.

Easter-Egg-Animals-with-free-printable-14

They have just the right amount of hold to keep those little buddies standing strait without hardly any fuss.  And just like that, you’re a rock star!

Easter-Egg-Animals-with-free-printable-9

Add some Cadbury Mini Eggs and you’re really ROCKIN’!  There you have it, this simple yet super fun Easter Buddy project…

Easter-Egg-Animals-with-free-printable-1

Easter Pinterest Party

Now that I’ve shared my fun Easter creation, some of my favorite creative friends and I are pleased to invite YOU to wow us with yours!

Easter-Pin-Party

The Easter-themed Year of Celebrations Pinterest party will be held this Sunday, March 30, and y’all are all cordially invited to join in!

Hosted by…

  • Amy from The Idea Room // Follow Amy on Pinterest
  • Amy from Positively Splendid That’s me! ;)  // Follow me on Pinterest
  • Cheryl from TidyMom // Follow Cheryl on Pinterest
  • Cindy from Skip to My Lou // Follow Cindy on Pinterest
  • Desiree from The 36th Avenue // Follow Desiree on Pinterest
  • Heather from Whipperberry // Follow Heather on Pinterest
  • Jen from Tatertots and Jello // Follow Jen on Pinterest
  • Kari Ann from Thistlewood Farms // Follow Kari Ann on Pinterest
  • Kellie from Nest of Posies // Follow Kellie on Pinterest
  • Kristi and Kelli from Lolly Jane // Follow Lolly Jane on Pinterest
  • Melissa from No. 2 Pencil // Follow Melissa on Pinterest
  • Mique from 30 Handmade Days // Follow Mique on Pinterest
  • Tauni from SNAP! // Follow Tauni on Pinterest

The monthly Year of Celebrations Pinterest Party is the place to find THE most comprehensive, inspiring Pinterest board on the block. Each and every month, we’ll be focusing on a different holiday or celebration, and this month is all about Easter!

Here are all of the details for how YOU can participate:

  • What: A Pinterest Party to celebrate all things Easter!

  • When: THIS Sunday, March 30 at 9 p.m. EST/ 8 p.m. Central/ 7 p.m. MST/ 6 p.m. PST

How you can participate:

  • Round up YOUR favorite Easter projects and recipes. Anything goes: crafts, decor, sweet treats, and more!
  • Follow the Year of Celebrations Pinterest board. 

  • When the party kicks off, tweet YOUR favorite Valentine’s Day project and/or link using the hashtag #yearofcelebrations. Helpful hint: We highly recommend putting the hashtag at the beginning of your tweet to ensure it doesn’t get cut off.
  • On Sunday, March 30, tune in at the appointed time and watch as we build a board full of amazing ideas – including yours! 
  • Be sure to follow along during the party to repin and comment on the board’s posts using the hashtag #yearofcelebrations.

We are so excited to PIN and SHARE all of your amazing projects!

See y’all there! 🙂

ONE LAST THING… I have an amazing $500 Instagram giveaway going on right now. Click HERE to check out all the info and enter to win…

instagram

Hello Spring Burlap Sign

2 · Feb 25, 2014 · 9 Comments

Spring Burlap Sign brought to you by Elmer’s Glue //  It’s almost here and I just can’t seem to get spring off my mind these days! The folks at Elmer’s challenged me to come up with a fun spring project and I was super excited to get busy working on it.  Not to long ago I attended the product launch event for the new Cricut Explore and all of the fun projects we saw at the event inspired this fun Hello Spring Sign…

Hello Spring Burlap Palette Sign from #whipperberry #elmersglue #explorecricut

 Doesn’t it just look cheery? Spring has no choice but to appear with this fun sign.

Everyone is still in love with burlap, and this new polka dot burlap that I found at Jo-Ann’s Fabrics I think is going to extend the life of the burlap trend. It is just so fun. I glued it onto a rustic palette wood board that I also found pre-made at Jo-Ann’s. Score on that one… I’ve made plenty of my own palette wood signs and it’s such a time saver to not have to build it yourself.  I topped it off with some Basic Grey Hey Girl paper, the graphic elements of the paper together with the burlap makes this sign just pop!

Now, I was super excited to try something new with one of Elmer’s glue sticks that I’ve been wanting to try. It’s their Elmer’s Xtreme School Glue Stick and it works like magic!! I would have to say I was a little skeptical, I, like many of you have been a little let down at times with the performance of glue sticks in the past. They just don’t have the chops for some projects. I thought for sure the glue stick wasn’t going to  be able to handle affixing the burlap to my palette sign, but sure enough it did. Not only that, it only took minutes rather than hours for the glue to dry and my sign was ready to work on in a snap… LOVE that! Needless to say, the Xtreme Glue Stick has won me over, it’s defiantly a case of “under promise, and OVER DELIVER.”  Here’s how I made my sign…

Hello Spring Burlap Sign Supplies

Hello-Spring-Sign-with-Elmers-Glue-#whipperberry-11

  • Elmer’s Xtreme School Glue
  • Elmer’s Glue Spots
  • Elmer’s Foam Mounting Squares & Dots
  • Basic Grey Hey Girl paper pack
  • Wood palette sign
  • 1/2 a yard of polka dot burlap
  • 10 mini brads
  • scissors
  • X-ACTO knife
  • X-ACTO self healing cutting mat
  • Cricut Explore (optional)

Hello Spring Burlap Sign Directions

Lay your palette sign on a flat surface and lay your burlap on top.

Hello-Spring-Sign-with-Elmers-Glue-#whipperberry-1

 Cut the fabric to roughly the size of the sign with about a 1 inch boarder around the board. Then center the burlap and using your Elmer’s Xtreme Glue Stick affix the burlap to the wood. I started on one slat at a time and in small 3-4 inch sections smoothing the burlap and I went along.

Hello-Spring-Sign-with-Elmers-Glue-#whipperberry-2

Wait for 15-20 minutes until the glue has completely dried. Next, you will trim your burlap. I used both an X-ACTO knife and scissors. Either one will work just fine. I did find that the scissors were a bit easier in certain places.

Hello-Spring-Sign-with-Elmers-Glue-#whipperberry-3

trimming-the-burlap

I was thrilled with how well the burlap trimmed up and my palette slats look fantastic with the addition of the burlap.

burlap-sign

Next, I cut out my pinwheels on my Cricut Explore,

cutting-pinwheels-with-my-Cricut-Explore

NOW, I know that the Cricut Explore isn’t available until March 15th, soooo… You can cut basic pinwheels using this great tutorial from First Palette.  I used Elmer’s Glue Spots to secure the pinwheels and then dressed them up with a mini brad in the center. Then I used the Elmer’s Foam Mounting Square to affix the pinwheels to the sign…

adding-the-pinwheels

Next, I cut my lettering using a couple of my favorite fonts on my Cricut Explore. The fonts are League Gothic and Suburbia. League Gothic is a pretty standard font, but Suburbia will be available in the Cricut Design Space once that is launch on February 27th.  Now, if you don’t have a Cricut or a Silhouette to cut your letters, you can always print them out from your computer and cut them out with your X-ACTO knife. That’s super slick as well. So… choose whatever font you would like for the Hello Spring and select your paper for the words.

Next, I affixed the letters to the burlap sign with my Elmer’s Foam Mounting Squares…

Hello-Spring-Sign-with-Elmers-Glue-#whipperberry-4

 I LOVE these mounting squares, they give your letters a 3D effect which just adds more dimension to the sign…

Hello-Spring-Sign-with-Elmers-Glue-#whipperberry-7

Isn’t that fun?! Once you have everything mounted to the sign, you’re finished! I added it to my giant frame in my living room to update it for the season…

Hello-Spring-Sign-with-Elmers-Glue-#whipperberry-10

Isn’t that a fun project that will brighten up any space? You can use it for any kind of saying, the polka dot burlap comes in a bunch of different colors and the skies the limit as to what you can create with that! One of my Creative team, Jenn from My Fabuless Life even used it to dress up some old folding chairs. All you need to do now is head over to JoAnn’s, stock up on supplies and get busy, you’ll have a fun new sign in just a couple of hours!

Disclaimer // I am a member of the 2014 Elmer’s Craft it Crew and received product and compensation for this post.  Please keep in mind… I will only endorse products and brands that I believe in 100% and use in my day to day life!

  • « Go to Previous Page
  • Page 1
  • Page 2

Primary Sidebar

Heather from Whipperberry
Hello... my name is Heather and I'm the creator of WhipperBerry a creative lifestyle blog packed full of great recipes and creative ideas for your home and family. I find I am happiest when I'm living a creative life and I love to share what I've been up to along the way... Come explore, my hope is that you'll leave inspired!

Footer

  • Privacy Policy
  • Crafts
  • Food
  • Gifts
  • Holidays
  • Home
  • Mom Life
  • Recipes
  • Travel

Copyright © 2026 · Seasoned Pro