I signed up for Sew it Academy by Mimi G a few months ago. I found a lot of mixed reviews online so I wanted to try it myself. If you know me well enough, you know that I like to try things out myself and share it with you!
So, is Sew It Academy worth it? I’m going to share my honest review of Sew it Academy here in this post. Some of the other Sew It Academy reviews online seem to be fake. I think this is because they are using affiliate links to promote it so they give it a good rating so they can get paid for the review.
If you’re short on time I’ll give you the final verdict here…
I strongly believe that paid training and content for sewing is the way to go. Just like with education, it’s sometimes easier to find a tutor or search do my essay or get help with my papers. This way, you will meet your deadlines and improve your writing skills. You will also learn how to structure your ideas more effectively. No matter what you’re doing – writing, sewing, or any craft – getting help or taking a course can make a big difference compared to doing it alone.
You get so much more detail from creators and teachers when you pay for the content. With that said, there are definitely better online sewing schools than Sew it Academy for the money. For example, I created a Craftsy review that you can read and see why I like it better. Read until the end to see why and which sewing schools might be of better value.
How Much is Sew It Academy?
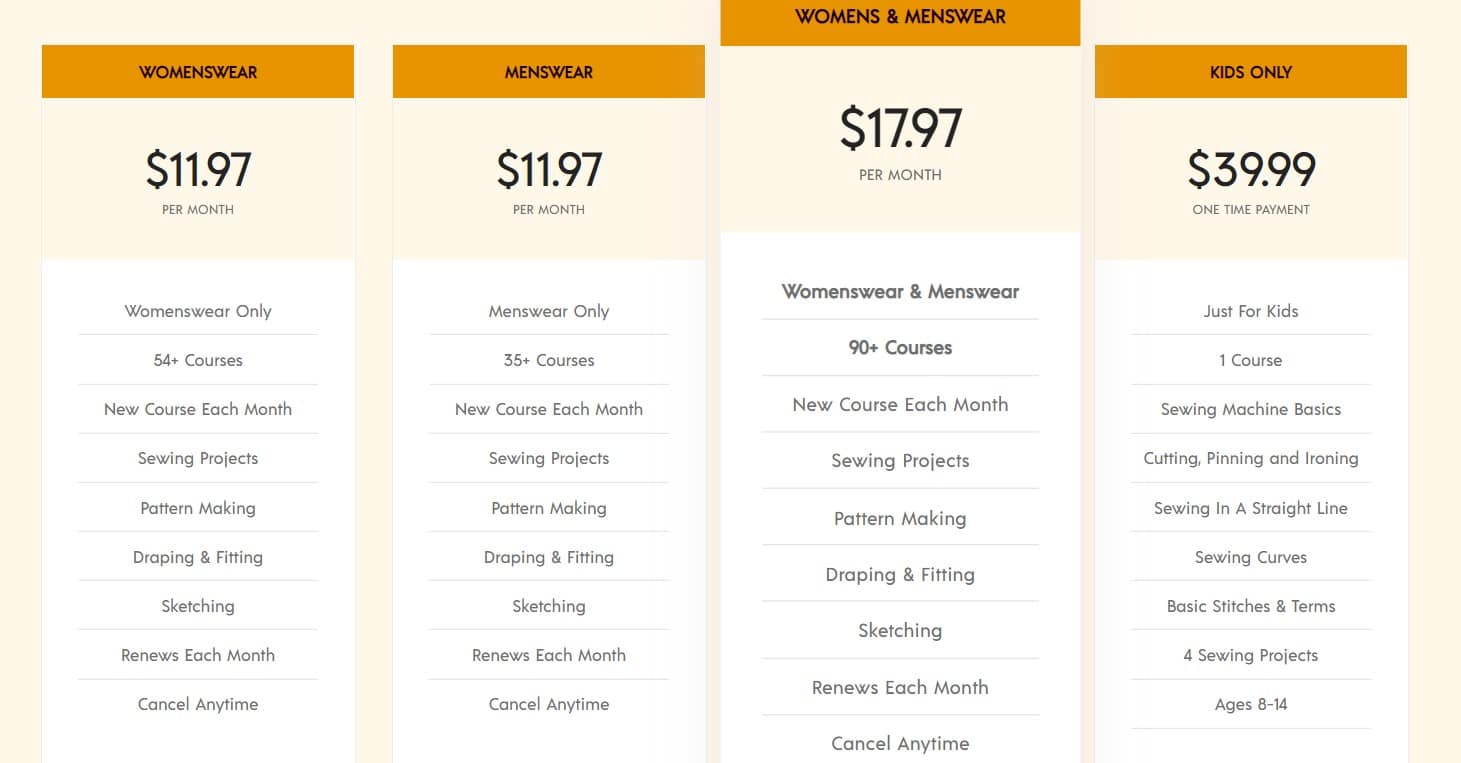
Sew it Academy is $17.97 per month for the full membership. I think this is a reasonable price to pay for a sewing school and it’s in line with the cost of other sewing schools. The only problem I have is that I don’t think it’s worth the cost. A better value would be Craftsy at $8.99 per month instead. Craftsy is even cheaper when you sign up for a year. You get so much more for the money. One good thing about Sew It Academy is that it has a free trial so you can see what you’re getting before you pay but I truly believe it’s not worth it. Mimi G seems to be more interested in being viewed as a great businesswoman instead of delivering a great product.
Sew It Academy Courses and Projects
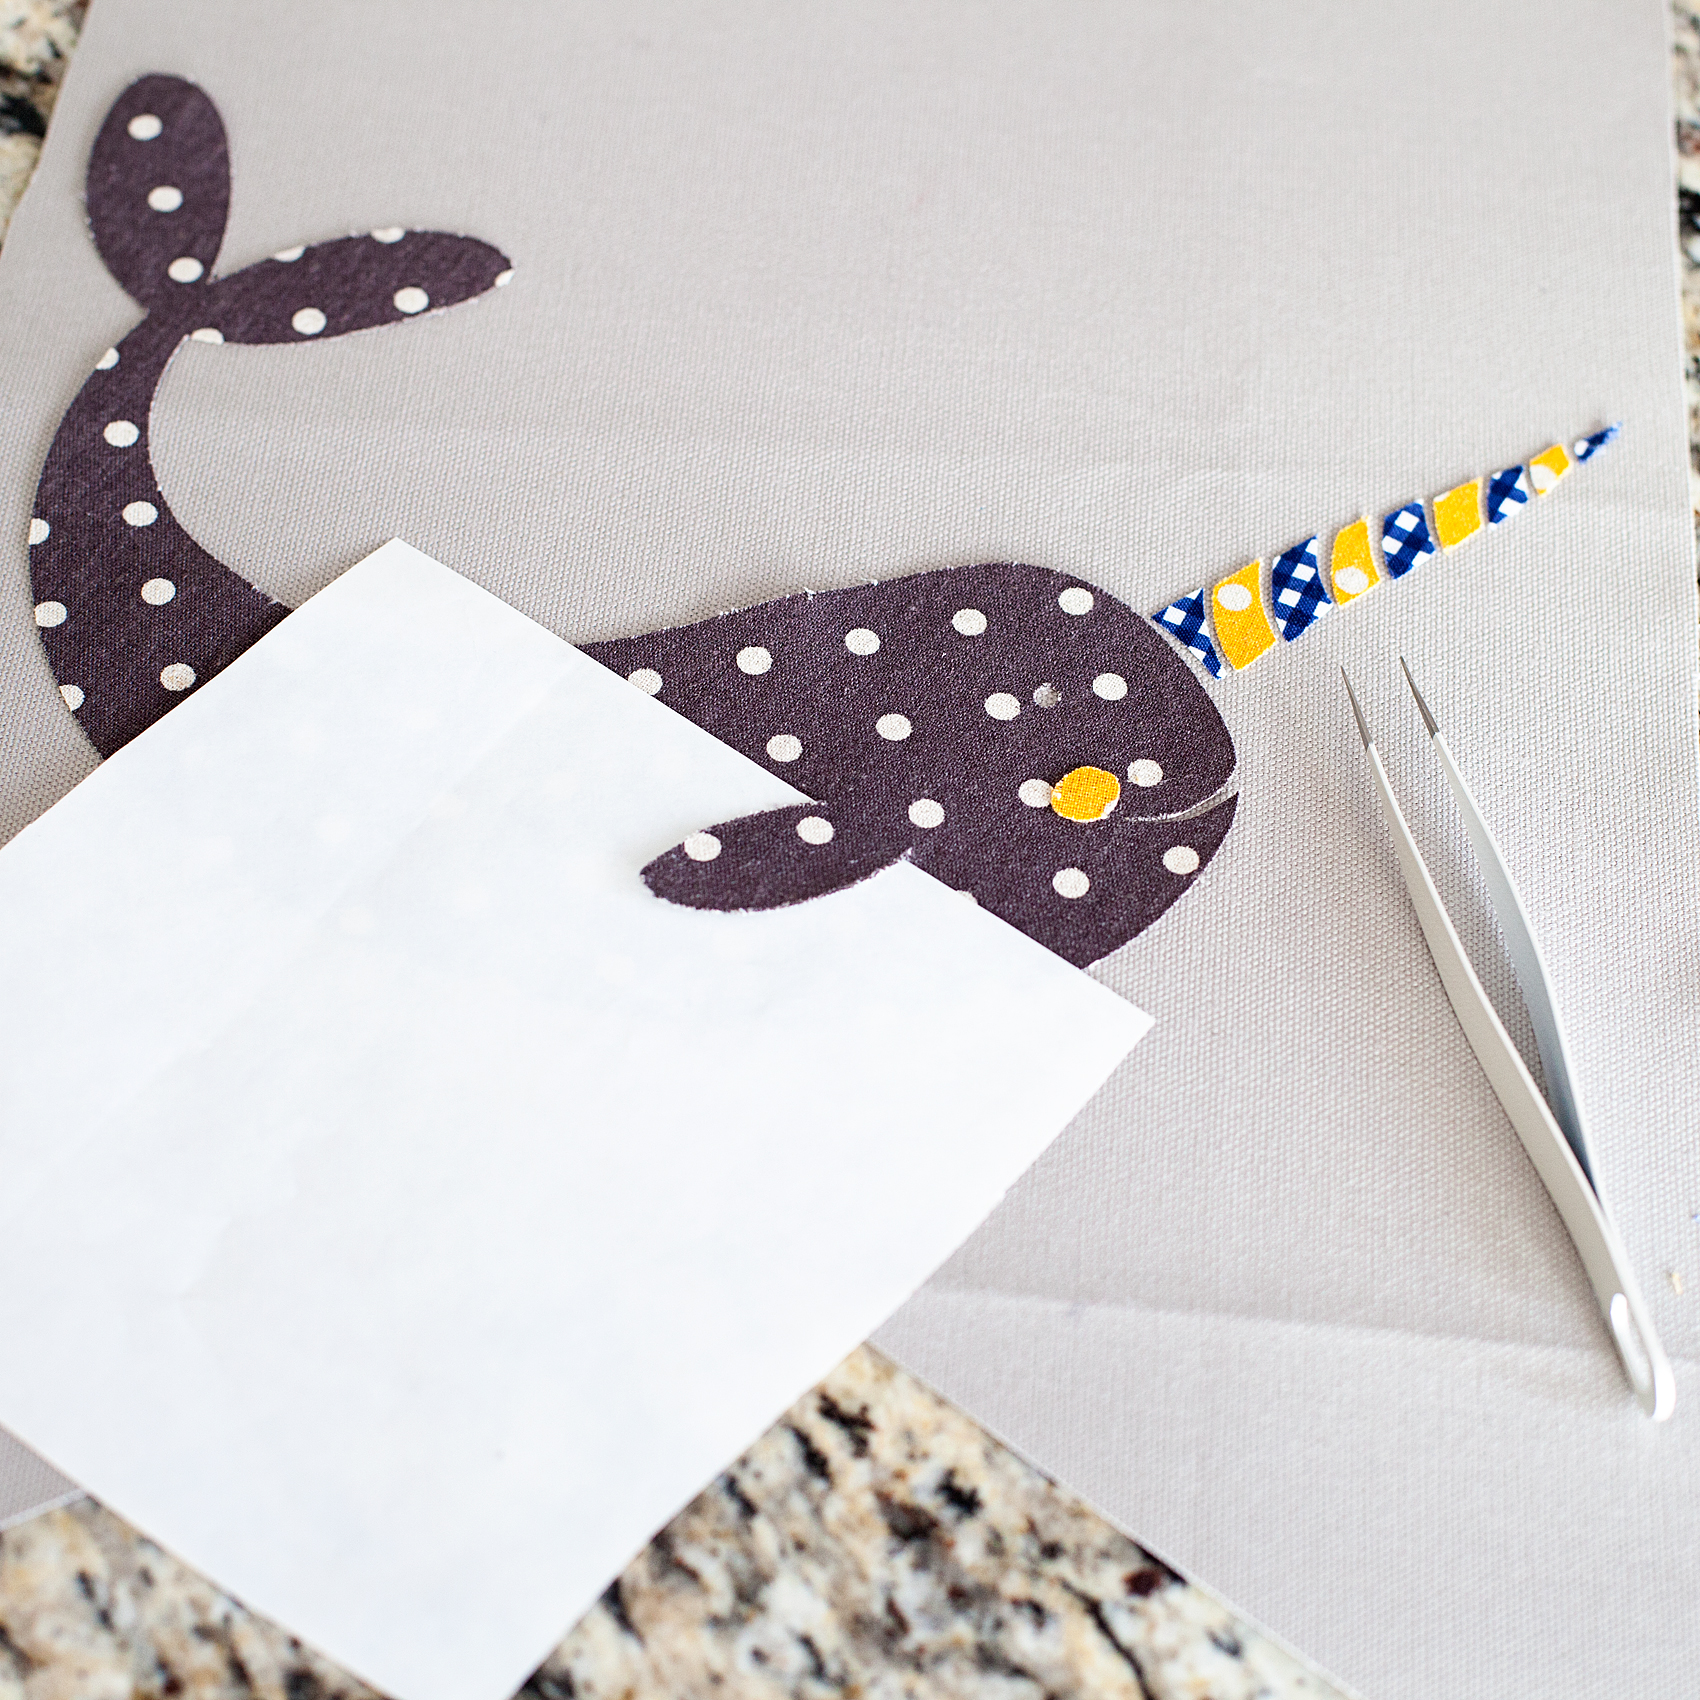
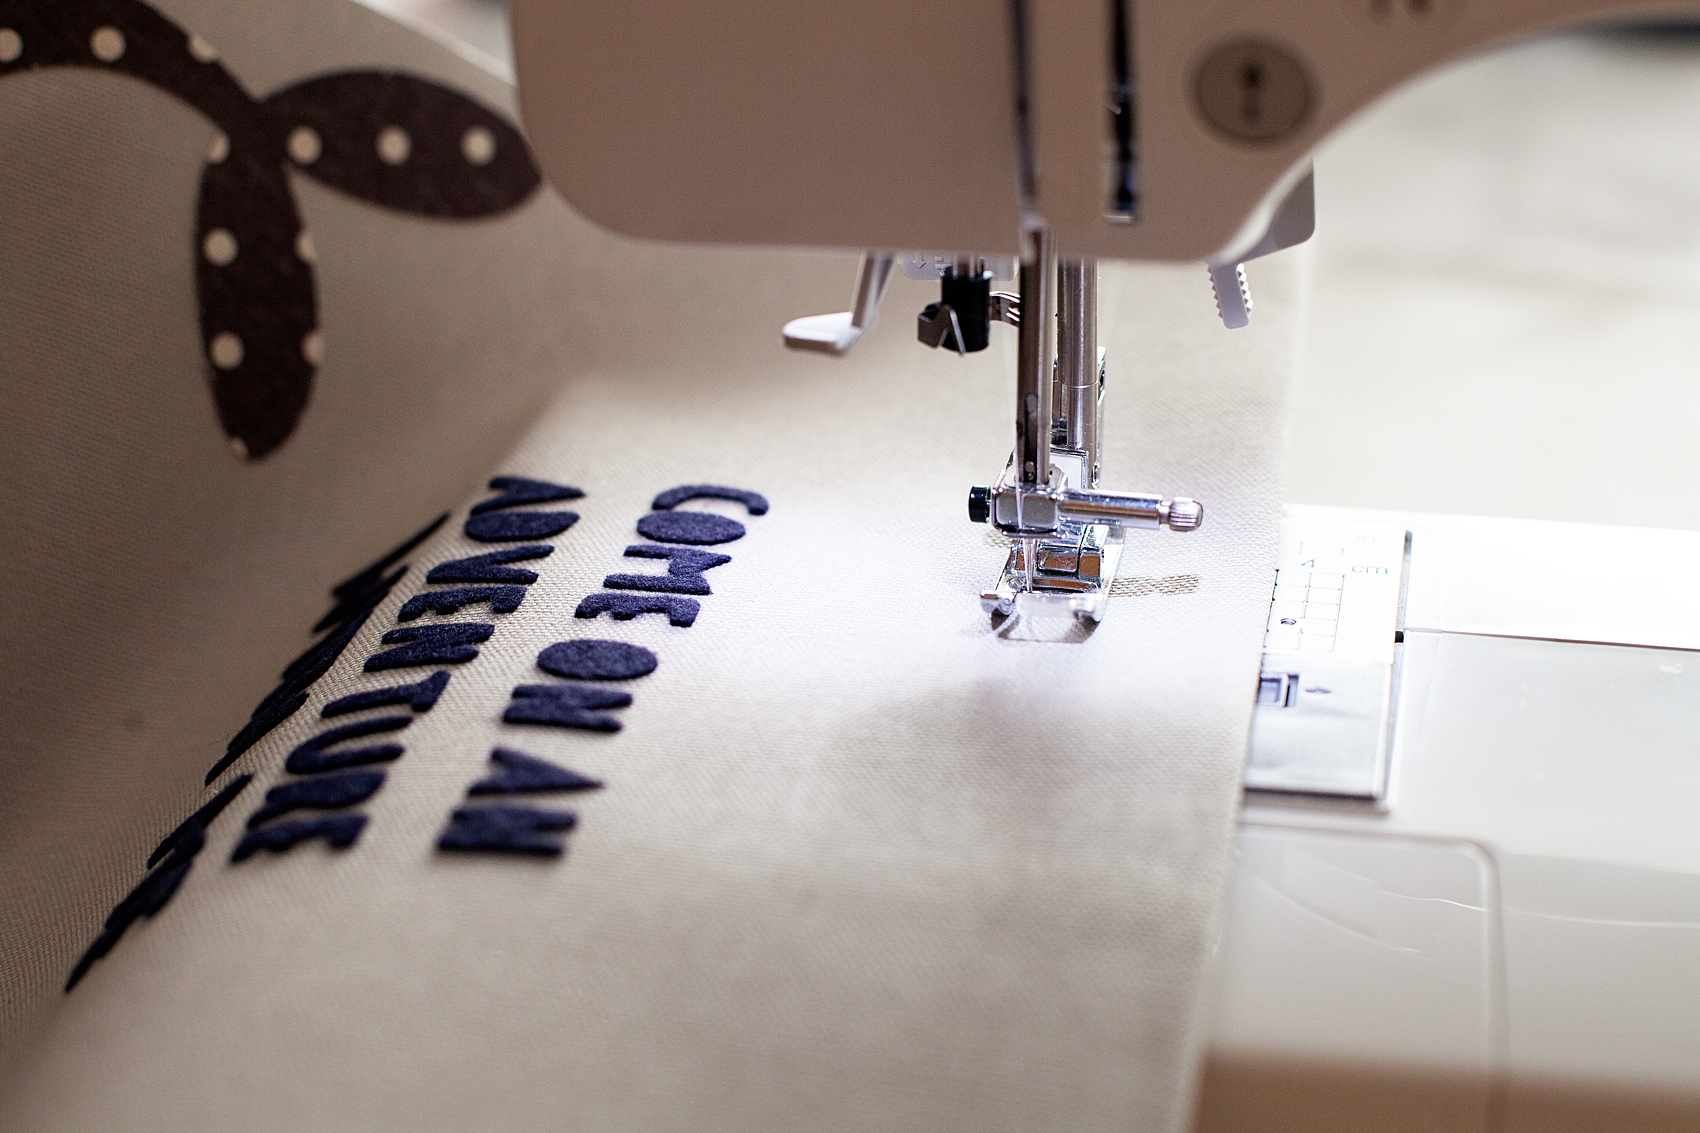
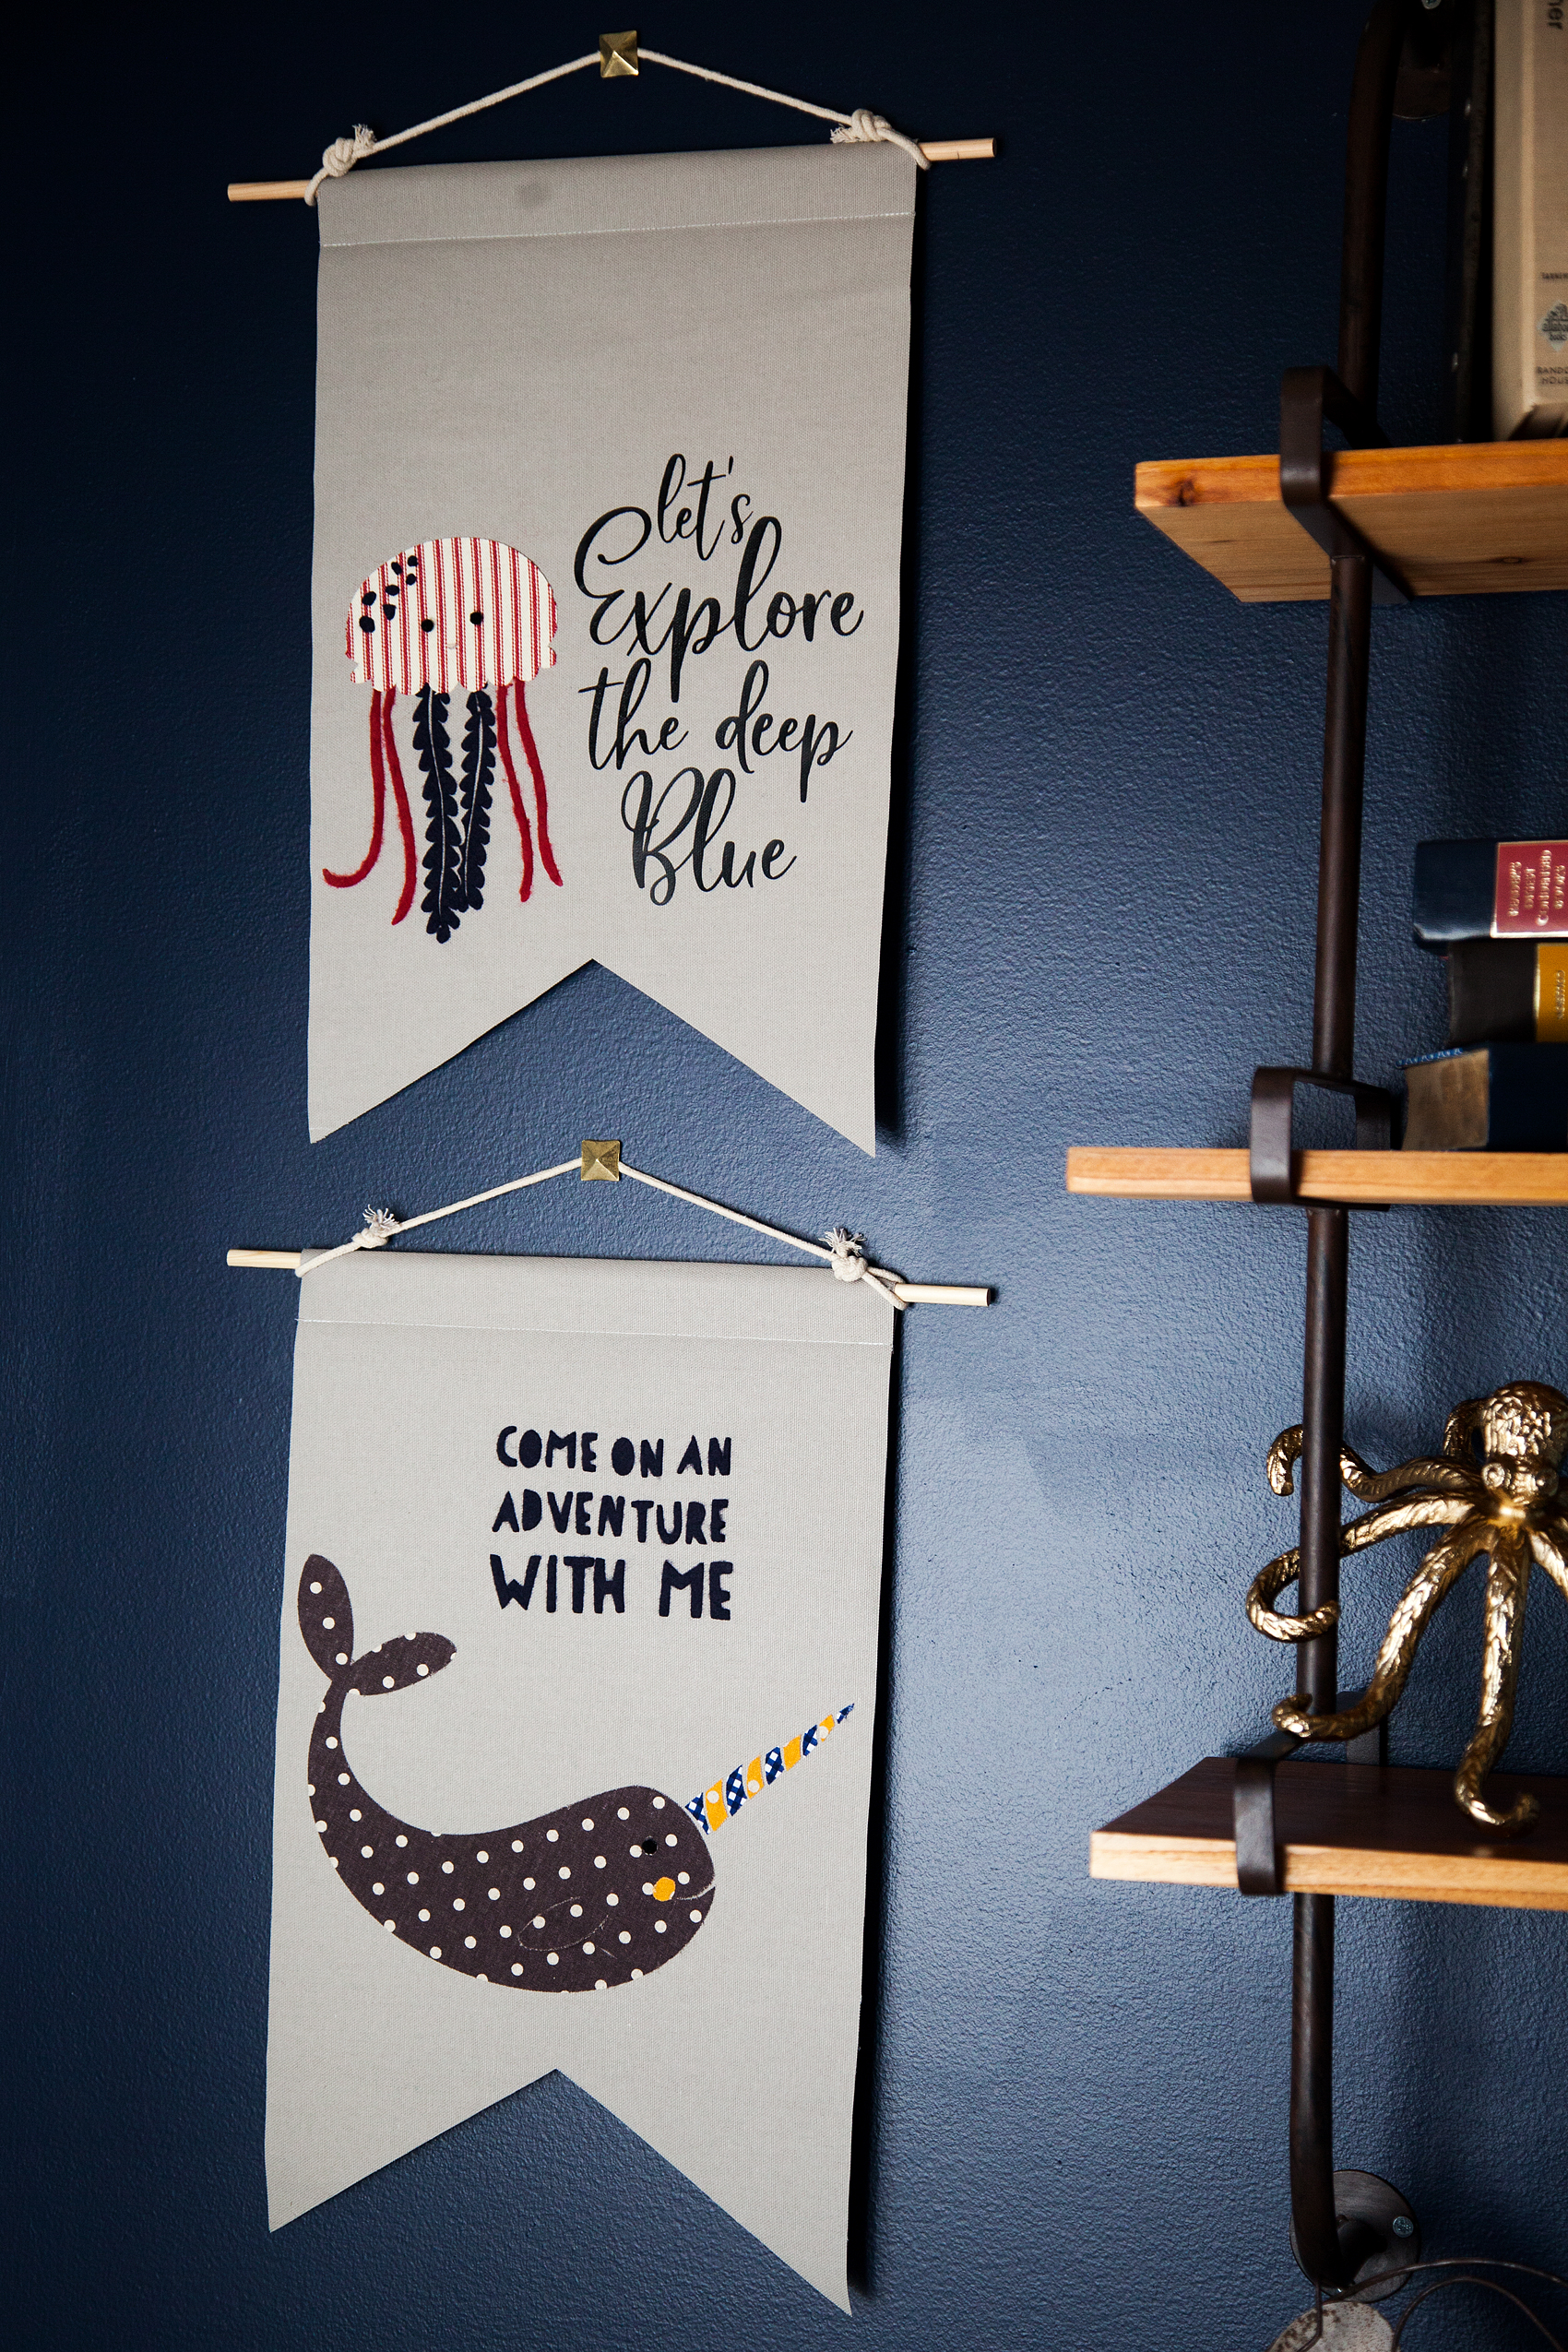
The projects inside of SewIt Academy are good. I have been enjoying most of them because they’re fun and creative. However, I don’t really like the lessons. It seems like Mimi G, the owner, is more focused on marketing her program than she is on delivering good lessons.
While Sew It Academy is quite affordable, I am not that impressed with the overall quality of these lessons. I think she talks too quickly through skills and concepts that would take me more time to understand fully. You would think with such a successful business that she would put more focus and effort on covering things thoroughly.
The draping course is only a basic bodice. The entire tailoring series is only one hour long. Other sites like Craftsy have over 15 hours of lessons and content on these types of skills. This is the main place I think that Sew It Academy can improve.
If you can’t tell by now, I don’t think Sew it Academy is a great option. I’d strongly suggest getting a yearly membership elsewhere.
Sew It Academy Coupons and Discounts
I sent an email to Sew It Academy to tell them I was going to be writing a review and asked for a coupon code for you, my readers. No one emailed me back about this. I don’t think they do discounts or coupon codes but you can always get the free trial to see if you like it.
Sew It Academy Customer Service
I don’t have experience with their customer service as a client. I did send them emails asking about discount codes but no one emailed me back.
There aren’t any bad reviews online about their customer service but from my experience of sending 4 emails, I received no replies at all. This seems odd to me. Maybe it’s just Mimi G cutting another corner to make more money? I’m not sure but it hasn’t been a good experience for me.
Conclusion for This SewIt Academy Review
I say you can sign up for the free trial to see for yourself. If you already know a lot about sewing and just want some patterns and fun projects it would be fun for a few months. If you’re looking for in-depth tutorials and classes then I would choose another program instead.
This wraps up the Sew It Academy review. I hope this has been helpful for you!