I LOVE, LOVE, LOVE my Cricut Maker! I’m especially loving creating more with fabric these days. I’m always looking for more Cricut Maker project inspiration & ideas on how to take care of my machine. For example every Cricut Maker user, there comes a time when you will need to change out your rotary blade. This is something that is relatively new to the Cricut world and is super easy to do following the proper instructions. If you are new to creating with Cricut, the Cricut Maker Rotary Blade is the magical blade that cuts fabric when using the Cricut Maker machine! With its gliding, rolling action, it cuts virtually any fabric quickly and accurately – without backing material. It’s pretty fabulous! After you’ve cut to your heart’s content, you will eventually have to change out your blade, here’s a tutorial for how to replace a Cricut Rotary Blade. And, if you’re not sure if a Cricut or a Silhouette is right for you then make sure to read that article first. Ok so, down for the tutorial.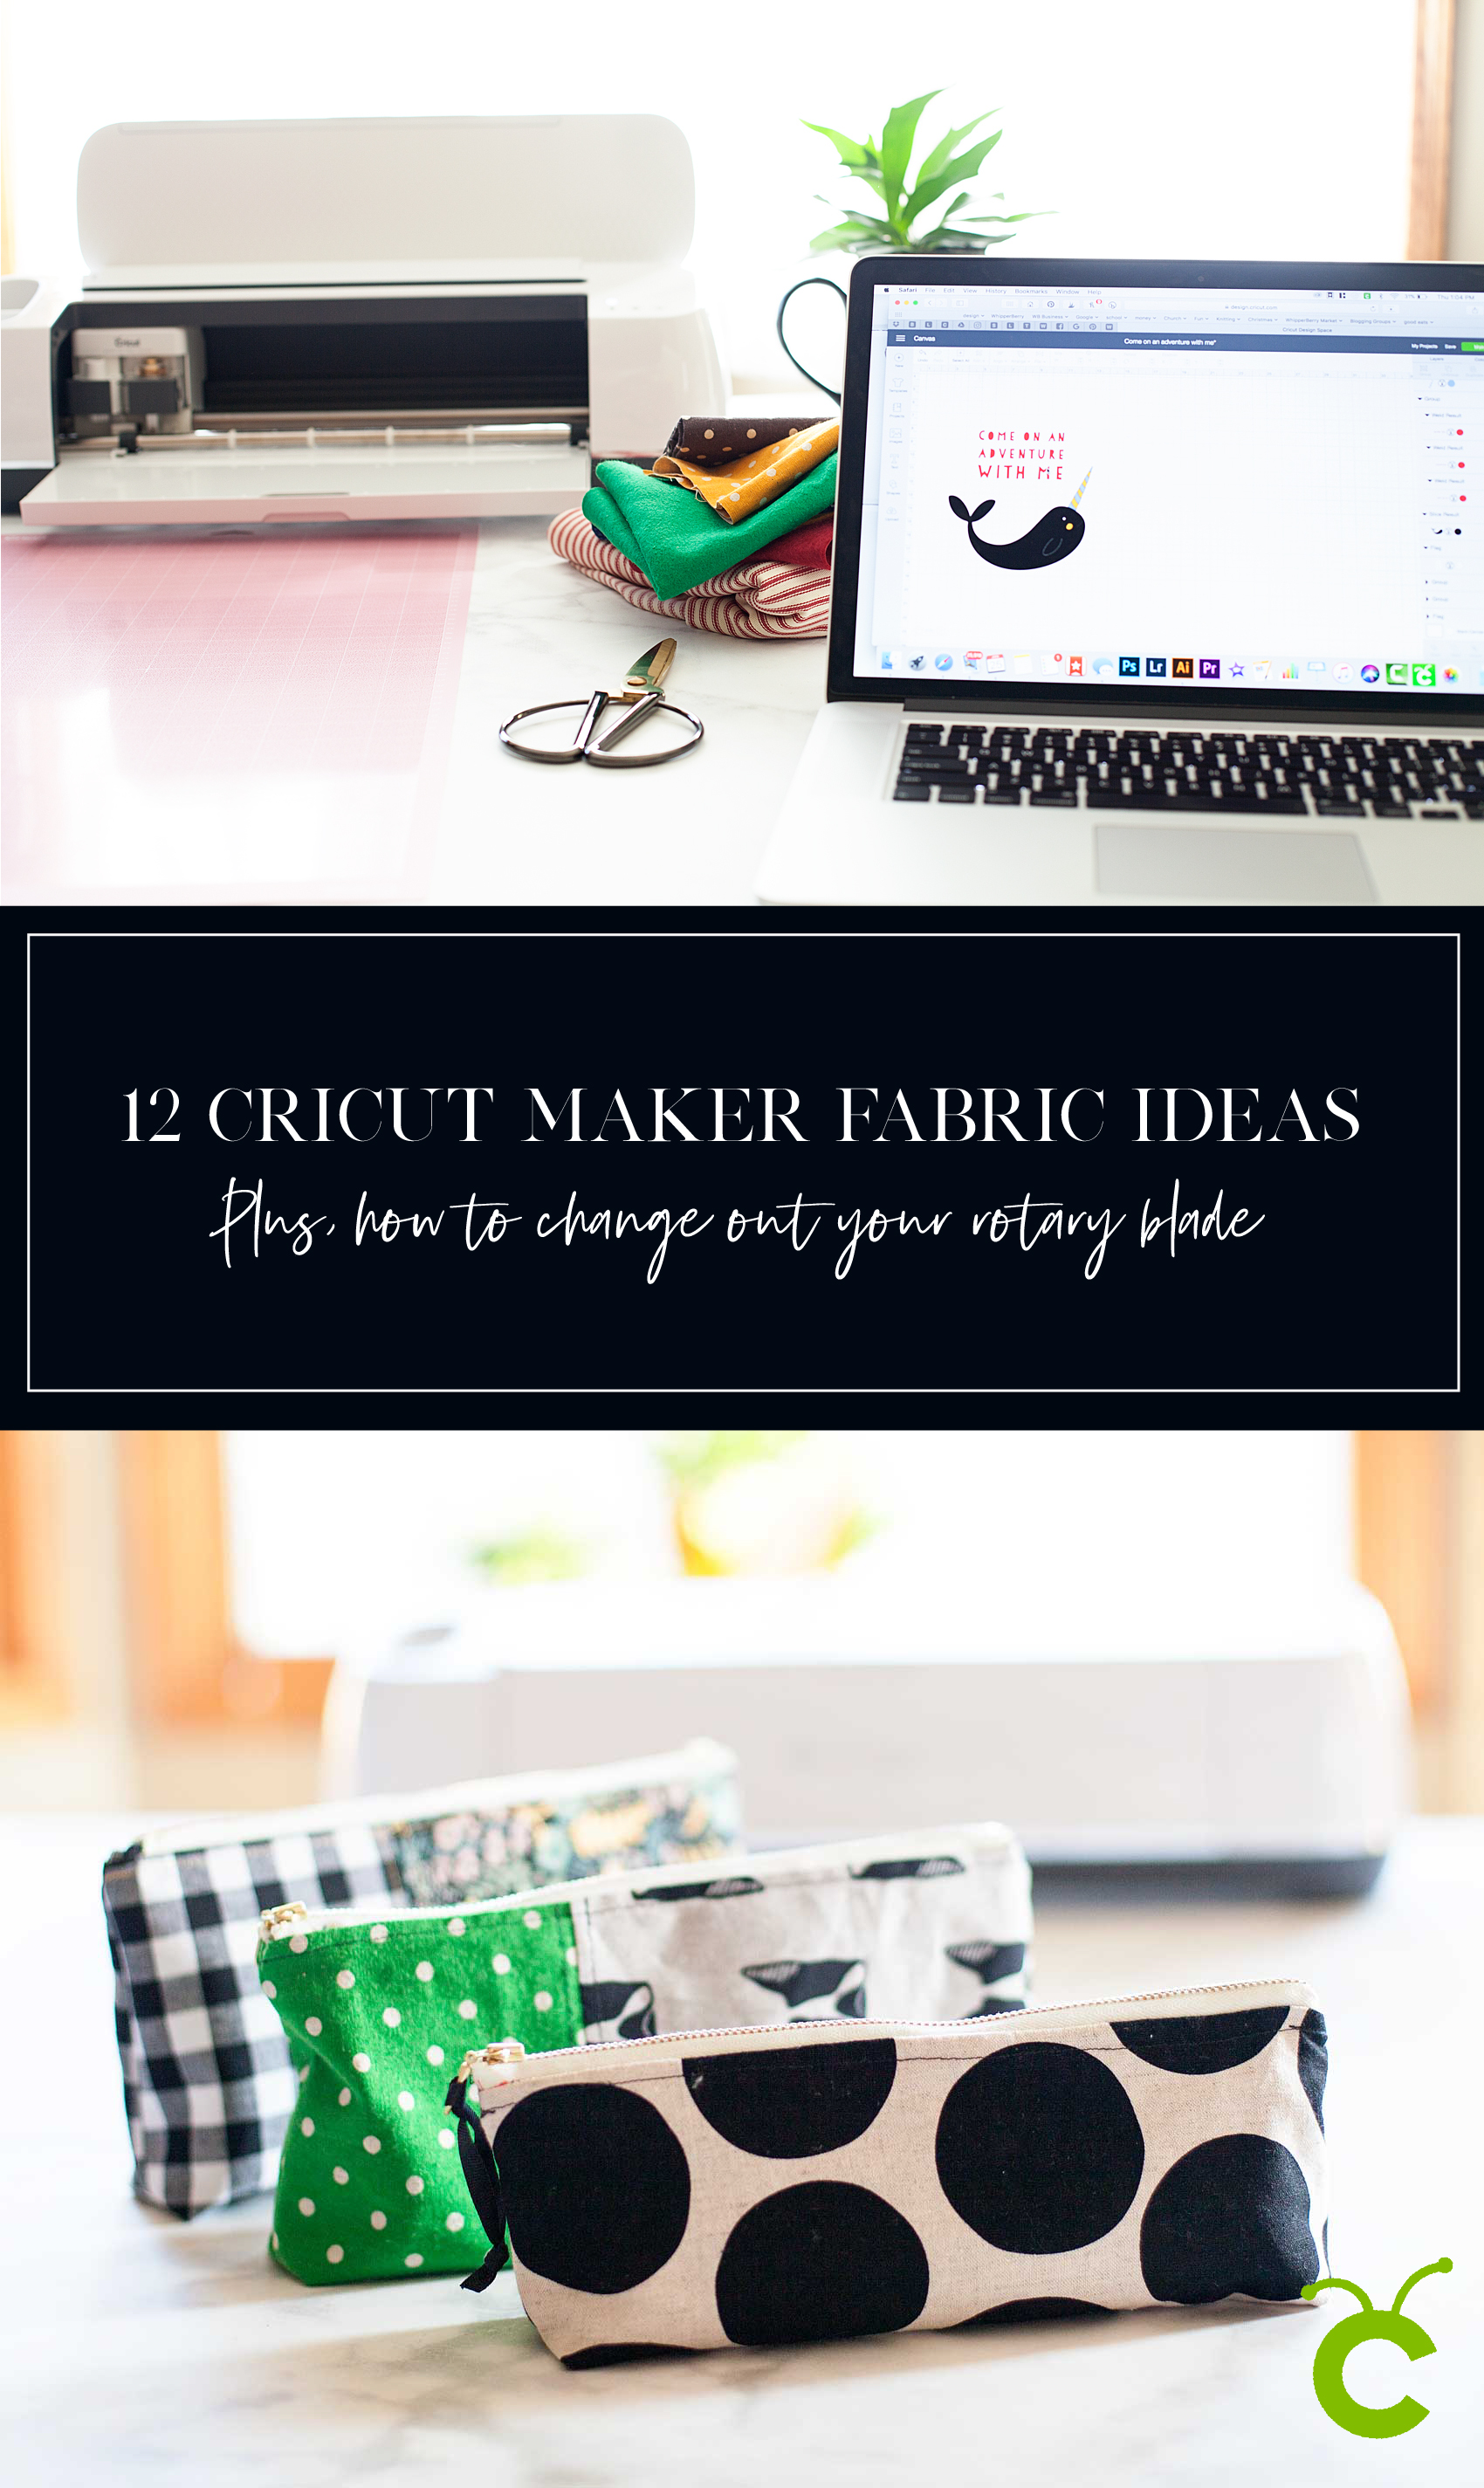
Below is a quick Pinable graphic that you can save so that you can reference it later on how to change your Cricut rotary blade. You can even print a PDF version of it HERE if you’d like.
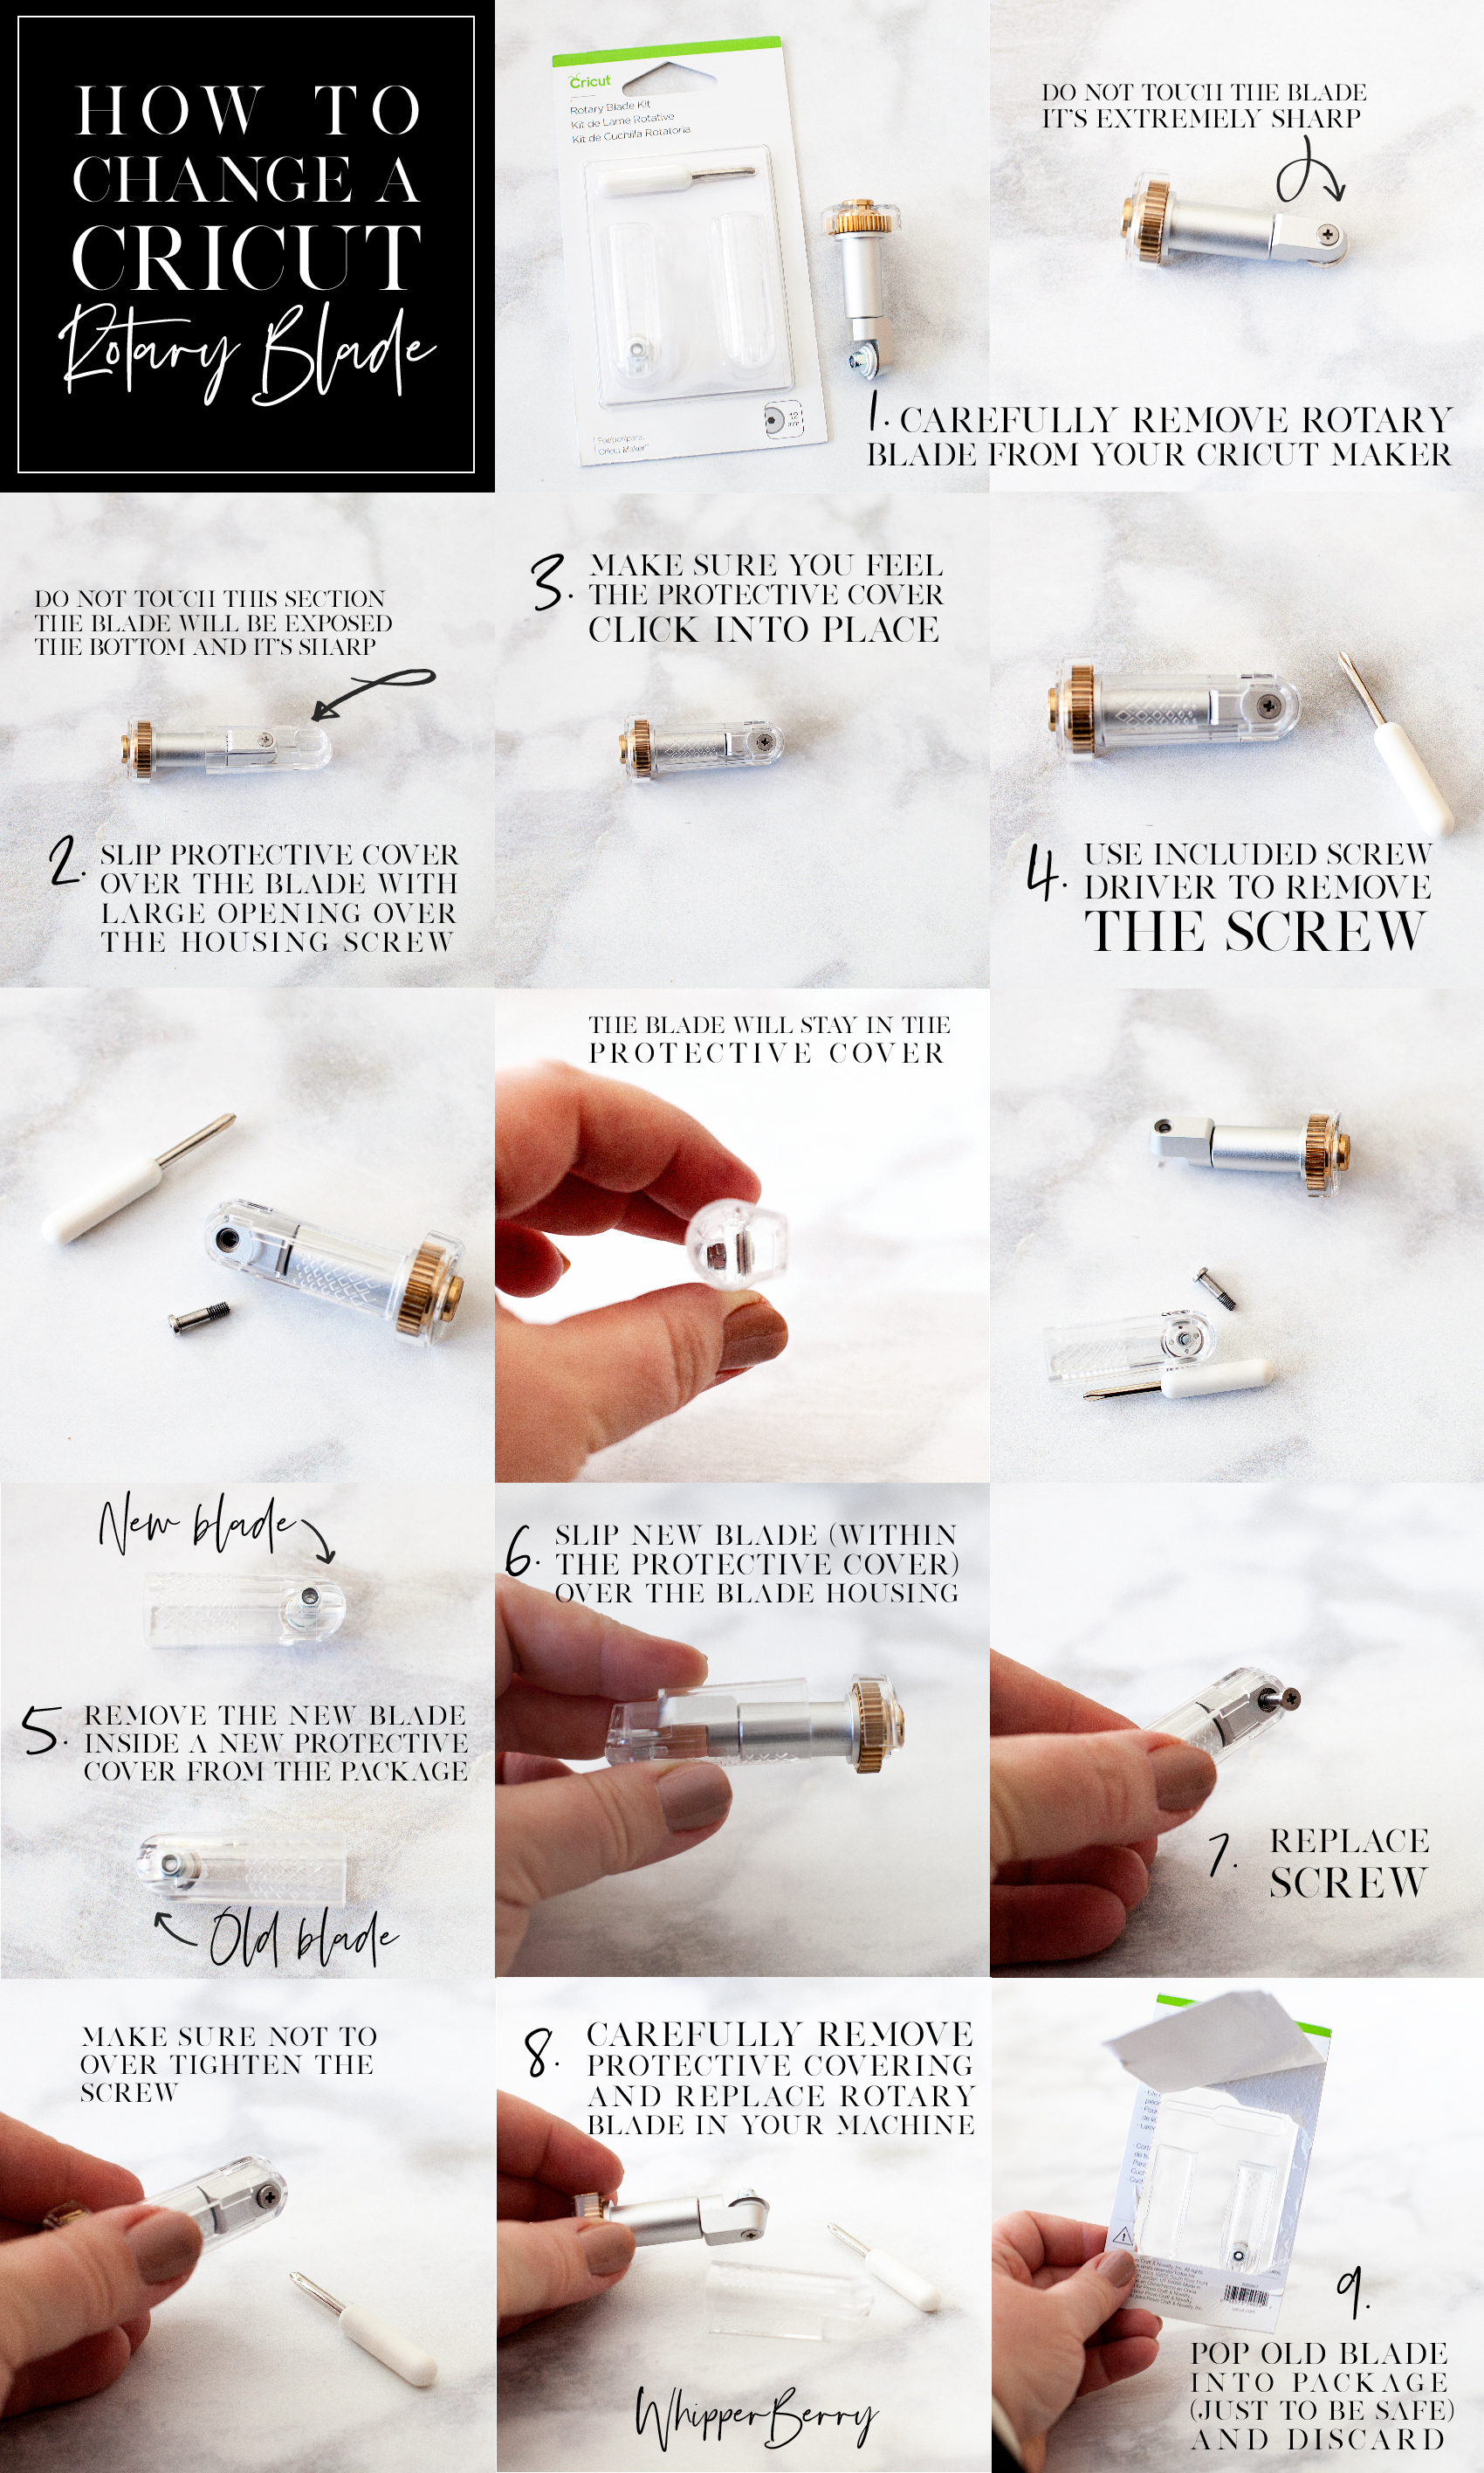
How to Change a Cricut Rotary Blade
Before you begin, you need to make sure you remember you are working with a VERY SHARP blade and to be safe while working with it at all times.
- Carefully remove rotary blade from your Cricut Maker.
- Slip protective cover, from the Rotary Blade Kit over the blade with the large opening over the housing screw. View graphic to view safety warning.
- Make sure you feel the protective cover click into place.
- Use provided screw driver to remove the screw from the housing. View graphic for step-by-step photo instructions. Keep in mind, the blade is meant to stay within the protective cover. This is a great feature created by Cricut to protect their Cricut family of users. I think it’s genius!
- Remove the new blade, already in a new protective cover, from the package.
- Place over your housing like before.
- Using the provided screw driver, replace the screw making sure not to over tighten.
- Carefully remove protective covering and replace rotary blade in your machine.
- Just to be safe, I place my old blade, still in the protective cover, back into the packaging before I toss it in the trash.
That’s it, you’re ready to rock’n roll again. Looking for some inspiration on what to make with this fabulous new cutting tool? Here are some that might get your creative juices flowing…
Cricut Maker Fabric Project Inspiration
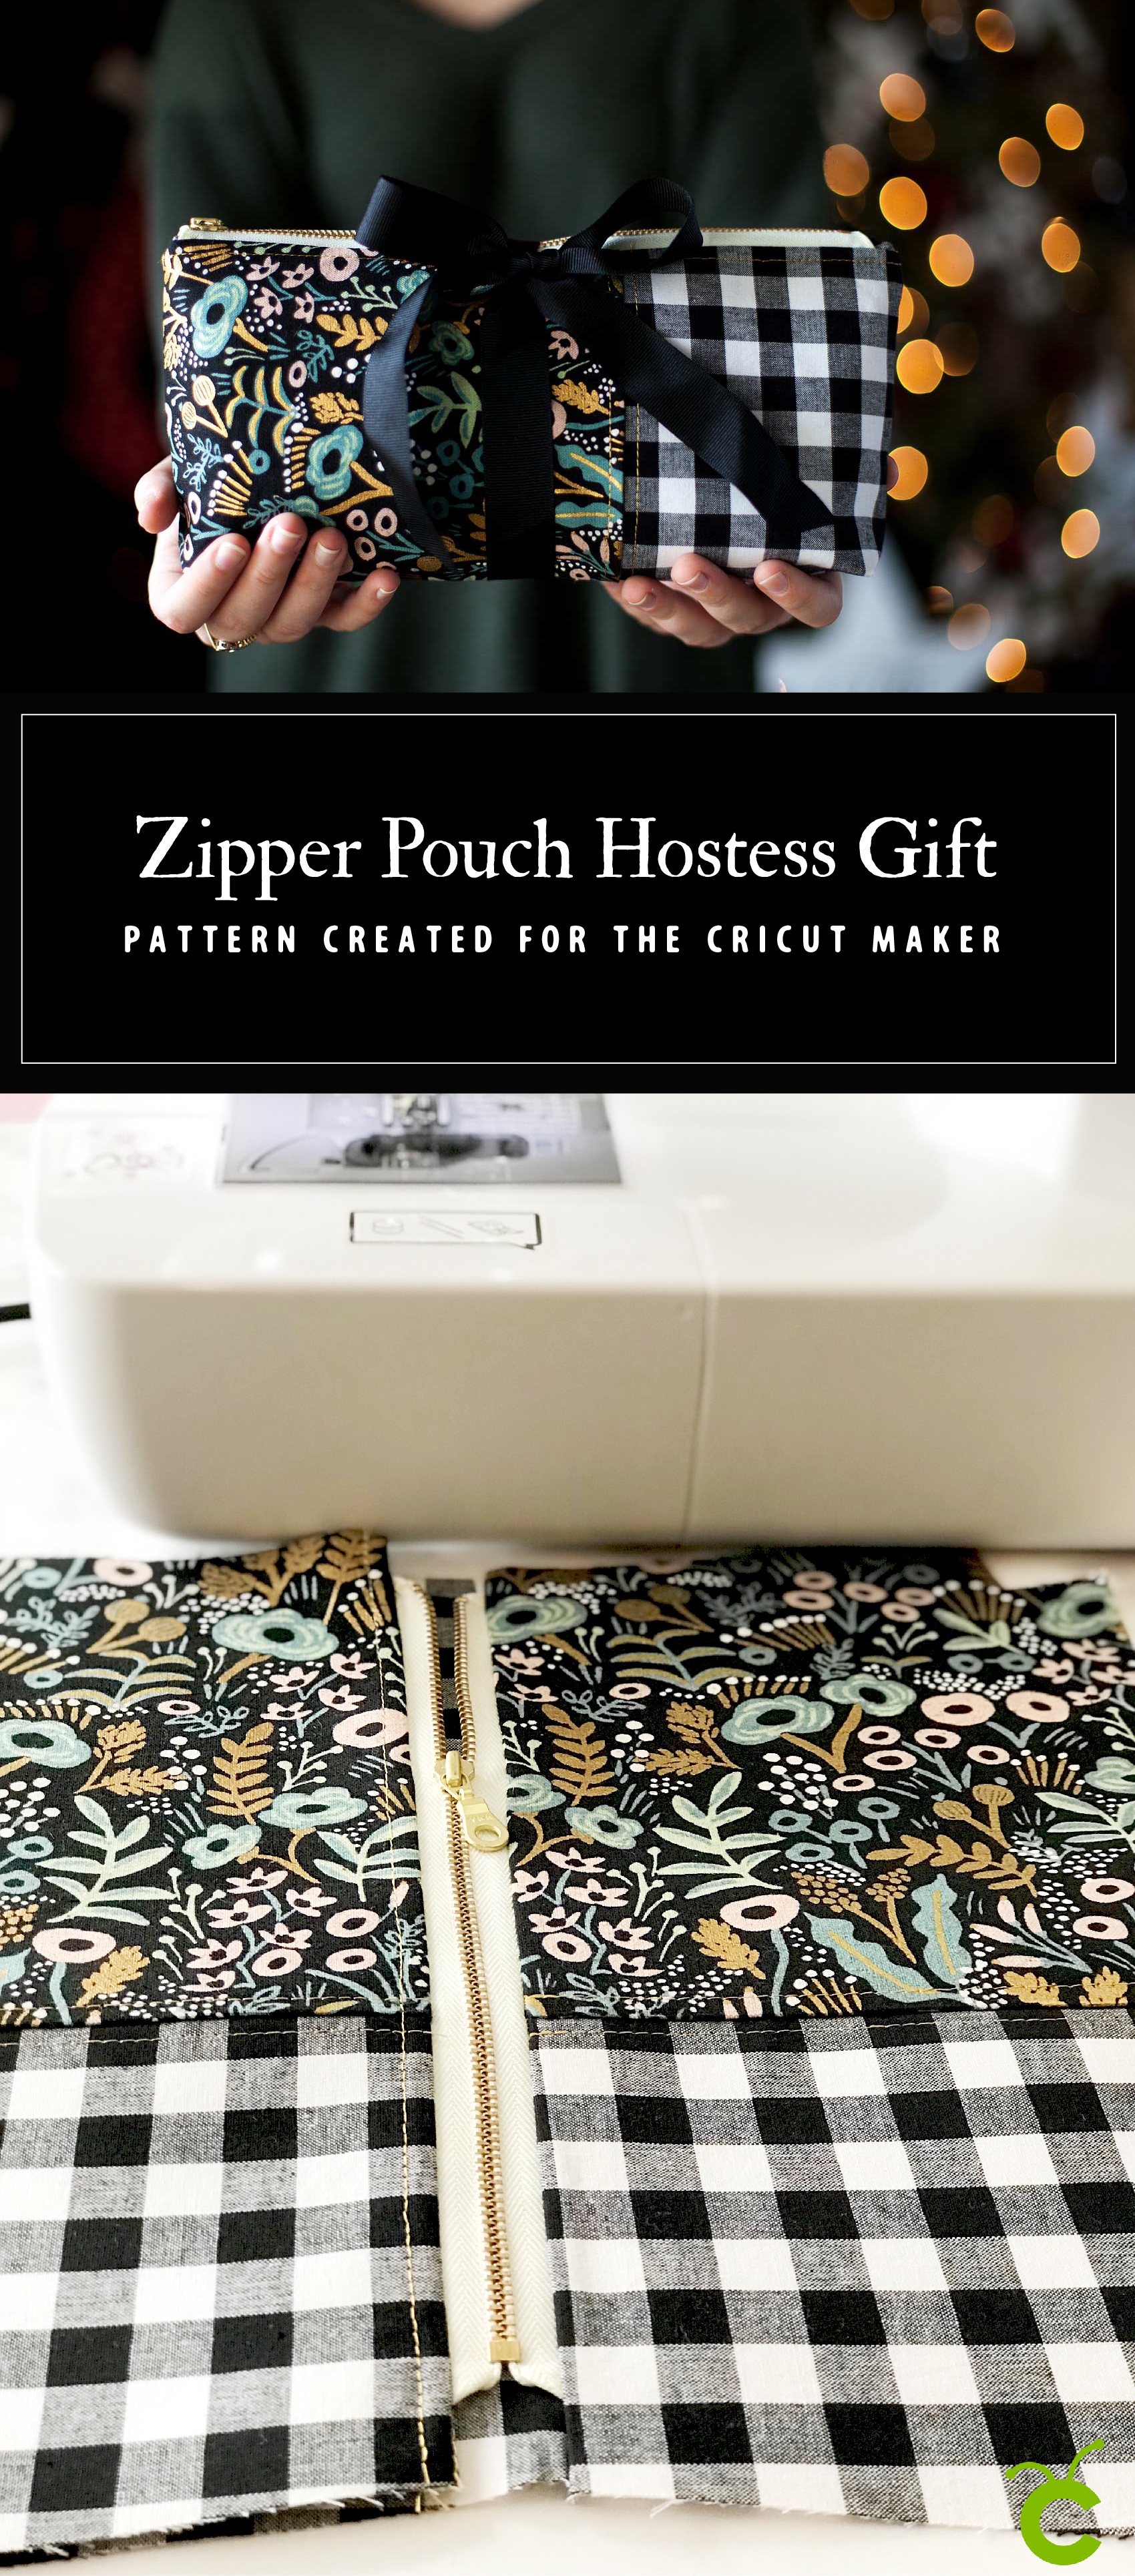
Zipper Pouch + created by ME, WhipperBerry
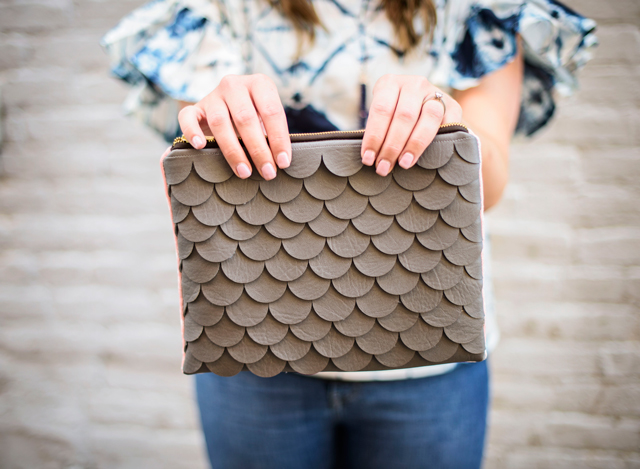
Scalloped Leather Clutch + See Kate Sew
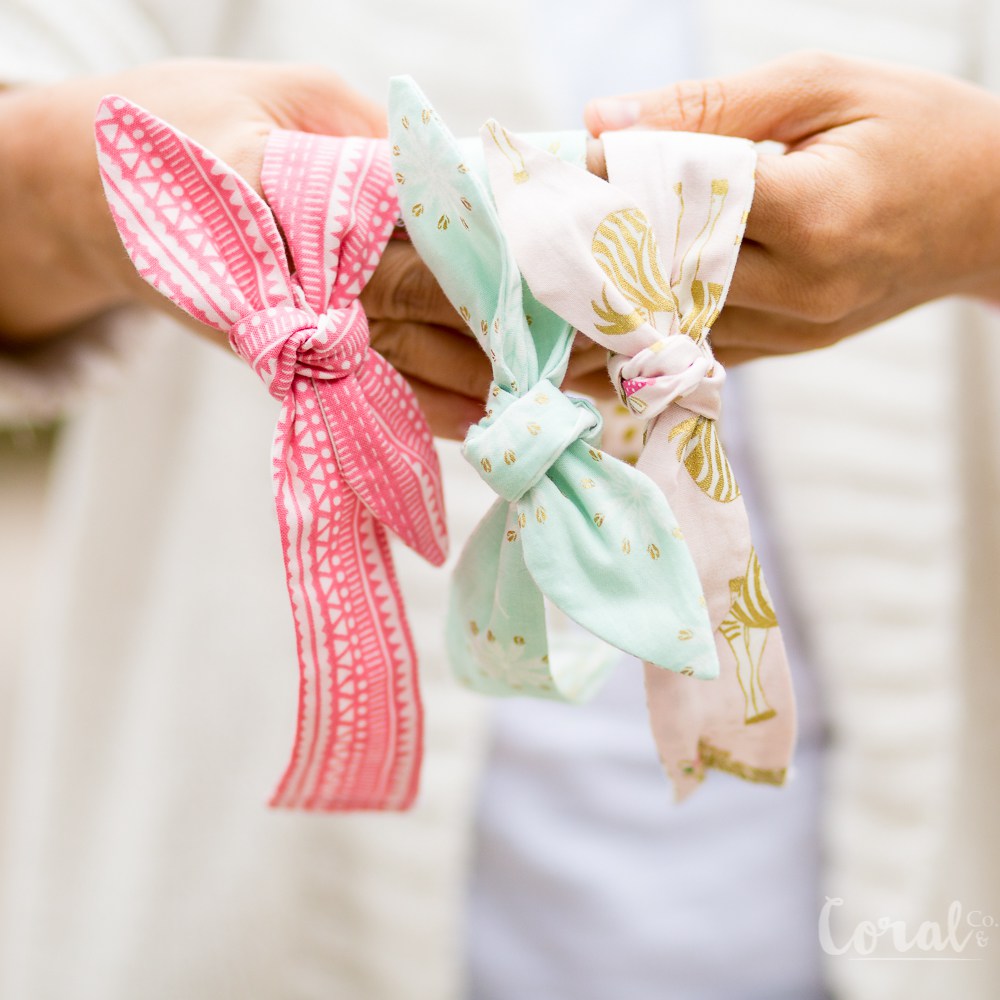
Knot Headband + Coral & Co
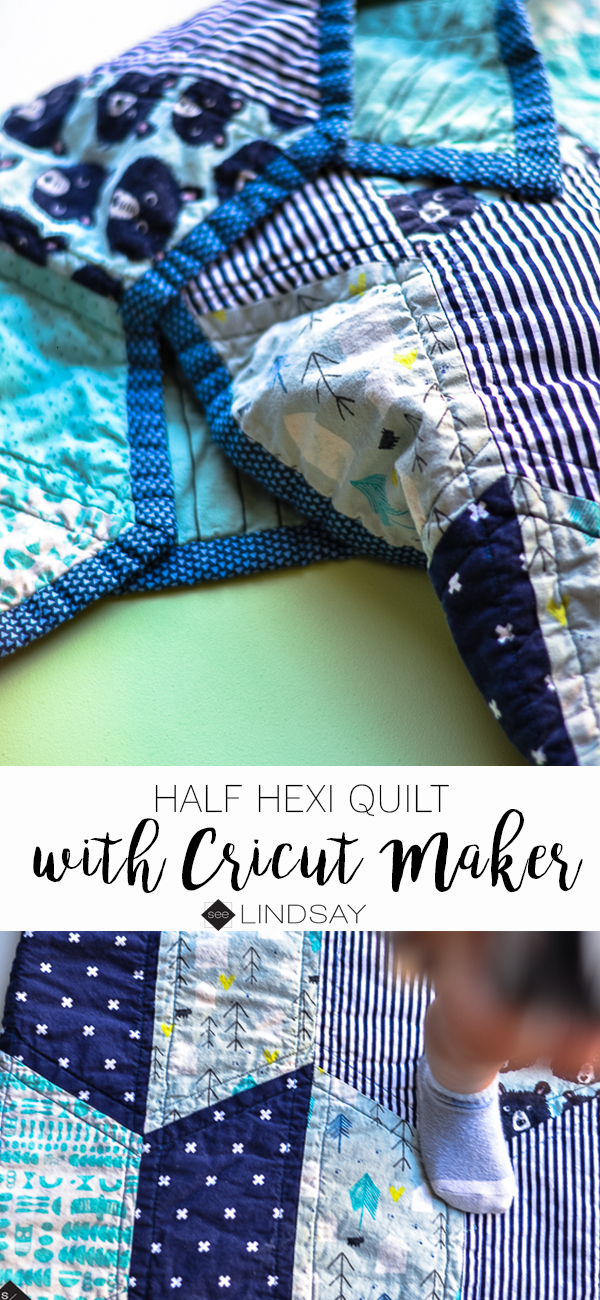
Baby Quilt + See Lindsay
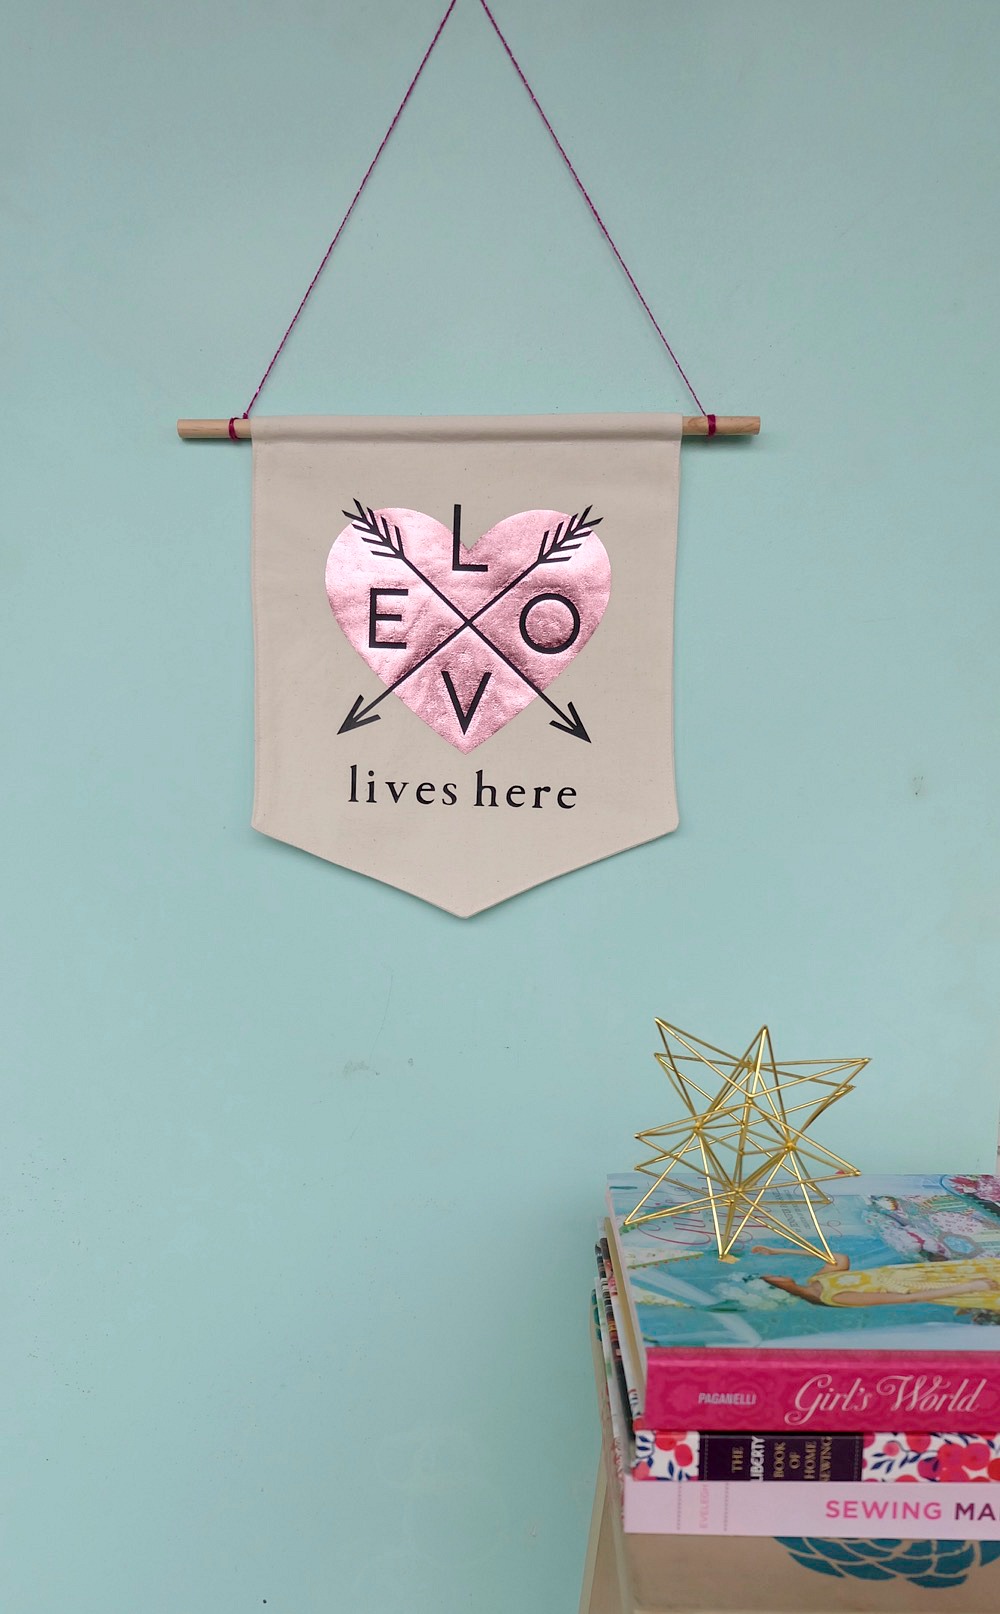
Love Lives Here BannerLove Lives Here Banner + Hello Creative Family
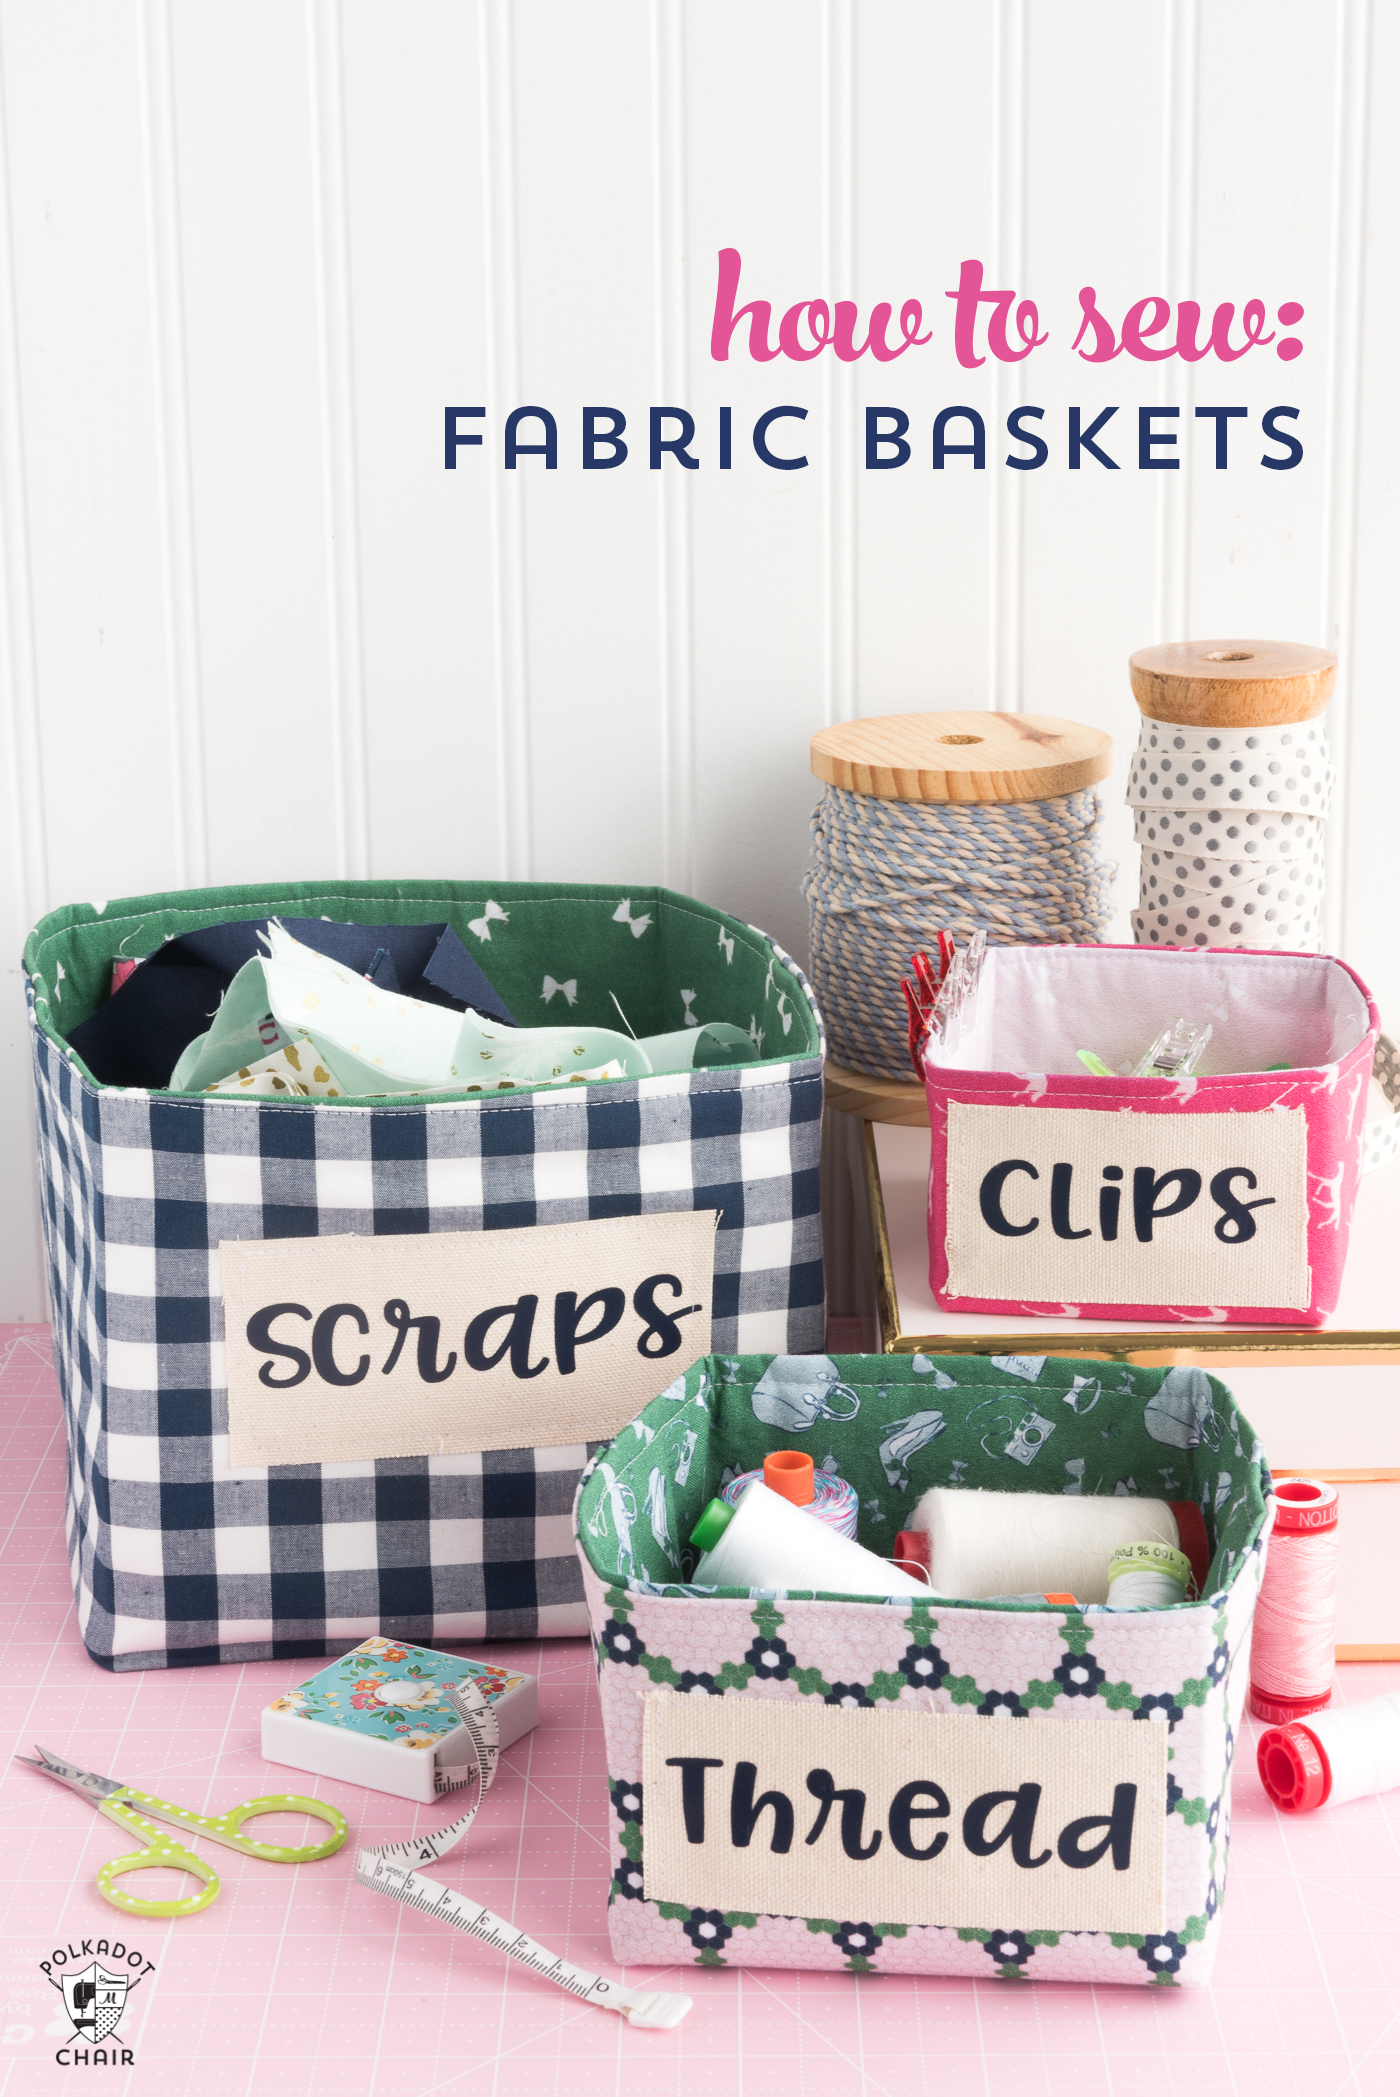
How to Sew Fabric Baskets + PolkaDot Chair
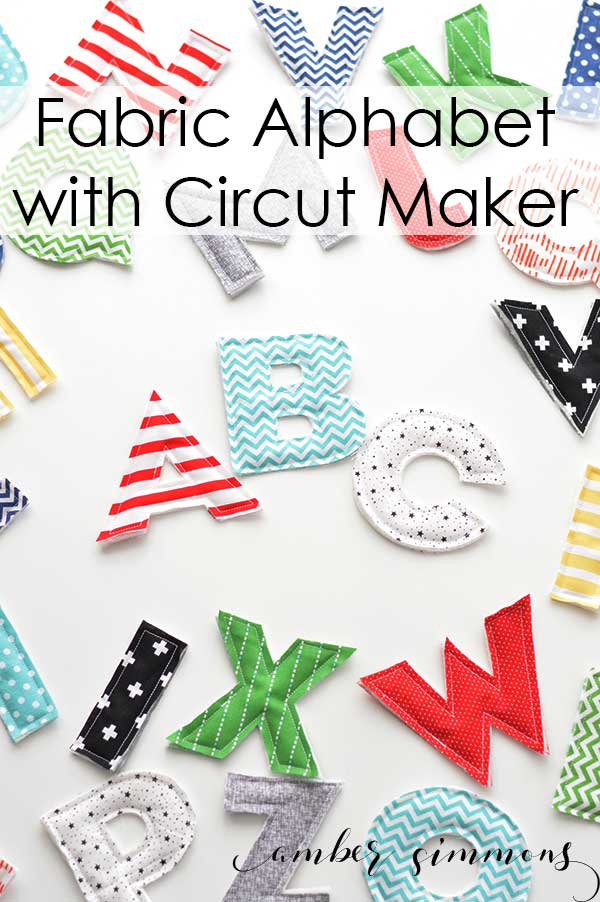
Fabric Alphabet + Amber Simmons
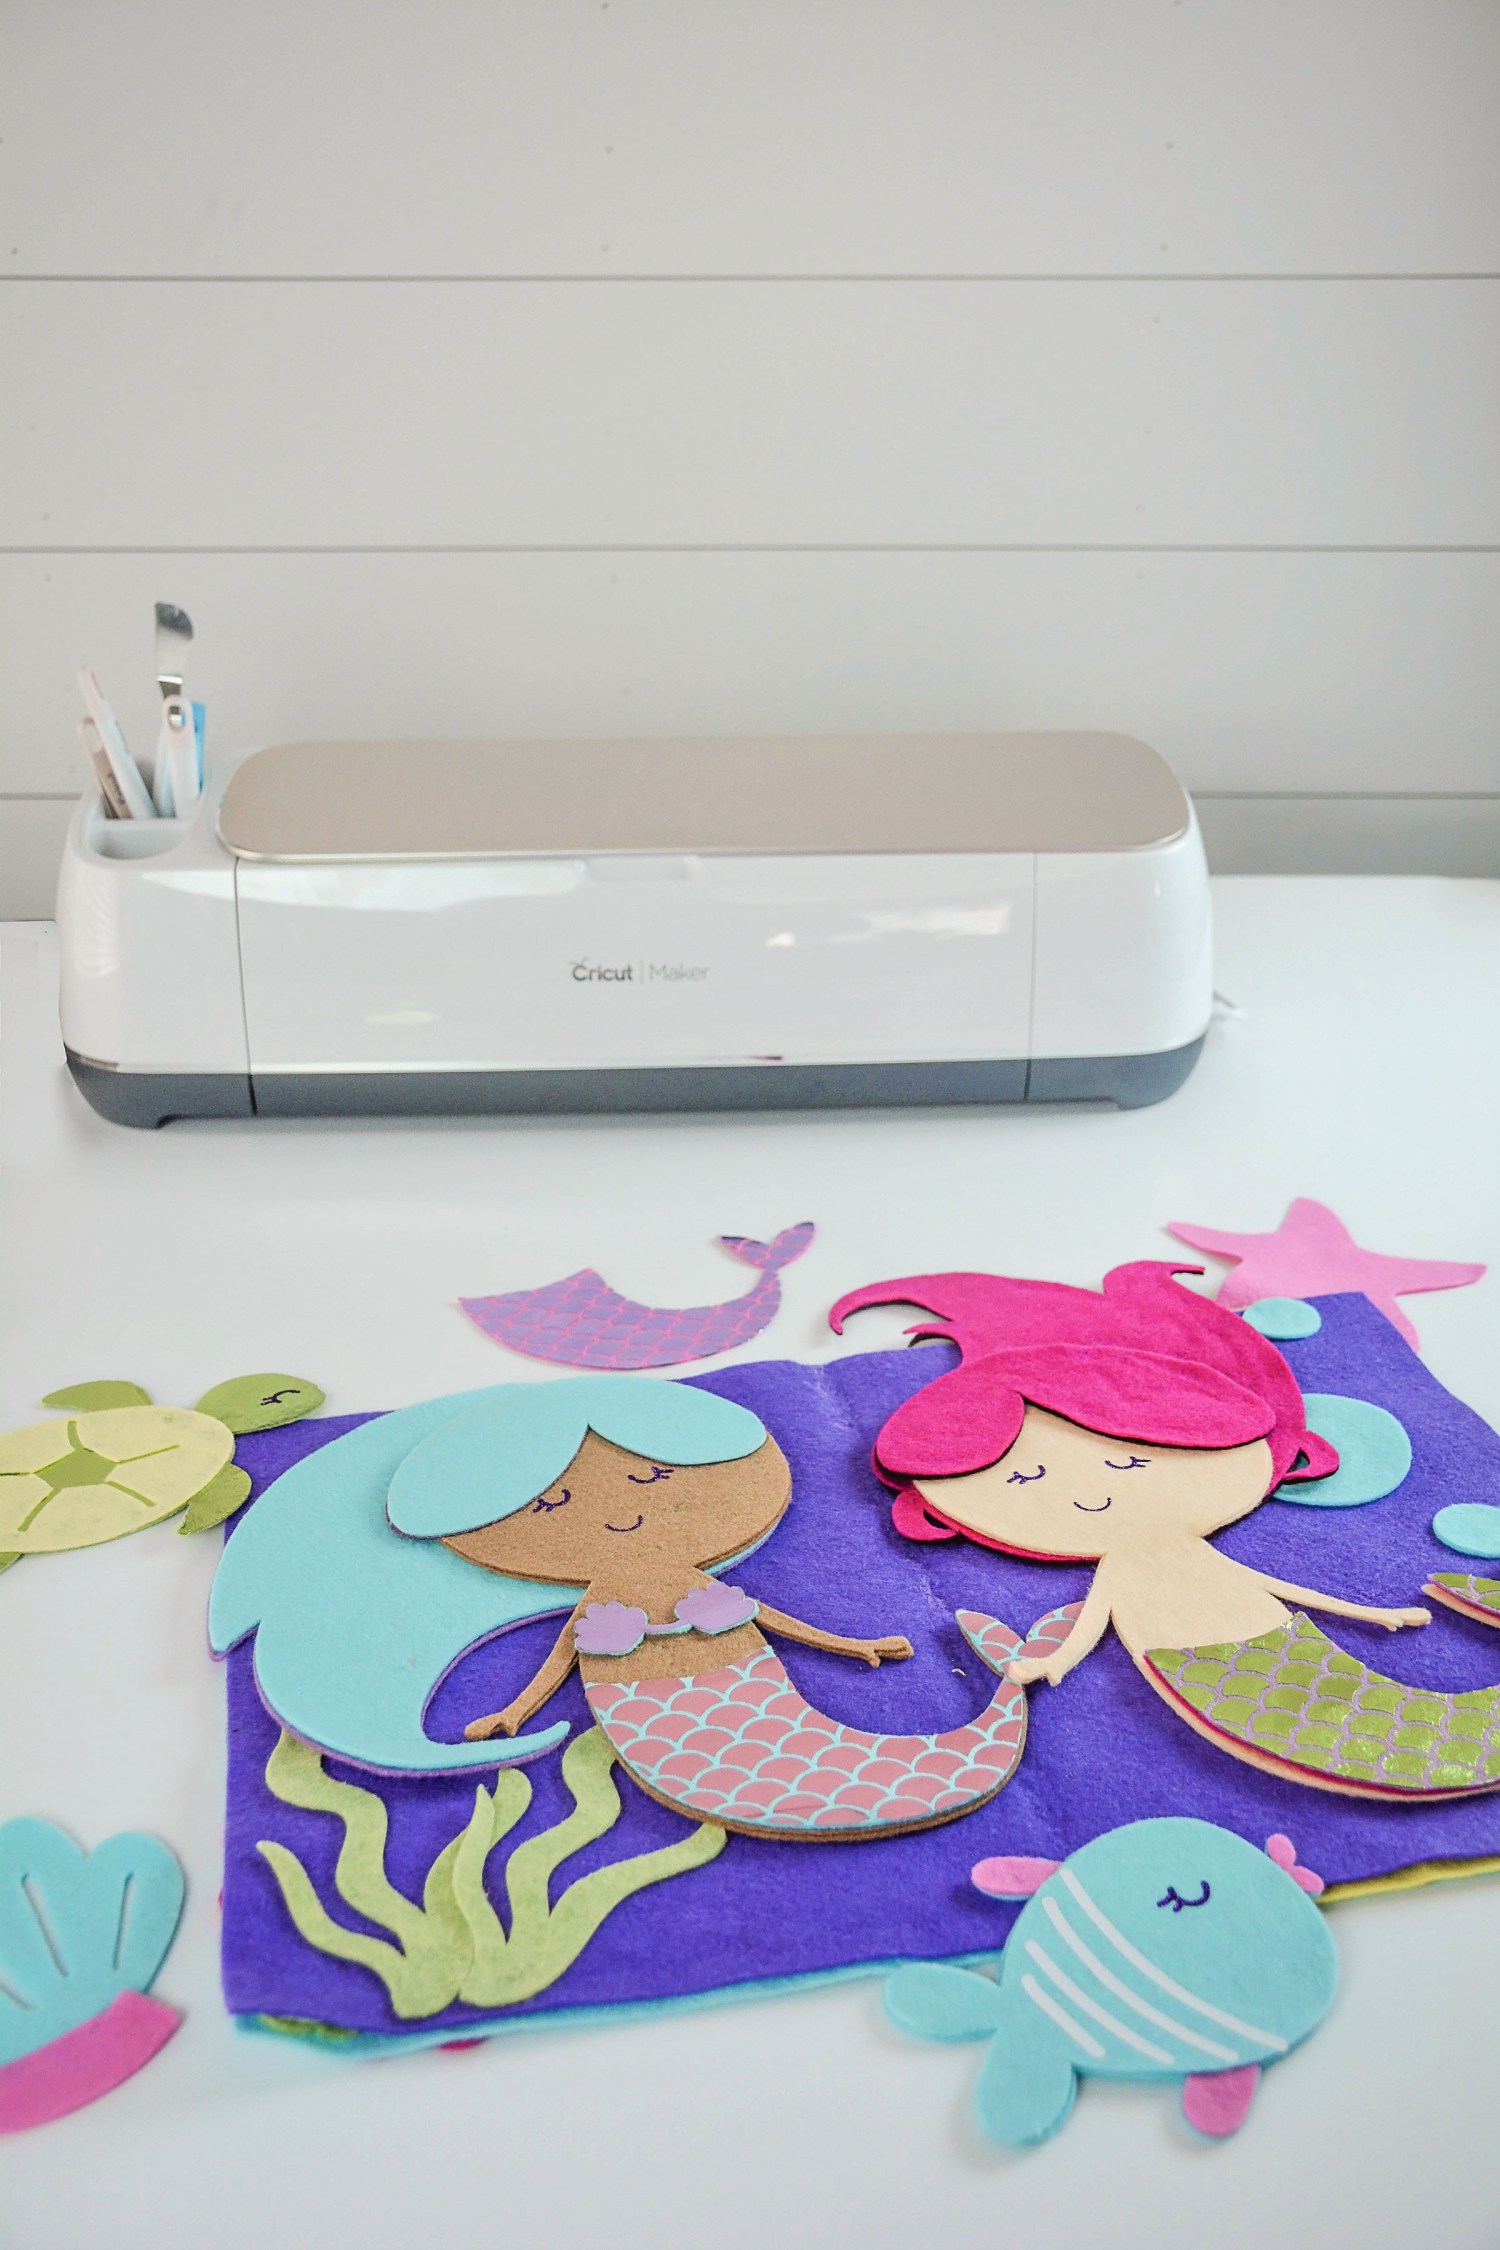
Mermaid Book + Sweet Red Poppy
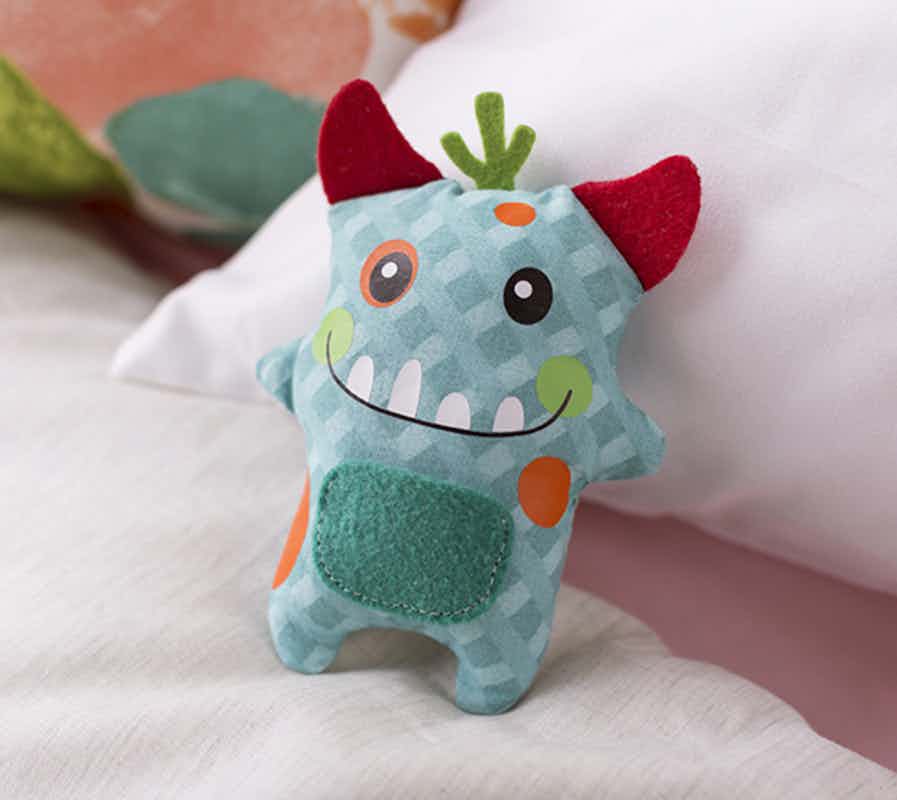
Tooth Fairy Monster + The Idea Room
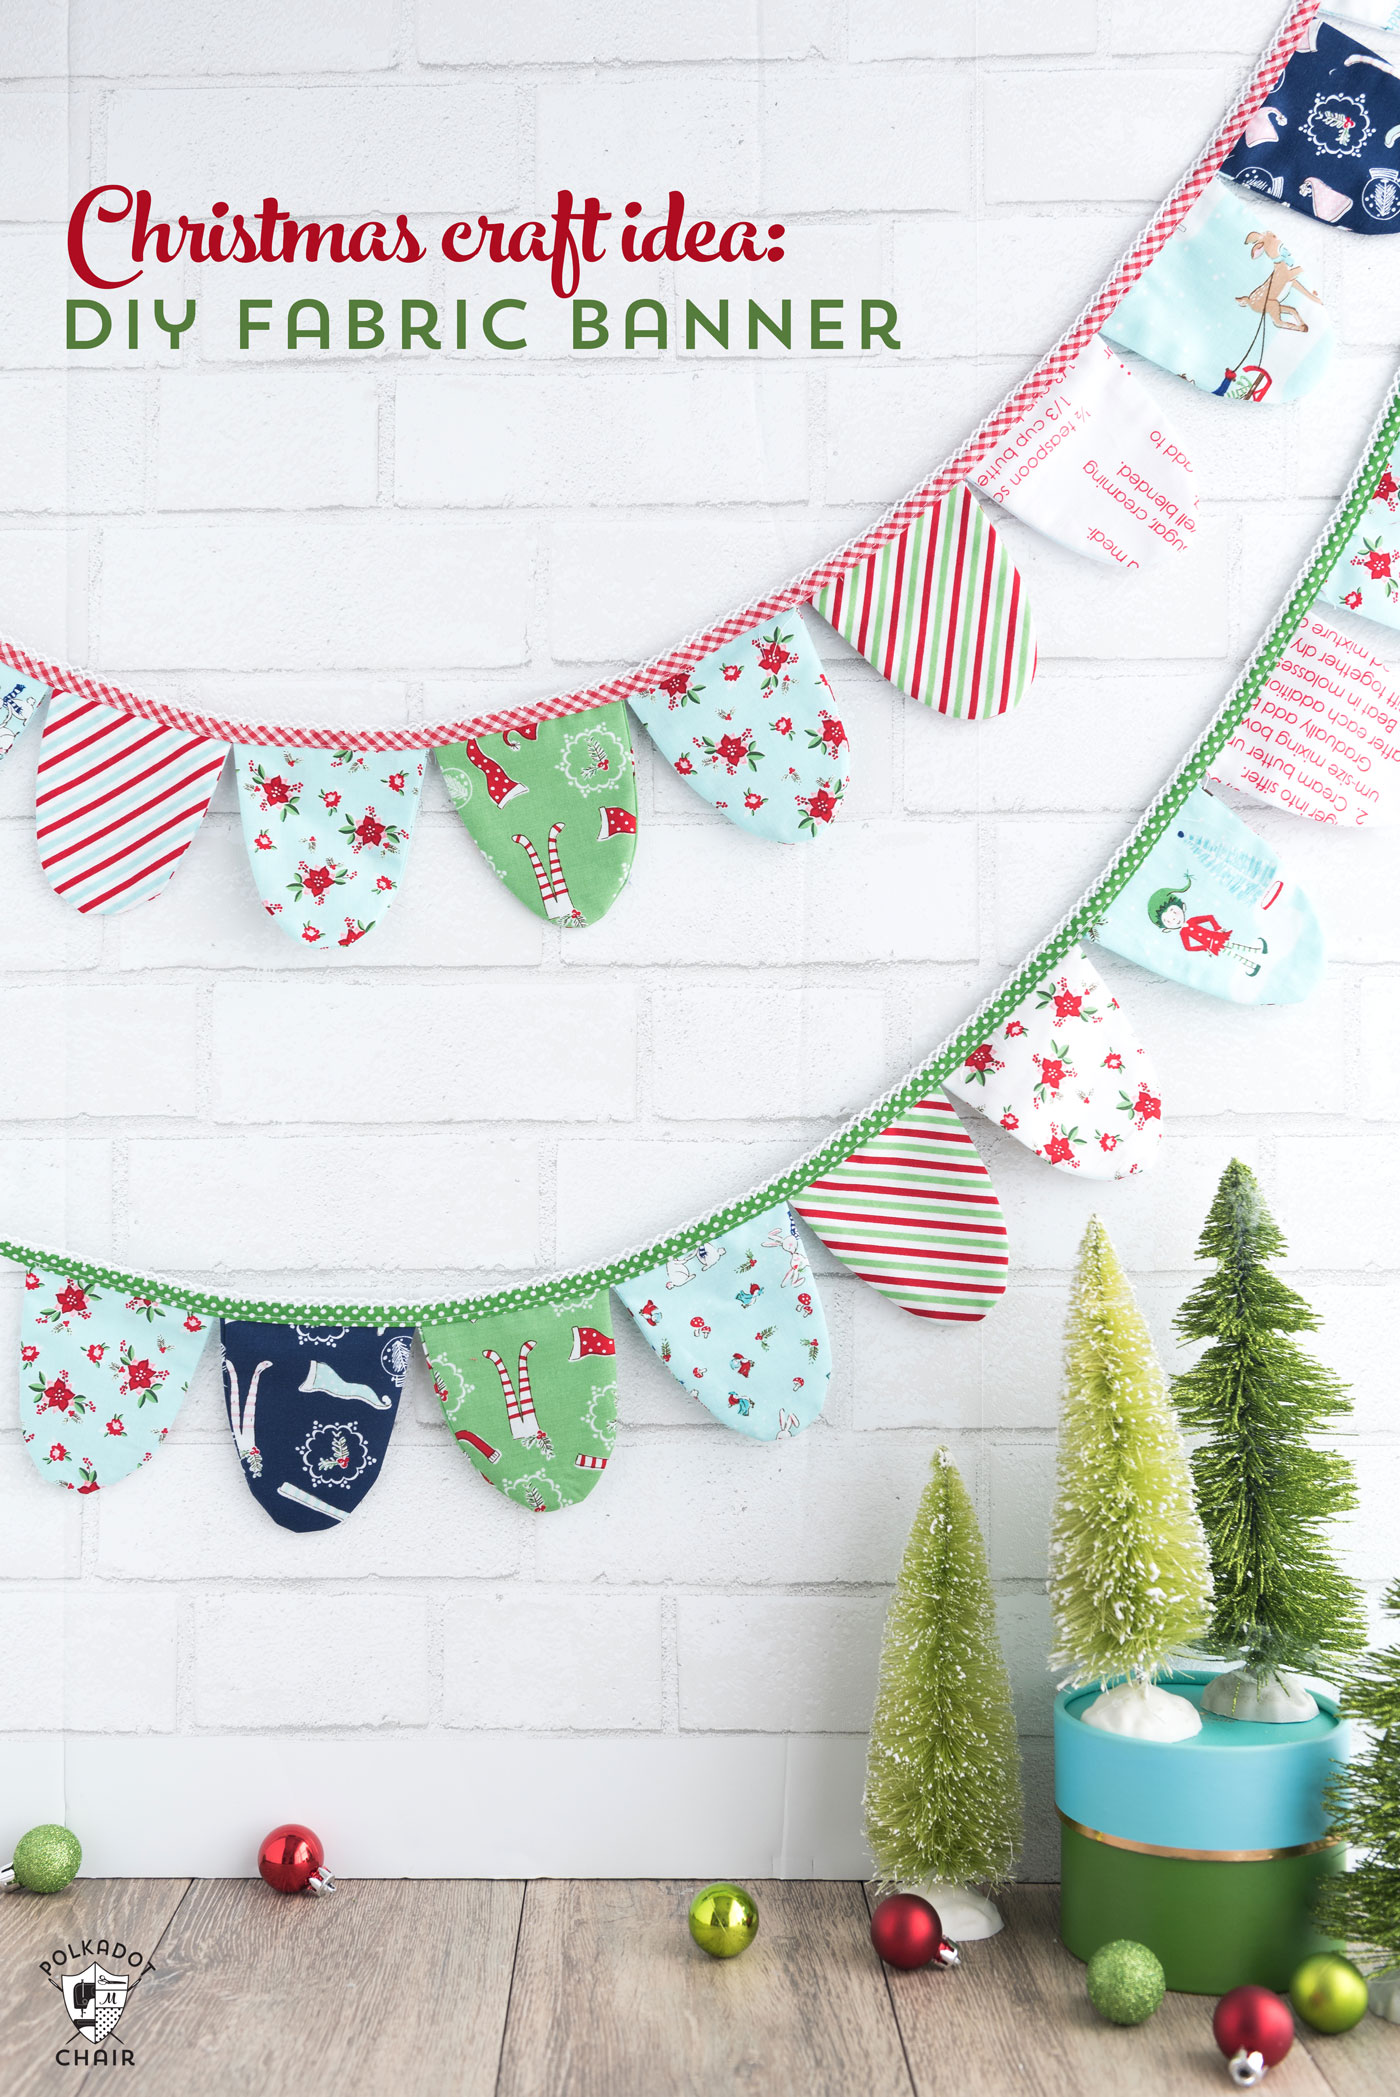
Fabric Banner + PolkaDot Chair
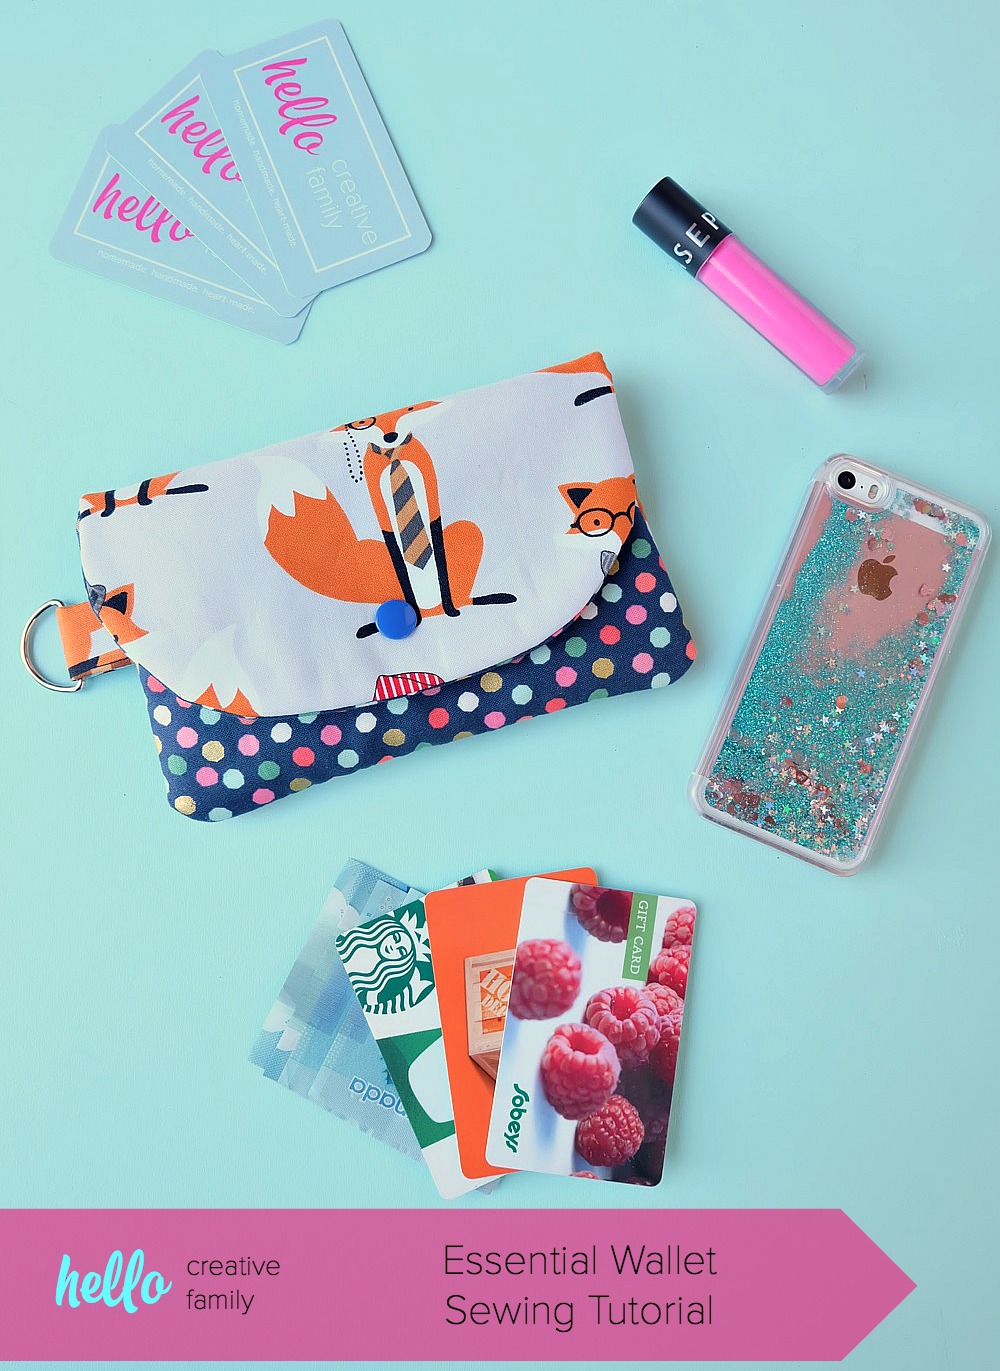
The Essentials Wallet + Hello Creative Family
This is a sponsored conversation written by me on behalf of Cricut. The opinions and text are all mine.
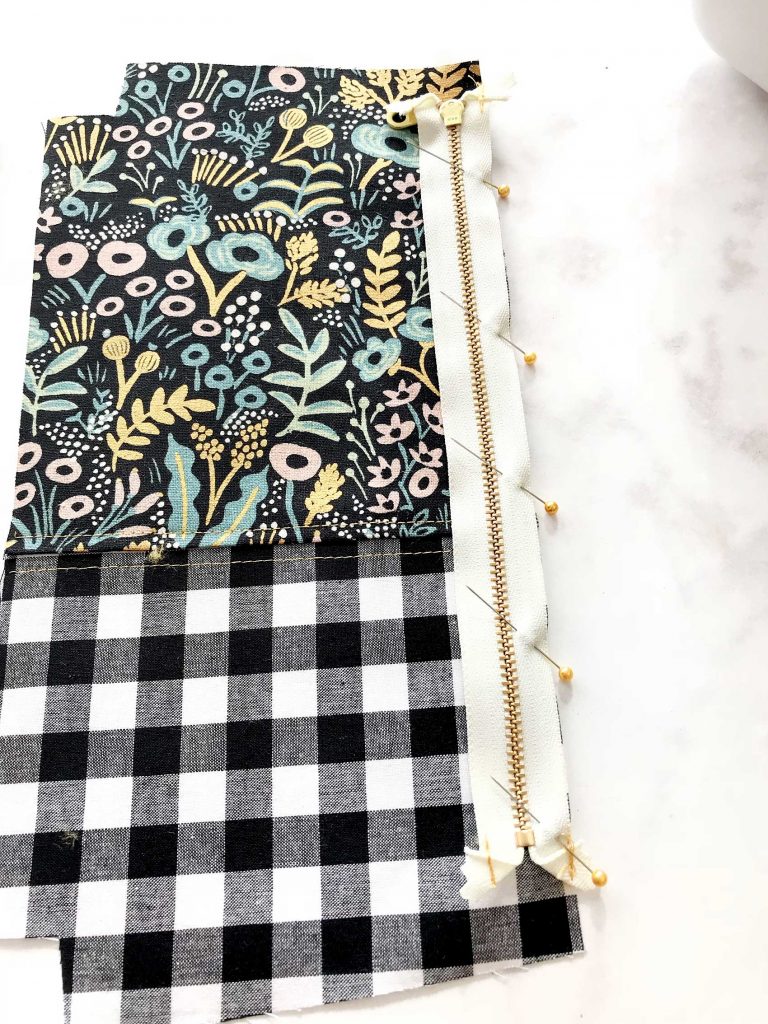
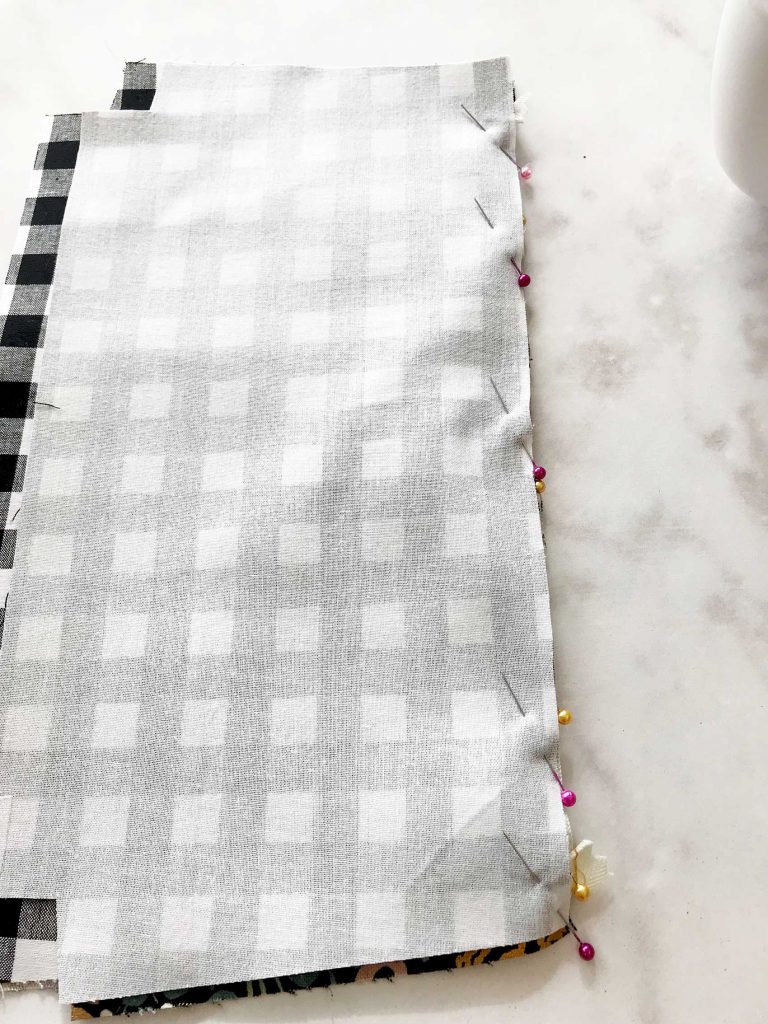 Place one lining piece, right side down on top of the exterior piece again pin into place. Using your zipper foot, sew along top edge using a 1/4″ seam allowance. Open like a book and press exterior panel away from zipper. Topstitch along zipper using an 1/8″ seam allowance. Make sure NOT to top stitch both layers together. Position outside panel and lining panel wrong side on together and press away from zipper. Repeat the same steps to attach the other side of the bag with the remaining exterior panel and lining panel to the other side of the zipper. This time placing zipper pull at right. Keep and eye on your top seems and make sure they match up.
 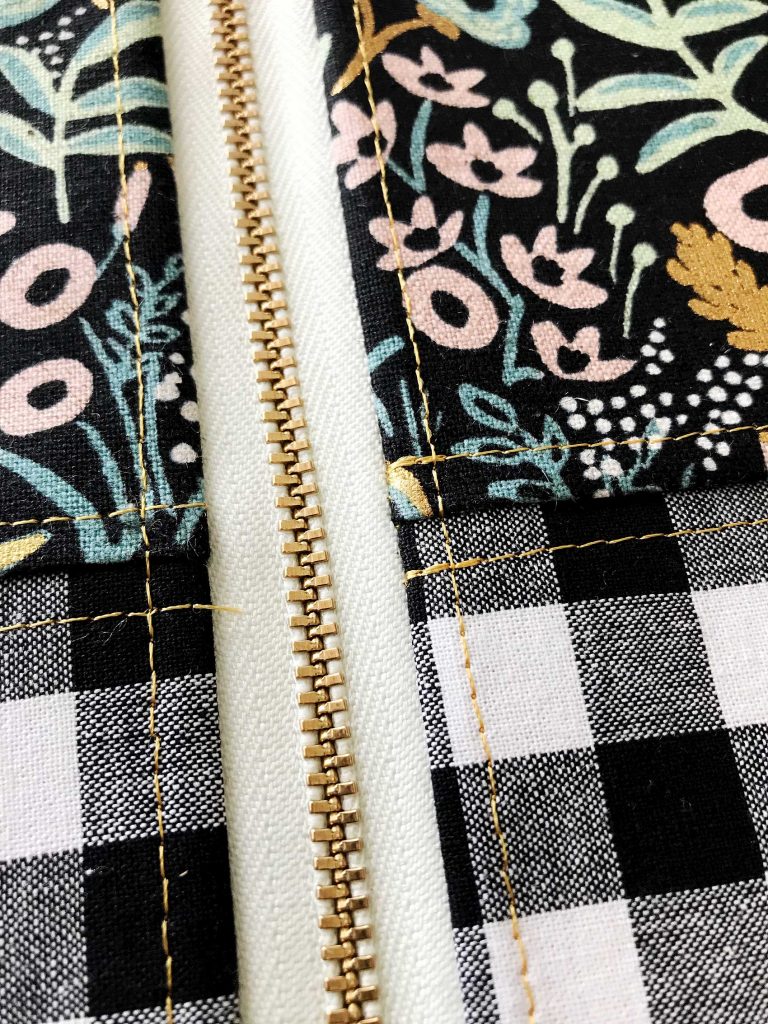 Then press both sides again.
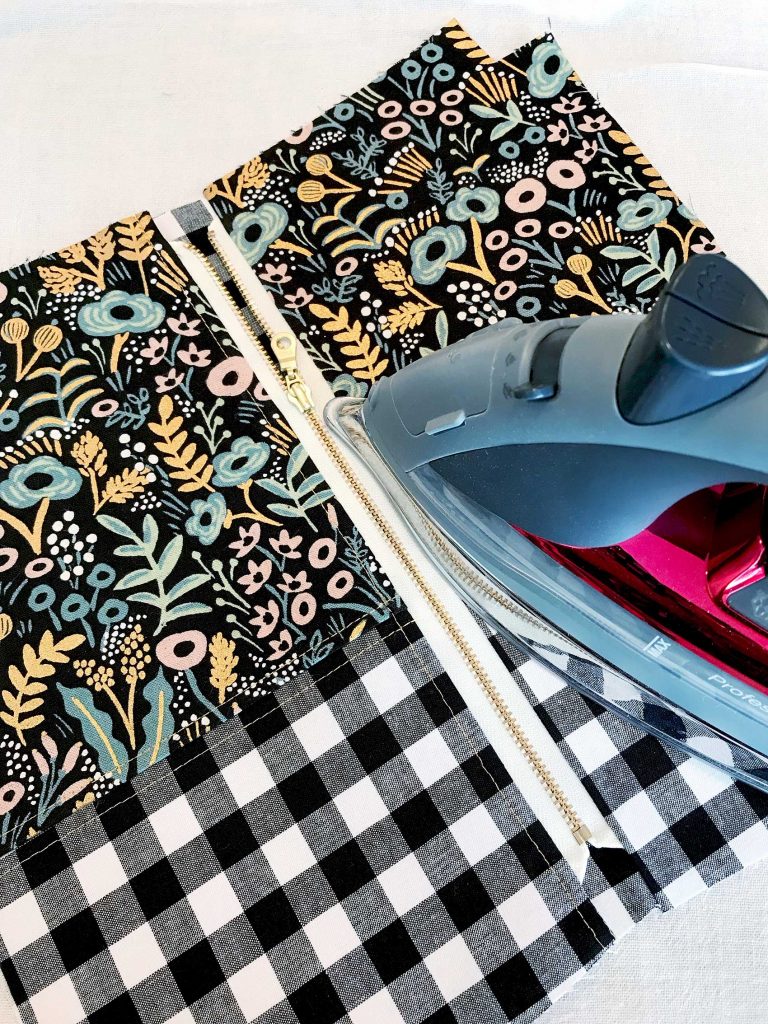
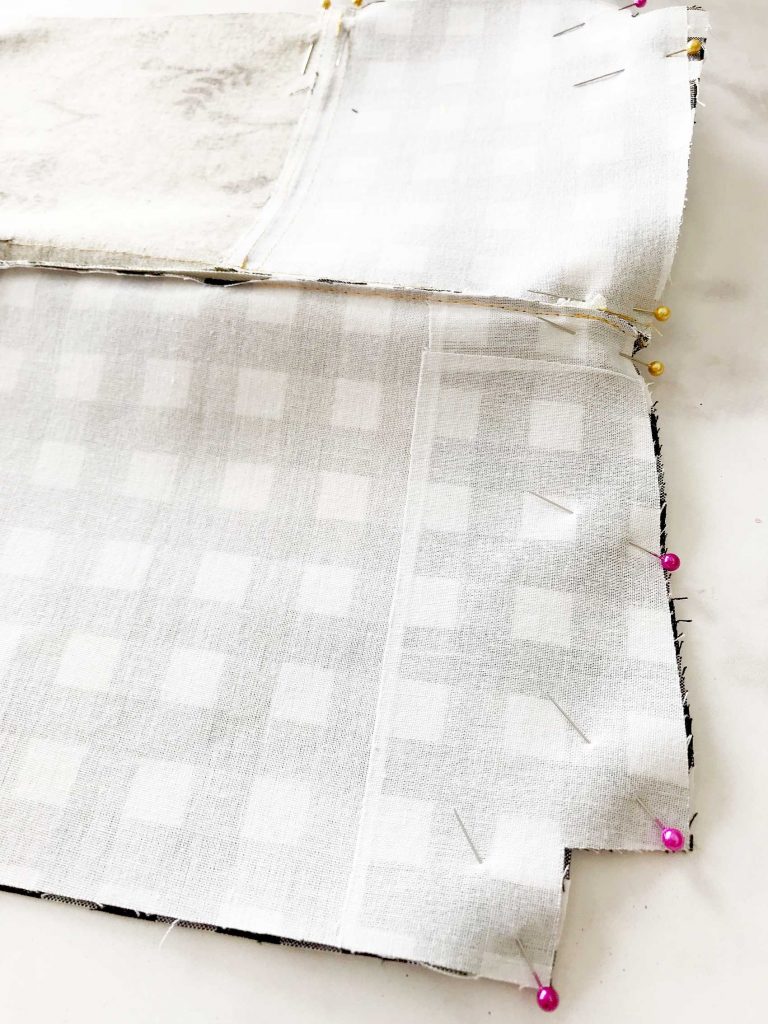
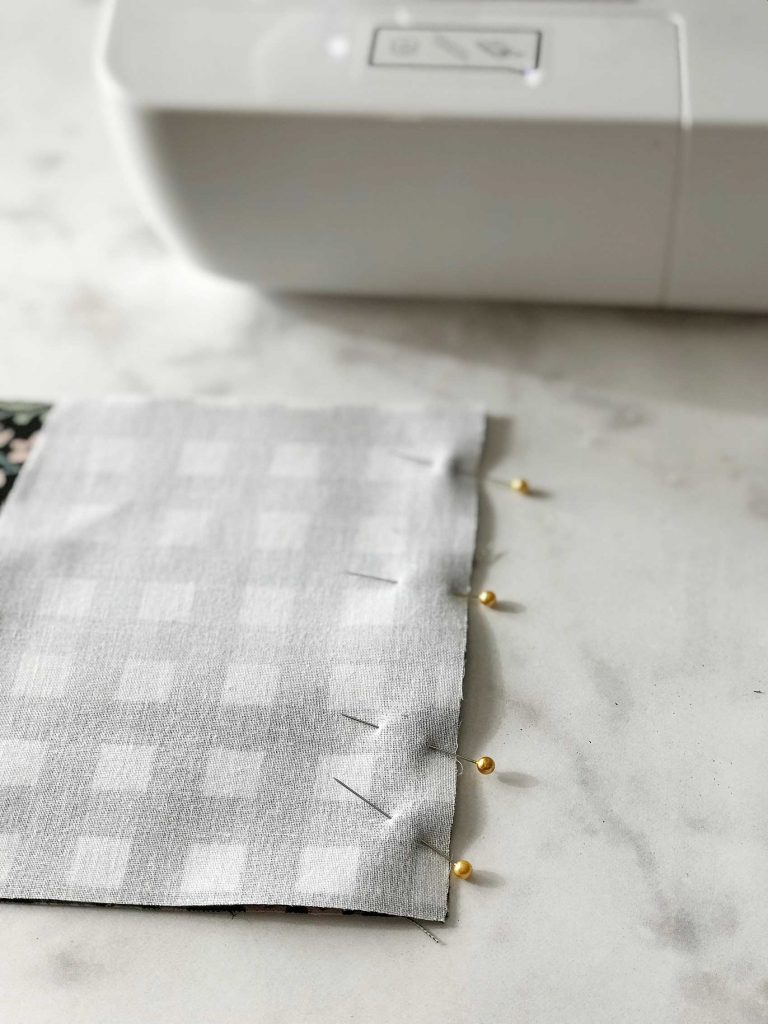
 Position exterior panels right side together and lining pieces right side together and pin along sides and bottom.
 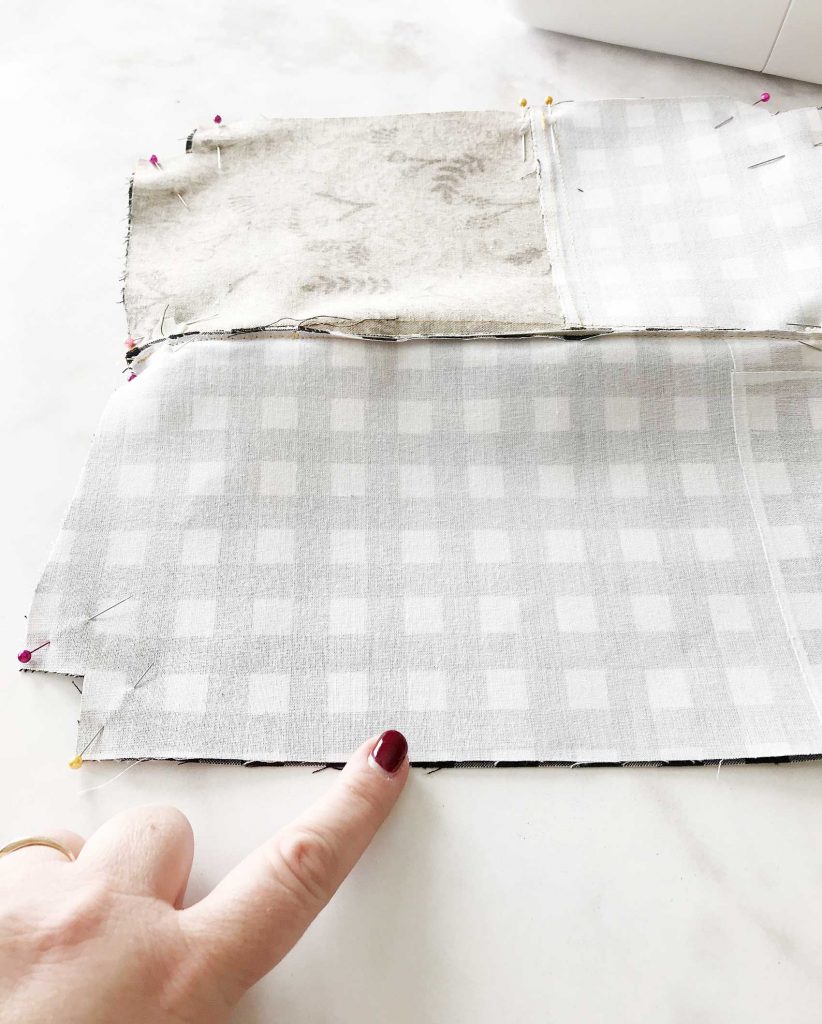 Be sure that you place pins on either side at the intersections of where the lining meets the exterior on each side of the pouch and where the seem of the exterior meet.
 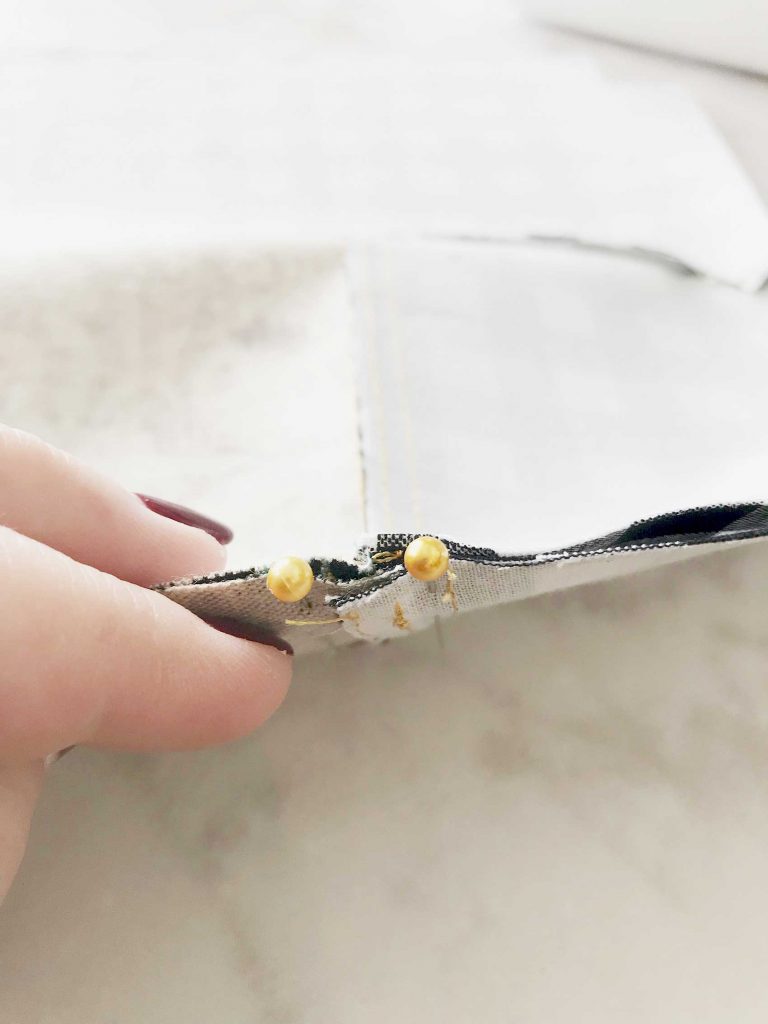 Sew along the bottom and sides of the pouch using a 1/4″ seam allowance. You will need to leave a 4 inch opening in the lining so that you’ll be able to turn your pouch. Make sure to not stitch together the corner cut outs.
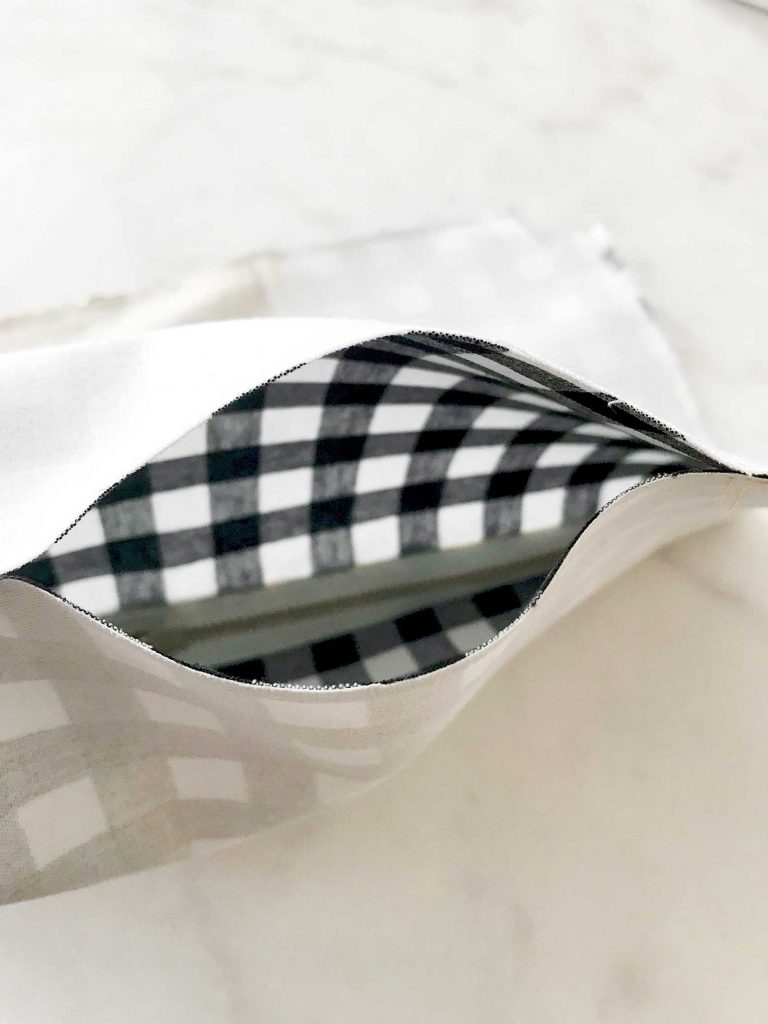
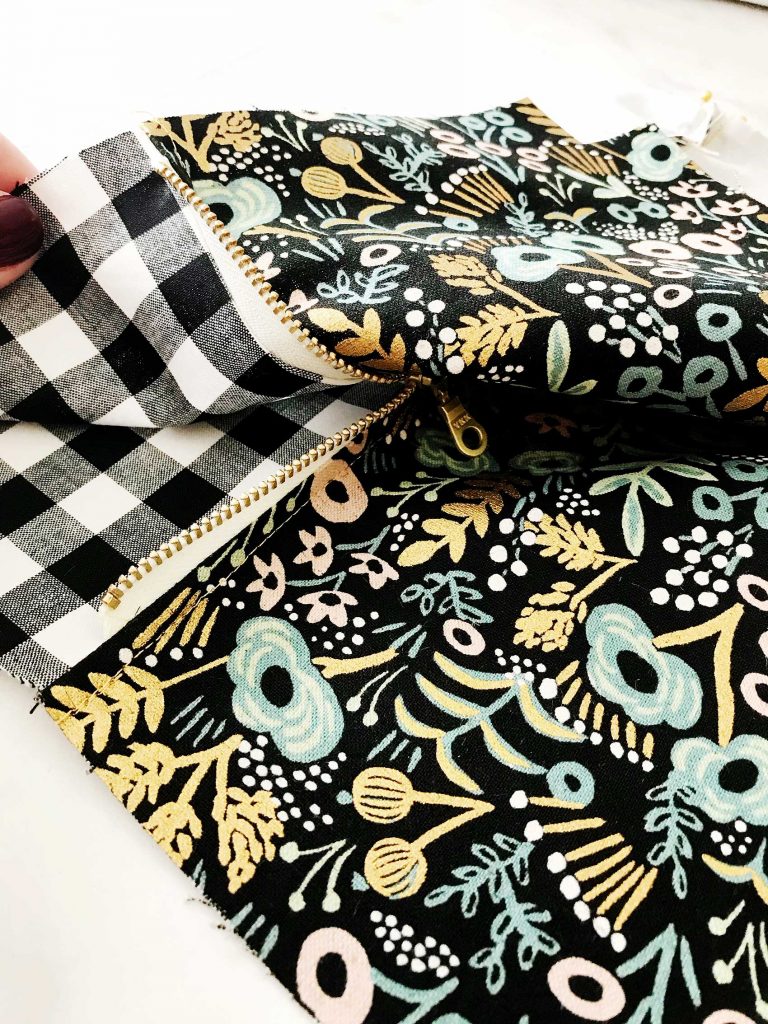
 Speaking of corner cut outs… Check out the precision of how the fabric lines up. That’s solely possible because of the Cricut Maker. You can sew with confidence knowing that your fabric will line-up easily because of the perfect cuts. Ok, back to work… Reach inside your bag and shimmy the zipper open all the way. Box your corners by pinching the corners together and line-up the seam and pin.
 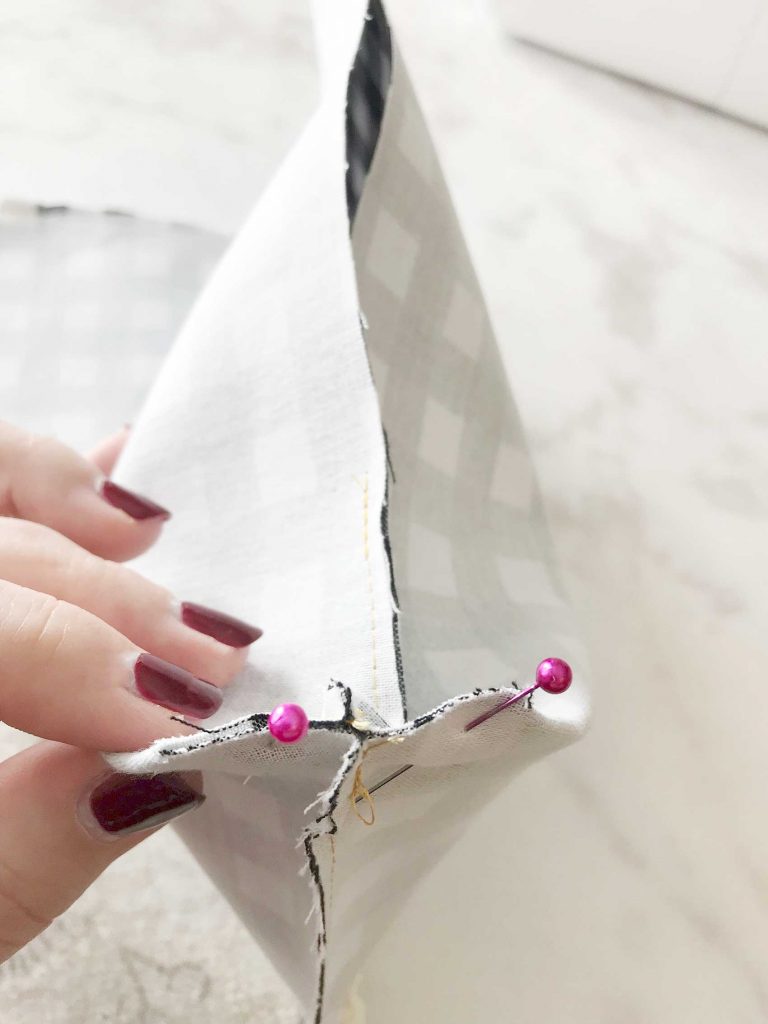 Repeat on the remaining 3 corners.
 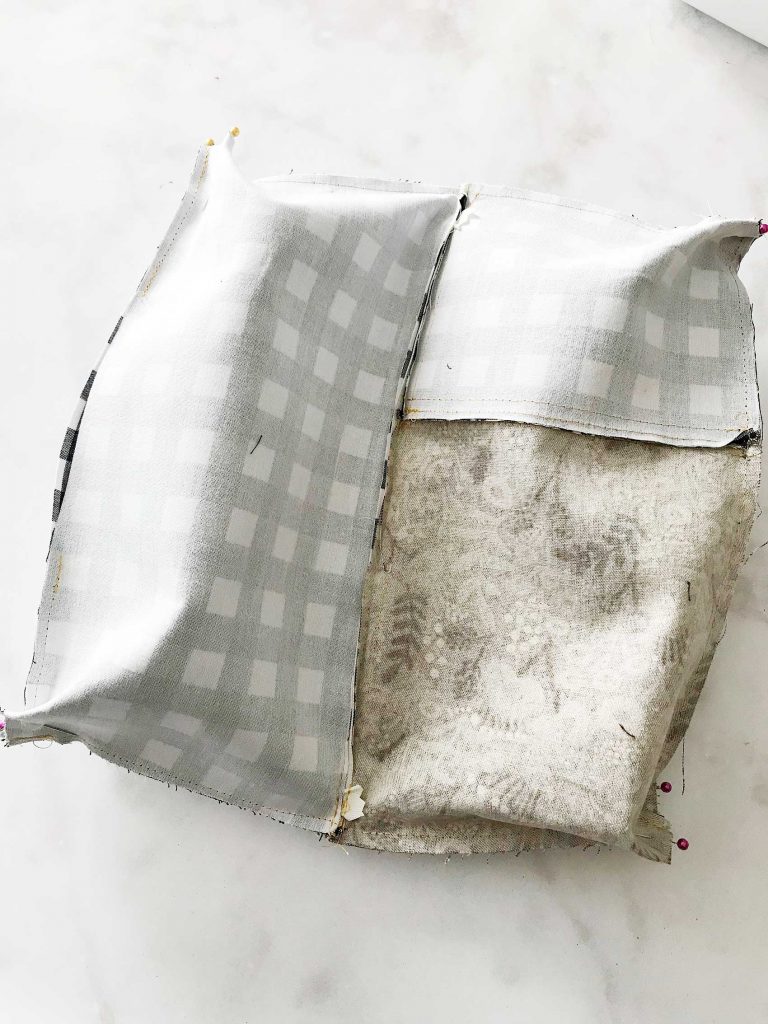 Sew straight across with a 1/4″ seam allowance.
 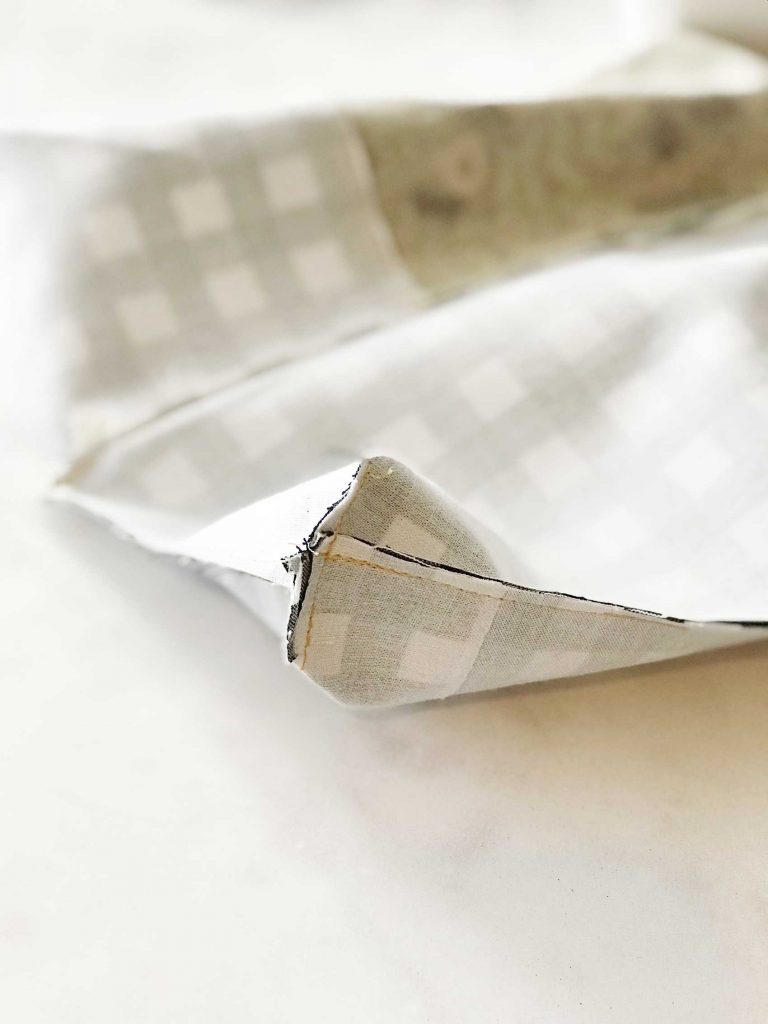 Repeat with the remaining 3 sides. You’re so close to the finish line! All you need to do is turn out your pouch so that it is right side out. That’s where the 4 inch opening comes in handy.
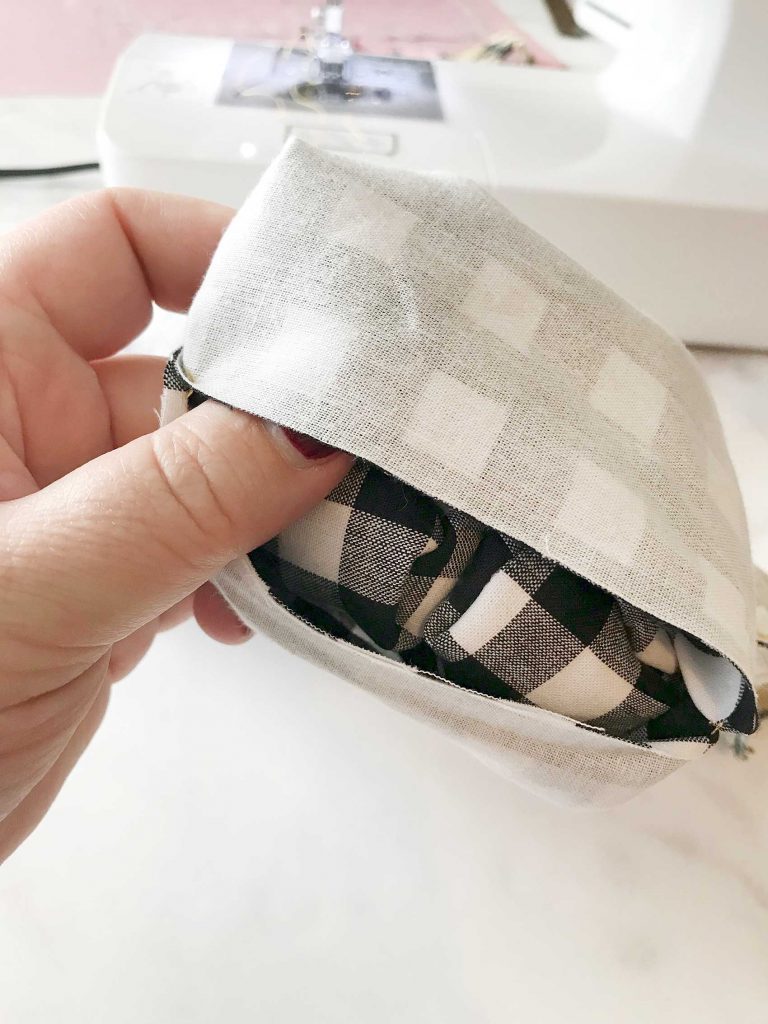
 Pull it through that opening just as if you were turning a sock right side out.
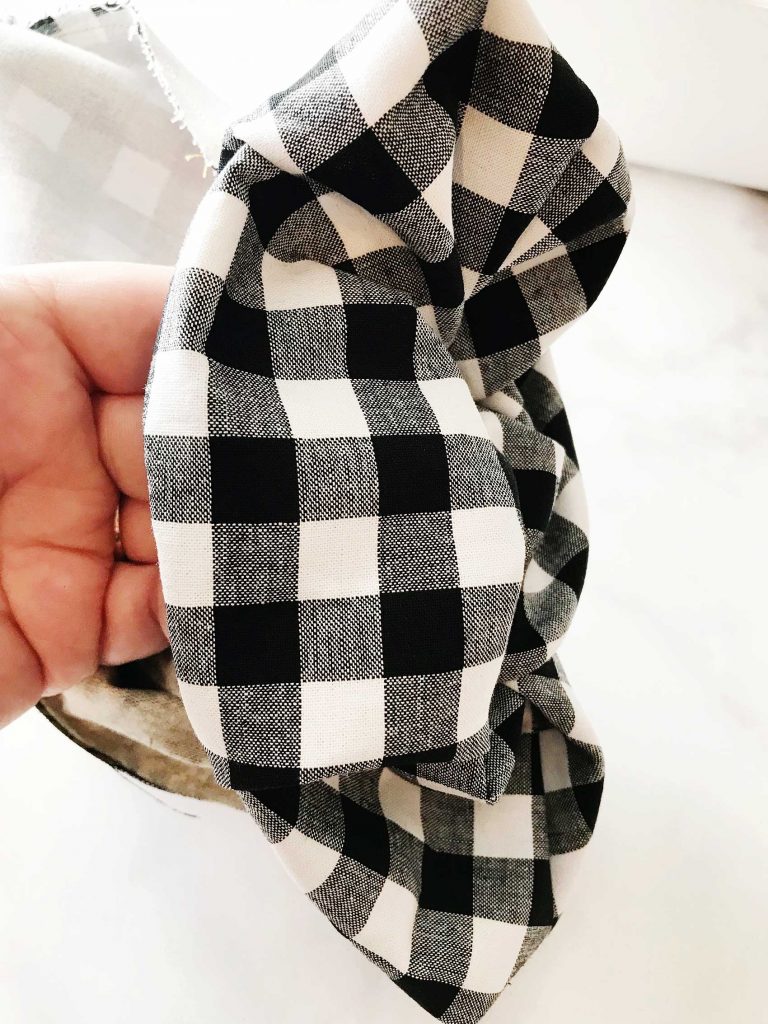
 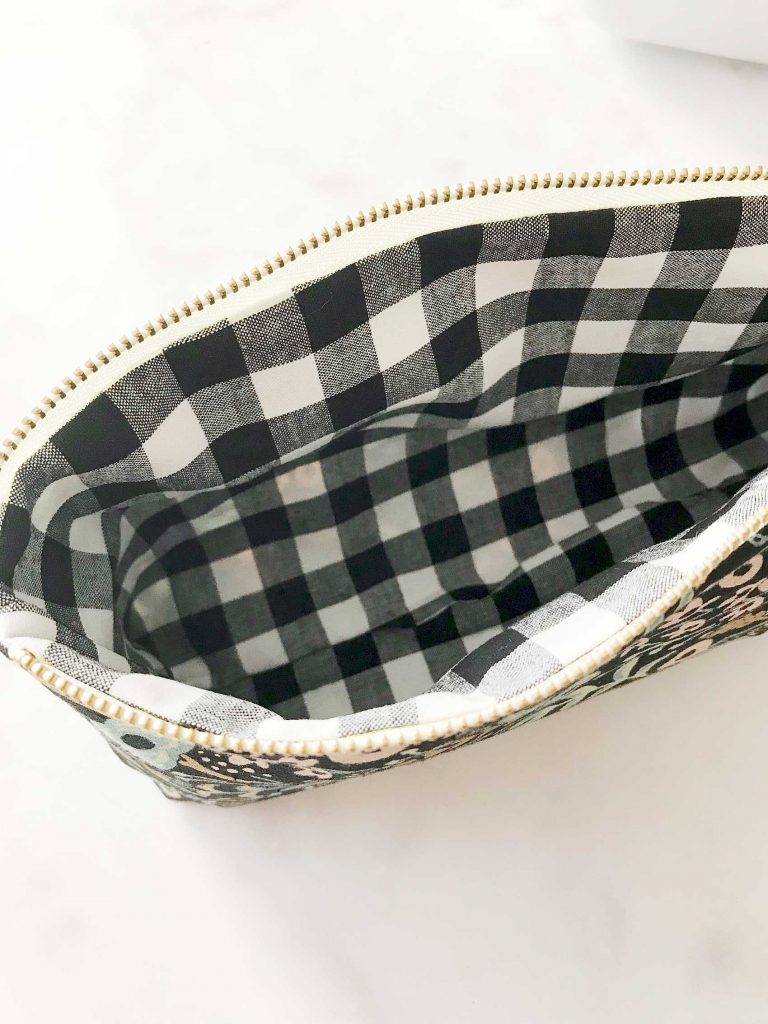 Are you just swimming with PRIDE now!!! Take a minute to make sure everything is settled in all the right places. Push the lining corners into the right spot. You may want to use the eraser side of a pencil or a chopstick to push those into place. You may want to even press your pouch again if it needs it. That’s it, you now have a beautiful, stylish large pouch that you made yourself. It has your fingerprints all over it. You chose your favorite fabric and it screams your style!
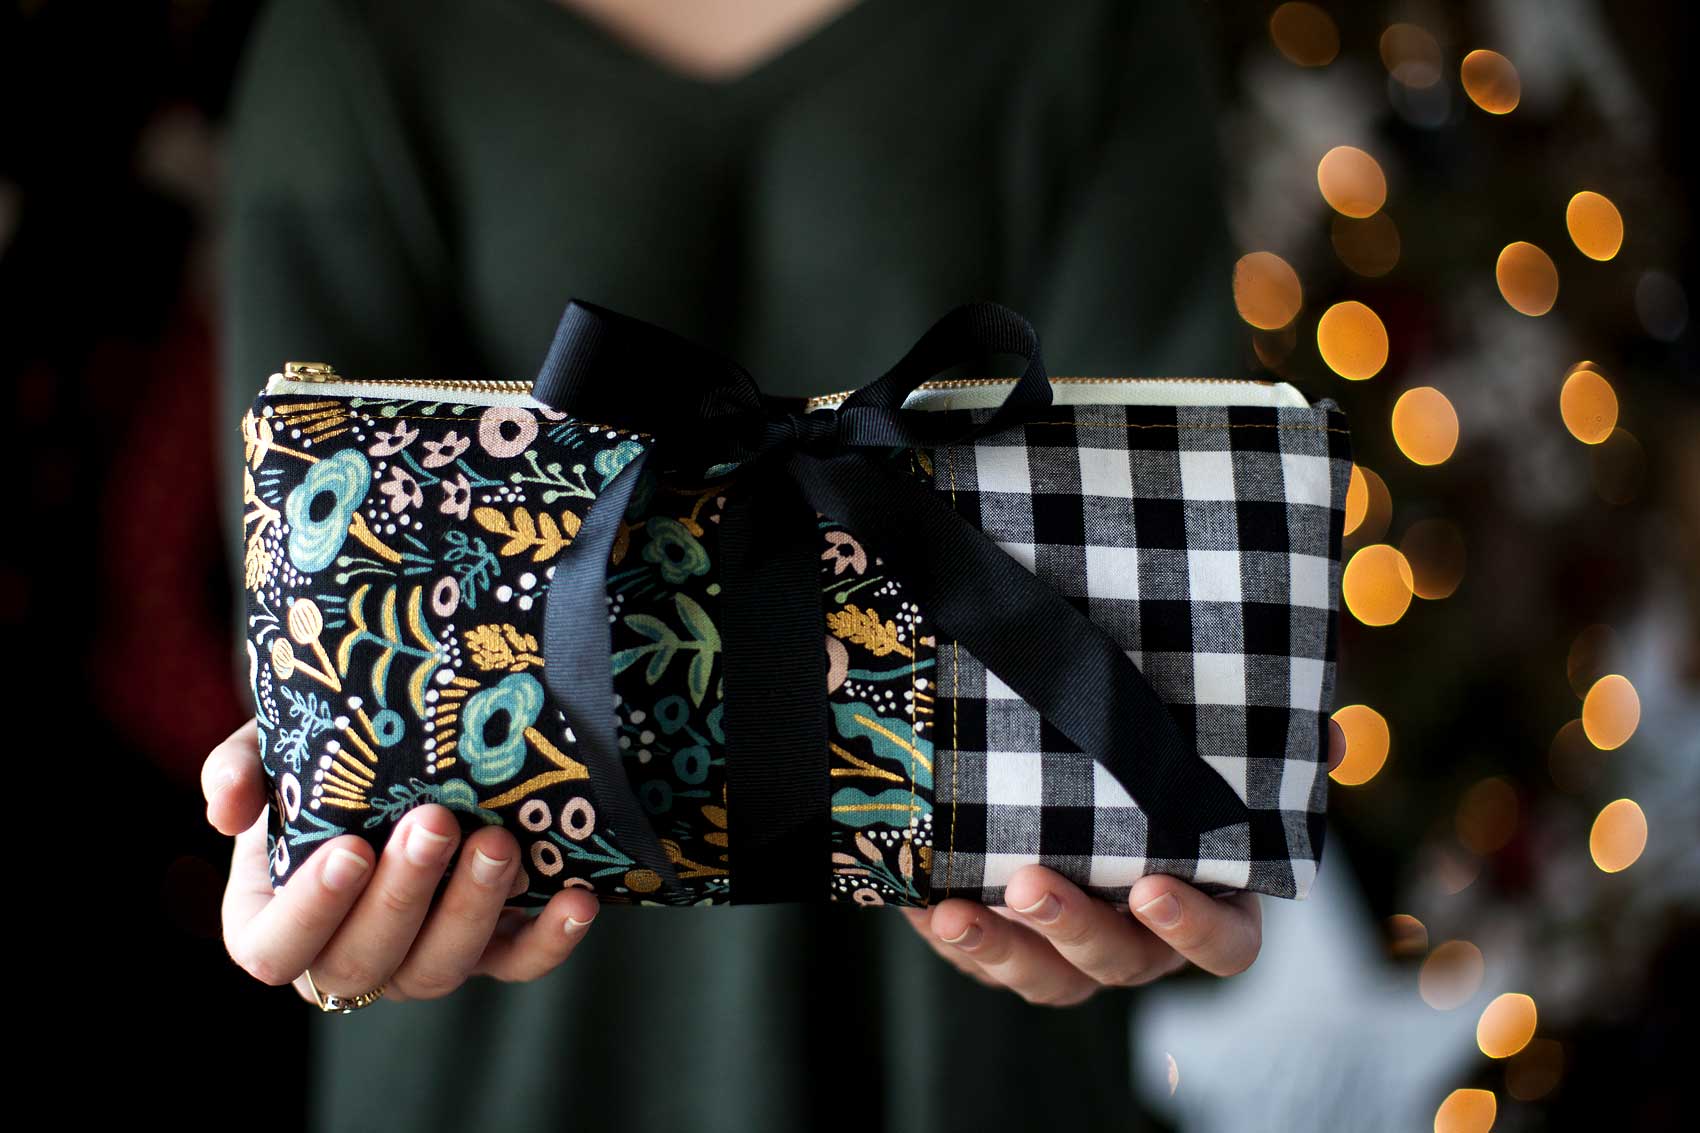
  Now, you can profile all of your friends and figure out what their perfect little somethings zipper pouch would look like. Then, whip one up for them to take as a hostess gift, holiday gift, friend gift, it’s Tuesday gift… Basically, it’s a great creative gift that ANYONE can make with a little help from the Cricut Maker & a sewing machine. You could even personalize it with some Cricut Iron-on Lite and the Cricut Easy Press. That would be really cool. What to win some amazing Cricut goodies for yourself? Enter below for a chance to win!