Earlier this month I created a guest post for the lovely ladies from The Letter 4 while they were having a ball meeting Martha on the Martha Stewart show. Just in case you missed it here is the Snowflake Art that I shared over there.
I am one of those displaced snow bunnies! I grew up in Colorado skiing and loving everything that winter brought with it. For the past eight years I've been living in Las Vegas and I can count the amount of times I've seen snow on one hand. So… When the girls invited me over I knew I wanted to create a project to add a little snow to my life!
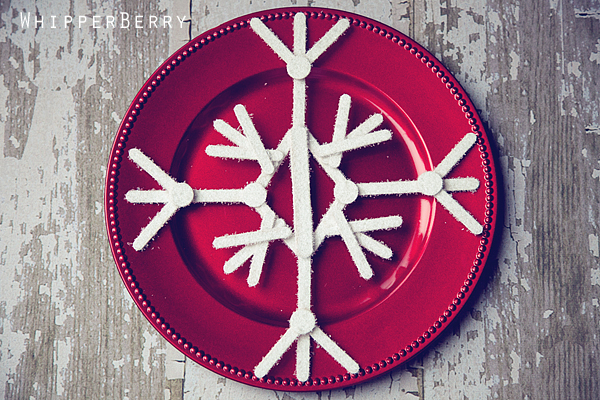
I took my inspiration from a fabulous project that I found on Pinterest from the Ballard Bunch. It was a simple snowflake made from craft sticks and it was stunning!! I decided to take the humble craft stick and create a fun wall or door display using some chargers from the dollar store, some ribbon, paint and sprinkle of SNOW!
Here is my supply list…
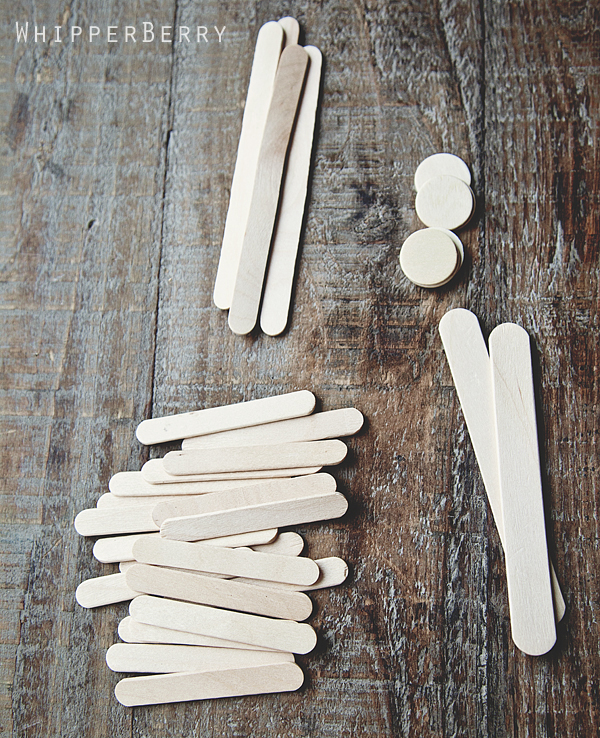
- Craft Sticks
- 2 large craft sticks 4-1/2 x 5/8 inch {I will call this the large stick}
- 4 craft sticks {standard popsicle size} 4-1/2 x 3/8 inch {I will call this the craft stick}
- 24 short craft sticks 2-1/2 x 3/8 inch {this will be called the short stick}
- 6 1-1/4 inch wood circles
- White paint
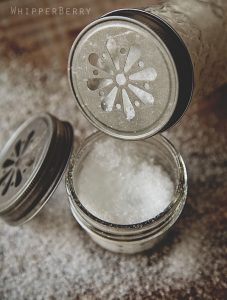
- Powdered Buffalo Snow Flurries
- Hot glue gun and hot glue sticks
- Elmer's Spray Adhesive
- 3 chargers
- 3 yards of 6 inch wide ribbon
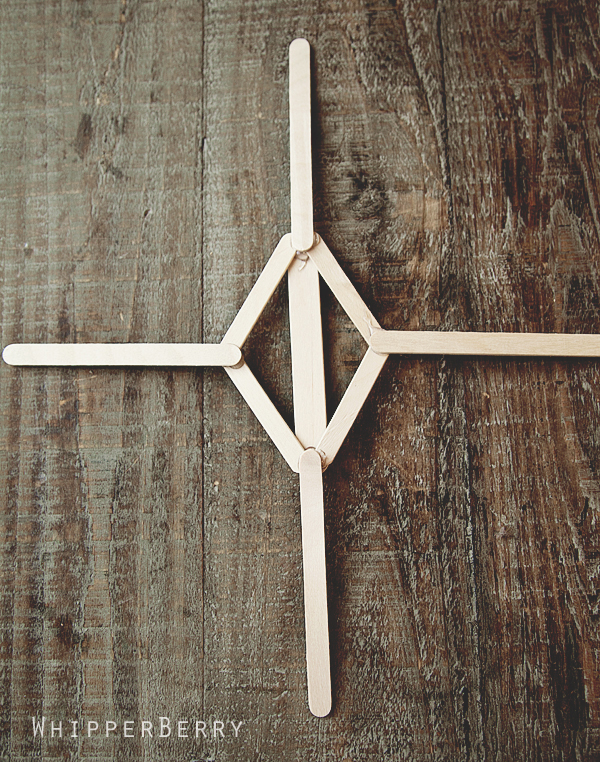
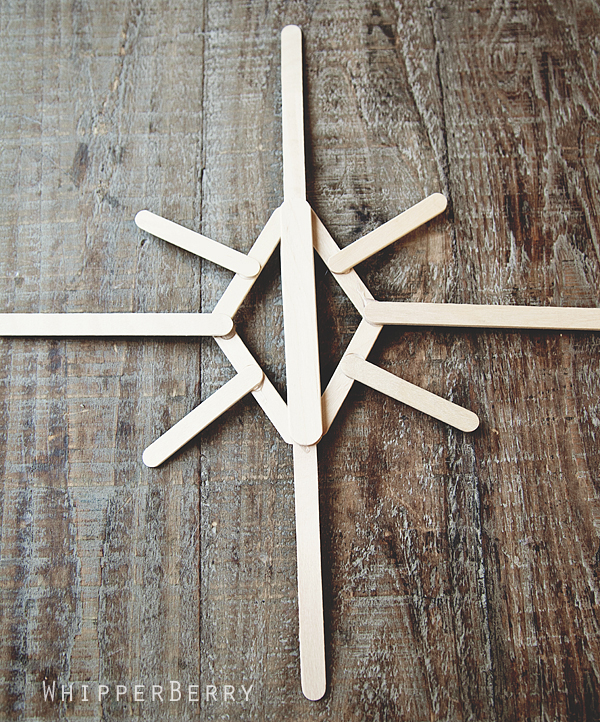
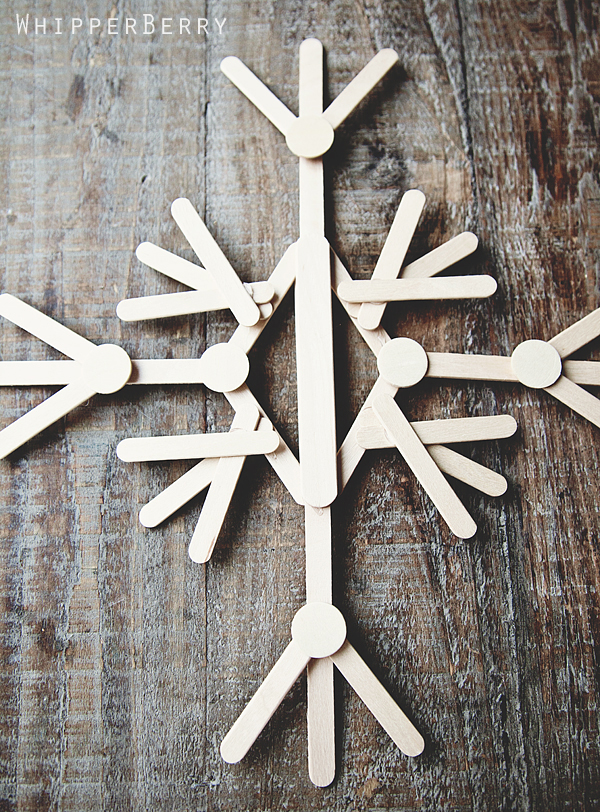
To begin the snowflake, you will need to start with a large stick and four short sticks. Place a dot of hot glue at the tip of the large stick and then quickly place the small sticks at the top angling out creating the top of a diamond shape. Turn large stick over and create the bottom half of the diamond the same way. It should then look like this…
Next, you will take the craft sticks {the long skinny ones} and place them at each point of the diamond. Affix with a dot of hot glue.
You will then grab four of the short sticks and affix to the diamond like this…
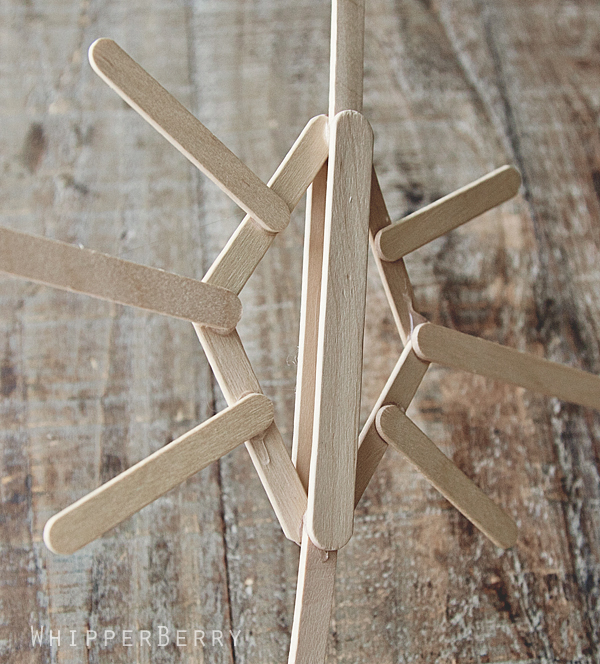
At this point I placed another large stick on top of the first large stick to help the snowflake have a little more of a finished look…
I then set this section aside and made four small criss cross sections with the small sticks making sure to leave a small X at the top of the point…
I then take the four criss crossed sections and add them to the main snowflake body like this…
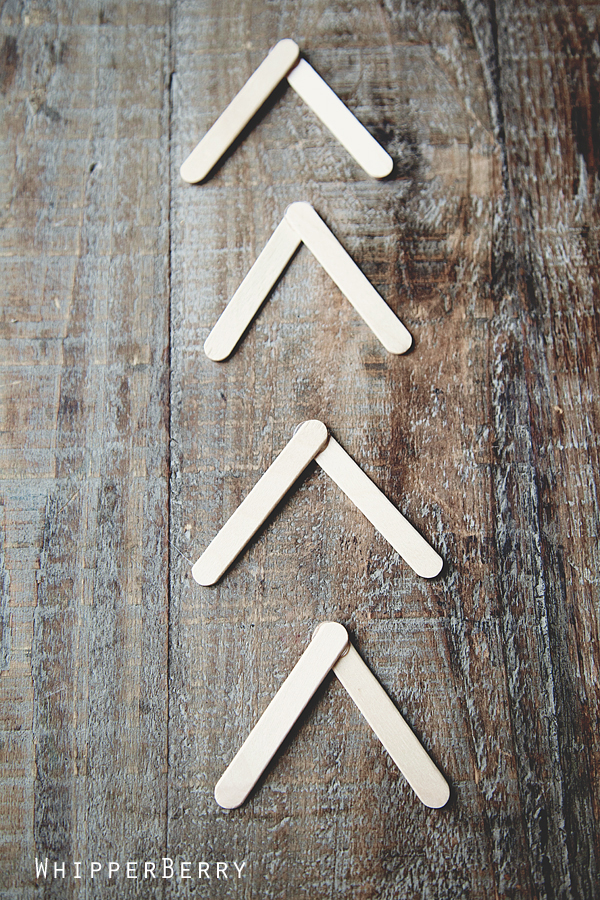
Again, set aside the body and create four more points, but this time make it more like a the point of an arrow, not an X. It will look like this…
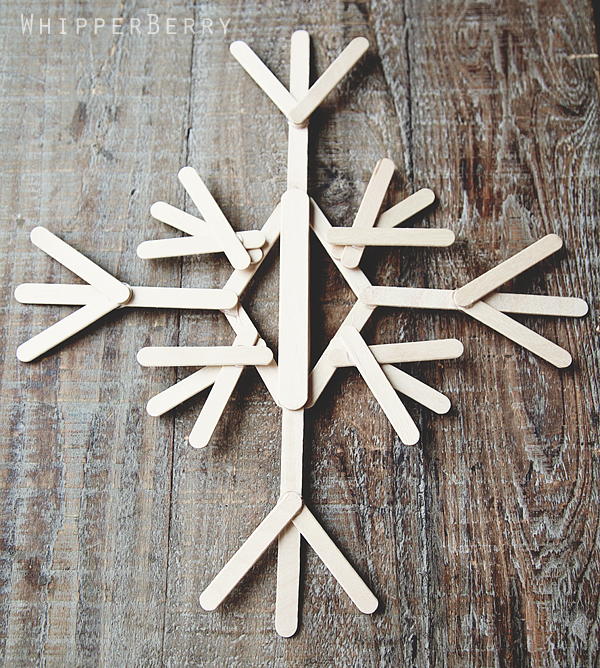
Add these to the body of the snowflake on the craft stick half way down like so…
You have two choices at this point… You can add the circles to the snowflake or leave them off. You get to be your own designer here. I actually like both looks. The top image shows what it would look like without, this bottom image is what it looks like with…
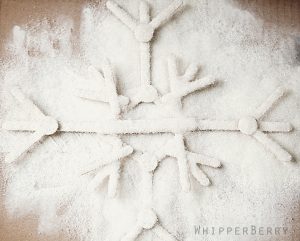
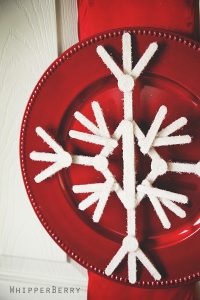
Now, you will need to paint your beautiful snowflake white and then let dry. Once dry spray the whole front of the snowflake with the Elmer's spray adhesive and then dust the snowflake with the Buffalo Snow…
That will take a minute or two to dry. Next, you will hot glue the snowflake to the charger. You will only need to place a few dots of hot glue on the tips of the snowflake because those are the only points that will make contact with the charger.
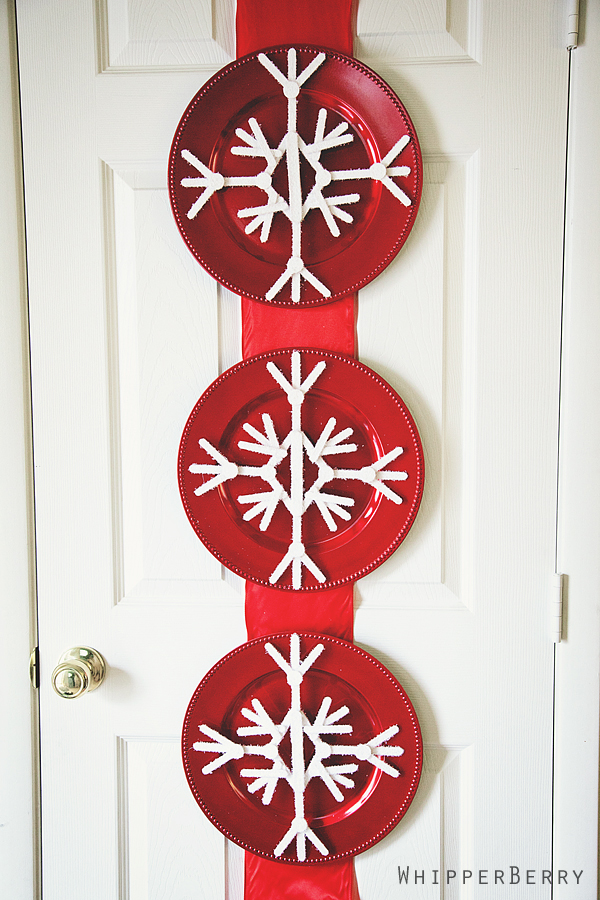
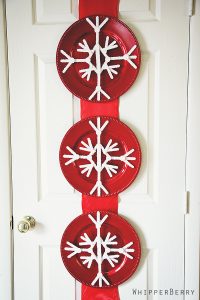
At this point you have a some beautiful snowflake artwork that you can display anywhere or you can kick it up a notch!! I made two more snowflakes and then hot glued them to about three yards of 6 inch wide ribbon. and then hung the ribbon over the top of a closet door right at the entry way to my home. I secured the ribbon with four large glue dots on the inside of the door and it has worked like a charm.
Isn't that fun and sooooo easy!! Now I can always have some cheery snowflakes to dress my home every winter, I LOVE them!! Here are a couple more fun ideas from WhipperBerry that you may want to try out…
The DIY Fabric Bow, The Candy Cane Wreath and our Felted Wool Garland are all fun and super easy projects that will add all kinds of cheer to your holiday gatherings.
I would love for you to head over to Craft Gossip to vote for my IZZE inspired hanging pendant light! You could win a $50 Target gift card plus some IZZE swag just for voting!
3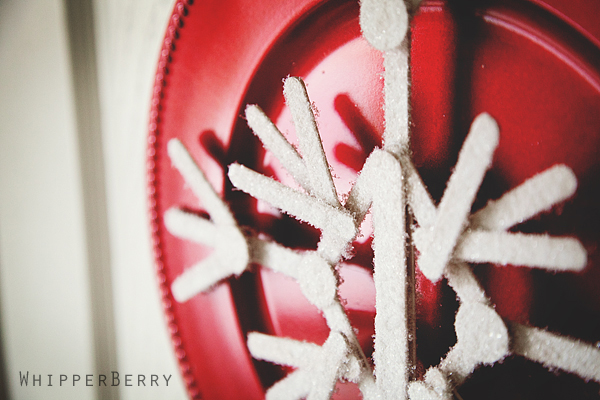





Your snowflakes are so pretty, thank you for another beautiful project.
I can imagine how hard it must be for you getting use to no snow this time of the year.
Merry Christmas to you and your family!
Love these! I just featured them on my blog: http://www.releasemecreations.com/2011/12/diy-wednesday-holiday-projects.html