Is there any food or beverage in the world that produces the same emotions and thoughts as a whiff of freshly baked apple turnovers does? These nostalgic little bits of Americana are the perfect snack for both hot weather and cold, depending on how you serve them, and they’re as easy or challenging to make as you like. In my recipe, I’ve included a basic puff pastry recipe, so that you have control over the flavor profile from the start of the process and also the best possible option for fillings if you’re a little short on time. I’ve also shared a few ways to jazz the turnovers up and make them a little bit different from the usual. Enjoy!

The Homemade Puff Pastry
Recipe
- 1¼ cup very cold butter (salted)*, cubed
- ½ cup very cold water
- ¼ teaspoon salt*
- 2 cups all-purpose flour
*If you’re using unsalted butter, then be sure to add ¾ teaspoon of salt. The better the quality of the butter, the better the dough will turn out.
Method
- Put the flour and salt in a food processor bowl, then add ¾ cup (170 grams) of cold, cubed butter. Pulse (with a metal blade) until butter is absorbed (10–12 quick pulses), then add the remaining cold, cubed butter and pulse a few more times to combine. Add the cold water and pulse a few times until the dough begins to form into a ball. DO NOT OVER PROCESS.
- Place the dough onto a floured surface and knead lightly around 10 times. Roll into a rectangle (approximately 12 x 18 inches) with a lightly floured rolling pin.
- Fold the dough into an envelope shape, then in half. Wrap in plastic and refrigerate for 1–2 hours. Remember to use the dough when it’s as cold as possible!

Homemade Caramel Sauce (for serving)
Ingredients
- 1 cup packed brown sugar
- ½ cup unsalted butter
- ¼ cup heavy cream
- 1 teaspoon vanilla extract (Optional)
Method
- Heat the sugar in a stainless steel saucepan (don’t use nonstick) over medium heat. Stir it constantly with a silicone spatula or a wooden spoon for about 6 minutes. DO NOT stop stirring or the sugar will burn.
- Once the sugar is melted, immediately stir in the butter until combined. In this step, the caramel will bubble rapidly, so be very careful to avoid sugar burns. If the butter separates or if the sugar clumps, remove the pot from the heat and vigorously whisk to combine them again. Keep whisking, it will come together eventually!
- After the butter has melted and combined, stir constantly as you add the heavy cream very slowly. Again, the mixture will bubble rapidly, so take care! After the cream is combined, allow the mixture to boil for 1 minute. The temperature will rise to about 220°F (104°C) (use a thermometer), and the mixture will increase in size.
- Remove from the heat and stir in the salt. Allow the caramel to cool before using (it will thicken as it does).

The Turnovers
Ingredients
- I use the Andros Professional range of fruit fillings: the apple cinnamon is perfect for this dish as it’s made specifically for pastry chefs – really a treat to work with! 6 cups
- 1 tsp cinnamon
- 1/2 cup white sugar
- 1/2 tsp vanilla extract
- Pinch salt
- 2 square puff pastry sheets (25 cm/10″)
- 1 egg, beaten
Recipe
- Line a large cutting board or upside-down tray with baking/parchment paper.
- Using very cold pastry, cut it into 4 squares (5″ each) and brush 2 edges with egg, then place about 1–2 tablespoons of the pre-prepared filling on the egg-brushed side.
- Fold into a triangle and seal with a flour-dipped fork. Transfer to a baking paper-lined cutting board.
- Refrigerate for 20 minutes (cold dough bakes better)
- Preheat the oven to 400°F/200°C (180°C fan).
- Slide the paper holding the turnovers onto a large baking tray. Brush turnovers with egg and poke with a fork a few times. Bake for 25 minutes or until golden.
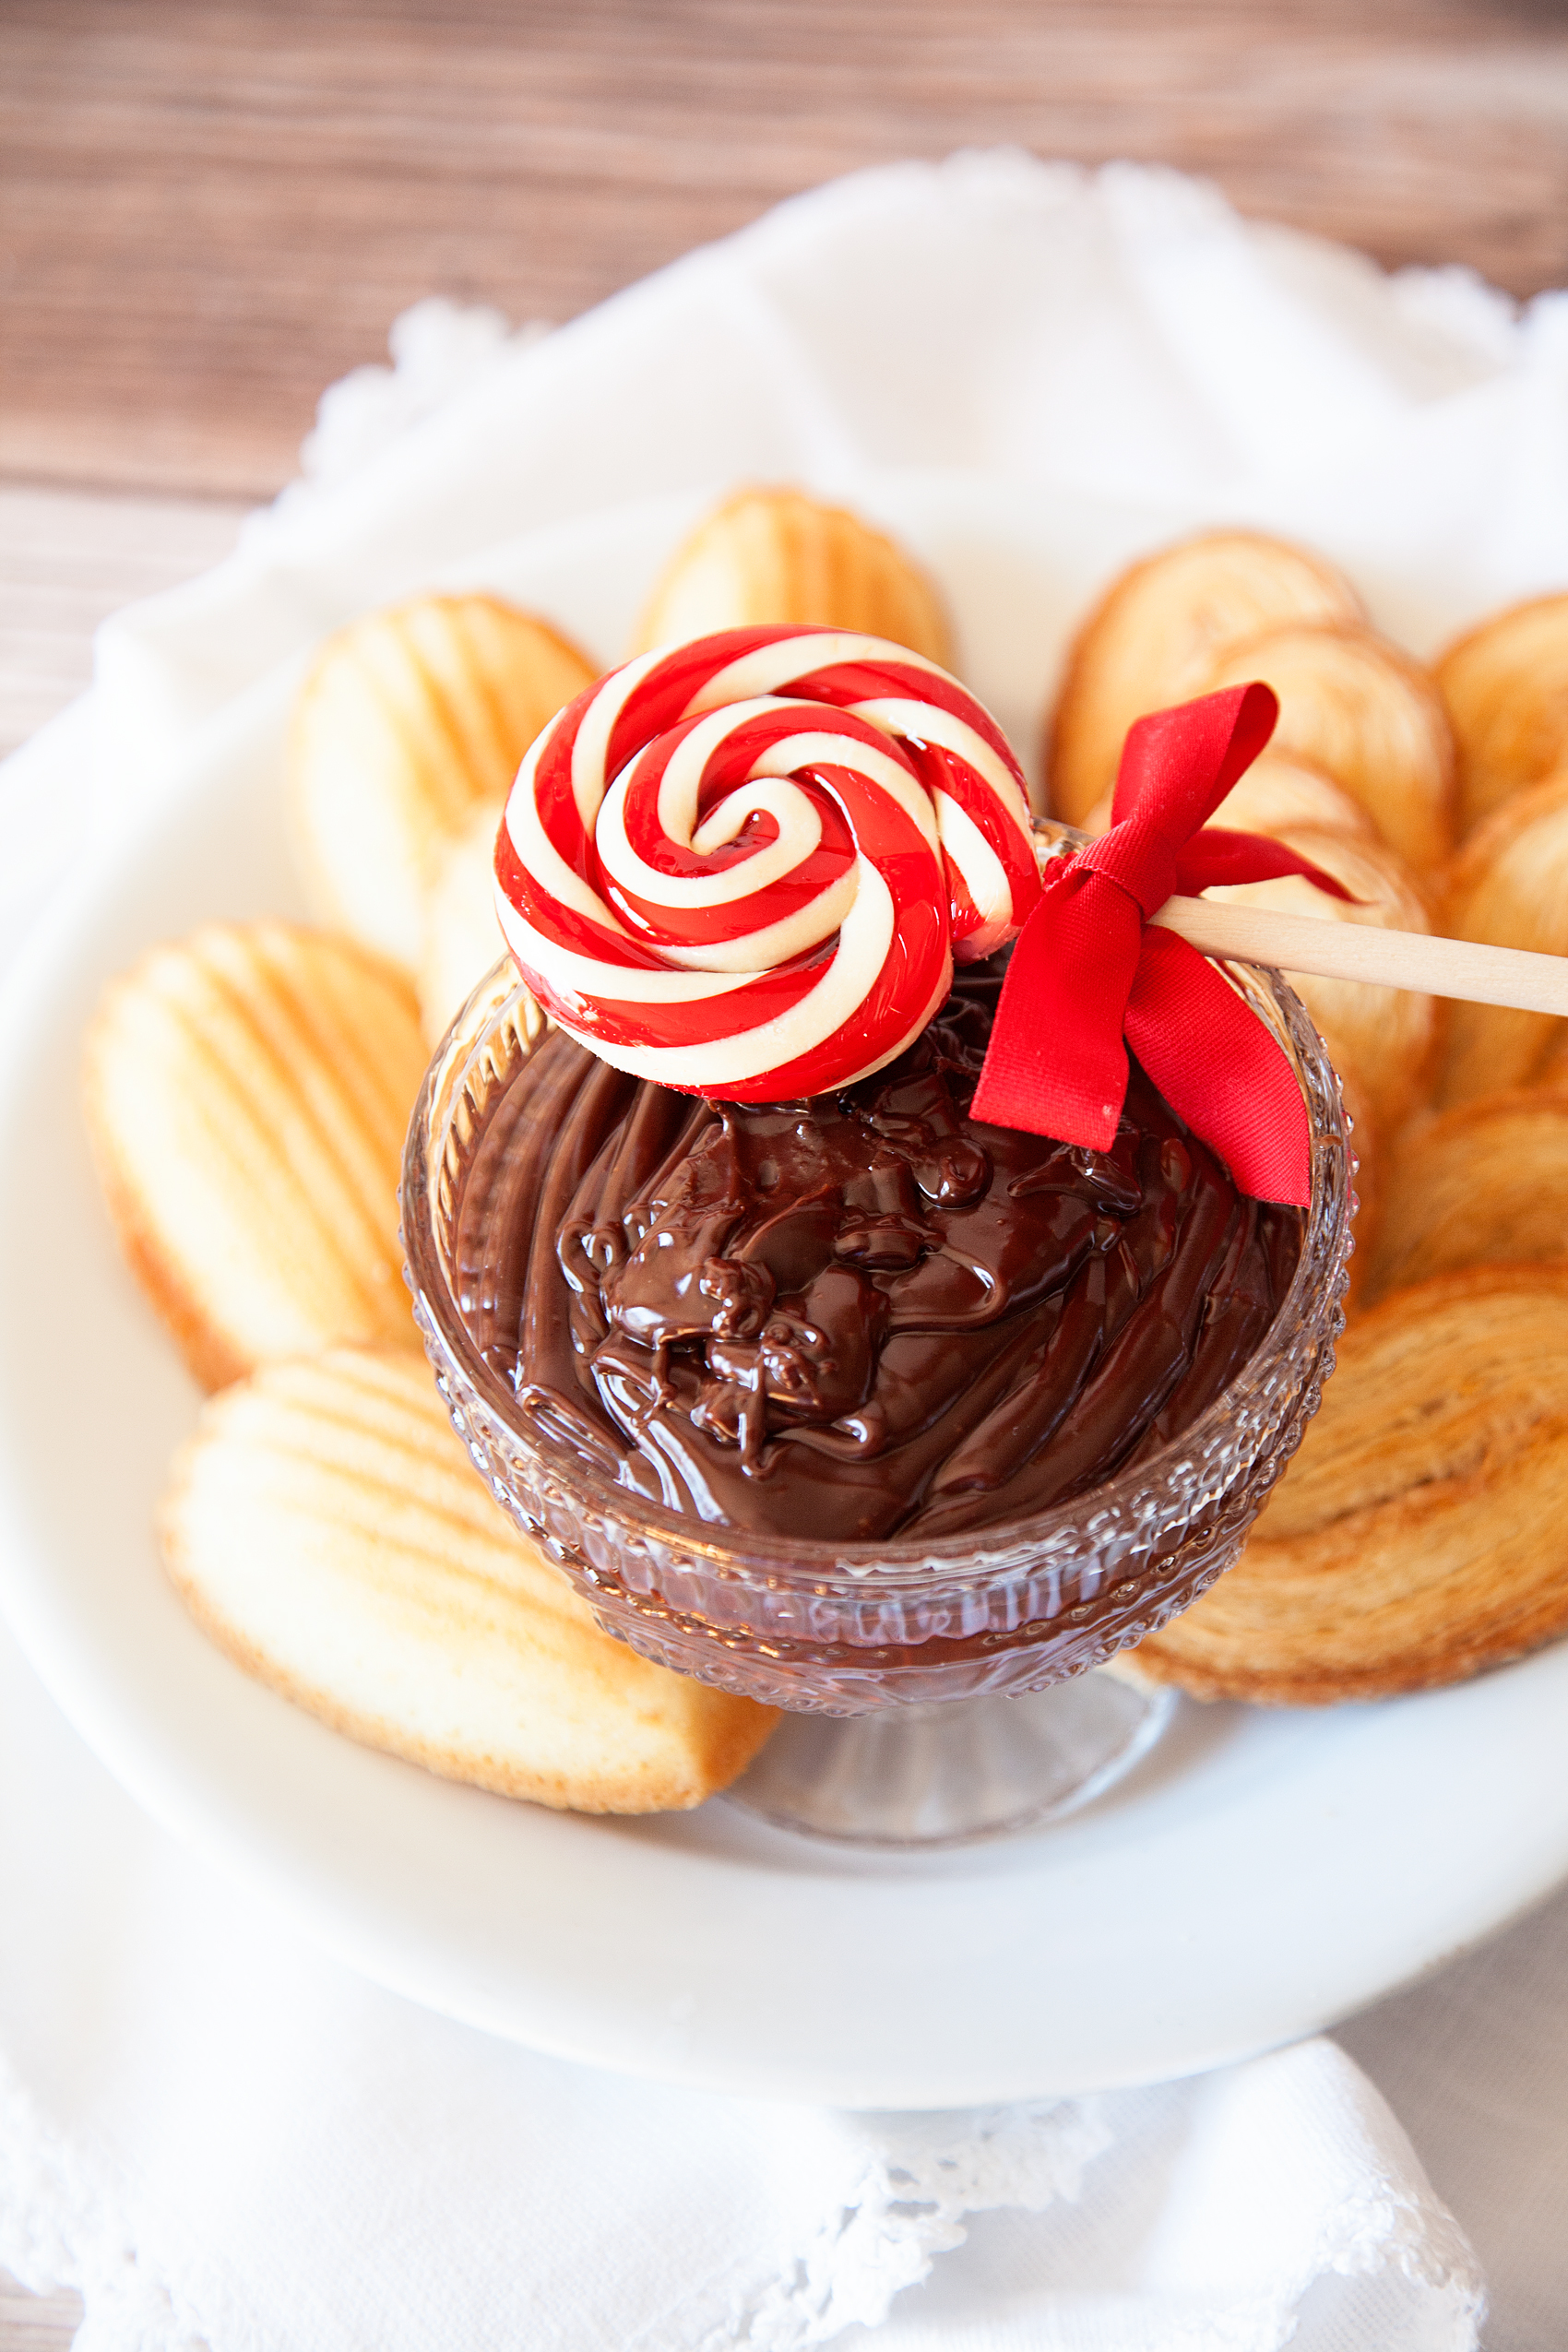
- Serve this delicious apple dessert warm with icing sugar, cream, or ice cream and caramel sauce.
Make Them Yours
Feel like turnovers that are a little bit extra? Instead of just providing whipped cream to dunk them in or serving the turnovers with ice cream like a mini apple pie, make cream-filled turnovers instead. Make the turnovers as above and then, when ready to serve, whip stabilized cream or use regular cream and whip until stiff so it’s pipeable. Gently make a hole in the pastry and pipe it inside (having good quality baking equipment like a metal piping nozzle makes it easier) and serve it like a sandwich. For more creative ideas with fruit-filled pastries, check out Katie Cross recipes.
Voila! The perfect apple turnovers customized to your liking. What could be more delicious?


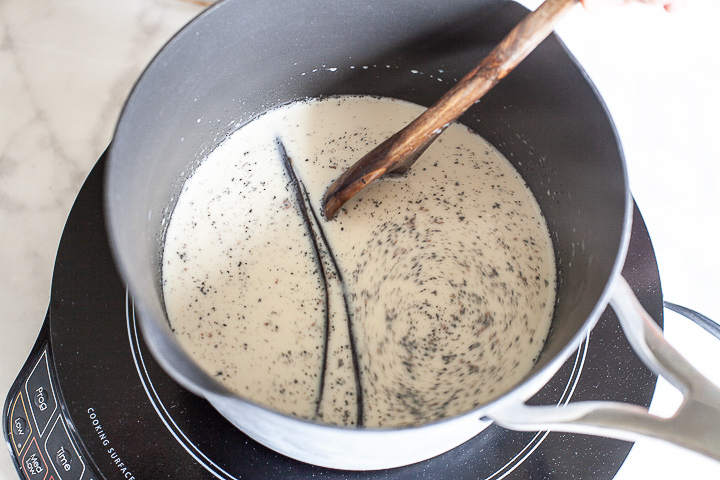 Bring to a simmer over medium heat, whisking frequently. Reduce the heat and simmer for 4 minutes. Remove from the heat.
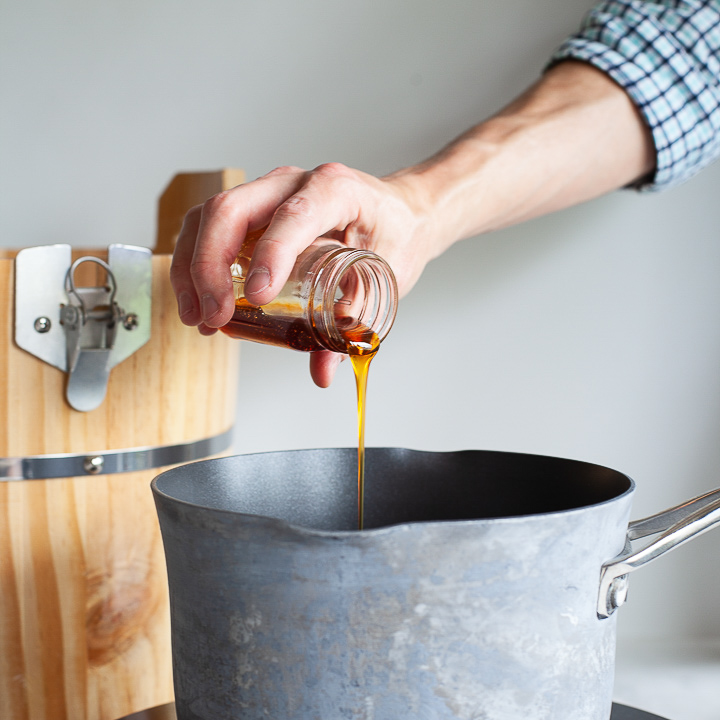
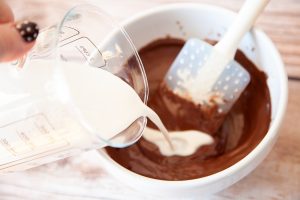
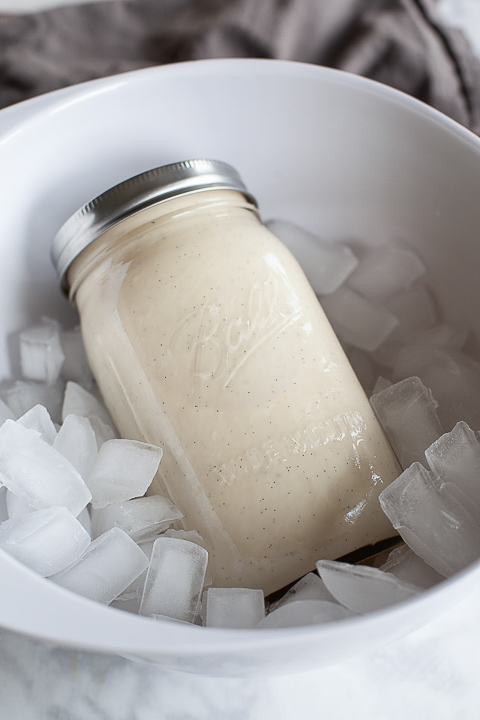
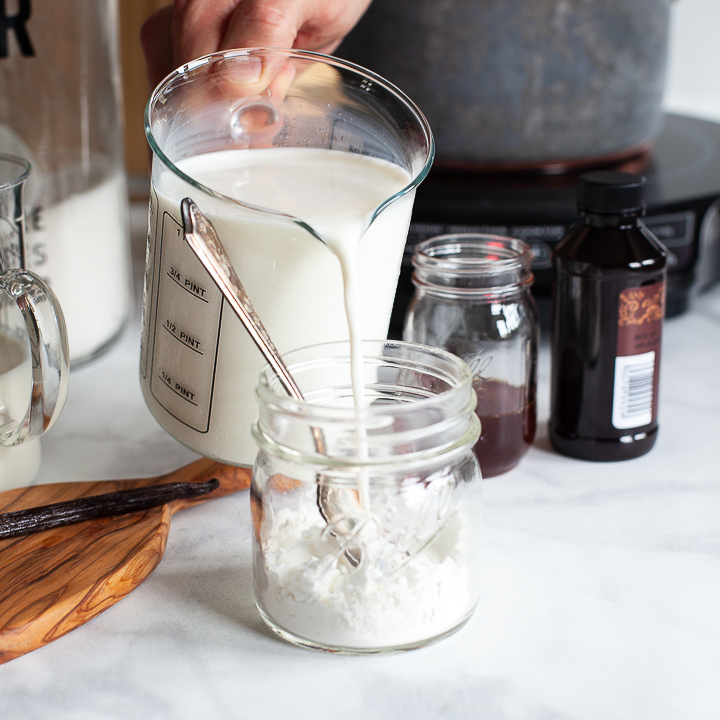
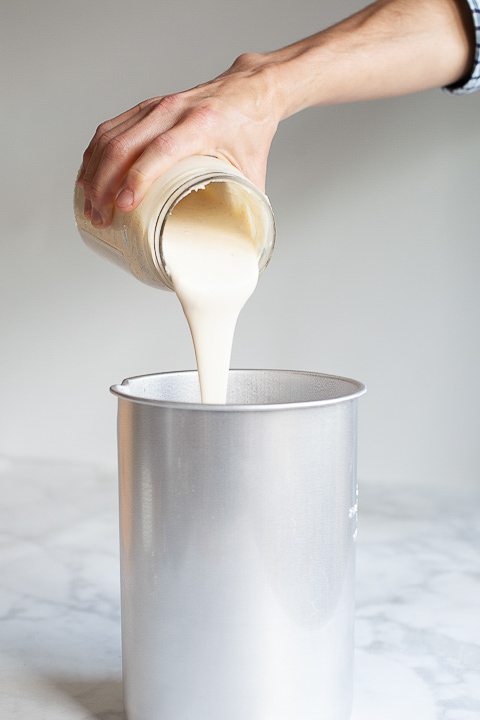
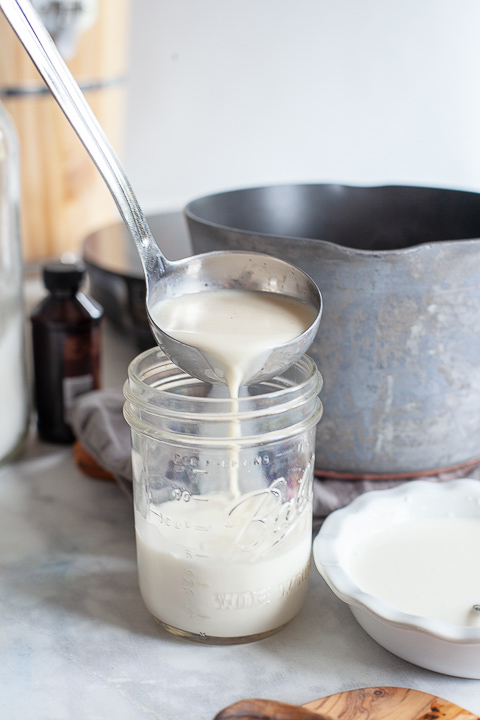 Slowly pour this back into the hot milk, whisking constantly. Return to the medium heat and cook, whisking frequently, until it comes to a boil.
 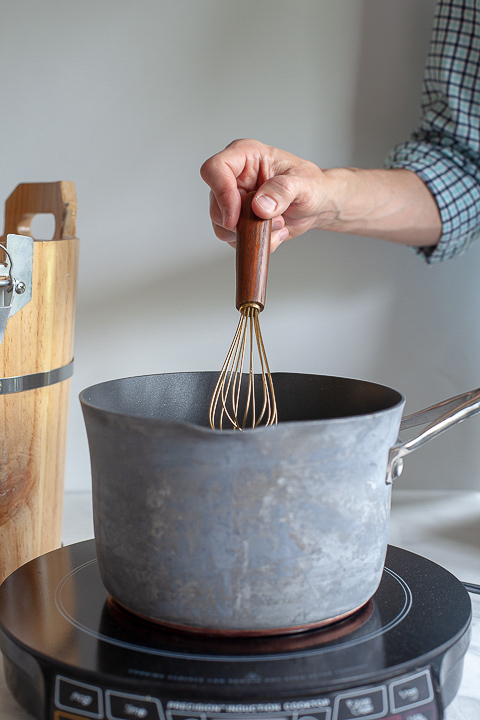 Boil for 1 minute, then remove from the heat. Whisk in the cream cheese mixture. Remove the vanilla bean husk. Whisk in the vanilla extract.
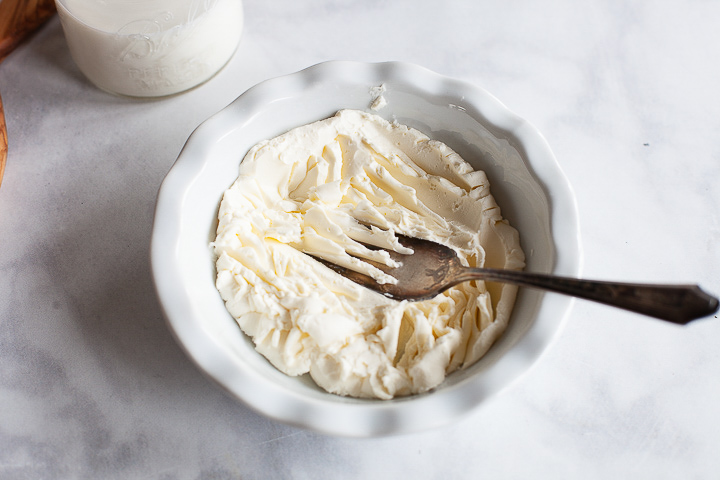

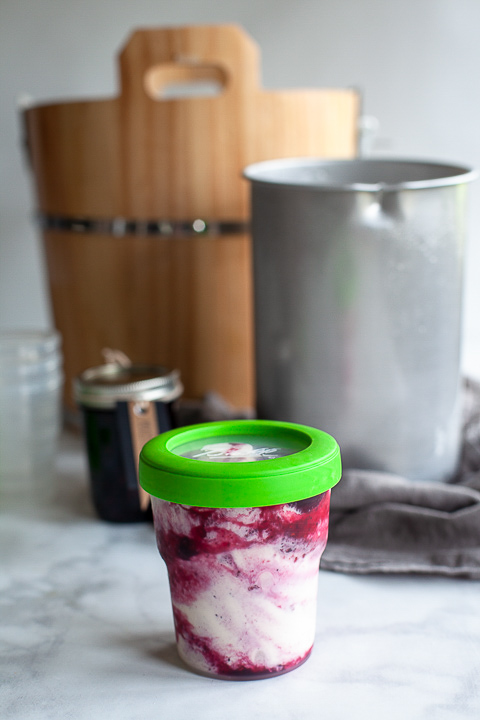
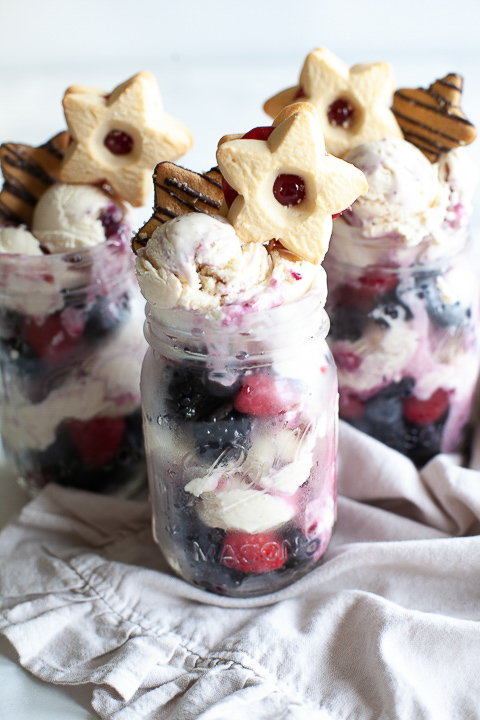
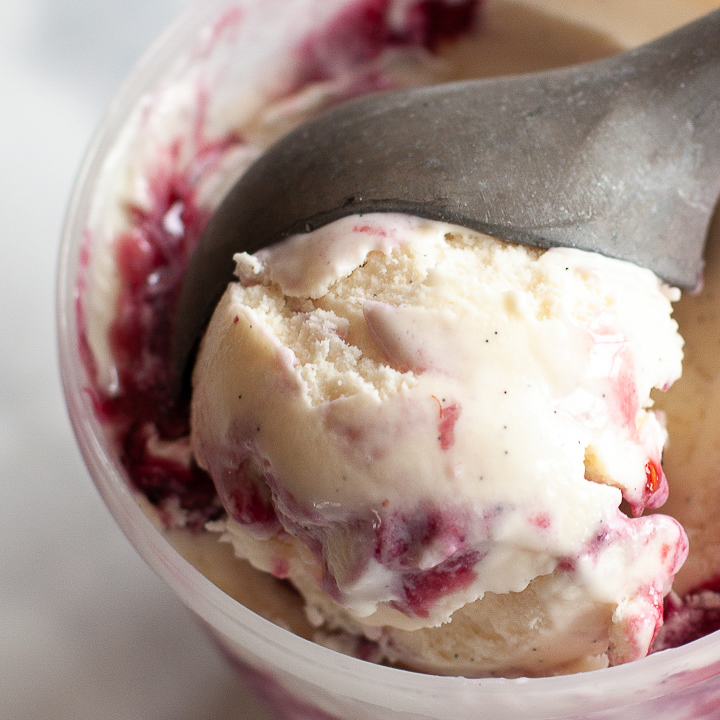
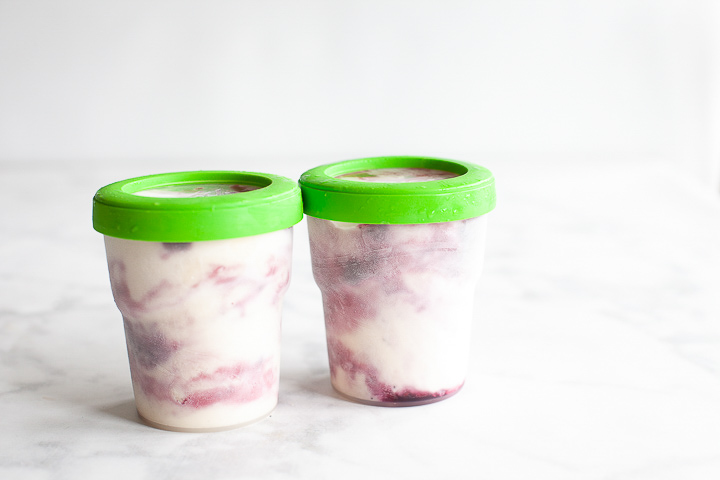
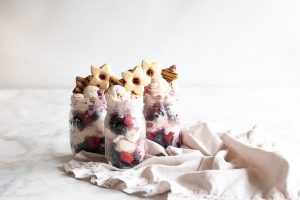
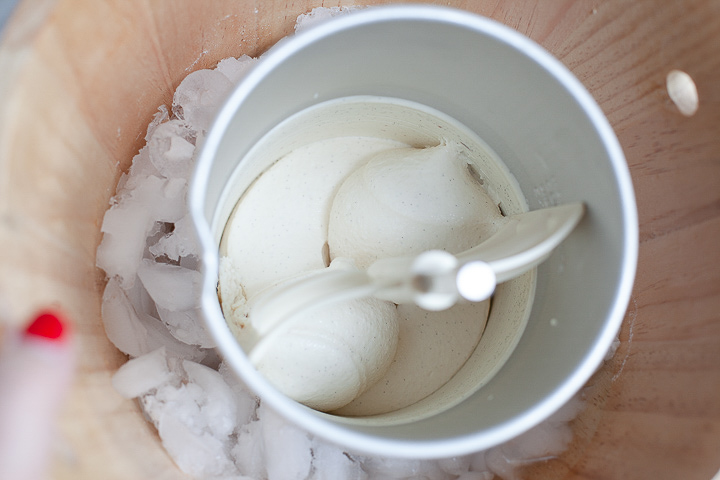 Adding the jam is best done AFTER you have finished with the ice cream maker. I actually borrowed a trick from Starbucks and swirled the jam onto the inside of the plastic jar before I even put the ice cream in the jar.
  Then, I filled the plastic jar half way and put a spoonful of jam on the top. I filled the plastic jar the rest of the way, leaving about 3/4 of an inch at the top of the jar to allow for expansion. Then I added another spoonful of jam. Then I took a knife and gently stirred the ice cream in ONE figure eight pattern. You want this ice cream to be swirled not totally stirred in.