• Skip to primary navigation
  • Skip to main content
  • Skip to primary sidebar
  • Skip to footer

Whipperberry

WhipperBerry • Your Home For Creative Inspiration

  • Home
  • About
    • Terms
  • Recipes
    • ZipList
    • Starters
    • Easy Weeknight Dinners
    • Main Dish
    • Salads
    • Side Dish
    • Soups & Stews
    • Desserts
    • Breakfast
    • Miscellaneous
  • Tutorials
    • Creative Crafts
    • DYI Decor
    • Fabric Crafts
    • Food How-To
    • Jewlery
    • Paint Projects
    • Paper Art
    • Party Styling
    • Photography and Graphic Design
    • Silhouette
  • Holidays
    • St. Patrick’s Day
    • Easter
    • Mother’s Day
    • Father’s Day
    • 4th of July
    • Halloween
    • Thanksgiving
    • Christmas
    • New Years
    • Valentine’s Day
  • Gift Ideas
    • Gifts For Everyone
    • Gifts for Dad
    • Mother’s day
    • For The Girls
    • For The Kids
    • Teacher Gift Ideas
    • Christmas
  • Printables
    • Holiday
    • Gift Idea
    • LDS Primary
  • Travel
  • Contact
  • Nav Social Menu

    • Facebook
    • Instagram
    • Pinterest
    • RSS
    • Twitter

Giveaway

DIY Farmhouse Christmas Carol Star Tree Ornaments

89 · Nov 1, 2017 · 6 Comments


It’s officially Holiday Season! One thing that I LOVE about the Holidays is creating my own custom decor for our home. Love FARMHOUSE decor?

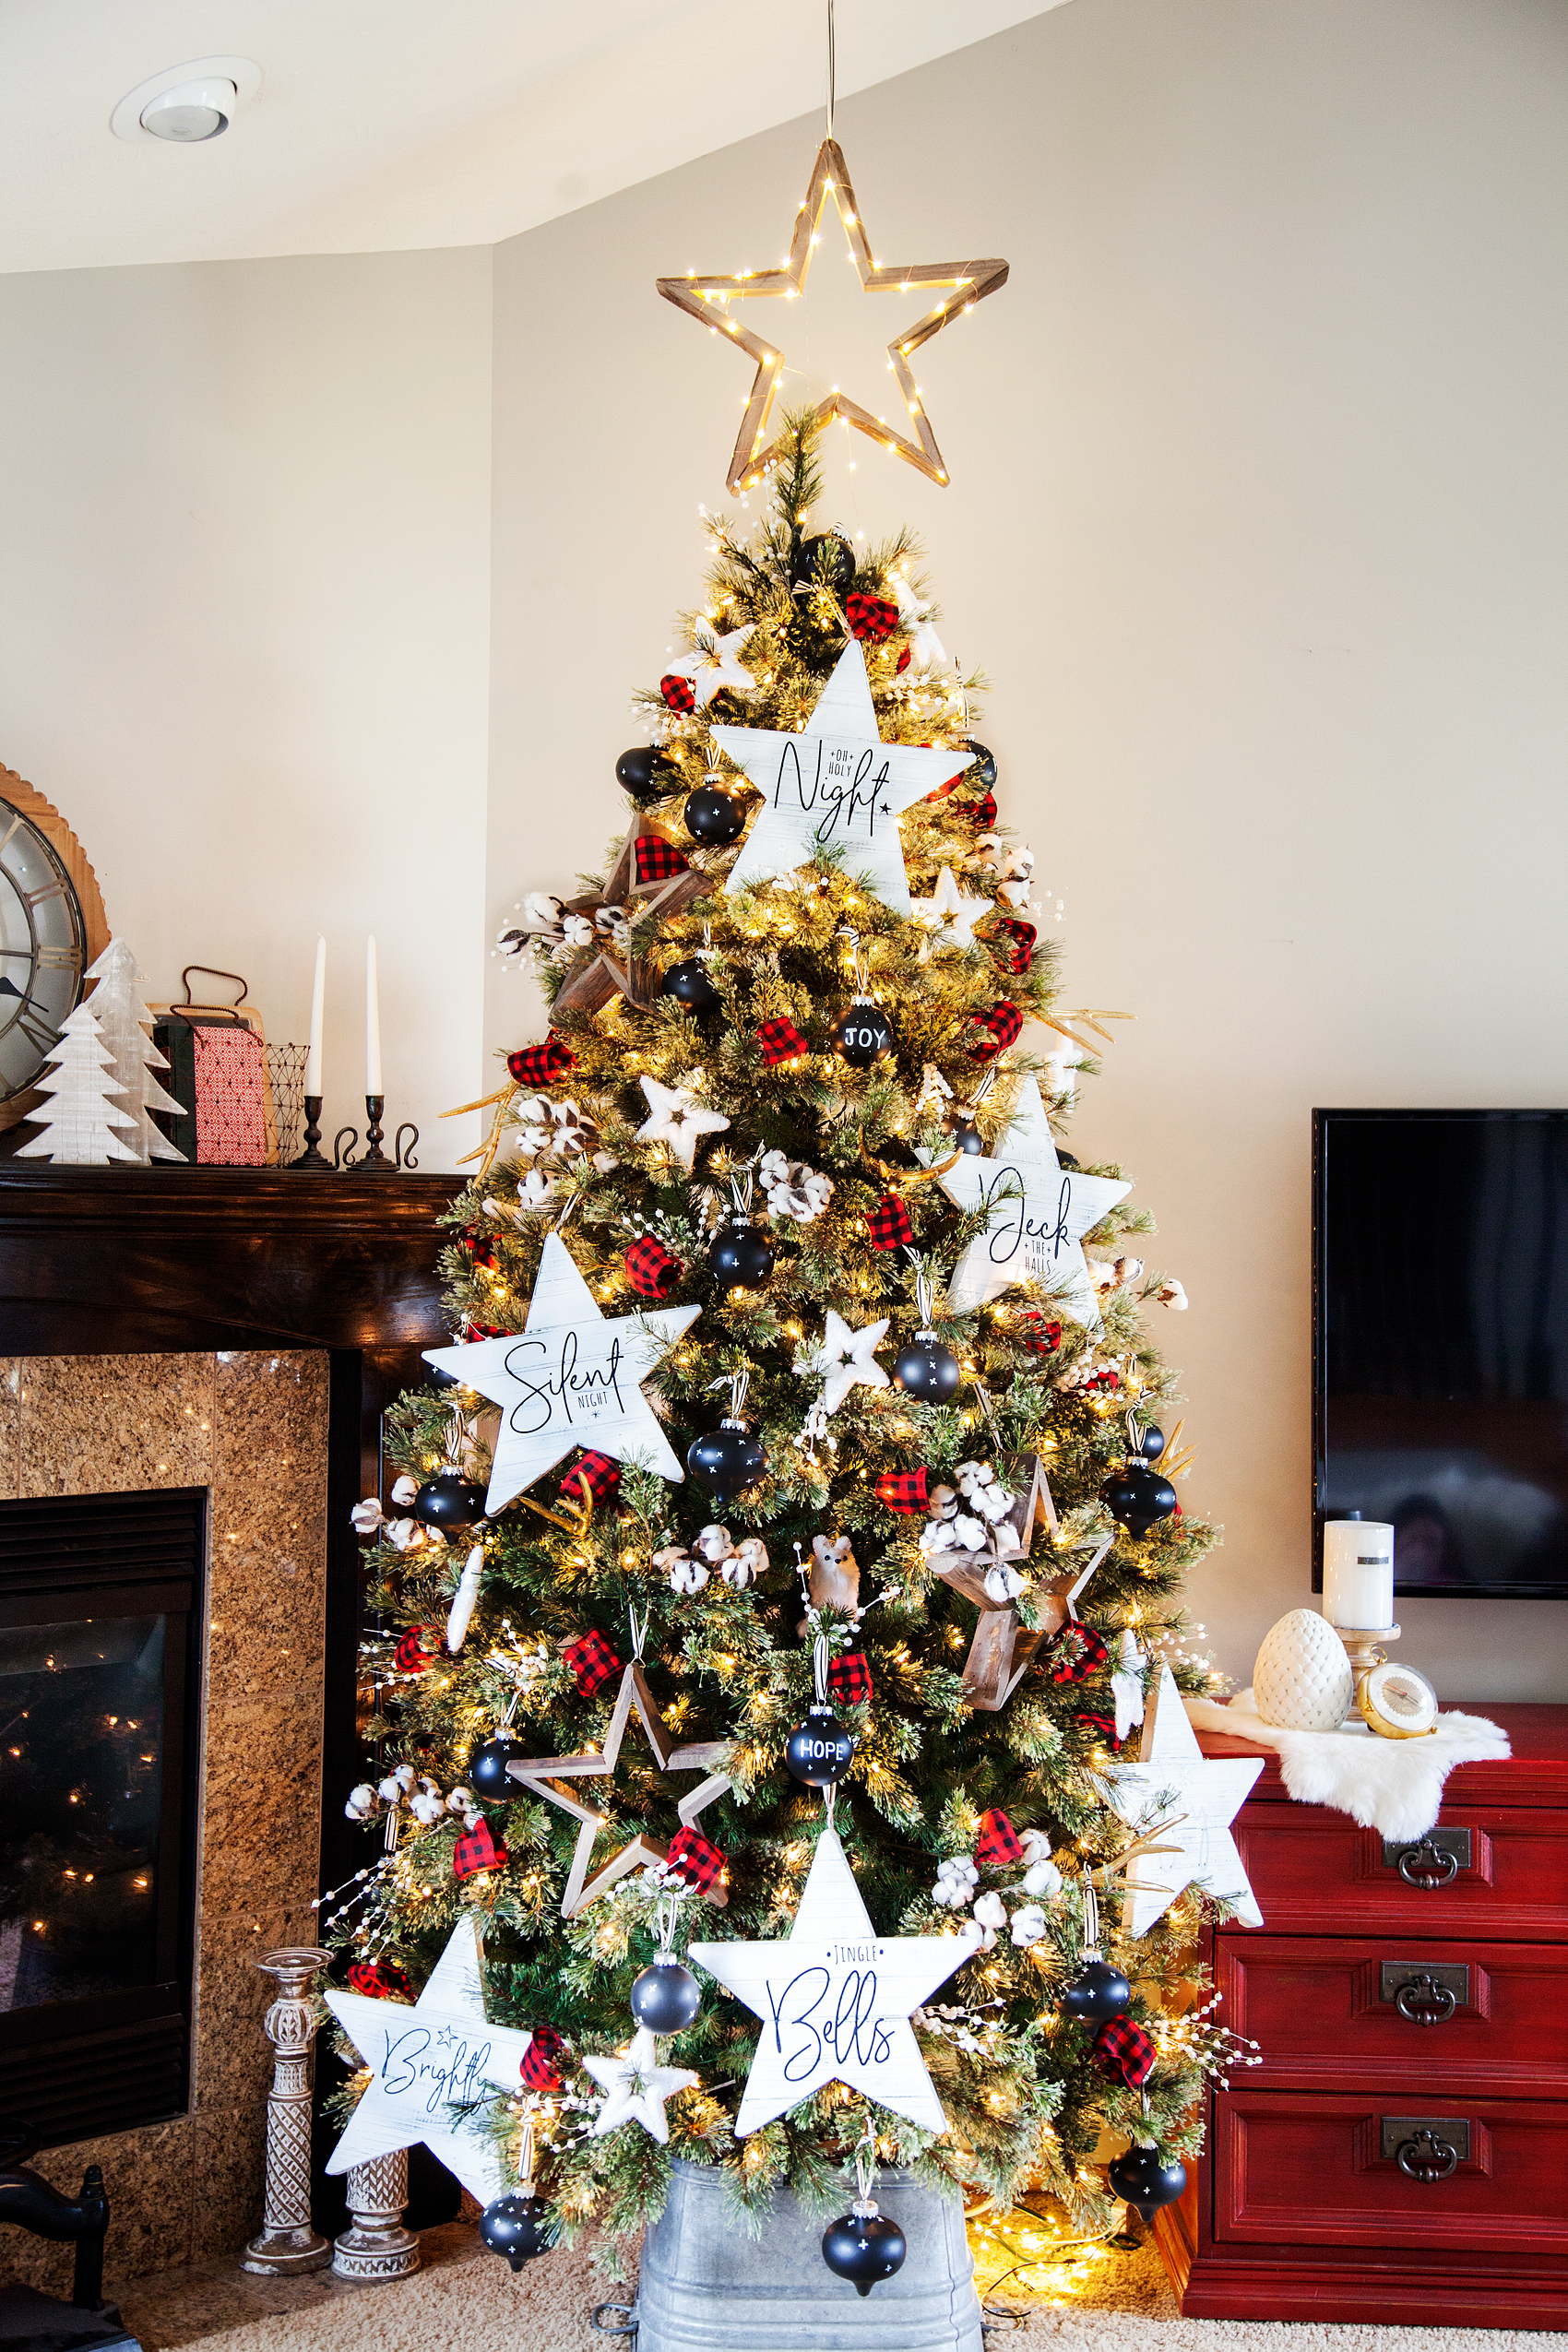
Then you are going to LOVE this Farmhouse-inspired Christmas Carol Star ornament that you can create for your home. This week I’ve teamed-up with DecoArt and Cricut to create some new ornaments for my Christmas tree this year.

We decided to go with the star of Christmas theme, so… I thought it would be fun to chalk paint some large wood stars and then put titles of Christmas Carols on them. They turned out so cute… Come learn how to make them for yourself.Create your own farmhouse Christmas decorations with a little help from WhipperBerry - Christmas Carol Stars

A few years ago, one of my good friends had the most beautiful Christmas trees. She had large stars all over the tree and I just adored it.

I asked her where the stars were from and I was devastated to learn that they were given to her from a friend who found them discarded from a department store after the holidays. DANG! There was no way of finding a set of my own.

This year, I decided it was time to make some large stars of my own. The timing couldn’t be more perfect! DecoArt and Cricut have teamed up this year to create all kinds of fabulous fun this Holiday season…

22520087_10212667444788382_464973044413398504_o

I love it when to amazing companies come together to inspire all of us to bring a little bit of our personalities into our home. These two are perfect for that. I’m sure that this will tickle your fancy… You’ll want to visit the DecoArt Blog to check out the GIVEAWAYS DecoArt & Cricut have up their sleeves this year!

Christmas Carol Stars Supply List

  • raw wood stars from Amazon
  • Americana Decor Curb Appeal – Black
  • Americana Decor Chalky Finish – Everlasting
  • paint brush
  • 250 grit sandpaper
  • Cricut vinyl – midnight
  • Cricut transfer tape
  • Cricut cutting machine like the  Cricut Maker

Instructions for Christmas Carol Stars
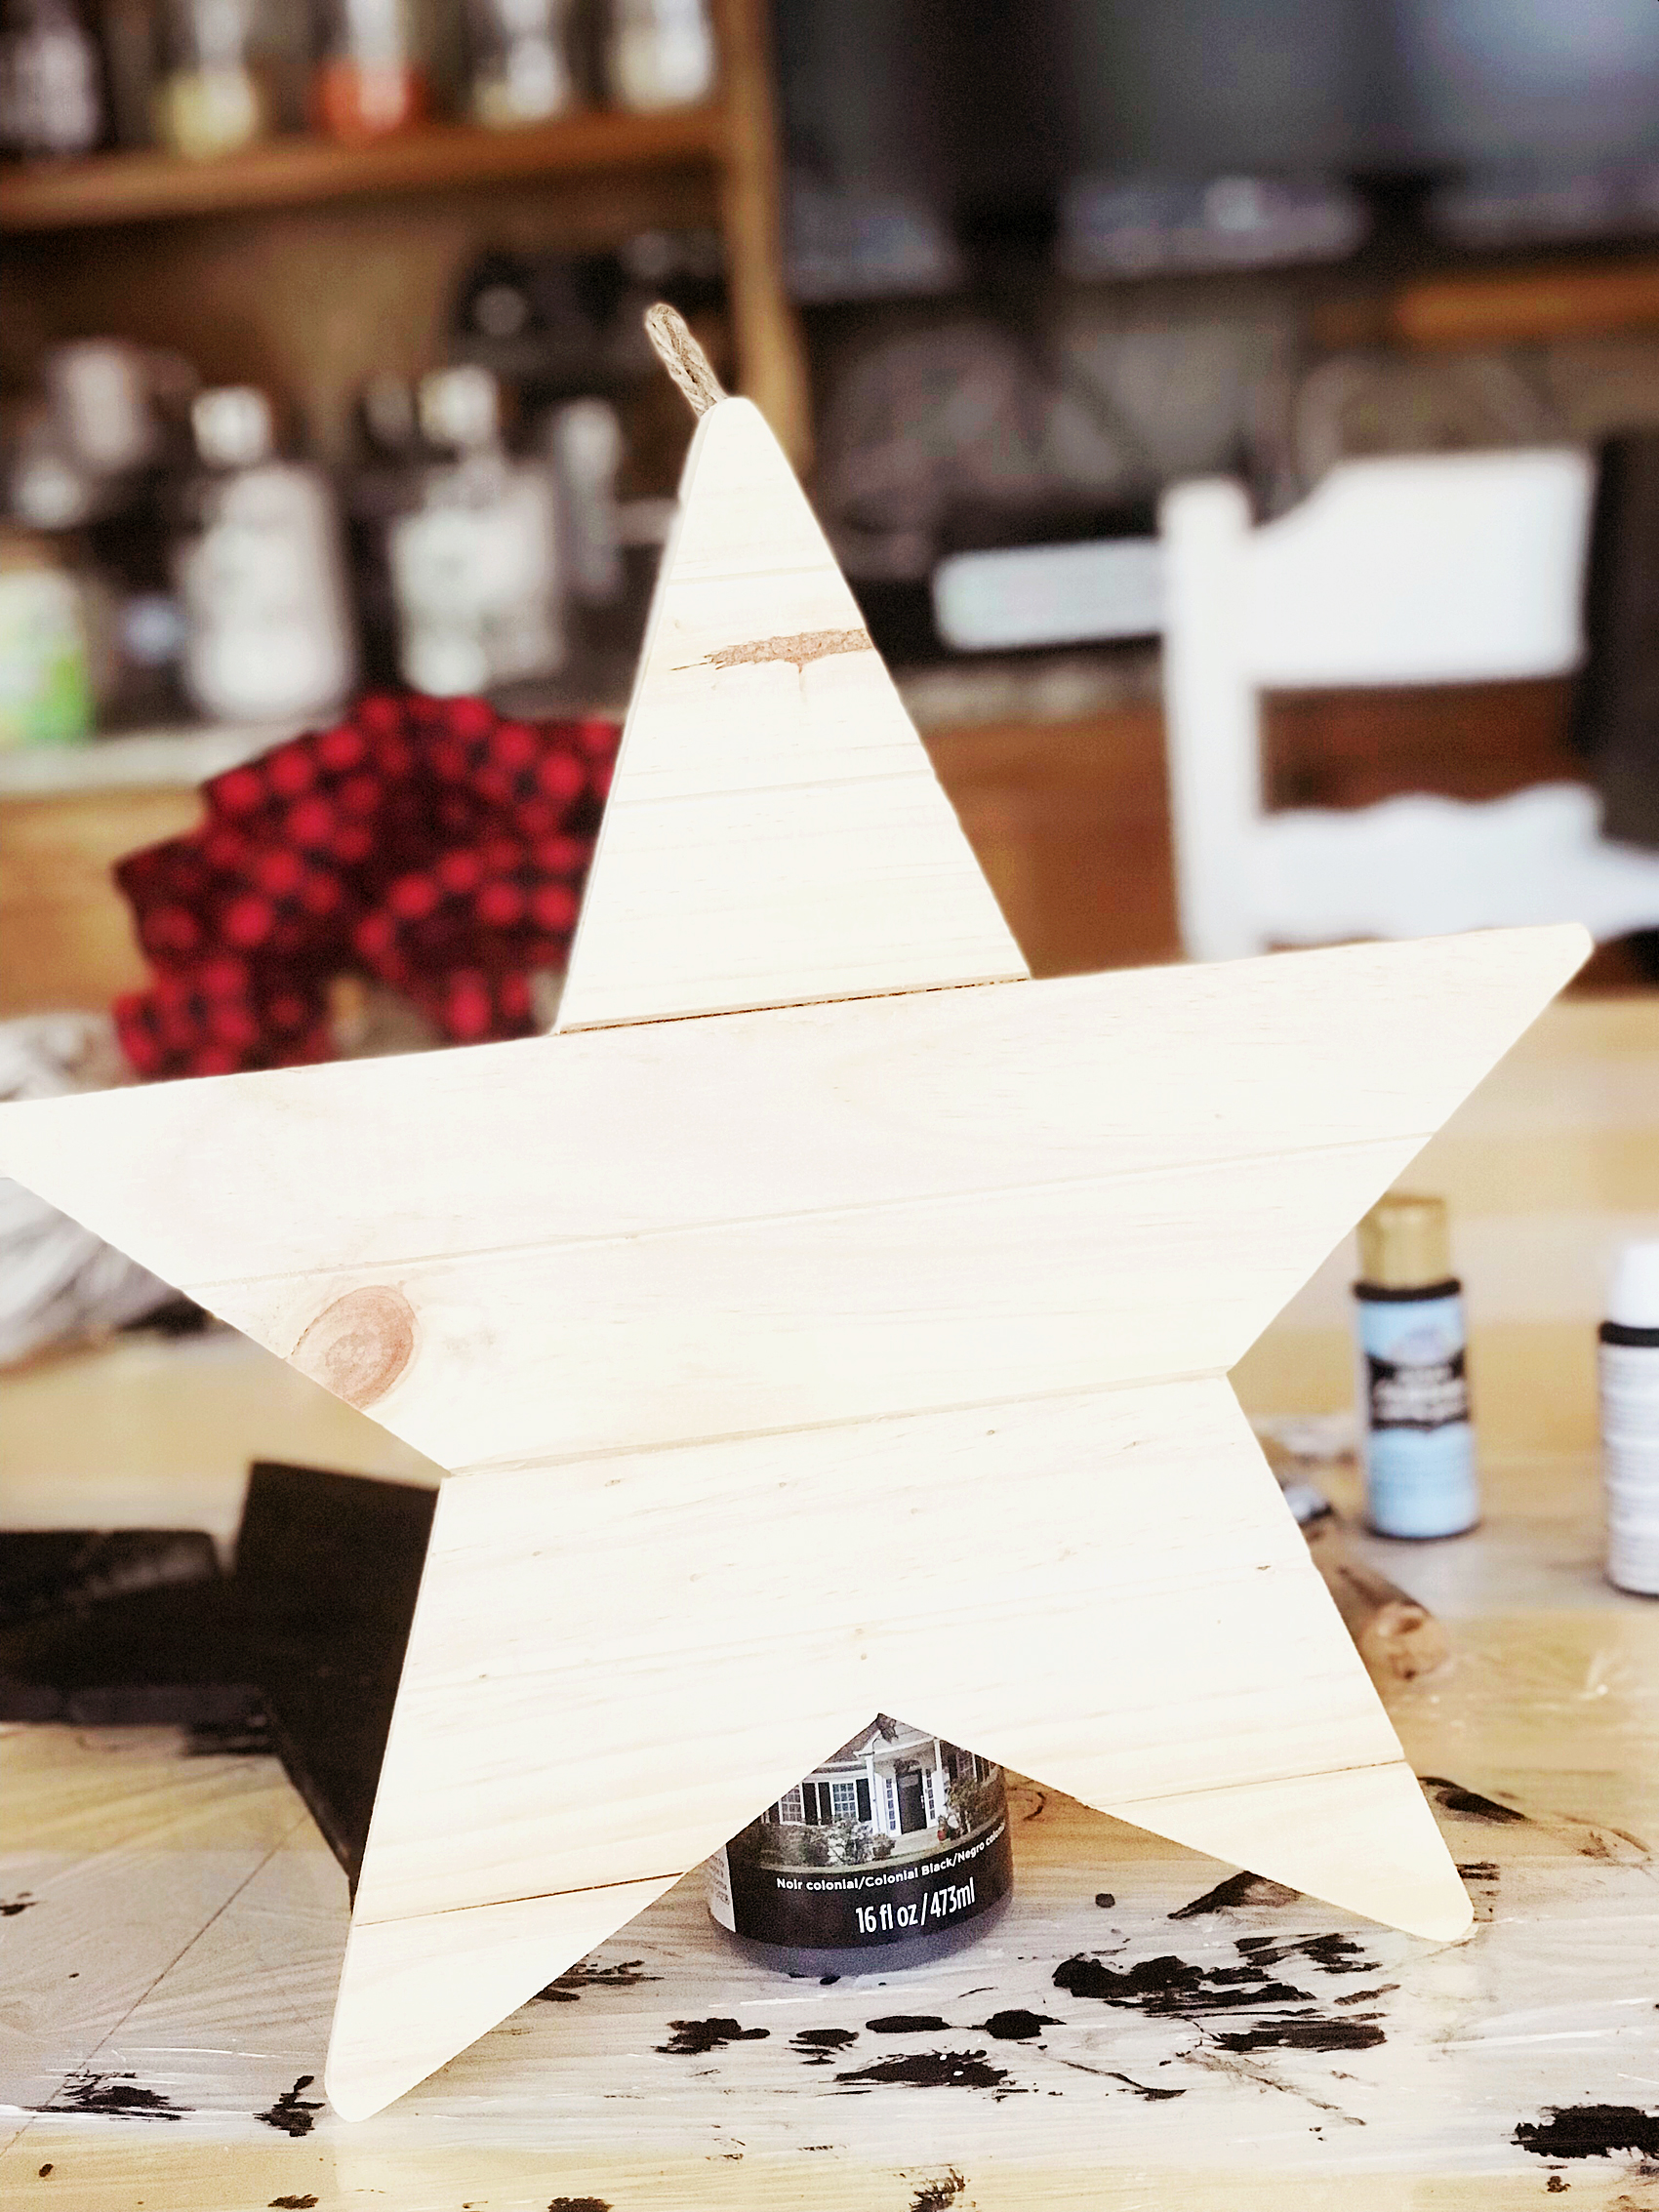
raw-star

First, grab your raw wood stars and wipe them down with a damp cloth to make sure they are dust and dirt free. Then paint your base coat with the Americana Decor Curb Appeal paint.
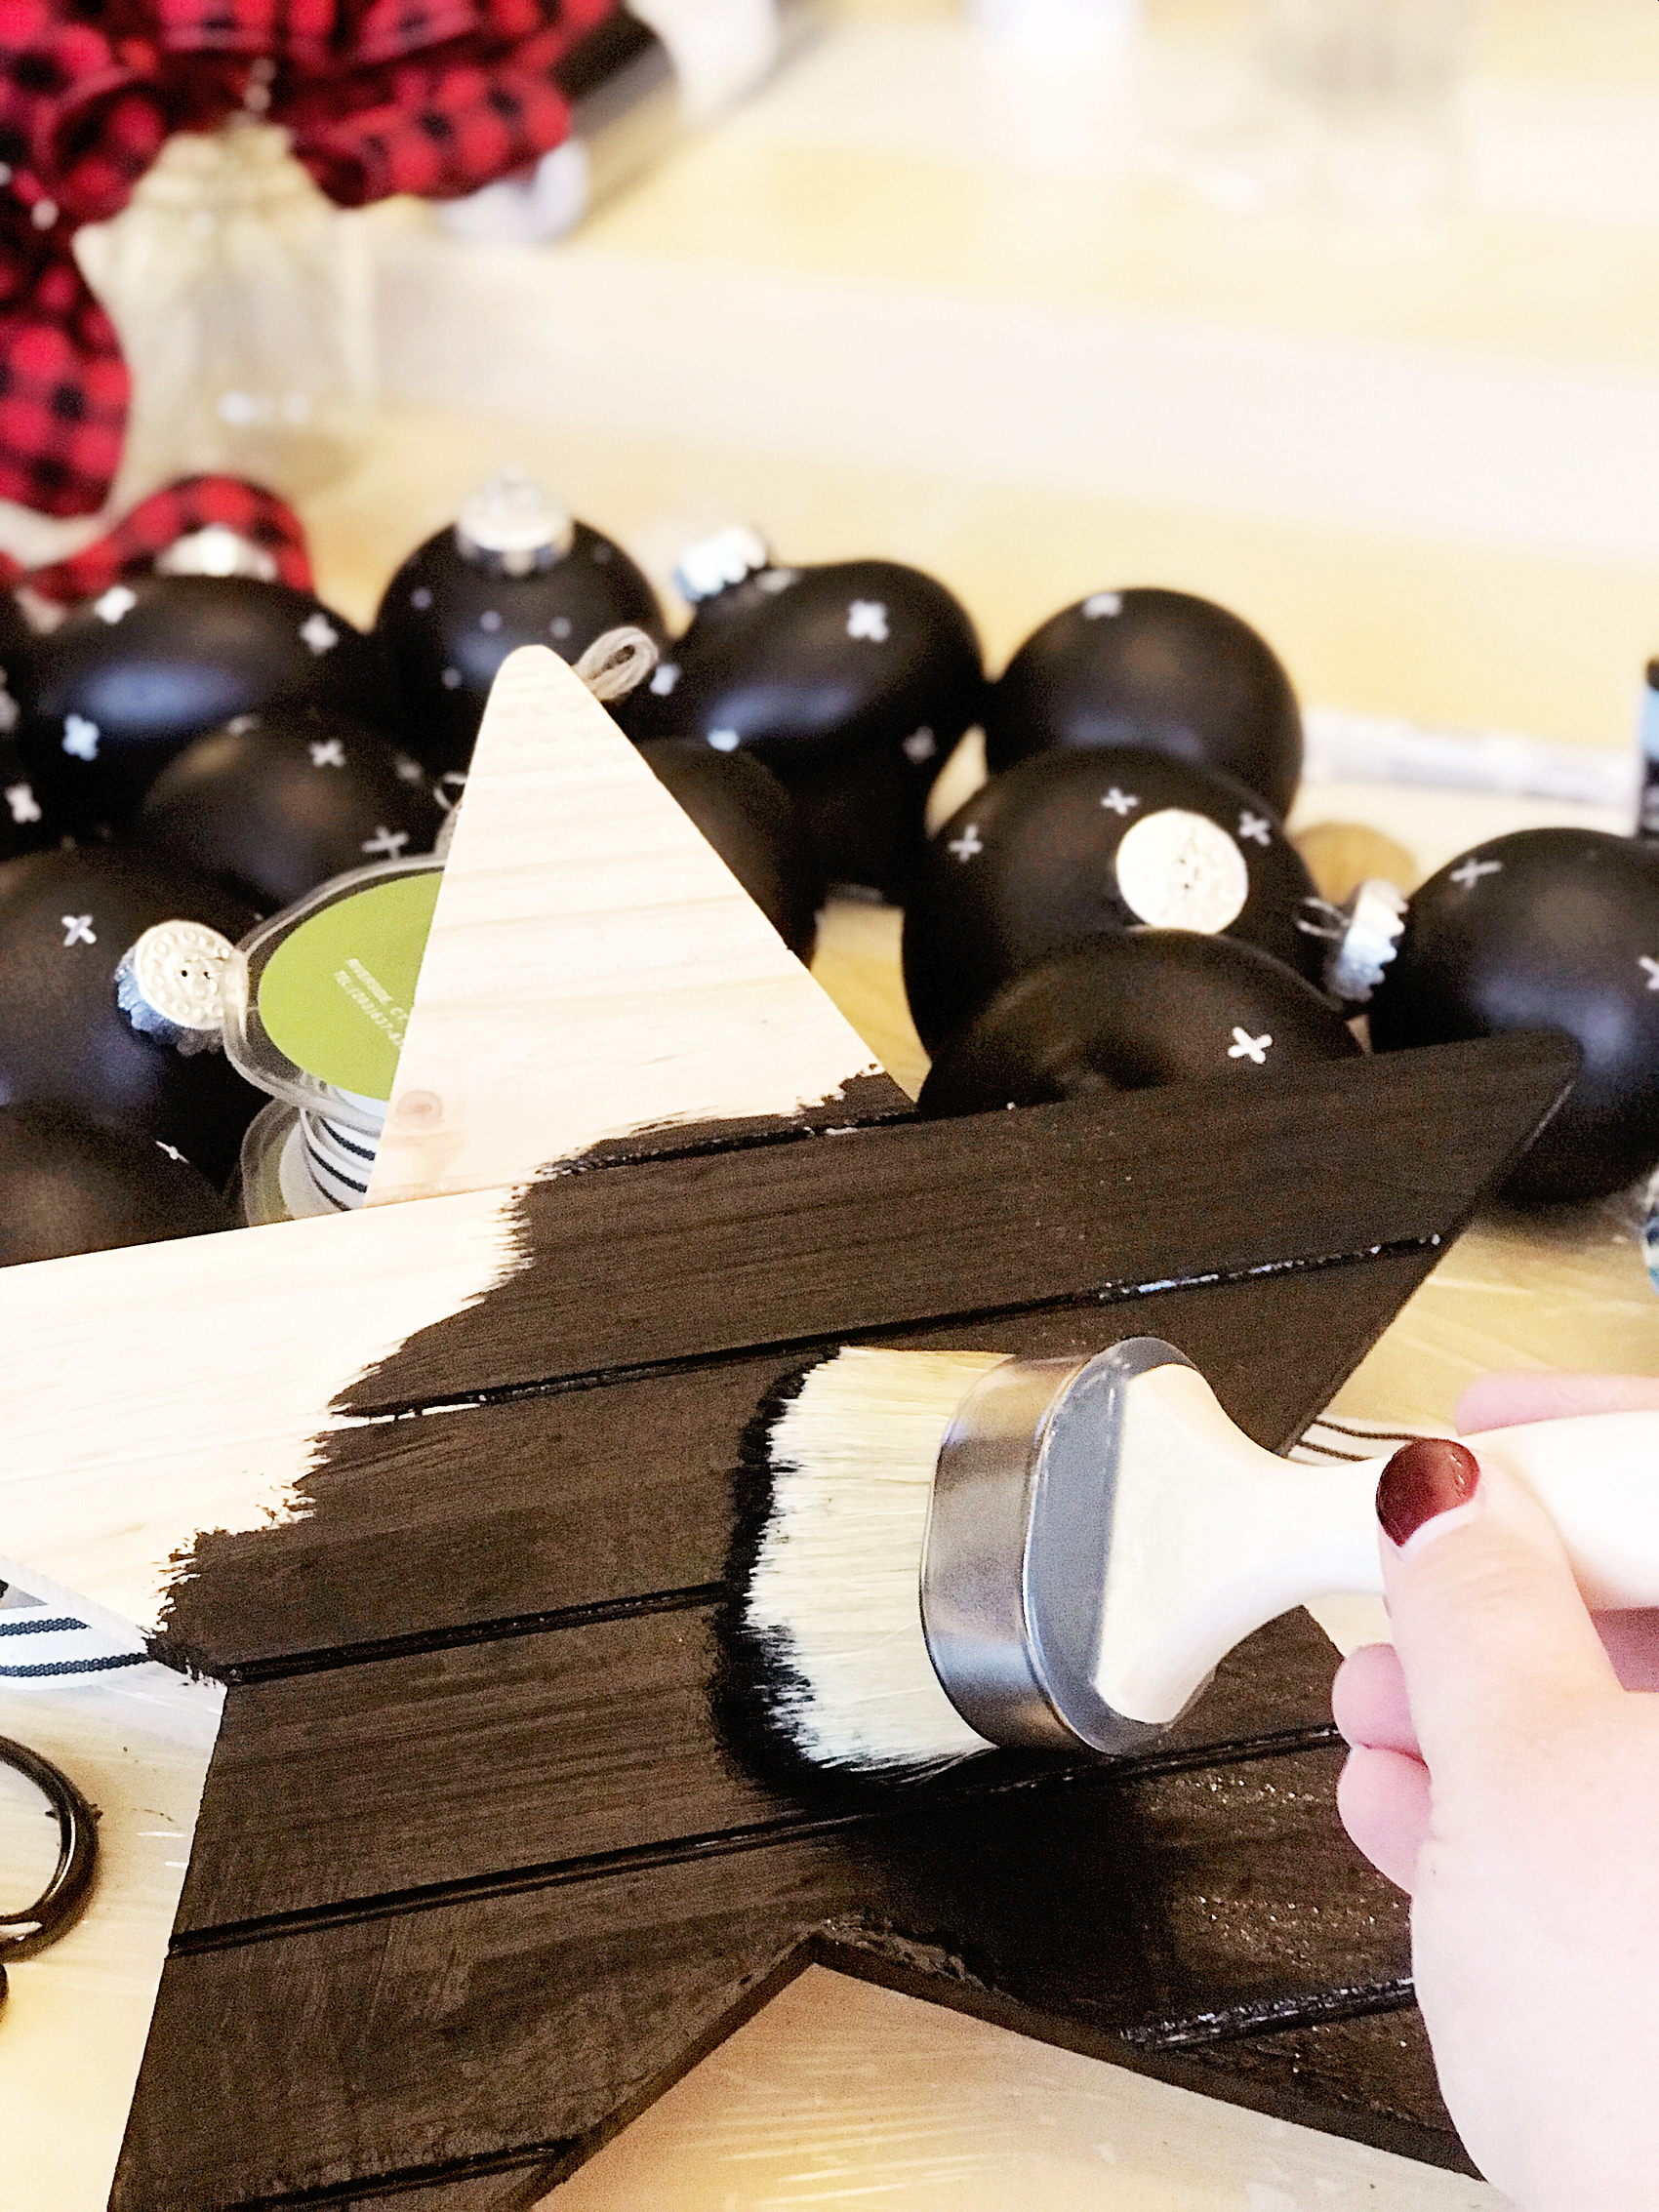
painting-the-star-black-first

The reason why I used the Curb Appeal paint is… One, it’s a durable paint and will stand up to the distressing of the chalk paint. Two, I just happened to have some left over after I painted my front door. I wanted to have a black base because I wanted it to show through when I distressed the white (Everlast) paint.

PRO TIP +  When using chalk paint, you will typically distress your paint to create the look that is typical with chalk paint. You’ll need to keep in mind what color you want to show through once distressed. You’ll need to use that color as your base color then paint your finishing color on top. Then make sure when you are distressing your piece, you don’t use too much pressure. You don’t want to accidentally distress down through your base coat.

Once your base coat is dry, paint your top coat with the Americana Decor Chalky Finish paint in Everlasting.
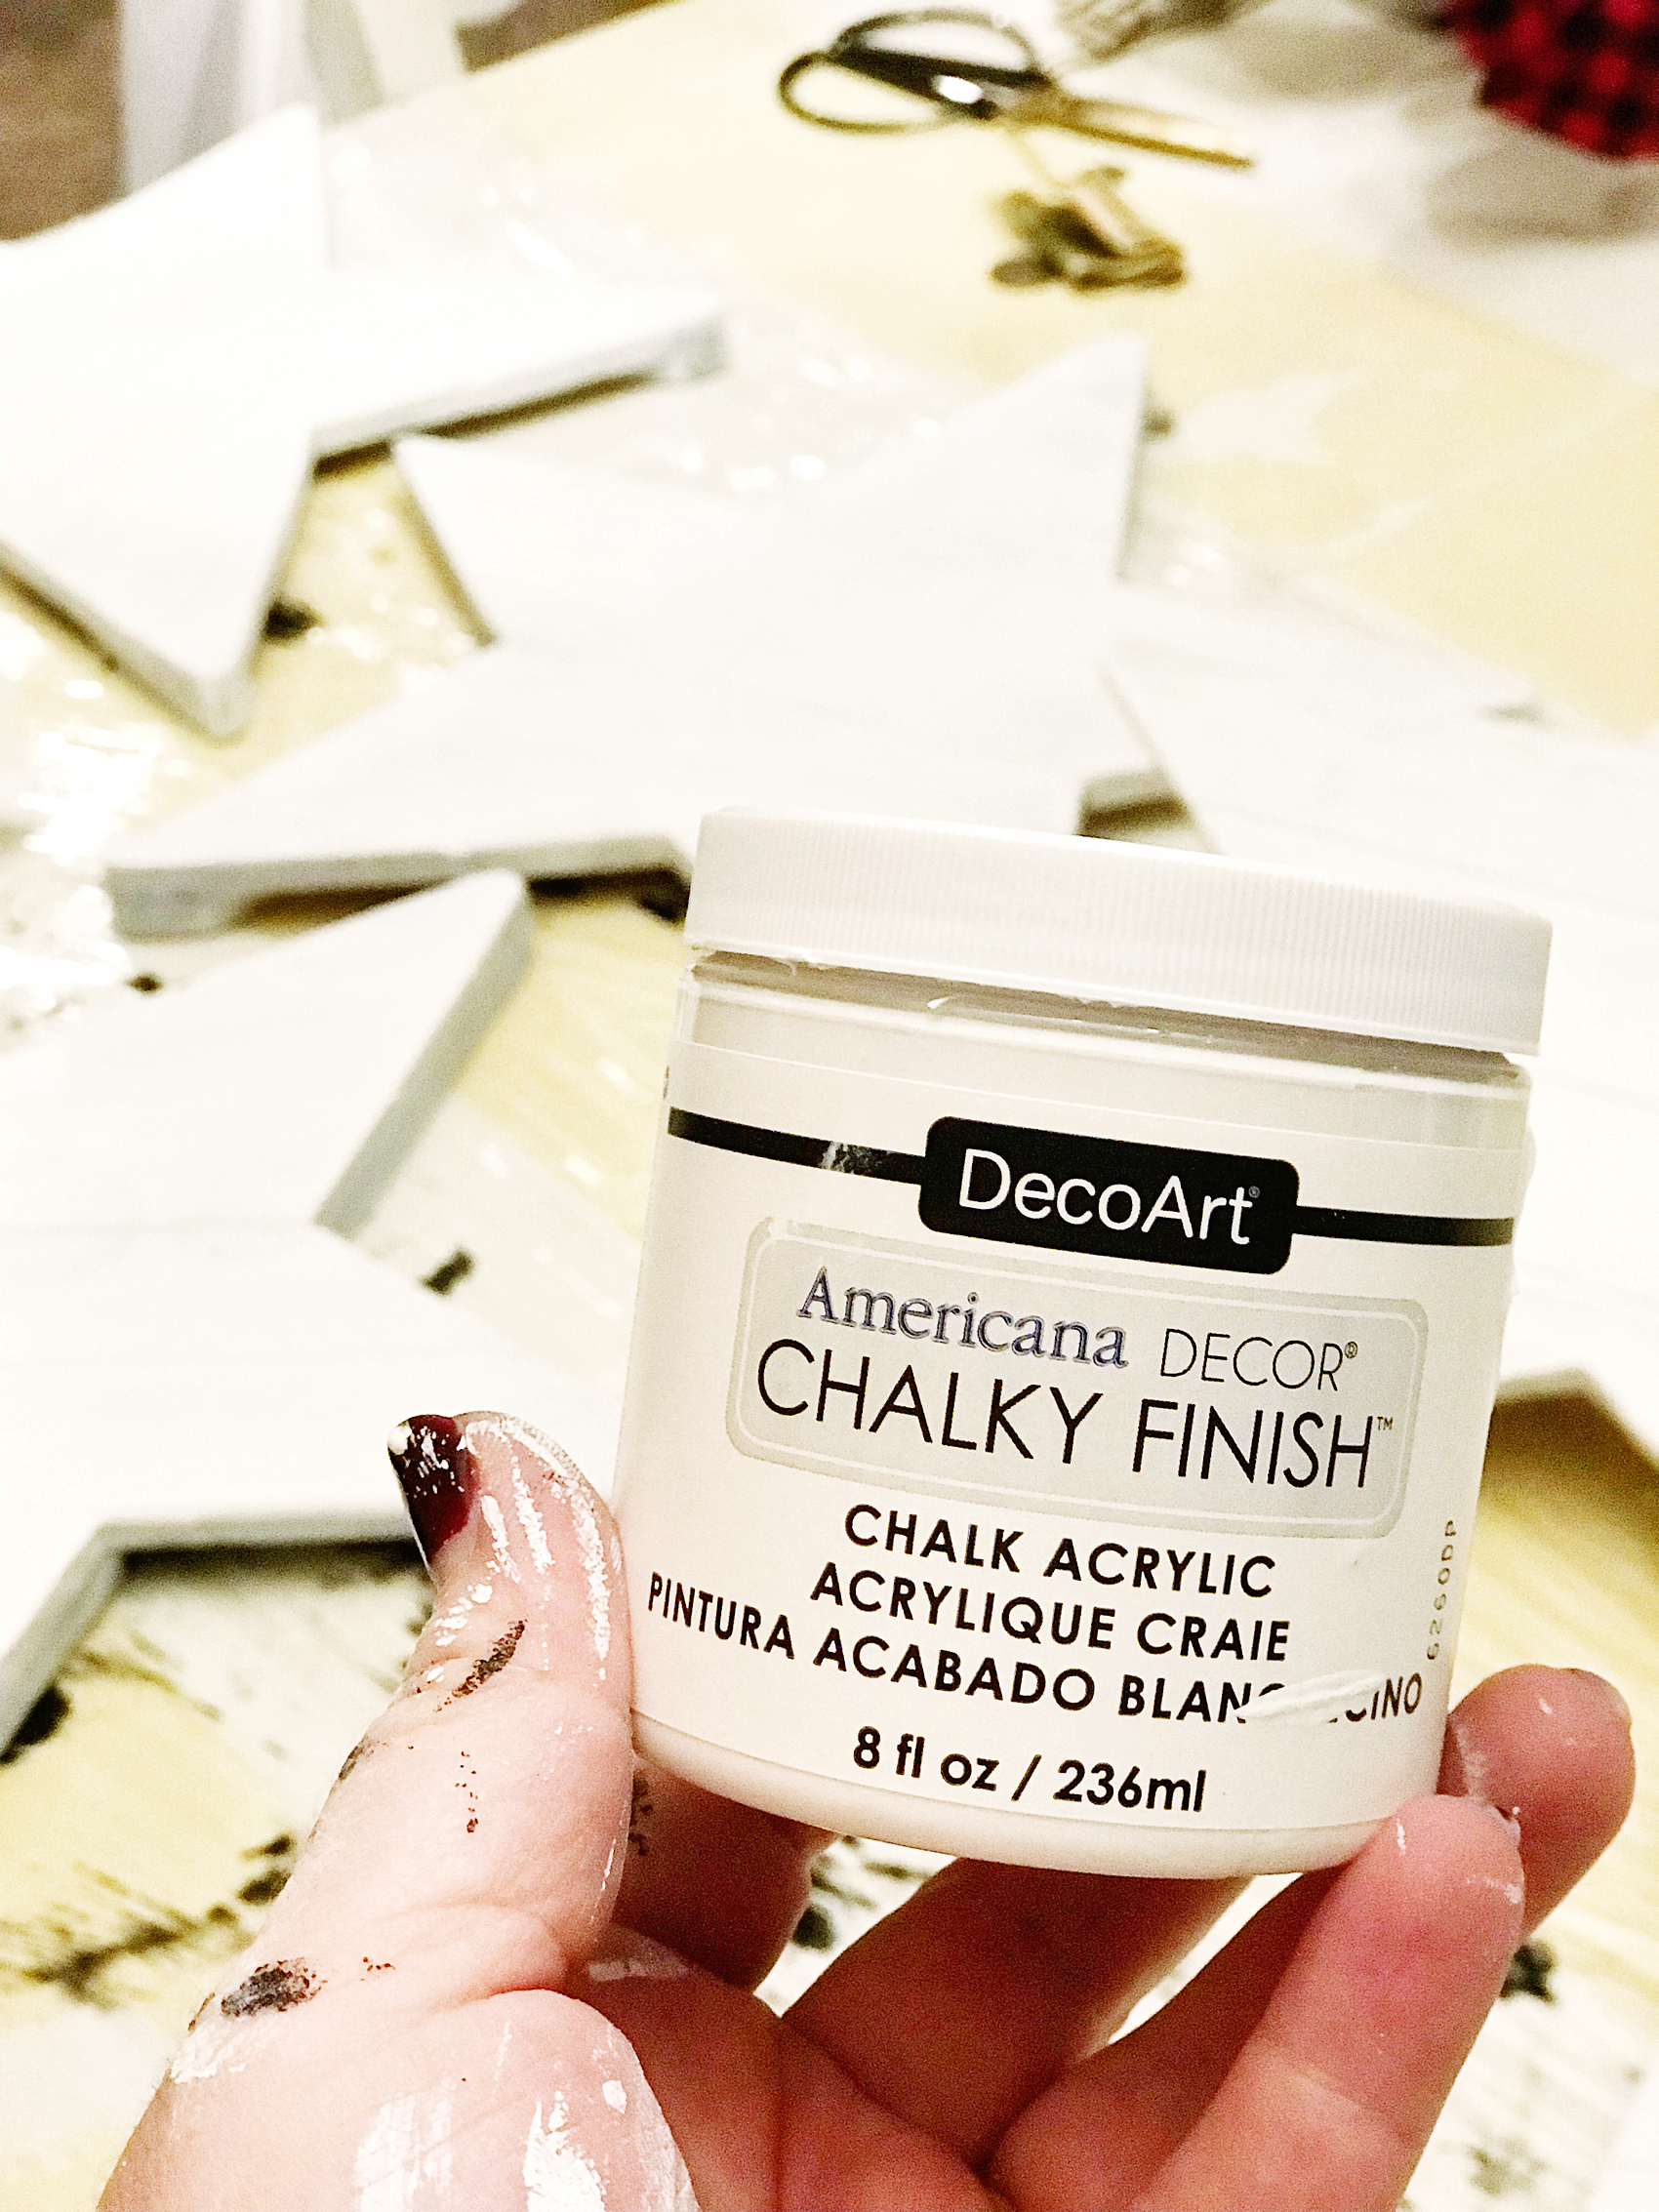
painting-farmhouse-wood-star

Pro Tip + Don’t worry about making your top coat look PERFECT with multiple layers of paint. You will be distressing them, no need for perfection. The heavier your layer of paint, the harder your piece will be to distress. No need to make extra work for yourself.

To distress, use a 250 grit sandpaper and lightly sand the raised edges of the stars.
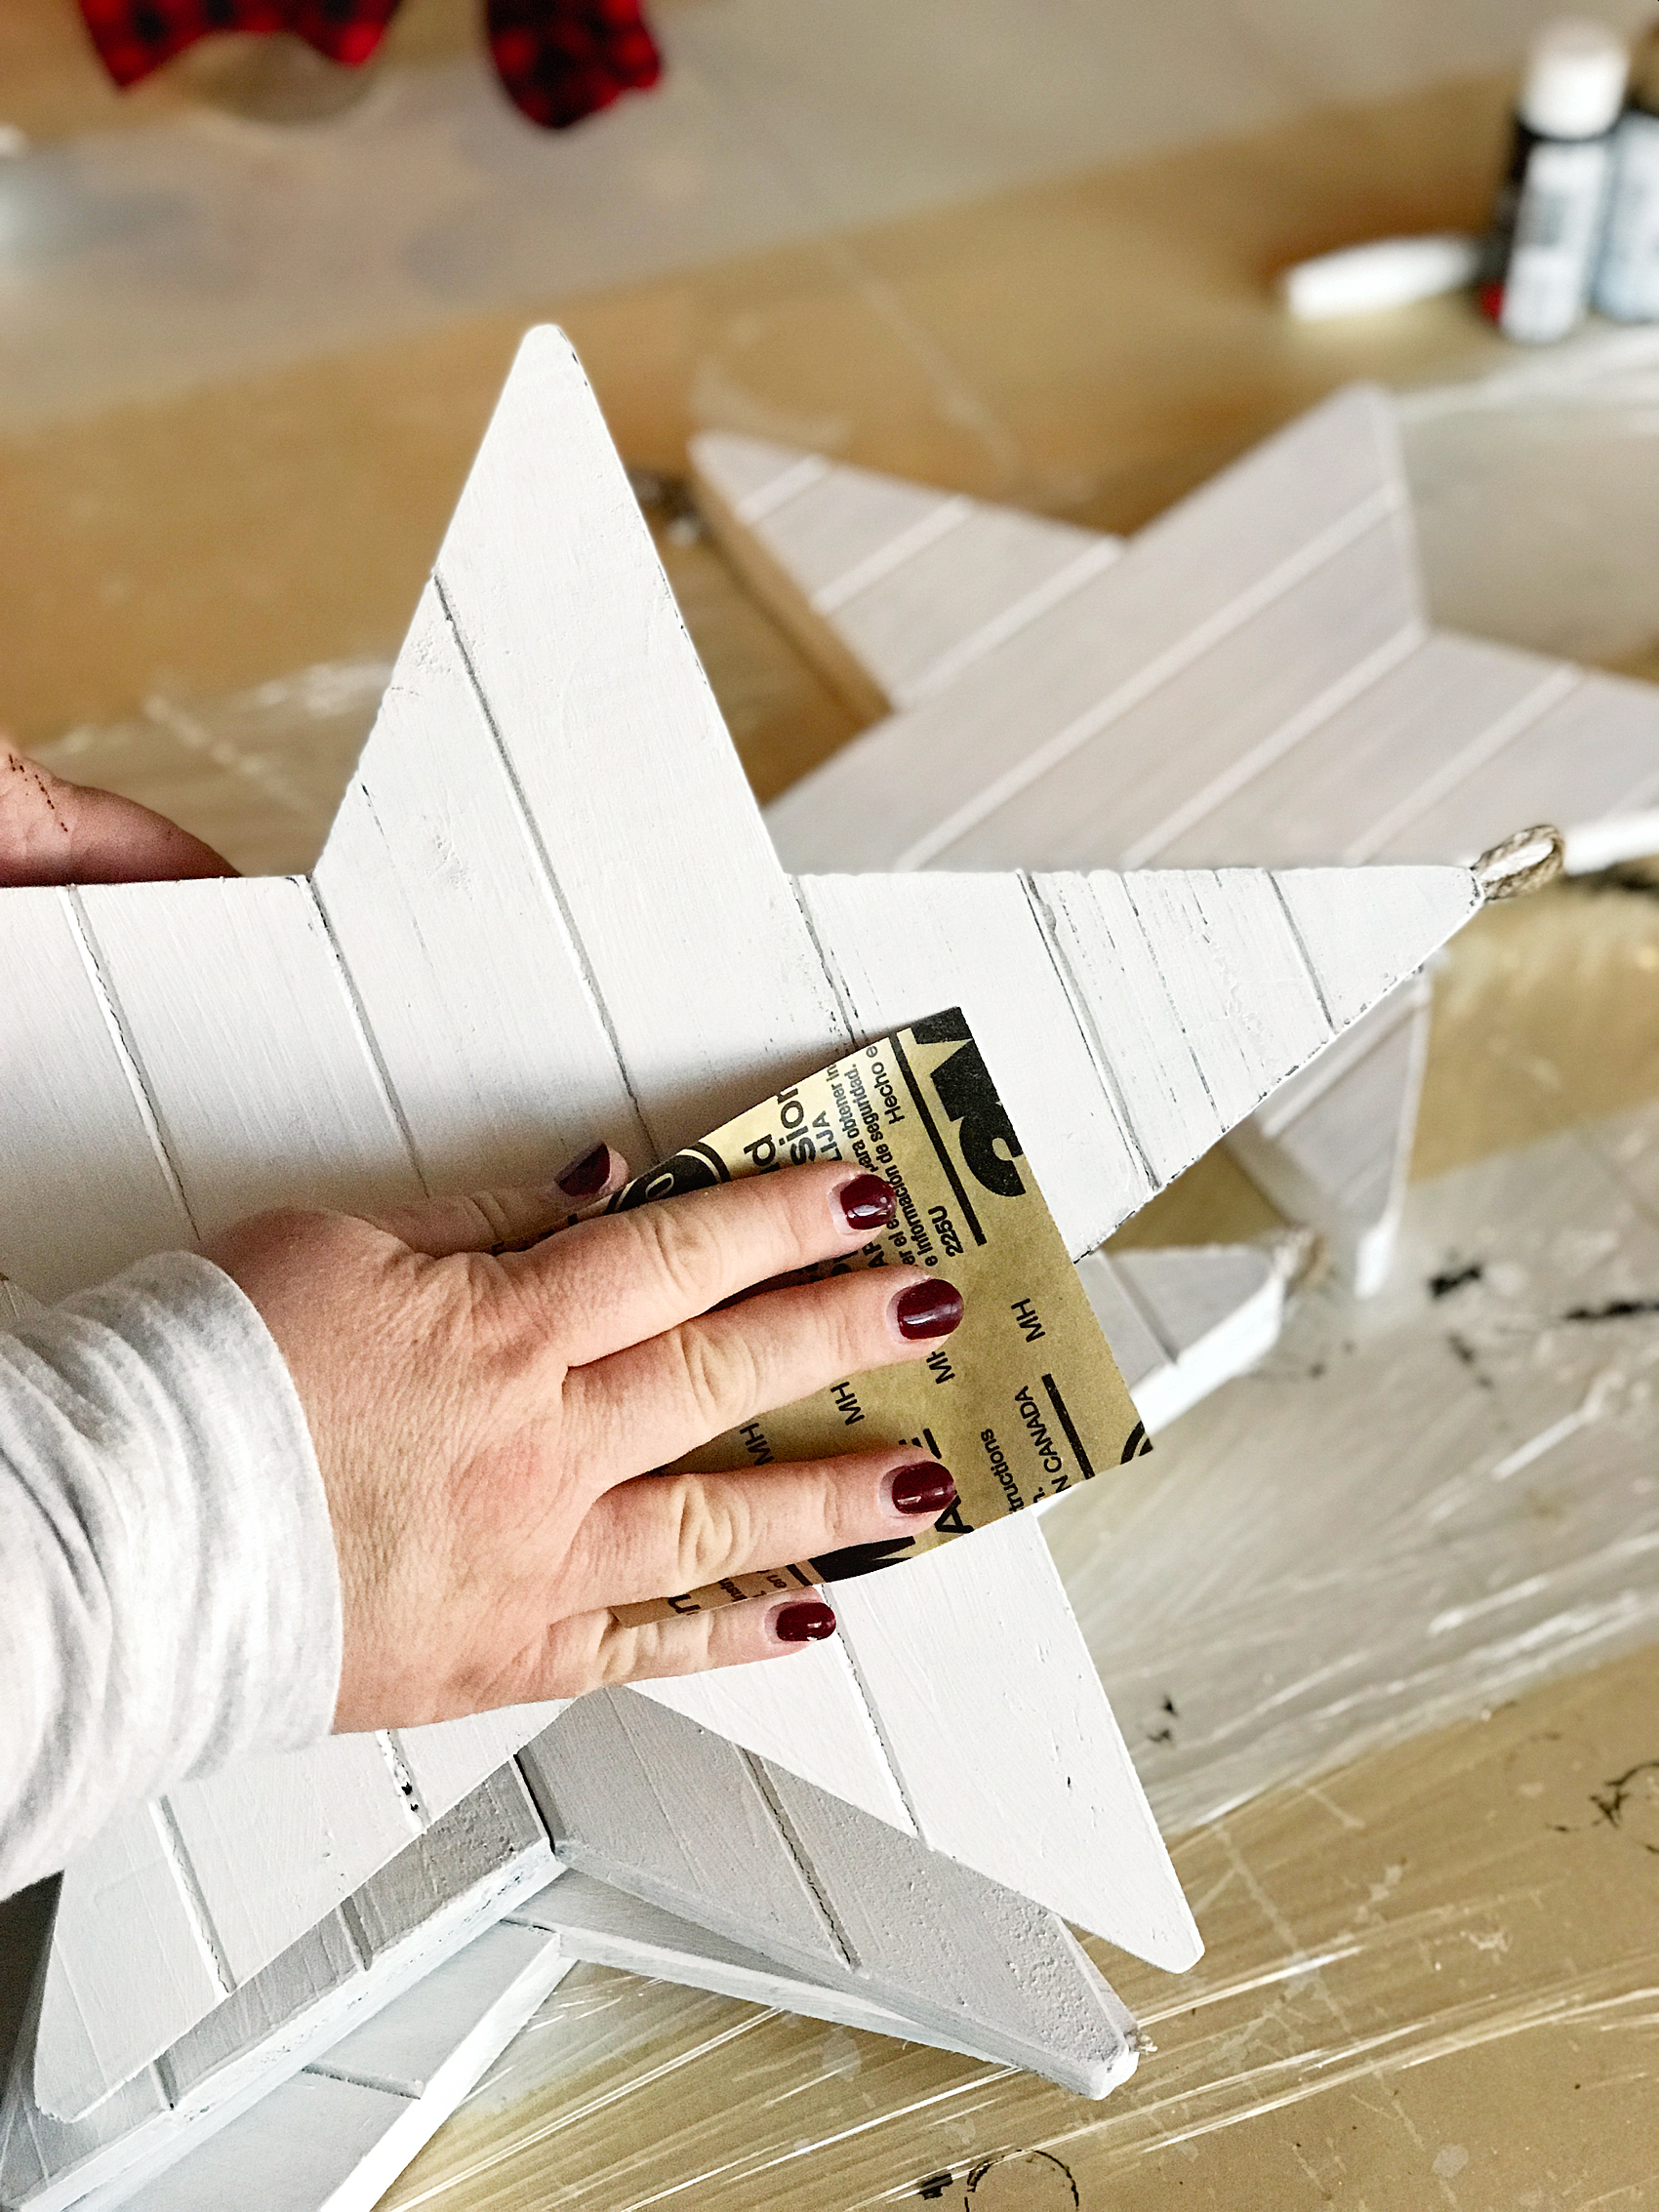
how-to-distress-wooden-star-4

Christmas Carol Graphics

Now, it’s time to break out your Cricut machine. I’ve used the Cricut Explore machines and the Cricut Maker and I LOVE them both. For this project, I used my Cricut Maker but, either one is fine.
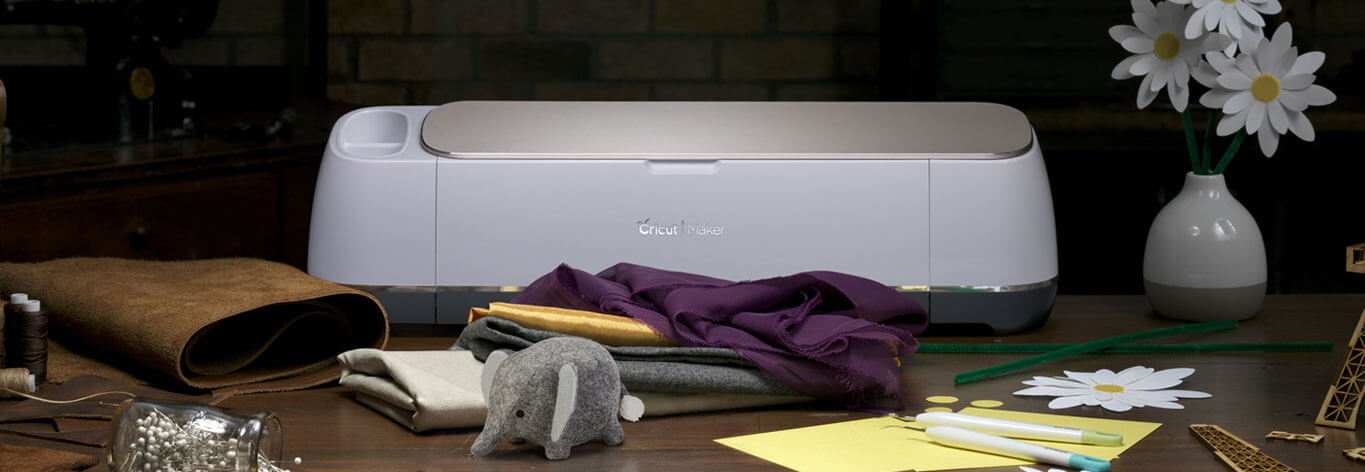
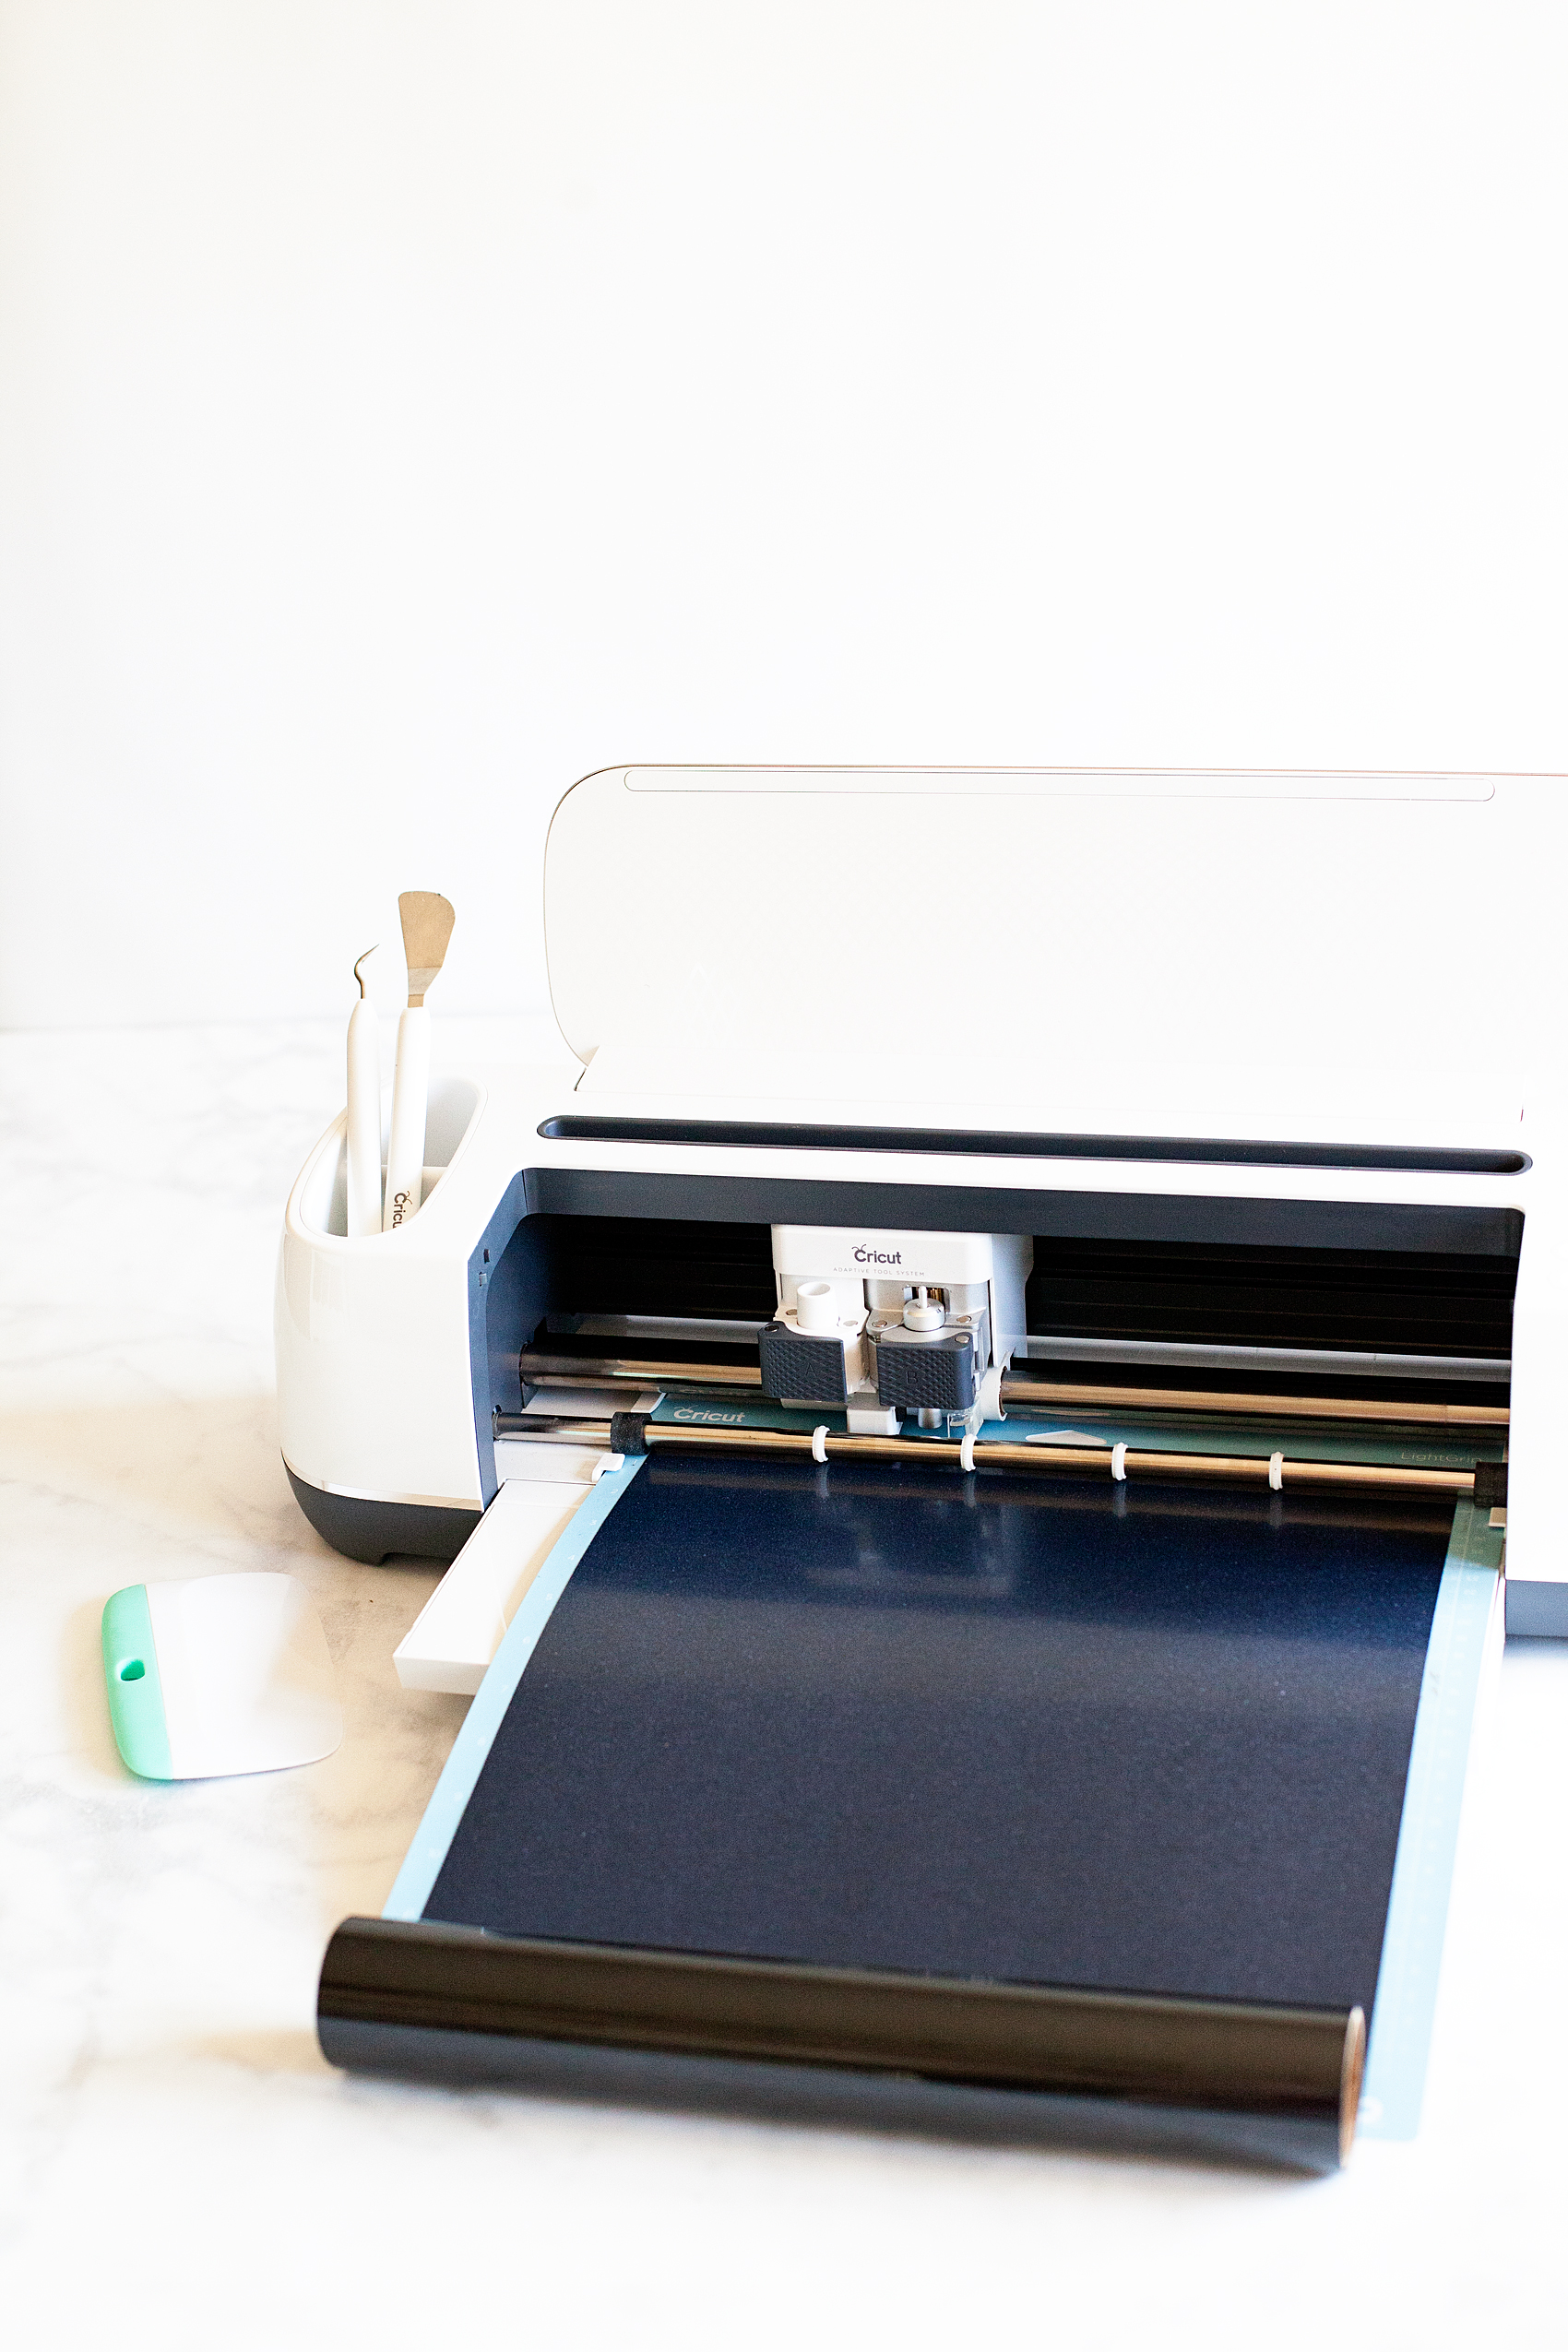
Athena_shop_hero_no-copy-copy2

Learning how to cut iron on vinyl with the Cricut Maker via WhipperBerry

To begin, I created these designs to put on the chalk painted stars…Farmhouse Christmas Carol Ornaments from WhipperBerry
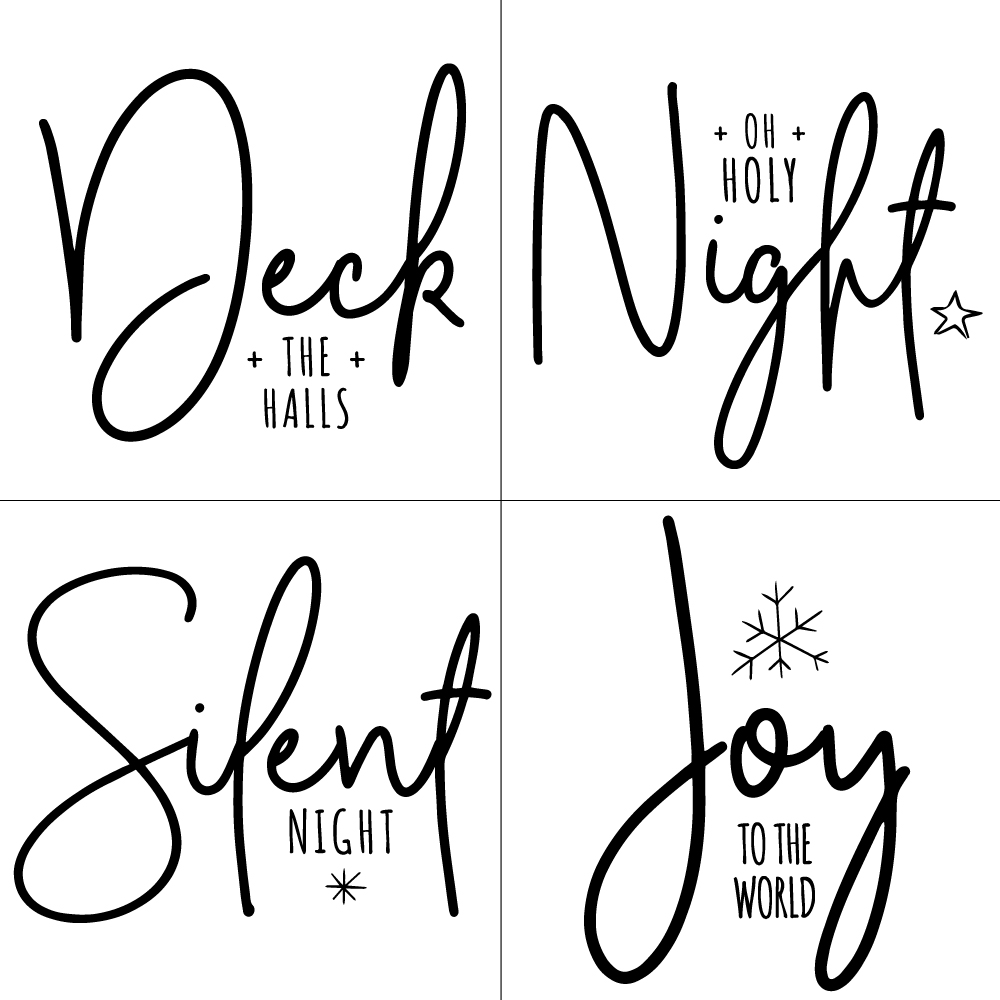
I love how they help to usher in the spirit of the season. They remind us of seasons past and they also help to remember the true meaning of the season… The birth of our Savior Jesus Christ.

You can download these Christmas Carol designs HERE

Then all you need to do is to upload the SVG files to the Cricut Design Space. You can check out this post on how to upload a design in the Cricut Design Space to learn how to do that.

Then you’ll cut your designs on your Cricut machine and then apply the vinyl to your stars. To learn how to apply vinyl, visit this post… How to Apply Vinyl Tutorial that I created.

It’s really not hard if you follow a few simple steps. It truly is one of my favorite ways to create for my home.

Pro Tip + Make sure you wipe down your stars with a damp cloth to remove any remaining paint dust. It will make applying the vinyl much easier.

Now your stars are ready to add to your tree!
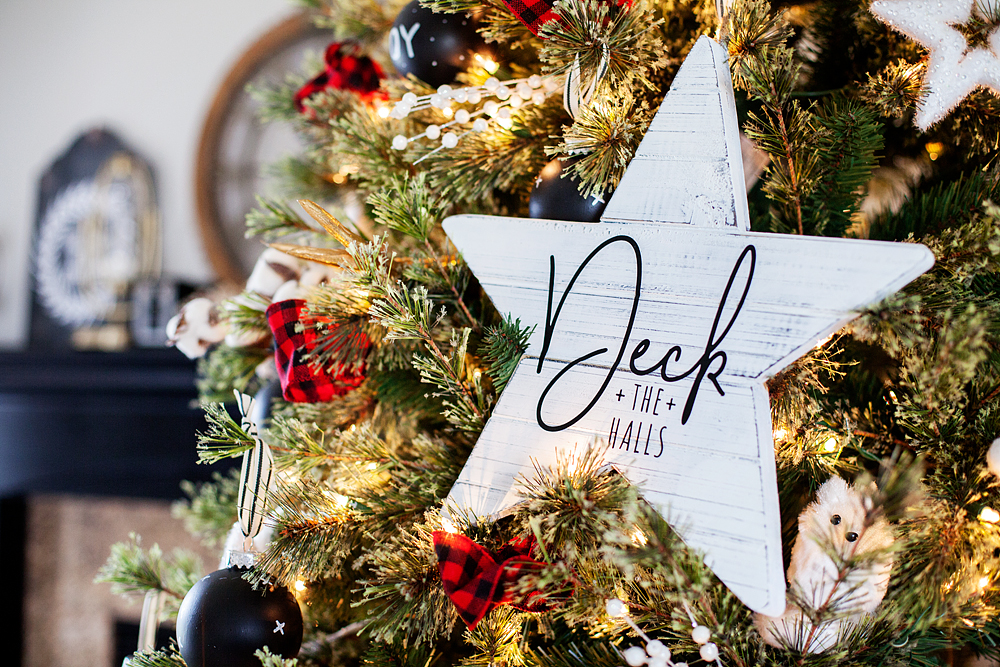
Farmhouse-Star-Christmas-Tree-via-WhipperBerry-3

Farmhouse-Star-Christmas-Tree-via-WhipperBerry-9

I can’t wait to see what you guys create this Holiday Season! Make sure to tag me on your social media posts. You can follow me on Facebook, Instagram & Pinterest.
Tomato Jam Recipe + GIVEAWAY

5 · Apr 28, 2016 · 12 Comments

Savory-Tomato-Jam-from-WhipperBerry-26

My earliest food memories are of tomatoes…

No joke! One of my earliest memories is picking a tomato from the vine out of my Dad’s garden. I was two and a half or three and sat down and ate those scrumptious tomatoes right then and there. I remember the smell that fills the air when you pull the tomato from the vine. It’s earthy with a hint of grass and a promise of good things to come. I remember, even as a three year old, eating that tomato that was still warm from the heat of the day… magical!

From that point forward I wanted tomato on EVERYTHING!

I remember refusing to eat tacos one night because my Mom had forgotten to get tomatoes from the store. Yep, I would rather go without the taco if it was missing my favorite tomatoes. I was six or seven at the time, but I still have the same feelings as an adult… I just have to act like an adult and not throw a fit.

Tomatoes are truly one of my favorite foods.

Savory-Tomato-Jam-from-WhipperBerry-1

Because of that, I was thrilled to find out about Bushel Boy Tomatoes™ grown right here in the USA, in Minnesota to be exact.

The crew at Bushel Boy has developed a fabulous greenhouse system that helps them grow tomatoes year-round. Yep, even in January they have beautiful red, vine ripened tomatoes ready for us to add to our salads and sandwiches.

You can find all kinds of tasty ideas at the Bushel Boy Facebook.

The Bushel Boy Tomatoes are pollinated with bees… the natural way. They also limit the amount of pesticides used and have eliminated herbicides all together. They have worked really hard to create a tomato that takes me back to those magical days in my Dad’s garden.

One of my Dad’s favorite sandwiches of all time is the classic BLT… Bacon, Lettuce & Tomato. Being a tomato lover myself, it’s one of my favorites too. A few years ago my husband and I were at a restaurant and we were introduced to tomato jam. When I read about it on the menu my mind was blown and I couldn’t wait to make my own.

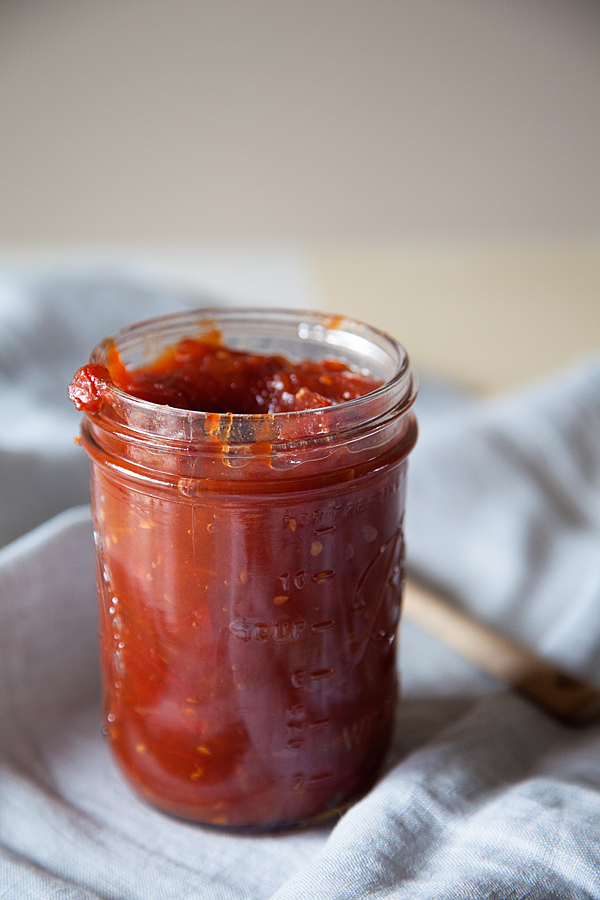
Tomato Jam is both savory and sweet at the same time. It cooks down those flavorful tomatoes into a virtual tomato bomb that really enhances all kinds of sandwiches or appetizers.

You know when you’ve eaten something transcending at a restaurant and wished that you could duplicate that kind of flavor at home, that is what tomato jam does. It takes your normal BLT and kicks it up SEVERAL notches.

The best part… It’s SUPER EASY to make!

This recipe is inspired by Mark Bittman’s Tomato Jam recipe. Tomato Jam is perfect for a high end BLT appetizer OR just your everyday BLT sandwich that we all love. I’ll show you how to make both.

Tomato Jam Recipe

Tomato-Jam

5.0 from 1 reviews
Tomato Jam
 
Save Print
Prep time
10 mins
Cook time
1 hour 15 mins
Total time
1 hour 25 mins
 
Tomato Jam is perfect to add a little kick to your sandwiches & appetizers.
Author: Heather // WhipperBerry
Serves: 1 pint
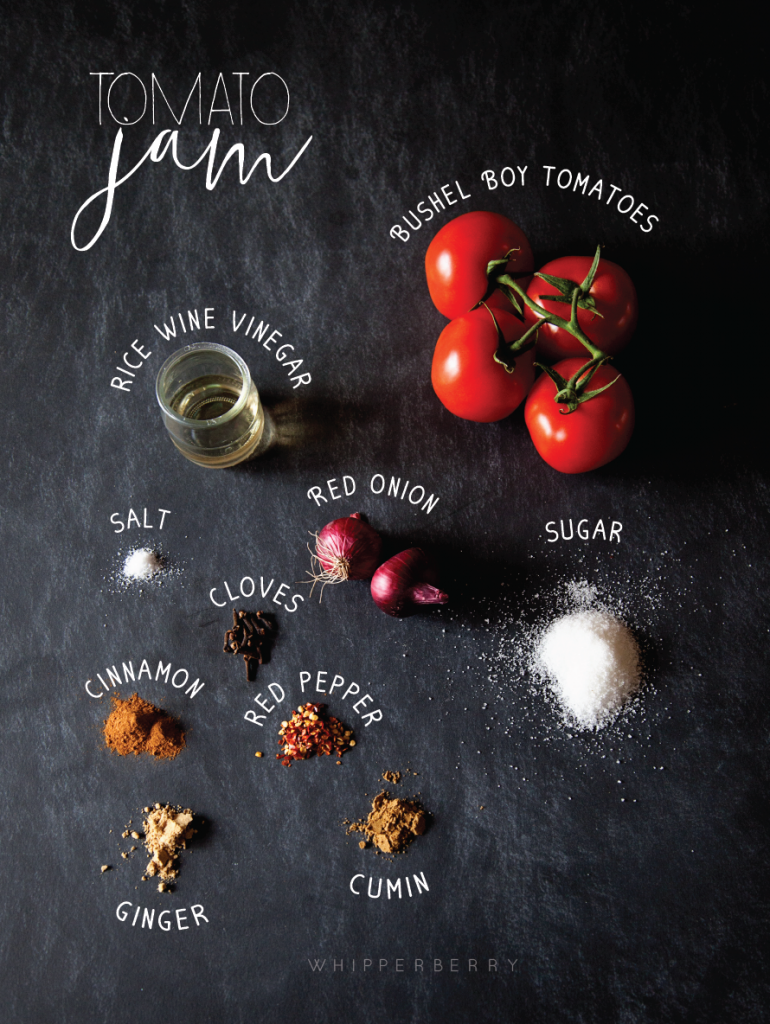
Ingredients
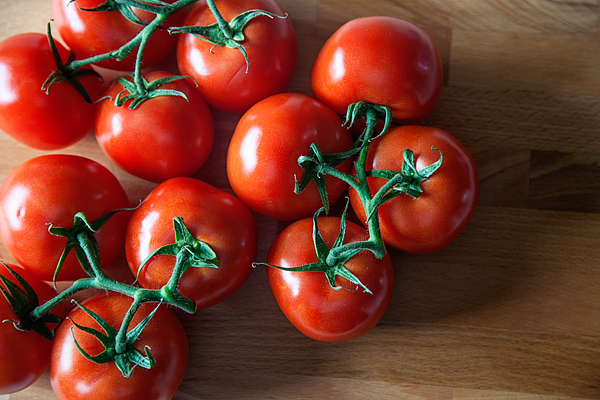
  • 1½ lbs. Bushel Boy Tomatoes
  • 2-3 tablespoons rice wine vinegar
  • 1 small red onion
  • ½ cup sugar
  • 1 teaspoon salt
  • 4 cloves
  • 1 teaspoon cumin
  • ¼ teaspoon ginger
  • ¼ teaspoon cinnamon
  • ½ teaspoon red pepper flakes
Instructions
  1. Wash tomatoes
  2. Cut in quarters and remove seeds then give them a rough chop.
  3. Add to a medium, heavy bottom sauce pot and place over high heat.
  4. Add remaining ingredients and let tomatoes come to a boil.
  5. Reduce heat to medium-low and let simmer, stirring occasionally for 1 hour and 15 minutes or until it's nice and thick like jam. You should be able to run a spoon down the center of the pot and the jam will stay in place.
  6. Remove from heat and let cool.
  7. Place in a jar, refrigerate for up to one week.
3.4.3177

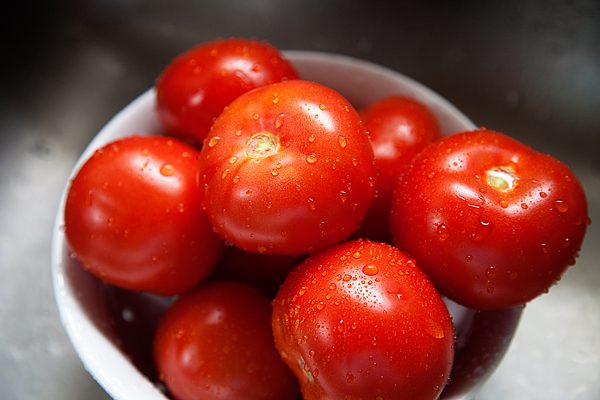
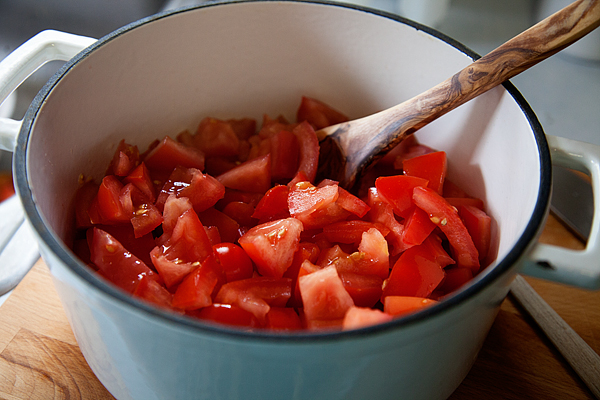
First, wash and prep your tomatoes.

Savory-Tomato-Jam-from-WhipperBerry-2

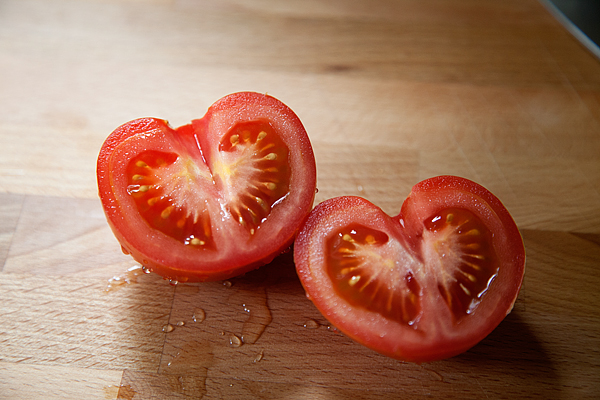
Cut tomatoes in quarter and remove the seeds.

Savory-Tomato-Jam-from-WhipperBerry-3

 Give them a rough chop.

Savory-Tomato-Jam-from-WhipperBerry-4

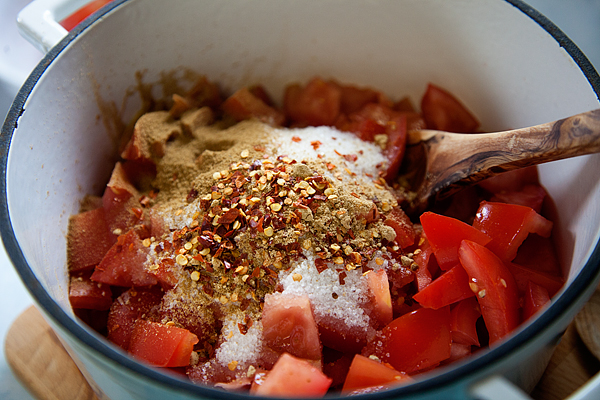
 Add the rest of your ingredients and place over high heat until it comes to a boil, then reduce to medium-low to simmer for 1 hour and 15 minutes stirring occasionally.

Savory-Tomato-Jam-from-WhipperBerry-5

 Remove from the heat when your tomatoes have cooked down to a jam consistency.

Savory-Tomato-Jam-from-WhipperBerry-22

Now that you’ve made your tomato jam… Here are two ways you can serve it.

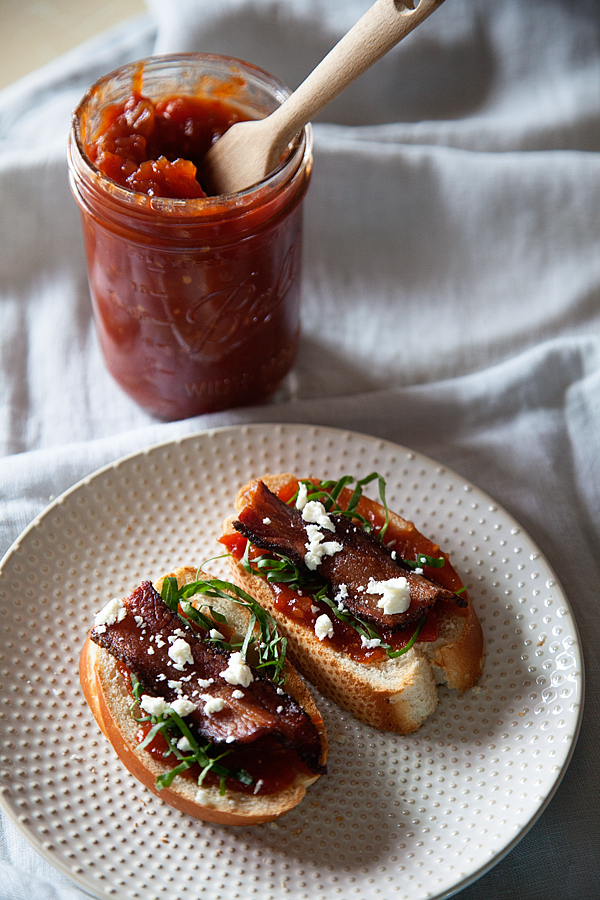
BLT Crostini with Tomato Jam Appetizer

Savory-Tomato-Jam-from-WhipperBerry-26

You can find the recipe HERE.

Or you can have a slightly fancy…

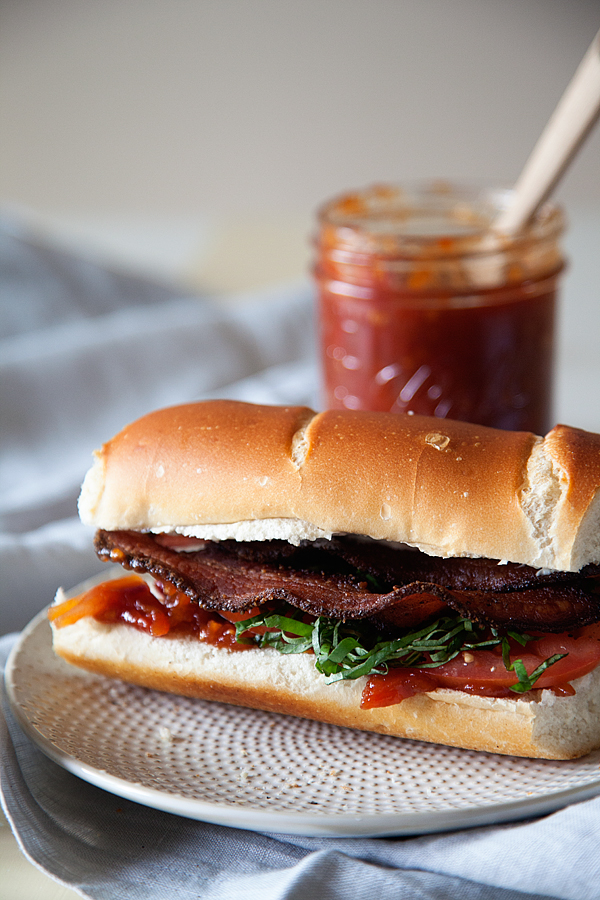
BLT Sandwich with Tomato Jam

Savory-Tomato-Jam-from-WhipperBerry-37

Click HERE for the recipe.

Now that I’ve gotten you in a tomato mood… How about a GIVEAWAY!

The lovely folks at Bushel Boy are giving one of you a fabulous Wüsthof Tomato Knife. Here’s what you need to do to enter.

a Rafflecopter giveaway

 What is your favorite way to use tomatoes?

This is a sponsored conversation written by me on behalf of Bushel Boy Tomatoes. The opinions and text are all mine.

Silhouette CAMEO + BB Frösch a Match Made in Heaven // GIVEAWAY

188 · Jan 12, 2016 · 477 Comments

Silhouette-CAMEO-and-BB-Frosch-GIVEAWAY

Peanut Butter & Jelly, Fred & Ginger, Mac & Cheese… Famous pairings.  We have a new one that I’m sure you’re going to fall in love with as well!

Silhouette & BB Frösch Chalk Paint Powder!

If you love to create in any way shape or form, you need to learn how these two play so well together. Here’s an example…

Silhouette-CAMEO-and-BB-Frosch-GIVEAWAY-1

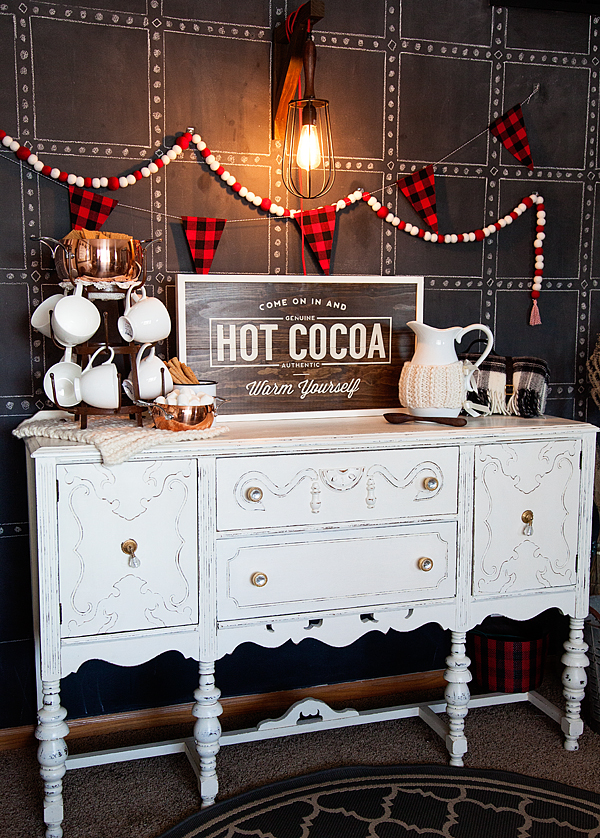
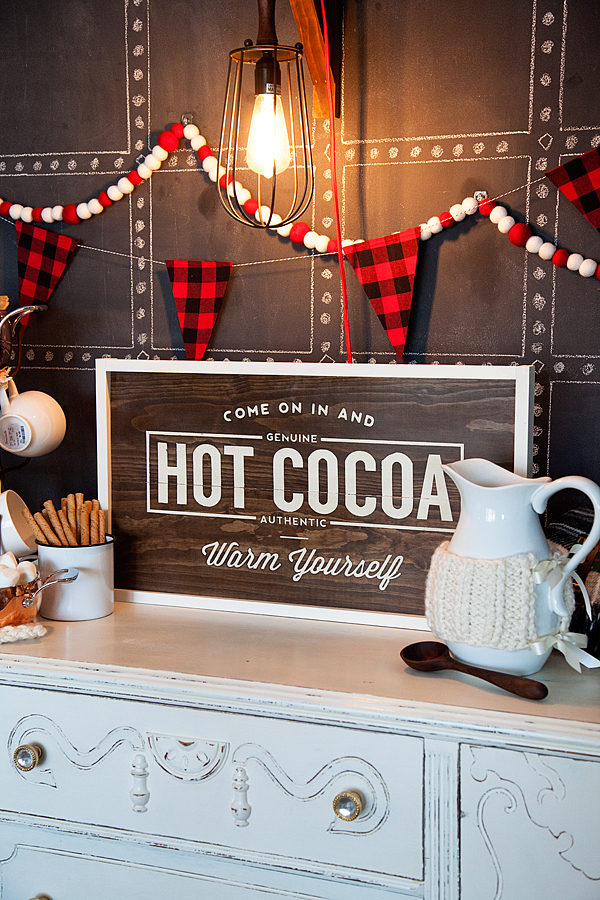
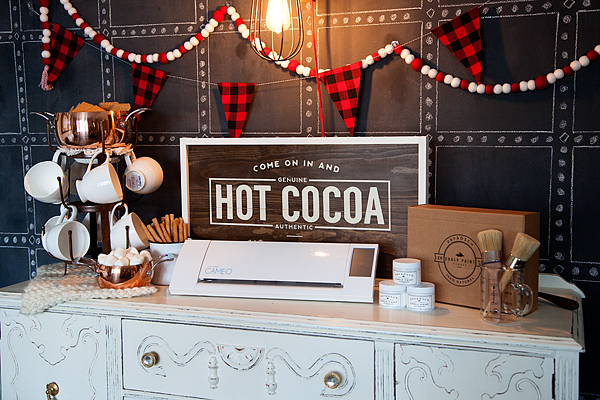
This hot cocoa bar was created with BOTH Silhouette AND BB Frösch. The beautiful buffet was transformed with BB Frösch along with the fun Hot Cocoa sign. We used our Silhouette CAMEO to create the stencil for the sign along with the buffalo plaid fabric banner. WAY FUN!!

It’s super easy to make signs with Silhouette & BB Frösch.

You can download WhipperBerry’s Hot Cocoa sign design HERE.

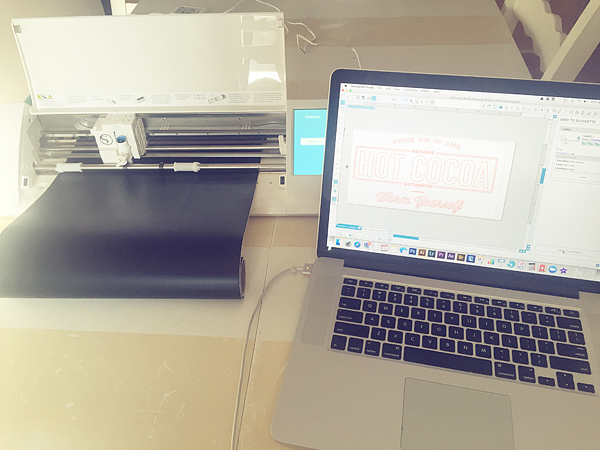
Creating-Hot-Cocoa-Sign-with-Silhouette-CAMEO

I typically use the Silhouette Premium Vinyl when I’m making signs. You can also use the Stencil Material.

With this sign, started with a BB Frösch (more about BB Frösch in just a second) Faux Stained base. You can learn all about that HERE.

Hot-Cocoa-Sign-Stencil-from-WhipperBerry

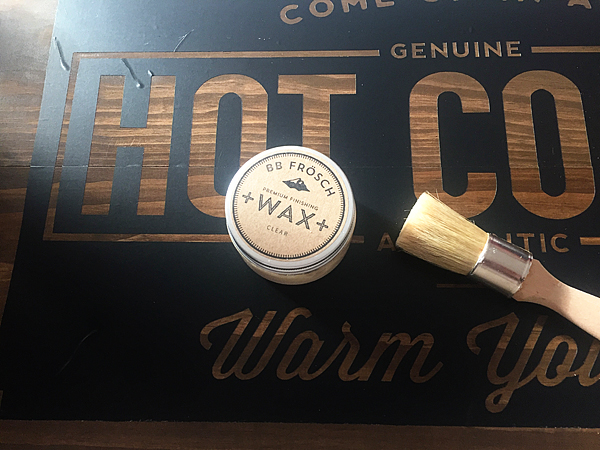
The secret to a perfect stencil is to seal your stencil with BB Frösch Premium Finishing Wax before you paint. It helps seal any edges that might leak.

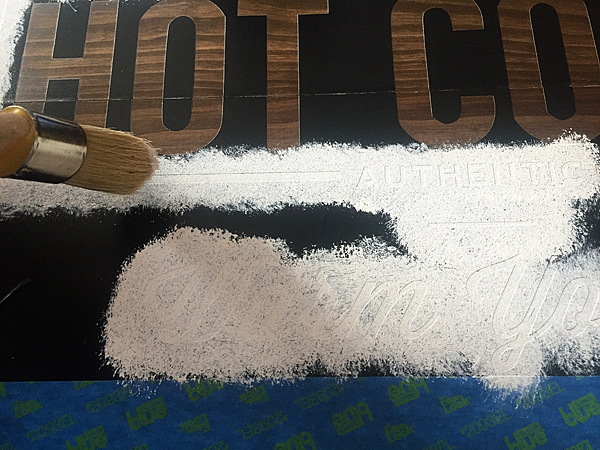
Then I paint away…

BB-Frosch-Hot-Cocoa-Sign

I distress the sign and then finish it with another coat of clear wax  to seal and protect my work. It gives the sign a beautiful sheen.

Silhouette-CAMEO-and-BB-Frosch-GIVEAWAY-3

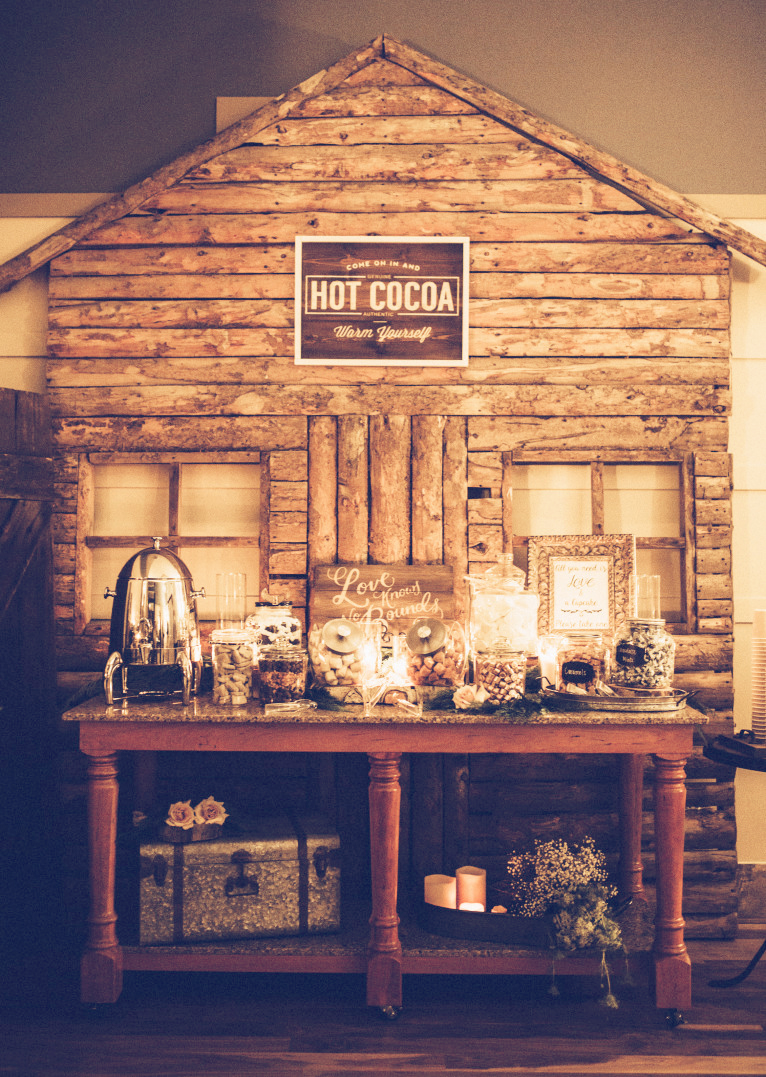
This same BB Frösch / Silhouette sign was a part of a fun wedding recently. Witney Carson from Dancing with the Stars commissioned WhipperBerry  & BB Frösch to create a custom sign for the Hot Cocoa bar at the reception.

Witney_Carson_Wedding_1427-e1452490187527

Witney_Carson_Wedding_2729-e1452489585282

I’ve been working on signs like this for a while now, I LOVE THEM!!

FullSizeRender 2

Now, many of you are very familiar with the whole family of Silhouette cutting machines. Whether you have the Silhouette CAMEO, Portrait or the Curio… You know that you can design and create all kinds of fabulous goodies. If you didn’t know though, I’ve recently switched over to using a Cricut more often. I talk about the differences between Cricut vs Silhouette here. BUT…

What is BB Frösch Chalk Paint Powder?

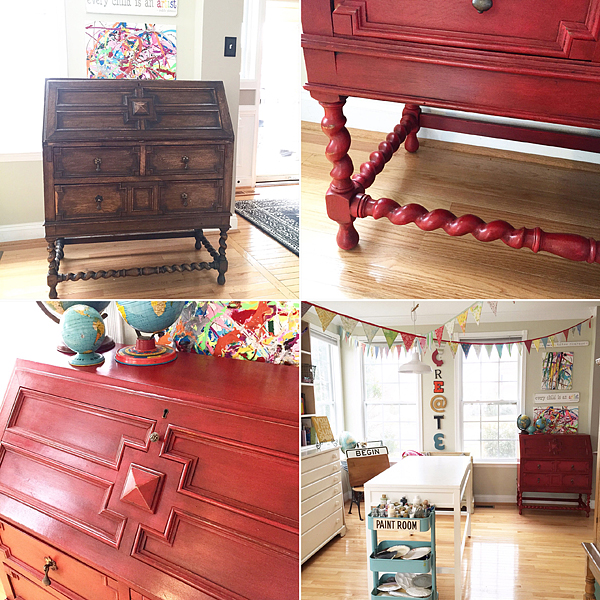
BB Frosch Red Desk Makeover

Many of you may be asking, “What is BB Frösch Chalk Paint Powder?“

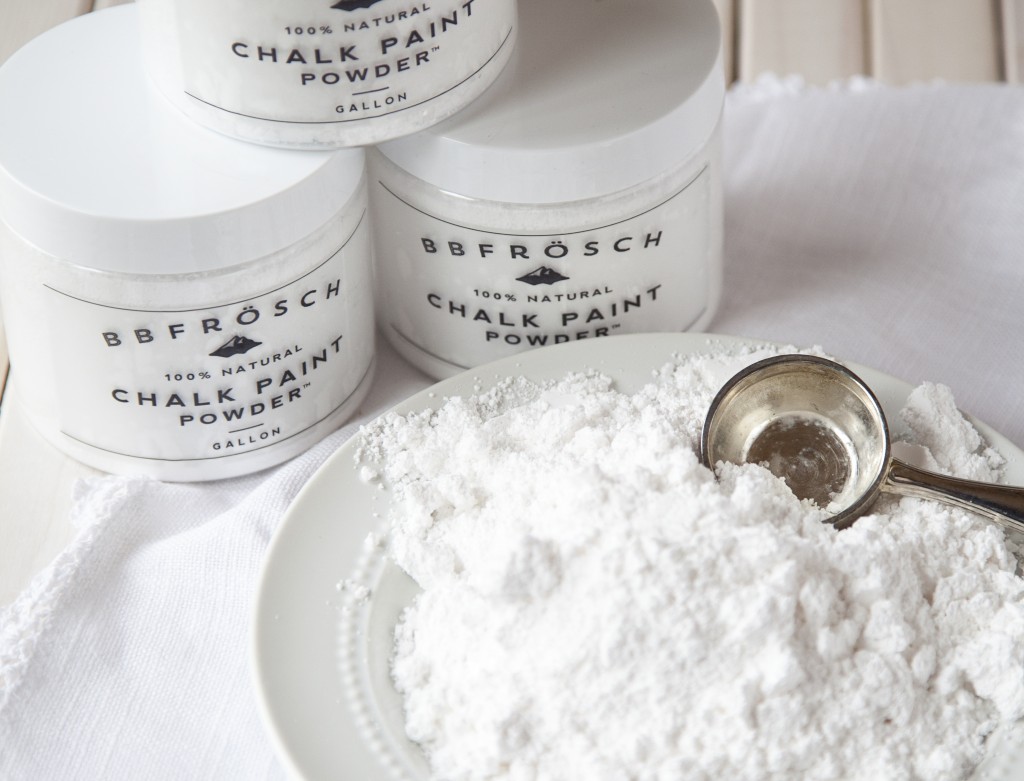
I’m so glad you asked! BB Frösch is an all-natural powder that you add to any flat latex paint and turn it into chalk paint. The reason why we all love chalk paint is the ease of use & manipulability .

Ease of use – NO sanding, stripping or priming.

Manipulability – You can manipulate all kinds of finishes like smooth and modern, faux stain – all the way to shabby chic.

What BB Frösch brings to the table is AFFORDABILITY & FLEXIBILITY!

Affordability – When you use BB Frösch Chalk Paint Powder vs. boutique brands of chalk paint, you cut your paint expense in HALF!

Flexibility – YOU get to select your paint color, any color of the rainbow! If you were to use one of the boutique brands, you have a limited color palette.

You can paint wood, metal, glass, fabric… We’ve painted pretty much anything from a kitchen all the way down to the rug.

Classy-Clutter-BB-Frosch-Kitchen

Classy Clutter BB Frösch Kitchen Makeover

BB-Frosch-Red-Desk-Makeover---Barn-Owl-Primitives

Barn Owl Primitives Red Desk Makeover

BB-Frosch-Chalk-Paint-Powder-painted-RUG

BB Fröshed Stenciled Rug – You can watch how we did that HERE!

You can find all kinds of BB Frösch inspiration on our Instagram account or Facebook.

Silhouette & BB Frösch

The beauty of BB Frösch is that it brings the fantastic Chalk Paint world into the crafting world as well. Before it was way to expensive to use chalk paint for anything other than painting furniture or cabinetry. The cost was way to prohibitive for small scale projects. NOT with BB Frösch!! You can get all of the magic of chalk paint without the high price tag. Couple that with any of the Silhouette products and you have a match made in HEAVEN!!

BB-Frosch-Signs

You can create custom signs like these or create your very own stencil to stencil your pillows, bags or rugs. Really the things that you can do with these two are LIMITLESS!!

GIVEAWAY

Now that we’ve wet your whistle… We would LOVE to help YOU get started on your very own Silhouette + BB Frösch project!

Silhouette-CAMEO-and-BB-Frosch-GIVEAWAY-6

Silhouette & BB Frosch have teamed up to GIVEAWAY a…

Silhouette CAMEO

+

BB Frosch Starter Kit

valued at $415

To one lucky person!

All you have to do to enter is follow the directions in the Rafflecopter box below.

a Rafflecopter giveaway

Mistletoe Christmas Sign + Silhouette CAMEO GIVEAWAY

1 · Nov 22, 2015 · 258 Comments

+ This Silhouette CAMEO GIVEAWAY brought to you by Silhouette +

giveaway

Let’s get real…

 Christmas is right around the corner and we ALL want something nice in our stockings this year!

Frankly, I’m a gadgets girl. I love all kinds of tools that make my life easier or more creative.  My ALL-TIME FAVORITE creative tool is my Silhouette CAMEO. Seriously, hands-down, without a doubt, what would you take to a creative desert island (with power of course)… My CAMEO!!!

I will admit, that I have been blessed when it comes to these types of machines. I’ve extensively used both the Silhouette and Cricut cutting machines. I have met with the CEOs and their executive teams for both companies. I have learned about their visions for their companies and the new directions each company has in the works. I respect them both but, time and time again, I use my Silhouette CAMEO without a 2nd thought. It’s my go-to tool when I start any project. I LOVE my CAMEO. I love the creative capabilities that the Silhouette Studio has to offer. I love what’s available in the Silhouette Store and I love what I can create within the software. My hands don’t feel tied in any way with Silhouette. I can’t say the same for the other company’s software.

This Christmas I’ve created a fun new sign with my Silhouette CAMEO that I’m super excited to share with you guys.

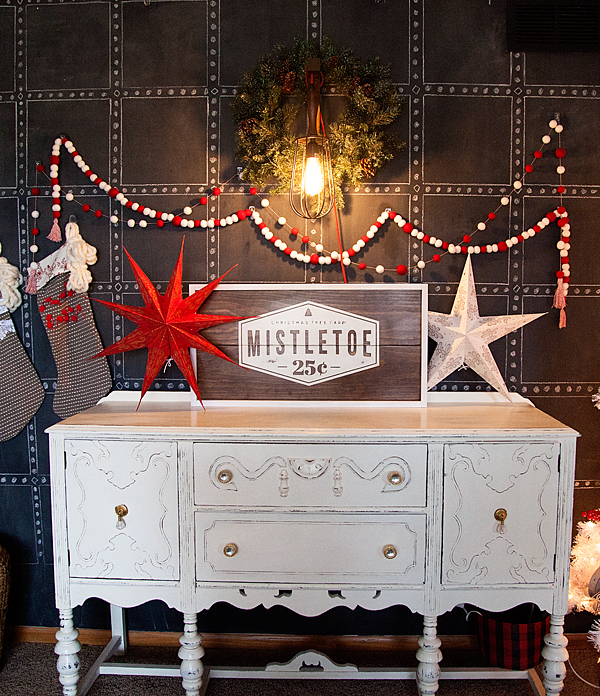
WhipperBerry-White-Christmas-Mistletoe-Sign

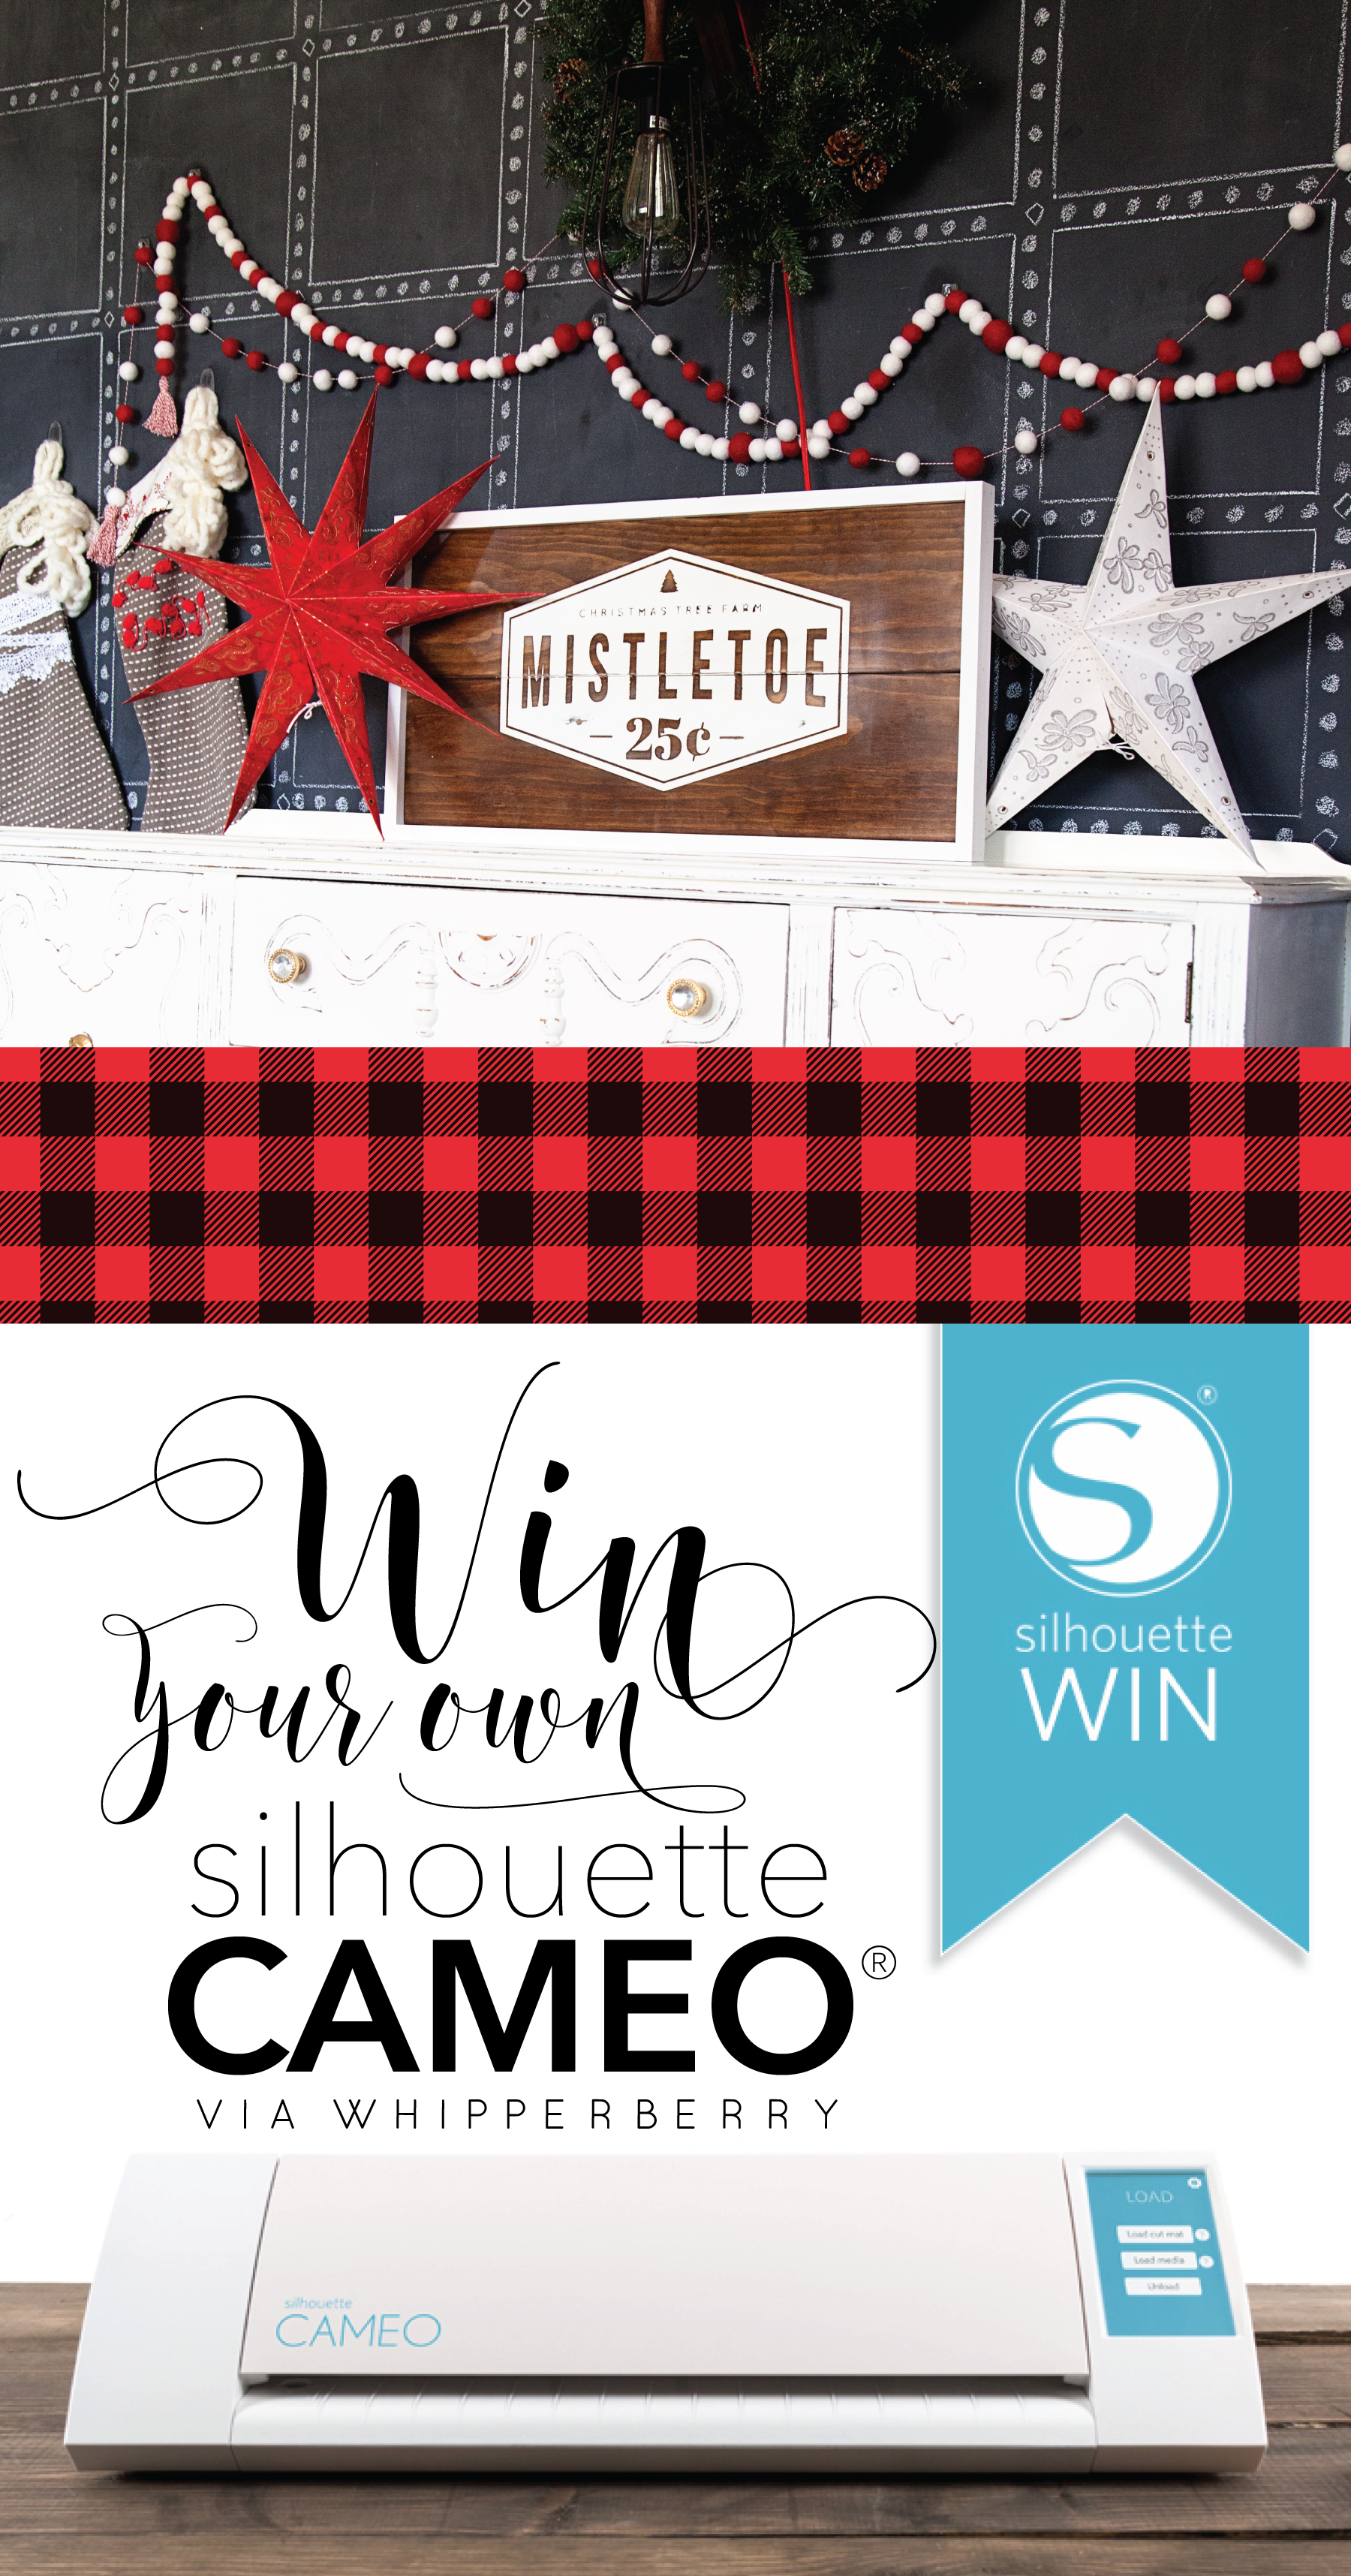
This sign was painted with BB Frösch Chalk Paint Powder using my Faux Stain technique and then I stenciled this design onto the wood. There is NO WAY I could have made that sign without my Silhouette CAMEO.

For years before I had learned about any kind of cutting machine, I yearned to make projects like this and couldn’t. I don’t have the talent to hand letters nor the patients to trace and cut out a design with a craft knife. When I learned about the Silhouette Cutting Machine 5 years ago my heart skipped a beat. This was the creative tool I had been waiting for my whole life!

I bought one on their Black Friday deal back in 2011 and I’ve been in love ever since! So many products have come out since and as much as I love the companies, I always go back to… “I can make that with my Silhouette, why would I need to buy anything else.”

So here’s the deal… I’m going to be sharing my cut files for this Mistletoe sign on December 1st on Tatertots & Jello. If you don’t have a Silhouette yet, now’s the time to get one. This week, at Midnight on Wednesday, Silhouette is starting their Black Friday Sale. This sale is epic every year! They offer the best discounts on Black Friday, this is for sure the time to grab one and stock up and all kinds of Silhouette goodies. I’ll have all the details on the sales event right at Midnight on Wednesday… BUT, while we anxiously await, the amazing folks at Silhouette have given me a CAMEO to give away to one of you!!!

All you need to do is follow the directions in the Rafflecopter box below and you’ll be entered to win the Silhouette CAMEO of your dreams!

I’ll announce the winner on Thanksgiving morning. Don’t forget to come back that night to take advantage of the Silhouette deals. They sell out quickly so you don’t want to miss out.

a Rafflecopter giveaway

  • Go to page 1
  • Go to page 2
  • Go to page 3
  • Interim pages omitted …
  • Go to page 22
  • Go to Next Page »

Primary Sidebar

Heather from Whipperberry
Hello... my name is Heather and I'm the creator of WhipperBerry a creative lifestyle blog packed full of great recipes and creative ideas for your home and family. I find I am happiest when I'm living a creative life and I love to share what I've been up to along the way... Come explore, my hope is that you'll leave inspired!

Footer

  • Privacy Policy

Copyright © 2023 · Seasoned Pro