Plant-based milk is a beverage made by blending nuts, seeds, grains, or legumes with water, then usually straining out the solids. People come to making plant-based milk at home for all sorts of reasons—wanting control over ingredients, chasing a particular taste, managing dietary restrictions, or simply trying to cut down on packaging waste.
The process itself can be as basic as a blender and a strainer, or as hands-off as a dedicated appliance does the work for you. Whether you stick with a simple blender-and-strainer setup or invest in a milk maker machine, making your own plant-based milk puts you in charge of ingredients, texture, and flavor in a way store-bought cartons rarely allow.
This guide covers methods, equipment, ingredient choices, and safety considerations for beginners and seasoned home cooks alike.
Key Takeaway: Homemade plant-based milk is flexible, but the method and equipment you choose will shape texture, flavor, and how convenient the whole process feels.
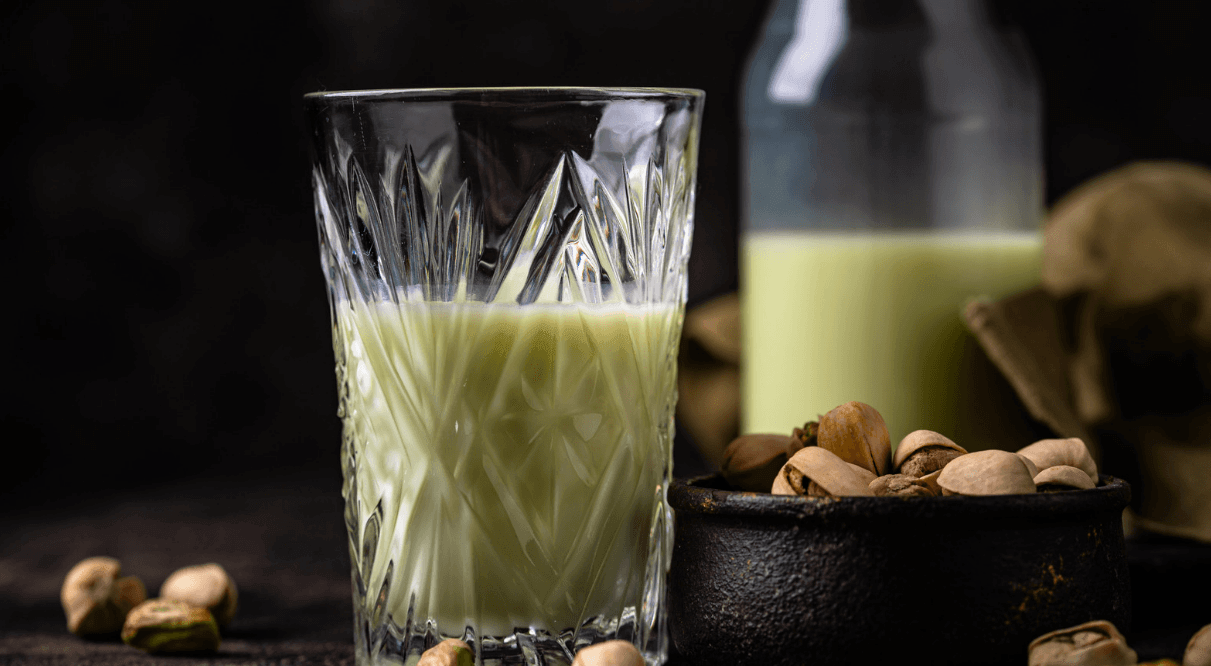
Understanding Plant-Based Milk: Ingredients and Basics
Almond, oat, soy, cashew, coconut, and hemp are the usual suspects when it comes to plant milk bases. Most recipes fall somewhere in an ingredient-to-water ratio of 1:3 to 1:5—one cup of almonds to three or four cups of water works as a reasonable starting point. Nudge that ratio up or down and you’ll notice real differences in creaminess and how intense the flavor comes through.
Extras like salt, dates, or vanilla can round out the taste, though they tend to shorten how long the milk stays fresh. Nutritionally, these bases aren’t interchangeable either: soy leans protein-heavy, while oats bring more carbohydrates to the table.
- Almonds: mild, slightly nutty
- Oats: neutral, quick to prepare
- Soy: protein-rich, versatile for cooking
- Cashews: naturally creamy, blends smooth
Methods for Making Plant-Based Milk at Home
At its core, the process is soak (if needed), blend with water, then strain through a nut milk bag or fine mesh sieve. Oats usually skip the soaking step entirely, while soybeans often need cooking after blending to make them safe and palatable.
Some people swear by a dedicated milk maker appliance for the sake of consistency and convenience; others are perfectly happy using a blender and strainer they already own.
Each path has its trade-offs—machines cut down on time and mess but take up counter space and come with a bit of a learning curve, while manual methods stay flexible and cheap but ask more of your time and attention.
Key Takeaway: Pick whichever method suits your kitchen, schedule, and patience level—good results come down to technique far more than how much you spent on equipment.
Choosing Ingredients Wisely: Nutrition, Taste, and Tolerances
Matching your base to your goals makes a real difference: reach for soy or pea milk if protein matters most, cashew or coconut for richness, oats or rice when you want something neutral enough to disappear into a recipe.
It’s also worth factoring in allergies, gluten sensitivity, and how much sugar you’re comfortable with. One of the clearest advantages of going homemade is ingredient transparency—many store-bought versions rely on stabilizers or added sugars that a homemade batch can simply do without.
Equipment Considerations: What You Really Need
Essential equipment boils down to a blender, something to strain with, and containers for storage. Optional equipment—funnels, measuring cups, specialized machines—adds convenience, but none of it is strictly necessary for a good result.
- Must-have: blender, strainer, glass storage jars
- Nice-to-have: dedicated milk-making appliance, funnel
Key Takeaway: Start with what’s already in your kitchen, and only upgrade once homemade milk earns a permanent spot in your routine.
Safety, Storage, and Quality: Doing It Right
Good food safety habits here are simple but non-negotiable: wash your equipment thoroughly, get the milk into the fridge promptly, and drink it within a few days. Keep an eye out for signs of spoilage—a sour smell, mold, or clumping that goes beyond the gentle separation that’s normal for these milks. If the texture turns grainy, blending longer or straining more finely usually solves it; oat milk that comes out slimy tends to improve with colder water and a shorter blend time.
Practical Examples and Everyday Use
Plenty of people settle into a weekly rhythm—oat milk for the morning coffee, almond milk blended into smoothies, soy milk reserved for cooking. Homemade milk doesn’t always behave exactly like the store-bought version, so it pays to experiment and adjust rather than expect a perfect match right out of the gate.
- Coffee and tea
- Smoothies
- Baking
- Sauces
Bringing It All Together
Homemade plant-based milk gives you flexibility and control, but getting it right depends on careful technique and proper storage. The best plant-based milk is the one you can make safely, enjoy consistently, and adapt to your needs. With a bit of practice, small tweaks to ratio, soak time, or straining method will get you to results that fit your taste and your routine.
0
Leave a Reply