My phone can feel like a second craft drawer: full of ideas, half-finished projects, and little moments I want to keep. There is the room before a refresh, a close-up of something handmade, and the final reveal I meant to share.
The difficult part is turning those separate clips into short craft videos that feel worth posting. A simple story helps: show where you started, a few things that changed, and the finished result. You do not need to squeeze the entire afternoon into a reel.
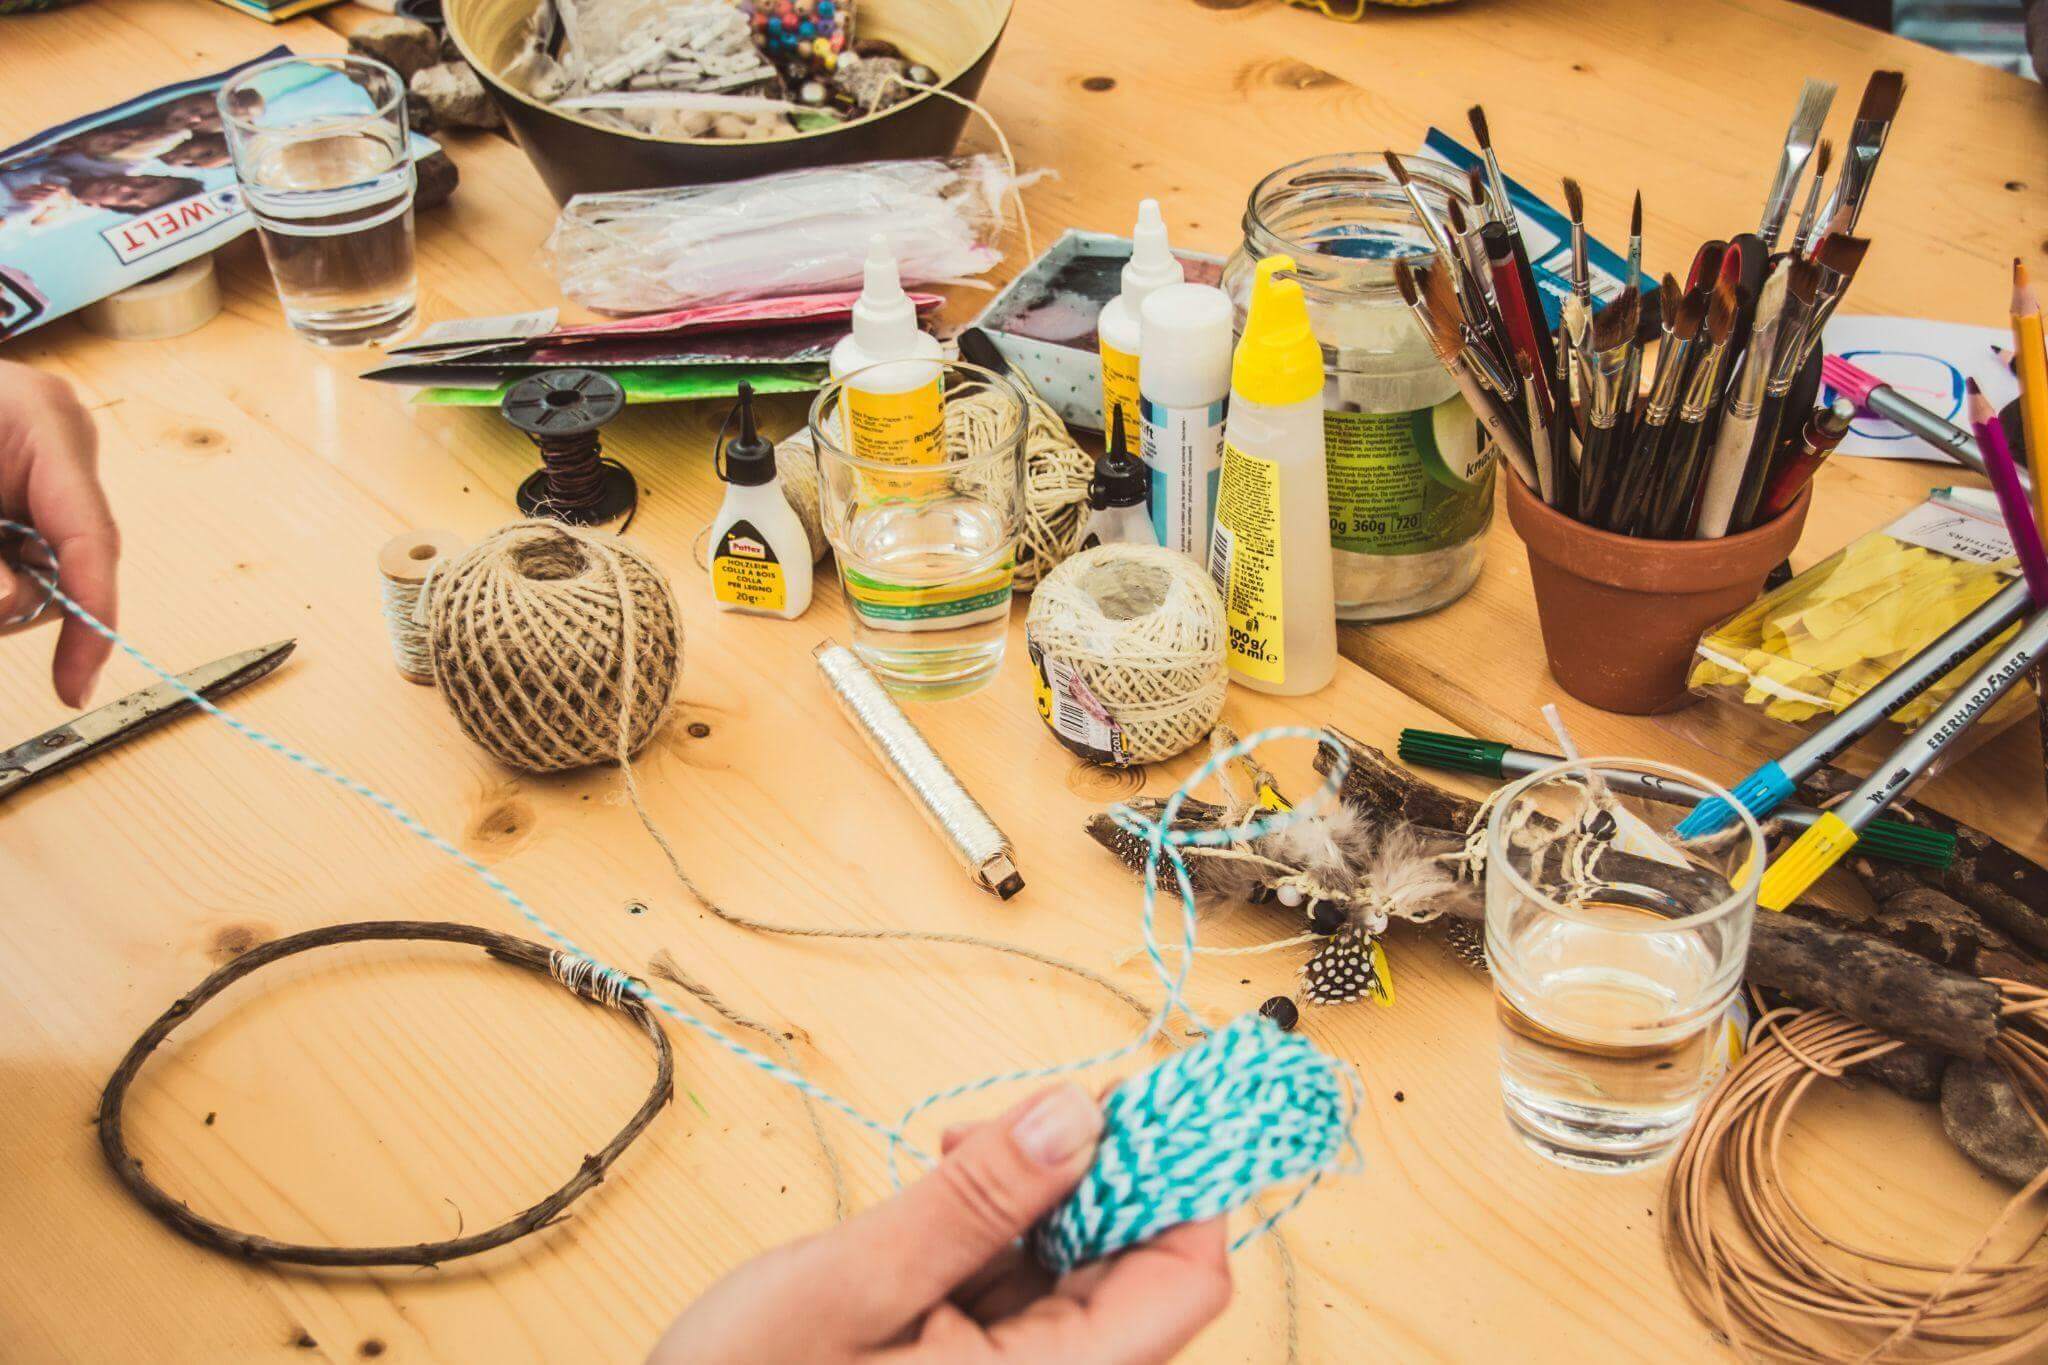
Photo by Jasmin Schreiber on Unsplash
Start with the story, not the editing
Before opening an editing app, decide what you want someone to notice. Is it the difference a small change made, a useful craft technique, or the pleasure of making something together?
For a small living-room shelf makeover, I would use this sequence:
Before → process → details → reveal
That might mean one shot of the cluttered shelf, a few clips of clearing and arranging it, a close-up of a handmade decoration, and a final view. Each shot has a job, which makes choosing what to keep much easier.
If the project is already finished, work with what you have. An earlier photo can introduce the “before,” followed by your process clips and a fresh shot of the result.
Whatever the project, let the first shot do the persuading. Open on the finished piece, or on the messiest ‘before’, so someone scrolling past knows within a moment what they are about to watch. You can save the slower setup for the middle.
Three creative projects that make great short videos
Turn a home makeover into a mini before-and-after
A painted chair, a tidier playroom, or a freshly styled shelf gives a short video a clear beginning and end. Before changing anything, take a steady shot of the whole space.
For the shelf example, I would capture five simple moments:
- The shelf before the refresh.
- Removing the old arrangement.
- Choosing a few books, a plant, and a handmade decoration.
- A close-up of placing the finishing touch.
- The completed shelf from the same position as the opening shot.
Keep the phone at roughly the same height and angle for the before-and-after views. That makes the change easier to see. A clean lens and a steady support can also save you some cleanup later.
Turn a craft afternoon into a quick tutorial
A craft tutorial needs the important steps, not every minute of work. For a paper garland, for example, show the materials, cutting the shapes, threading them together, and hanging the finished piece.
Close-ups are useful when the action is small. Let viewers see where the hole goes or how the thread passes through it. If a step is easy to miss, hold that shot a little longer rather than speeding everything up.
Short text labels such as “Cut the shapes” and “Thread them together” can explain a silent clip. Leave each label on screen long enough to read. A slightly wonky decoration can stay in the final shot; it is part of the charm.
Turn an ordinary creative moment into a story
Not every video needs to teach. Decorating for an event, baking on a rainy afternoon, or making something with the children can be worth sharing simply for the feeling of it.
Instead of asking, “What tutorial can I make from this?” ask, “What did this moment feel like?”
Start with a scene that sets the mood, add a few small details, and finish with the moment you want to remember. It might be flour on the table or a finished garland catching the light. The video does not need a dramatic transformation to hold together.

A phone and a steady support can be enough to record a simple clip. Image: Vmake Labs.
How to Make Craft Videos From Your Phone Clips
Once the footage is ready, a short checklist keeps the edit manageable. Here is how I would approach the shelf makeover.
- Choose the useful clips. Put the five shots in one album so you can find them easily. Pick the clearest version of each moment.
- Trim the waiting. Remove the pause before your hands enter the frame, repeated movements, and shaky starts. Keep enough of each action for viewers to understand it.
- Build a rough sequence. For a 30-second example, try 3 seconds of “before,” 12 seconds of clearing and rearranging, 5 seconds of details, and 10 seconds of the reveal. Adjust this to suit the footage; it is a starting point, not a rule.
- Add only the text you need. “A quick shelf refresh” can introduce the project, while “Use what you already have” explains the idea. Avoid covering the action with large blocks of text.
- Check the clips that need attention. If one shot looks noticeably softer or grainier than the rest, see whether a small adjustment helps before replacing it.
- Watch without sound. Can you follow the change and read every label? If the explanation relies on spoken words, add and check subtitles.
- Preview the vertical crop. Make sure the finished shelf, your hands, and any text stay inside the frame. Watch the exported video on your phone before posting.
The aim is a process you can repeat during a busy week. A clear, finished video is more useful than an elaborate edit left sitting in your drafts.
When a little AI help makes sense
Sometimes the story is ready, but one clip needs a little cleanup. In the shelf example, that might be a grainy close-up of the handmade decoration.
Vmake Labs is an AI social video studio with tools for video enhancement and automatic captions. Those are the two I would consider for this kind of project, depending on what the footage needs.
For a soft or noisy shot, upload the clip to the video enhancer and review the processed result before downloading it. Compare the same moment in both versions, looking at the edges, colors, and texture of the decoration. Keep the version that represents the project most clearly; do not assume that more processing is always better.
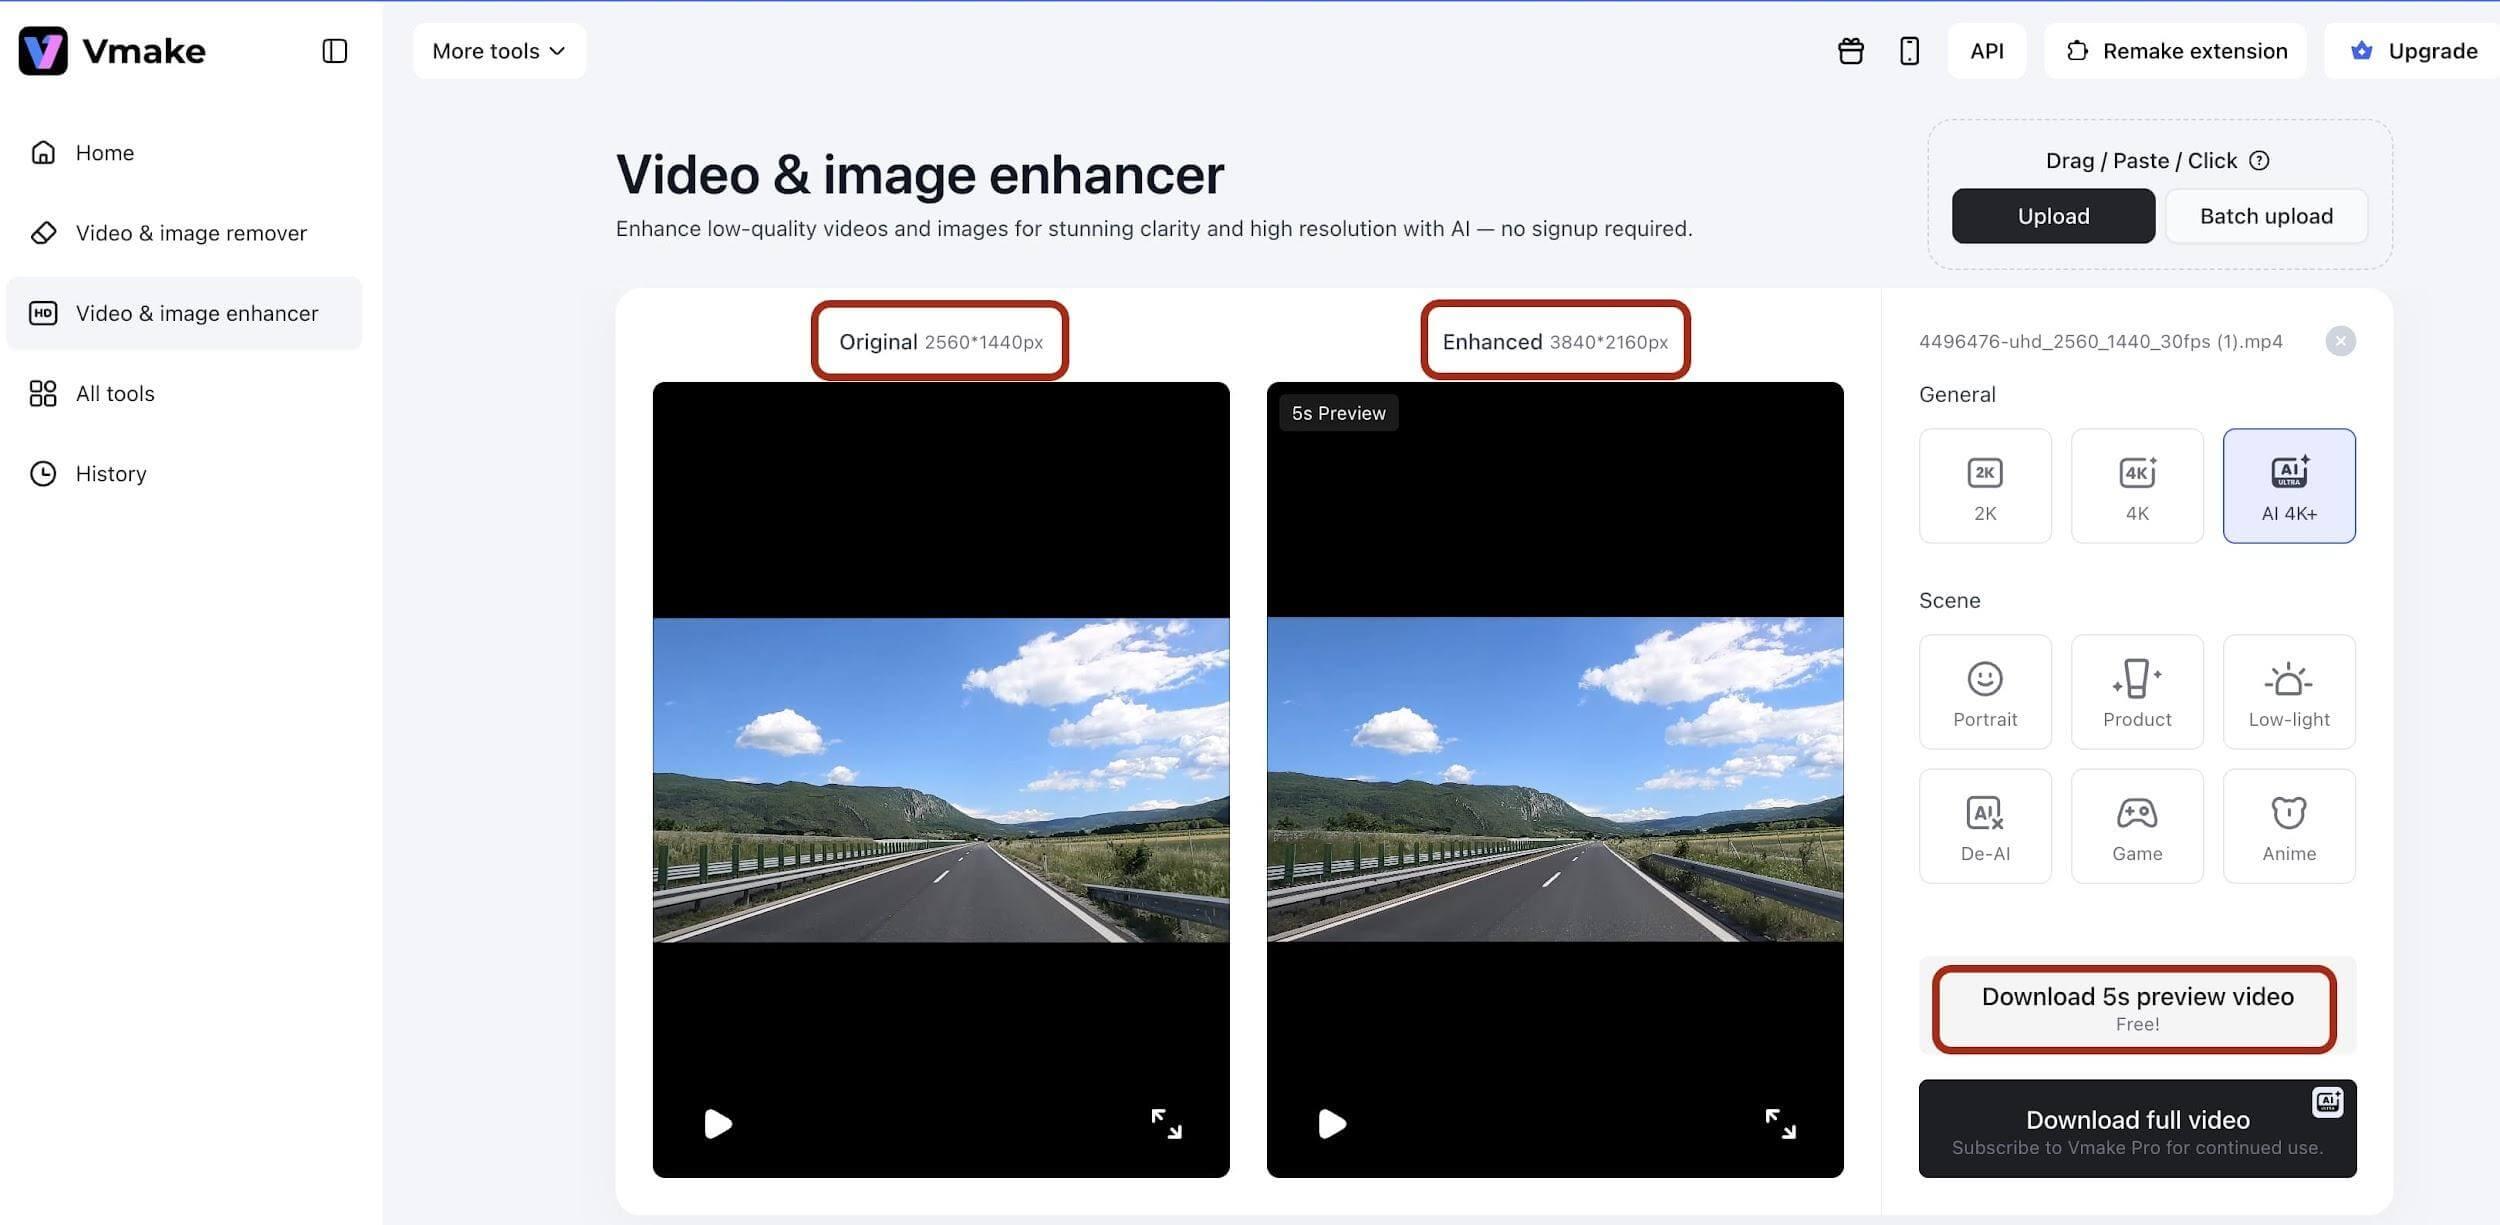
Example of the original and enhanced video previews in Vmake Labs. Image: Vmake Labs.
If the video includes a spoken explanation, automatic captions can turn that speech into on-screen subtitles. Read them through and correct any mistakes before exporting. A silent craft demonstration still needs its own written step labels; there is no spoken explanation to transcribe.
I would treat these tools as a finishing step. The choice of project, the sequence of shots, and the details worth keeping still come from you.
Keep the creative part yours
It is tempting to polish everything once you start editing. But a DIY video does not need to look like a studio production.
The paint on your hands, the slightly uneven paper shapes, or the cushion that will not sit straight can make a project feel personal. Remove the distractions that make the process hard to follow, while leaving the details that show something was made by hand.
For the shelf reveal, that might mean keeping the handmade decoration exactly as it is. The point is to share your idea, not to make your home look like someone else’s.
A quick checklist before you post
Before sharing your next Reel, TikTok, or Short, ask:
- Is the project clear from the opening shot?
- Have I removed repeated clips and unnecessary pauses?
- Can viewers see the important steps and the finished result?
- Does the story make sense without sound, or does the speech need subtitles?
- Are the text labels readable and clear of the action?
- Does the vertical crop keep the useful details in view?
- Does the video still feel like something I enjoyed making?
Your camera roll is already full of stories
You probably do not need a new project just to make a video. Start with one you already have: a corner you refreshed, a craft from the kitchen table, or a few before-and-after photos.
Choose one small story and give it a beginning, a middle, and an ending. For that shelf makeover, five useful shots may be all you need.
There will always be another idea waiting. A simple workflow for making short craft videos leaves more time for the part that matters most: enjoying what you make.
0
Leave a Reply