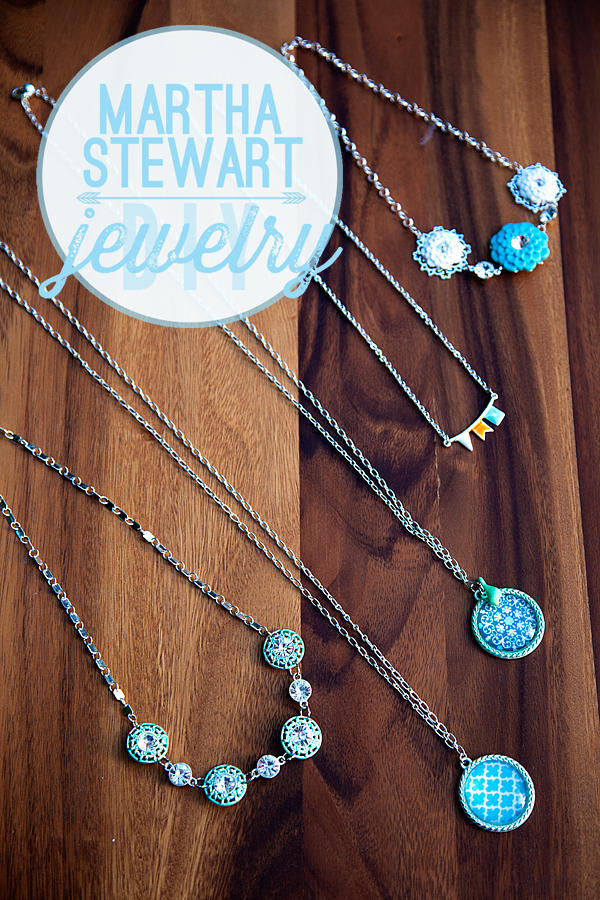
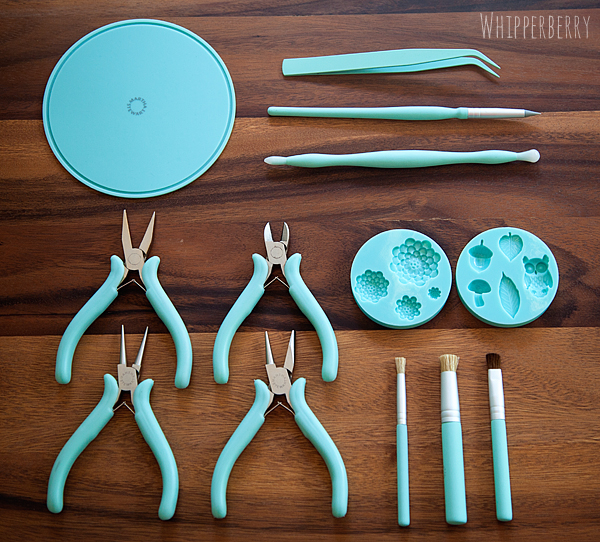
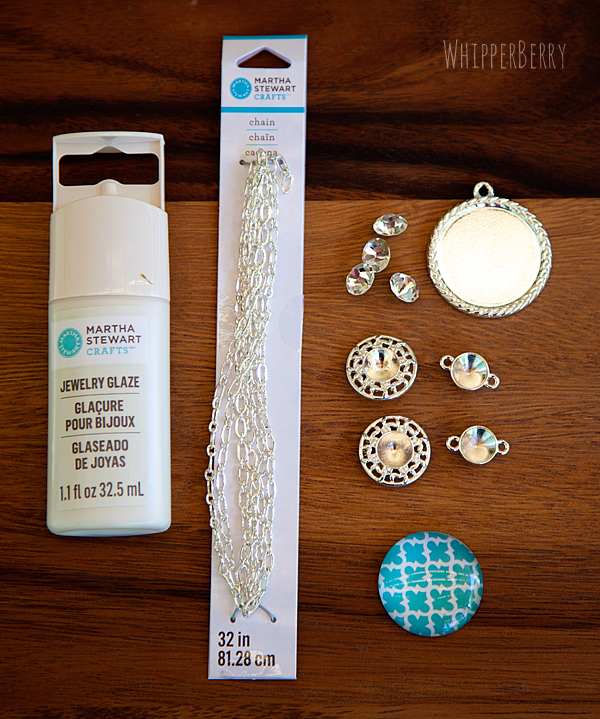
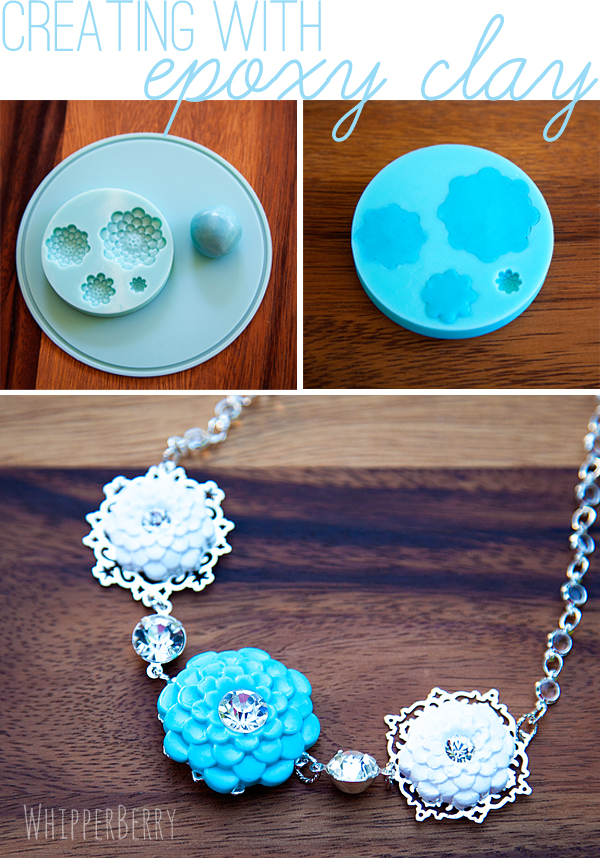
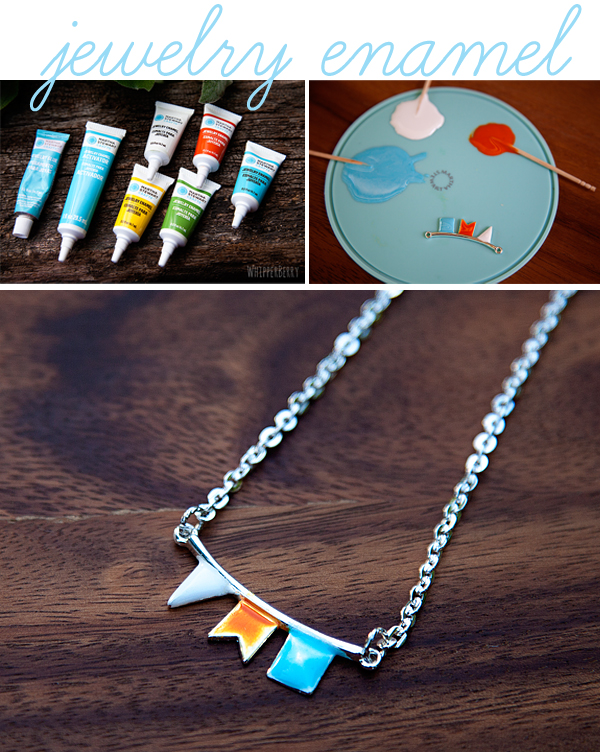
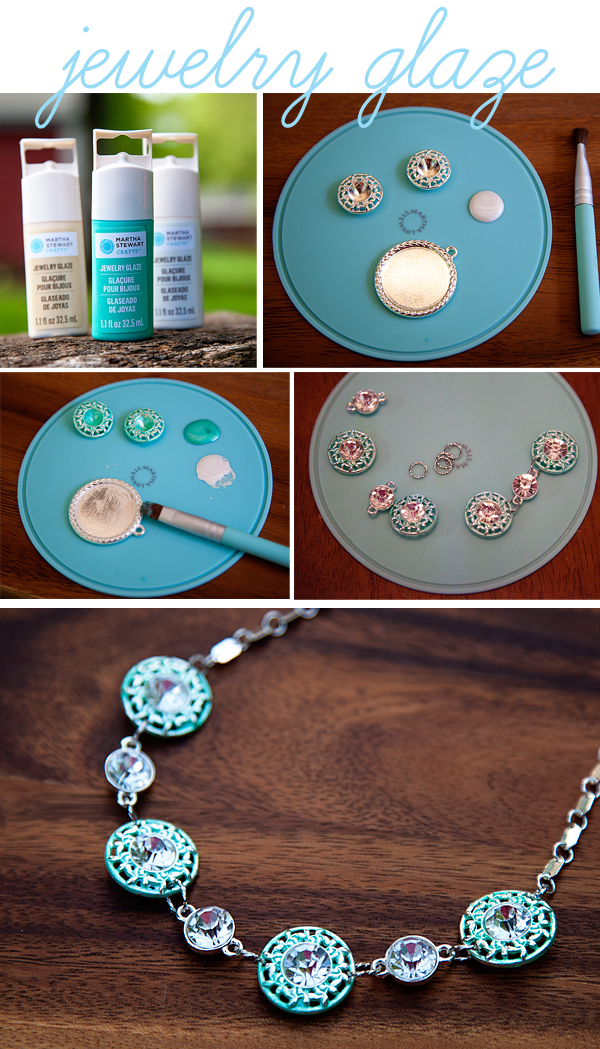
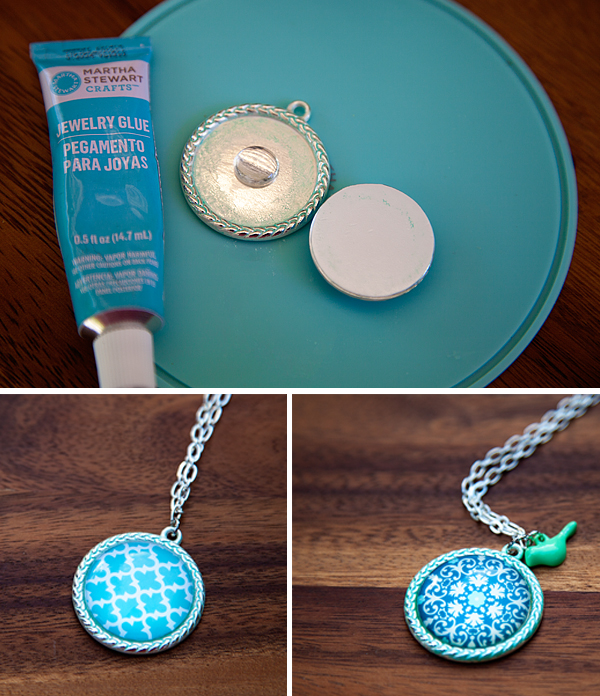
• Skip to primary navigation
  • Skip to main content
  • Skip to primary sidebar
  • Skip to footer

Whipperberry

WhipperBerry • Your Home For Creative Inspiration

  • Home
  • Recipes
    • Starters
    • Easy Weeknight Dinners
    • Main Dish
    • Salads
    • Side Dish
    • Soups & Stews
    • Desserts
    • Breakfast
    • Miscellaneous
  • Tutorials
    • Creative Crafts
    • DIY Decor
    • Fabric Crafts
    • Food How-To
    • Jewlery
    • Paint Projects
    • Paper Art
    • Party Styling
    • Photography and Graphic Design
    • Silhouette
  • Holidays
    • Easter
    • Mother’s Day
    • Father’s Day
    • 4th of July
    • Halloween
    • Thanksgiving
    • Christmas
    • Valentine’s Day
  • Gift Ideas
    • Gifts For Everyone
    • Gifts for Dad
    • Mother’s day
    • For The Girls
    • For The Kids
    • Teacher Gift Ideas
    • Christmas
  • Printables
    • Holiday
    • Gift Idea
    • LDS Primary
  • Travel
  • About
    • Terms
  • Contact
  • Nav Social Menu

    • Facebook
    • Instagram
    • Pinterest
    • RSS
    • Twitter

jewelry

Why Stud Earrings Are the Perfect Everyday Mom Accessory + An Easy DIY

0 · Feb 22, 2025 · Leave a Comment

Trends in fashion come and go, but some things never lose their charm—like a great cup of coffee, a cozy knit sweater, and, of course, a timeless pair of stud earrings. As a busy mum who juggles creativity, kids, and everything in between, I love accessories that are effortlessly stylish and practical. Stud earrings are just that—simple yet sophisticated, versatile yet elegant. Whether I’m running errands, heading to a meeting, or enjoying a rare night out, these little gems always add a touch of polish to my look.

So what is it about stud earrings that make them a staple in every jewelry collection? Let’s dive into why they remain a go-to accessory, no matter the season or stage of life.

Effortless Versatility

Stud earrings (like these Sterling Silver CZ Stud Earrings) come in so many styles, from classic diamond or pearl studs to playful gemstone and metal designs. Whether you’re in jeans and a tee, rocking a sleek blazer, or dressed up for a special occasion, they just work. I can pop them in the morning, and they stay put all day—no fuss, no extra thought required. That’s the kind of accessory I need in my life!

Practical for Everyday Wear

Unlike dangling or oversized earrings that can get caught in hair, scarves, or little hands (if you have toddlers, you’ll know!), studs stay secure and out of the way. Their lightweight design makes them comfortable to wear all day without irritation, which is perfect when you’re constantly on the go.

Stud Earrings

A Timeless Choice for All Ages

From a little girl receiving her first pair to a grandmother cherishing a sentimental gift, stud earrings suit every age and stage of life. They’re classic without being flashy, making them a beautiful way to express personal style without going over the top. Even my little one loves trying on my simple pearl studs, and I can’t wait to pass them down one day.

A Touch of Sentiment

Jewelry often holds sentimental value, and stud earrings are no exception. Whether received as a birthday gift, an anniversary keepsake, or a “just because” present, they’re often tied to special memories. I still treasure the first pair my partner gave me—small, simple, but filled with meaning.

Affordable Elegance

Stud earrings come in a wide price range, from luxurious diamond studs to affordable yet stylish cubic zirconia options. No matter your budget, there’s a pair that can add a touch of elegance without breaking the bank. And the best part? Even budget-friendly options still look chic and timeless.

Classic Beauty

Stud earrings have a timeless charm due to their elegant design, which suggests a more classic approach to style rather than being flashy or showy. Their understated elegance keeps them fashionable regardless of changing trends in the world of fashion, ensuring that they always remain a choice worth adding to any jewelry collection. 

Customizable & Personal

One of my favorite things about stud earrings is how customizable they can be. Whether it’s choosing a birthstone, engraving initials, or selecting a metal that complements your skin tone, they can be made uniquely yours. A custom pair can turn into a treasured keepsake—something special to wear every day.

Easy Maintenance

As a mum, I don’t have time to fuss over delicate jewelry that requires constant care. Stud earrings are incredibly low maintenance—just a quick wipe now and then, and they stay shiny and beautiful. No worrying about tarnishing or complicated cleaning routines, which makes them perfect for busy lifestyles.

A Sustainable Choice

Nowadays, more people (myself included!) are looking for jewelry based on sustainability and ethical sourcing. Many brands offer eco-friendly or ethically made stud earrings, making it easier to wear something beautiful while also being mindful of sustainability.

The Perfect Everyday Essential

With their effortless charm, comfort, and versatility, stud earrings are a jewelry box essential. Whether they’re a sentimental keepsake, a minimalist staple, or a fun, colorful addition to your outfit, they offer that perfect balance of beauty and practicality. And for mums like me—who love a little sparkle without the hassle—they’re an absolute must-have!

DIY Stud Earrings

Easy DIY Stud Earrings for Busy Mums

If you love the idea of personalizing your jewelry, making your own stud earrings is a fun and easy project—even if you don’t have a lot of time. Here’s a simple way to create stylish studs at home.

What You’ll Need:

  • Earring posts and backings (available at craft stores or online)
  • Strong jewelry glue (like E6000) or a hot glue gun
  • Small decorative elements (e.g., pearls, crystals, resin charms, polymer clay pieces)
  • Tweezers (for precision)

How to Make Them:

  1. Choose Your Design – Pick small beads, stones, or charms that suit your style.
  2. Apply Glue – Put a small dot of jewelry glue on the flat pad of the earring post.
  3. Attach the Decoration – Carefully place your chosen embellishment on the glue and press gently.
  4. Let It Dry – Allow at least 24 hours for the glue to set completely.
  5. Wear & Enjoy! – Once dry, pop them on and add a handmade touch to your everyday style.

This DIY is perfect for moms who want quick, stylish accessories or even a fun craft to do with older kids! Would you like more customization ideas?

The Silhouette Curio is HERE

0 · Aug 27, 2015 · Leave a Comment

Silhouette-Curio

Guys… The new Silhouette Curio is HERE!!

I have a special discount just for you guys at the end of this post!!

Back in May, I had the chance to travel to Hawaii for the Silhouette Summit where they announced a TON of new products.

Silhouette-Summit

Linda from Craftaholics Anonymous and I with the CEO of Silhouette

All kinds of new consumable products, new software and software functions and TWO new members of the Silhouette family of crafting machines. The Curio and the Mint.

The Mint is a super fun little machine where you can create your own custom stamps and that will debut later this year.

Today, the Curio has launched. What’s special about the Curio you ask? Will this replace the CAMEO and Portrait?

The answer is no, it’s not meant to replace either machine. It is a new companion for your CAMEO or Portrait. It has all kinds of new features that the other machines do not have. For example…

Silhouette Curio Stippling

Stippling – Not familiar with Stippling? It’s SUPER cool!! You create with little dots. Create stippled ink projects with Silhouette felt tip pens or even stipple foils and metals.

Silhouette-Curo-New-Possibilities

Silhouette-Curio-Stippling-2

How fun is that? The world of creating with metal has just opened even wider!

Next on the list of new features…

Silhouette-Curo-Etch

You can etch on metal now as well. Create beautifully etched metal with the Curio’s etching tool to customize jewelry, charms, home décor, mixed media art, and more.

Silhouette-Curo-Emboss

The Curio can Emboss with a new embossing tool!

Silhouette-Curio-Double-your-creativity

The Curio has a dual carriage for double the fun!

Silhouette-Curo-Sketch

You can still Sketch, you can do with TWO Silhouette felt tipped pens now.

Silhouette-Curo-Cut

With the Curio you can still Cut, but you can cut even deeper!

Silhouette-Curo-Deeper-Cuts

The Curio has an improved blade and more clearance which means more options. The Curio’s 5mm clearance allows you to etch, sketch, or cut on new project palettes. Think wood, foil, leather, foam, and even metal.

I can go on and on… You’ll have to go over to Silhouette and check it out for yourself.

I will be working on all kinds of projects here on WhipperBerry with the new Curio and would love for you to join me.

The price for a Curio is $249.99

The folks at Silhouette are giving you guys $15 off a new Curio if you use the code WHIPPER at checkout.

Click the link HERE to get the $15 discount

I can’t wait to start creating with the Curio, what about you? Head on over to their site to check out all of the new products and software options. The Silhouette brand of machines are truly my favorite crafting tool. I use them more than any other tool that I have in my creative tool box!

Disclaimer – I am a member of the Silhouette Makers Affiliate Program.

Creating With Martha Stewart Jewelry

4 · May 21, 2013 · 8 Comments

Brought to you by Plaid Crafts // I ADORE finding fun new products to play with. I'm even happier when the product lives up to the hype. Yesterday, I had the fun opportunity to play with some new Martha Stewart products from Plaid Crafts… They've launched a new line of Martha Stewart DIY Jewelry that is available exclusively at Michaels Craft Stores. I had a BALL playing with a box full of goodies from the line…

Martha Stewart Jewelry #marthajewelry

The new jewelry line is very well thought out. It's what we've come to expect from the Martha Stewart line of products. You know when you decide to use a Martha product, that you will have the highest quality materials along with fabulous design, synonymous with the Martha Stewart name.

To begin, the line has a fabulous tool box full of all kinds of tools you will need when creating your very own jewelry…

Martha Stewart Jewelry Tools #marthajewelry

These are just a few of the tools in the line that really make jewelry crafting fun. You have a silicon mat to work with, silicon molds, several types of pliers and metal working tools, you even have fabulous brushes.

What makes this line really fun are all the amazing options you have. You can use an element from the line as is, or you can use  a glaze or enamel to totally change the look and feel of the element. Here's a look at four of the mediums you have to work with…

Creating with Martha Stewart Jewelry #marthajewelry

Creating with Martha Stewart Epoxy Clay #marthajewelry

Using the fun Epoxy Clay you can create your very own cabochons to add to a necklace like this one that I created with several of the elements from the Martha line. The line has chains, rhinestones, beautiful statement pieces and when combined with your creativity can turn into something amazing.

Martha Stewart Jewelry Enamel #marthajewelry

Using the jewelry enamel you can add little pops of color to a piece that can transform it into something really special like this pendant necklace. It's so easy, you just combine the enamel with an activator and apply to the piece with a toothpick. It's super slick. The only issue is that you have to wait 24 hours for it to dry before you can wear it. Patients… I know, I'm not very good at waiting either. It's totally worth it though. I LOVE this new pendant necklace. All you have to do it attach it to a chain that comes in the new line with connectors that are super easy to use as well.

Martha Stewart Jewelry Glaze #marthajewelry

Do you want to add a little pizzaz to your new accessory? All you need to so is paint on some Jewelry Glaze. Leave it as is with a full burst of color, or use a cloth to wipe off a bit to give it an antique look. Either way, they are going to transform your creation into something spectacular. Next, all you have to do is decide what else you want to add on to your necklace. For the one above, I added rhinestones to add a little bling to the piece.

Above and beyond the different mediums that you can use transform your design, Martha Stewart has create some amazing elements that take your creating to the next level…

Martha Stewart Jewelry Necklace #marthajewelry

These two pieces were super easy, I just added a little color pop with some Jewelry Glaze and once that dried, which was super quick, I glued on a fabulous graphic element to create a stunning statement necklace.

All in all, I love this new line of DIY jewelry. There is something here for beginner jewelry designers all the way up to advanced designers, so there's fun for everyone!! It's so fun to create one of a kind pieces for you or for gifts for your family and friends. I know a few of these pieces that I've created are heading to school for end of the year teach gifts. 

You can visit Plaid Crafts on Facebook, Pinterest & Twitter for more inspiration. And… for even more inspiration you should visit all of these posts below to see some of the other fun creations from all the bloggers who had a chance to take Martha Stewart Jewelry line for a test drive!

Styled by Tori Spelling | Become Your Own Jewelry Designer

1 · Jun 12, 2012 · 4 Comments

Have you ever had the secret fantasy of becoming a jewelry designer? Or, have you ever bought a piece of jewelry and wished that you could customize it to your taste, only to be sadly disappointed that you were stuck with what you bought? Well, your wait is over!! Tory Spelling has introduced a fabulous new line of affordable, customizable, easy to make jewelry called Styled by Tori Spelling!!

Design Elements

Tori's line as hundreds if not thousands of options for creating your own jewelry that you would be proud to show-off.  Here are just a few of the fun pieces you have to work with…

These are some pendants / broaches / rings… quite frankly any thing you can dream up can be made with these beautiful statement pieces.

Here is a taste of some of the bracelet options from the Glitz and Noir lines. Here's how the whole thing works…

make a bracelet

  • Select the bracelet chain or chains that you would like to work with. The have claw connectors at either end.
  • Select a statement piece,
  • For mine here I connected the three chains that I selected to the rosette on one side.
  • Then I used a connector piece to connect the three chains to and then used the connector to secure the chains to the other side of the rosette.  That way I can easily put the bracelet on without fumbling with three chains. Voila, it's finished and STUNNING!!

make a necklace

  • For this necklace I used a bracelet chain as the connector for the bottom of the necklace because I wanted the necklace to be a little shorter than it would be with the normal necklace connectors.
  • I also wanted to add some color so I weaved some embroidery thread into the larger chain of the necklace bottom and knotted it on either side.
  • Then I secured the bracelet chain to the necklace bottom and it was finished. It took like 5 minutes tops!

make earrings

Now this little trick is what made me fall in LOVE with this line. I don't have the longest neck so wearing long earrings looks a little silly on me. Here is what I did to make some fun earrings that I just adore!

  • I selected earrings and the earring connectors and then took the small bead at the top of the earring and created a bead overlay for the main earring.
  • Then I secured the earring connector at the top of the main earring.  It looks great.
  • The nice thing is that you can wear it either way.

where to find Styled by Tori Spelling

I am just overwhelmed by the options in the four different lines. The necklace above is one of my favorites!! I just adore all of the colors and textures. Now if you would like to become your very own jewelry designer you can find the entire line at Jo-Ann Fabric and Craft Store or select pieces are also at Michael's.

Disclosure

Here are some more fabulous ideas on how to use the new Styled by Tori Spelling line…

  • « Go to Previous Page
  • Page 1
  • Page 2

Primary Sidebar

Heather from Whipperberry
Hello... my name is Heather and I'm the creator of WhipperBerry a creative lifestyle blog packed full of great recipes and creative ideas for your home and family. I find I am happiest when I'm living a creative life and I love to share what I've been up to along the way... Come explore, my hope is that you'll leave inspired!

Footer

  • Privacy Policy
  • Crafts
  • Food
  • Gifts
  • Holidays
  • Home
  • Mom Life
  • Recipes
  • Travel

Copyright © 2026 · Seasoned Pro