As much as I adore my kiddos, there are times when I need a special ME treat! Do you ever feel that way? This post is brought to you by the amazing folks at Yoplait, because they know that sometimes, we need to say Oui (French for YES) to ME time!
Disclaimer + This post is sponsored by Yoplait. However, all thoughts, ideas and opinions are my very own.
 My kiddos are cute, they’re crazy, goofy and silly. Sometimes they’re grumpy and quite frankly they turn into pills at times. This little guy is a ball of energy, when that energy is directed towards good, he brings such light into our home. BUT… If that energy is a negative energy man-oh-man, his energy can turn negative rather quickly. It’s like it’s his super power. Jekyll & Hyde ring any bells? Toss him into a home with three teenage sister and it can turn into a powder keg for sure.


It’s true magic when we are all together and having fun just being together, but… When the wind is blowing from the east or someone’s foot touches someone else’s personal space, WATCH OUT! Think super collider!
We had one of those super collider days a few weeks ago, right before school started again. Actually, I believe it was the last Friday before school started the following Monday. We were all on each other’s last nerve. We had just returned home from a two week long road trip and we decided at the last minute to paint a couple of the girl’s rooms in our new house. Brilliant! Not our best move…
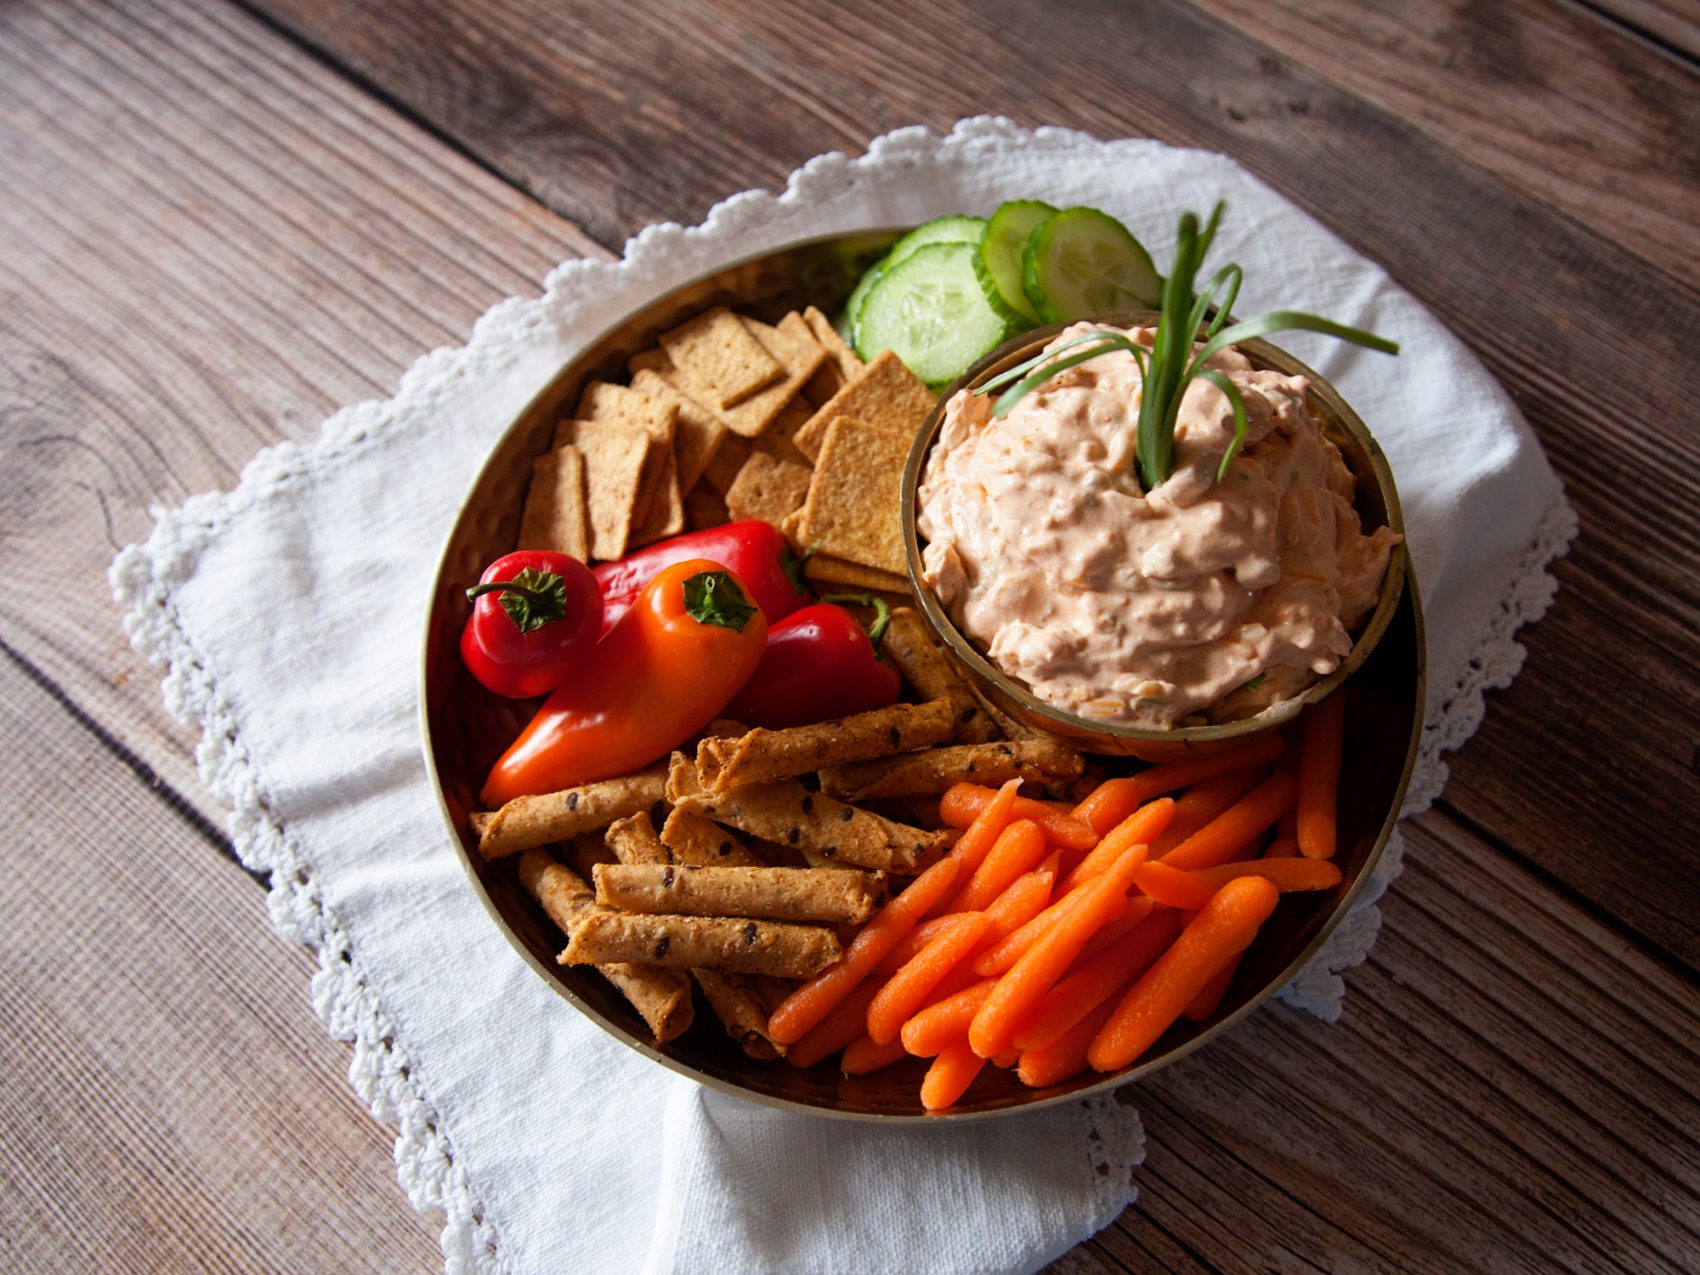
That afternoon, I just couldn’t take it anymore. I needed a break. I needed some ME time. I needed a treat. I didn’t know what. I didn’t want something full of sugar, but I still wanted it to feel decadent. I wanted it to be special.
The closest store to our home is Walmart and I decided to head there. I really don’t know why I chose Walmart, other than it was the closest place that was easy to escape to and I could wander the aisles aimlessly until I found that special something that could get me out of this bad attitude. Mom needed a timeout!
I wandered to the bakery, nothing looked tempting. I hit the candy aisle, again nothing hit the mark. Freezer section, nothing. I wanted something cool & creamy, not too sweet, something that tasted real.
I rounded the corner into the dairy section at Walmart and it hit me… I knew exactly what I wanted to help wash away the frustrations of the day, Oui by Yoplait.
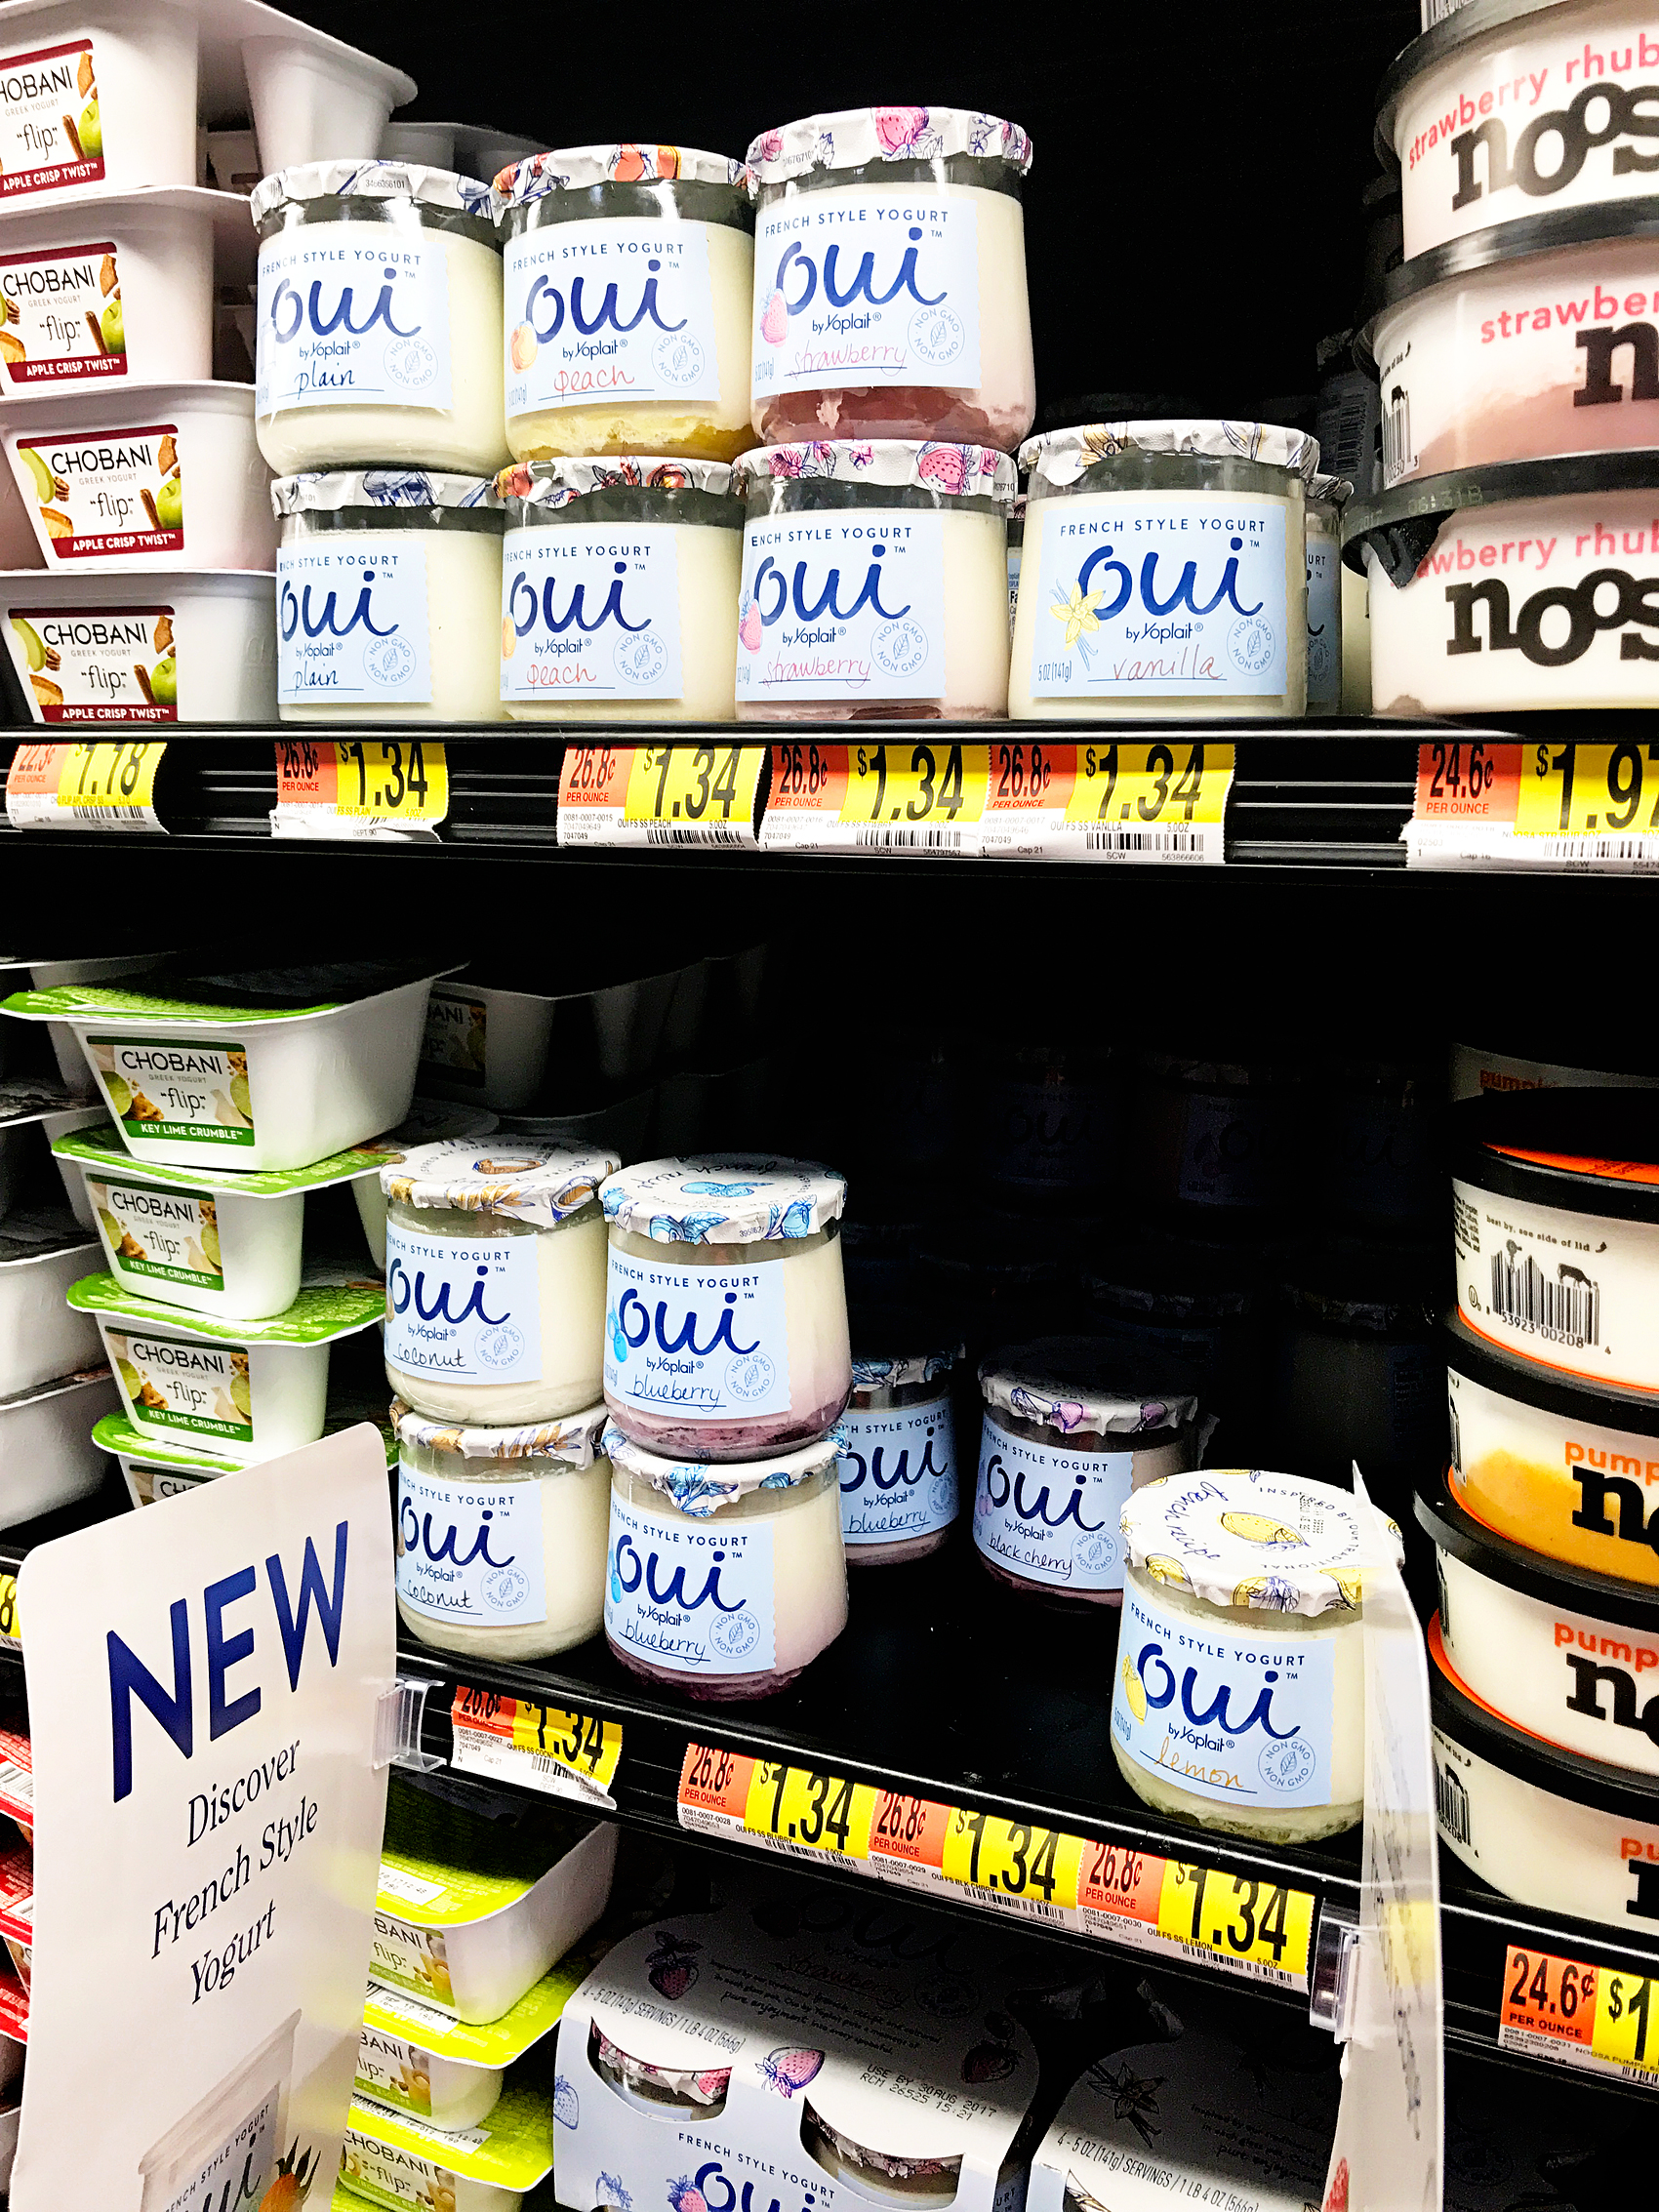
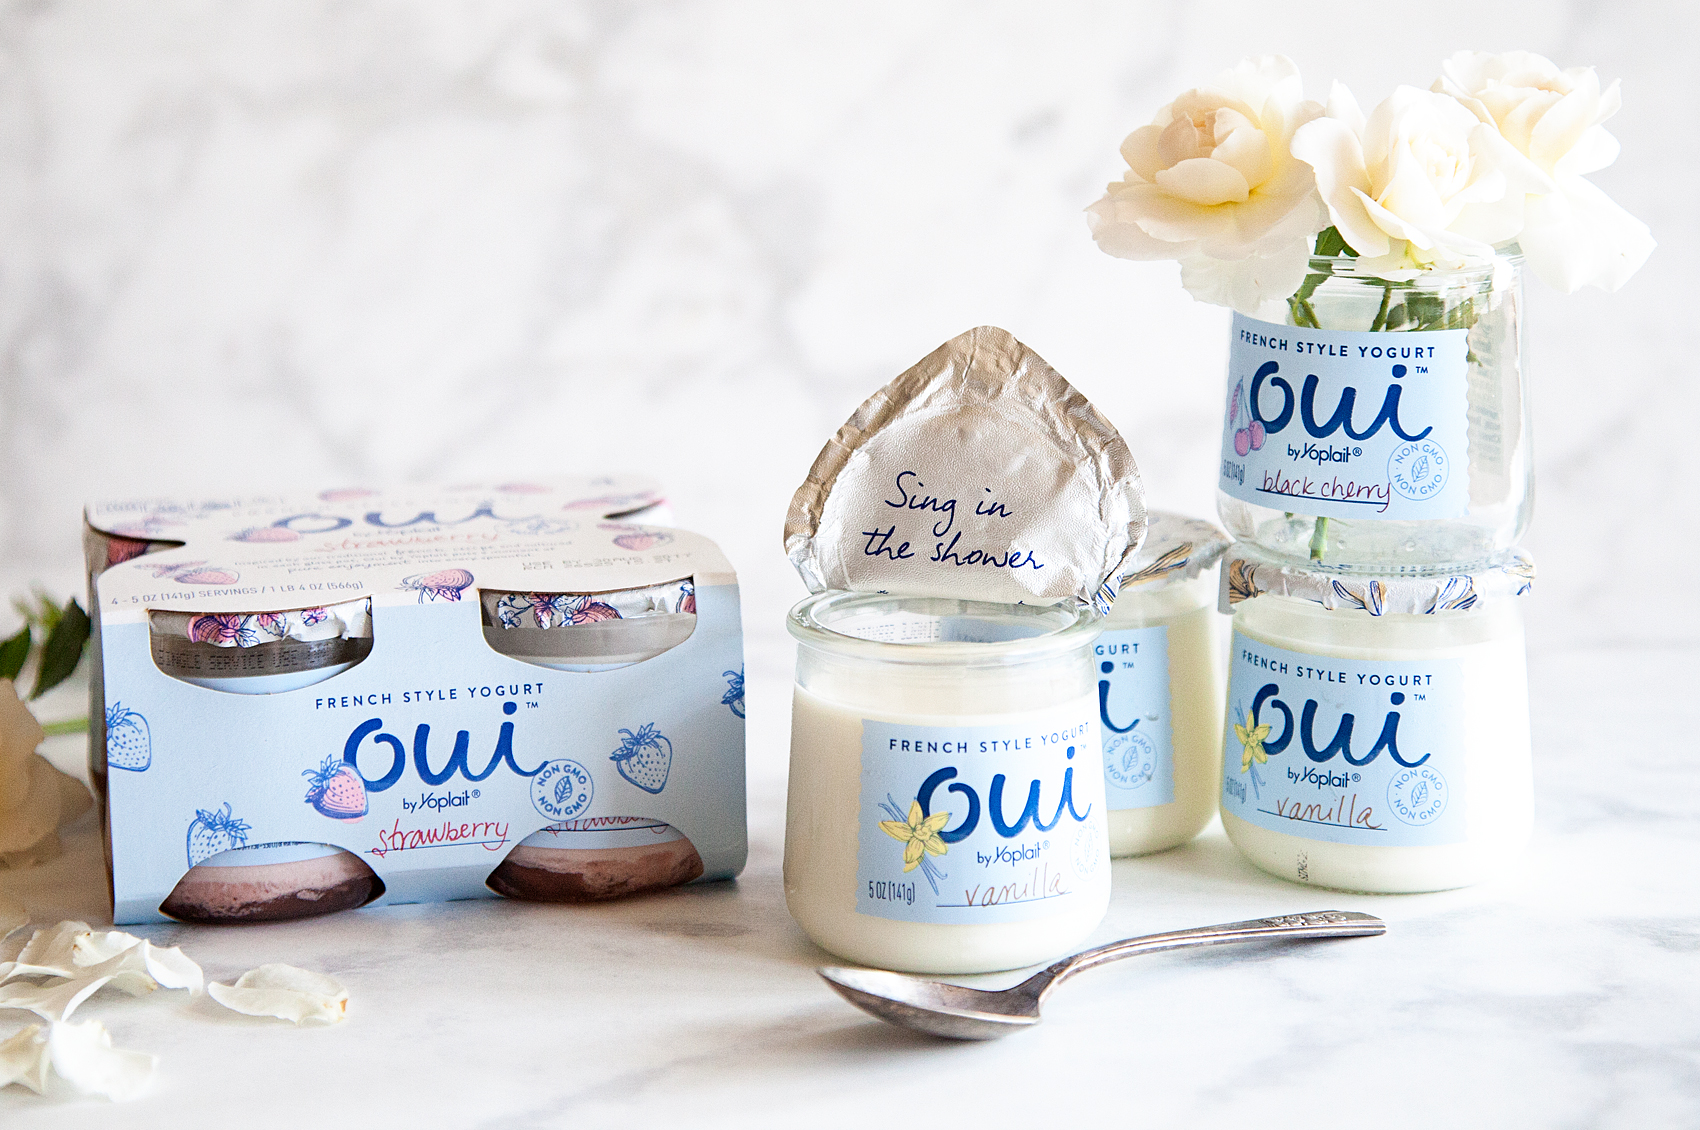
I saw this new yogurt and before I even registered what it was, I knew that was what was going to hit the spot. It was so cute and you know how much I LOVE great branding. It was creamy French style yogurt in a little glass jar. I had found my ME moment with Oui by Yoplait without even trying! It was like this beautiful yogurt was created just for ME!
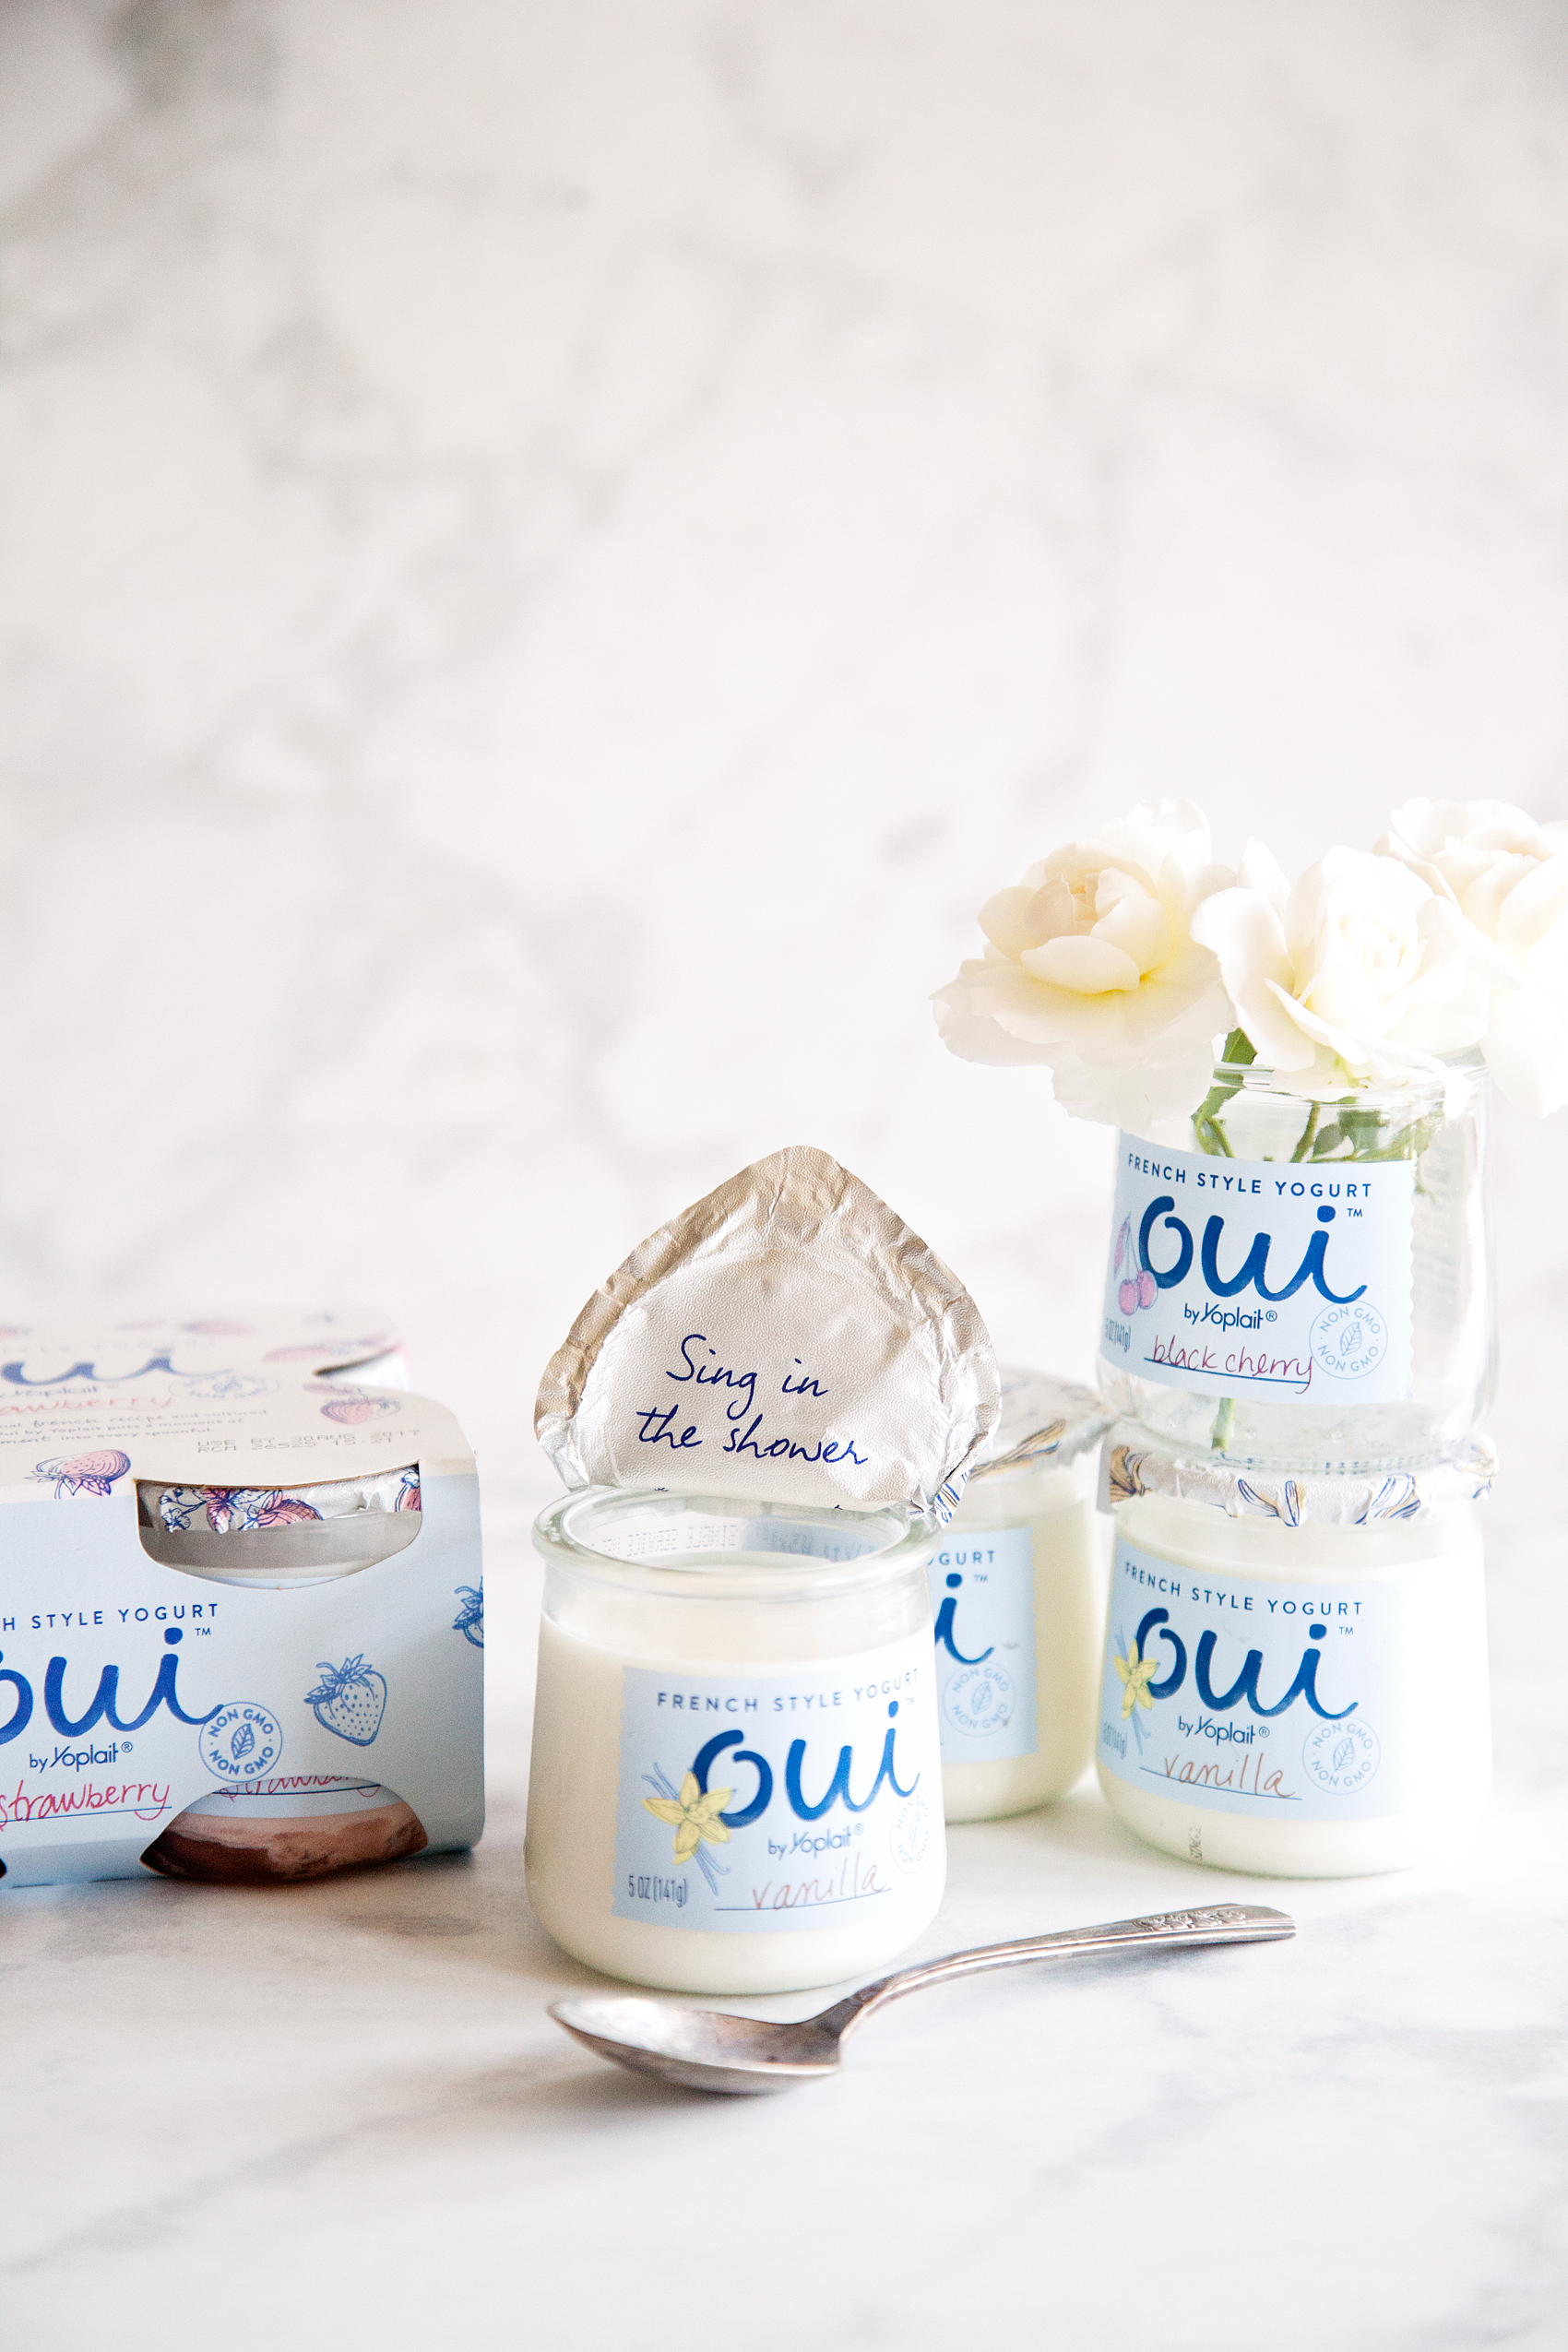
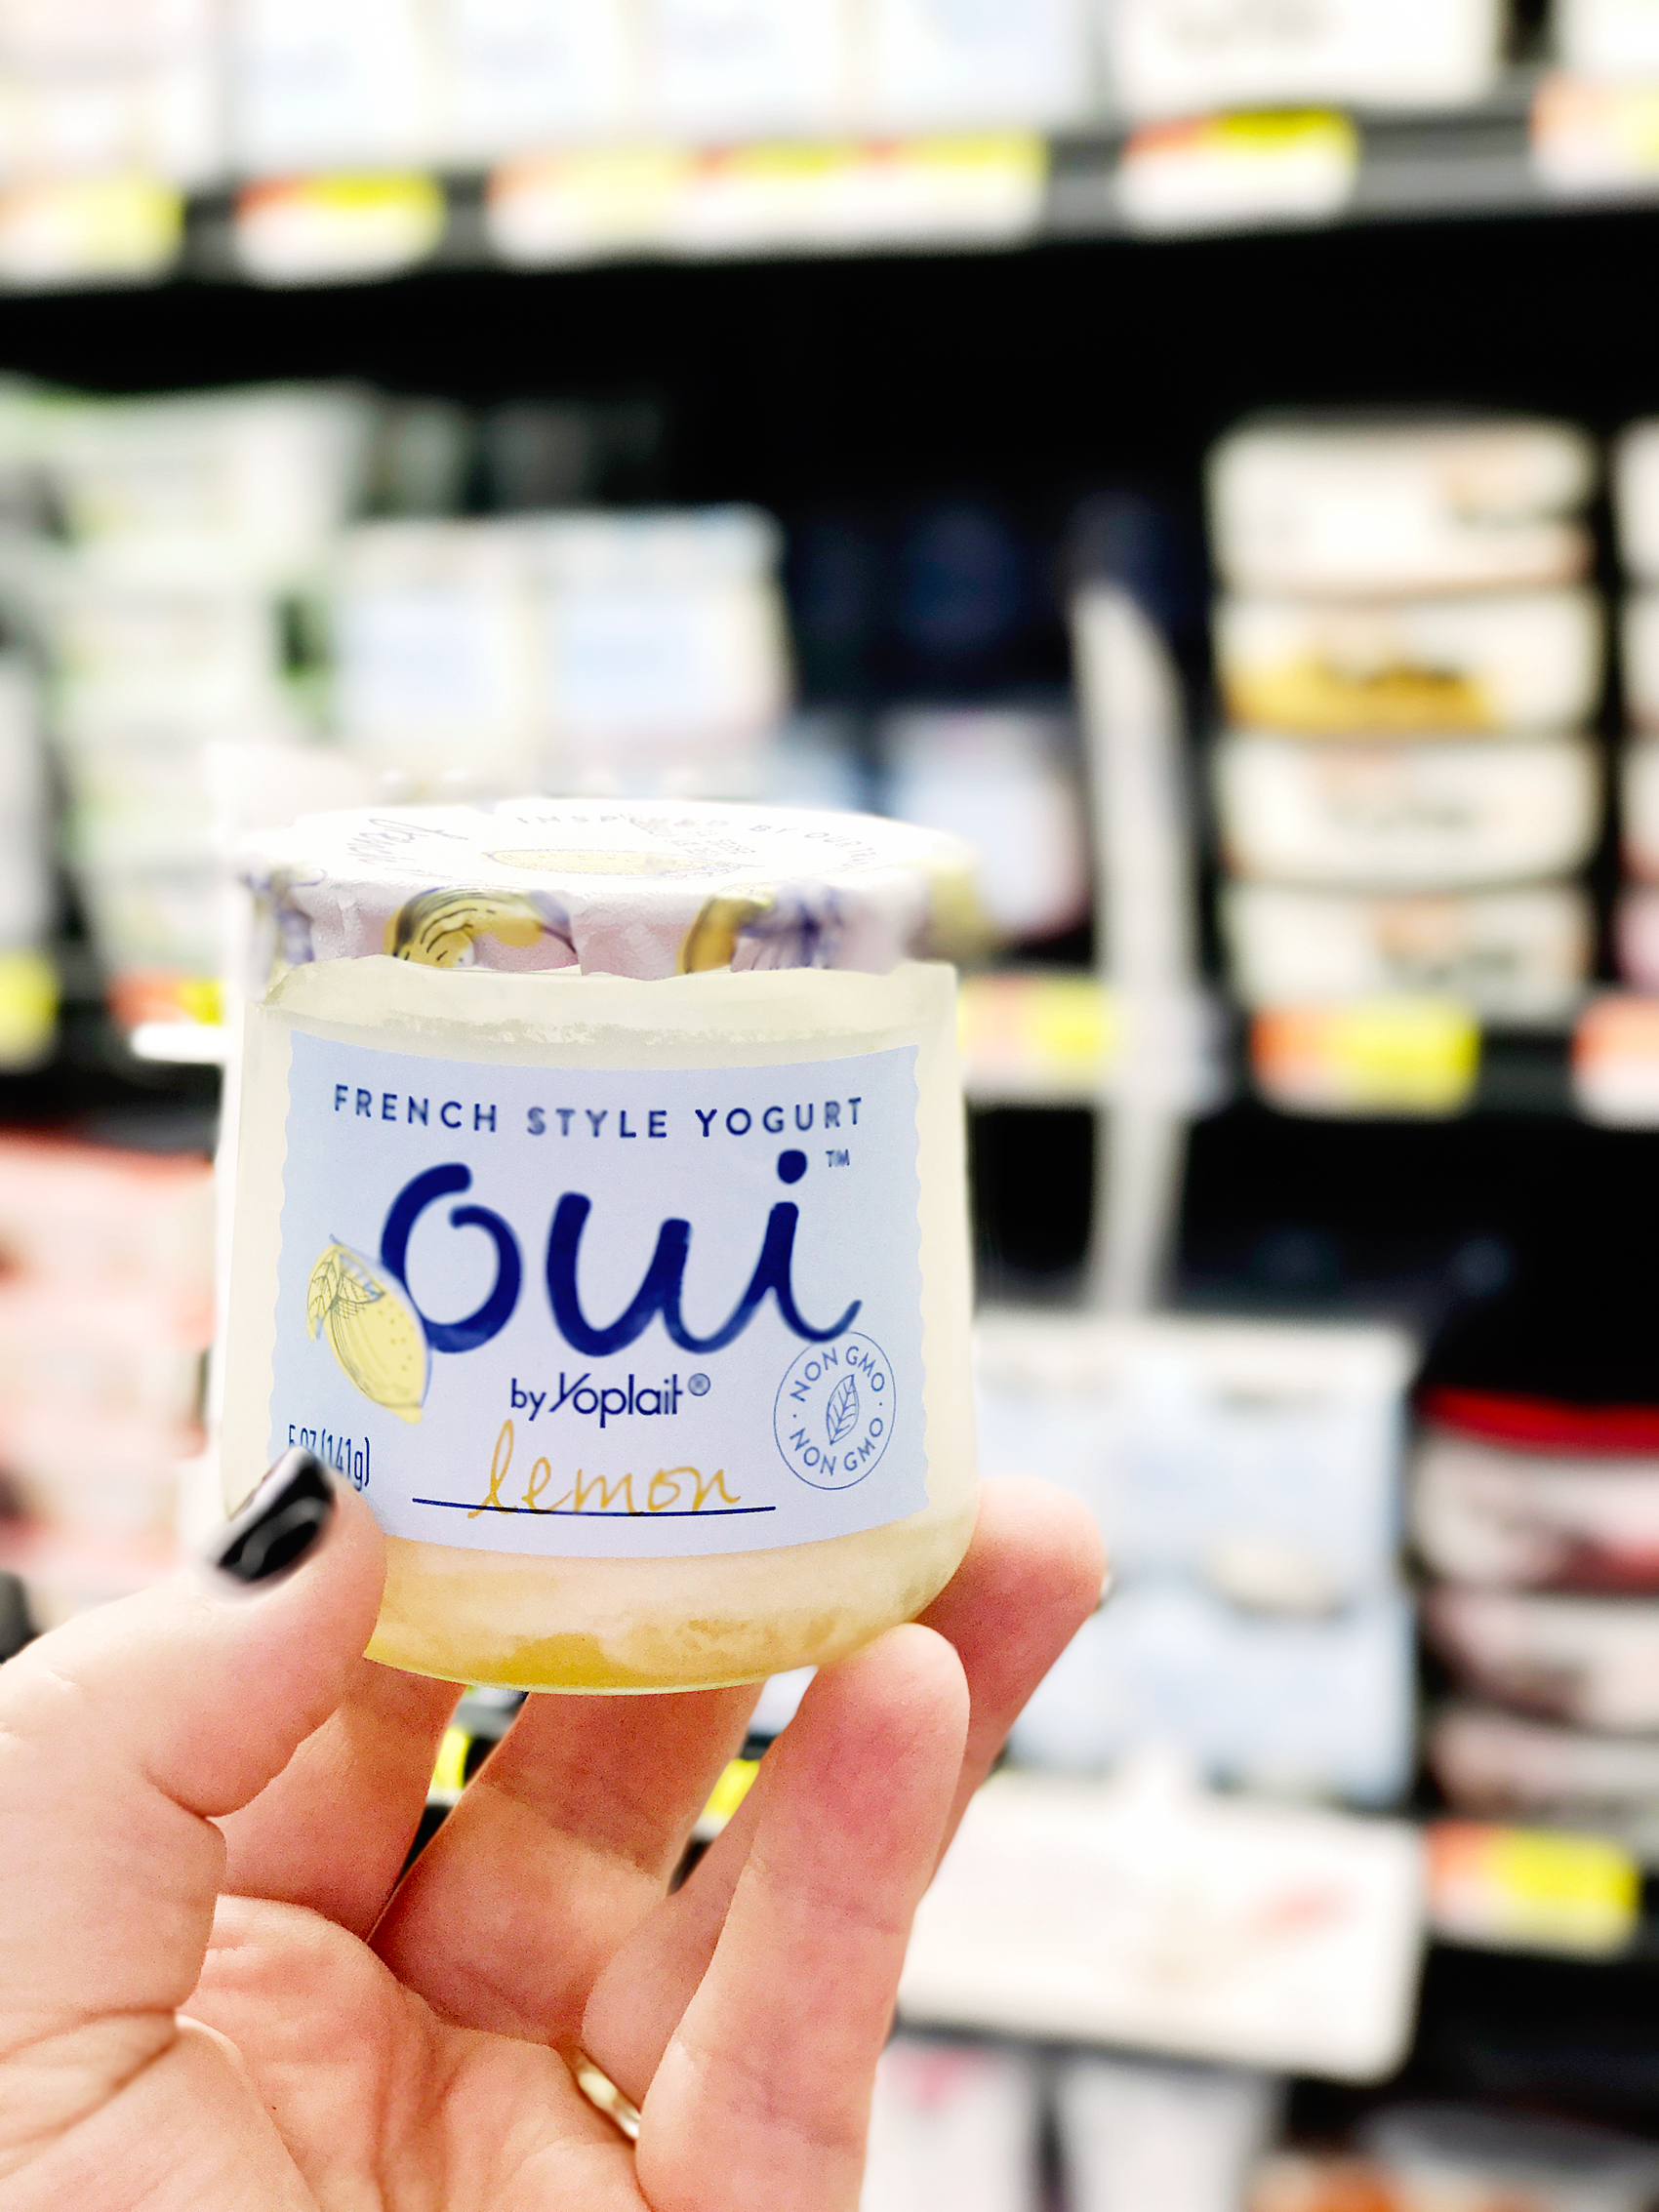
Of course, I immediately grabbed some of my favorite flavors; lemon, black cherry, vanilla & strawberry and headed home to enjoy my new found treat.
You may find it a little weird but, my children have been trained after 7 years of blogging, if Mom comes in the house with something and she says that, “it’s for the blog,” they WILL NOT touch it. In 7 years of blogging, I have never taken advantage of that… Until now! You guys, this yogurt is so good! Yoplait has hit it out of the park with this one. It’s thick, creamy and not too sweet and boy, I’m not going to share!

It’s made the traditional French way with simple, straight forward ingredients. The vanilla flavored Oui by Yoplait is made with; milk, cane sugar, yogurt cultures (L. bulgaricus and S. thermophilus) and vanilla extract. That’s it!
Their cows that produce the whole milk are feed a Non-GMO diet. The fruit is REAL, nothing is artificial. The French believe the measure of good food is the pleasure and joy it brings to life. That is exactly what I needed at that moment. Something cool, creamy & subtly sweet to bring back the joy that I needed to go back home to be with my family, with the right attitude in tow.
Will I start to share? Nope, as far as I’m concerned… These little pots belong to me. They are extra special and for those times when I need something extra special to bring that joy back into my day. Yoplait knew exactly what you and I needed to make our days extra special!


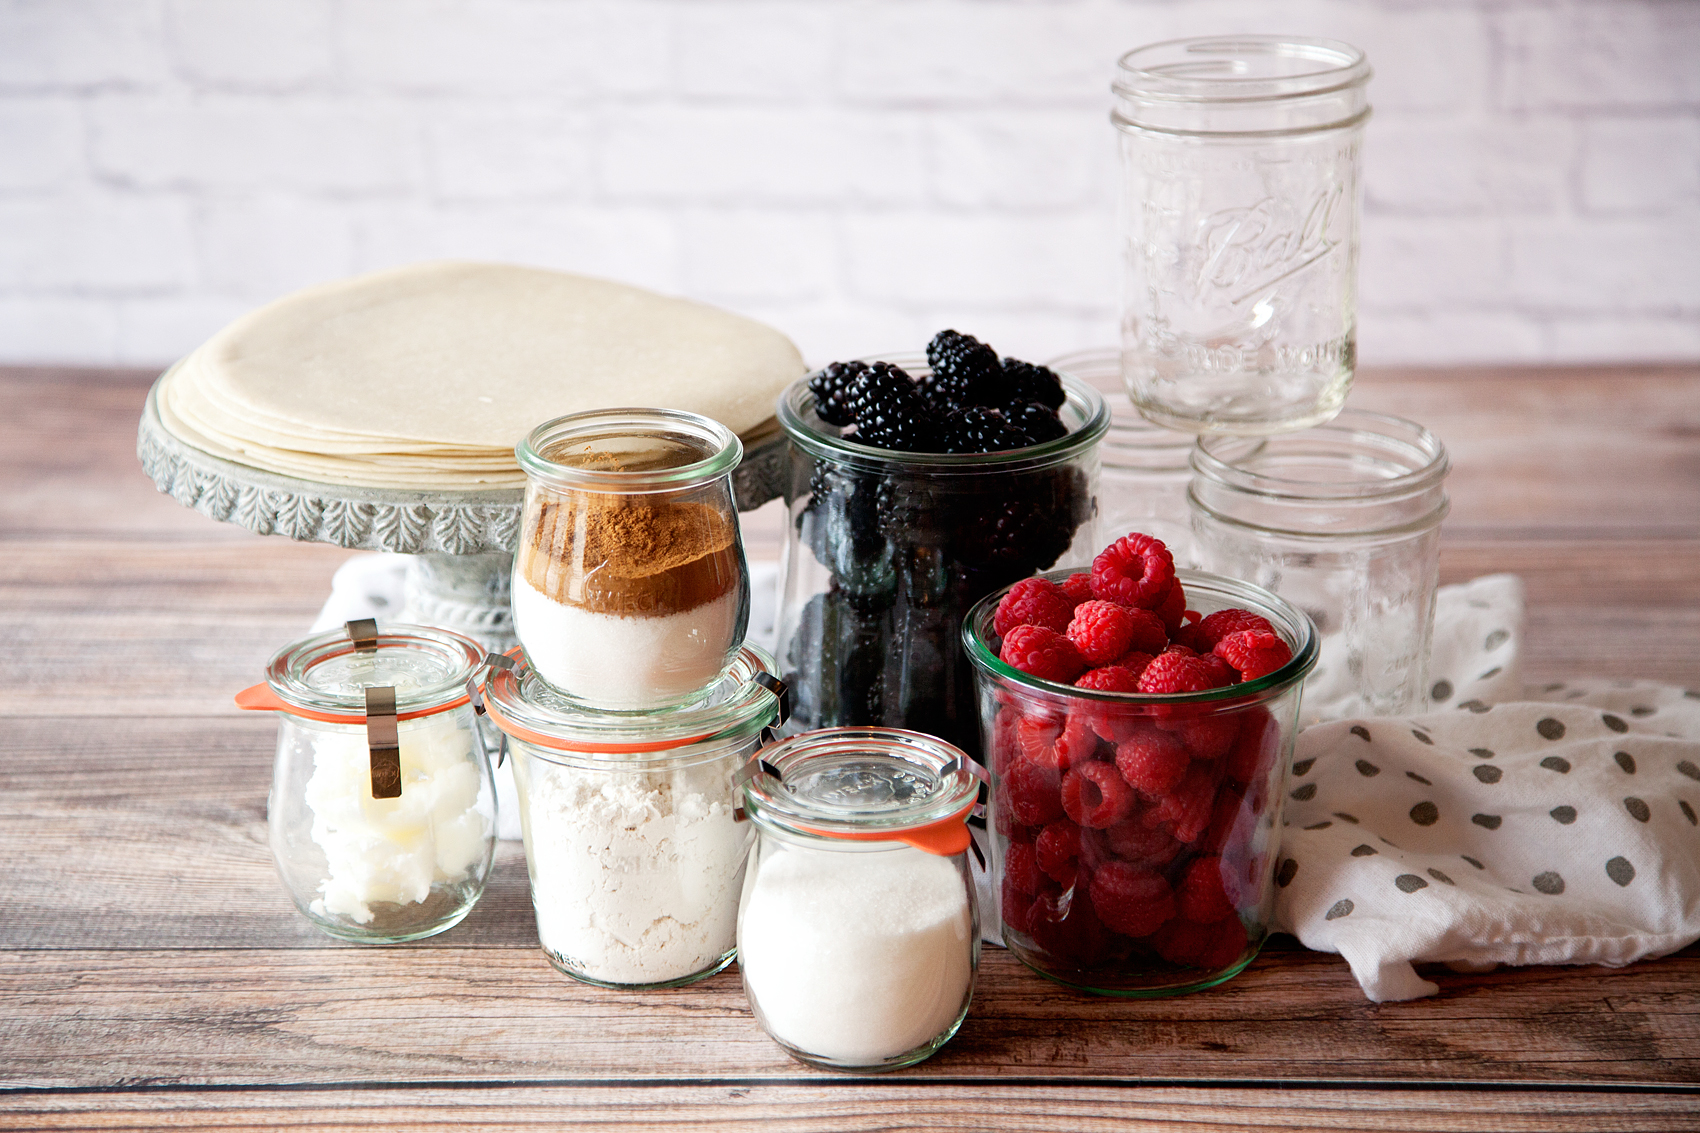
 That’s the key phrase though… JUST FINE. When I prepared my first TortillaLand® tortilla and tasted it, all of a sudden, just fine was no longer good enough. There is magic to cooking your own tortillas. It truly only takes an extra 60 seconds to cook and they taste warm, light, full of the flavor that tortillas are supposed to have. Somehow, unlocking those flavors right before you plan on eating them is the best way to have a tortilla! Whether you are using it for a humble quesadilla or creating some tasty desserts with them, the old saying is true… Fresh is best!