I am a HUGE fan of thoughtful handmade gifts! I try as much as possible to create something special to give friends and family during the holiday season. This year I have become a little obsessed with stylish little zipper pouches. They are so handy for keeping those little odds and ends organized and really… They’re so darn cute! I’ve even created a design of my own it’s called the WhipperBerry Zipper Pouch and it’s the perfect Holiday Hostess Gift!
+ This post is brought to you by Cricut +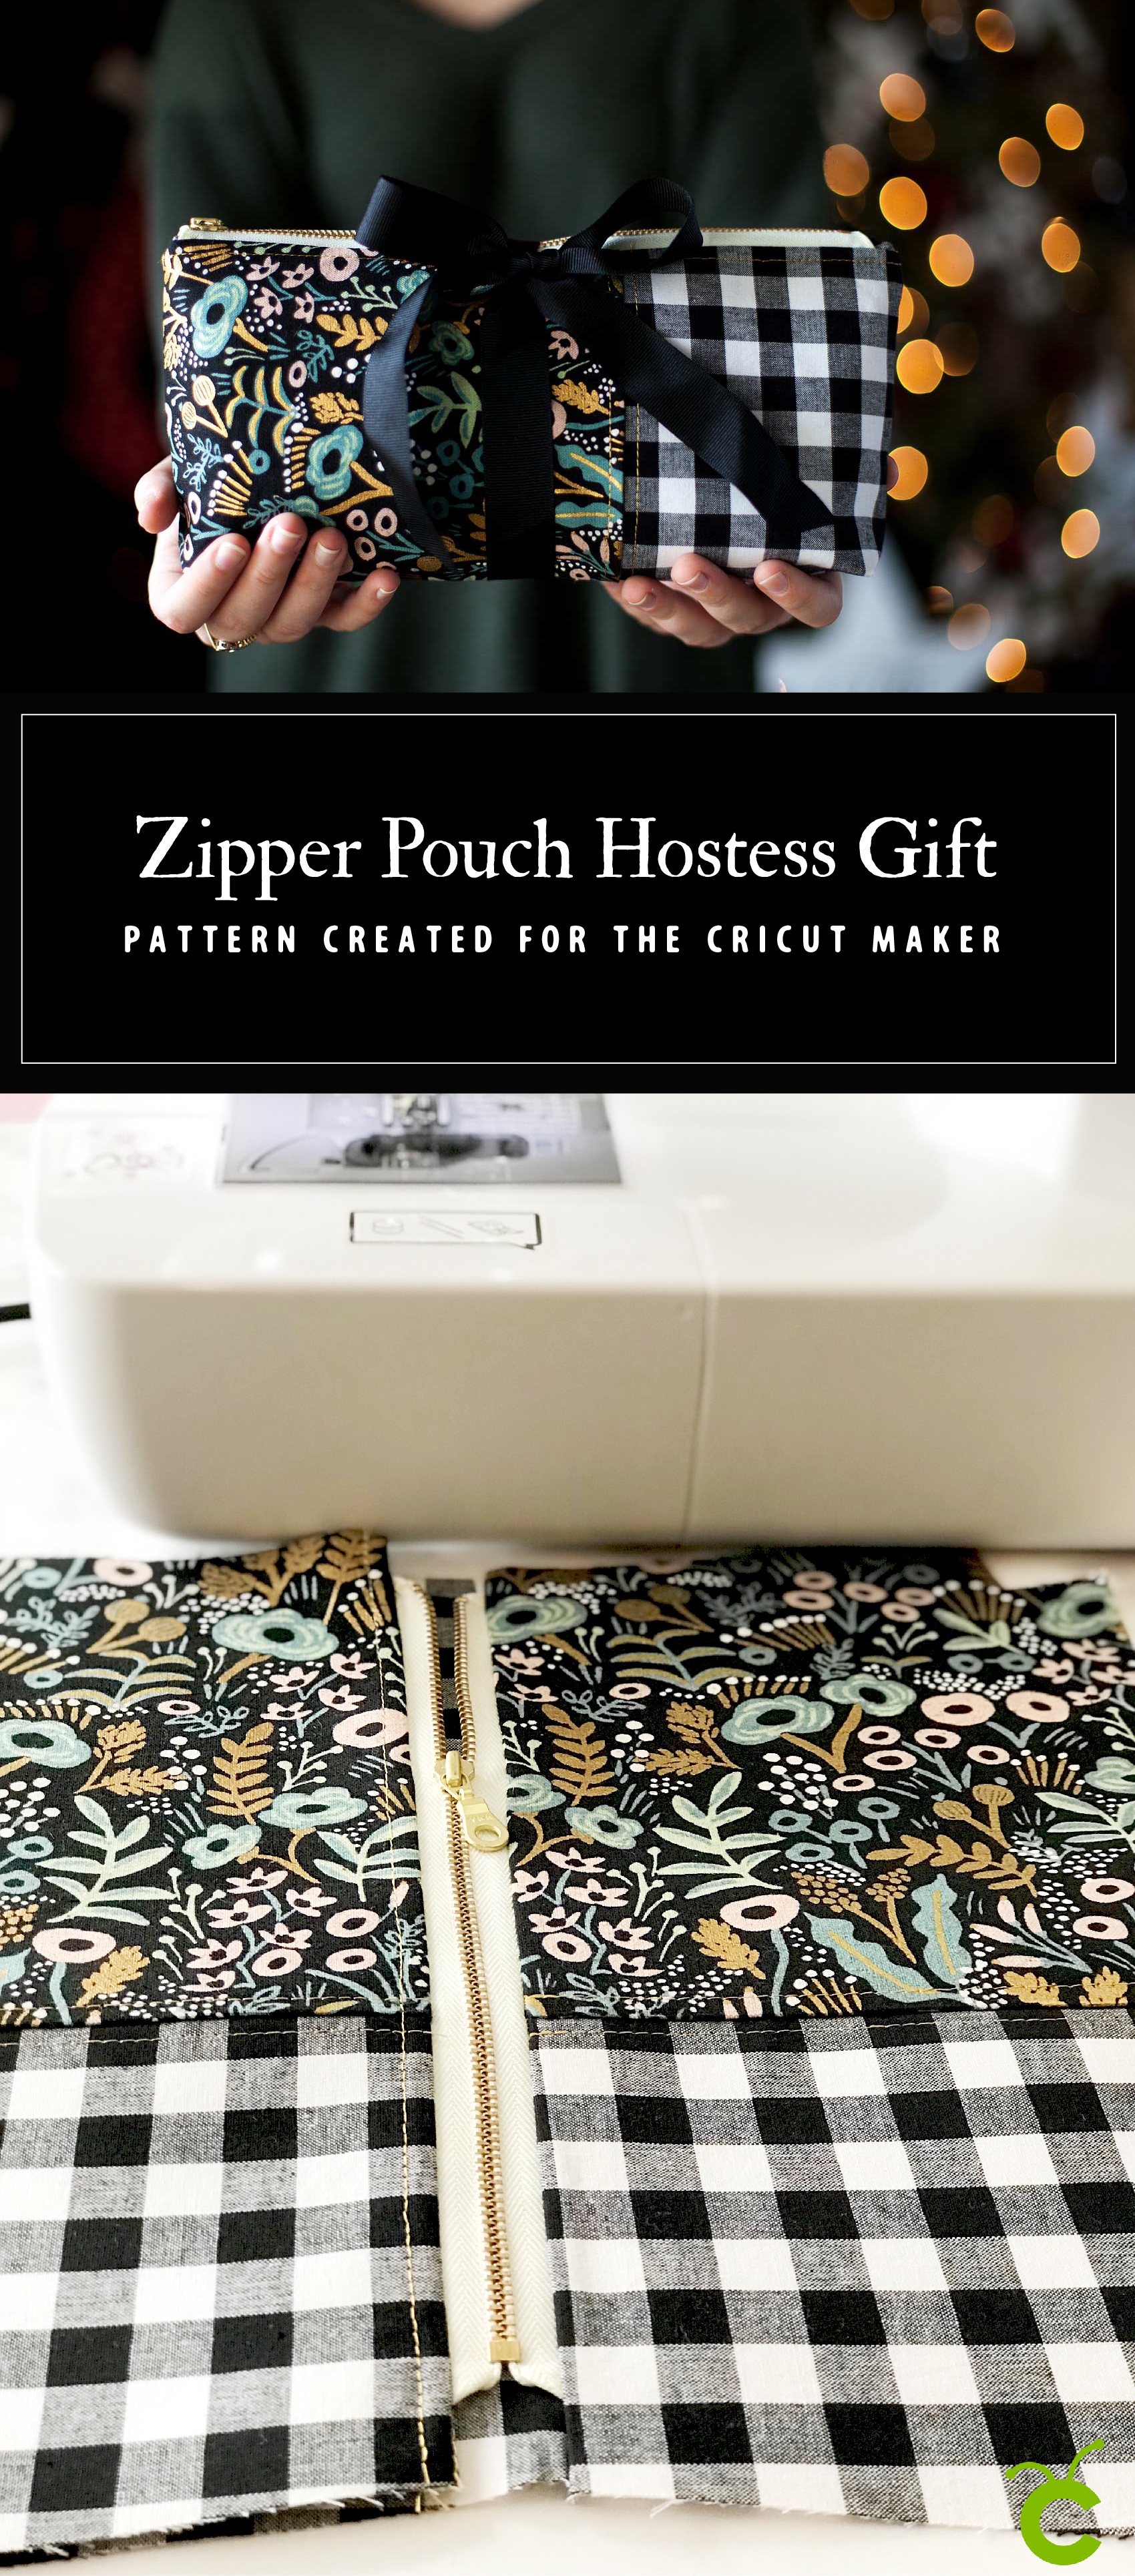
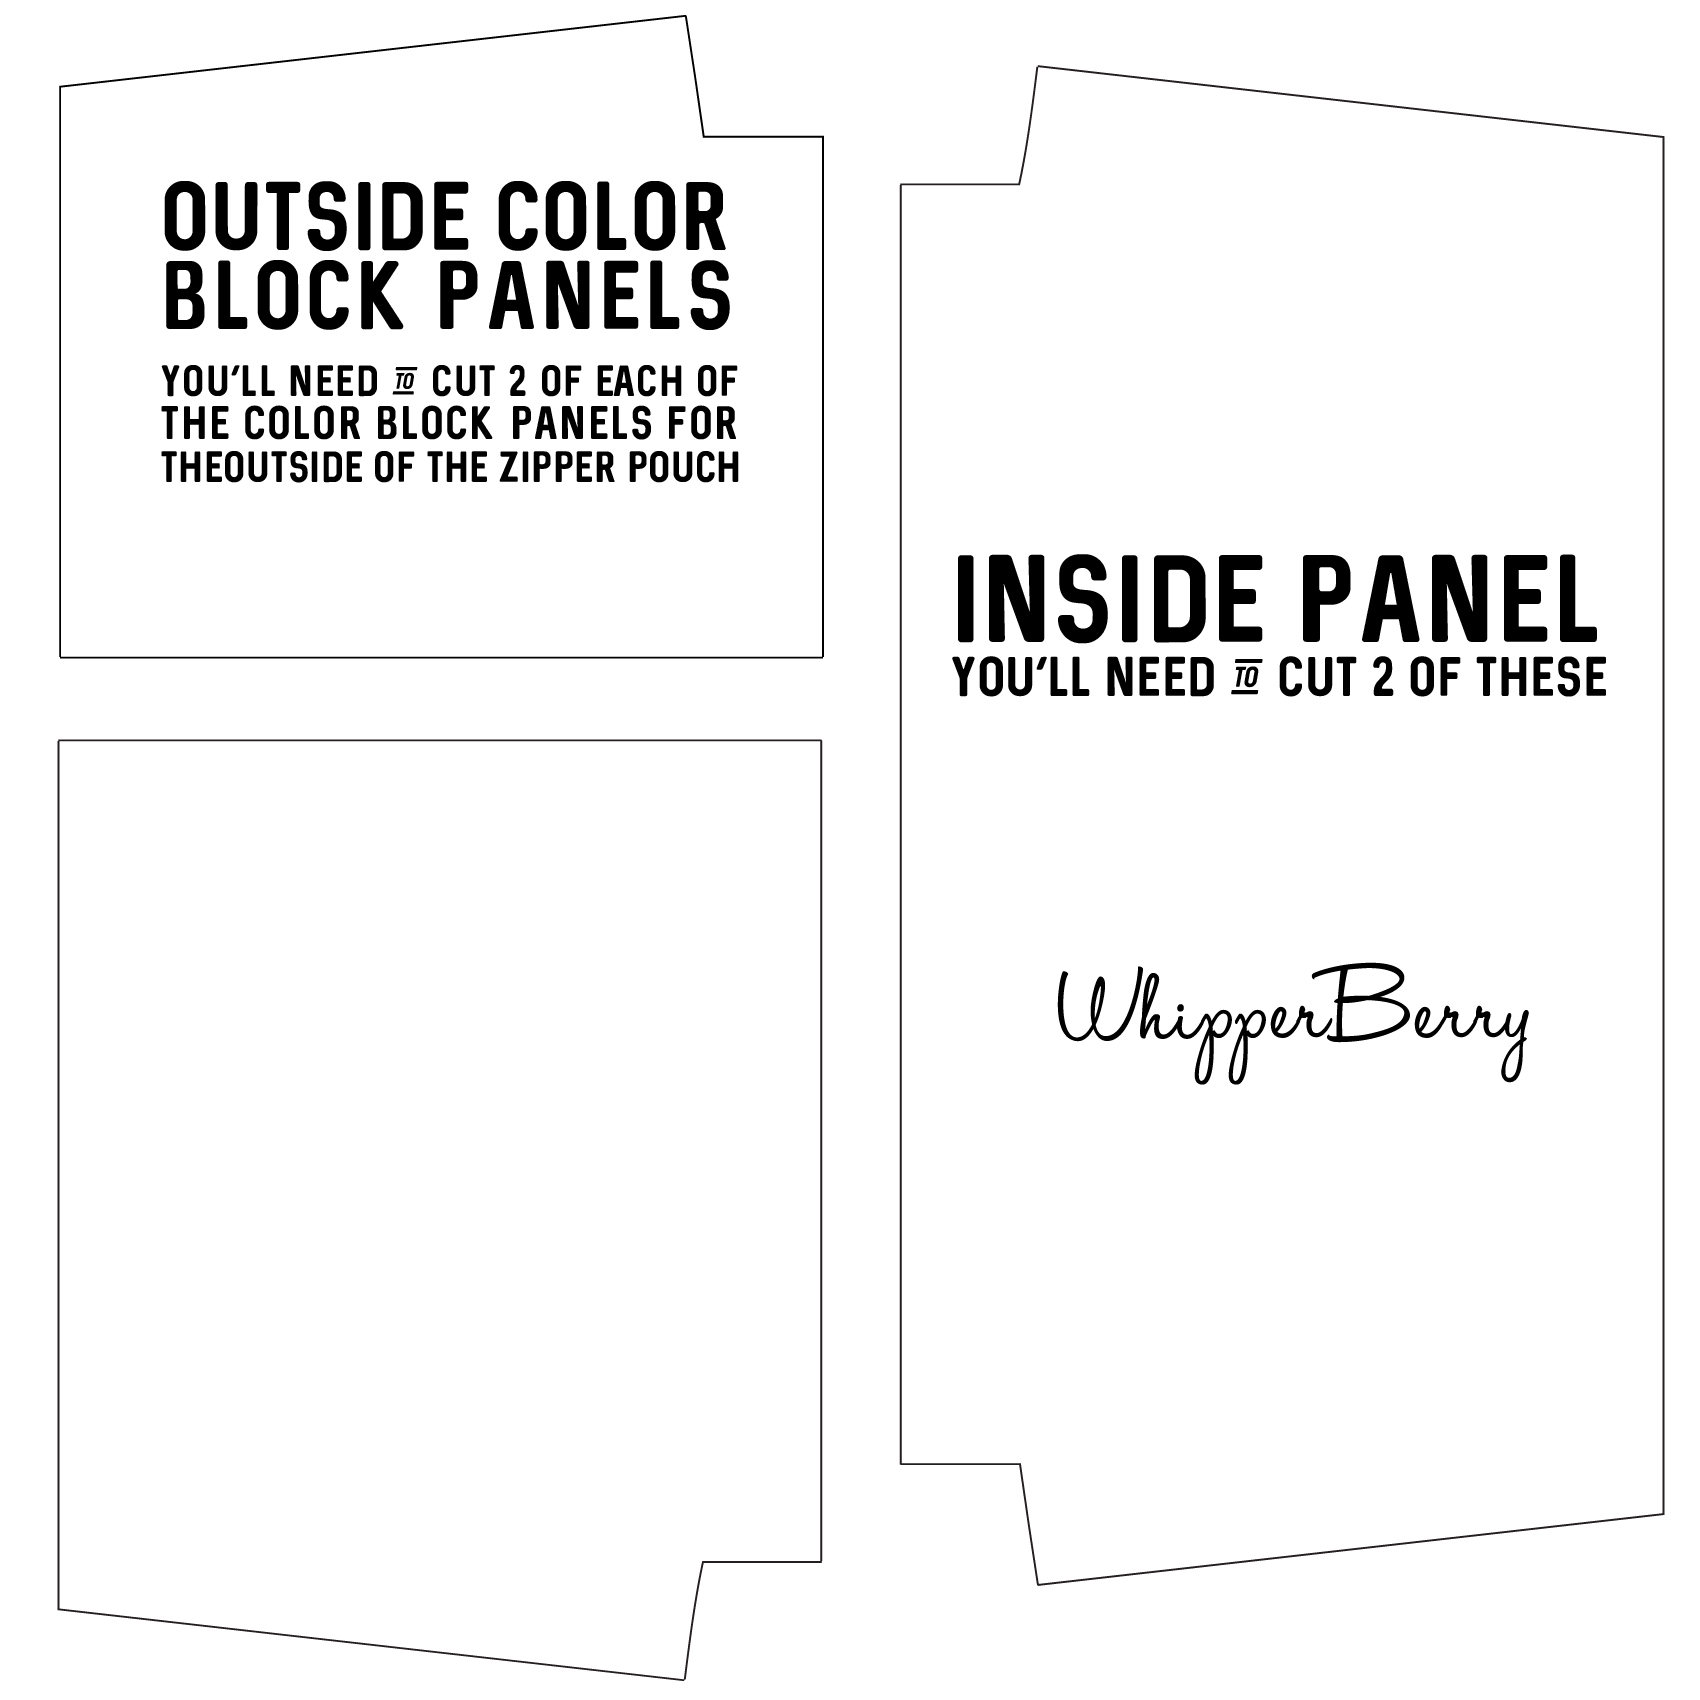
Not too long ago, I made a cute little pencil pouch using the pattern created by Anna from Noodlehead. I LOVED the pattern so much… I was a total nerd and decided that I wanted to convert Anna’s PDF pattern to a SVG file so that I could cut my fabric on my Cricut Maker. It took a little trial and error, but I managed to make it work. I imported my newly created SVG file to the Cricut Design Space and again, with a little more fiddling around, I managed to make it work. I was THRILLED! I love Anna’s pencil pouch and I’ve now sewn a few different variations trying to improve my sewing skills. I love this little pouch but, I’ve been wanting to make one that is larger and will hold things other than just pens and pencils. I decided to modify Anna’s pattern a bit and make a larger zipper pouch to give as holiday hostess gifts this year.
Why Sew with the Cricut Maker
This is a BOLD move for me! I’ve embraced all kinds of creative gift ideas, but I’ve never sewn for my friends and family. I’ve always thought it was too hard, too troublesome, too time consuming. This cute, stylish and heartfelt gift is quite frankly one that I would LOVE to receive. So, why not make several? I’ve always shied away from sewing because I could never cut the pattern just right. Something would ALWAYS be off… Not anymore!!! I’ve been cutting fabric for sewing projects now for a few months and man am I hooked. Knowing that you are starting off with good bones makes the sewing so much more enjoyable. Reasons why I love cutting fabric with the Cricut Maker…
- Precision cuts – you’ll always start with good bones.
- Less waste – you’ll use far less fabric by using a precision cutting tool.
- Empowerment – the Cricut Maker is bring sewing to the masses, no more excuses, you CAN do this.
- More intricate designs – have you always kept things really simple? With the Cricut Maker, you can get as fancy as you want.
Here’s a quick little video on how I cut my fabric for the zipper pouch
The WhipperBerry Zipper Pouch Material List
- 10″ zipper
- 14″ x 28″ of cotton fabric for lining + I used Cotton + Steel black and white Checkers for the lining and the accent fabric
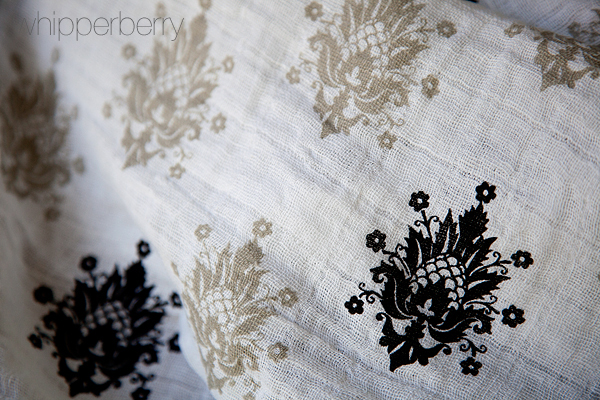
- 16″ x 18″ main print cotton linen canvas – I used Cotton + Steel Tapestry Midnight Canvas
- 8″ x 12″ accent fabric
- 1/2 yard Fusible Ultra Lightweight Interfacing
- thread that compliments your fabric
- download the SVG cutting files
Instructions
First thing to do it to visit my post on How to Import and Use a SVG File in Cricut Design Space. I have a full video Tutorial on how to cut this exact pattern and it will really help the cutting go super smooth. Before I start cutting though, I fuse my interfacing onto the lining of my pouch. If you are using a lighter fabric for either one of the exterior pieces, you’ll want to fuse that fabric as well. Make sure to do this step BEFORE you cut your fabric. Pro Tip • If you don’t have enough interfacing to cover your entire piece of fabric, don’t worry. Keep your interfacing scraps and piece it together. No biggie! 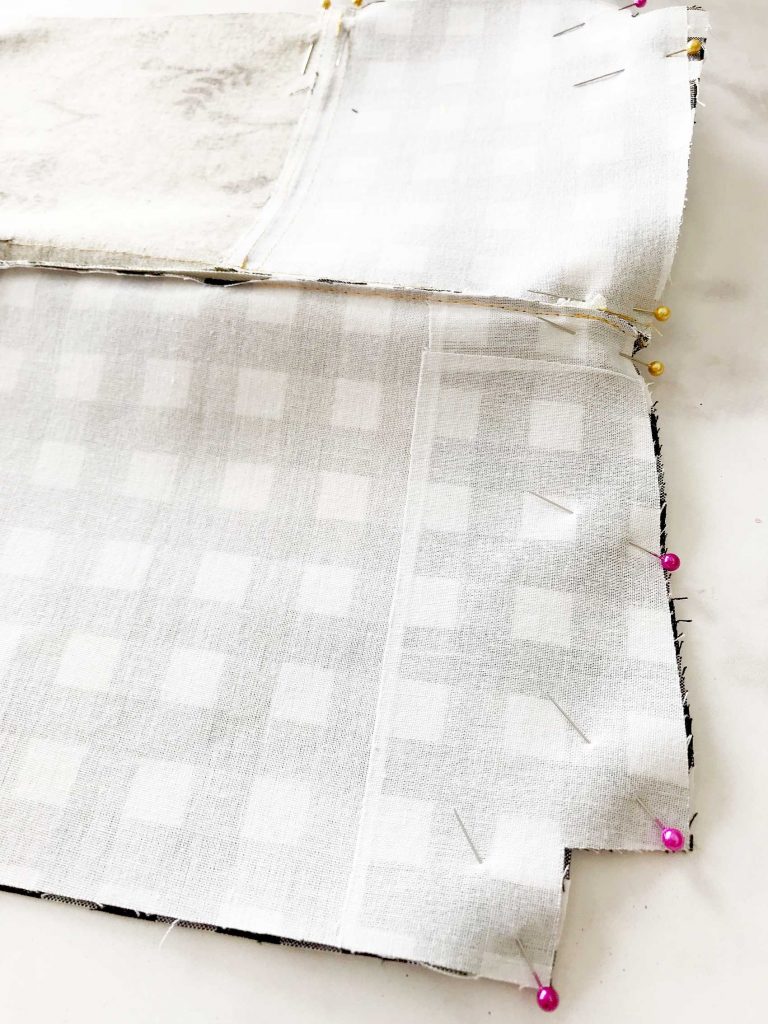
Piece the Outside
Start by sewing the outside together by placing the main print and accent fabric right sides together and sew using a 1/4″ seam allowance. Press seam to one side and topstitch. Then repeat with the other side of the exterior of the pouch. 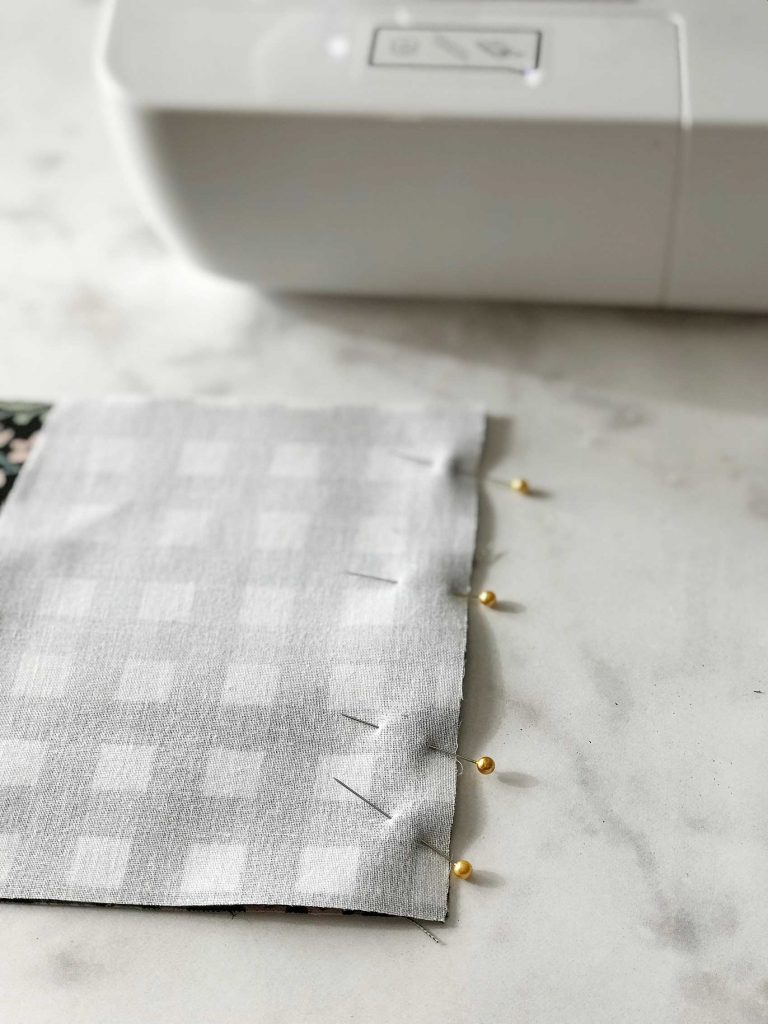
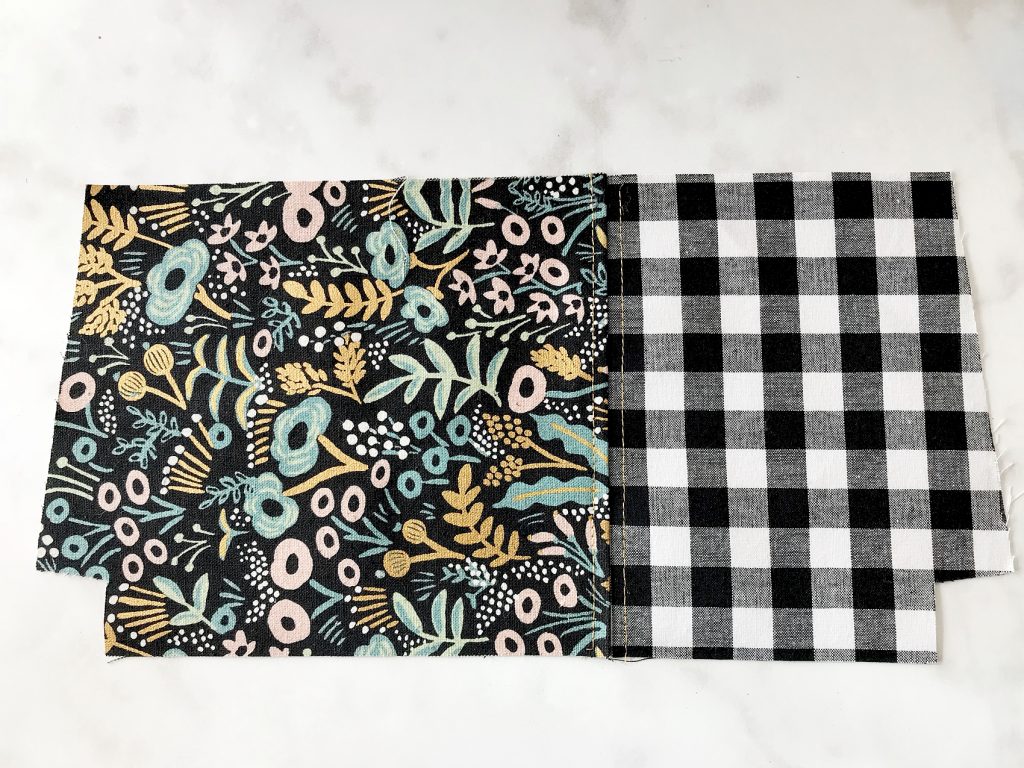
How to Prepare the Zipper
Before you attach your zipper, you need to prepare both ends of the zipper by folding it over towards the back side and placing a few stitches to hold it in place. Repeat on all four ends of the zipper. 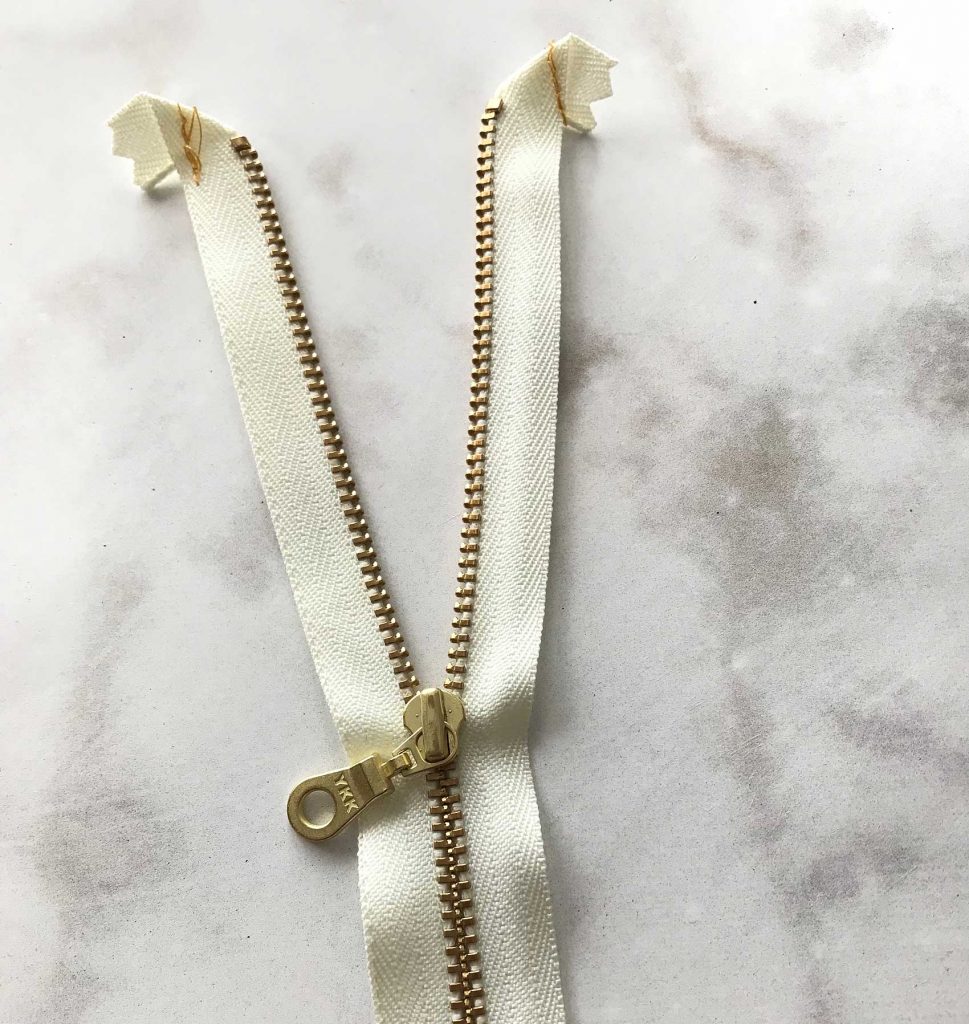
Attach the Zipper
With exterior panel right side up, center zipper right side facing down (zipper pull at left) along top edge then pin in place. 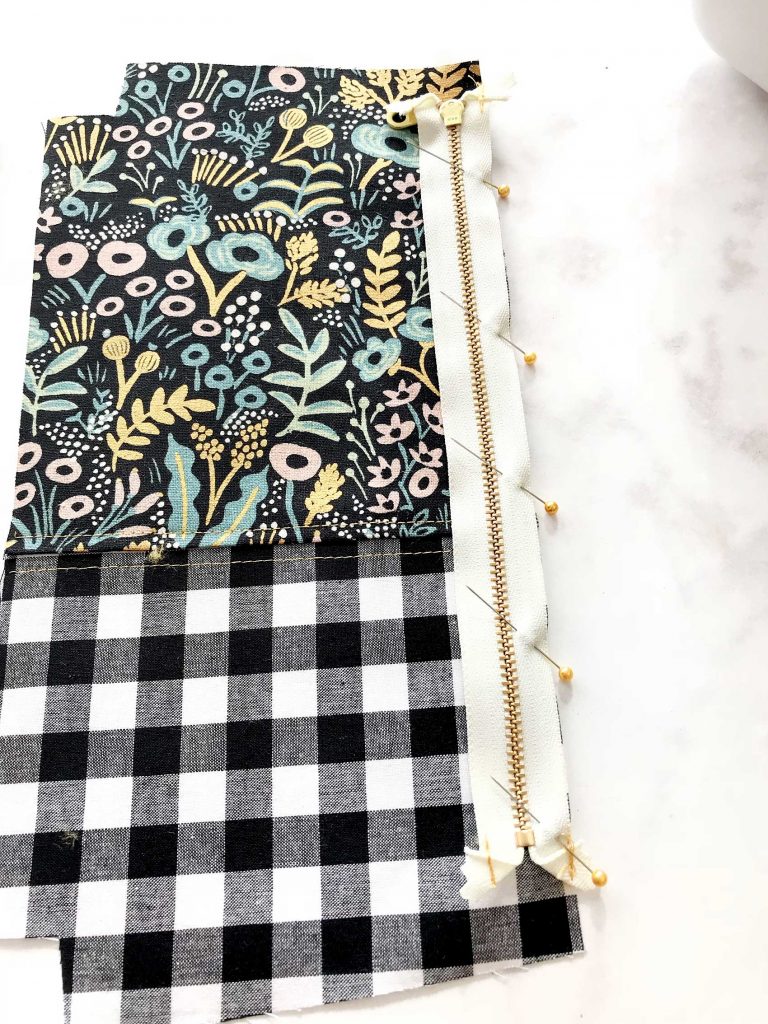
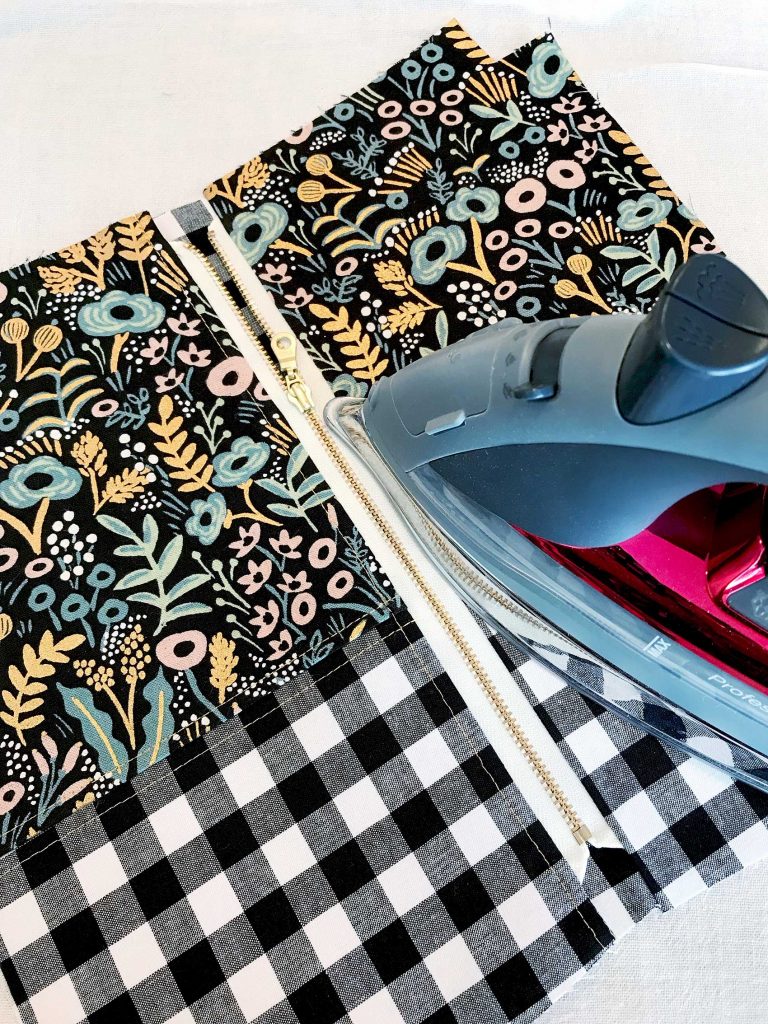
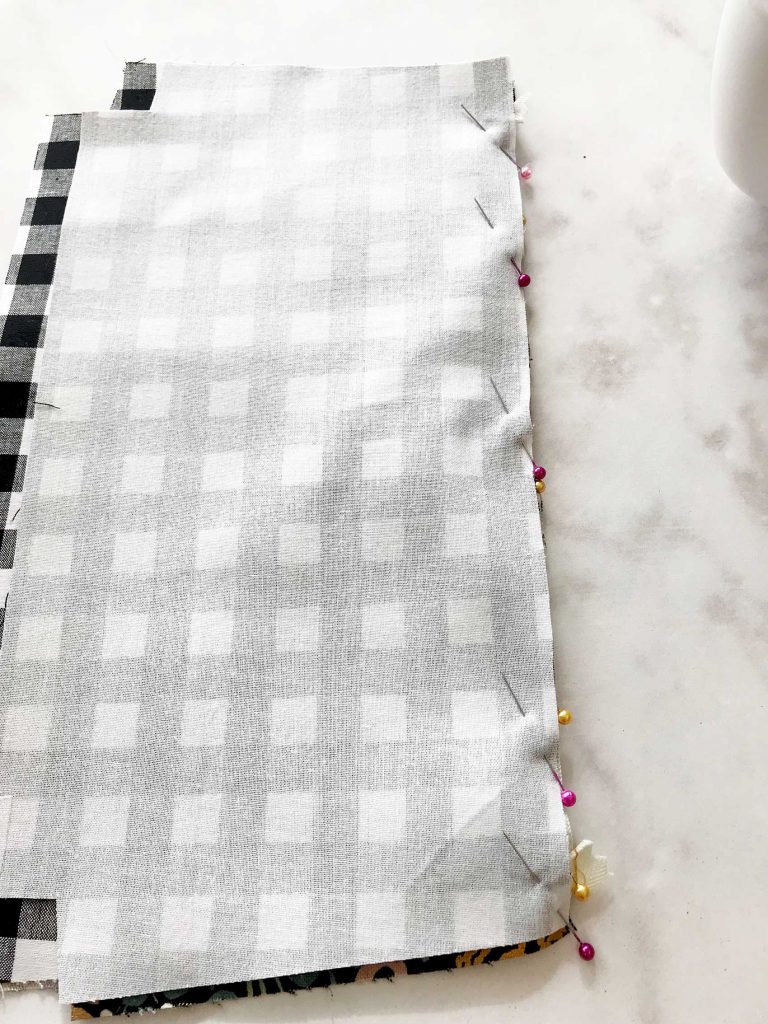 Place one lining piece, right side down on top of the exterior piece again pin into place. Using your zipper foot, sew along top edge using a 1/4″ seam allowance. Open like a book and press exterior panel away from zipper. Topstitch along zipper using an 1/8″ seam allowance. Make sure NOT to top stitch both layers together. Position outside panel and lining panel wrong side on together and press away from zipper. Repeat the same steps to attach the other side of the bag with the remaining exterior panel and lining panel to the other side of the zipper. This time placing zipper pull at right. Keep and eye on your top seems and make sure they match up.
 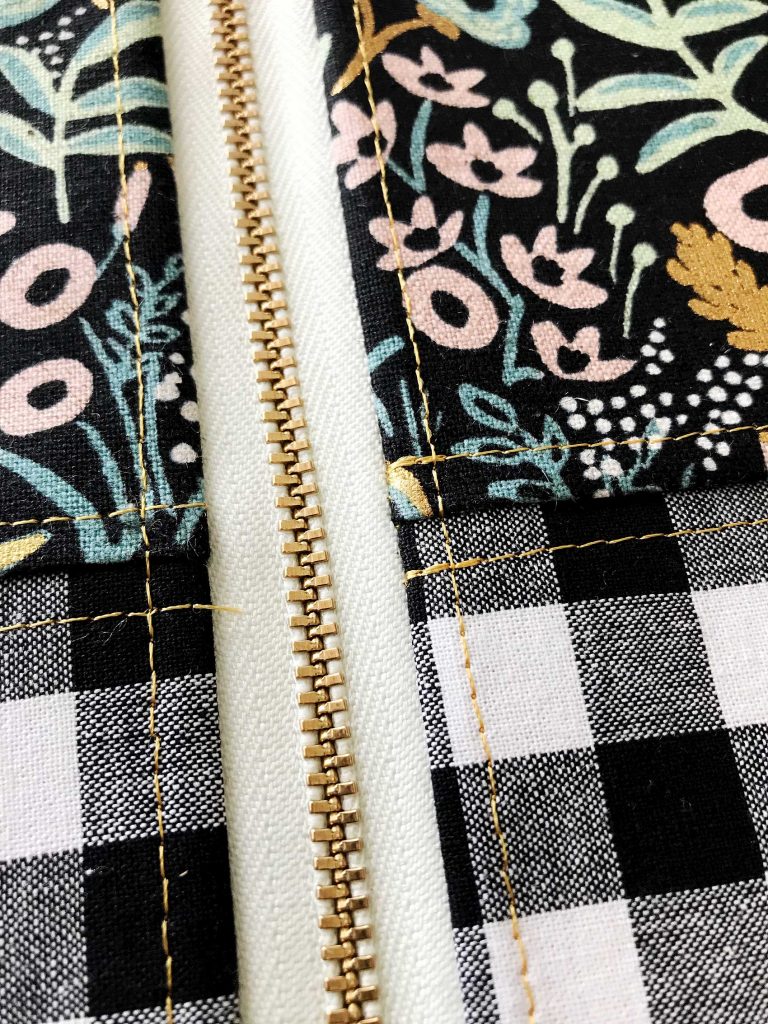 Then press both sides again.
Finish the Zipper Pouch
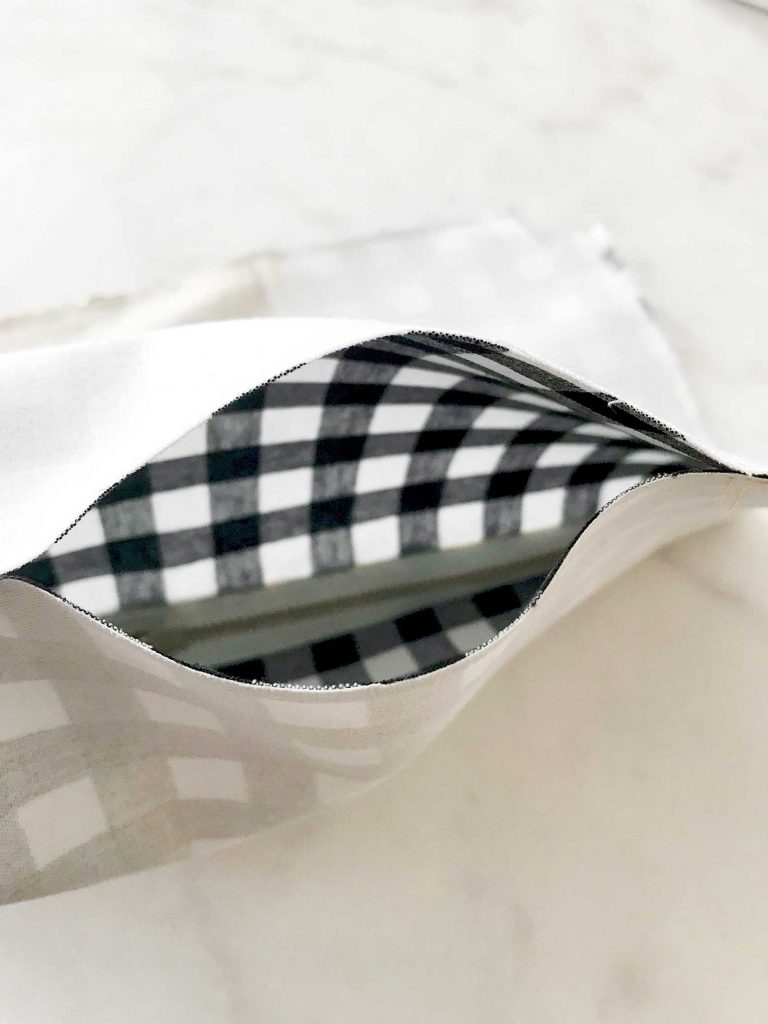
Open zipper halfway. This is an important step. 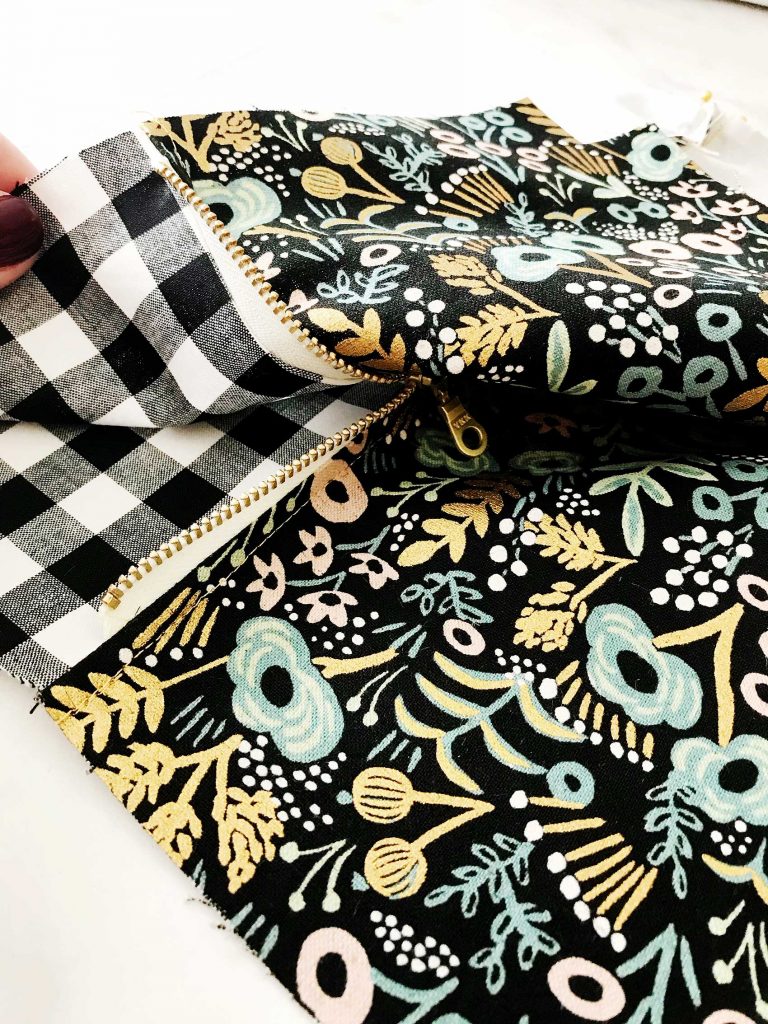 Position exterior panels right side together and lining pieces right side together and pin along sides and bottom.
 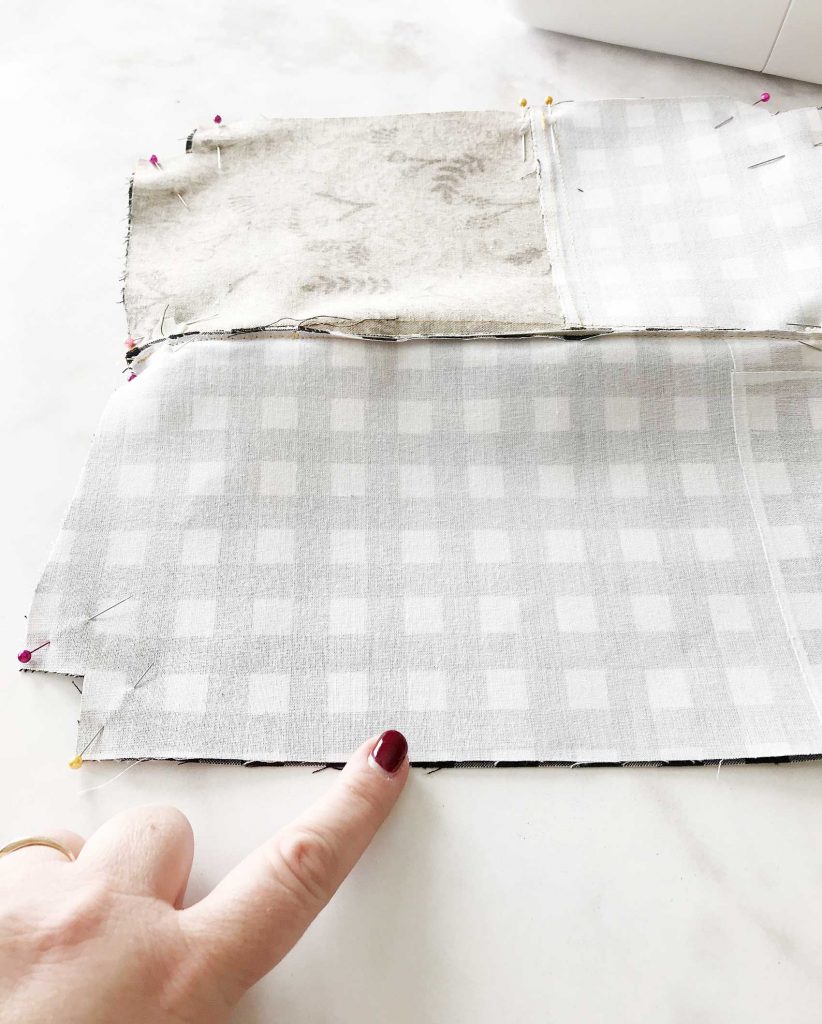 Be sure that you place pins on either side at the intersections of where the lining meets the exterior on each side of the pouch and where the seem of the exterior meet.
 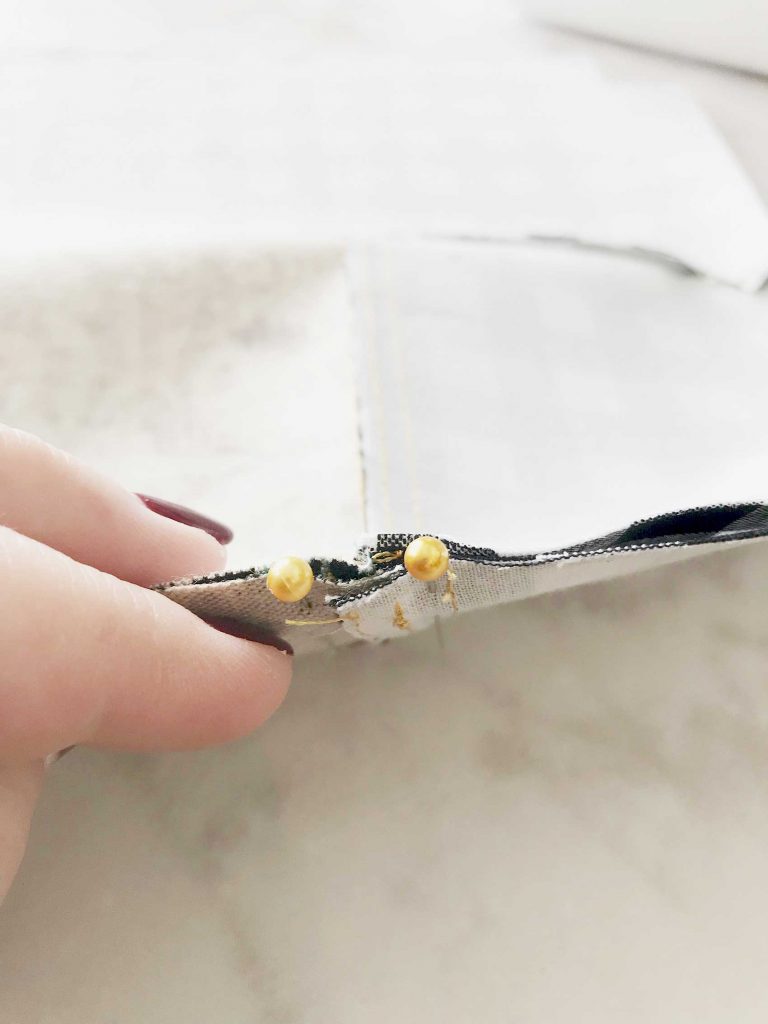 Sew along the bottom and sides of the pouch using a 1/4″ seam allowance. You will need to leave a 4 inch opening in the lining so that you’ll be able to turn your pouch. Make sure to not stitch together the corner cut outs.
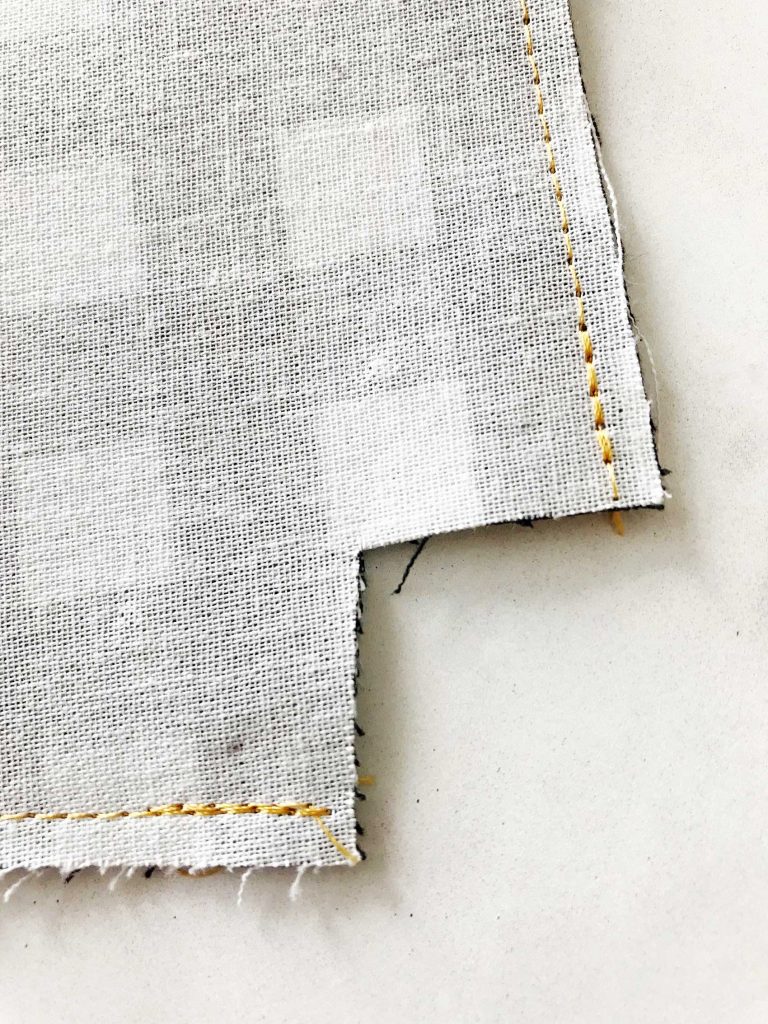 Speaking of corner cut outs… Check out the precision of how the fabric lines up. That’s solely possible because of the Cricut Maker. You can sew with confidence knowing that your fabric will line-up easily because of the perfect cuts. Ok, back to work… Reach inside your bag and shimmy the zipper open all the way. Box your corners by pinching the corners together and line-up the seam and pin.
 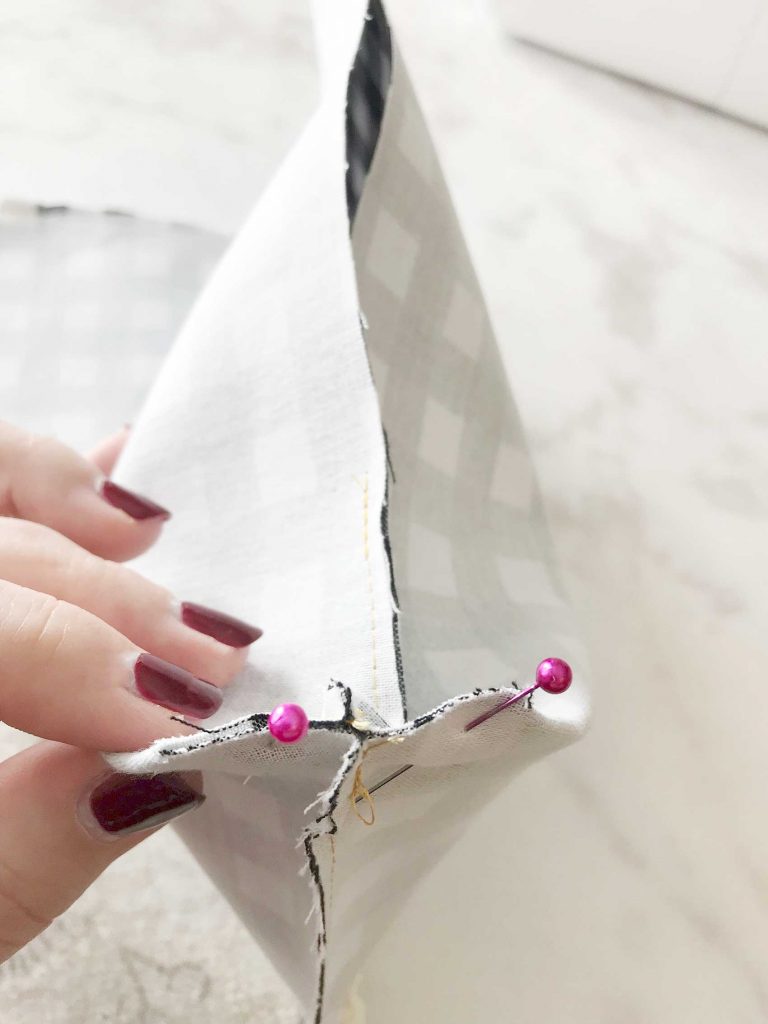 Repeat on the remaining 3 corners.
 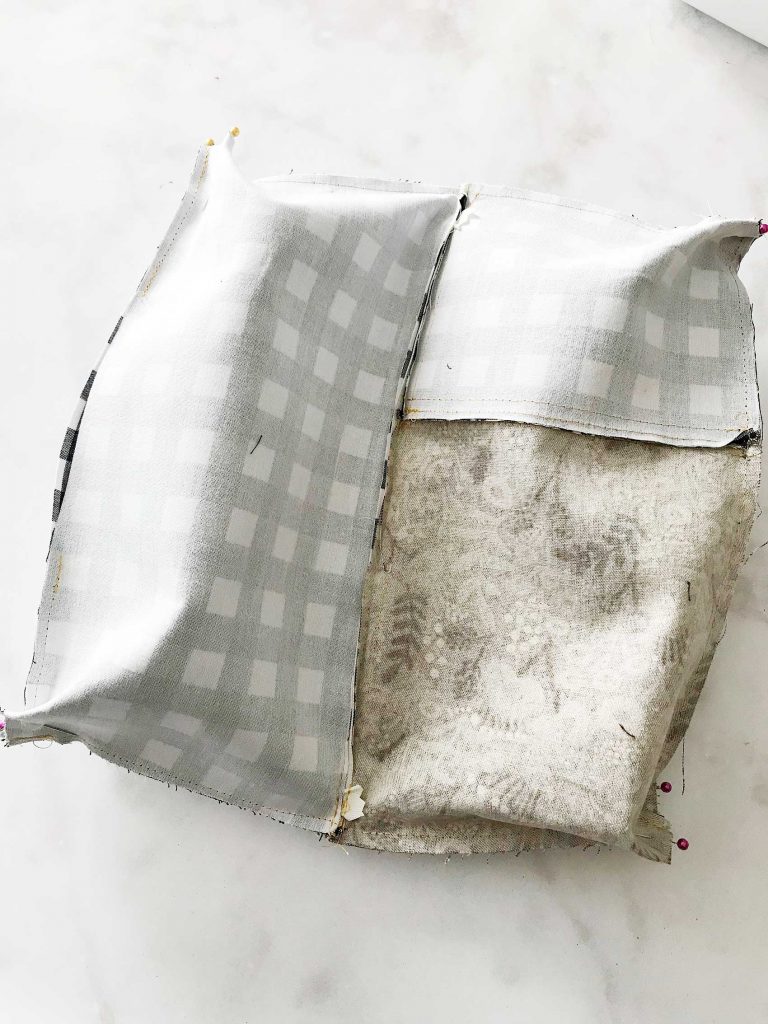 Sew straight across with a 1/4″ seam allowance.
 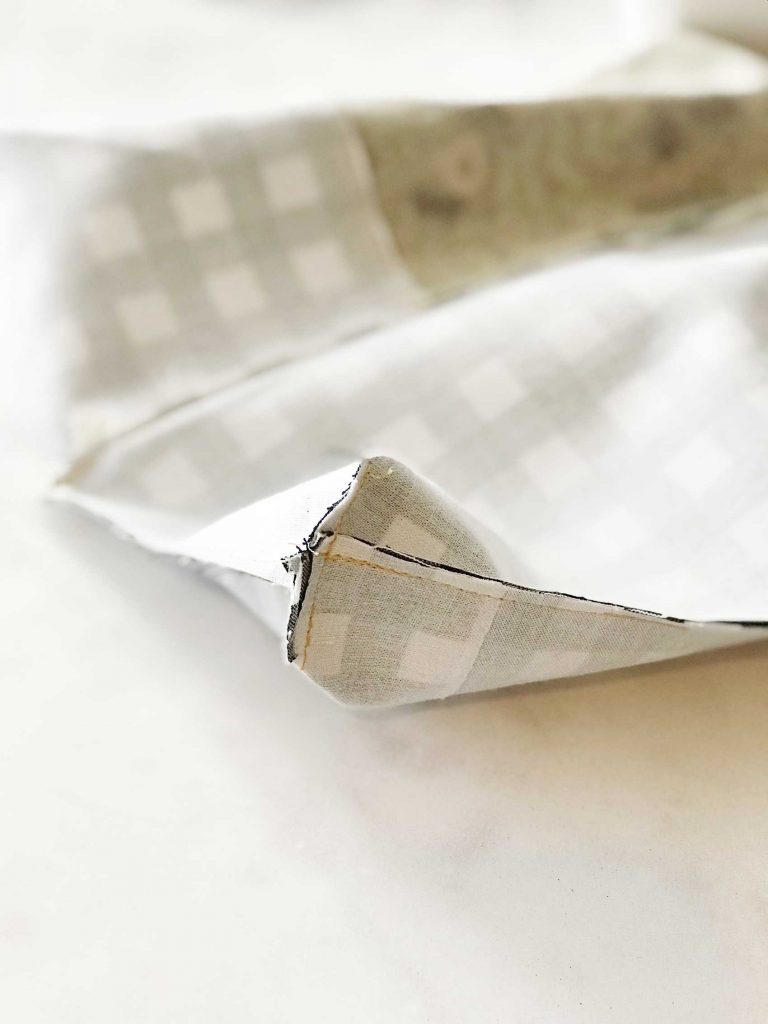 Repeat with the remaining 3 sides. You’re so close to the finish line! All you need to do is turn out your pouch so that it is right side out. That’s where the 4 inch opening comes in handy.
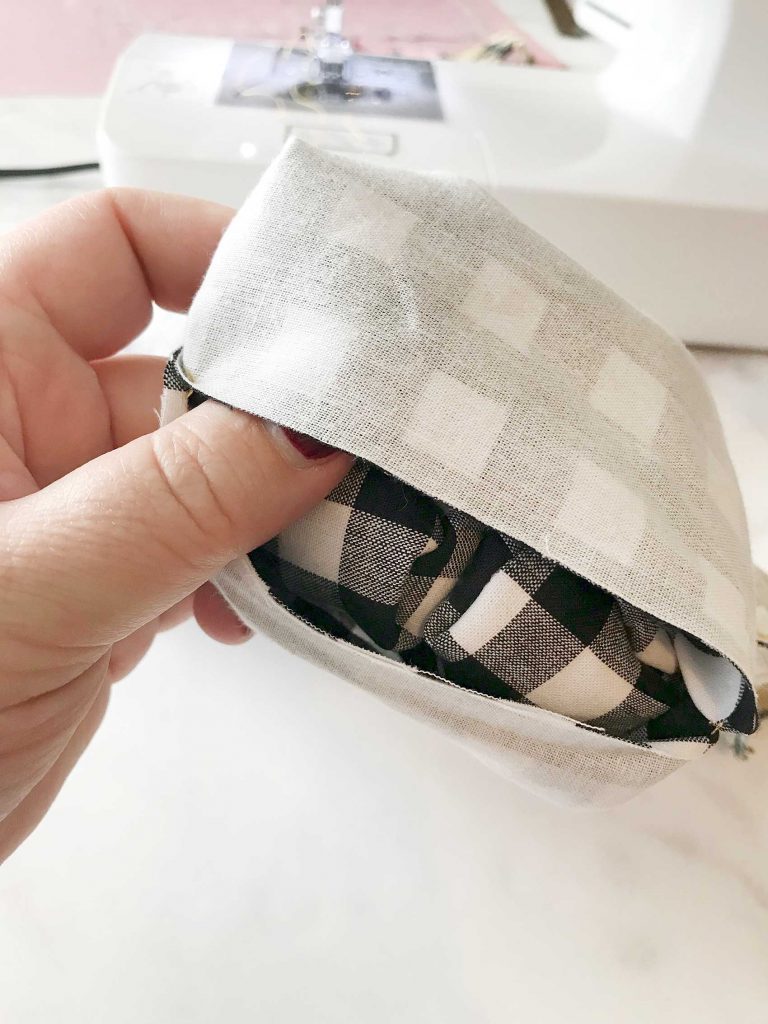
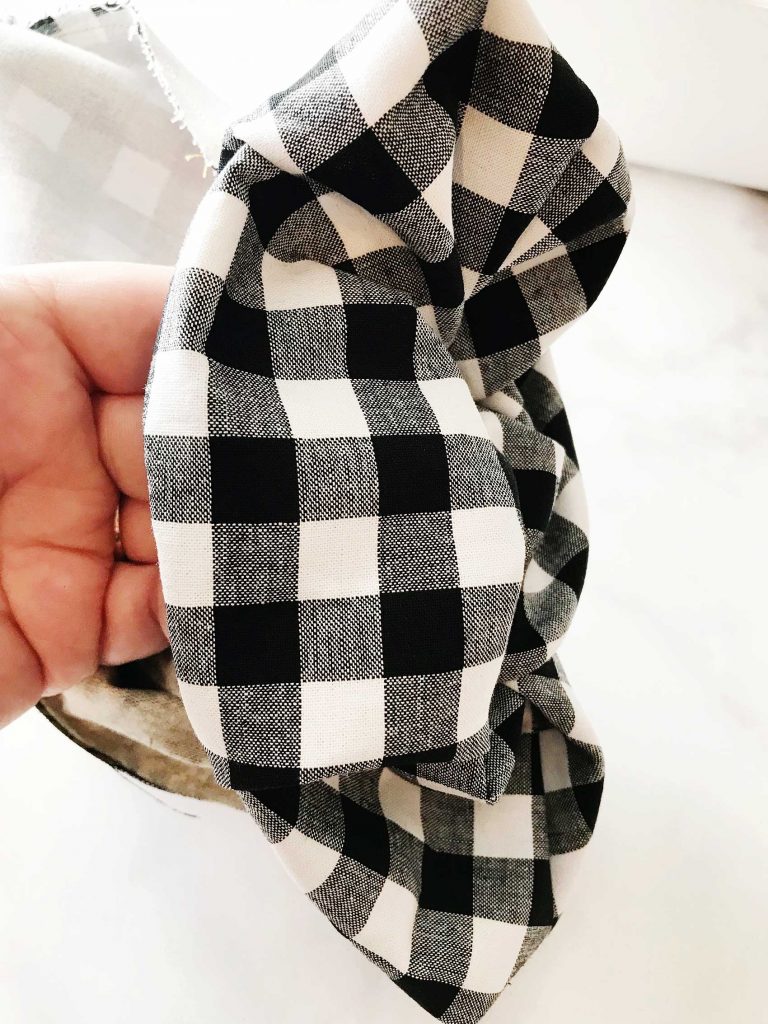 Pull it through that opening just as if you were turning a sock right side out.
 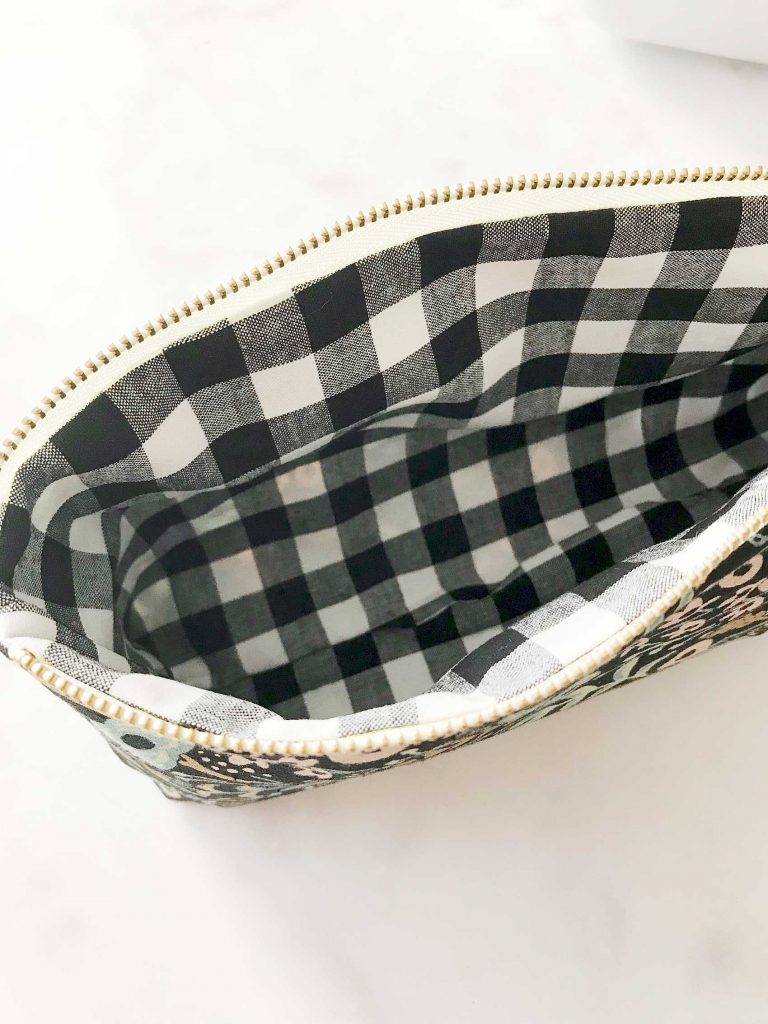 Are you just swimming with PRIDE now!!! Take a minute to make sure everything is settled in all the right places. Push the lining corners into the right spot. You may want to use the eraser side of a pencil or a chopstick to push those into place. You may want to even press your pouch again if it needs it. That’s it, you now have a beautiful, stylish large pouch that you made yourself. It has your fingerprints all over it. You chose your favorite fabric and it screams your style!
 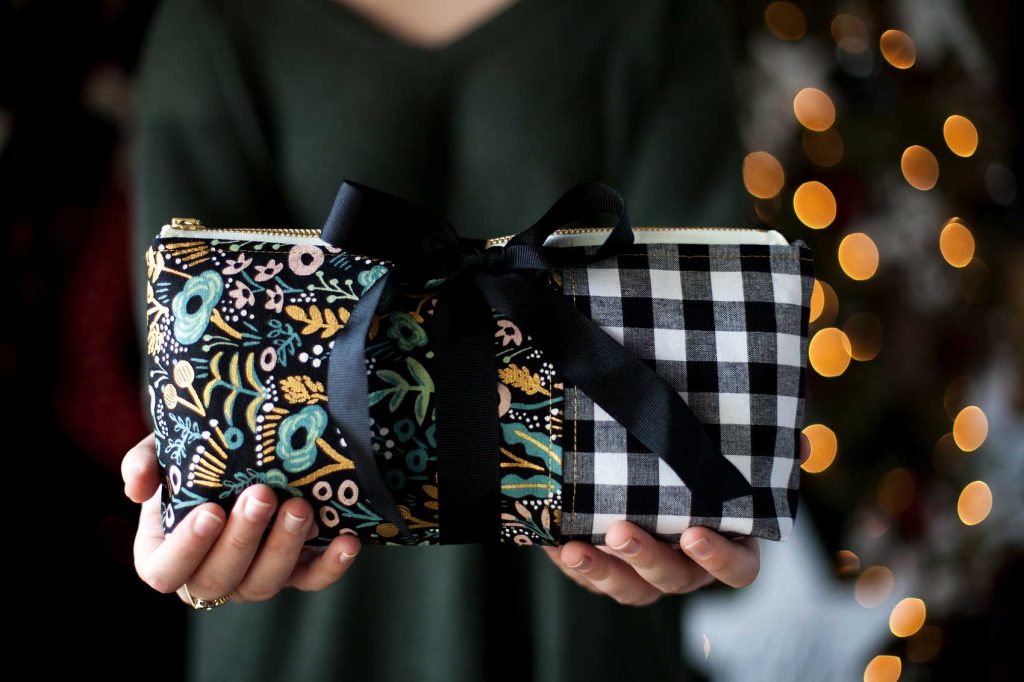 Now, you can profile all of your friends and figure out what their perfect little somethings zipper pouch would look like. Then, whip one up for them to take as a hostess gift, holiday gift, friend gift, it’s Tuesday gift… Basically, it’s a great creative gift that ANYONE can make with a little help from the Cricut Maker & a sewing machine. You could even personalize it with some Cricut Iron-on Lite and the Cricut Easy Press. That would be really cool. What to win some amazing Cricut goodies for yourself? Enter below for a chance to win! a Rafflecopter giveaway If you’re looking to make a shorter pencil pouch, visit Noodlehead for that pattern and directions.
This is a sponsored conversation written by me on behalf of Cricut. The opinions and text are all mine.
