When it comes to Thanksgiving… I’m the pie girl. I LOVE making pie. I even have the PERFECT pie crust recipe. However, I do understand that pies can sometimes be intimidating. Whether you’re baking your own pies or bringing store bought pies to your Thanksgiving celebration… I have a fun little way to add a little more bling to your pies… Have you ever thought to stencil your pies?
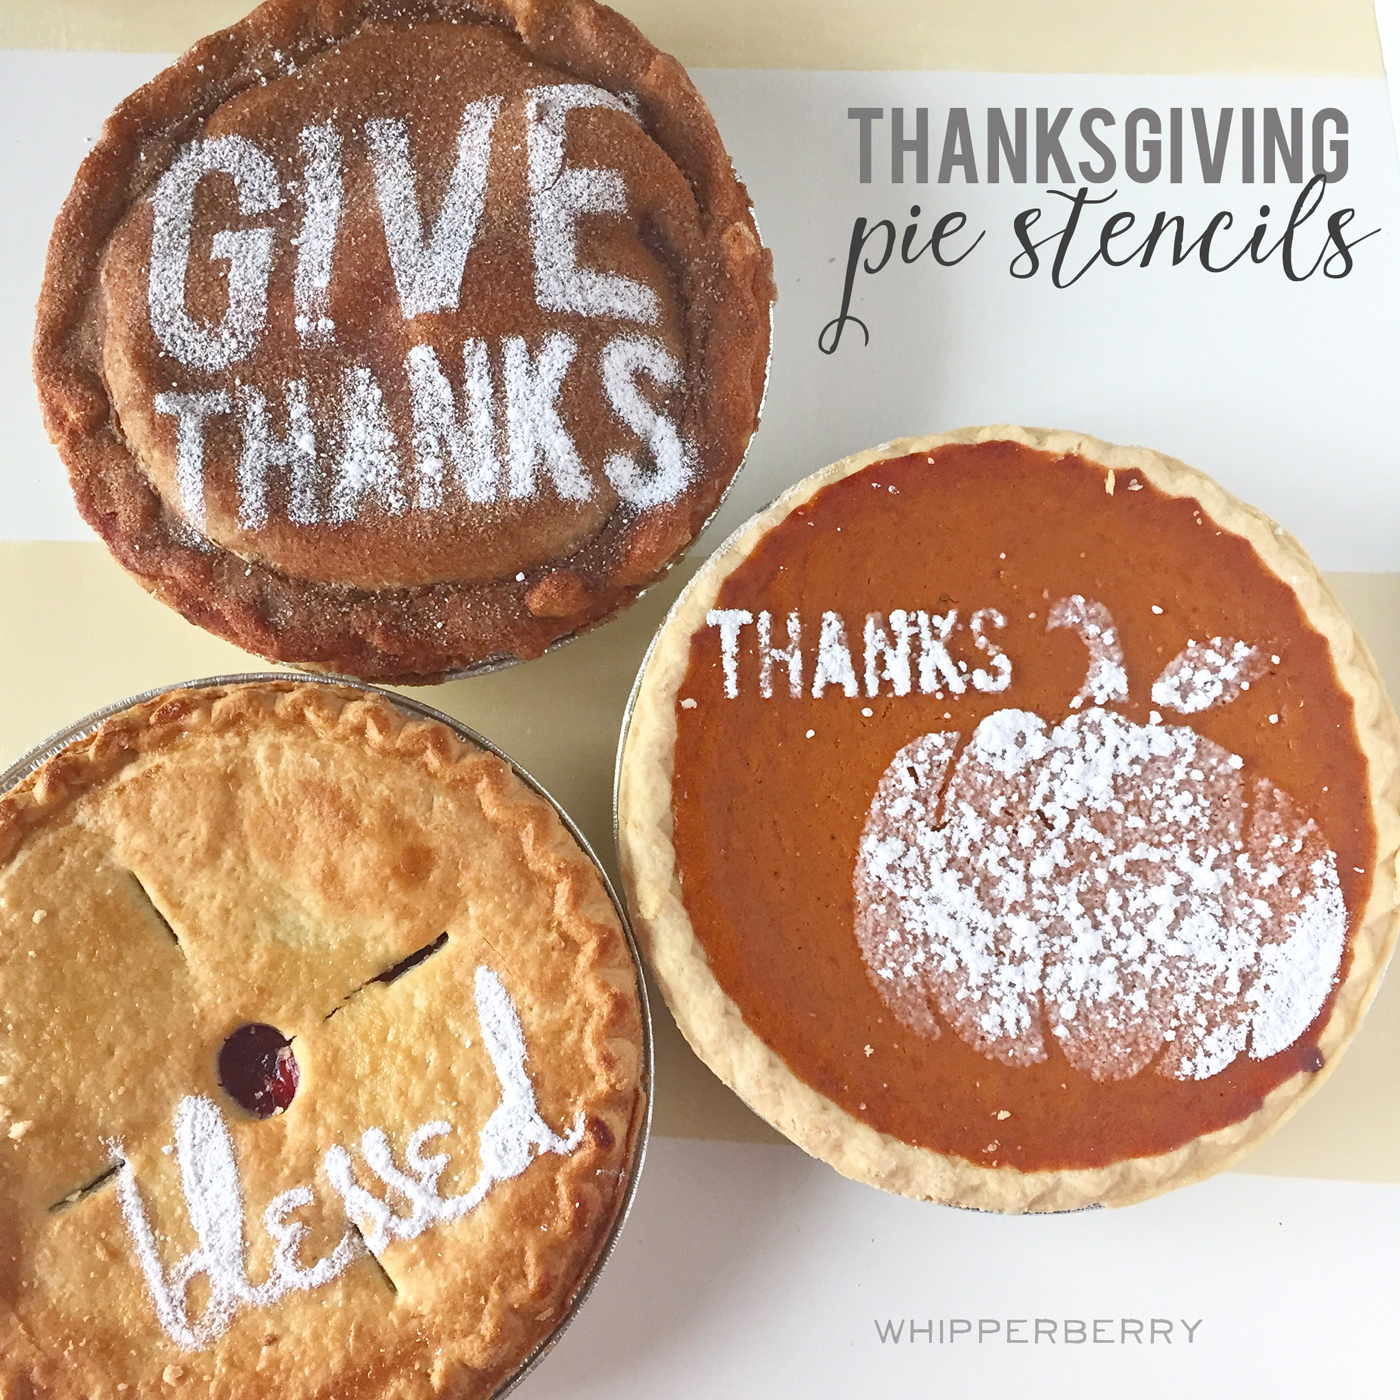
I thought I would experiment with ways to make you look like a rockstar when you serve your pies, homemade or store bought!
First step… If you are bringing a store bought pie, put your pie in a pie plate if you have one. That will mask the store bought pie tin.
If you don’t have that… No worries.
Bust out your Silhouette CAMEO or Portrait. (I’m giving away TWO Silhouette Portraits this week!) I have created some fun Thanksgiving pie stencils that are super easy to cut and dress-up your pies with.
Download the Thanksgiving Pie Stencils Silhouette Files HERE
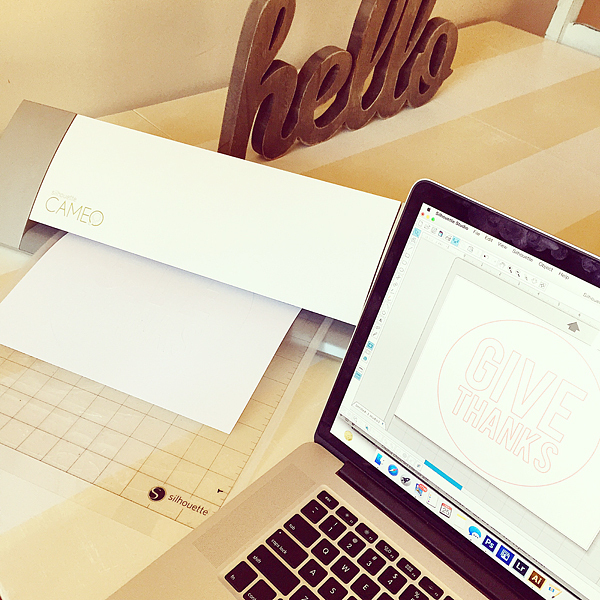
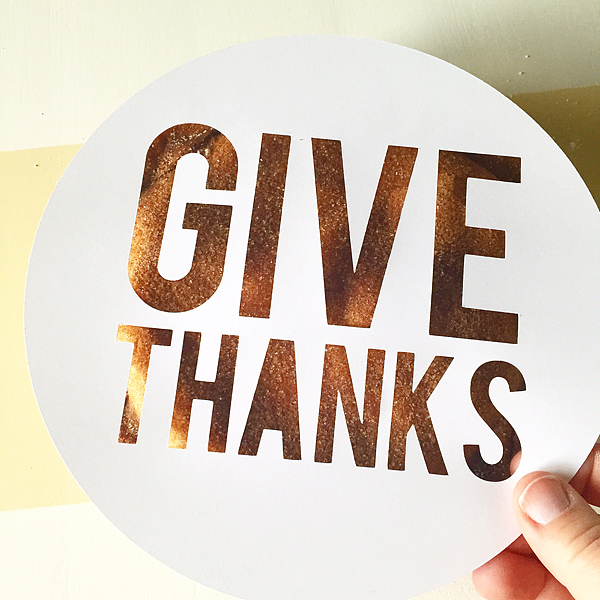
Cut your stencils out of just basic 8 1/2 x 11 card stock.
Once they are cut, set them aside until you are ready to serve your pies. When you are ready to serve them place your stencil right onto of the pie.

Put some powdered sugar into a mesh strainer and gently tap the mesh strainer with a spoon and dust the top of the pie.
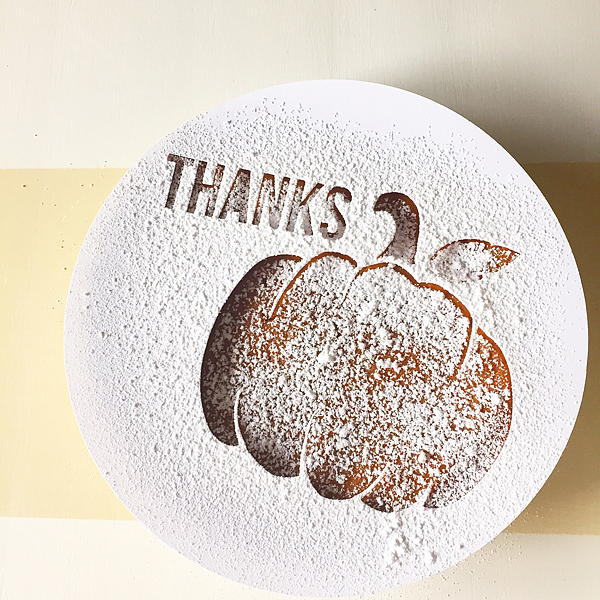
Remove the stencil and voilà… Your boring old pie has a little flair!
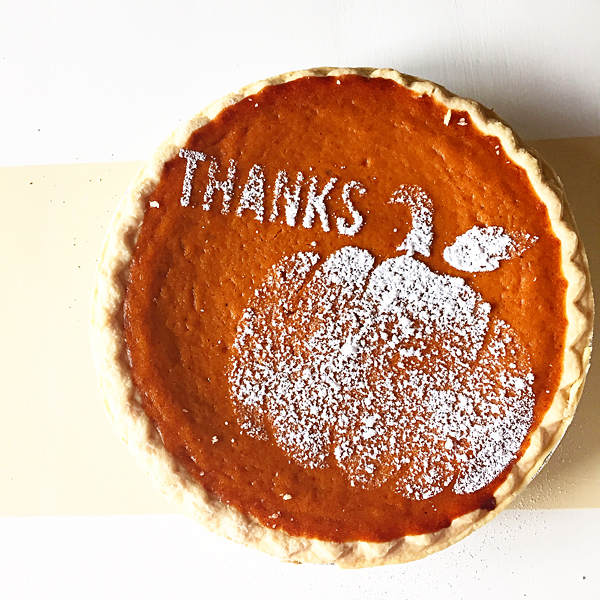
Now with pumpkin pies, your powdered sugar will melt, so make sure you do this right before you serve. Other pies like apple will stand-up for quite a while.
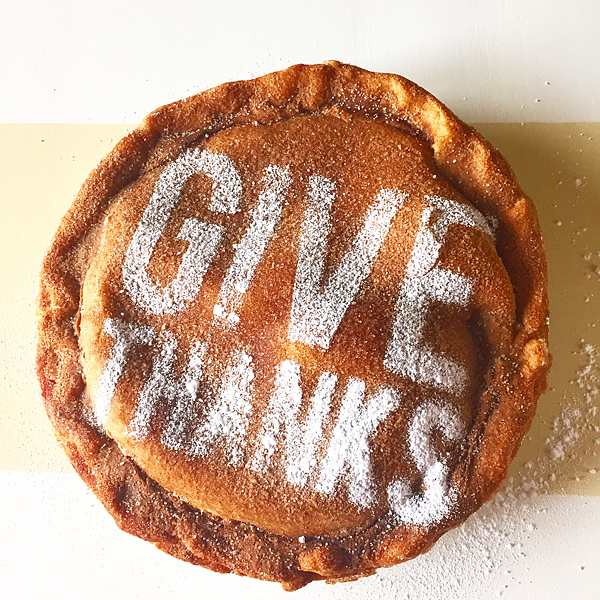
And… They look amazing!!
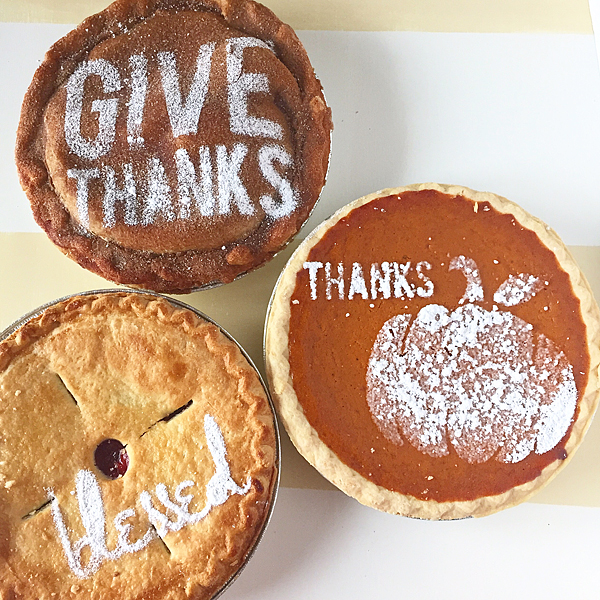
All three of these pies are from the store, and they don’t look boring anymore!
If you have a Silhouette cutting machine… this is a fun way to dress-up any pie.
This is reason #586 why you need to have a Silhouette cutting machine!
I will have some GREAT Black Friday Deals here in a day or two will all the details on how you can grab a machine of your very own!
Disclaimer // This is not a sponsored post.