You might feel fine, but your skin tells a different story. If you’ve ever looked in the mirror and noticed dullness, dark circles, or a worn-out look that doesn’t match how you actually feel, you’re not alone. For moms juggling work, family, and everything in between, tired-looking skin can sneak up even after a decent night’s sleep.
It’s not just about a lack of rest. Several things can make your skin look less refreshed, from natural aging to everyday stress. While a quick face mask or eye cream might help a little, deeper changes often need a bit more support. Understanding what causes that tired look is the first step toward brighter, more rested skin that reflects how you really feel.
1. Loss of Facial Volume Over Time
One of the biggest contributors to tired-looking skin is the gradual loss of facial volume. As we age, the fat pads that support facial structure begin to thin and shift. This can cause the face to appear flatter, less lifted, and more drawn—even when someone feels well-rested.
People often notice:
- Hollowing under the eyes.
- Flattened cheeks.
- A less defined mid-face.
This type of change isn’t something topical products can correct, as it happens beneath the skin’s surface. When volume loss becomes noticeable, some individuals explore treatments designed to restore subtle fullness and support facial contours.
In these situations, options like dermal fillers in St. Louis are often discussed as a way to gently replenish lost volume rather than alter facial features. The best part? Reliable practices such as St. Louis Skin Solutions typically focus on conservative treatment plans that aim to refresh the face while maintaining natural expression and balance. They typically approach volume restoration with a strong emphasis on facial anatomy, skin quality, and long-term outcomes.
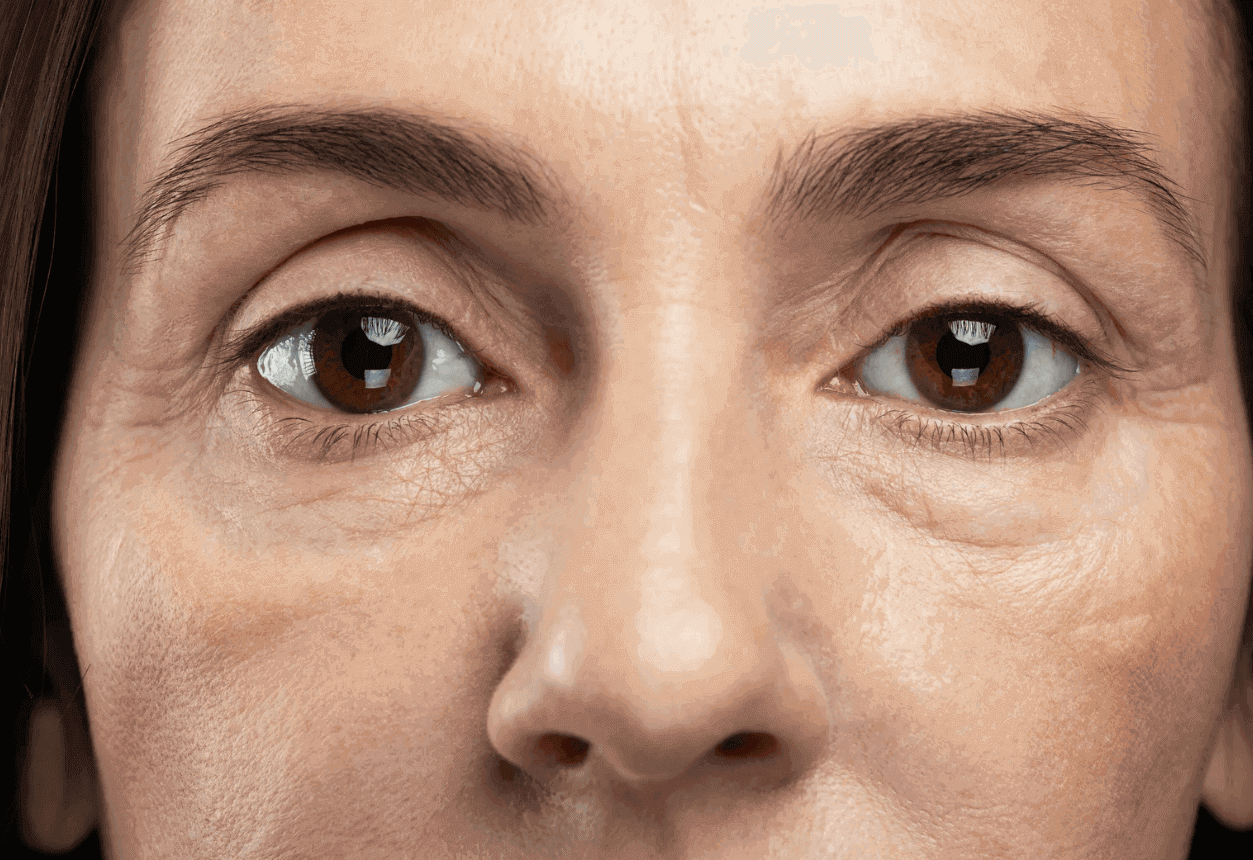
2. Under-Eye Shadows and Hollowing
The under-eye area is one of the first places where fatigue shows. The skin here is thinner and more delicate, making volume loss, pigmentation, and shadowing more noticeable.
Common under-eye concerns include:
- Dark circles that don’t improve with sleep.
- A sunken or hollow appearance.
- Shadows that make the eyes look tired.
While lack of sleep can temporarily worsen these issues, structural changes often play a larger role. Genetics, bone structure, and aging all influence how the under-eye area looks over time. This is why even well-rested individuals may still appear fatigued.
Because the under-eye area is so delicate, people dealing with persistent shadows or hollowing often realize that creams and concealers can only go so far. When fatigue appears structural rather than surface-level, many begin exploring solutions that address volume and support in this specific area. The goal is usually not to erase every shadow, but to reduce depth and create a smoother transition between the lower eyelid and cheek. This thoughtful, targeted approach helps the eyes look more rested and balanced without drawing attention to treatment itself.
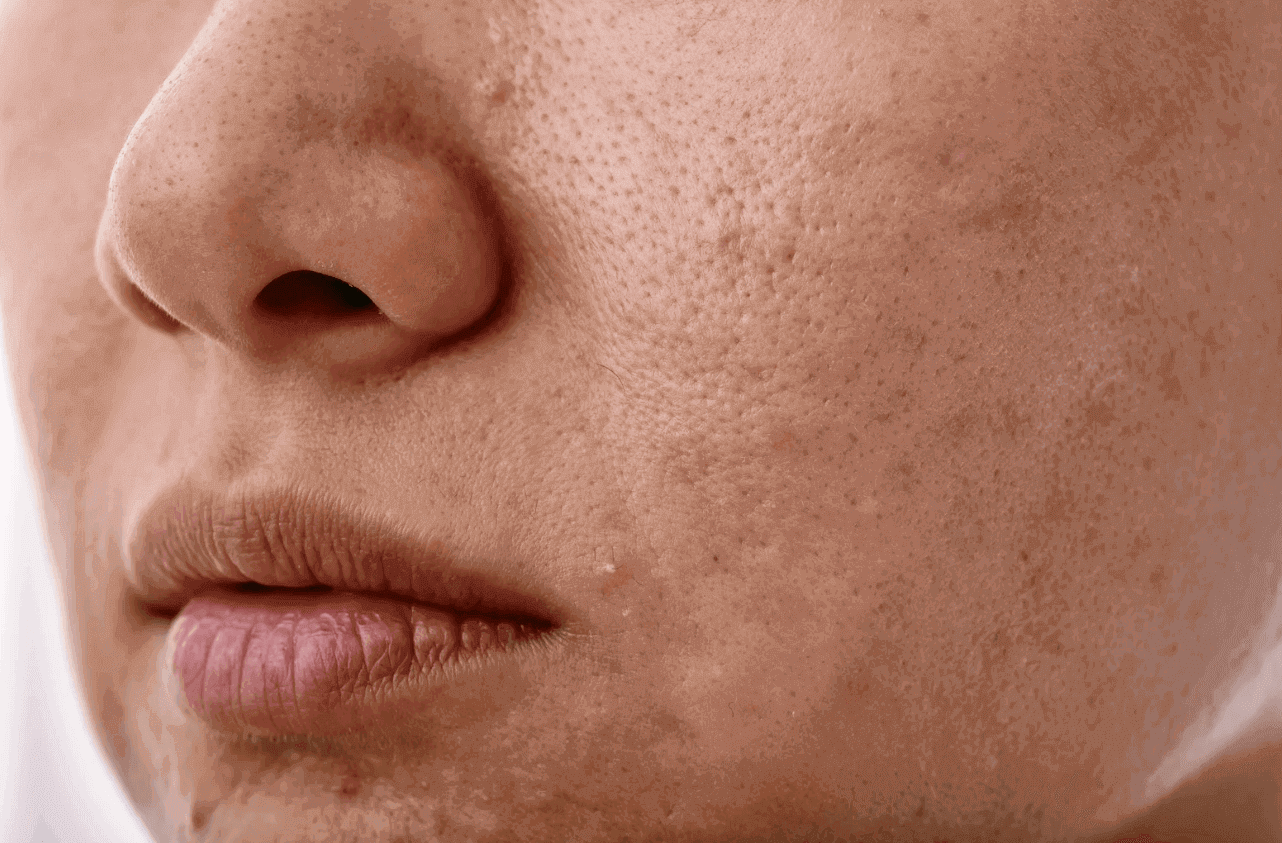
3. Dull Skin Tone and Reduced Skin Vitality
Another reason skin can look tired is a general loss of brightness and vitality. Over time, cell turnover slows, circulation decreases, and environmental stress takes its toll. The result is skin that looks flat, uneven, or lacking its former glow.
This often shows up as:
- Uneven skin tone.
- Rough or dry texture.
- Reduced natural radiance.
Many people respond by adjusting their skincare routines—adding exfoliants, vitamin-based products, or professional facials. These steps can improve surface quality, but deeper changes in skin structure may still contribute to an overall tired appearance.
When dullness persists despite consistent skincare, people often reassess their approach. Instead of layering more products, they begin considering whether deeper factors—such as slowed cell turnover or reduced circulation—are contributing to the tired look. Many choose to complement their skincare routine with professional treatments that support skin health from within, allowing surface improvements to look more noticeable and longer-lasting.
Looking to combat tired-looking skin? Total Package Serum is a great choice. Packed with peptides, hyaluronic acid, and vitamin C, it hydrates, firms, and brightens the skin. It’s an excellent option to restore a refreshed, youthful glow and tackle signs of aging safely and effectively.
4. Lifestyle Factors That Show on the Face
Busy schedules, stress, and limited downtime can all leave their mark on the skin. While these factors don’t always cause structural changes, they can amplify existing concerns and make the face appear more fatigued.
Lifestyle-related contributors include:
- Chronic stress.
- Irregular sleep patterns.
- Dehydration.
- Hormonal fluctuations.
While improving sleep and hydration certainly helps, these changes don’t always reverse facial fatigue on their own. This is why many people approach tired-looking skin with a combination of lifestyle adjustments and targeted treatments that address both surface and structural concerns.
Conclusion
Looking tired doesn’t always mean you are. Life gets busy, especially for moms, and our faces sometimes show more stress than we realize. From changes in facial volume to under-eye shadows and dull skin tone, there are many reasons your skin might not look as refreshed as it used to.
The good news is that you’re not stuck with it. When you know what’s causing the change, you can start exploring options that fit your life and your comfort level. Whether it’s improving your skincare routine, adjusting your lifestyle, or talking to a trusted provider, there are real ways to bring back a fresh, confident look without overcomplicating things.