• Skip to primary navigation
  • Skip to main content
  • Skip to primary sidebar
  • Skip to footer

Whipperberry

WhipperBerry • Your Home For Creative Inspiration

  • Home
  • Recipes
    • Starters
    • Easy Weeknight Dinners
    • Main Dish
    • Salads
    • Side Dish
    • Soups & Stews
    • Desserts
    • Breakfast
    • Miscellaneous
  • Tutorials
    • Creative Crafts
    • DIY Decor
    • Fabric Crafts
    • Food How-To
    • Jewlery
    • Paint Projects
    • Paper Art
    • Party Styling
    • Photography and Graphic Design
    • Silhouette
  • Holidays
    • Easter
    • Mother’s Day
    • Father’s Day
    • 4th of July
    • Halloween
    • Thanksgiving
    • Christmas
    • Valentine’s Day
  • Gift Ideas
    • Gifts For Everyone
    • Gifts for Dad
    • Mother’s day
    • For The Girls
    • For The Kids
    • Teacher Gift Ideas
    • Christmas
  • Printables
    • Holiday
    • Gift Idea
    • LDS Primary
  • Travel
  • About
    • Terms
  • Contact
  • Nav Social Menu

    • Facebook
    • Instagram
    • Pinterest
    • RSS
    • Twitter

House Plants

Beginner’s Guide to Choosing and Caring for Indoor Flowering Houseplants

0 · Oct 2, 2026 · Leave a Comment

From classic African violets and peace lilies to elegant potted orchids, indoor flowering plants have a remarkable ability to transform a room with color and life. For most people, the challenge isn’t finding a plant they love — it’s keeping it alive and blooming season after season. The good news is that lasting success with indoor flowering plants comes down to one core principle: matching the plant’s needs to the environment your home naturally provides, rather than struggling to force unsuitable conditions.

Understanding Your Indoor Environment

Light is the single most critical factor for flowering houseplants. Many species need bright, indirect light to bloom reliably, yet few homes offer ideal conditions in every room. A practical way to assess your space is to observe shadow intensity near windows at different times of day. North-facing rooms typically receive low light, east-facing windows offer gentle morning brightness, and south- or west-facing rooms deliver the strongest, most sustained light.

Temperature stability and humidity matter just as much. Most flowering houseplants prefer consistent, room-temperature conditions and suffer when placed near cold drafts, heating vents, or air conditioning units. Tropical species, in particular, benefit from higher ambient humidity. Grouping plants together, setting pots on pebble-filled water trays, or running a small humidifier nearby can all help maintain adequate moisture in the air.

Key takeaway: Choose plants that suit the light, temperature, and humidity your home naturally offers — not the other way around.
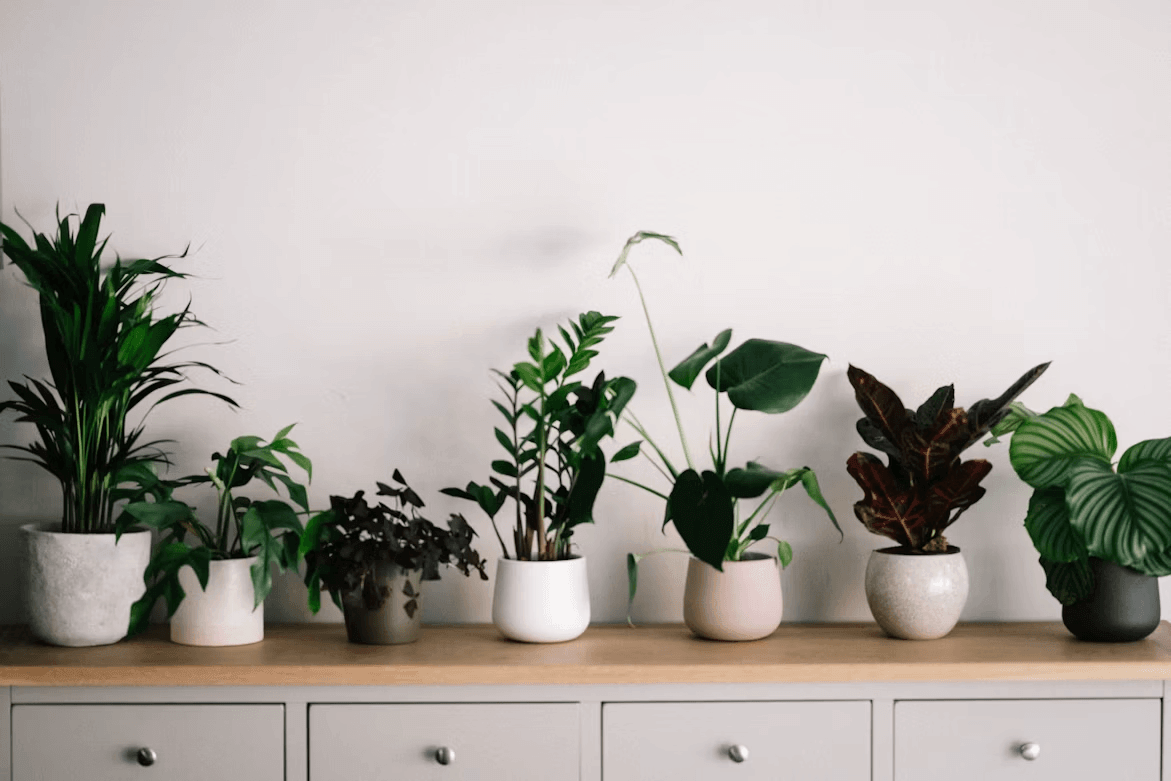
Indoor flowering houseplants in pots on a wooden table

Choosing the Right Plants for Your Lifestyle

Before selecting any flowering houseplant, take an honest look at how much time you can realistically commit to care. Someone with a busy schedule and a single north-facing window is far better served by low-light, forgiving plants — peace lilies, for instance, tolerate shade and the occasional missed watering without complaint. Someone with a bright home office and moderate humidity has considerably more flexibility and can branch out into species that demand more consistent, brighter conditions.

Common beginner mistakes include choosing sun-loving plants for dim rooms or jumping into high-maintenance varieties before building a solid foundation of basic plant care skills. Starting with one or two straightforward species and expanding as your confidence grows is nearly always the more satisfying approach.

Core Care Principles

Overwatering remains the leading cause of houseplant failure, and it’s an easy trap to fall into. Rather than following a rigid watering schedule, check soil moisture directly press a finger about an inch into the soil and water only when it feels dry at that depth. When you do water, do so thoroughly until excess drains freely from the bottom, then empty the saucer promptly to prevent root rot from waterlogged roots sitting in standing water.
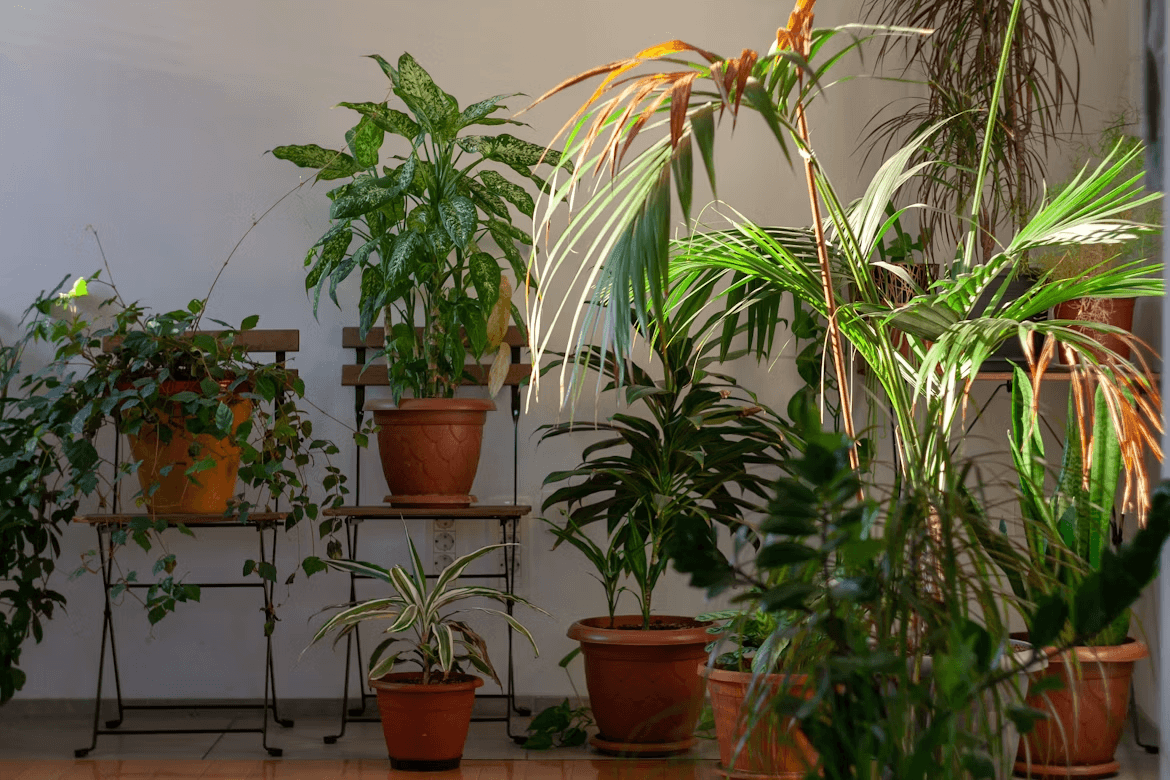
A variety of indoor flowering houseplants on a wooden shelf

Choosing the right pot and soil matters just as much as how you water. Containers with drainage holes and a well-draining potting mix keep moisture from accumulating around roots. Terra cotta pots dry out faster and work well for plants that prefer drier conditions, while plastic or glazed ceramic pots hold moisture longer — a useful trait for species that like consistently damp soil.

For fertilizing, a balanced, water-soluble fertilizer applied at reduced strength every four to six weeks during active growth supports healthy blooms without risking salt buildup or leaf burn. When a plant goes dormant, skip fertilizing altogether.

Pro tip: Pay attention to how your plant responds to any changes in care — new growth, leaf color, and bloom frequency are among the most reliable signals that conditions are working, or that something needs adjusting.

Building a Long-Term Routine

Healthy indoor plants rarely flourish through occasional bursts of attention. A simple weekly habit — scanning for wilting, discoloration, or signs of pests, and quickly wiping dust from leaves to improve light absorption — makes a meaningful difference over time. Catching common problems like spider mites, yellowing leaves, or brown tips early allows for gentle, targeted interventions before they become harder to manage. University extension services and master gardener resources are excellent, trustworthy sources for detailed guidance on pest identification and treatment.

Ultimately, healthy conditions and consistent, attentive care matter far more than buying specific plant varieties or specialized tools. Choose one or two flowering plants well-suited to your space, apply these foundational principles, and let your observations guide adjustments as you go. Whether you’re drawn to African violets, peace lilies, or potted orchids, the same core skills — reading your light, managing water carefully, and staying observant — will serve you well with virtually any indoor flowering plant you decide to grow.
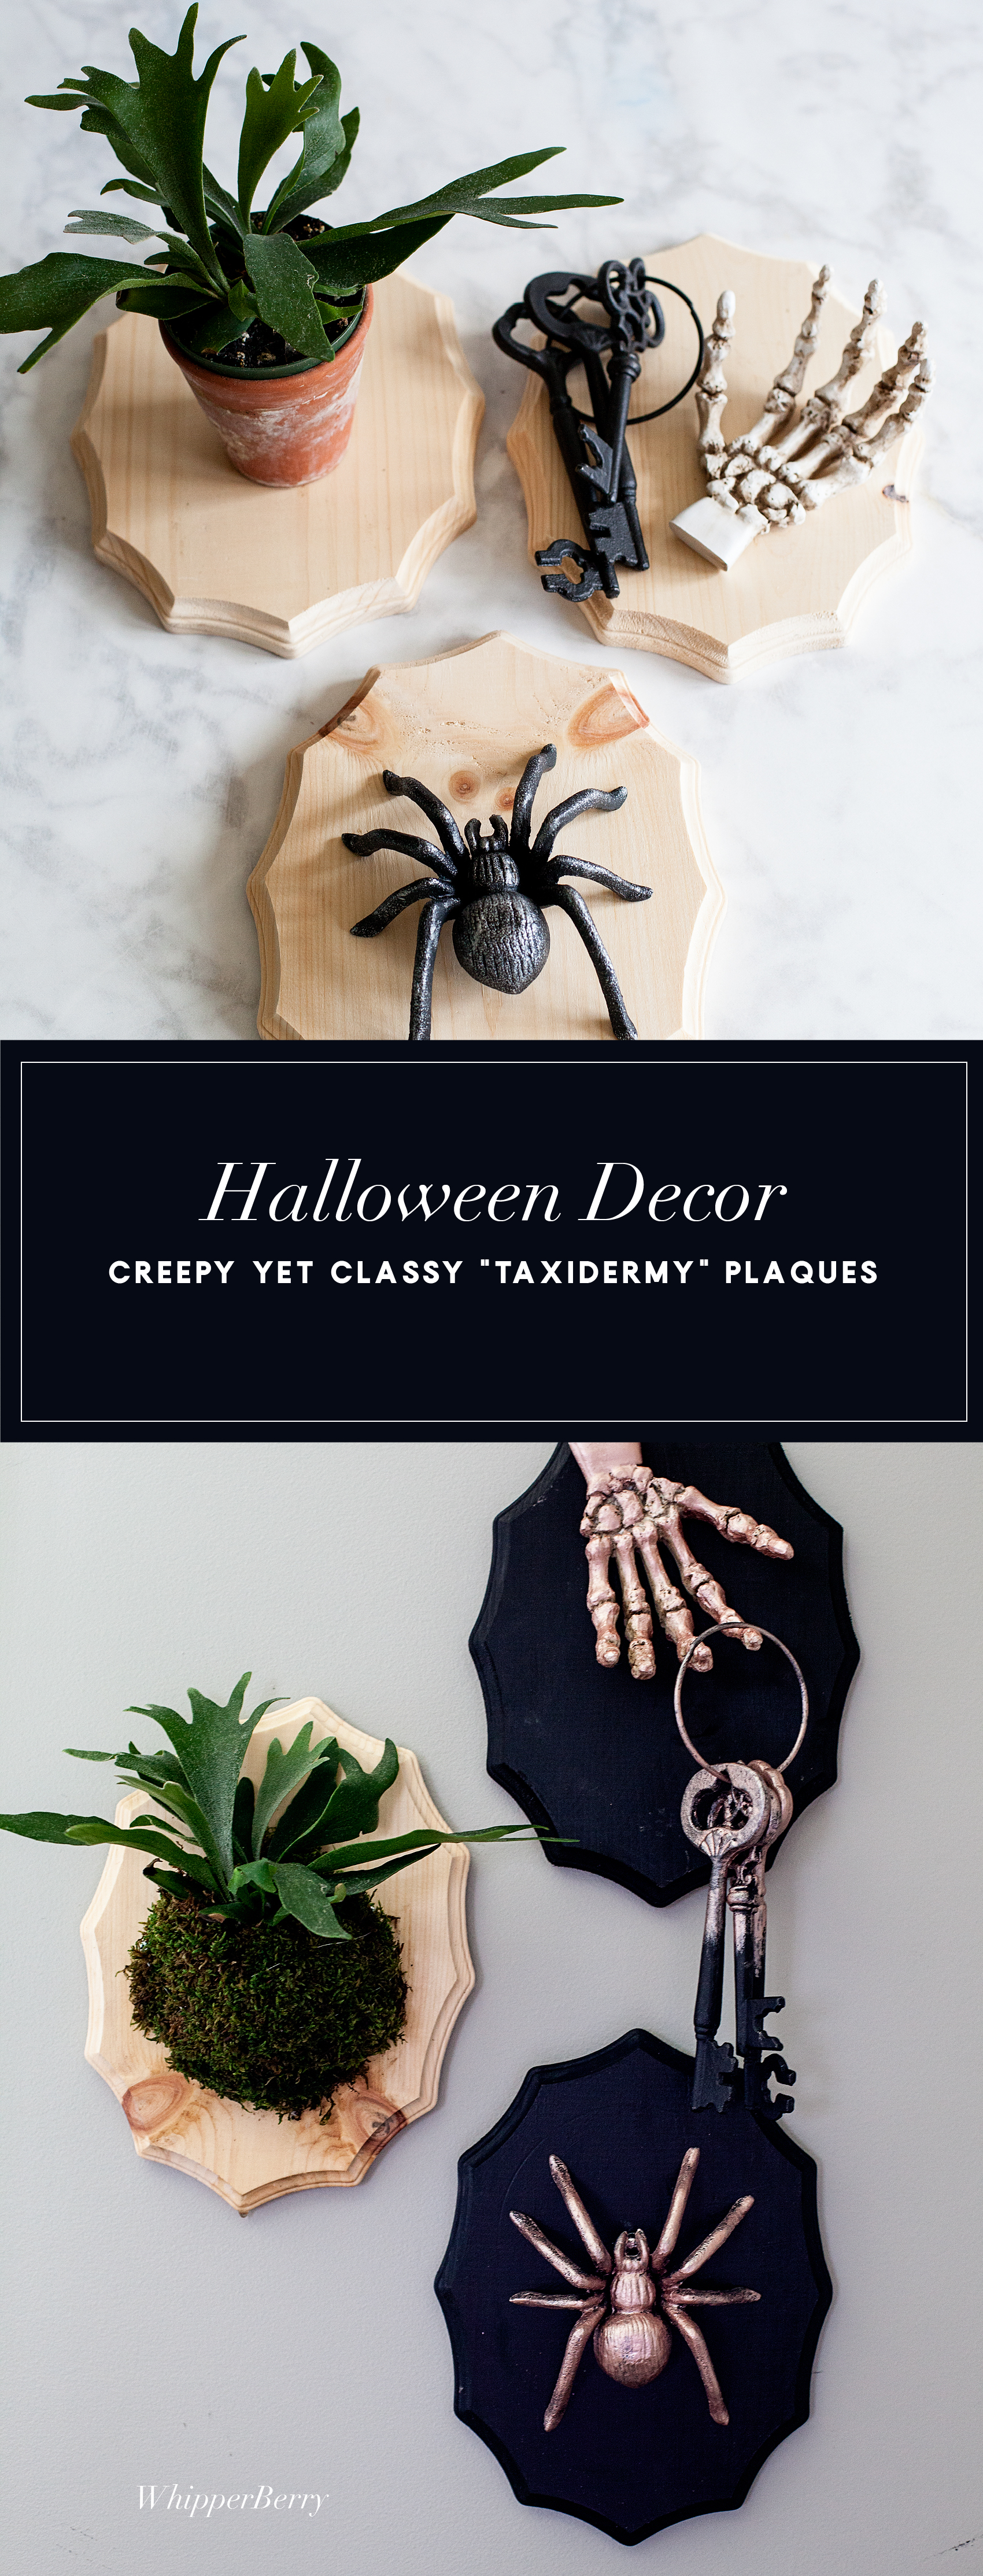
Creepy Halloween Taxidermy Plaques

9 · Sep 1, 2017 · Leave a Comment

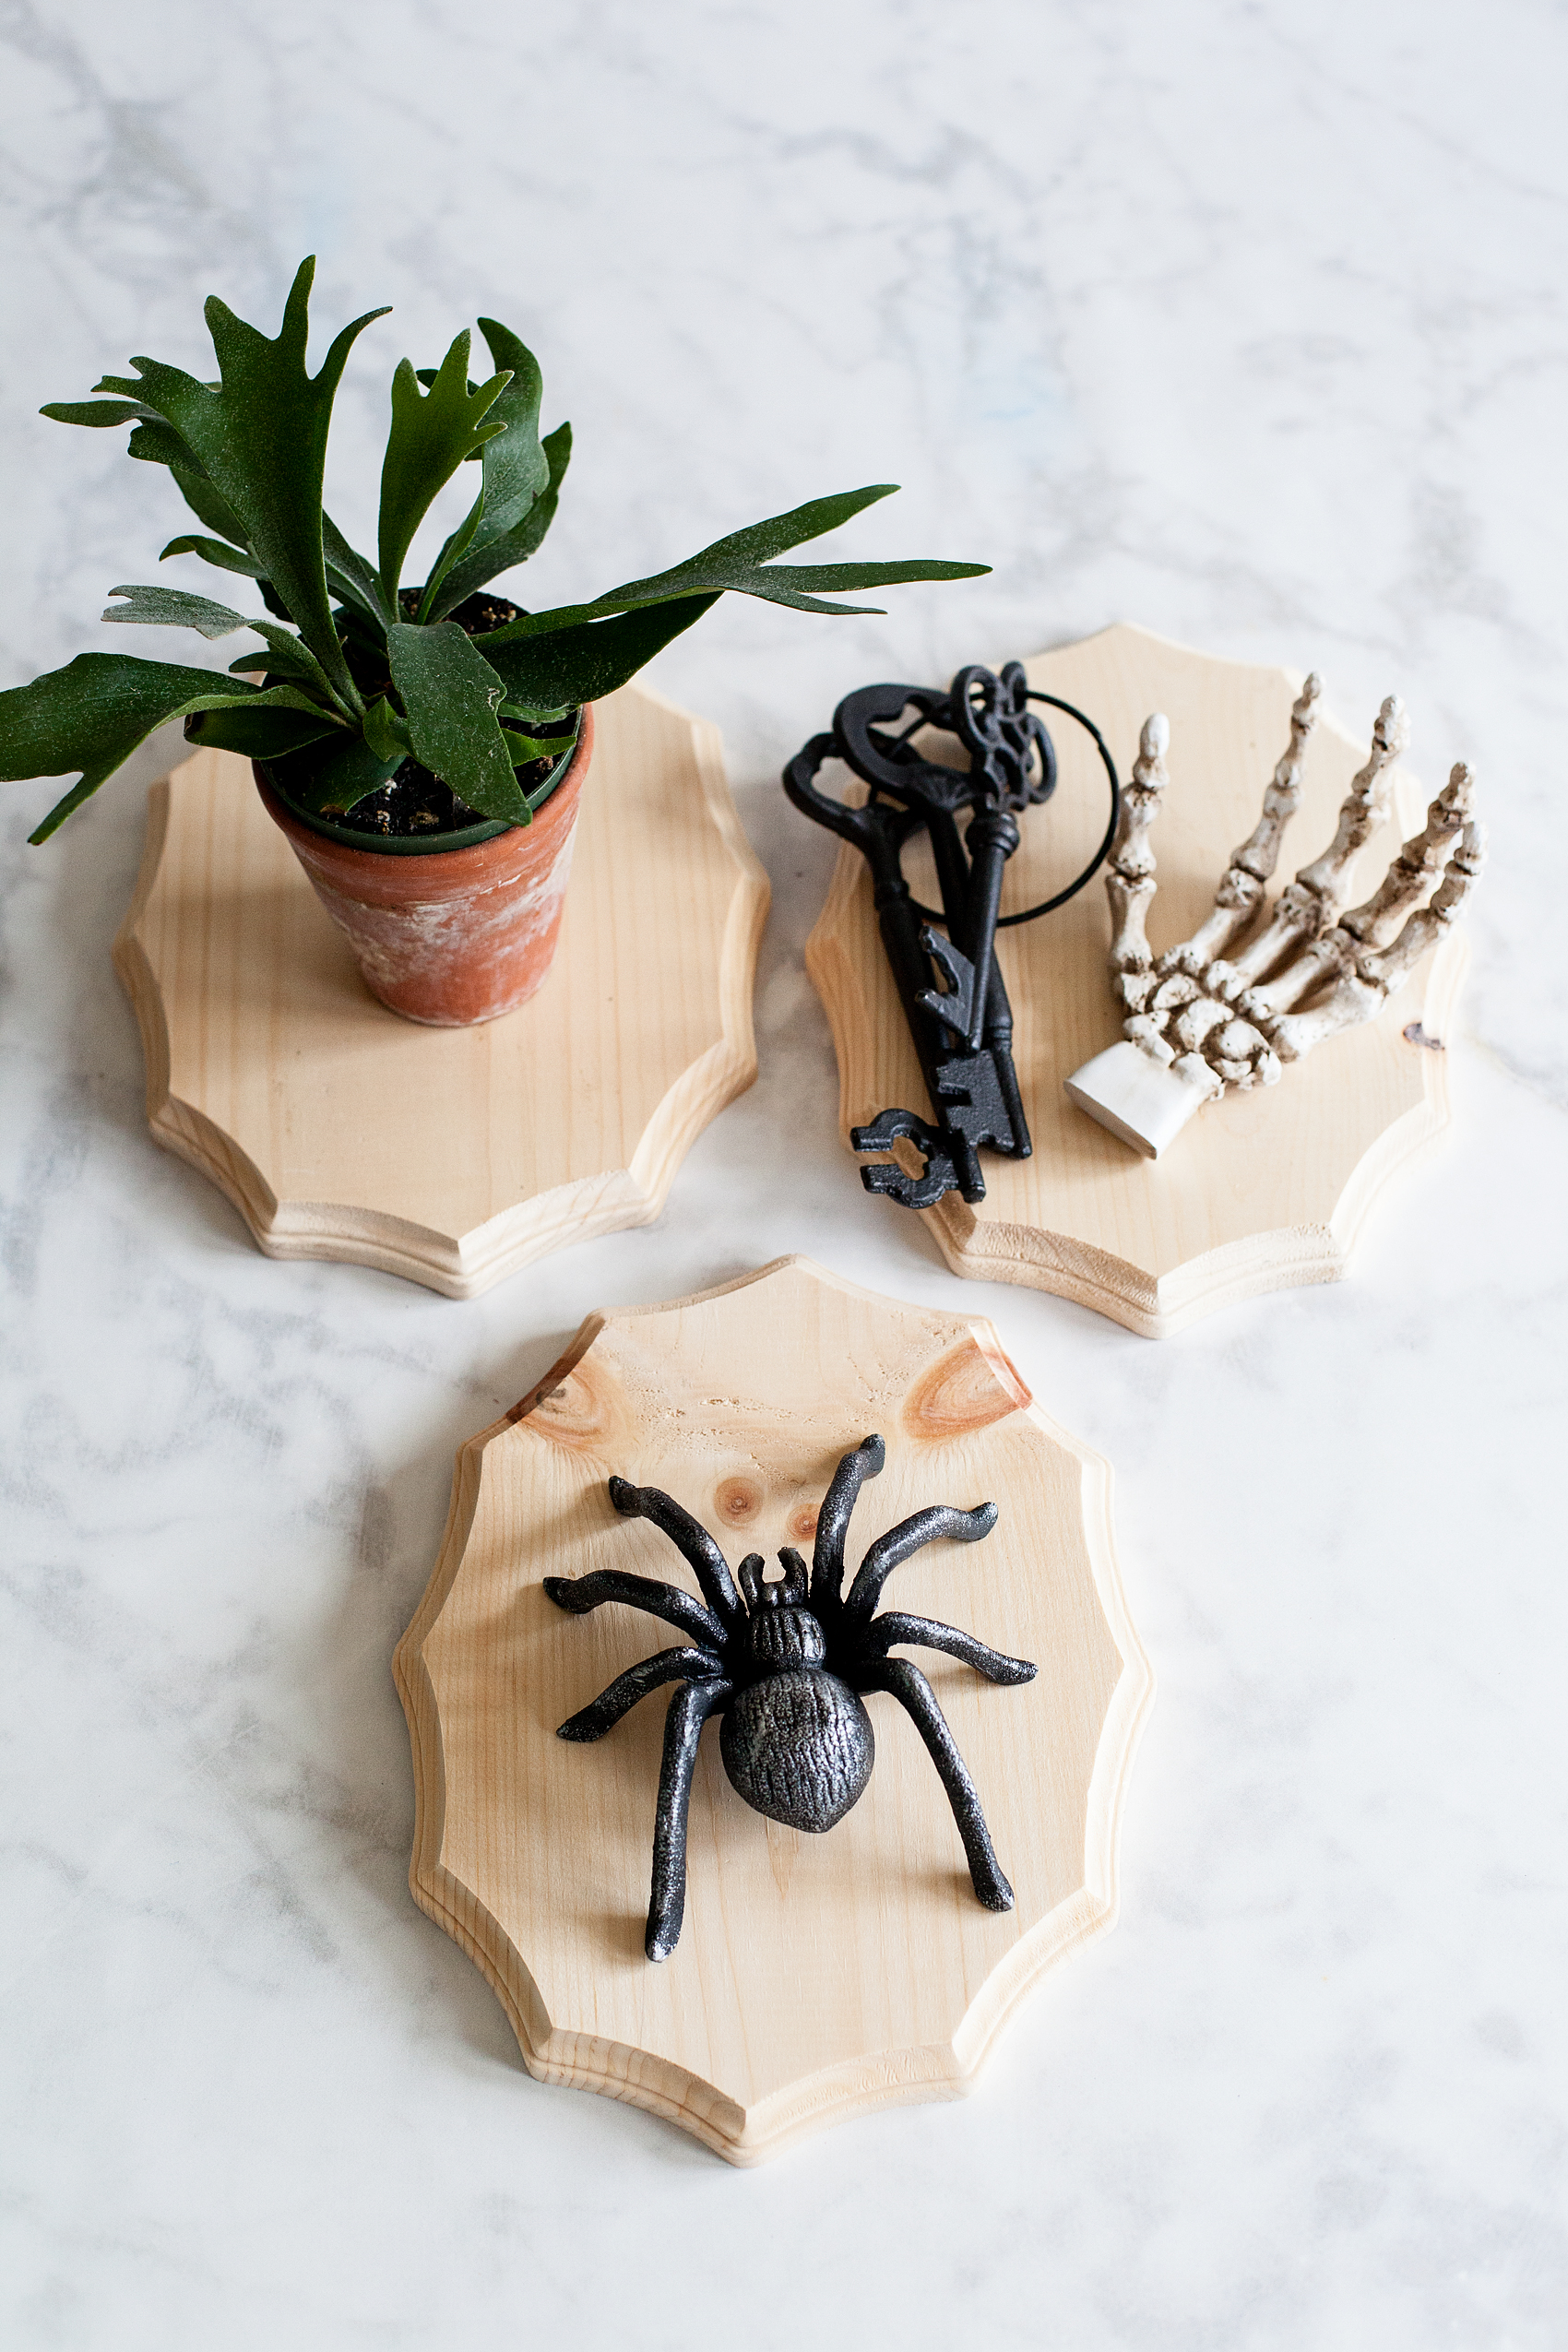
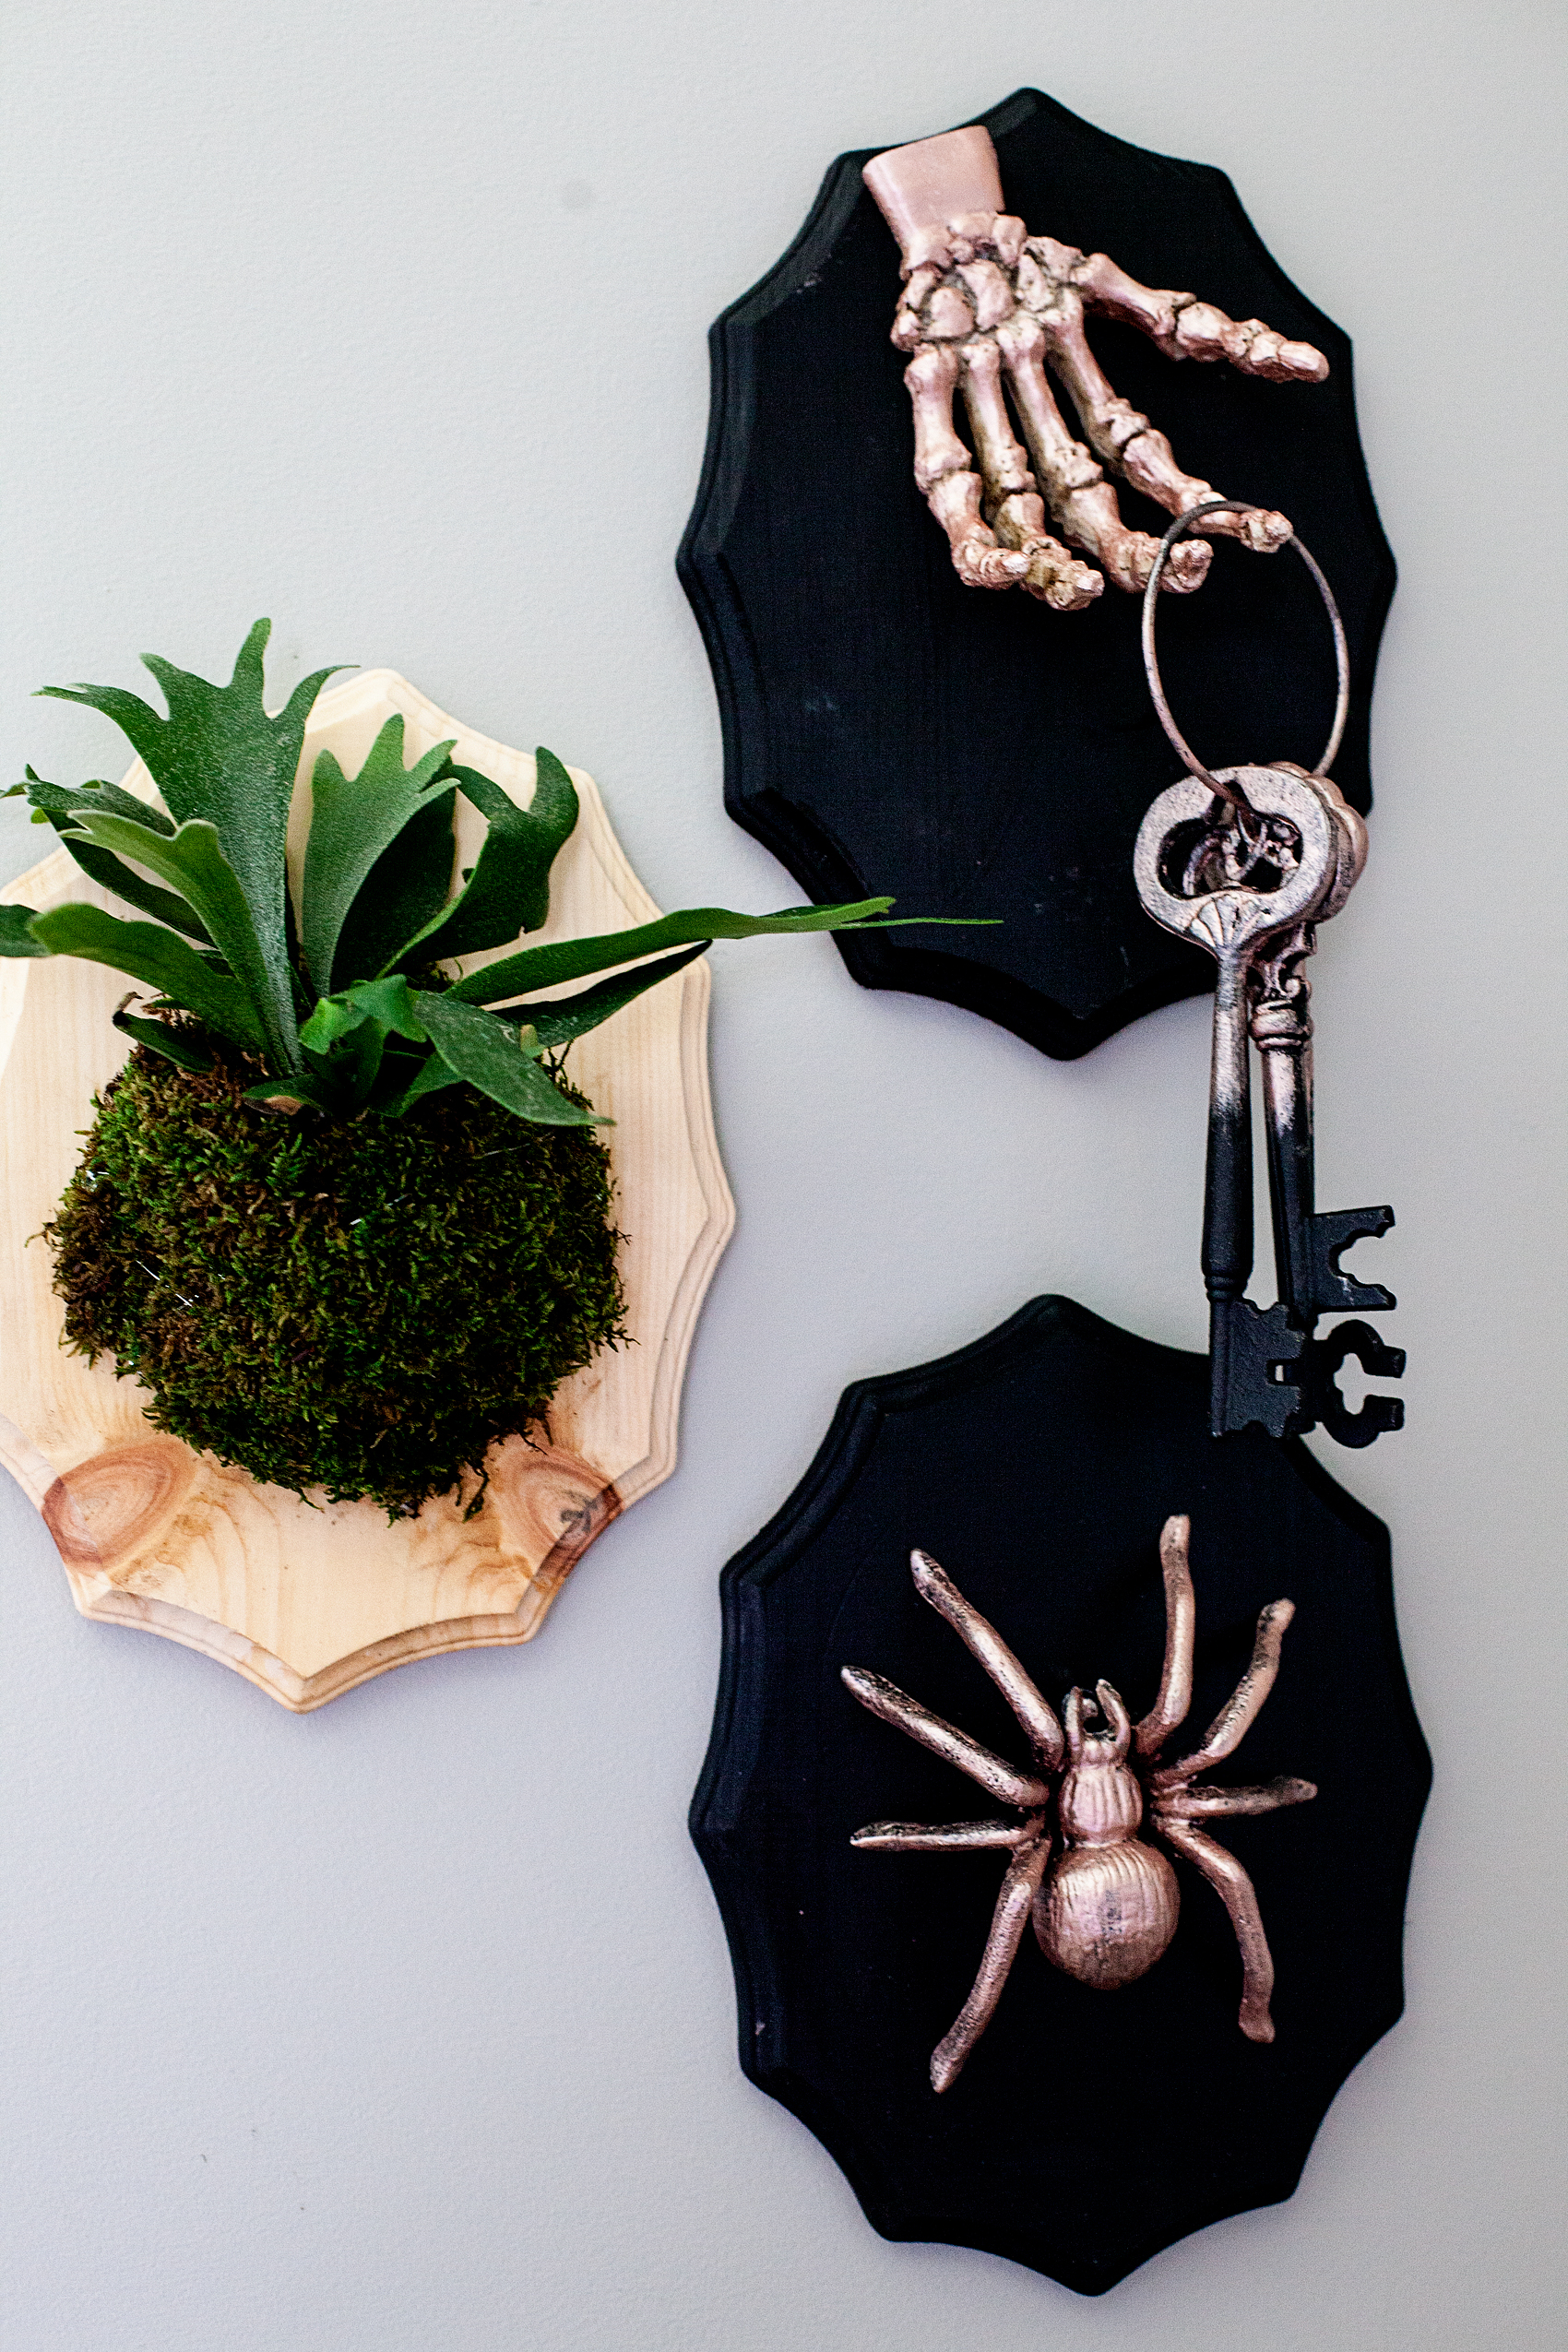
Add a little flair to your spooky Halloween decorations with taxidermy plaques! I used the DecoArt Metallic Lustre to turn  simple spooky objects into creepy yet classy home decor. Come check it out… If you dare!

Add a little flair to your spooky Halloween decor with DecoArt! I used their Metallic Lustre to turn simple spooky objects into creepy yet classy taxidermy plaques to decorate our entryway for Halloween.

{ disclaimer • I am a DecoArt Ambassador and they have sponsored this post. However, all thoughts, ideas and opinions are my very own.}


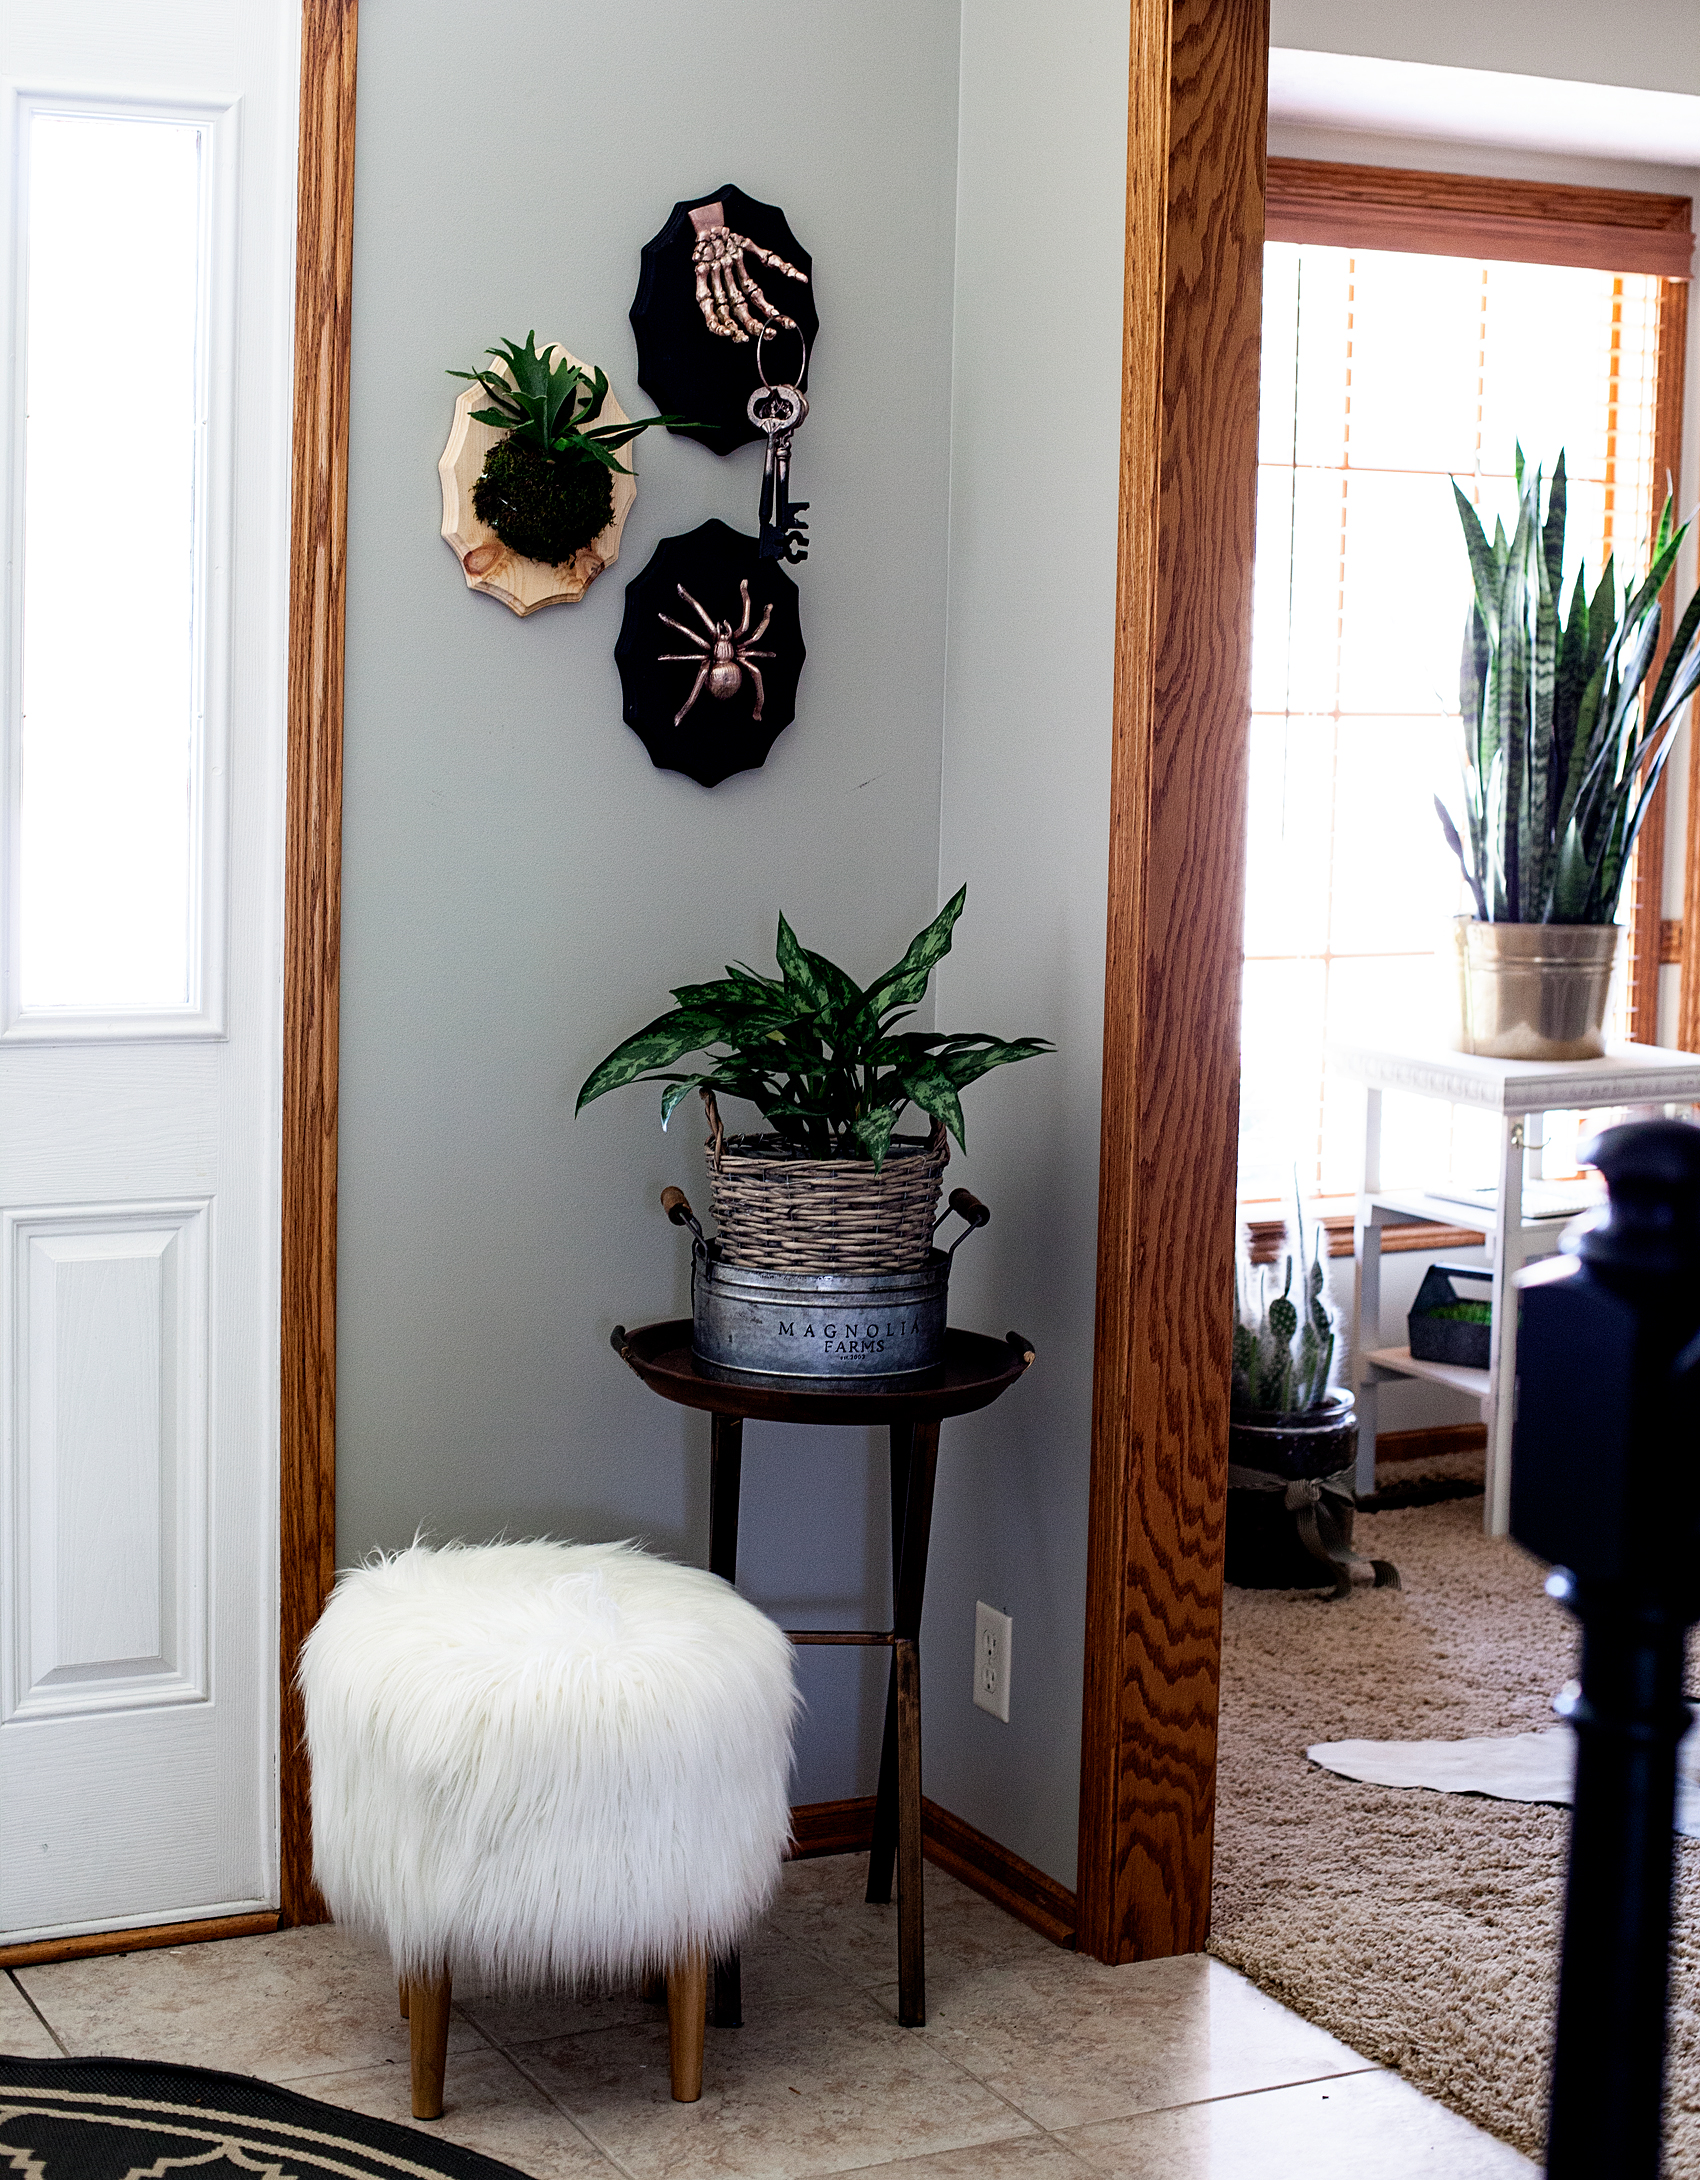
 O.K. guys… It’s never too early to start thinking about your Halloween decorations! Over the years I’ve become quite the fan of decorating for this creepy holiday. I used to hate it, but I’ve kind of fallen in love with what you can create for this spooky night. I wanted to create some new pieces to add to my collection for the new home and found myself wandering the isles at Michaels wondering what to make. Then it hit me… I wanted to make some “taxidermy” plaques to add some cringe worthy art to my front entry way. I wanted to keep it simple and still classy so I thought a little Rose Gold Metallic Lustre from DecoArt would do the trick! Here’s how you can make them.

Add a little flair to your spooky Halloween decor with DecoArt! I used their Metallic Lustre to turn simple spooky objects into creepy yet classy taxidermy home decor.

Taxidermy Plaques Supply List

Add a little flair to your spooky Halloween decor with DecoArt! I used their Metallic Lustre to turn simple spooky objects into creepy yet classy taxidermy home decor.

  • wood plaques
  • DecoArt Metallic Lustre – Rose Gold
  • Americana Curb Appeal – Black
  • iron spider
  • iron keys
  • skeleton hand
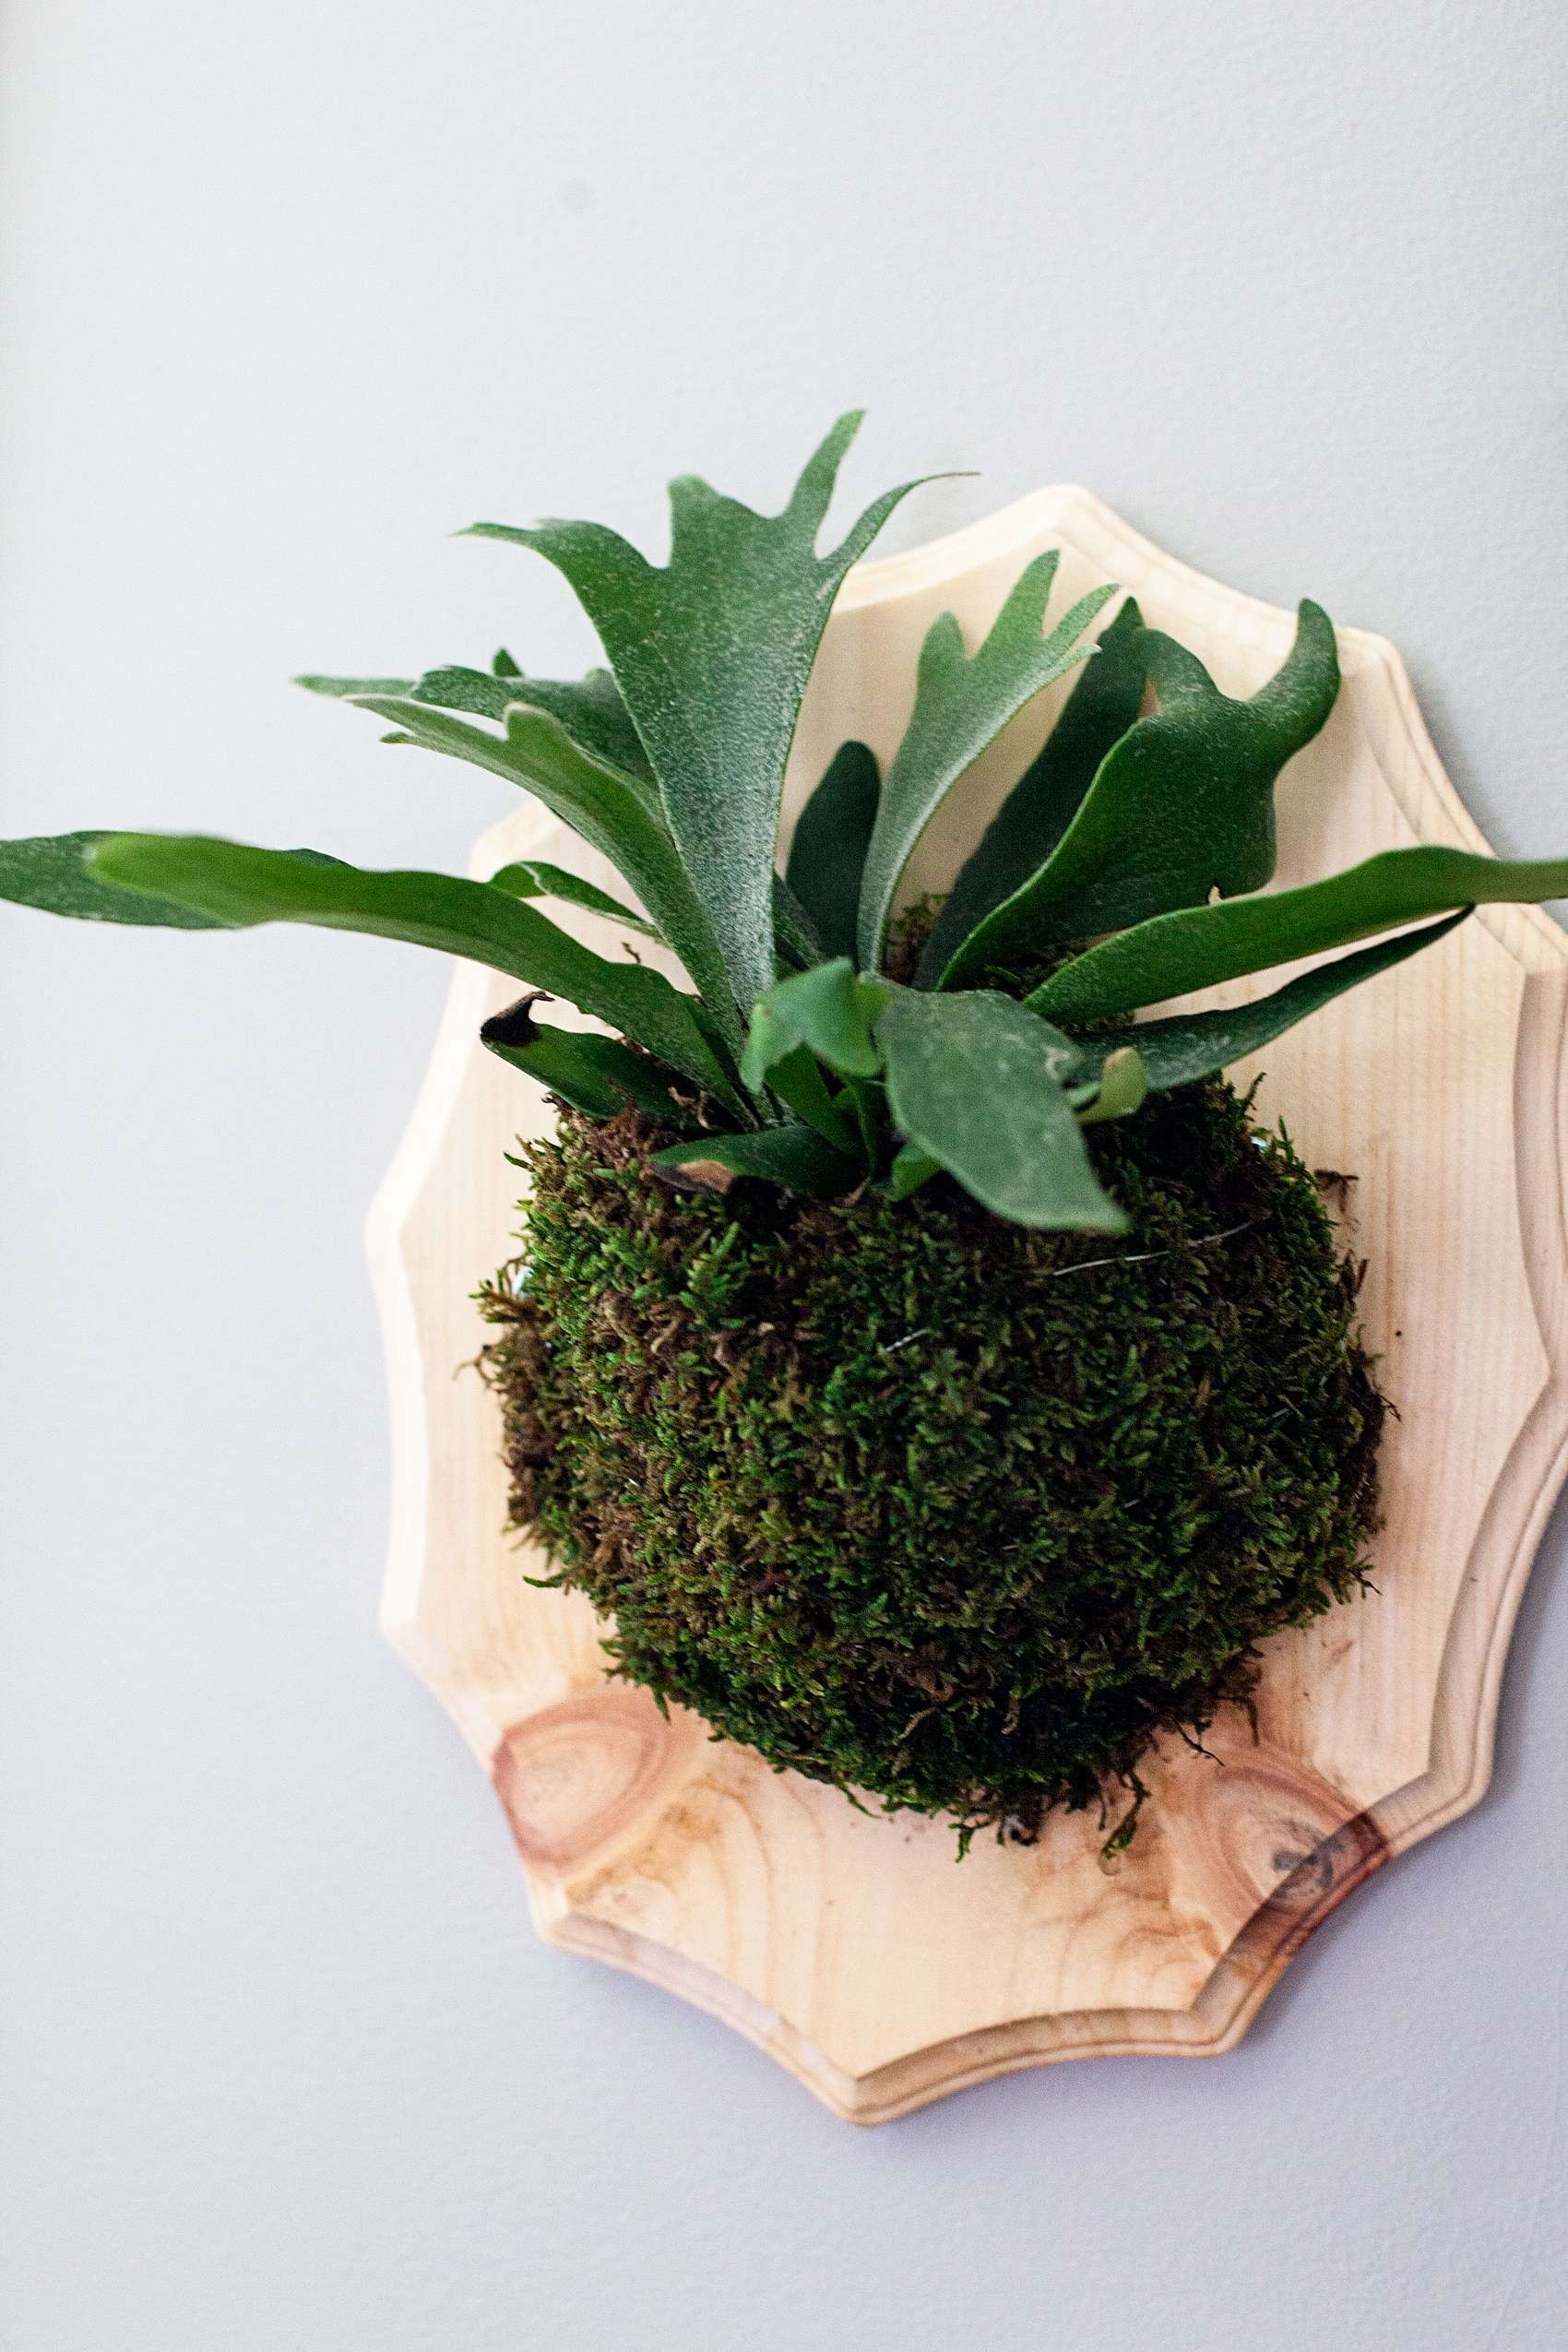
  • small Staghorn Fern
  • paint brush
  • lint free cloth
  • drill
  • 8 screws
  • floral wire
  • moss
  • large bowl of water
  • baking sheet
  • drop cloth or something to protect your work surface

Instructions for Taxidermy Plaques

To begin, you will need to prep your work surface and cover it with a drop cloth or some type over covering to protect it.

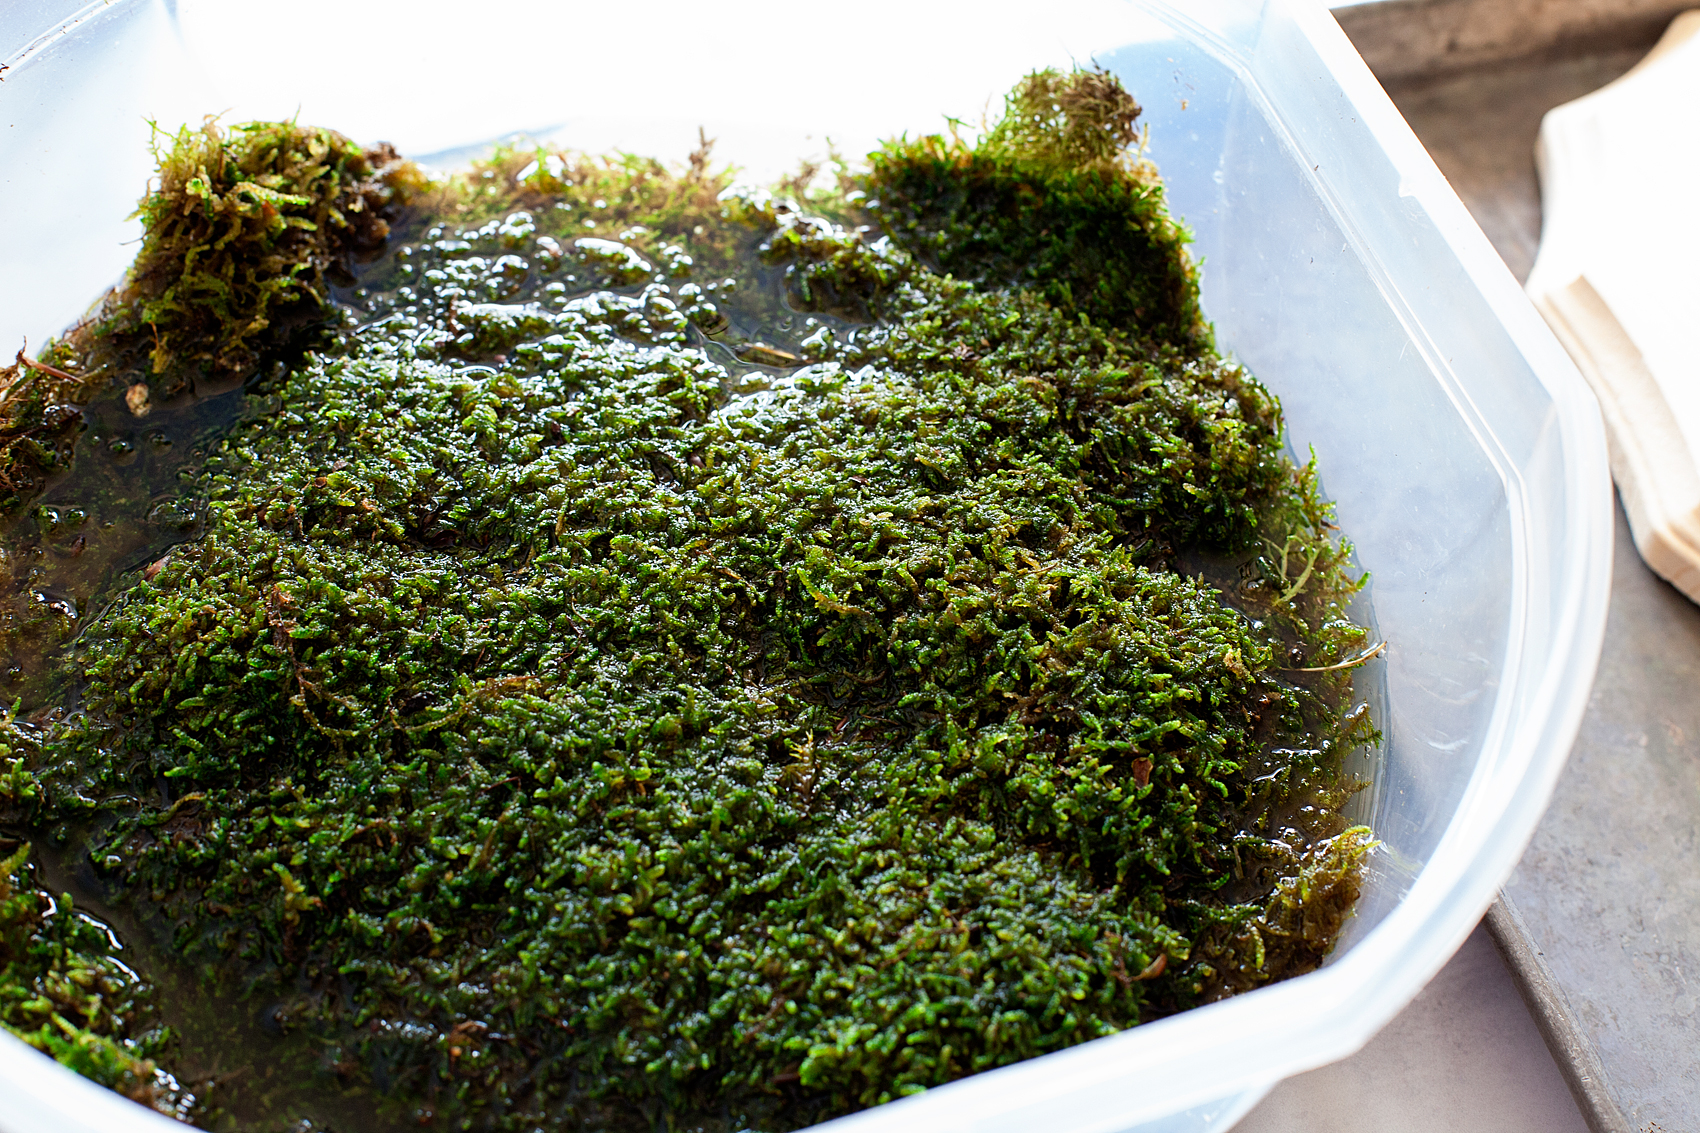
Next, place your moss into a large bowl of water so that it can soak while you are working with the other pieces. Set it aside.

Add a little flair to your spooky Halloween decor with DecoArt! I used their Metallic Lustre to turn simple spooky objects into creepy yet classy taxidermy plaques to decorate our entryway for Halloween.

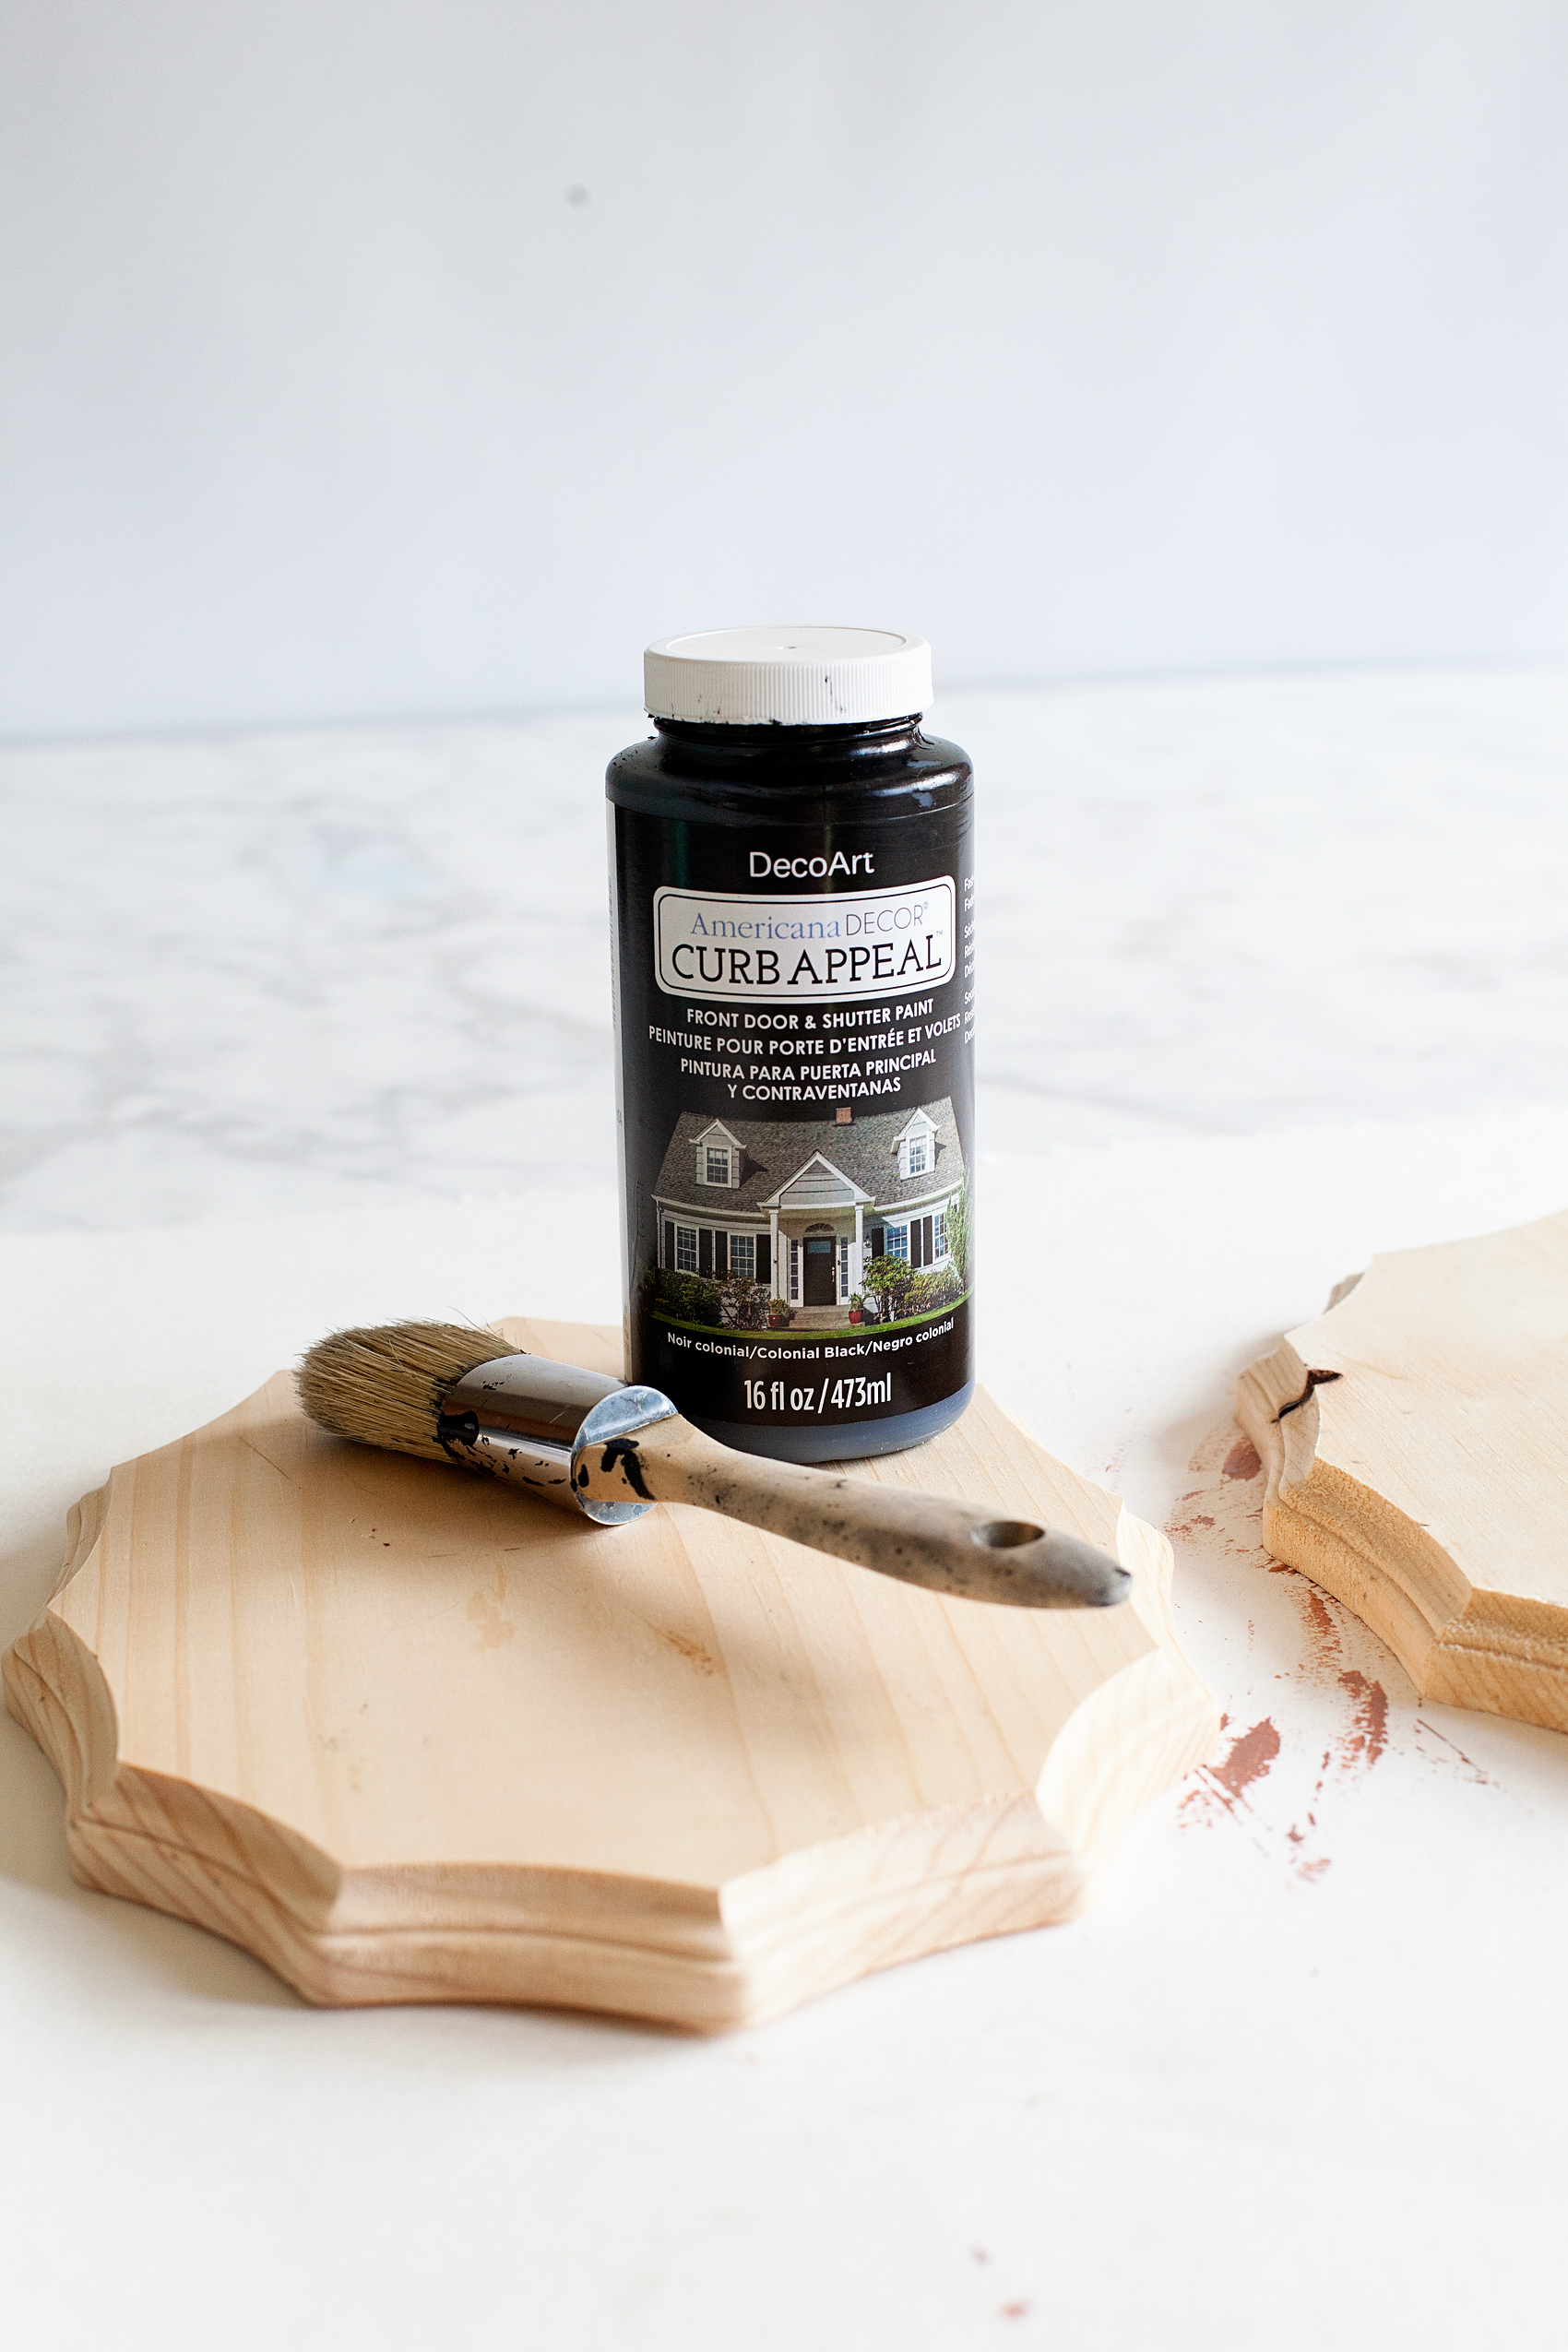
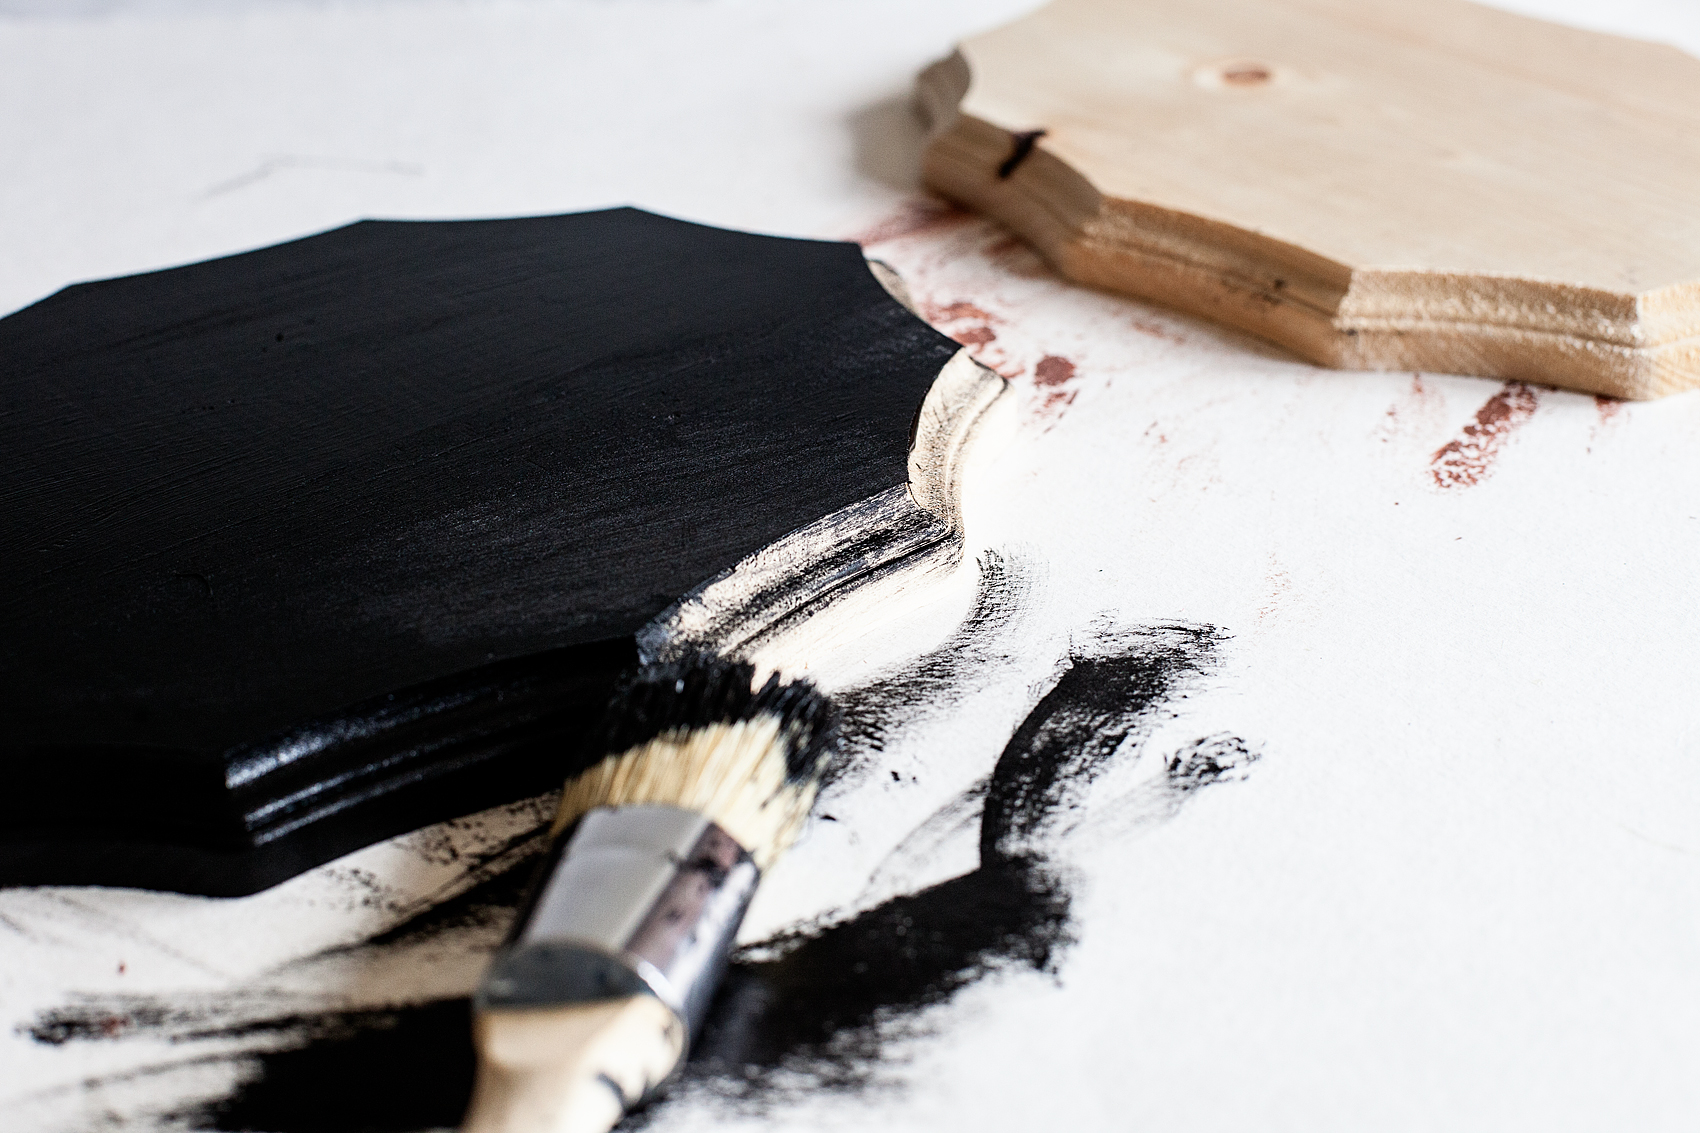
Then, grab your Americana Curb Appeal paint and paint 2 of your wood plaques. Keep one natural for your Staghorn Fern.

Add a little flair to your spooky Halloween decor with DecoArt! I used their Metallic Lustre to turn simple spooky objects into creepy yet classy taxidermy home decor.

I really like the Americana Curb Appeal paint and traditionally it’s not really used for crafting, it’s used to paint door and shutters typically. I had some on hand and thought it would work just fine for the wood plaques for this project. PLUS… I have used that same paint for my doors, fireplace & banister therefore, my plaques would match the rest of my space. Not only that but, I really like the finish that it create on the wood. You won’t see brush strokes, the coverage is phenomenal and you’ll still see the wood grain through the paint. I really like that! I like to paint wood but, I don’t want it to look plastic… you know?

Add a little flair to your spooky Halloween decor with DecoArt! I used their Metallic Lustre to turn simple spooky objects into creepy yet classy taxidermy home decor.

Once those are both painted, set them aside to dry. Don’t worry, they dry pretty quick.

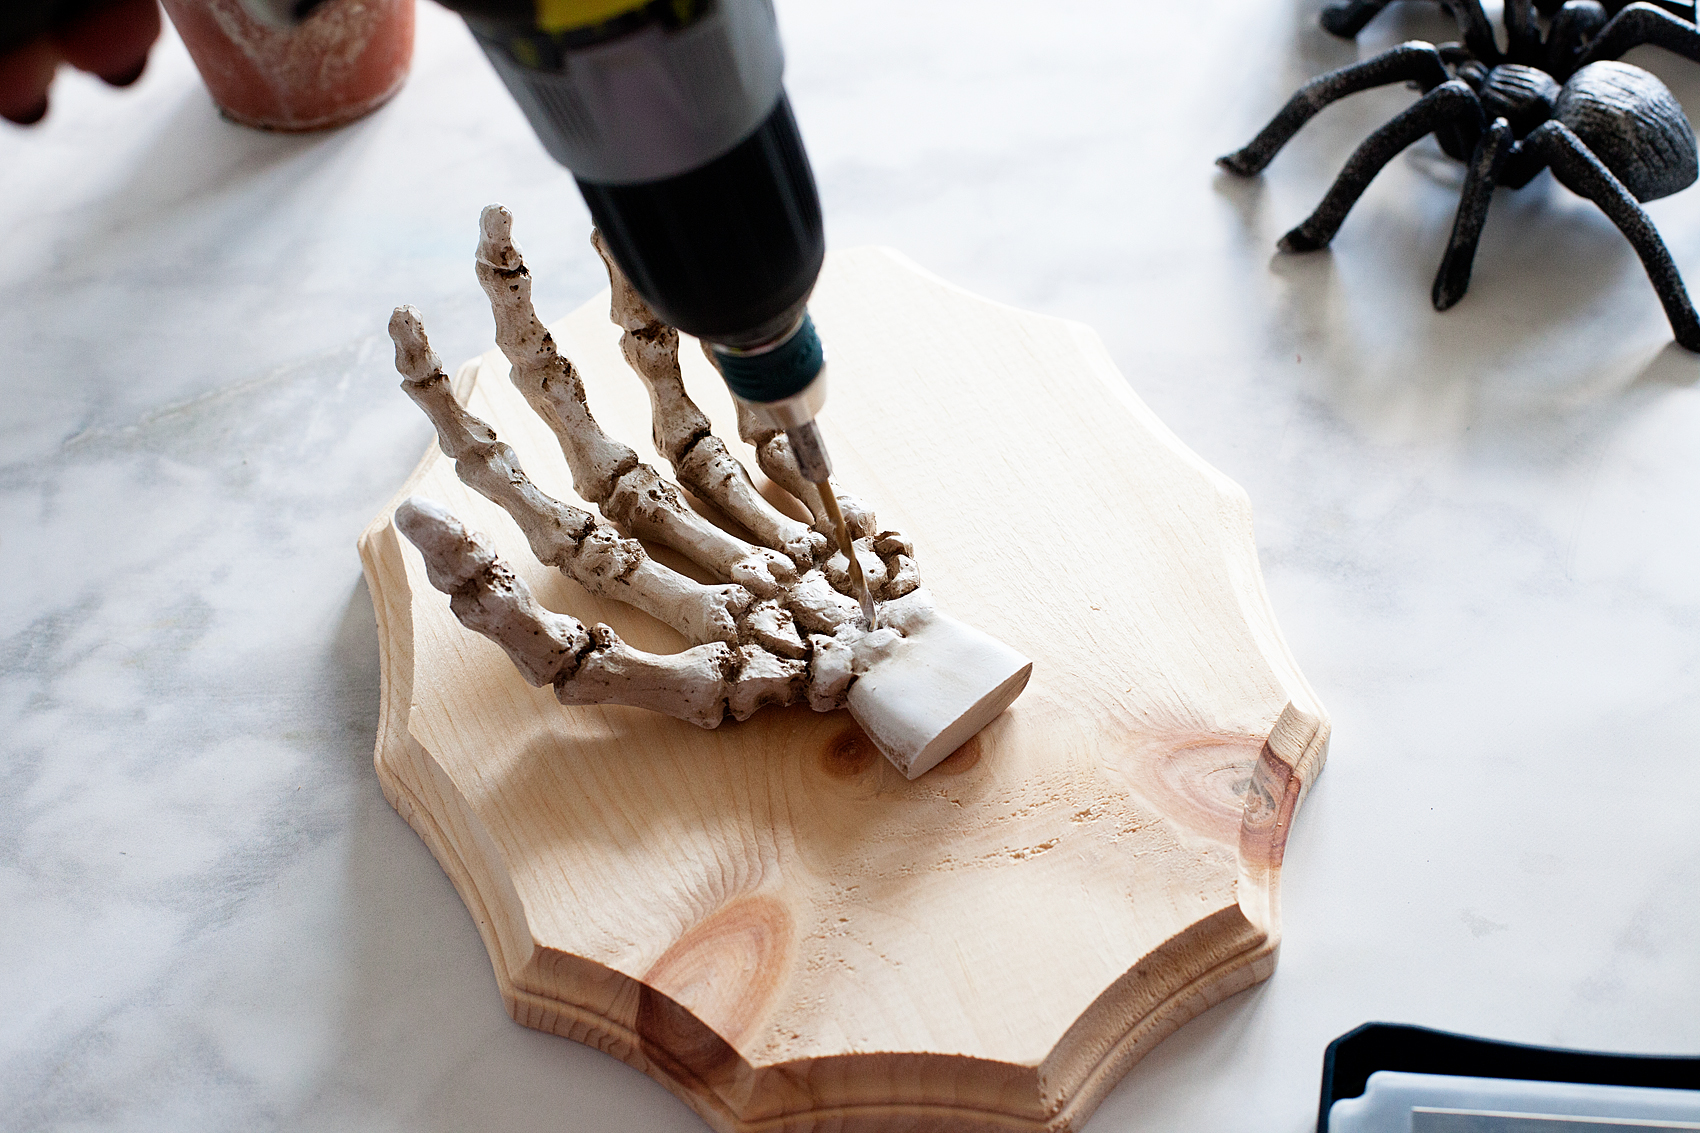
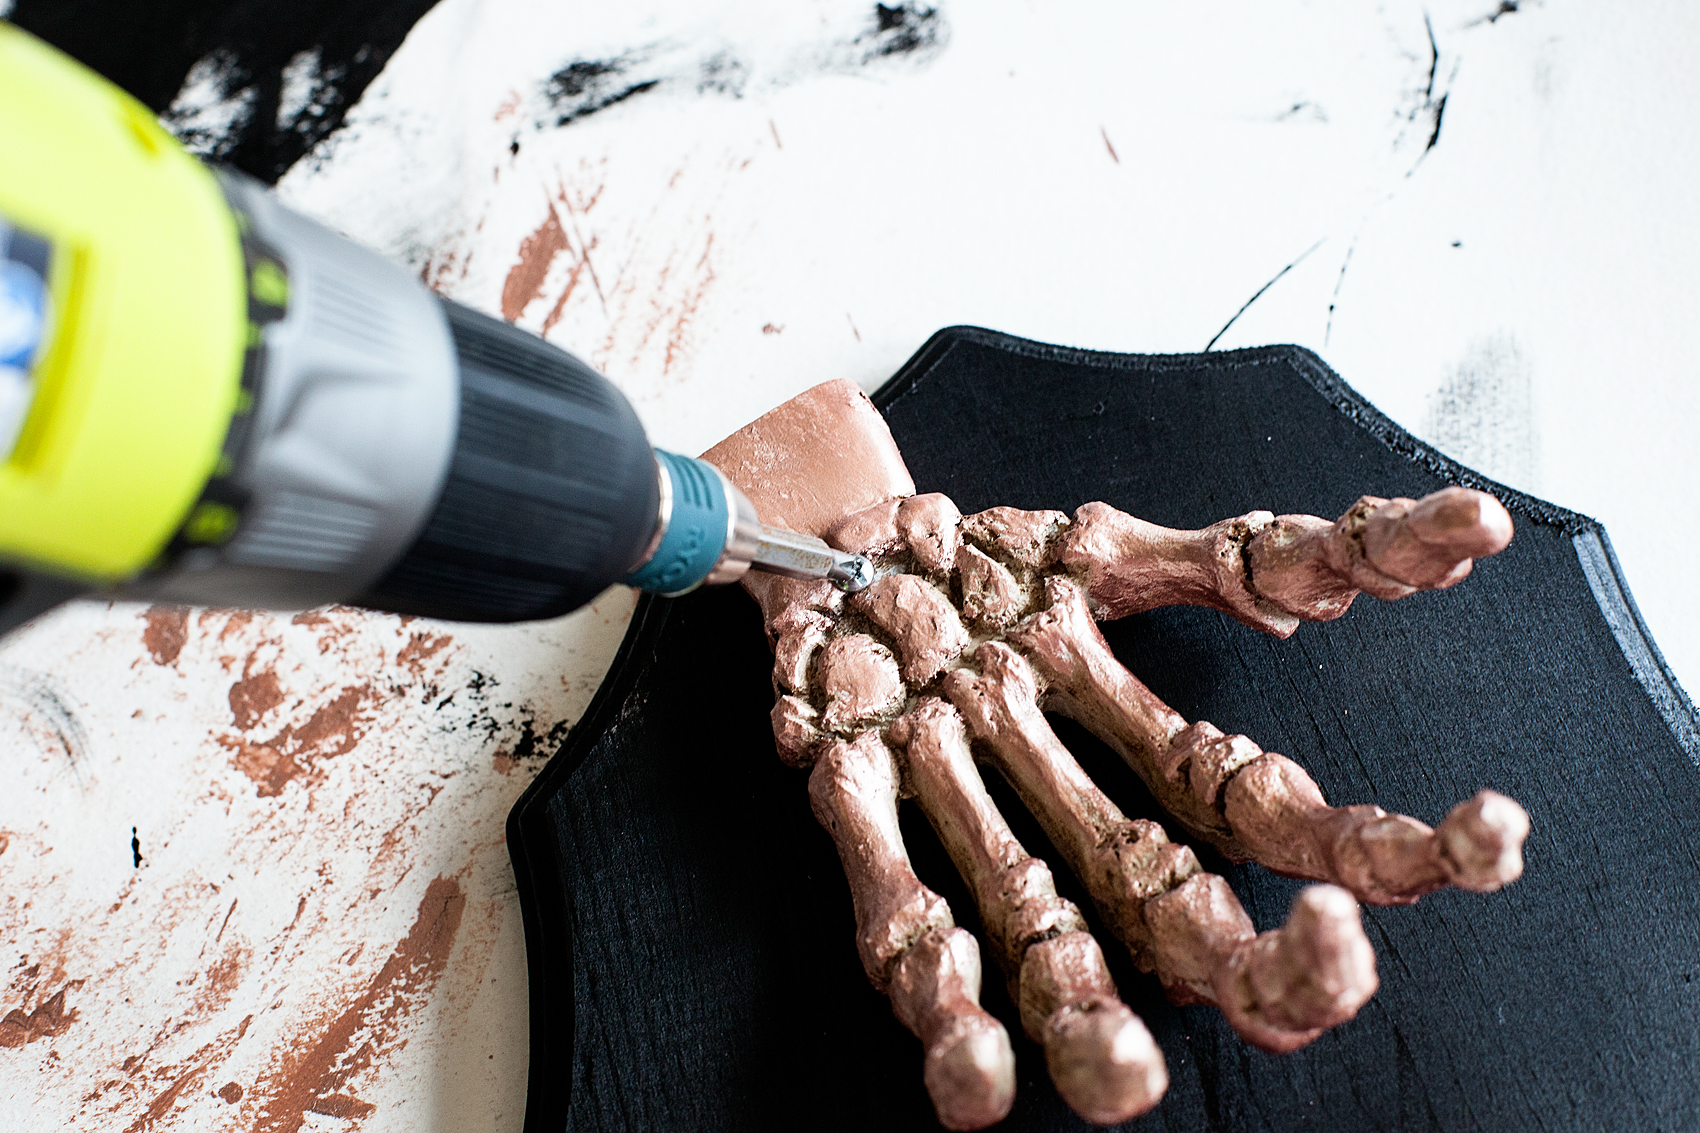
Next, let’s drill a hole into the skeleton hand before we add the DecoArt Metallic Lustre.

Add a little flair to your spooky Halloween decor with DecoArt! I used their Metallic Lustre to turn simple spooky objects into creepy yet classy taxidermy plaques to decorate our entryway for Halloween.

The hand is made out of a resin so it isn’t a problem to drill a hole into it. It  might be a little hard to start, but once you get the hole stared, it’s not a big deal.

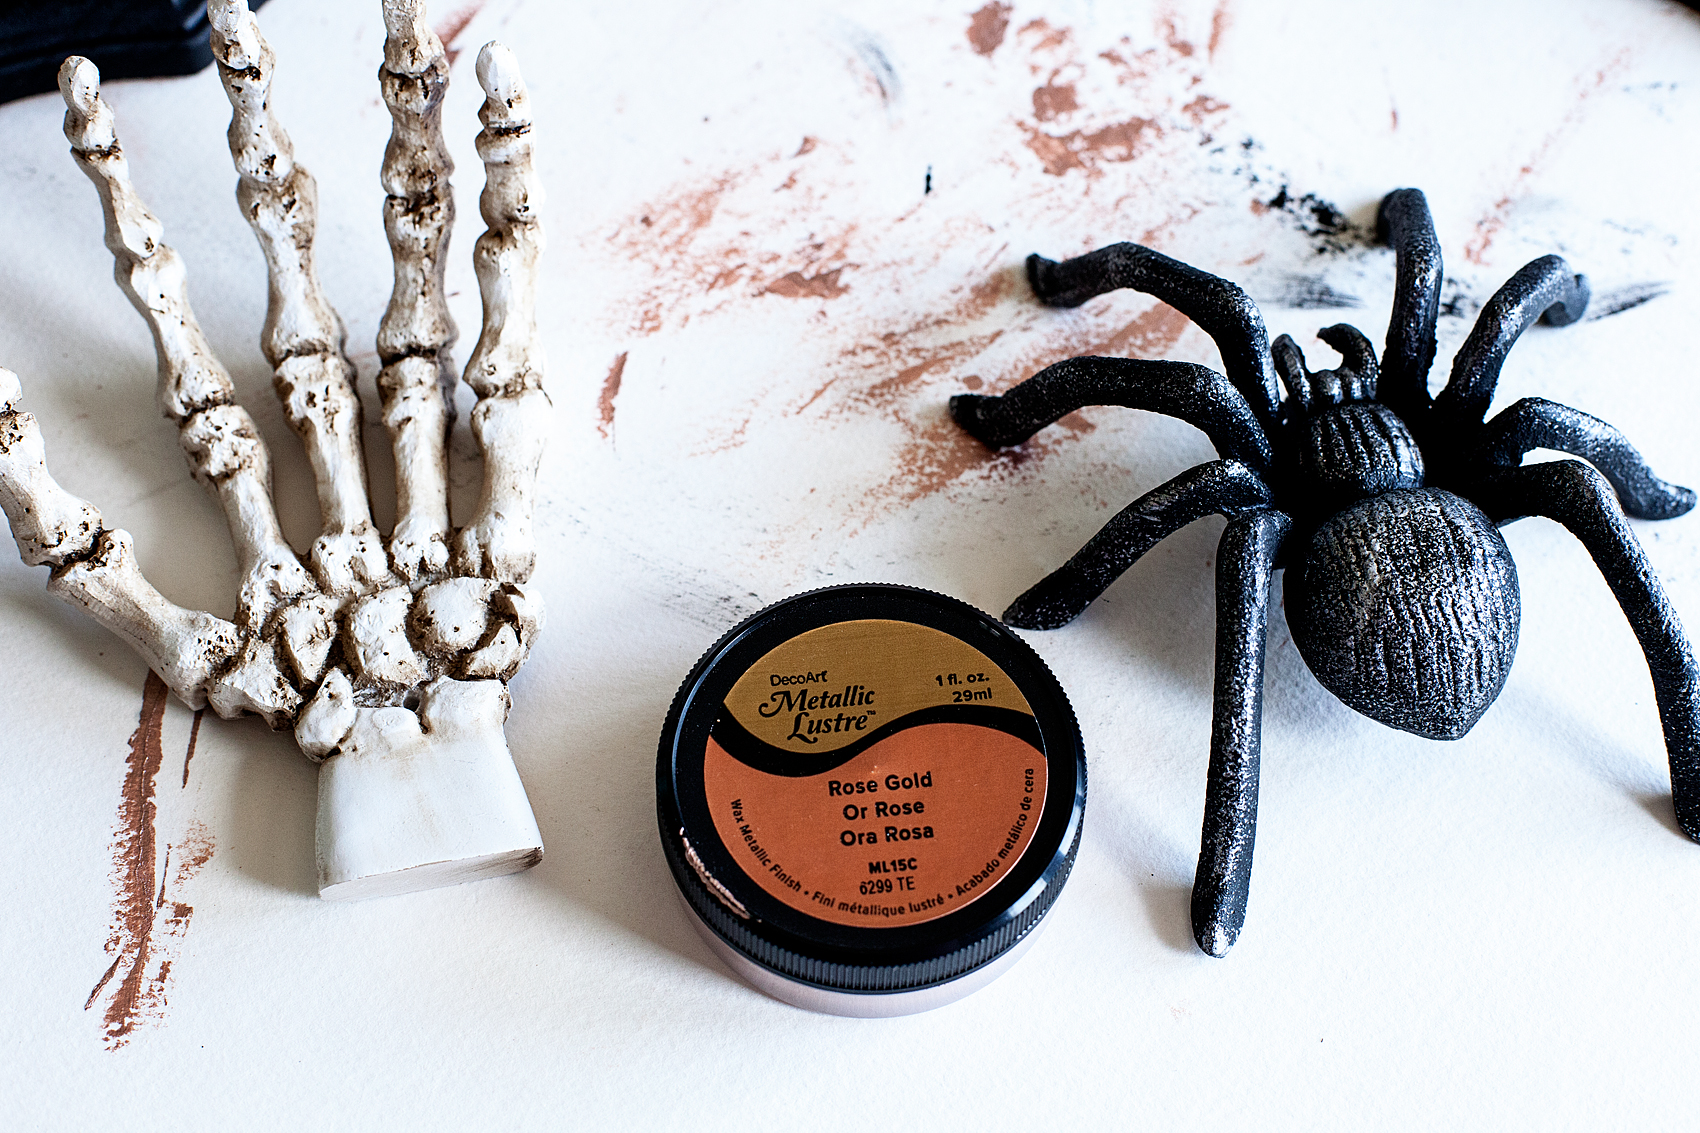
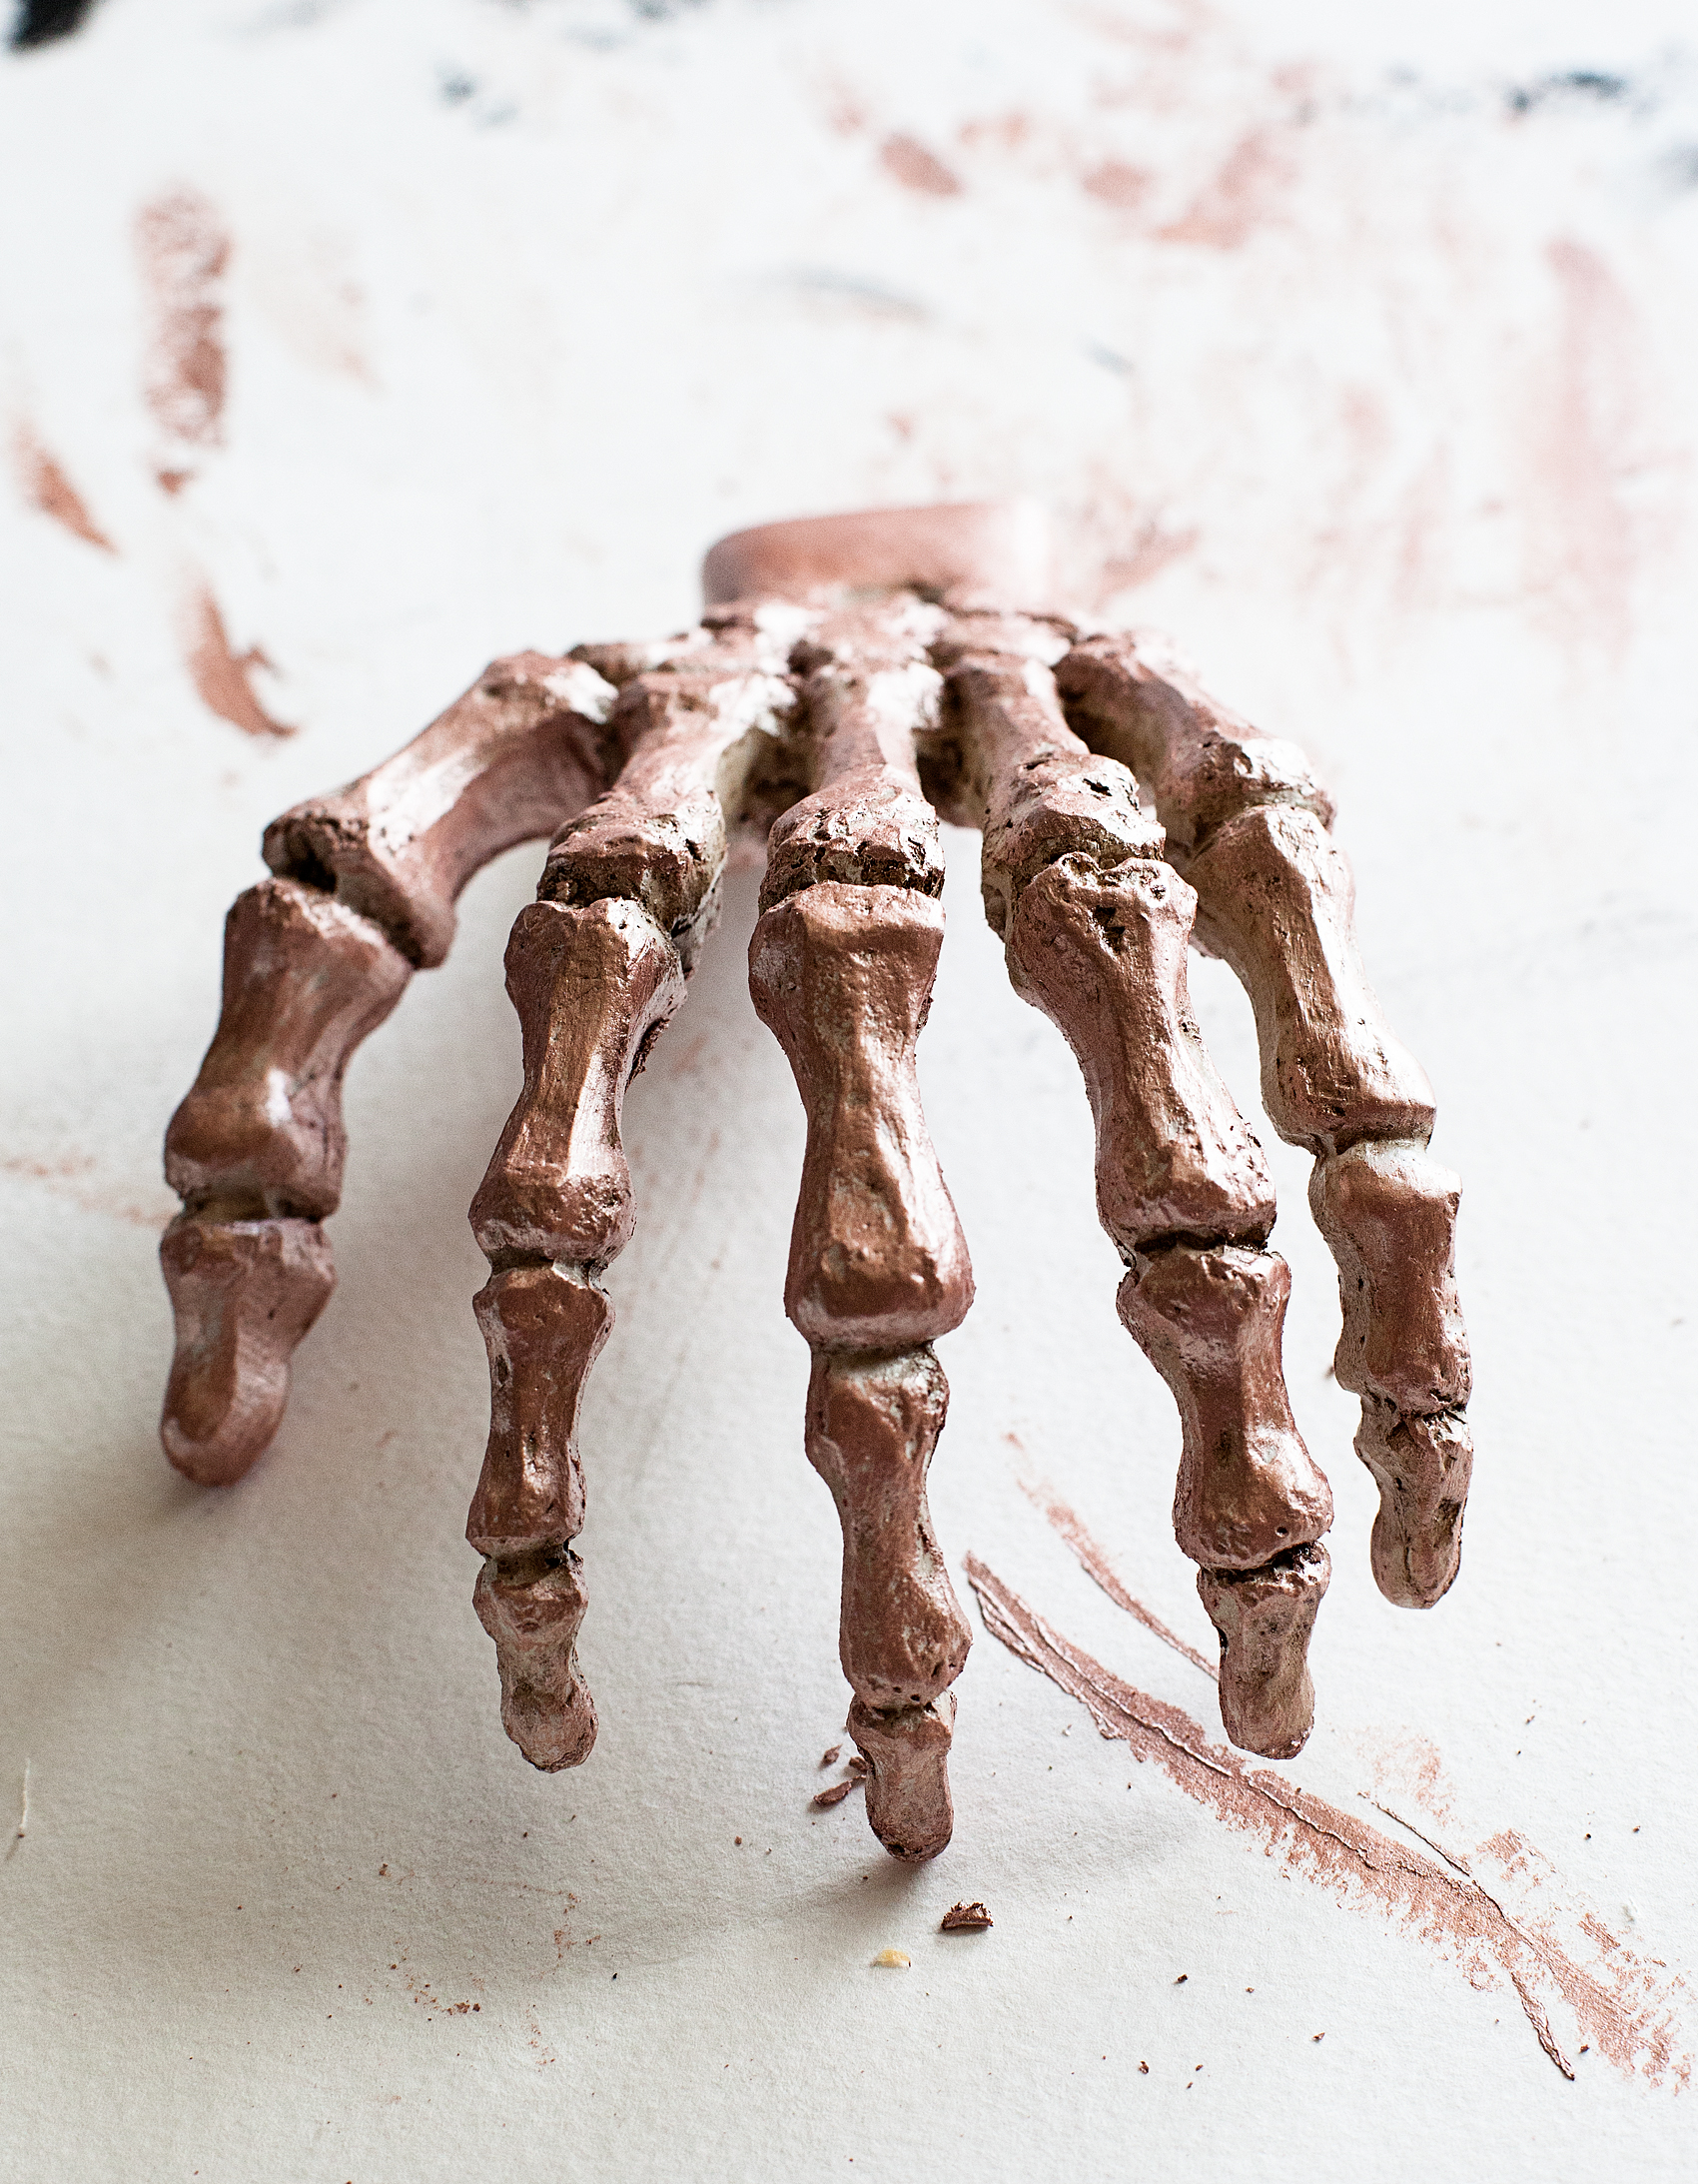
Next, grab the skeleton hand, keys, spider, the rose gold Metallic Lustre and your lint free cloth (or paper towel if you are in a pinch. Just don’t rub too hard.)

Add a little flair to your spooky Halloween decor with DecoArt! I used their Metallic Lustre to turn simple spooky objects into creepy yet classy taxidermy plaques to decorate our entryway for Halloween.

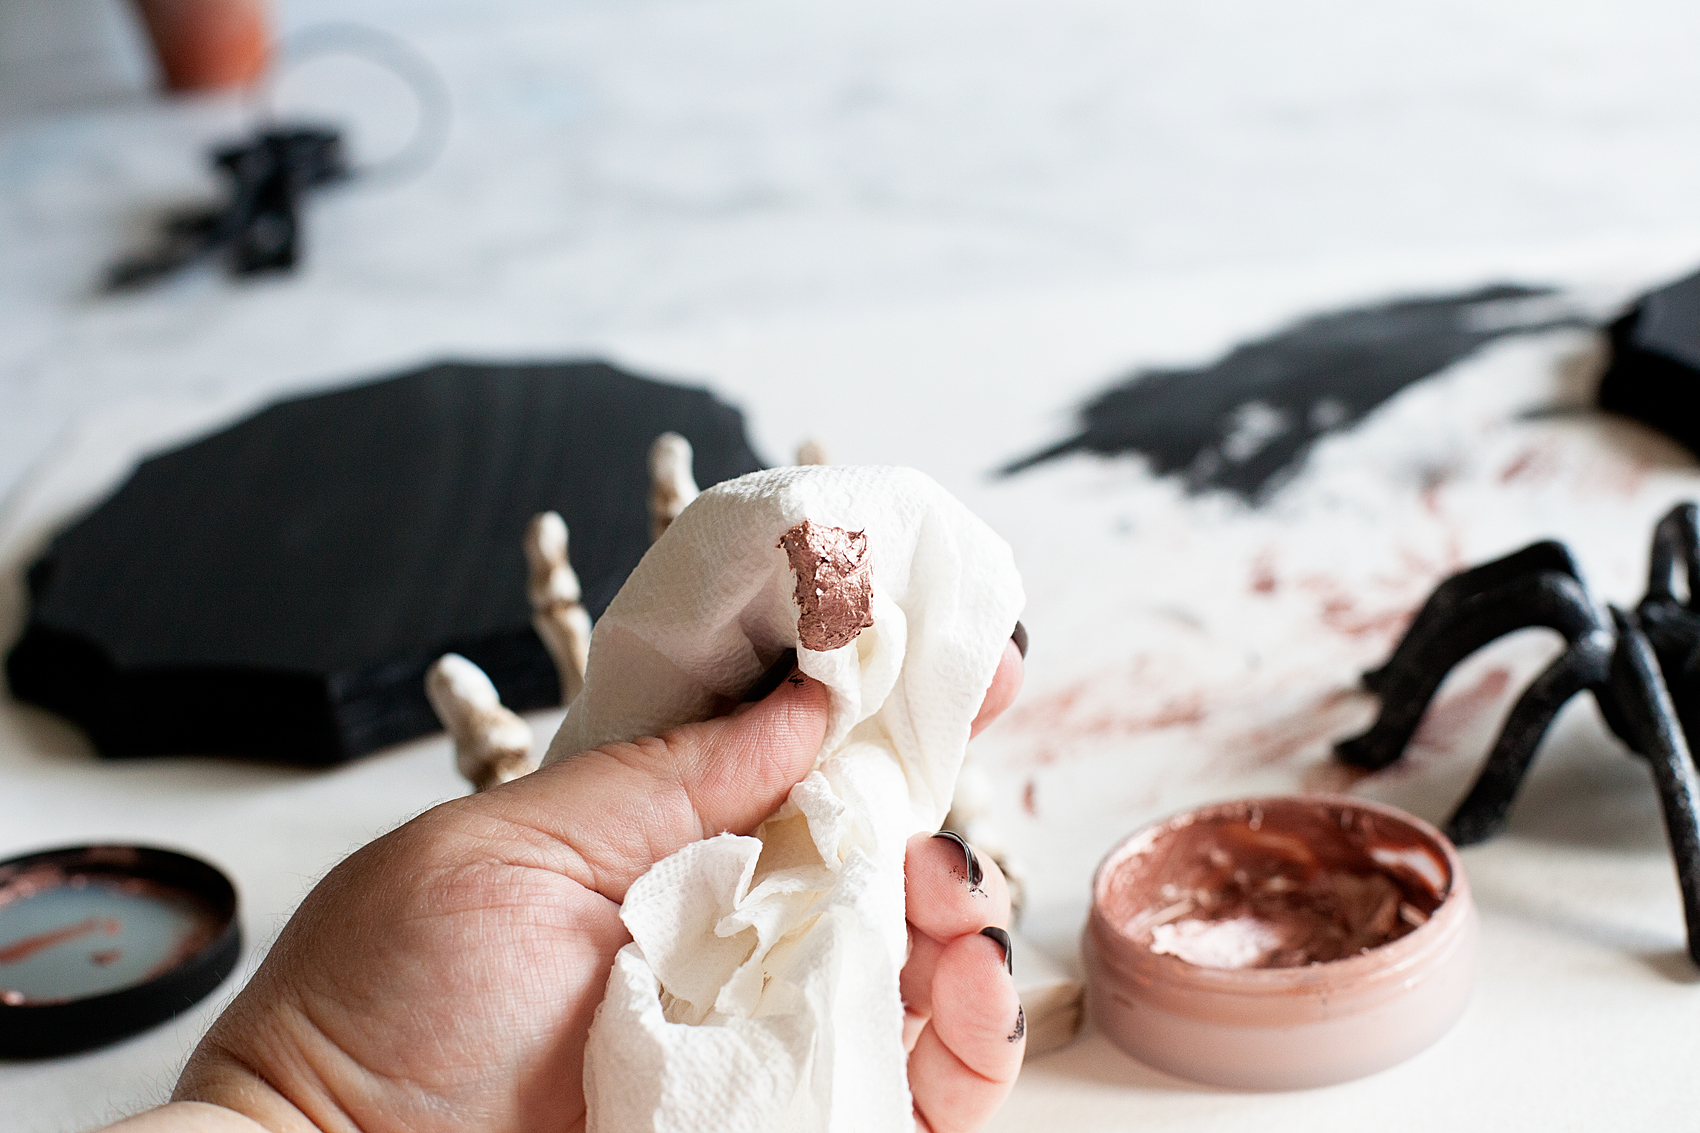
Now, the DecoArt Metallic Lustre is a wax finish, not paint. IT AWESOME!!  I love this stuff! I put a little onto my cloth like so…

Add a little flair to your spooky Halloween decor with DecoArt! I used their Metallic Lustre to turn simple spooky objects into creepy yet classy taxidermy plaques to decorate our entryway for Halloween.

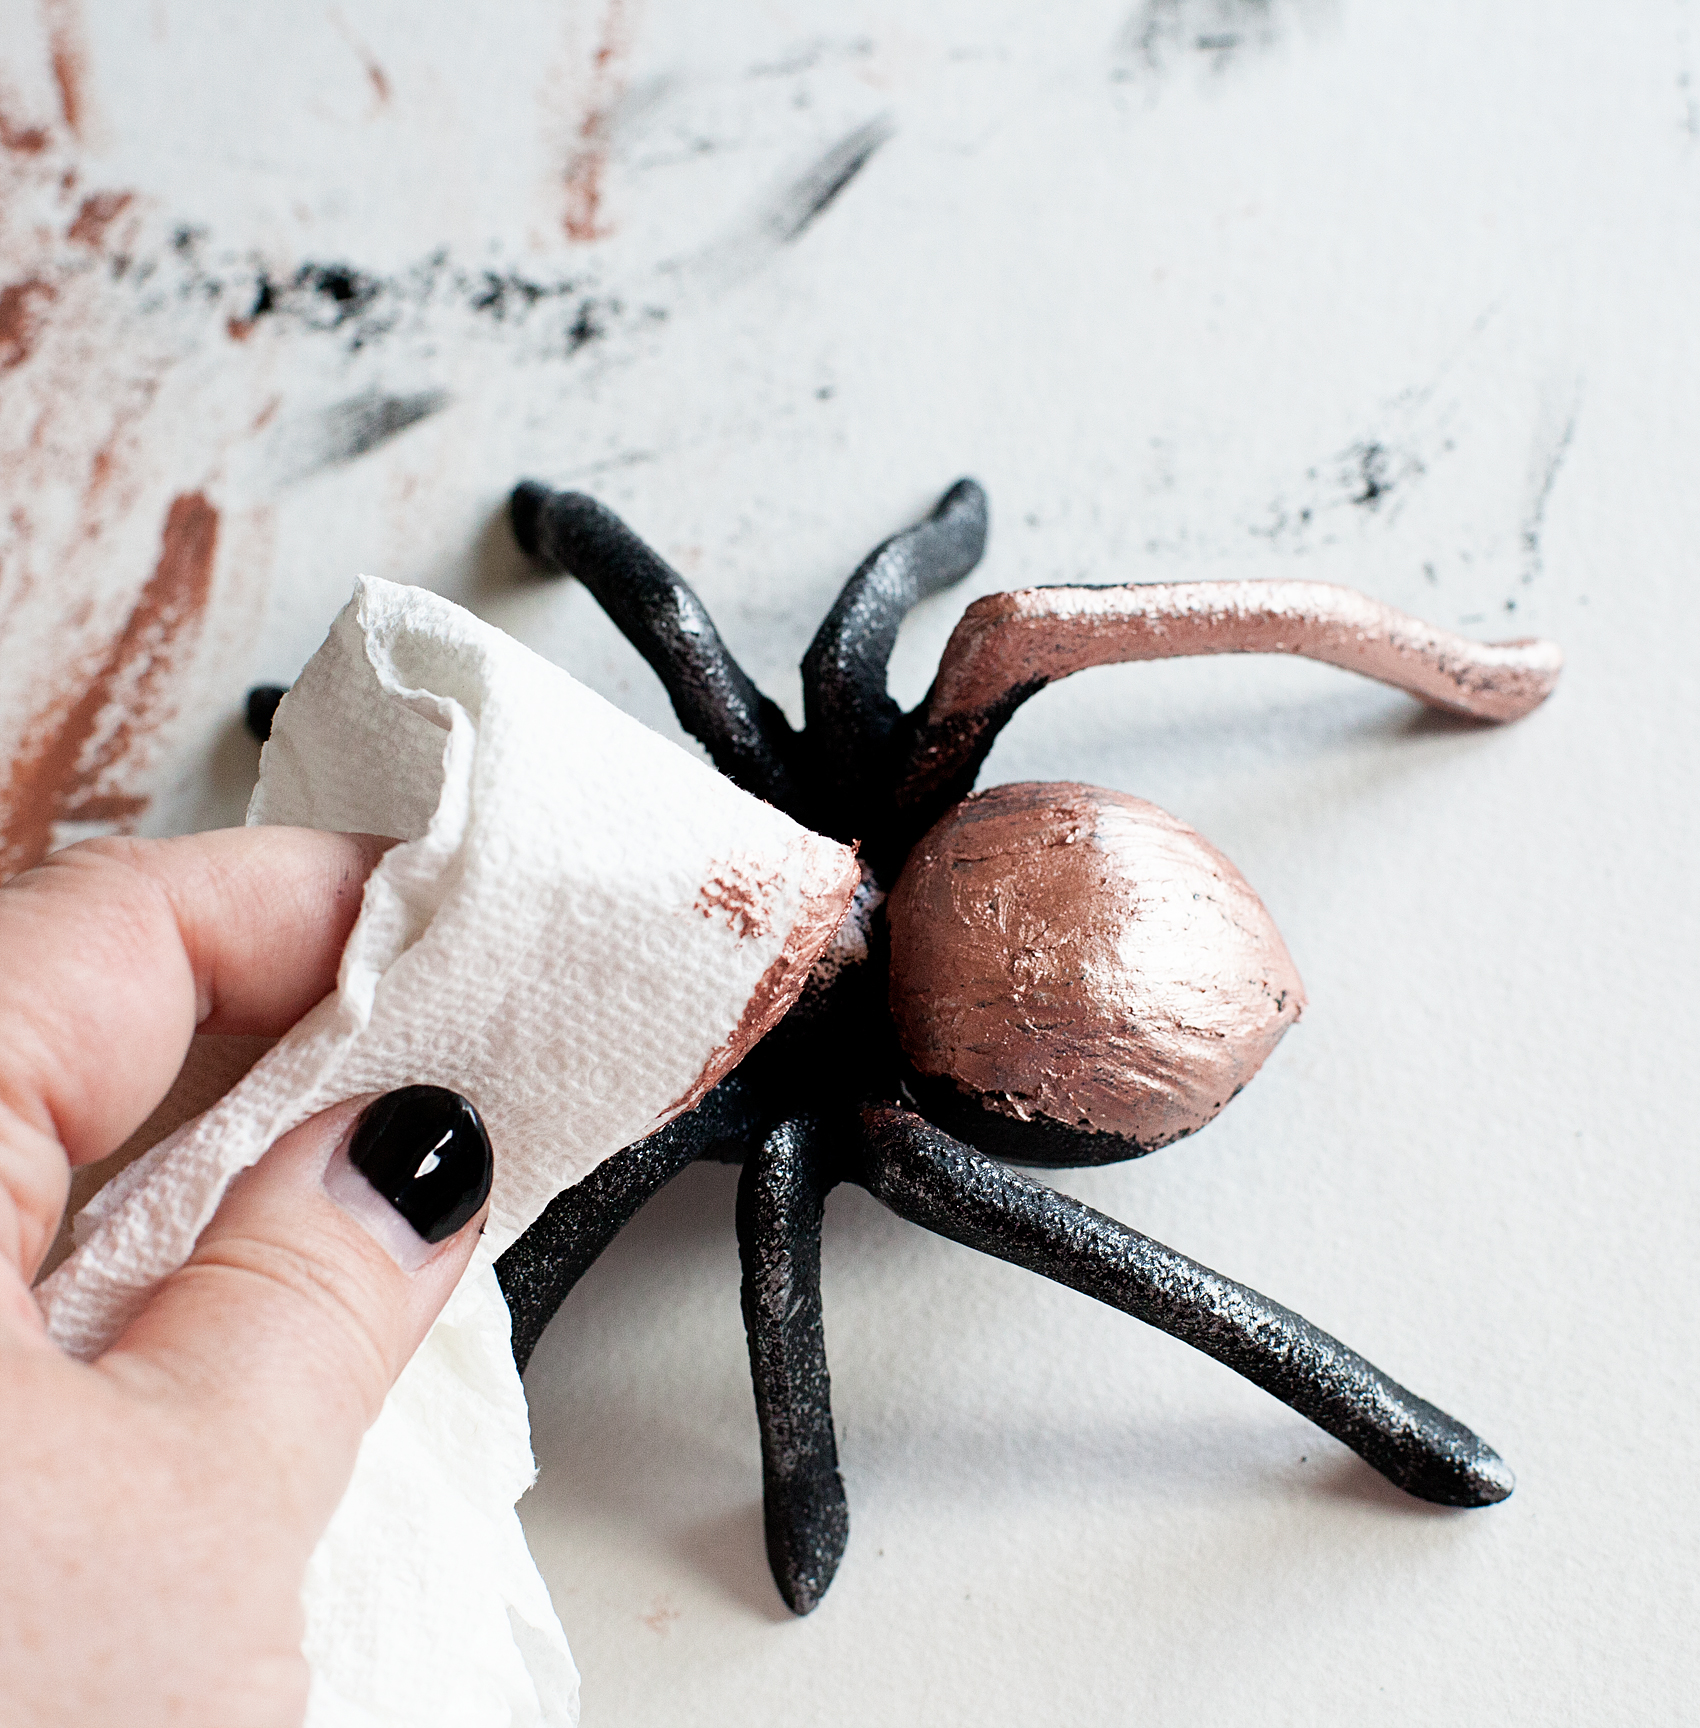
… And then, rub it all over your object that you are wanting to add a little flair to.

Add a little flair to your spooky Halloween decor with DecoArt! I used their Metallic Lustre to turn simple spooky objects into creepy yet classy taxidermy plaques to decorate our entryway for Halloween.

It cures really quick so, if you don’t want to have full coverage, make sure you work in small sections and work quick. With these pieces, I didn’t want full coverage, I still wanted them to look a little rough. As for the keys, I only wanted the rose gold at the top of the keys and then left the bottom black.

Add a little flair to your spooky Halloween decor with DecoArt! I used their Metallic Lustre to turn simple spooky objects into creepy yet classy taxidermy plaques to decorate our entryway for Halloween.

Once the paint on the plaques is dry and the Metallic Lustre has cured (it only takes a few minutes) you are ready to mount them on their plaques.

Add a little flair to your spooky Halloween decor with DecoArt! I used their Metallic Lustre to turn simple spooky objects into creepy yet classy taxidermy plaques to decorate our entryway for Halloween.

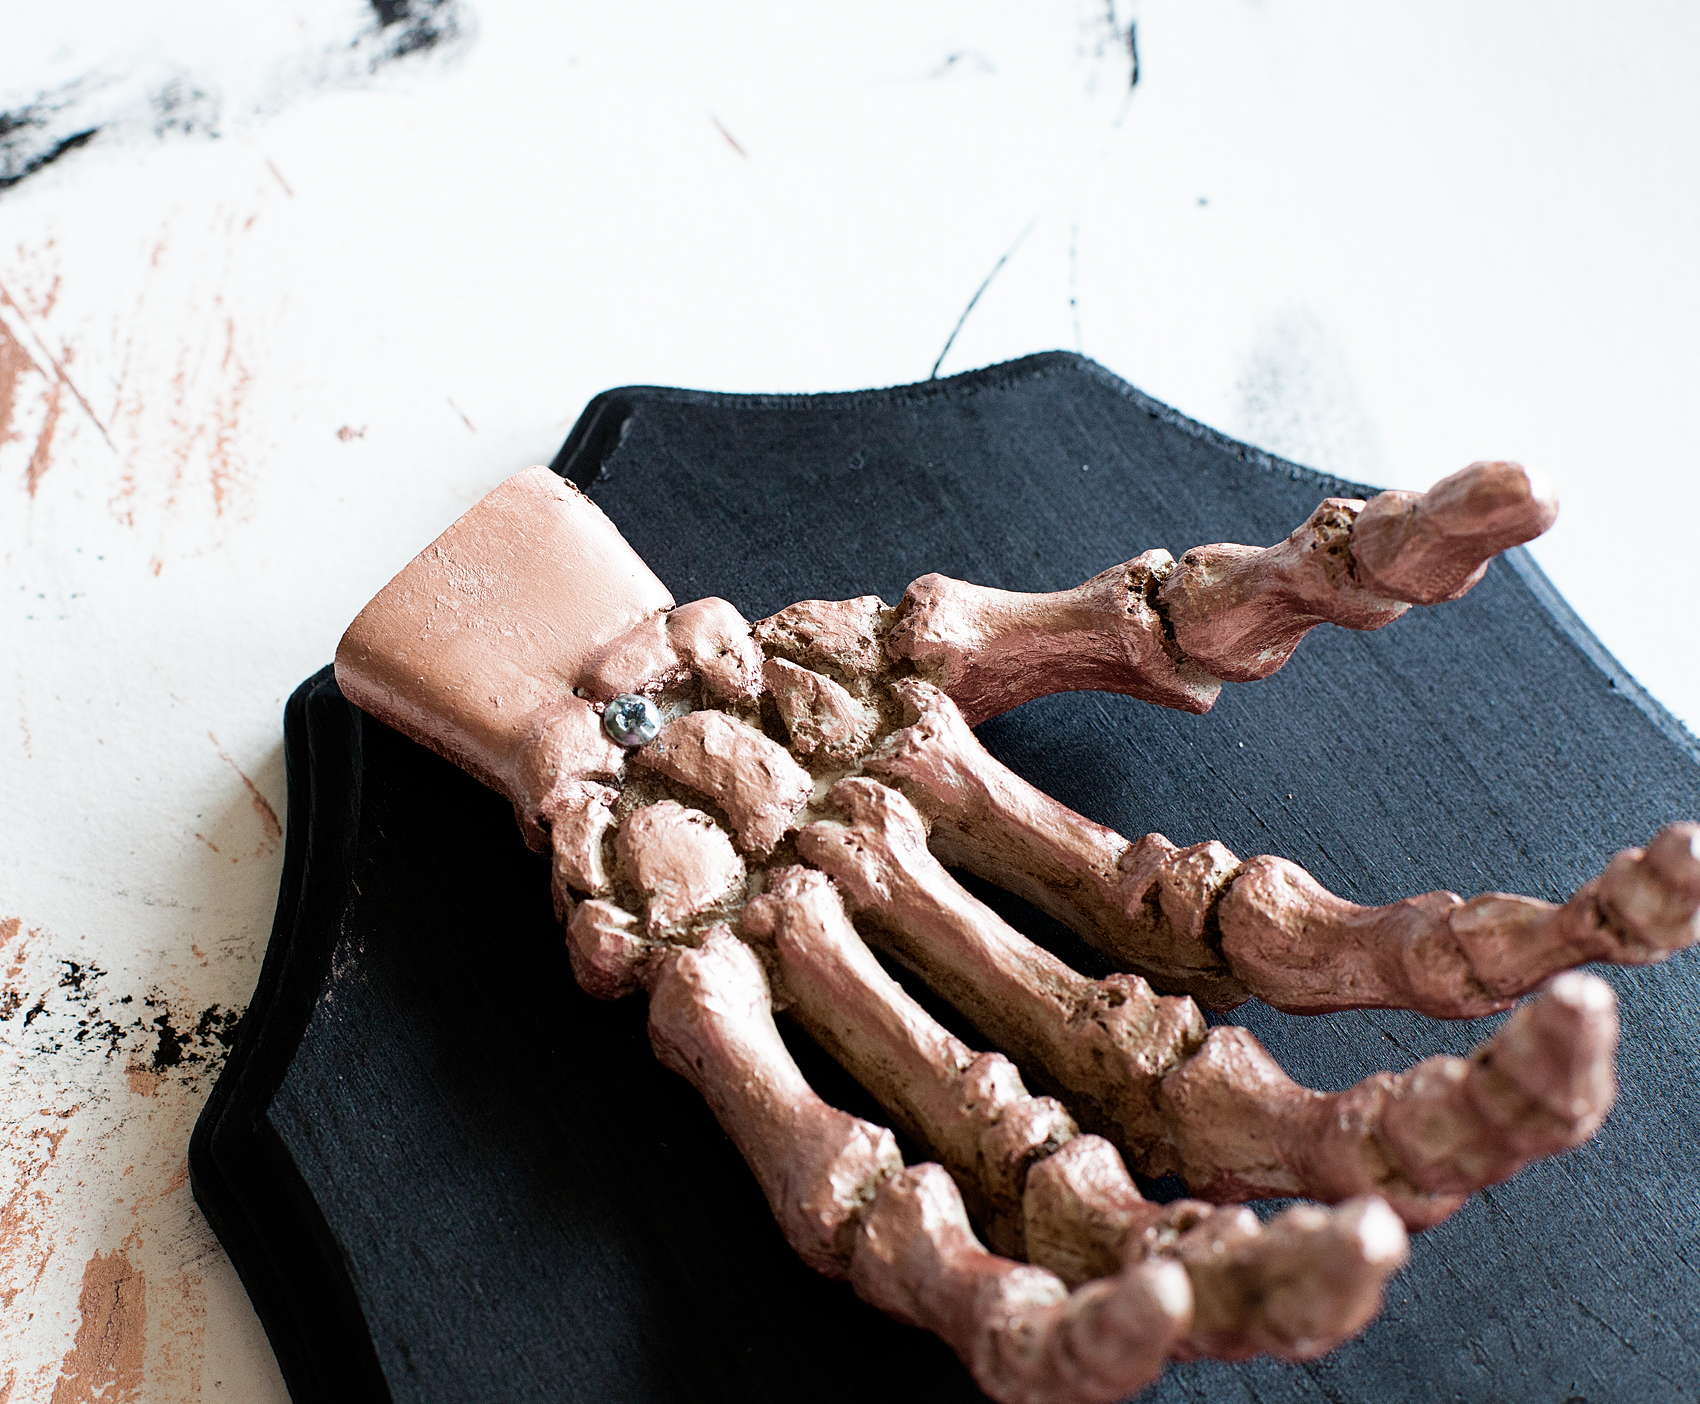
I just used a 1 1/2 inch screw to adhere the skeleton hand to the plaque. However, I did drill pilot holes into the hand and the plaque before to ensure a proper fit.

Now… I’m sure you’ve noticed that there is now a unsightly screw in the hand.

Add a little flair to your spooky Halloween decor with DecoArt! I used their Metallic Lustre to turn simple spooky objects into creepy yet classy taxidermy plaques to decorate our entryway for Halloween.

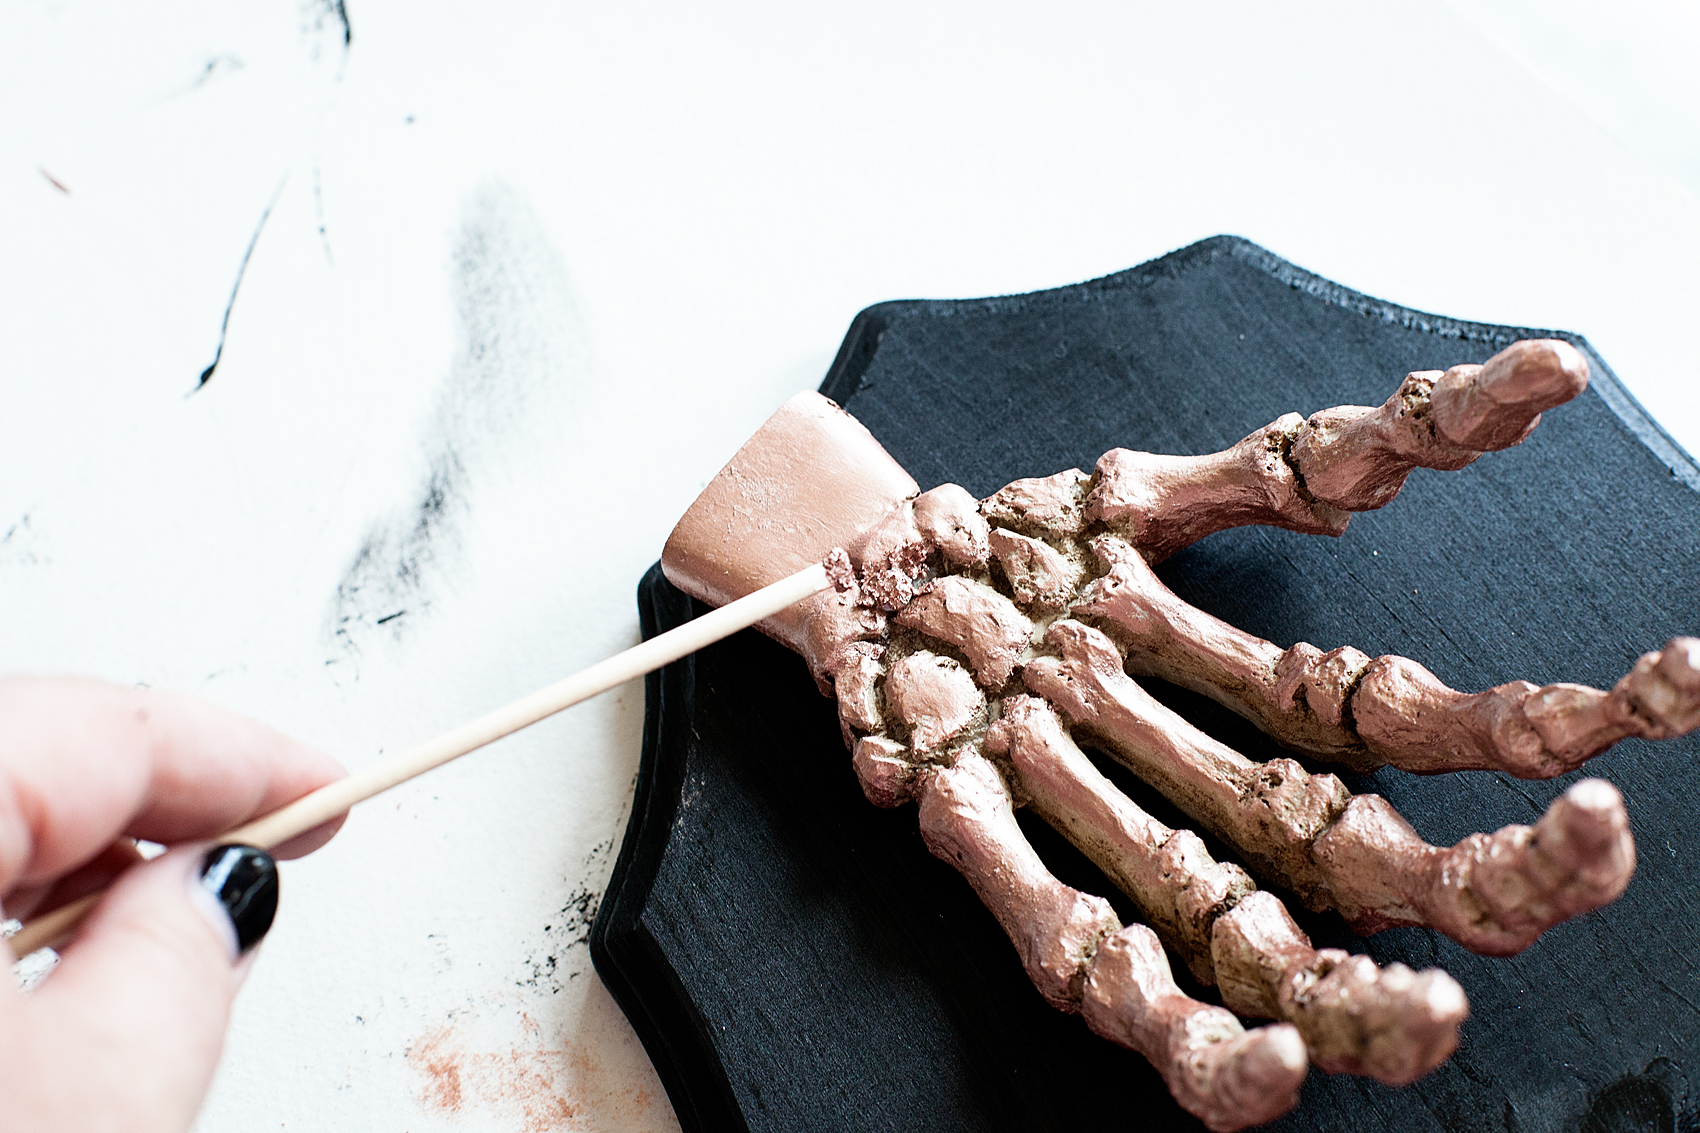
No worries!! I took a stick and roughly added more of the Metallic Lustre to cover the screw head.

Add a little flair to your spooky Halloween decor with DecoArt! I used their Metallic Lustre to turn simple spooky objects into creepy yet classy taxidermy plaques to decorate our entryway for Halloween.

Once it cures, it’s hard and voilá… You can’t see the screw! Nice, huh?

For the spider, I placed a screw on the plaque and hung the spider on it. If you use the same spider that I used, it has a screw hanger on the back so it works perfect. I did add some of the Metallic Lustre to the screw to help it blend in.

Now it’s time to mount your Staghorn Fern. Grab the plaque that you didn’t paint along with your drill and 6 1 1/2 inch screws and some floral wire.

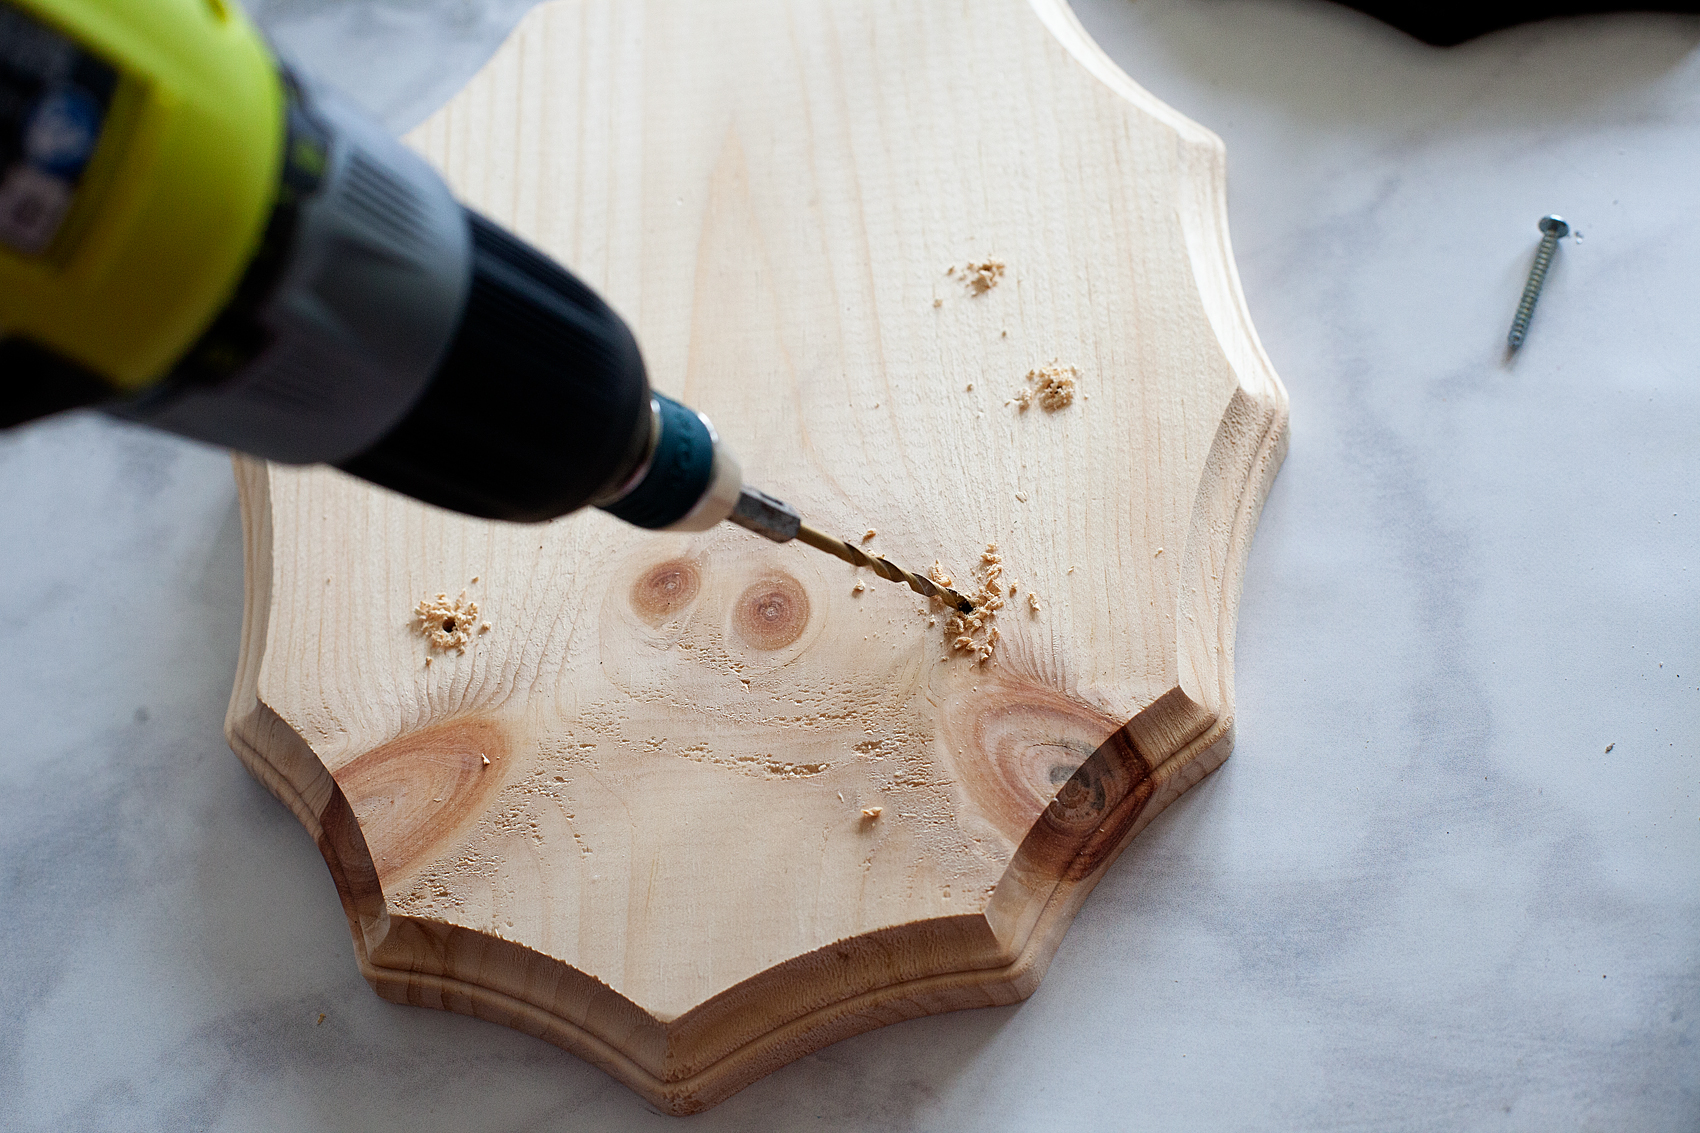
First, I drill pilot holes into the plaque.

Add a little flair to your spooky Halloween decor with DecoArt! I used their Metallic Lustre to turn simple spooky objects into creepy yet classy taxidermy plaques to decorate our entryway for Halloween.

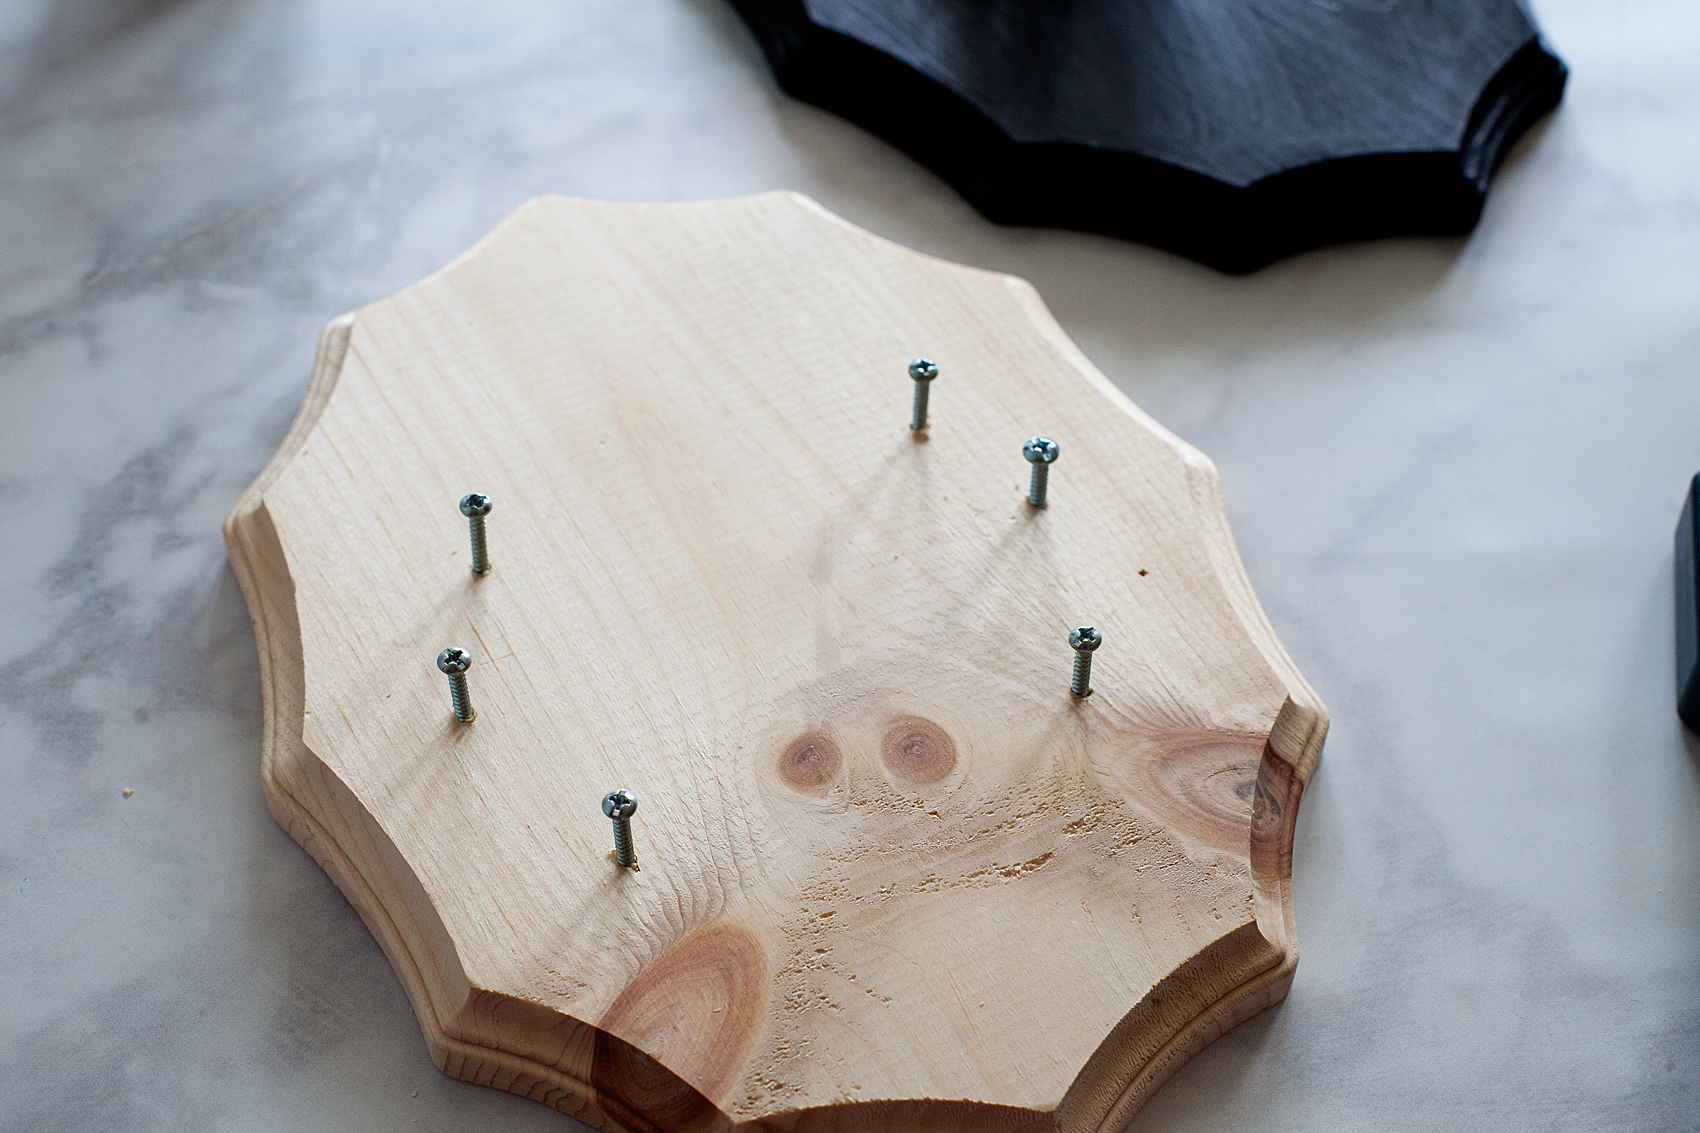
Three on each side about an inch away from the edge of the board. Then I add my screws but keep about an inch sticking up from the board.

Add a little flair to your spooky Halloween decor with DecoArt! I used their Metallic Lustre to turn simple spooky objects into creepy yet classy taxidermy plaques to decorate our entryway for Halloween.

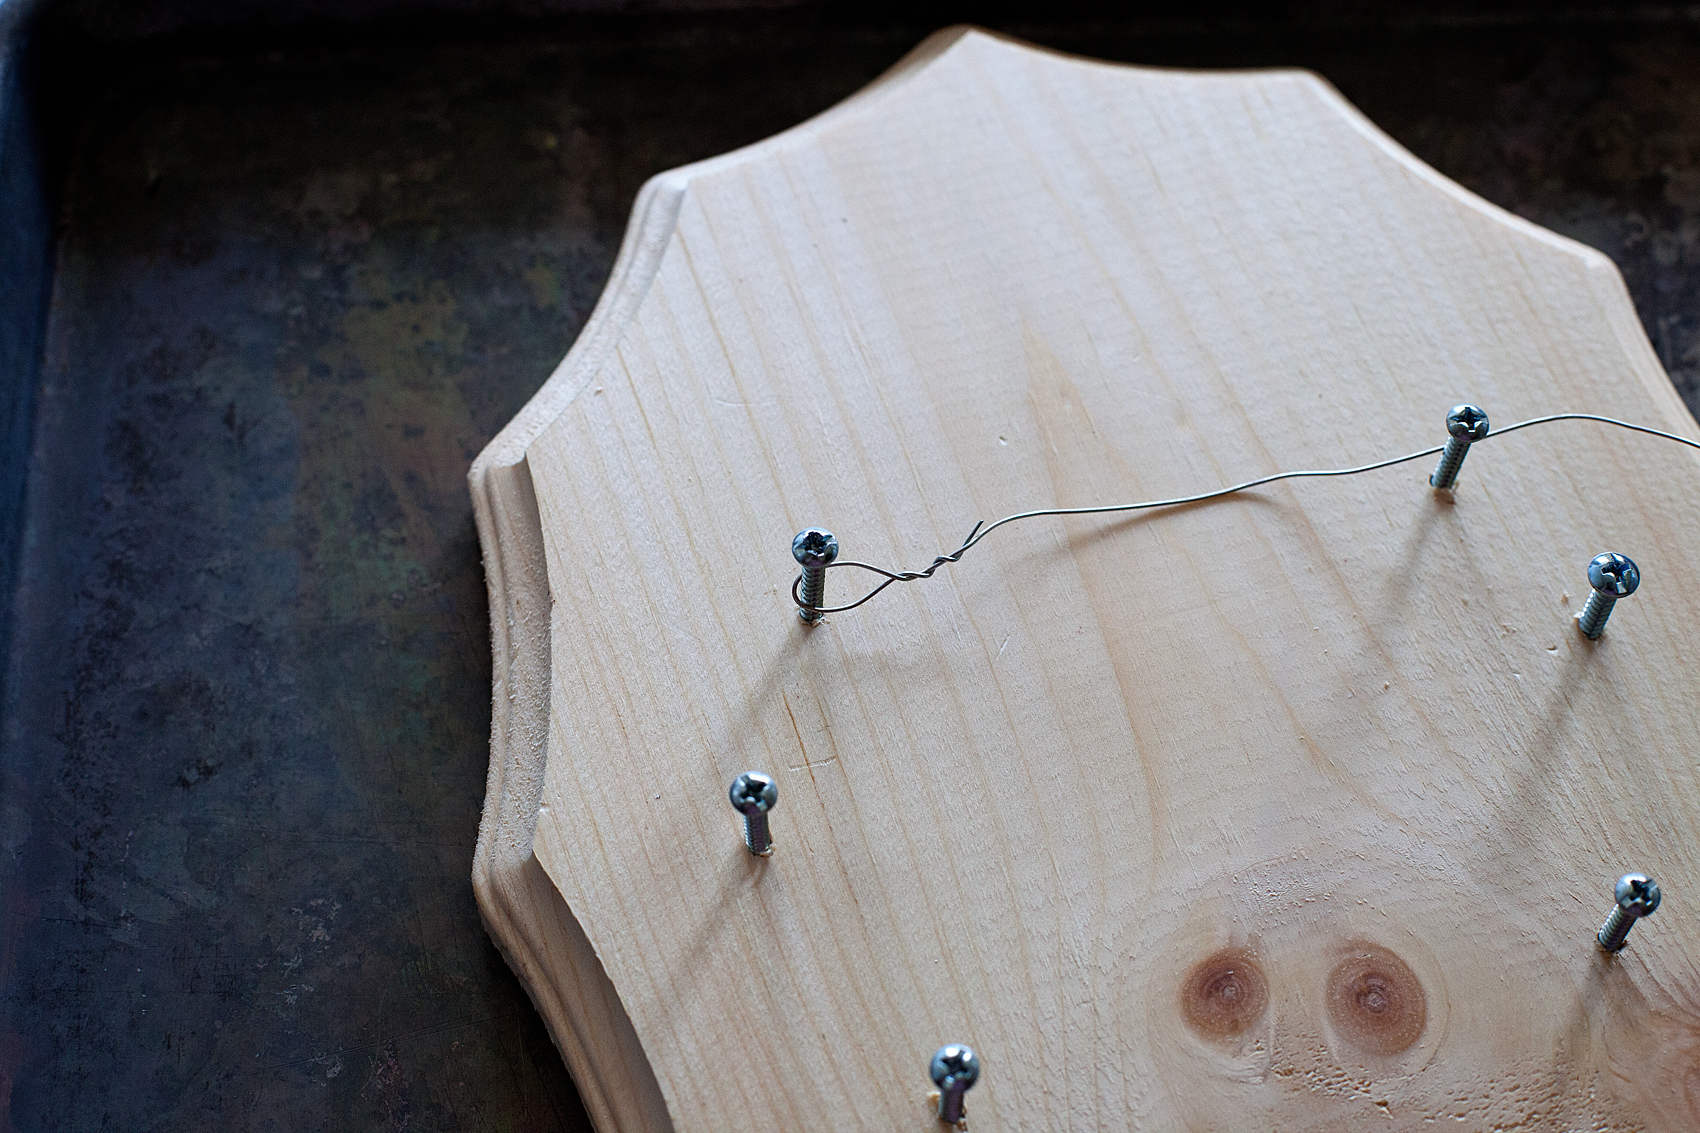
At this point, I lay my plaque in a baking sheet. This part can get a little messy and the baking sheet will help contain the mess. Then I take the floral wire and make a little loop to help start the process and attach it to the top screw.

Add a little flair to your spooky Halloween decor with DecoArt! I used their Metallic Lustre to turn simple spooky objects into creepy yet classy taxidermy plaques to decorate our entryway for Halloween.

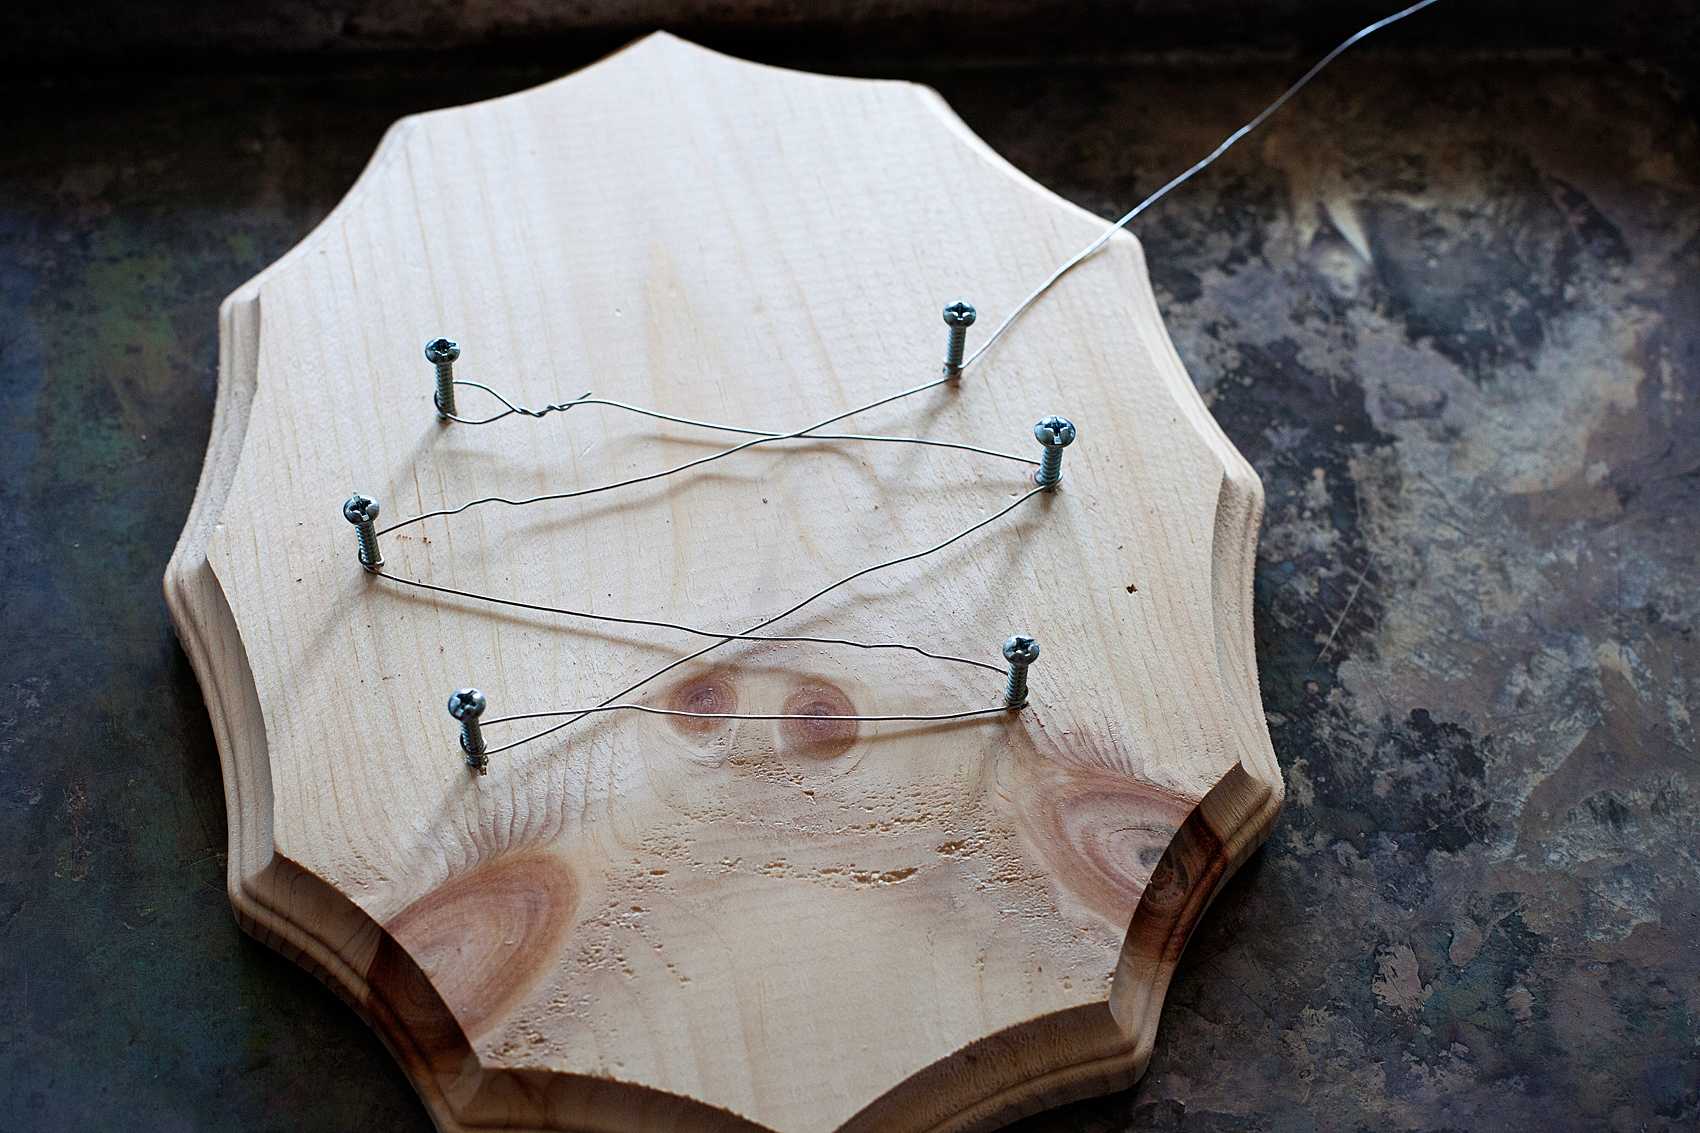
Then I wind it around the rest of the screws making sure to keep the wire close to the base of the screw close to the wood.

Add a little flair to your spooky Halloween decor with DecoArt! I used their Metallic Lustre to turn simple spooky objects into creepy yet classy taxidermy plaques to decorate our entryway for Halloween.

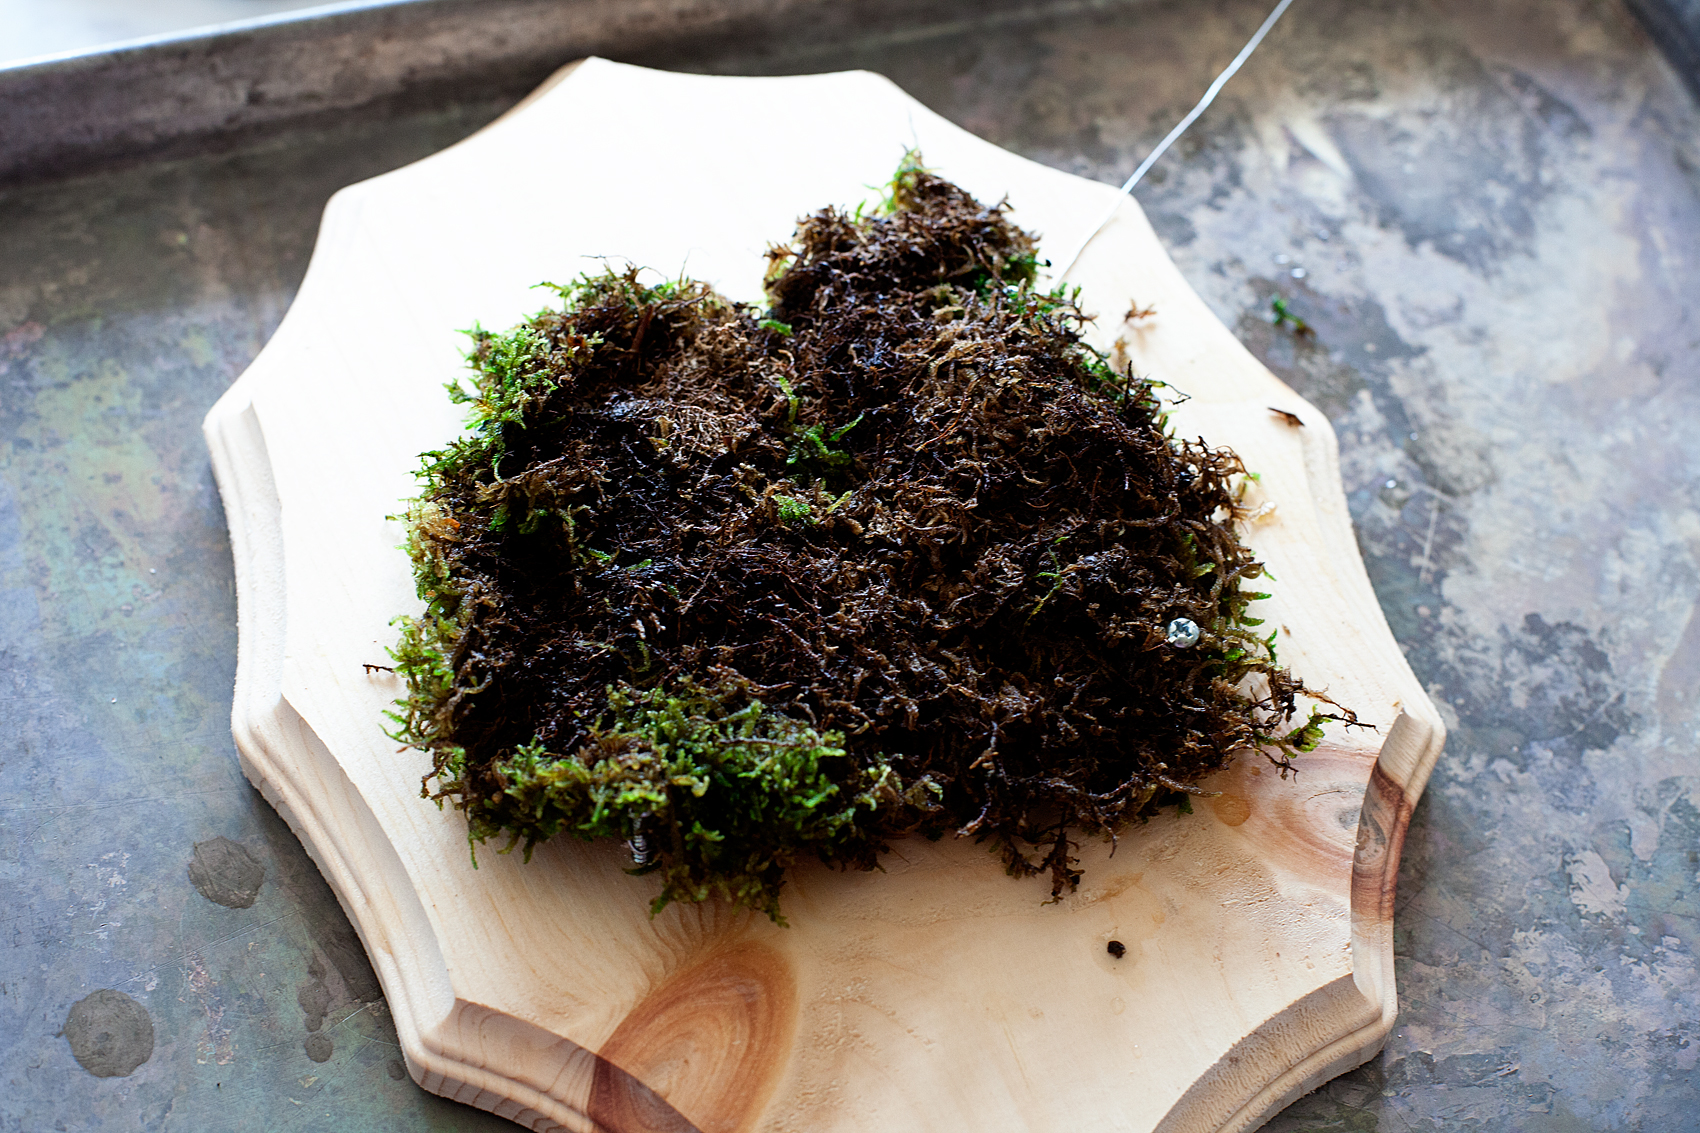
Do not cut the floral wire yet. Take some of your moss, gently wring it out a bit and lay it on top of the wire.

Add a little flair to your spooky Halloween decor with DecoArt! I used their Metallic Lustre to turn simple spooky objects into creepy yet classy taxidermy plaques to decorate our entryway for Halloween.

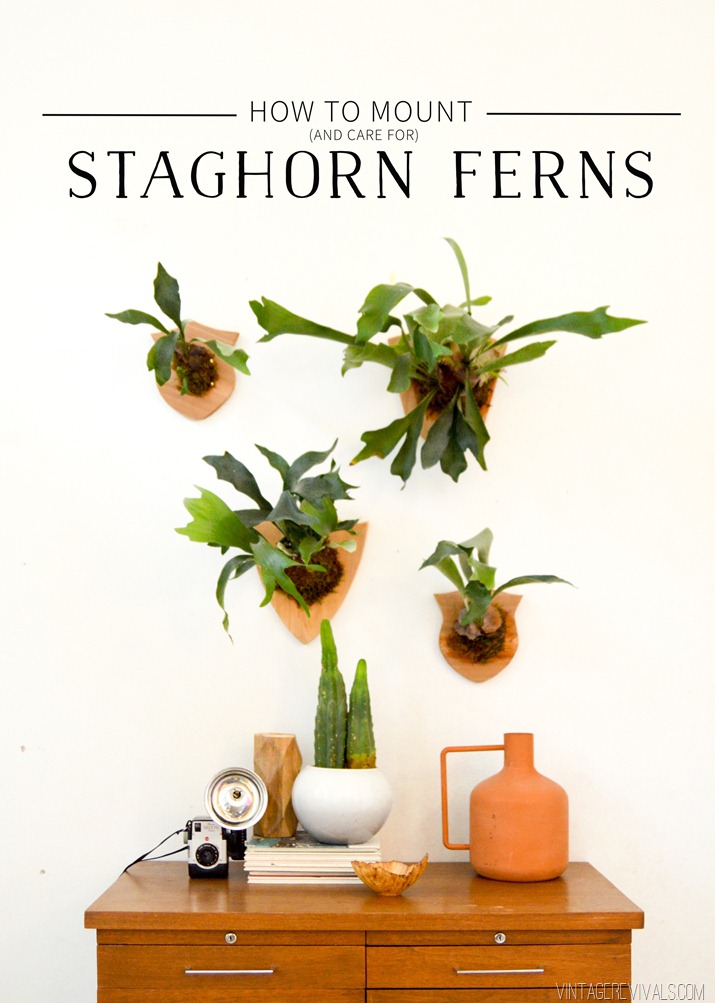
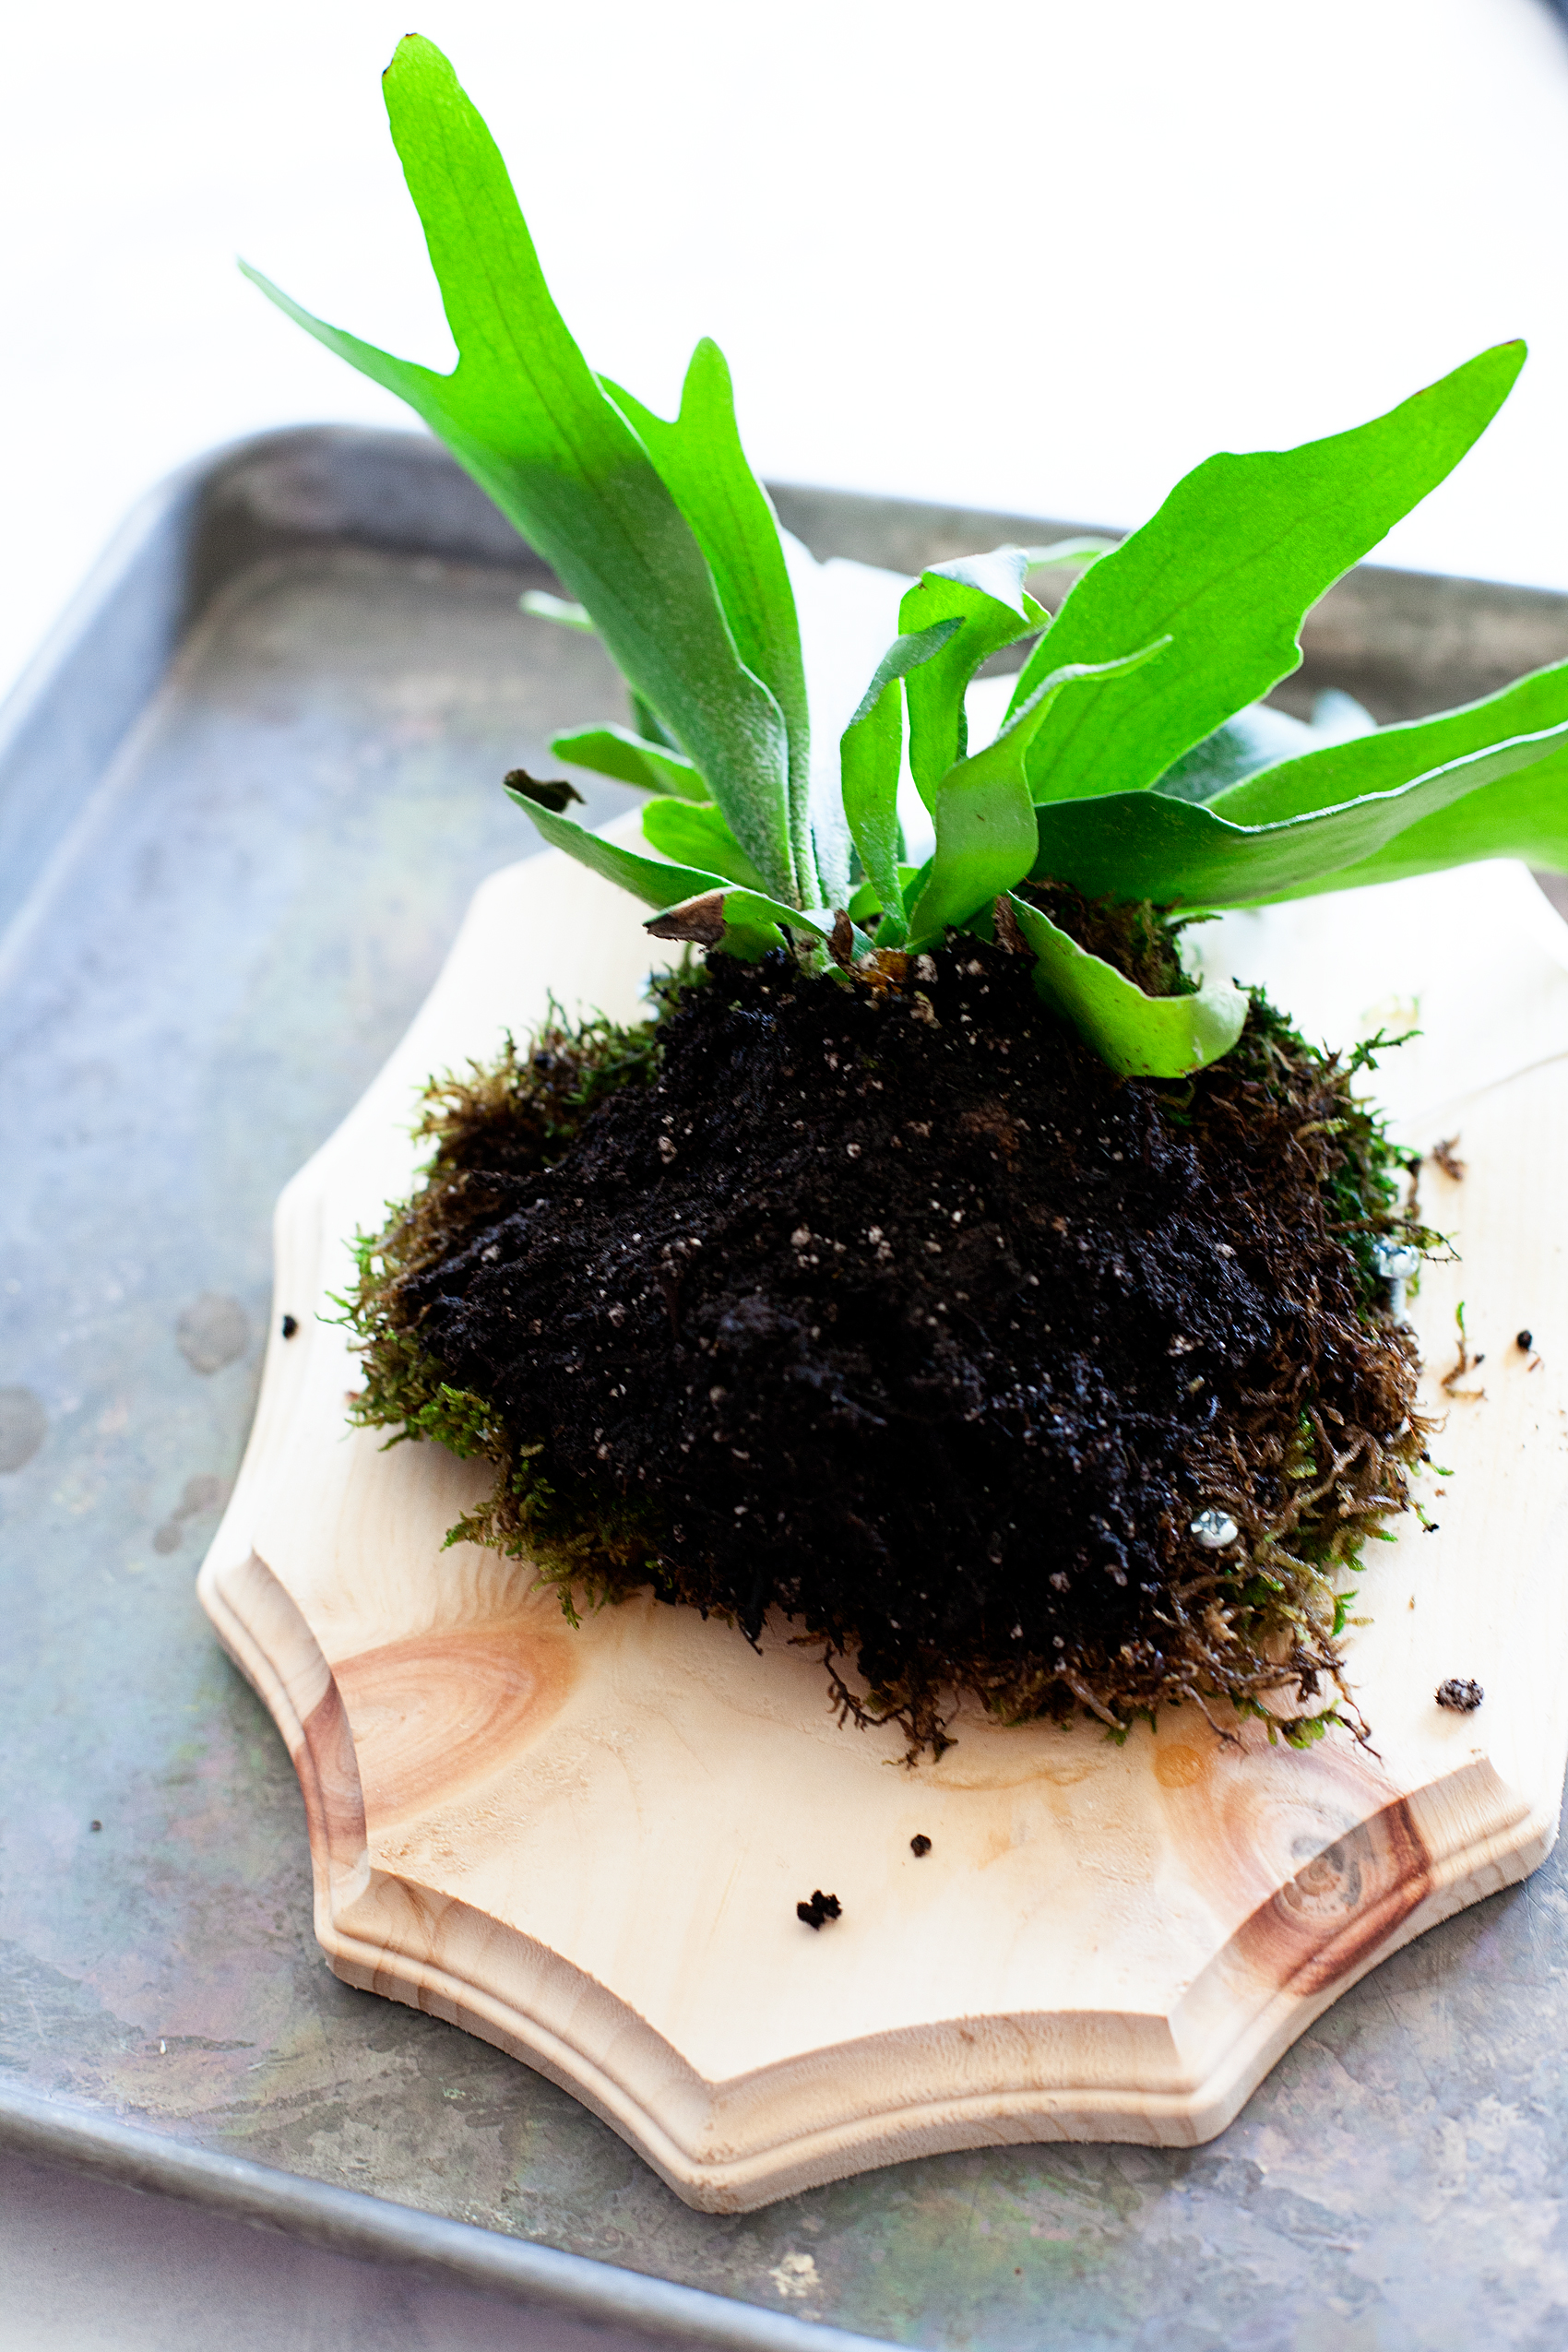
Then take your Staghorn Fern and gently take it out of the pot and remove as much dirt as possible. Staghorn Ferns are air plant so they really don’t need to live in soil. They get their nutrients from the air and the moisture on their frawns. For a really great post on Staghorn Ferns and how to mount and care for them, check out Vintage Revivals. Mandi has a real love for these plants.

HowtoMountandCareforStaghornFernscompletetutorialwithpictures

Once I’ve removed as much of the dirt as I am comfortable with, I lay it down on top of the moss.

Add a little flair to your spooky Halloween decor with DecoArt! I used their Metallic Lustre to turn simple spooky objects into creepy yet classy taxidermy plaques to decorate our entryway for Halloween.

Here’s a funny tip…

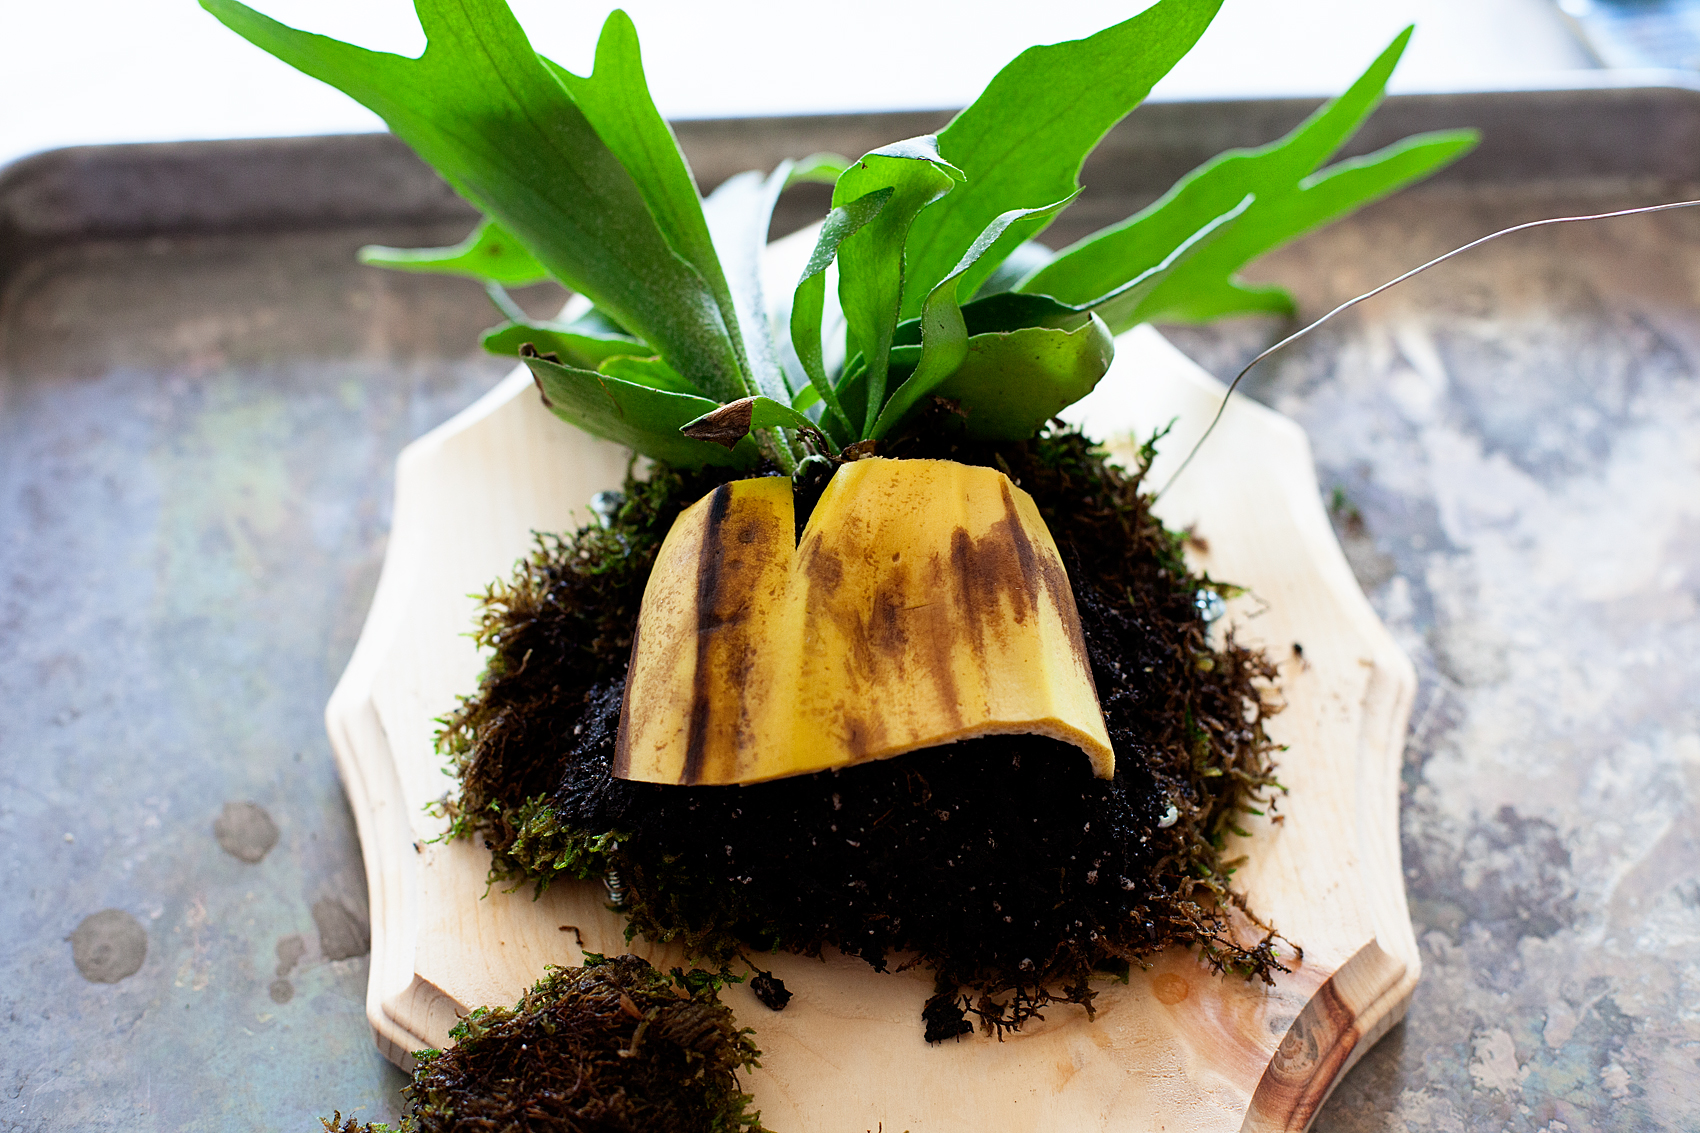
Staghorn Ferns love banana peels. Apparently, they provide the kind of nutrition that the plants really like. Before I cover the plant with moss, I add a little bit of banana peel.

Add a little flair to your spooky Halloween decor with DecoArt! I used their Metallic Lustre to turn simple spooky objects into creepy yet classy taxidermy plaques to decorate our entryway for Halloween.

Next, cover it with more moss and then criss cross the wire over the whole mound like before, until it is secure. The wire actually melts right into the moss and you don’t see it at all.

Add a little flair to your spooky Halloween decor with DecoArt! I used their Metallic Lustre to turn simple spooky objects into creepy yet classy taxidermy plaques to decorate our entryway for Halloween.

Check out Mandi’s post for tips on how to care for your new mounted Staghorn Fern. Now you’re all set to hang your macabre little scene on your walls.

Add a little flair to your spooky Halloween decor with DecoArt! I used their Metallic Lustre to turn simple spooky objects into creepy yet classy taxidermy plaques to decorate our entryway for Halloween.

Another little trick… I hung mine with those Command Strip Picture Hanging Strips. LOVE those babies!

Add a little flair to your spooky Halloween decor with DecoArt! I used their Metallic Lustre to turn simple spooky objects into creepy yet classy taxidermy home decor.

I love how these add a little creepy and yet class to my entryway if that’s even possible!

Primary Sidebar

Heather from Whipperberry
Hello... my name is Heather and I'm the creator of WhipperBerry a creative lifestyle blog packed full of great recipes and creative ideas for your home and family. I find I am happiest when I'm living a creative life and I love to share what I've been up to along the way... Come explore, my hope is that you'll leave inspired!

Footer

  • Privacy Policy
  • Crafts
  • Food
  • Gifts
  • Holidays
  • Home
  • Mom Life
  • Recipes
  • Travel

Copyright © 2026 · Seasoned Pro