• Skip to primary navigation
  • Skip to main content
  • Skip to primary sidebar
  • Skip to footer

Whipperberry

WhipperBerry • Your Home For Creative Inspiration

  • Home
  • Recipes
    • Starters
    • Easy Weeknight Dinners
    • Main Dish
    • Salads
    • Side Dish
    • Soups & Stews
    • Desserts
    • Breakfast
    • Miscellaneous
  • Tutorials
    • Creative Crafts
    • DIY Decor
    • Fabric Crafts
    • Food How-To
    • Jewlery
    • Paint Projects
    • Paper Art
    • Party Styling
    • Photography and Graphic Design
    • Silhouette
  • Holidays
    • Easter
    • Mother’s Day
    • Father’s Day
    • 4th of July
    • Halloween
    • Thanksgiving
    • Christmas
    • Valentine’s Day
  • Gift Ideas
    • Gifts For Everyone
    • Gifts for Dad
    • Mother’s day
    • For The Girls
    • For The Kids
    • Teacher Gift Ideas
    • Christmas
  • Printables
    • Holiday
    • Gift Idea
    • LDS Primary
  • Travel
  • About
    • Terms
  • Contact
  • Nav Social Menu

    • Facebook
    • Instagram
    • Pinterest
    • RSS
    • Twitter

Condiment

Roasted Veggie Taco Salad // Easy Weeknight Dinners

1 · Sep 23, 2013 · 3 Comments

Easy Weeknight Dinners //  If I didn’t love meat so much I would be a vegetarian… Seriously, I LOVE vegetables! I would much rather have a plate full of veggies along with a small side of protein. With all of the wonderful Farmer’s Market goodies at this time of year, I thought I would make a tasty Roasted Veggie Taco Salad for dinner. You can also check out my Taco Hand Pie recipe if you just can’t get enough tacos.

Roasted Veggie Taco Salad by WhipperBerry

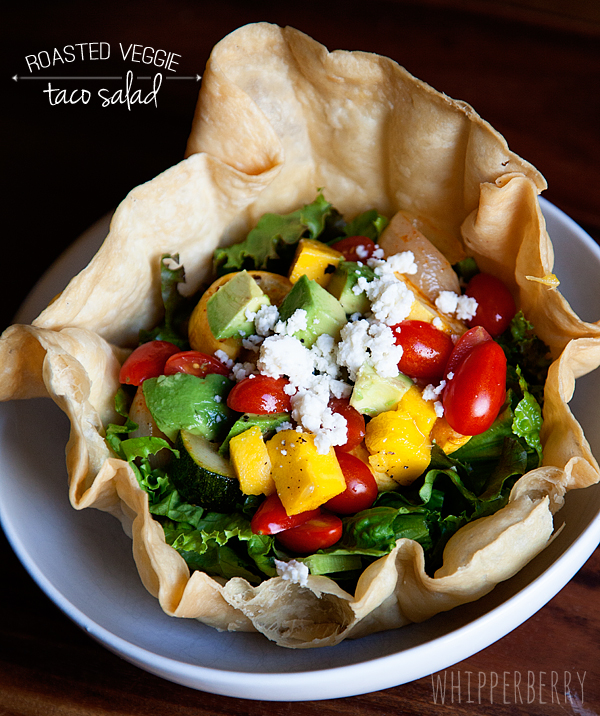
It’s was a knock it out of the park hit with the family! The combination of the savory roasted vegetables with the fresh Mango Salsa was perfect. It was just fun and colorful enough that the kiddos didn’t balk at a plate full of veggies and my meat loving sweetheart didn’t even complain once.

Layering it all with lettuce, refried beans and topped with Queso Fresco made for a very satisfying weeknight meal. Here’s how you can make it for your family tonight.

Ingredients for Roasted Veggie Taco Salad

1 zucchini

​1 yellow summer squash

1 large onion

1 small head of garlic

1 jalapeño

1 large green chili

2 green tomatoes (optional)

1 T extra virgin olive oil

2 T taco seasoning

salt & pepper

1 can of refried beans

4-6 tortilla bowl or a large bag of tortilla chips

1 large head of green leaf lettuce, red leaf or Romaine

Fresh Mango Salsa

1/2 cup Queso Fresco or a mild Feta cheese

Sour Cream

Taco Sauce

Directions on how to make Roasted Veggie Taco Salad

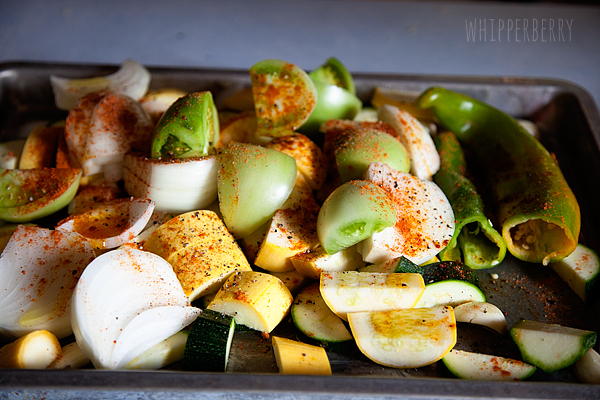
Heat oven to 450˚, wash and cut veggies in large, yet still bite size pieces.

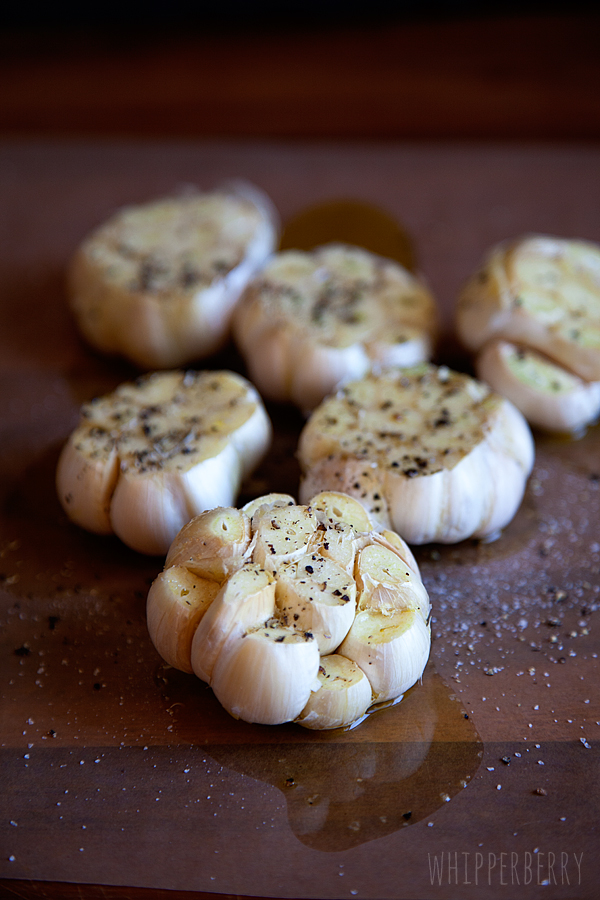
If you would like to have your salad on the spicy side leave the ribs and seeds in the jalapeño, for a milder salad, remove the ribs & seeds. Remove the garlic from it’s skin, but leave whole. I just happened to have some green tomatoes in my garden and I thought I would add them to the mix. The roasted up perfect and tasted fabulous, but they aren’t a deal breaker by any means. If you don’t have any, don’t worry. Really you can add any kind of veggie you want to this mix. That’s the beauty of this recipe.

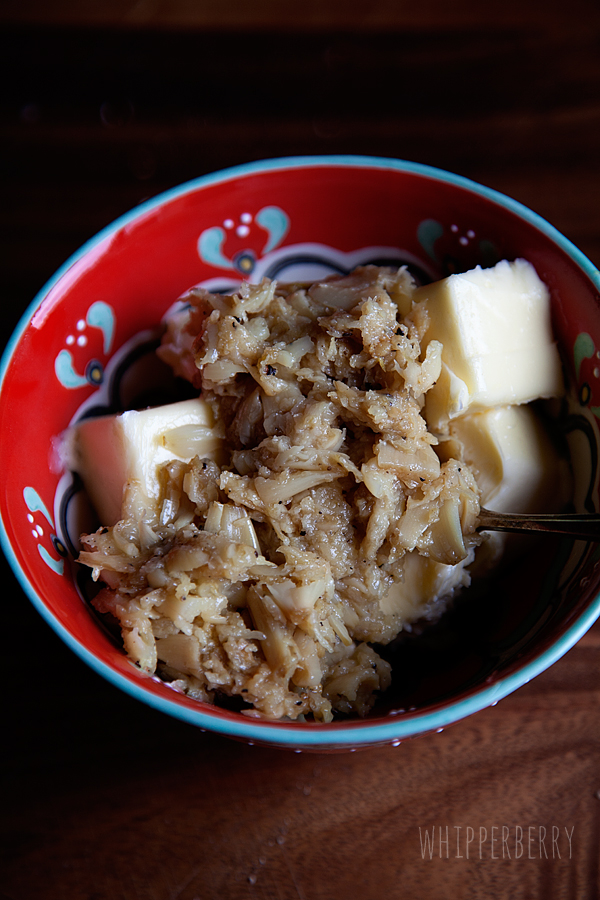
On a baking sheet drizzle with olive oil and generously season with salt, pepper & taco seasoning. Toss to coat everything with the oil and seasoning.

seasoned roasted veggies

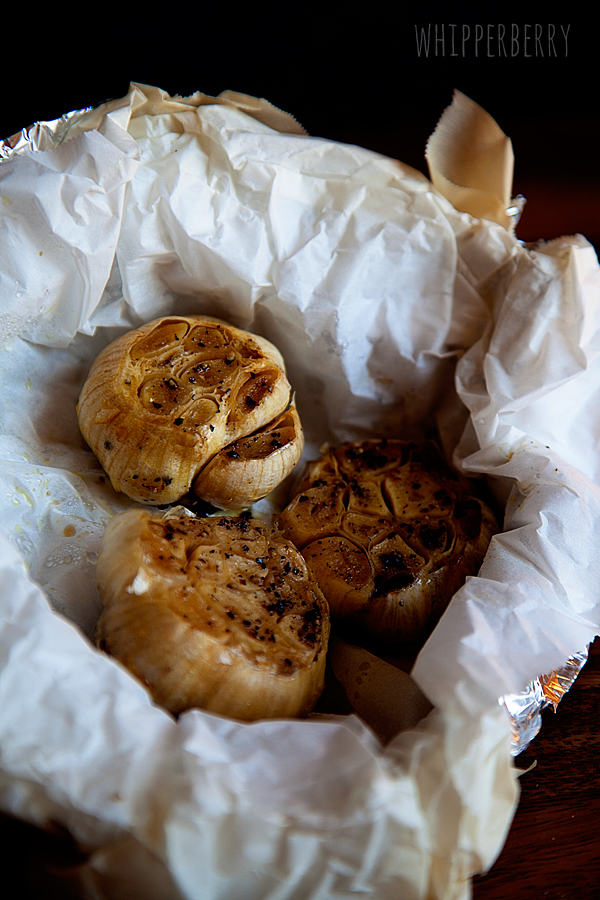
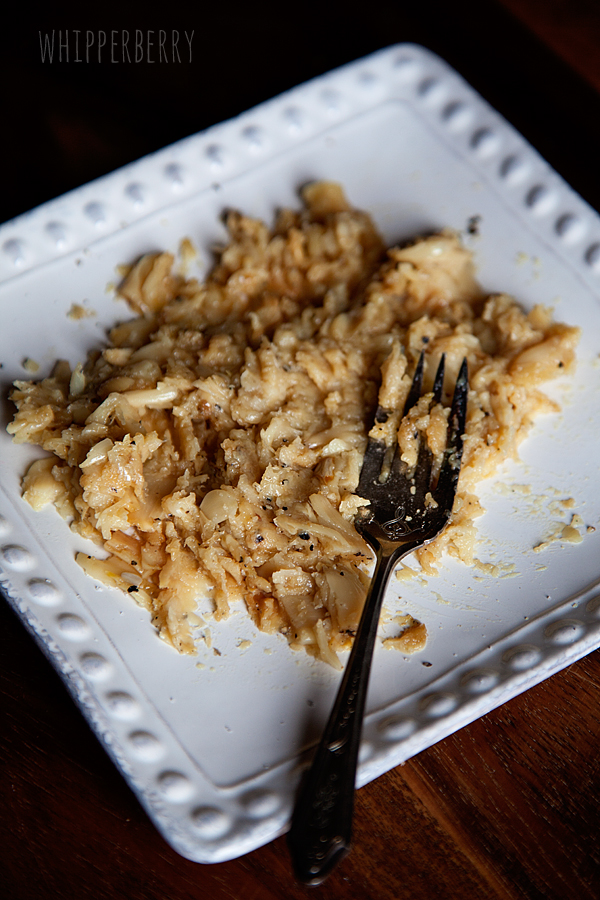
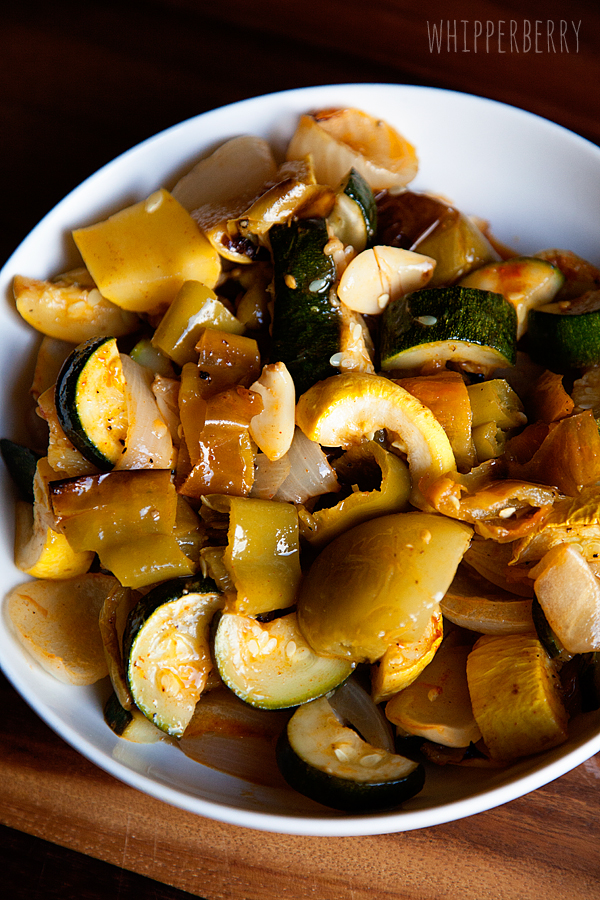
Roast at 450˚ for 30 minutes or until the veggies start to char a bit. Remove from oven and let cool.

roasted veggies

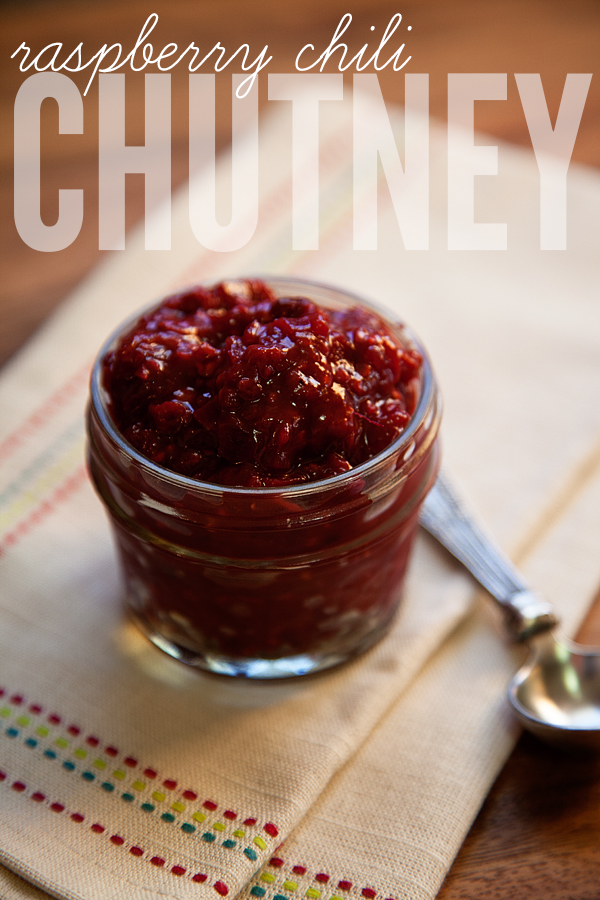
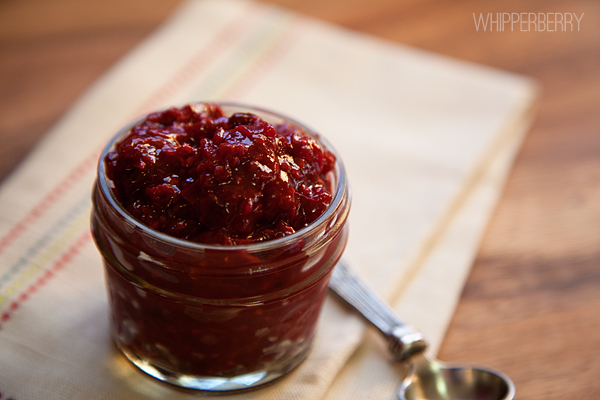
While the veggies are cooling you can mix up your Mango Salsa. You can check out my recipe for that here.

mango and avocado salsa

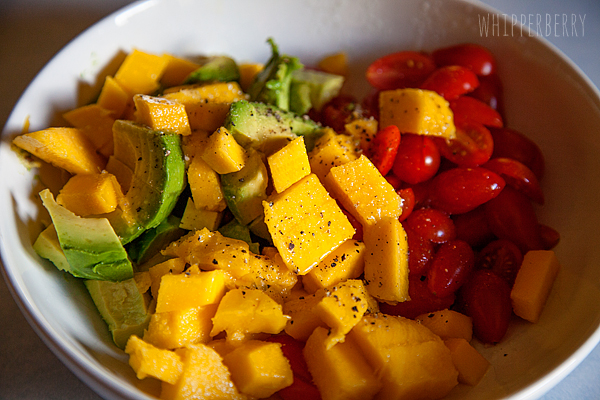
I just love this fresh salsa and it adds such a bright flavor to the salad.

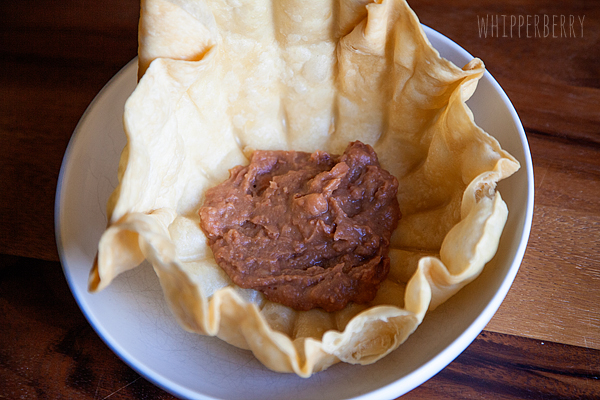
Next, in a small sauce pan, heat your refried beans. Once they are warm, you can start to layering your salad with the beans at the bottom of your tortilla bowl or on the bottom of your plate surrounded by corn chips.

add beans to the bottom of your salad

The next layer is the lettuce that you have washed, dried and cut into bite size pieces. Then top of with a good helping of the roasted veggies, then the mango salsa, with a good sprinkling of the Queso Fresco or Feta.

Roasted Veggie Taco Salad from WhipperBerry

I then add a dollop of sour cream and then a splash of taco sauce to act as the “dressing.” Mix together and enjoy!

This will take Taco Tuesday up to a whole new level for sure!!

Roasted Garlic Butter // Recipe

590 · Sep 15, 2013 · 24 Comments

// Recipe for Roasted Garlic Butter //

WhipperBerry -- Roasted Garlic Butter

I love garlic… like REALLY love garlic. The love affair became rather torrid & steamy when I discovered roasted garlic. The simple act of adding a little oil, salt, pepper with a little time in the oven transforms the normally sharp, rather harsh garlic into  a sweet mellow bite. It still has all the flavor profiles of garlic, it's just garlic's soft, sweet, mellow cousin.  It can be added to all kinds of dishes to add that garlic flavor. One of my favorite things to do is to make roasted garlic butter with the golden gems.

If you want to make the best garlic bread in the world… you need to take 30 minutes or so and make some roasted garlic butter. Spread it on bread and your mind will be blown.  Here is how to make roasted garlic butter.

Ingredients for Roasted Garlic Butter

3 large heads of garlic

3 t extra virgin olive oil

salt & pepper

2 sticks of soft, unsalted butter

Instructions

Take three heads of garlic (I made a double batch, that's why I have six in the photos. Yea, it's that good!)

WhipperBerry Garlic

Cut the top off of each head and drizzle with olive oil and generously season with salt & pepper. 

cut tops off of garlic and drizzle with olive oil with salt & pepper -- whipperberry

Wrap the heads of garlic in parchment and foil and place in a 375˚ oven for 30 minutes.

wrap garlic in parchment and foil -- whipperberry roast garlic butter

Remove from oven and let cool until you can handle the heads of garlic easily with your hands.

let garlic cool -- whipperberry roasted garlic butter

Gently squeeze the gloves of garlic out of it's skin.

gently squeeze all the garlic out of the skin -- whipperberry roasted garlic butter

Then add more salt & pepper and mash with a fork.

use a fork and smash the garlic -- whipperberry roasted garlic butter

Next, place two sticks of softened, unsalted butter in a bowl and add all of the mashed garlic.

add roasted garlic to a bowl of softened butter -- whipperberry roasted garlic butter

Fold the garlic into the butter. At this point you can serve the soft garlic butter on bread or veggies. You can even add a dollop onto a nice steak to add some flavor.

roasted garlic butter -- whipperberry

Last week, I made some Zuppa Toscana for dinner and added a little pat of butter to the bowl of soup after it was served and just that added little garnish took that soup to a whole new level. YUM!!!

You can store your roasted garlic butter in a air tight container for several weeks and always have it on had to add to a dish to make it extra special. Another night last week, I made some scrambled eggs for my husband before he rushed off to an evening meeting. I used the garlic butter rather than regular butter or bacon grease to prepare the pan for the eggs. Oh my stars…talk about tasty eggs!

I challenge you to find some creative ways to use your butter… I promise you, the uses are endless. 

Raspberry Chili Chutney Recipe

26 · Jan 23, 2013 · 11 Comments

Raspberry Chili Chutney Recipe // I was recently invited to a cooking club here in Lincoln and it gave me the perfect opportunity to try out a recipe that I saw not too long ago on the Food Network… Raspberry Chili Chutney.

Raspberry Chili Chutney from WhipperBerry

I have to admit, I am a totally Food Network foodie. I love to have the various shows on in the background when I'm working or getting ready for they day. I don't often have a chance to cook some of the recipes, but I feel like I learn so much just from listening to all the different chefs talk about their special recipes and techniques. The other day I had the show Mexican Made Easy on in the background and a recipe caught my attention. It's a recipe that's perfect for a cocktail party or a tasty hors d'oeuvre for a dinner party. The Goat Cheese Squares with Raspberry Chili Chutney recipe looked just divine, so I thought I would give it a go. Before you can make the tasty little bite you have to make the chutney first and that's what this post is about.

Ahhhhh the chutney, it's so amazing… I actually made another batch after my first go to keep in the fridge to use as a condiment for other meals. Yea, it's that good. Here is my version of the recipe. It has been inspired by Marcela's recipe, but with a few little tweaks for my taste.

Raspberry Chili Chutney Recipe

  • 1 tablespoon olive oil
  • 1 medium chopped onion
  • 3 cloves garlic, minced
  • 1 cup low-salt beef broth
  • 1 red bell pepper, chopped
  • 1/2 cup honey
  • 1 tablespoon ginger paste or fresh peeled and minced ginger
  • 3 tablespoons apple cider vinegar
  • 1 canned chipotle chile in adobo sauce, left whole
  • 1 teaspoon adobo sauce from the chipoltle pepper can
  • 1 cup frozen rasberries
  • Salt and freshly ground black pepper

Instructions

  • Add oil to large sauce pot and heat on med-high heat. Add chopped onions and cook for 5 minutes or until the onions become translucent. Add garlic and cook for another minute. Add broth, bell pepper, honey, ginger, vinegar and chipotle pepper with adobe sauce. You can leave the chipolte chili whole, It will break down durning the cooking process. Add salt & pepper to taste. Simmer on medium low until the sauce thickens, this can take up to 2 – 2 1/2 hours. Keep an eye on the sauce and stir occasionaly. Once the sauce has thickened and the chili pepper has broken down, add the raspberries and cook for another 15-20 minutes. Let the chutney cool and then store in an air tight container in the fridge. It should keep for up to a month in the fridge.
  •  
  • Raspberry Chili Chutney
  •  
  • I'm actually thinking about making this my holiday gift this next Christmas. It tastes lovely with chicken, on crackers and I'm sure given a little more time, I will come up with a few more uses for it.  It also looks amazing in a jar… I should work on some packaging for it and have it ready for the next holiday season… yep, it's that good! Tomorrow I'm going to post the recipe for my version of the Goat Cheese Puff with the Raspberry Chili Chutney, so stay tuned!
  • « Go to Previous Page
  • Page 1
  • Interim pages omitted …
  • Page 5
  • Page 6
  • Page 7

Primary Sidebar

Heather from Whipperberry
Hello... my name is Heather and I'm the creator of WhipperBerry a creative lifestyle blog packed full of great recipes and creative ideas for your home and family. I find I am happiest when I'm living a creative life and I love to share what I've been up to along the way... Come explore, my hope is that you'll leave inspired!

Footer

  • Privacy Policy
  • Crafts
  • Food
  • Gifts
  • Holidays
  • Home
  • Mom Life
  • Recipes
  • Travel

Copyright © 2026 · Seasoned Pro