Be honest with me here. You’ve got a Pinterest board with forty pins, a couple of decor pieces you already bought because they were too cute to leave, and absolutely no idea how any of it fits together in your actual room. You can feel the vibe you want. You just can’t quite see it.
I’ve been right there, standing in the living room holding a throw pillow up to the wall, squinting, trying to picture the whole thing. And here’s what I’ve learned after doing this more times than I’d like to admit: the smartest thing you can do before spending a dime is figure out how to see the finished room first.
Sometimes that’s as simple as a few photos and a mood board. Sometimes, for a bigger project, it’s worth going a little further. Either way, picturing it clearly beforehand is what keeps you from a closet full of returns and a room that never quite comes together.
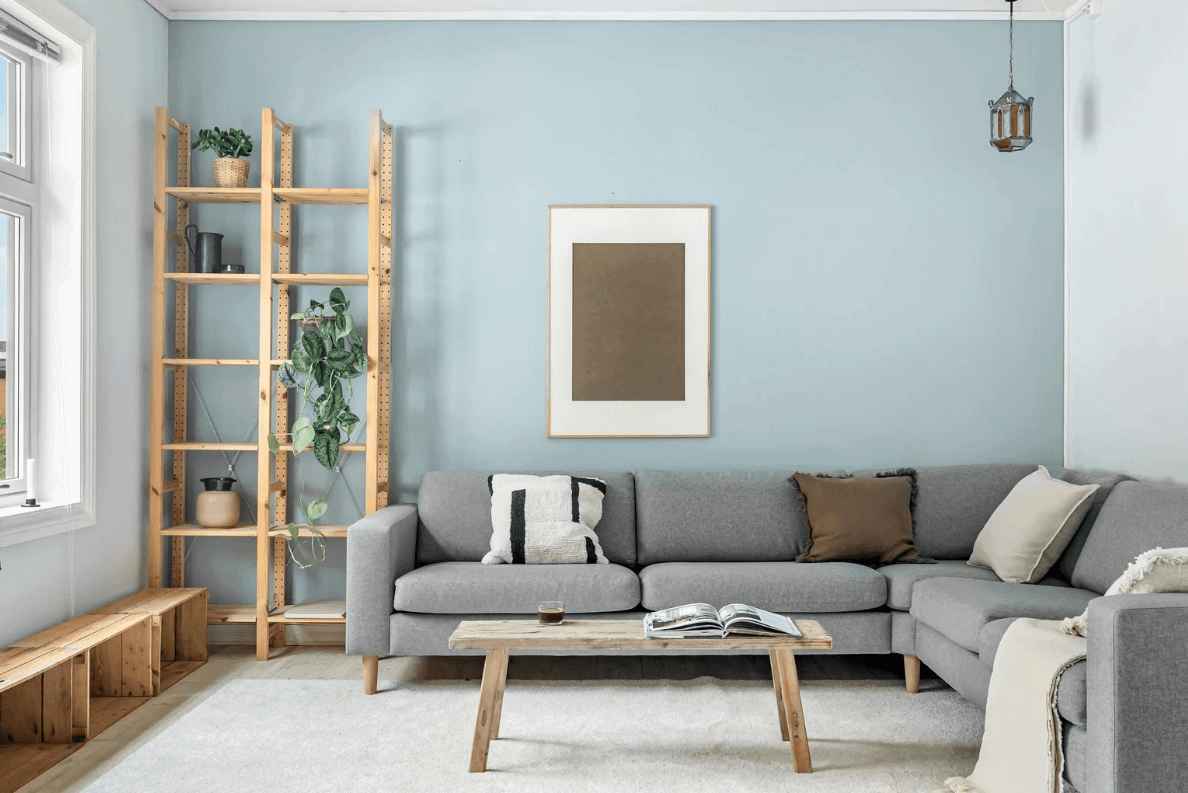
Take Photos of Your Room First
This one sounds too easy to matter, but trust me. Pull out your phone and take a few photos of the room exactly as it is right now, mess and all. Don’t tidy up first.
Something happens when you look at a room through a photo instead of in person — you suddenly see it. That corner that always feels weird? The photo shows you it’s a dark, empty dead zone. The blank wall you’d stopped noticing. The furniture shoved somewhere that made sense five years ago and doesn’t anymore. The clutter that’s become invisible to you but jumps right out in a picture. Where the light’s good and where it’s gloomy.
And here’s a bonus: save those “before” shots. When the makeover’s done, the before-and-after is the most satisfying thing in the world, and you’ll have forgotten just how far the room came.
Collect Inspiration, Then Actually Narrow It Down
Okay, now the fun part, and also the dangerous part. Go save all the pretty rooms — Pinterest, Instagram, the magazine you’ve been hoarding, the screenshots on your phone. At the start, just save freely, no rules.
Then comes the hard bit: cut it down to maybe five to ten favorites. Not thirty. Five to ten. And once you’ve got your shortlist, look for what keeps repeating. Are you drawn to the same warm woods over and over? The same soft greens? A certain kind of lighting, a particular furniture shape? That repetition is your real style talking, underneath all the noise. For bigger design changes, it can also help to look at professional visualization examples from resources like archicgi.com, especially when you’re trying to understand how colors, furniture, lighting, and room proportions actually work together in a finished space. The goal isn’t to copy any one room exactly — it’s to catch the feeling and translate it into your home, which is a different room with different light and different everything.
Build a Simple Mood Board
Now pull your direction into one place. A mood board sounds fancy but it’s really just gathering your bits together so you can see if they get along.
Grab your paint swatches, a snip of the rug you’re eyeing, the curtain fabric, screenshots of furniture, the wall art you love, maybe a family photo you want to build around. Lay it all out — on a tray, a piece of cardboard, or a folder on your laptop, whatever’s easy. Then just look at it. Does it feel like one room, or like five different rooms crashed into each other? This is where you catch the clash before it costs you: the wood tone that fights everything, the metal finish that looks off, the color that seemed perfect alone and sulks next to the rest. It doesn’t need to be Pinterest-perfect. It just needs to tell you whether your idea holds together.
Sketch the Layout Before You Buy Furniture
Here’s where so many makeovers go sideways: the couch that looked perfect online shows up and eats the entire room. Scale is sneaky, and your eyes are terrible at guessing it.
So before you buy a single big piece, measure. Get the room’s dimensions, and note the annoying stuff too — which way the doors open, where the windows and radiators are, how much space you need to actually walk through. Measure the furniture you already have. Then here’s my favorite trick: use painter’s tape on the floor to mark out where a new sofa or table would go. Live with the tape for a day or two. It’s amazing what it tells you — like the fact that the coffee table you loved would leave you shuffling sideways past it every single day. Way better to learn that from tape than from a delivery truck.
Try Digital Visualization for Bigger Changes
For a simple refresh — new paint, a rug, some art — your photos and mood board are honestly plenty. You don’t need to overthink it.
But when you’re making bigger, pricier moves — built-in shelving, a full furniture overhaul, a kitchen refresh, redoing a whole room from scratch — it’s worth being able to see it more realistically before you commit.
If you’re planning a major makeover rather than a quick refresh, looking through 3d visualization design examples can help you see how professionals test layouts, finishes, lighting, and atmosphere before the final space exists. Seeing how they work out scale, how light plays across a room, how materials sit together — it’s a good reference point when you’re about to spend real money and you want to feel confident, not hopeful.
Test Color and Light Before You Commit
Paint is the great deceiver. That gorgeous gray you picked can turn blue in the morning, greige at night, and lavender under the wrong bulb. So please, please don’t paint the whole room off a tiny chip.
Get sample pots and paint a decent-sized patch on a couple of walls. Then watch it — morning light, evening light, lamp light. Colors shift more than you’d believe across a day, and they change again depending on your flooring and furniture sitting next to them.
Same goes for textures and finishes: hold them up against each other in your actual room before buying, because the store lighting is lying to all of us. A little patience here saves you from repainting an entire room, which is nobody’s idea of a good weekend.
Add the Personality Last
Here’s the thing all the planning in the world can’t do: make the room feel like yours. Visualization gets the bones right — the layout, the colors, the big pieces. But the soul of a room is the personal stuff, and that goes in last.
The framed family photos. The handmade thing you’re weirdly proud of. Printable art you found, your kid’s drawing that’s genuinely better than store-bought, the thrifted find with a story, the seasonal pieces you rotate, the plants, the stack of books you actually read, the little sentimental objects. This is what turns a nicely decorated room into your room. A space can be beautifully planned and still feel like a showroom until you layer in the bits that are only yours.
Final Room Makeover Checklist
Before you spend anything, run through this:
- Did you take “before” photos and really look at the room’s problem spots?
- Have you narrowed your inspiration down to a handful of strong favorites?
- Does your mood board feel like one cohesive room?
- Have you measured the space and taped out the big furniture?
- For bigger changes, have you looked at how the design actually works before committing?
- Have you tested paint colors in different light?
- Do you have a plan for the personal touches that make it feel like home?
A room makeover doesn’t have to start with shopping. It can start with a few photos, a mood board, some painter’s tape, and a little time spent really picturing the finished space. The clearer you can see it before you buy, the smarter you spend — and the more the finished room feels exactly like the one you had in your head all along.
0
Leave a Reply