Wedding planning… I am DEEP into the planning of my first daughter’s wedding that is coming up in a little over a month. I have taken the approach of staying as organized as possible for this monster project. Really, that’s the only way you can prepare for a wedding and not lose your mind! I found some linen organizing envelopes at Target from the Hearth and Hand line created by Joanna Gains the other day and thought they would be perfect to keep things organized for the wedding. Of course, I needed to add some labels and in true WhipperBerry fashion, they needed to look classy. I turned to DecoArt for a little help with their Stylin’ paint perfect for home or fashion accessories of all kinds!
• This post is brought to you by DecoArt •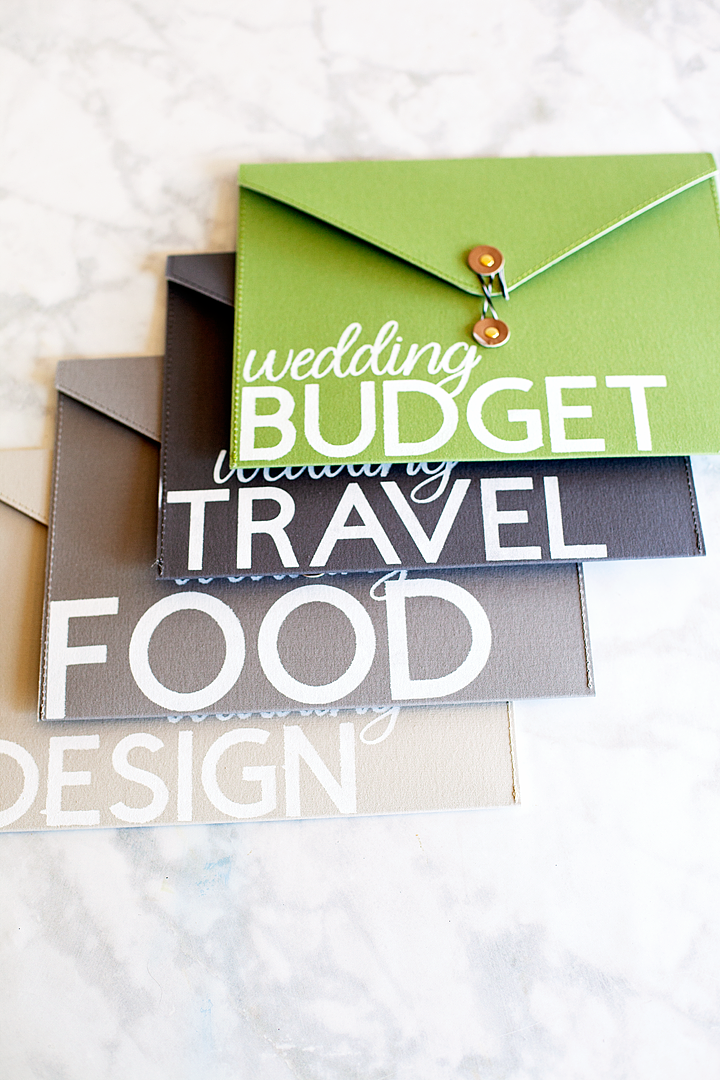
Wedding Organization
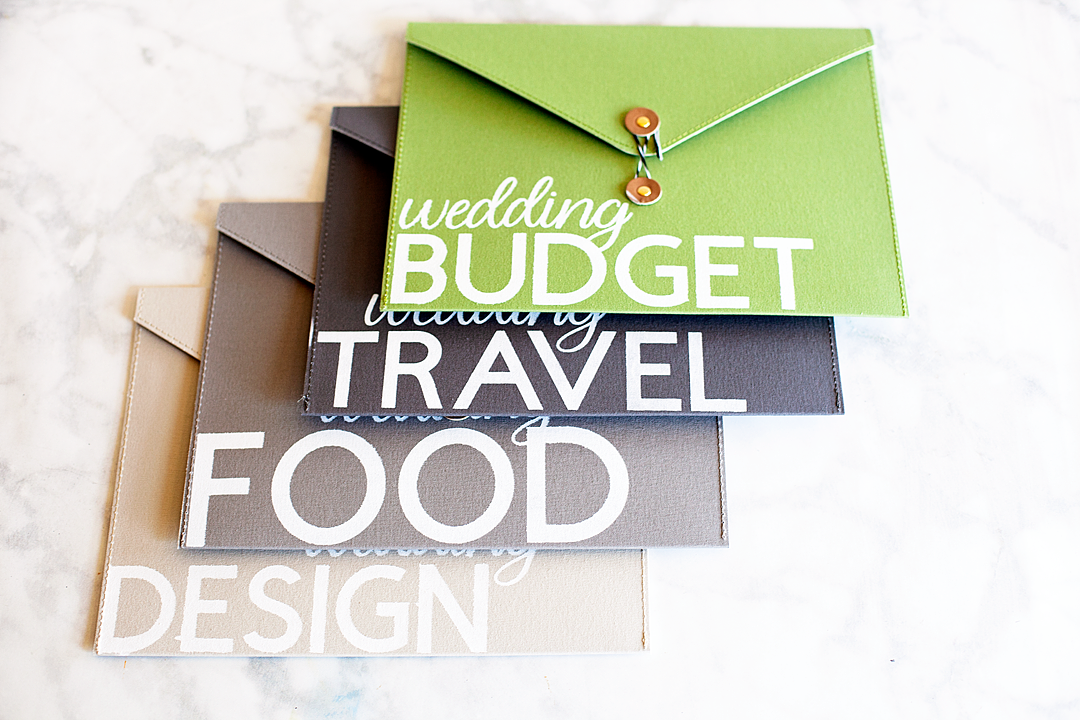
Wedding planning is NOT for the faint of heart. So many details, so many emotions, so much stuff! It really pays to be as organized as possible. Like I said before, I found some linen envelope organizers that I thought would be perfect to keep receipts, notes, menus and the like organized. I identified 4 areas that I thought would be good to have specific folders for,
- Budget
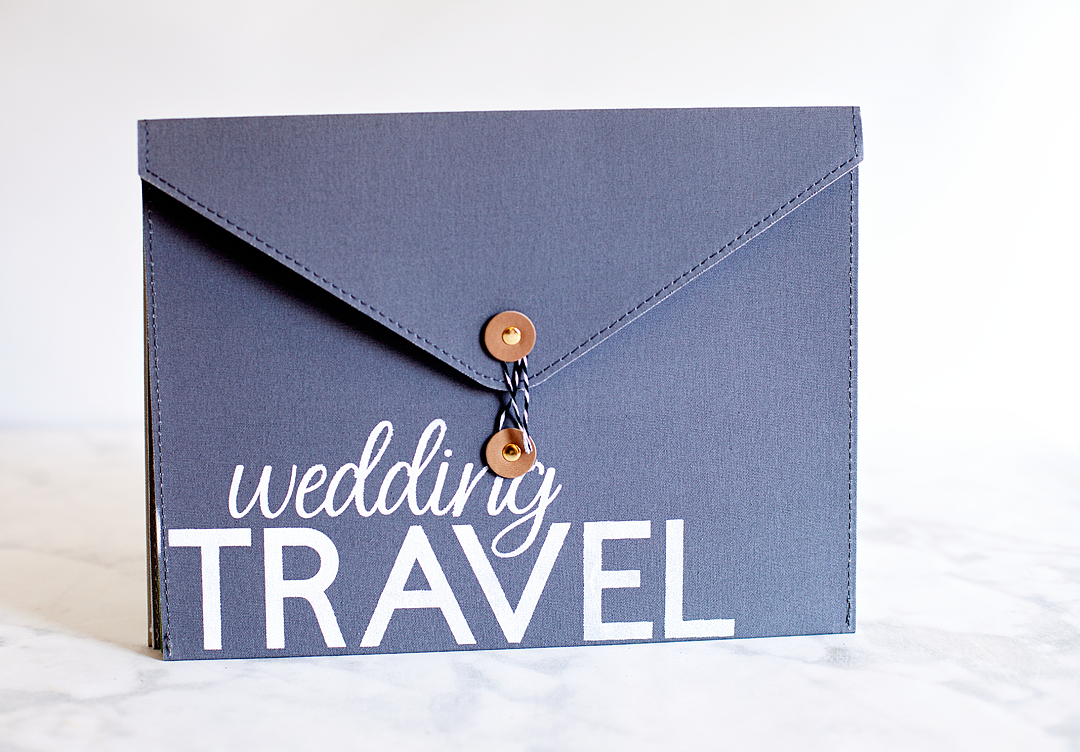
- Travel
- Food
- Design
Budget
This is where you can keep your notes as far as your budget goes along with receipts for everything purchased and paid for.
Travel
If your family is anything like ours, not everyone lives in the same place. Many family and friends will be traveling from elsewhere and this is a great way to keep track of those notes and itineraries.
Food
Food is one of the big elements to the reception. This is where you can keep track of proposals, budget, menu items, and such.
Design
You can think of this folder as your Pinterest hardcopy. Notes for your overall design of the event, different design elements, floral ideas, invitation ideas and so much more. Keep track of those ideas here along with any other pertinent information for the overall look of the event.
Linen Organizer Wedding Labels
There are a couple of different steps to this easy project and here’s a quick snippet of my Instagram Story to show a little more about how this works.
Label Design
I designed the labels in Cricut Design Space and used my Cricut Maker to cut out the vinyl for the project. I love making stencils with leftover vinyl and then using some DecoArt paint to create all kinds of projects. I’m thrilled to find that I can do the same with fabric, canvas, and leather now as well with DecoArt Stylin’. Here are some the key benefits to DecoArt Stylin’,
- Flexible paint specially-formulated to prevent cracking or peeling
- Bonds to surface to create a seamless finish
- An ideal color palette for fashion décor
- Water-based
- Soap and water clean-up
If you are a Cricut user (if not, I highly suggest that you should be, they go hand in hand with paint!) you can access my design in my Design Space profile. If not, you can create your own stencils designs using other design software and use either a cutting machine or craft knife to cut your stencil out of vinyl or freezer paper.
Linen Wedding Organizer Envelope Supplies
Here are the supplies you will need for your project.
- linen or canvas folders
- DecoArt Stylin’ Paint
- vinyl, stencil vinyl
- transfer tape
- stencil sponge brush or a makeup sponge
Instructions
- Cut out your stencil and weed the vinyl make sure to keep the negative side of the design. That just means that you’ll need to remove the letters from the vinyl and leave the rest of your vinyl as the stencil. Be careful that you keep a good eye on the middle sections of letters and those darn dots at the top of “i”.
- Cover your stencil in transfer tape and remove the back of the vinyl.
- Carefully place the stencil onto the fabric folder and press down with a brayer or scraper tool. Fabric typically has a texture that is going to make it a little tricky to get a truly clean line but, if you press your vinyl down well, you’ll have a pretty good seal.
- Remove the transfer tape carefully.
- Place a quarter size amount of paint onto a paper plate and use your sponge to lightly dab the paint onto the surface of your organizer.
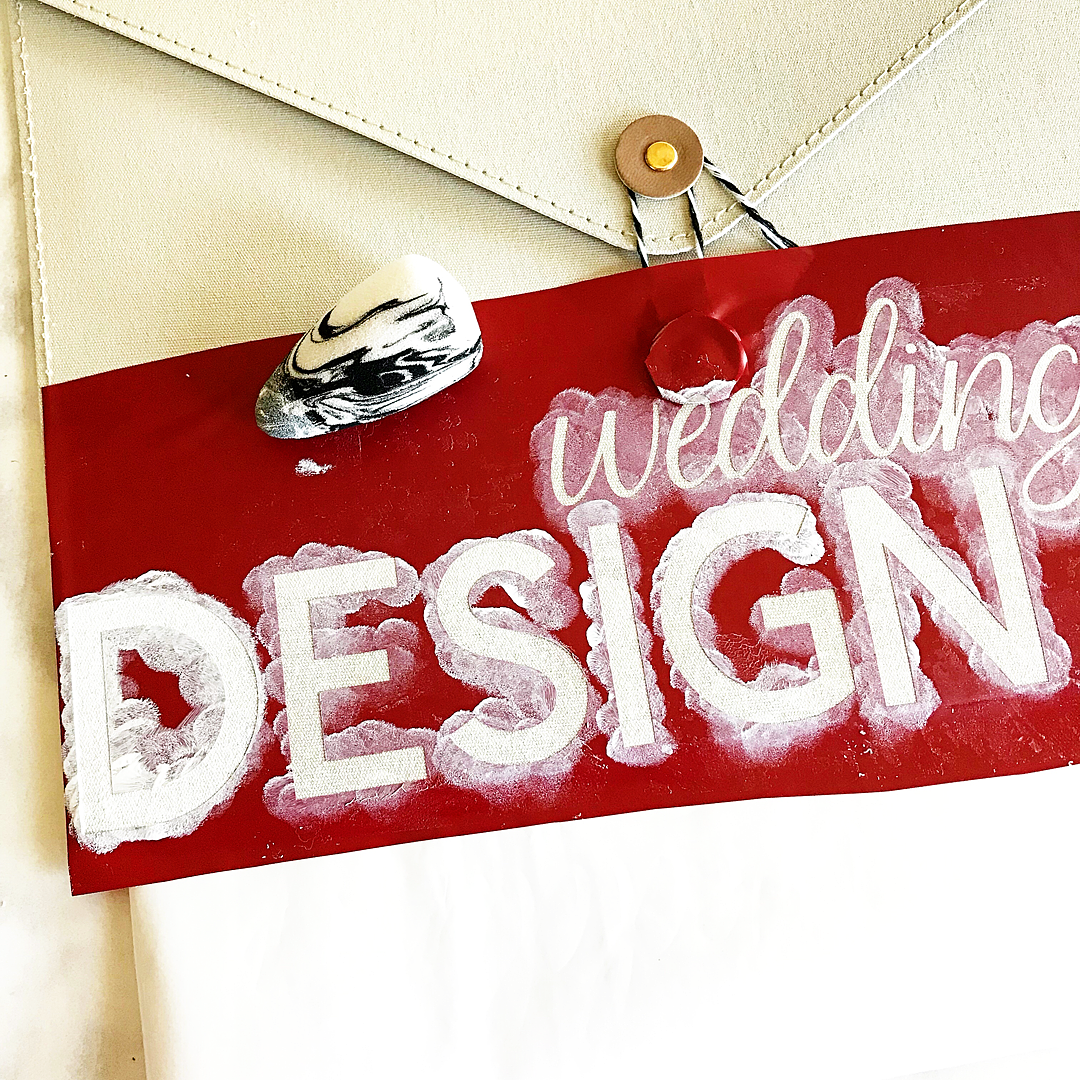 Keep the paint LIGHT to avoid any paint leaking under the stencil. It’s better to have several rounds with light paint than to have an unsightly leak area.
 - Cover your stenciled image until you have the coverage you would like.
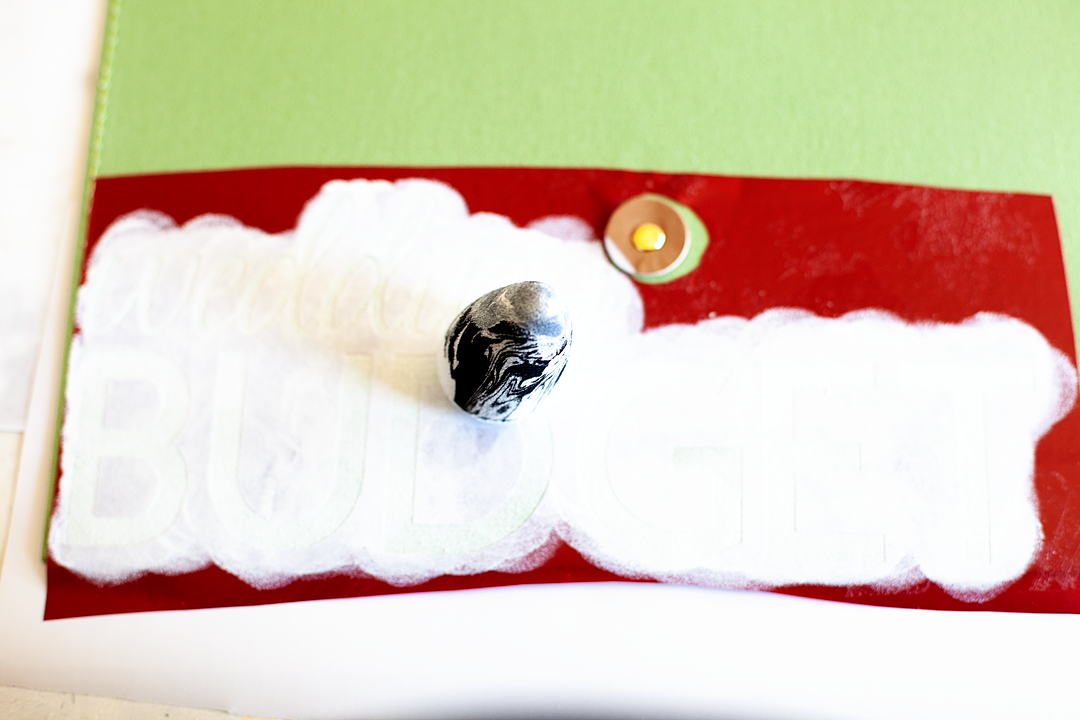
- Let dry.
- When the paint is dry, remove the stencil and get to work on that darn wedding!
Disclaimer • This is a paid post with my friends at DecoArt. I am a member of the DecoArt Core Creator program and do receive payment and product to help facilitate these creative posts. However, keep in mind… I will NEVER share something I don’t truly love and use in my everyday life.
8
Leave a Reply