This post is brought to you by Ball® Fresh Preserving Products by Newell Brands
What can I say about applesauce… It’s a humble wallflower that at times gets looked over in the culinary world. Longing for her Johnny to come and rescue her from the corner. (This is a Dirty Dancing reference if you are under the age of 35… “Nobody puts Baby in the corner!” Youtube it!) Meek applesauce quietly sits back and waits to shine… And shine she does. Just like Jennifer Grey’s famous leap into Patrick Swayze’s waiting arms, applesauce can elevate a boring dish to new heights or become a lovely afternoon snack paired with cottage cheese. Simple by nature, this humble sauce can easily be forgotten in the back of the pantry collecting dust rather than helping to create amazing dishes as a good supporting actor.
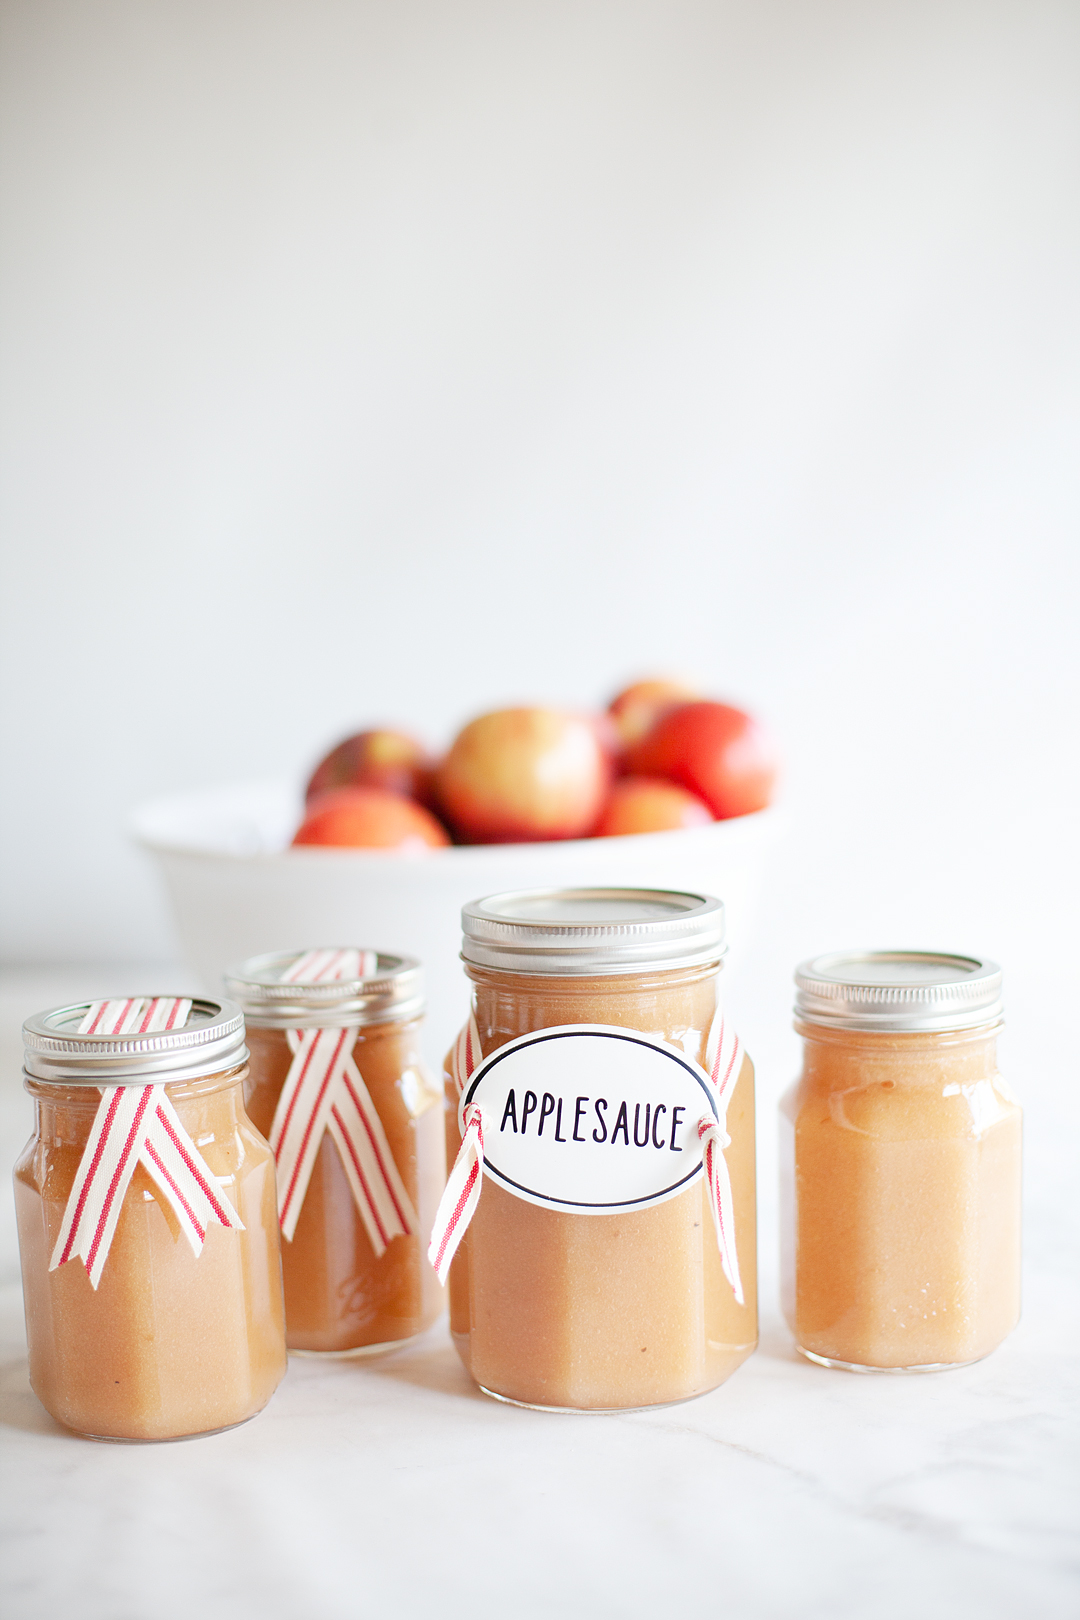
Many people seem to feel like applesauce is mere toddler food, not a great way to preserve the bounty of our Autumn apple harvest. Not to mention, impart great flavor in baked goods and all kinds of sweet and even savory dishes.
I grew-up eating commercial applesauce as a kiddo, as many children in our country do. However, I remember the day when I was introduced to home-canned applesauce. My Aunt Oleta’s applesauce to be exact. I have no idea what my sweet Aunt put into that applesauce but it was a pure revelation to me. We grew-up preserving peaches and pears, a few pickles now and then, but we didn’t really preserve applesauce. I guess my Mom was fine with what was available at the market. Not to knock commercially prepared applesauce, but when you have the opportunity to enjoy homemade applesauce, you will know the difference. It’s sweet and tangy with the perfect texture. Not to mention the fact that it harmonizes well with many different notes on your palette AND, it’s super easy to make!
How to Make Applesauce
If you are new to preserving, I feel like applesauce is a great way to start. It’s a very forgiving process and if you follow a few basic steps, use good ingredients, and have a few good tools on hand, you are guaranteed success. It’s also a quick process that won’t take all day if you have the right tools.
Tools
Back in college, I was a Kindergarten teacher’s aide. One year we were piloting a program where we incorporated cooking into the normal daily curriculum. Once a week we would help those cute little 5-year-old hands learn how to prepare yummy dishes, all the while learning great life and academic skills. One of our first recipes was applesauce and I was introduced to an apple peeler/corer tool. I thought that was the greatest thing since sliced bread. I was dreading peeling and coring all of those apples that day. (We had 4 classes that I worked with every day.) I thought that tool was going to make my life. I ran out and bought one soon after to make sure I always had one on hand for when I was making anything that needed peeling and coring. However, even with that handy tool, prepping the apples was a laborious & messy job. Then I was introduced to the Ball® FreshTech Harvest Pro™ Sauce & Salsa Maker.
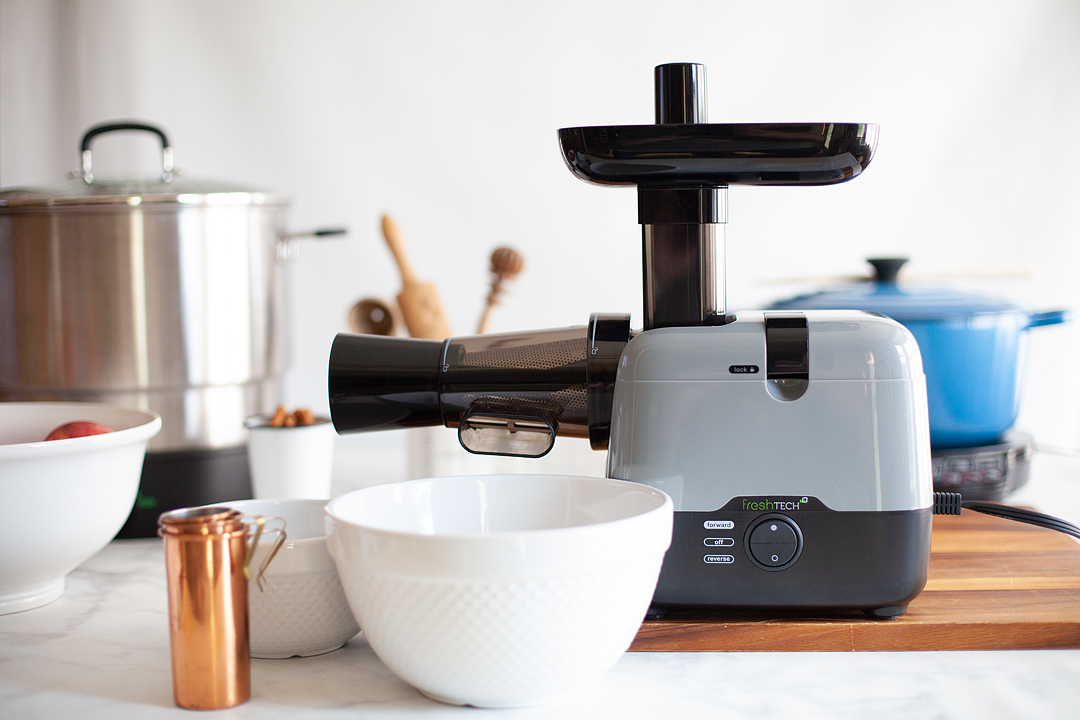
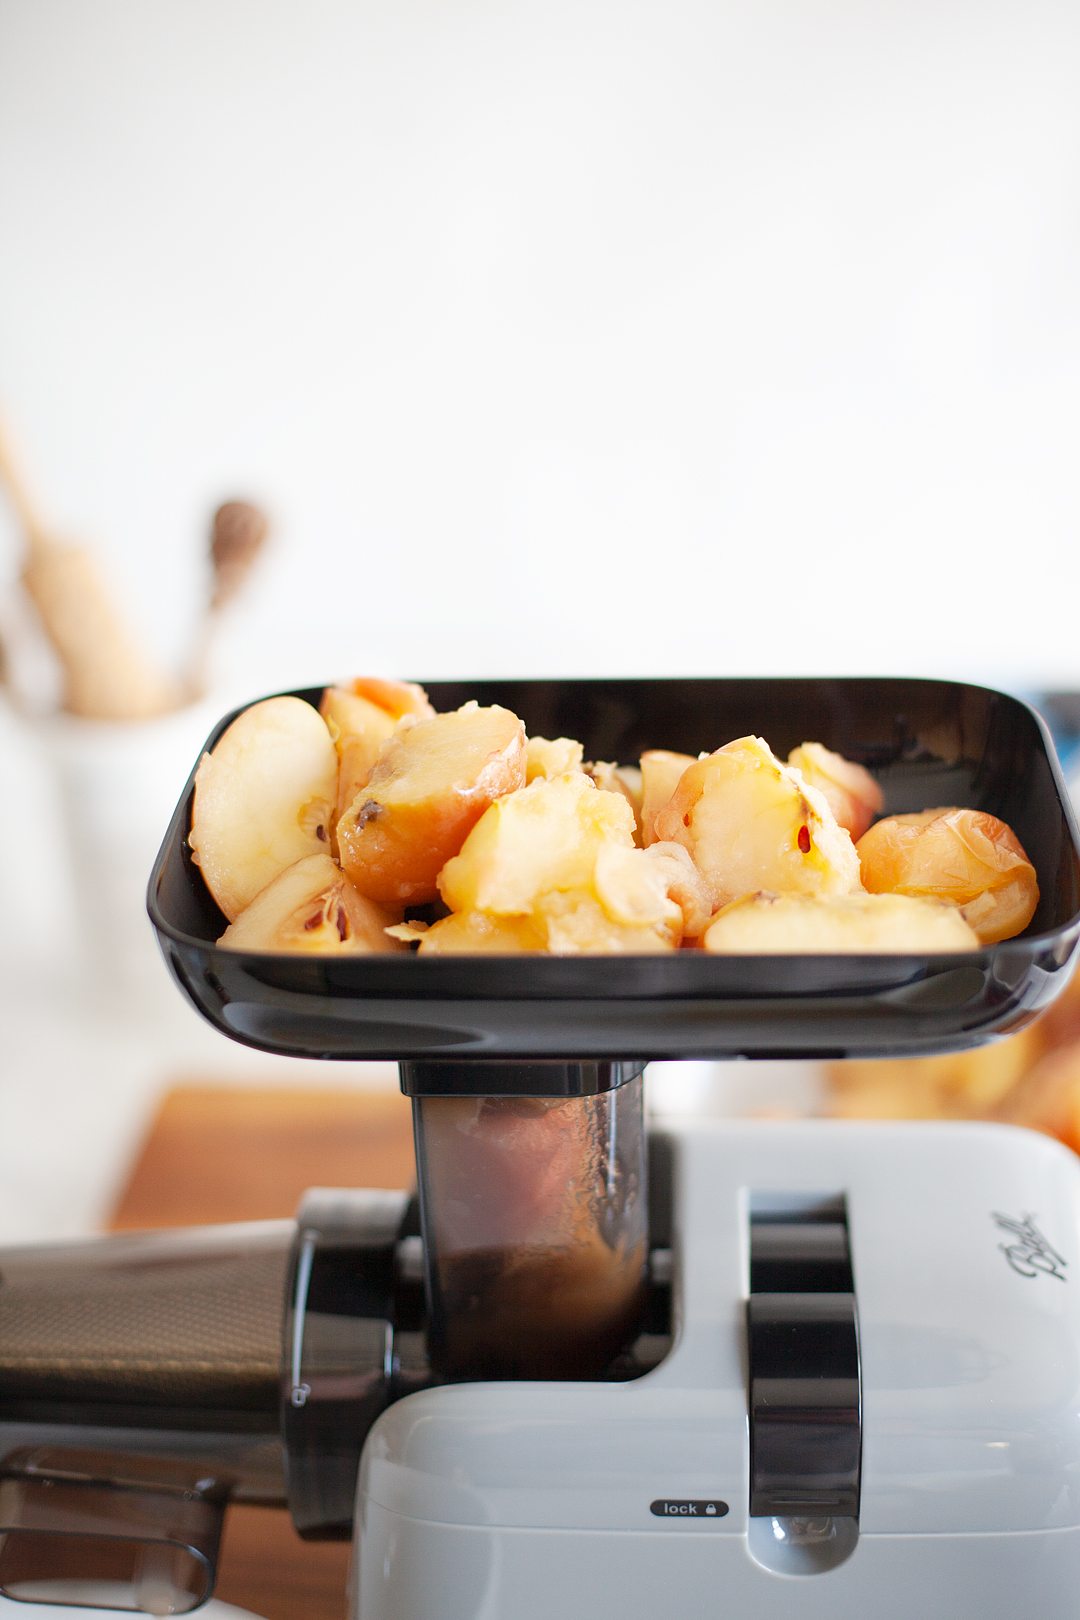
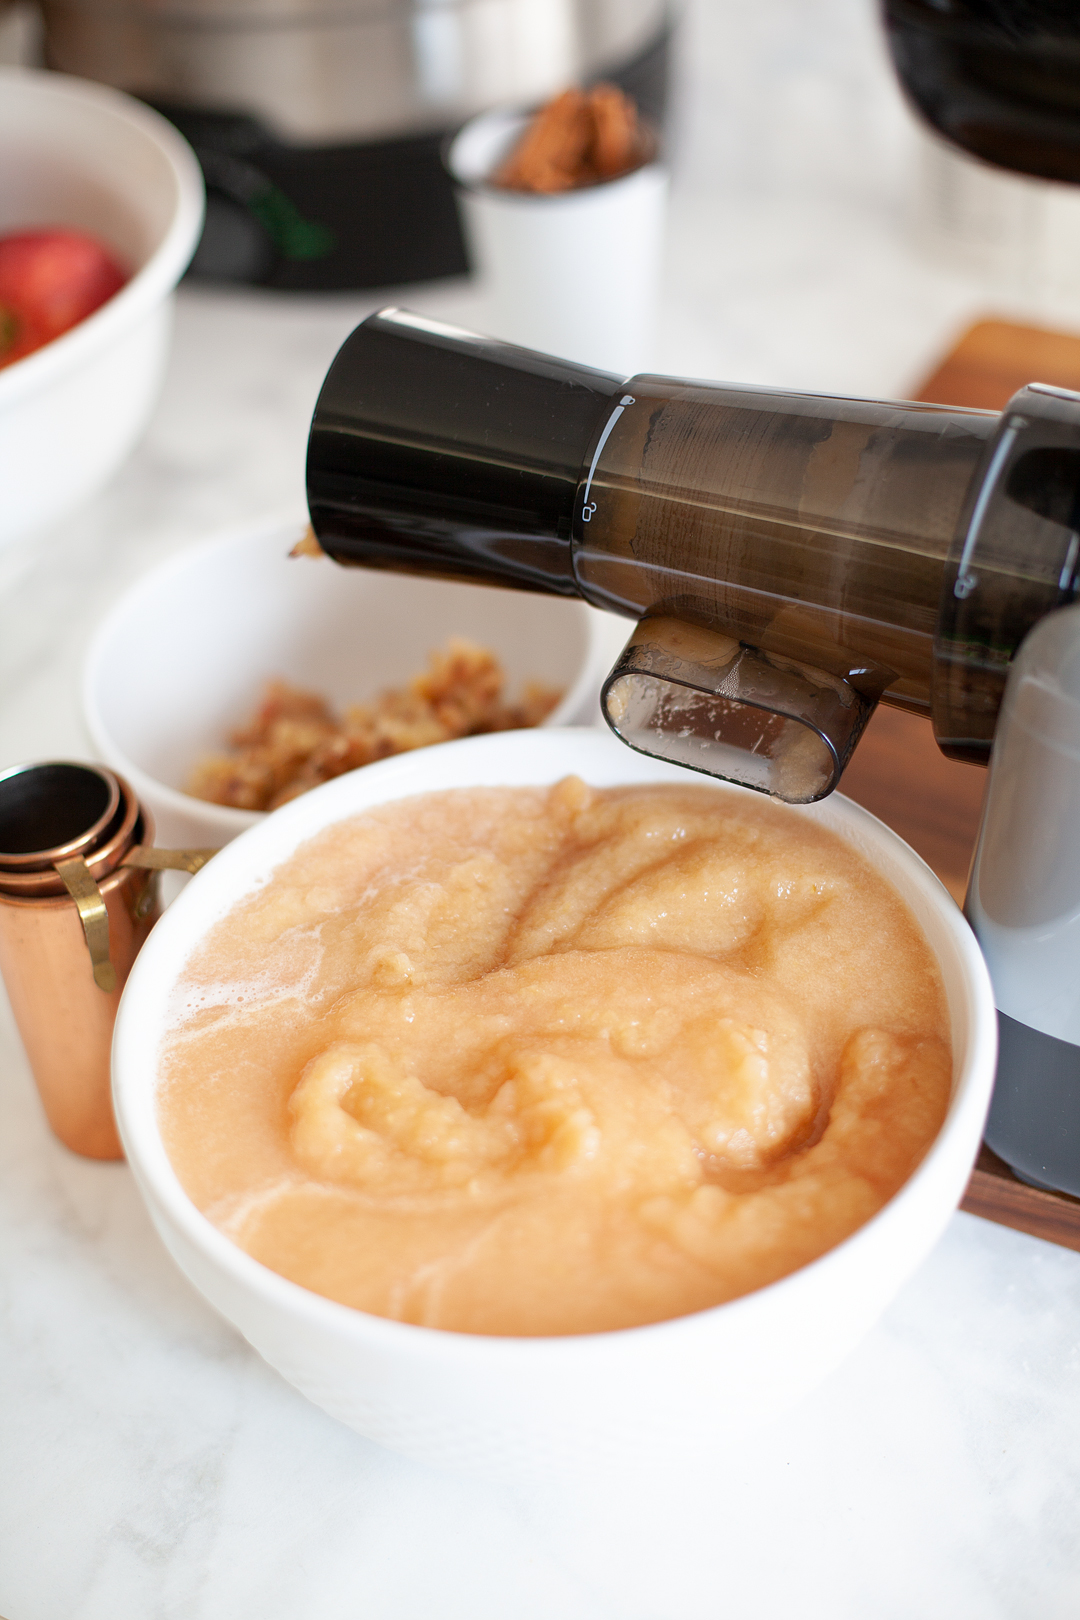
This gem of a machine has made making applesauce and any kind of other sauce a piece of cake! For applesauce, you don’t even have to peel or core the apples at all. Awww, throw caution to the wind and even leave the stems on! This my friends is a game changer… Check it out.
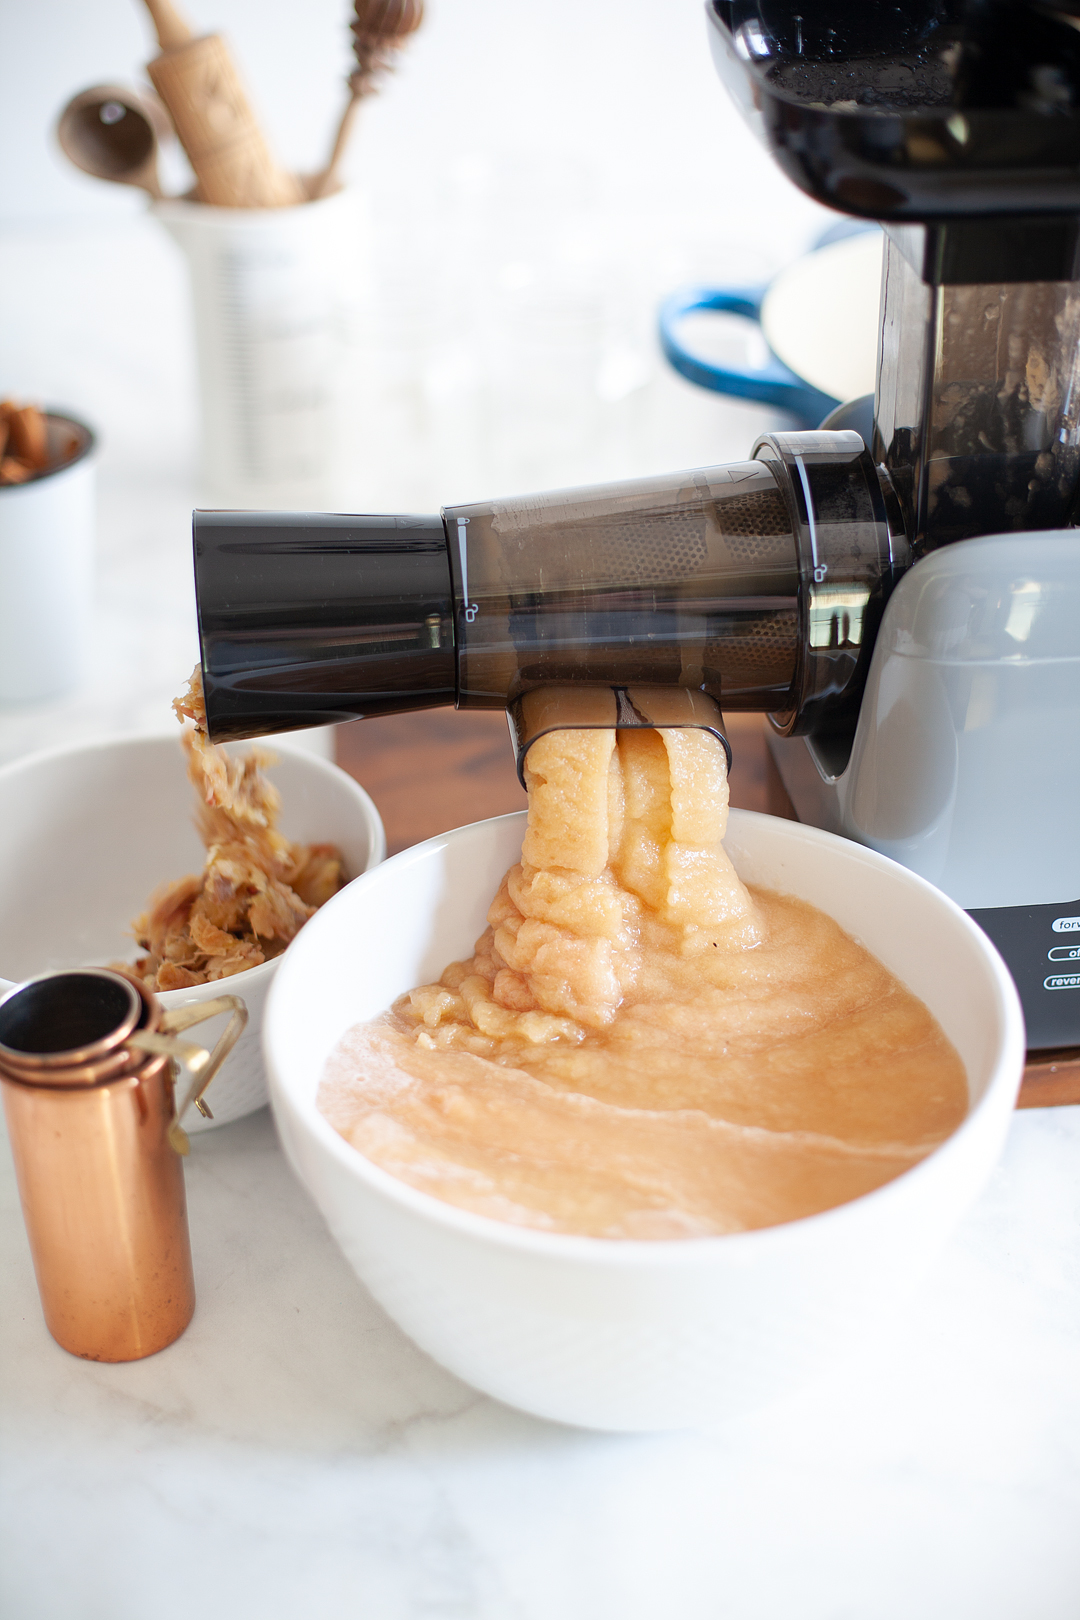
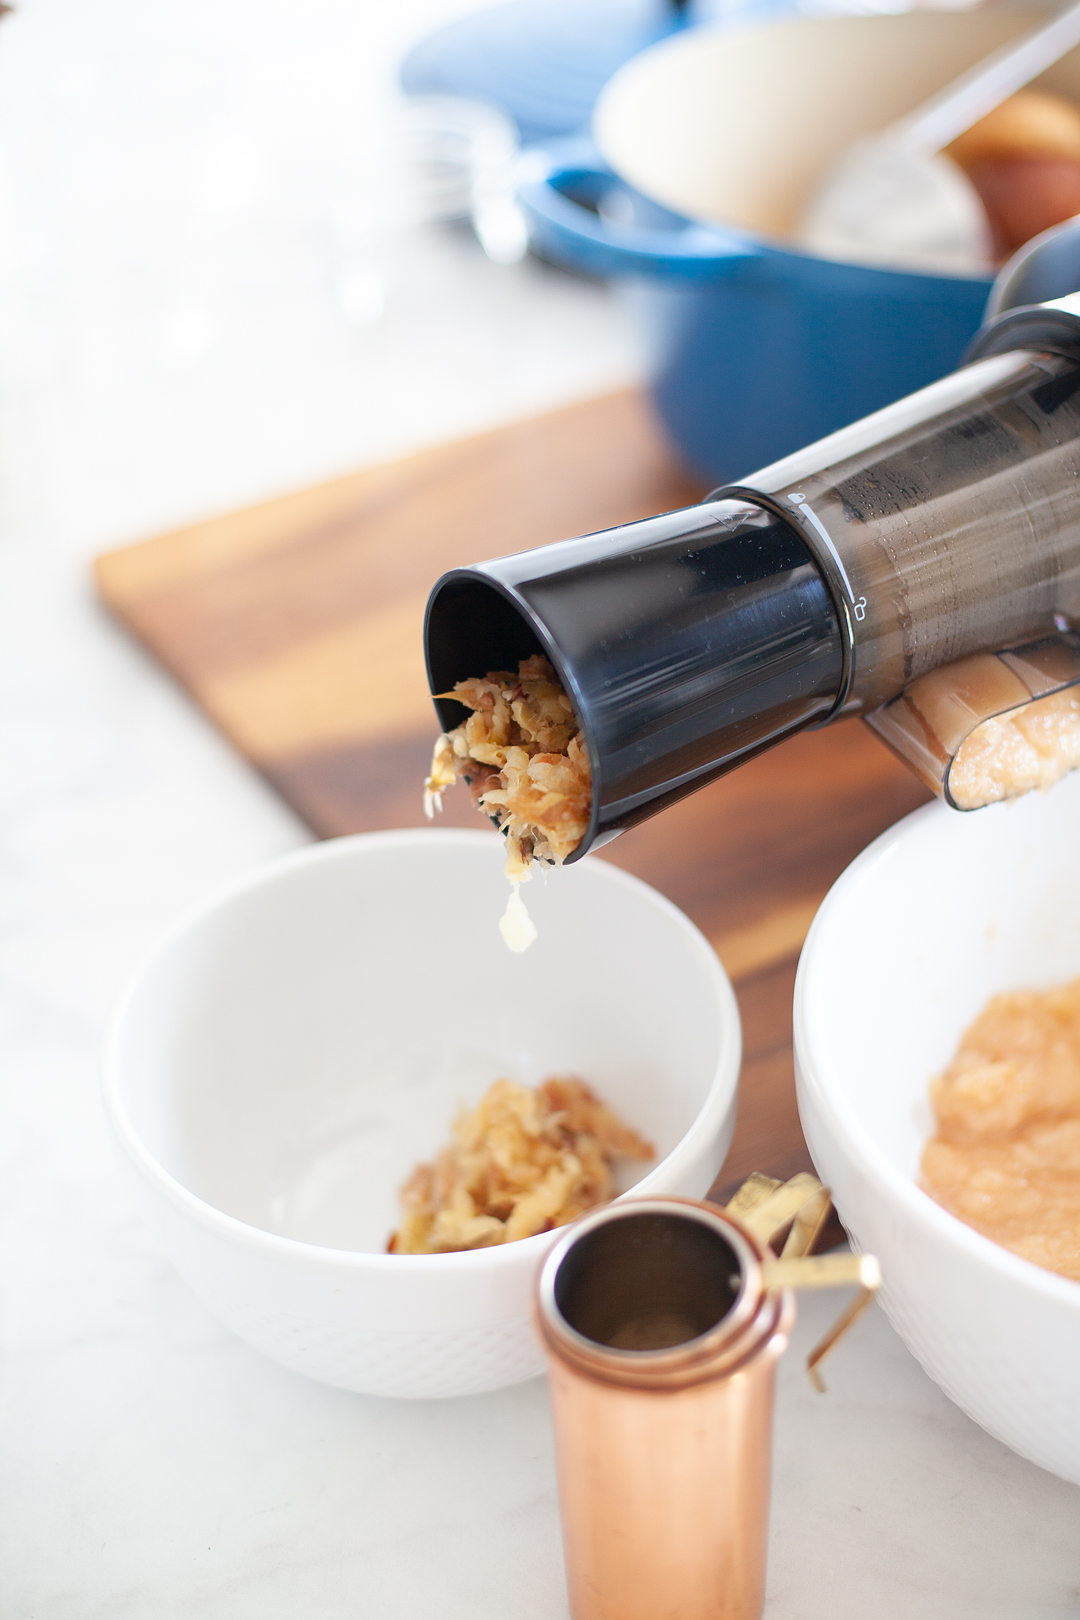
You feed the softened apples into the top of the machine, they are then fed through the machine with an auger then pushed through a metal screen. The metal screen grabs all of that apple goodness on the inside of the apple and then sends the undesirable stuff, the seeds, core & skin through on its way through a different tube. It’s brilliant!
Maple Applesauce Recipe
Now, all we need are our fresh ingredients. This is the easy part, all you need are apples, cinnamon sticks & maple syrup. Yep, simple & fresh.
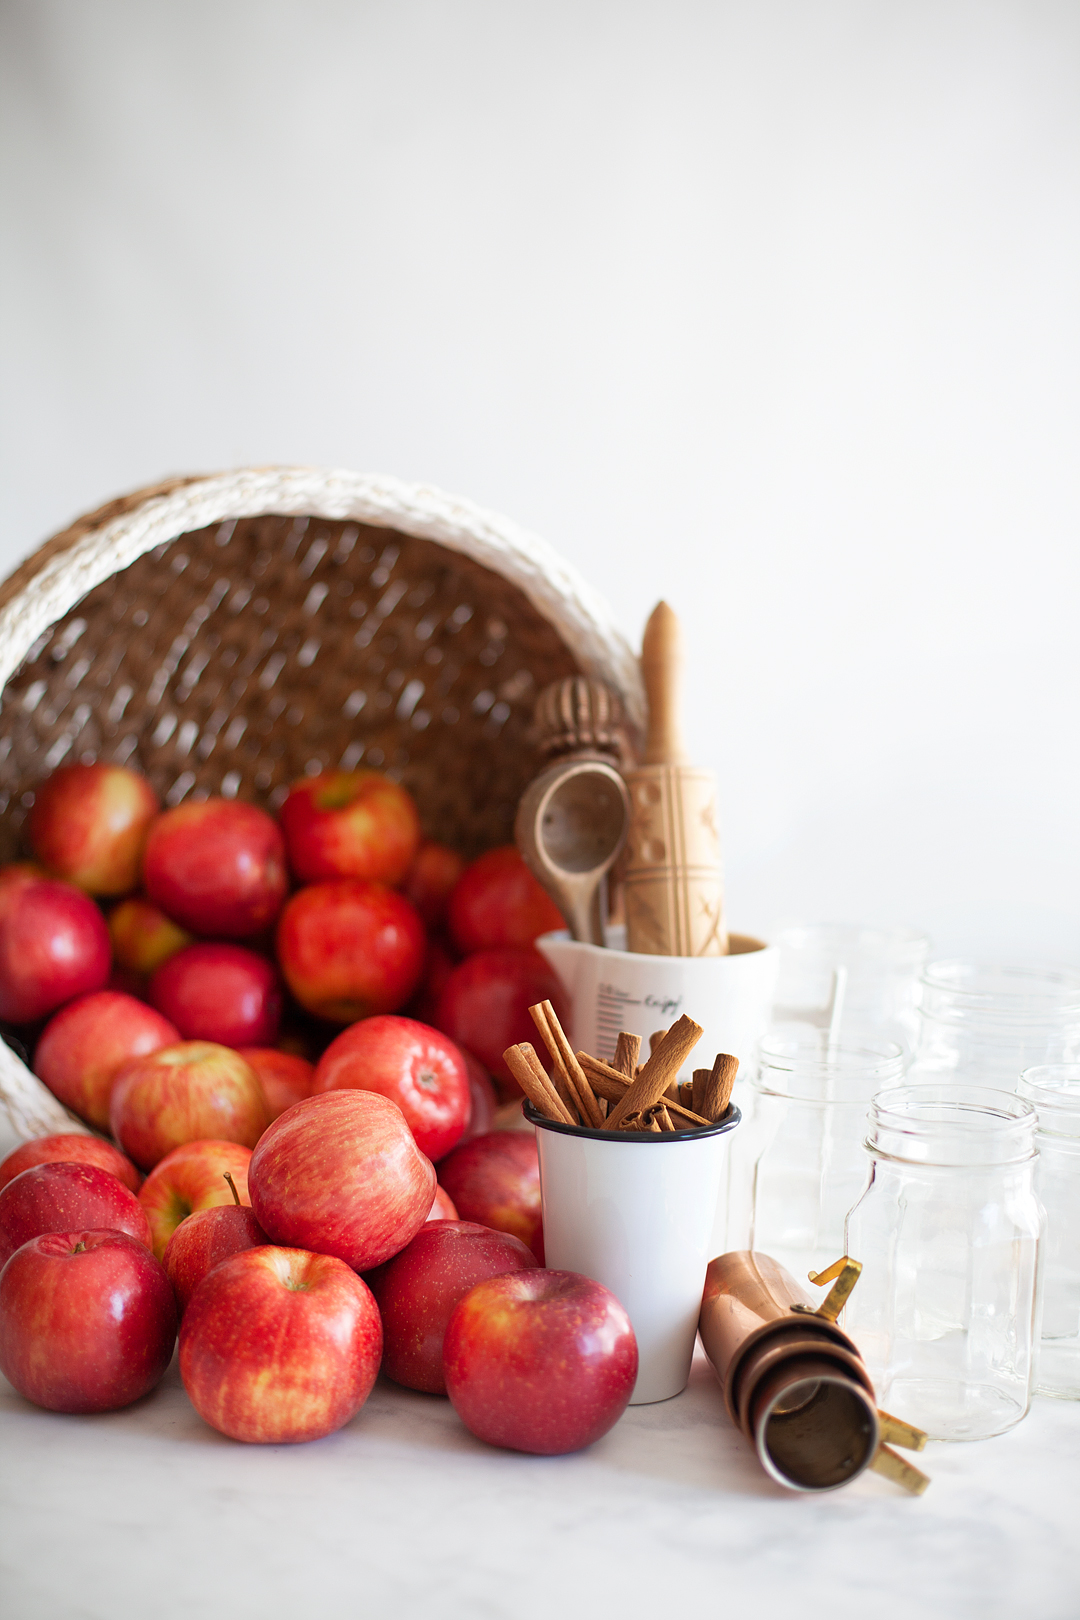
As with apple pie, a mixed variety of fresh apples is best to make applesauce with, leaving the skins on boost nutrition and adds subtle pink hues. The addition of maple syrup creates a slightly sweet, very Fall flavor.
With our Ball® FreshTech Harvest Pro™ Sauce & Salsa Maker to process the apples, there is no need to core or peel them.
Makes about 5 (24 oz) pint and half jars or 3 (32 oz) quart jars
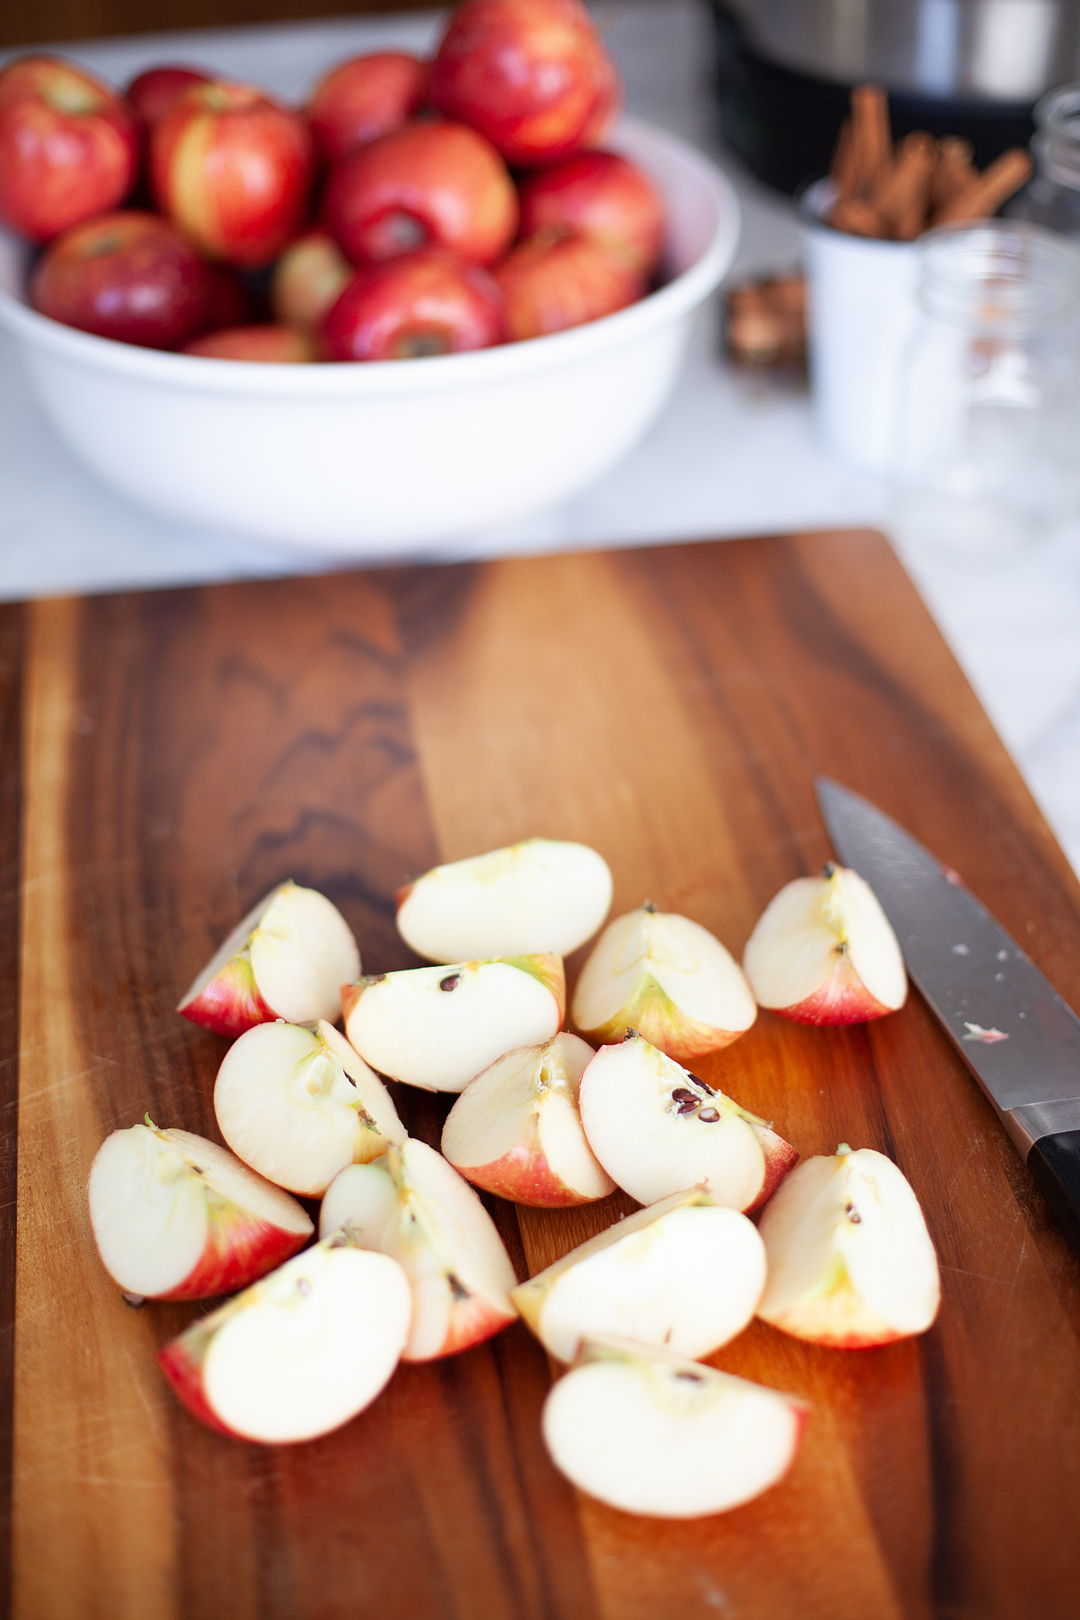
- 12 pounds apples, cored and quartered (peeled if desired)
- 1 cup water
- 2 cinnamon sticks (optional)
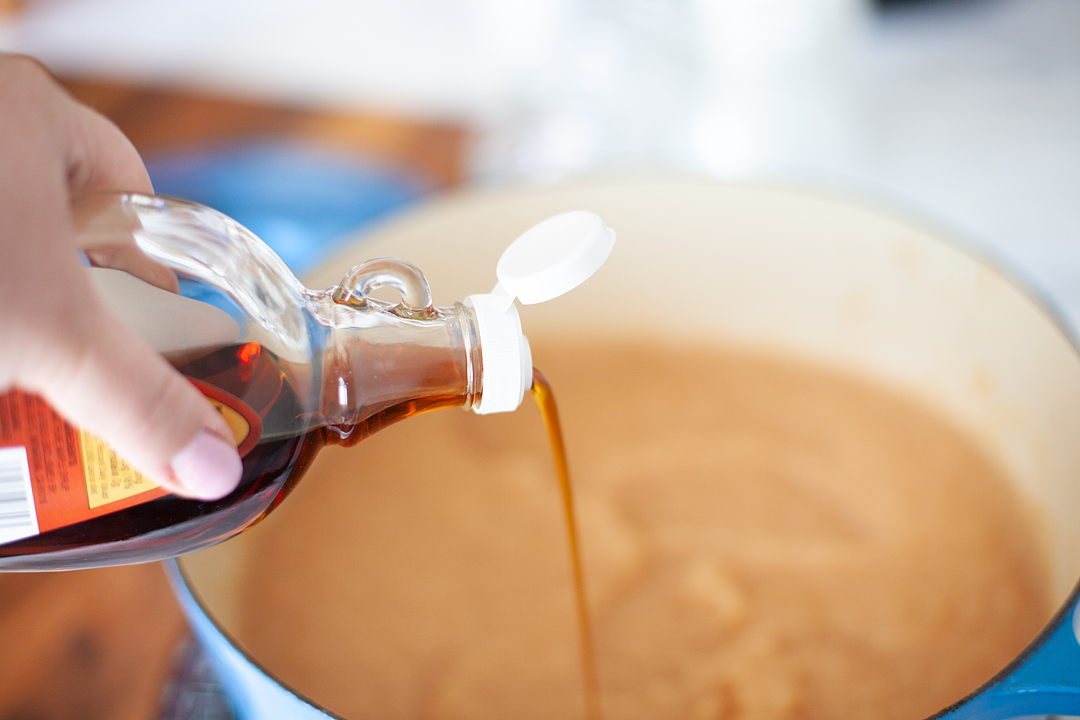
- 1 -1/4 cups maple syrup
Directions:
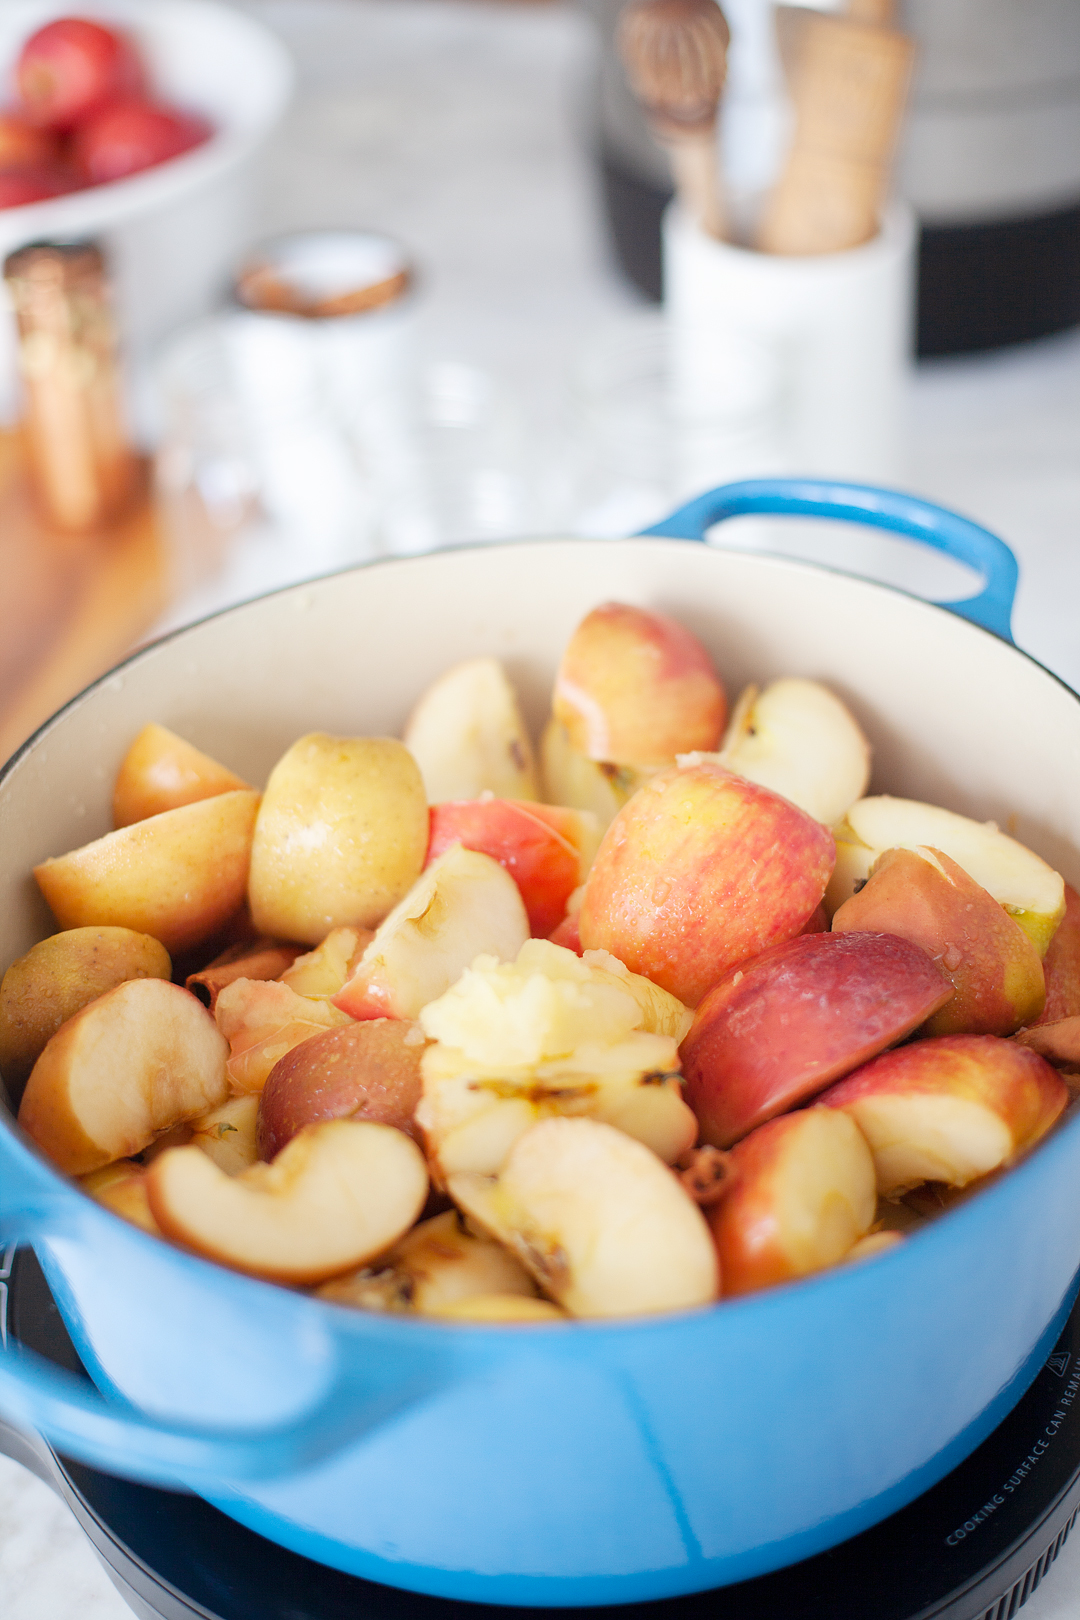
- Combine apple quarters, cinnamon sticks and water in a large stockpot. Cook over low heat, stirring occasionally, until apples are very tender, about 25 minutes.
- Process apples in batches through a Ball® FreshTech Harvest Pro™ Sauce & Salsa Maker, food mill or food processor until smooth, removing cinnamon sticks. Alternately, crush apples with a potato masher for a chunkier texture.
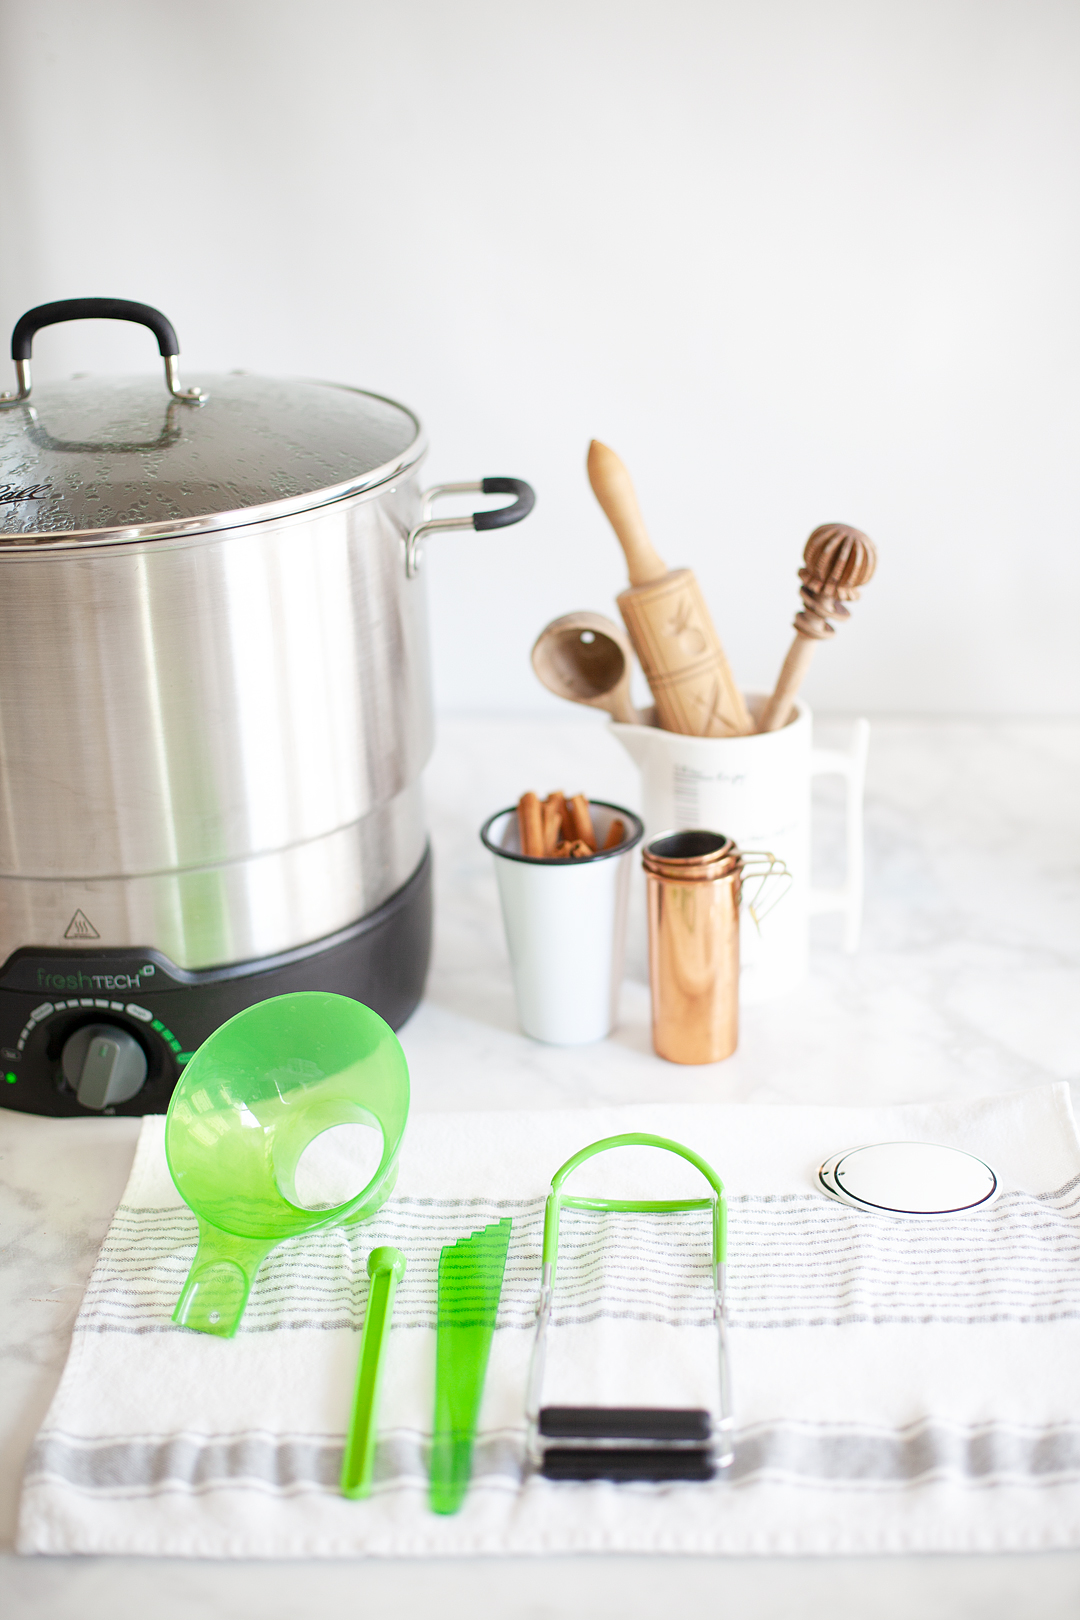
- Prepare boiling water canner. ( I use the Ball® FreshTech Electric Water Bath Canner.) Heat jars in simmering water until ready to use, do not boil. I’m using my favorite Ball® Quart (32 oz.) Sharing Jars for this recipe. Wash lids in warm soapy water and set aside with bands.
- Return applesauce to stock pot, add maple syrup and bring to a simmer over medium heat, stirring constantly, for 10 minutes.
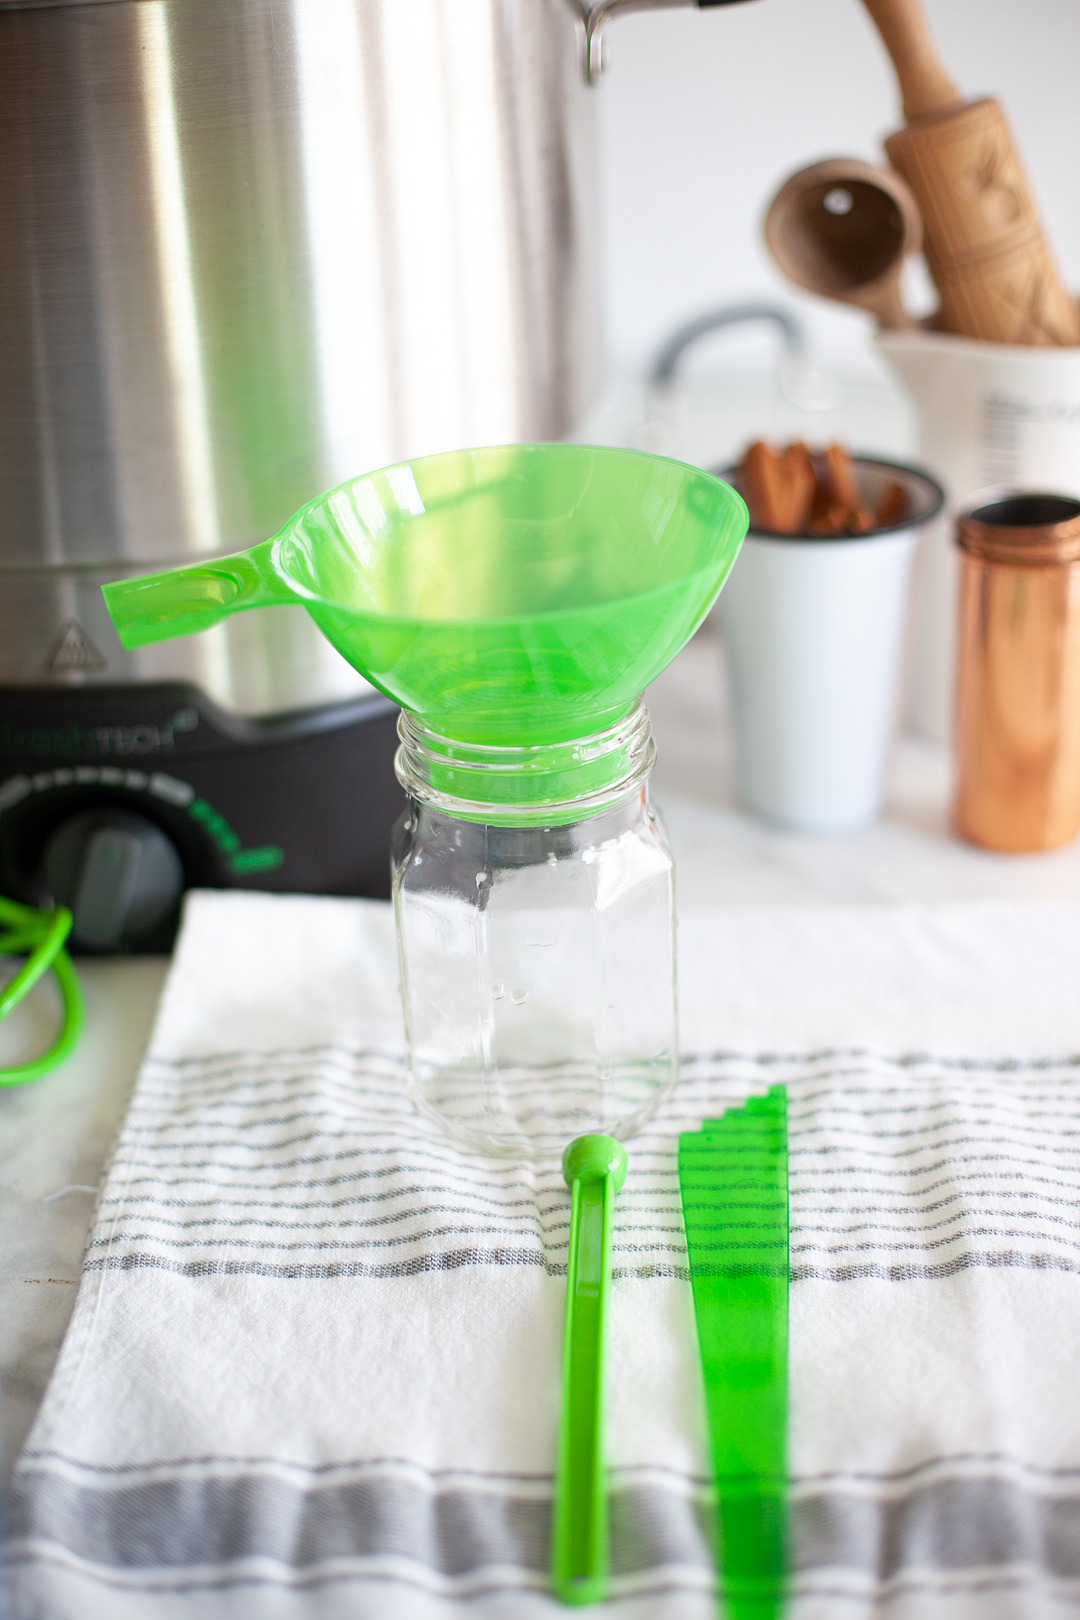
- Ladle hot applesauce into a hot jar leaving a ½ inch headspace. Remove air bubbles. Wipe jar rim. Center lid on the jar and apply the band, adjust to fingertip tight. Place jar in boiling water canner. Repeat until all jars are filled.
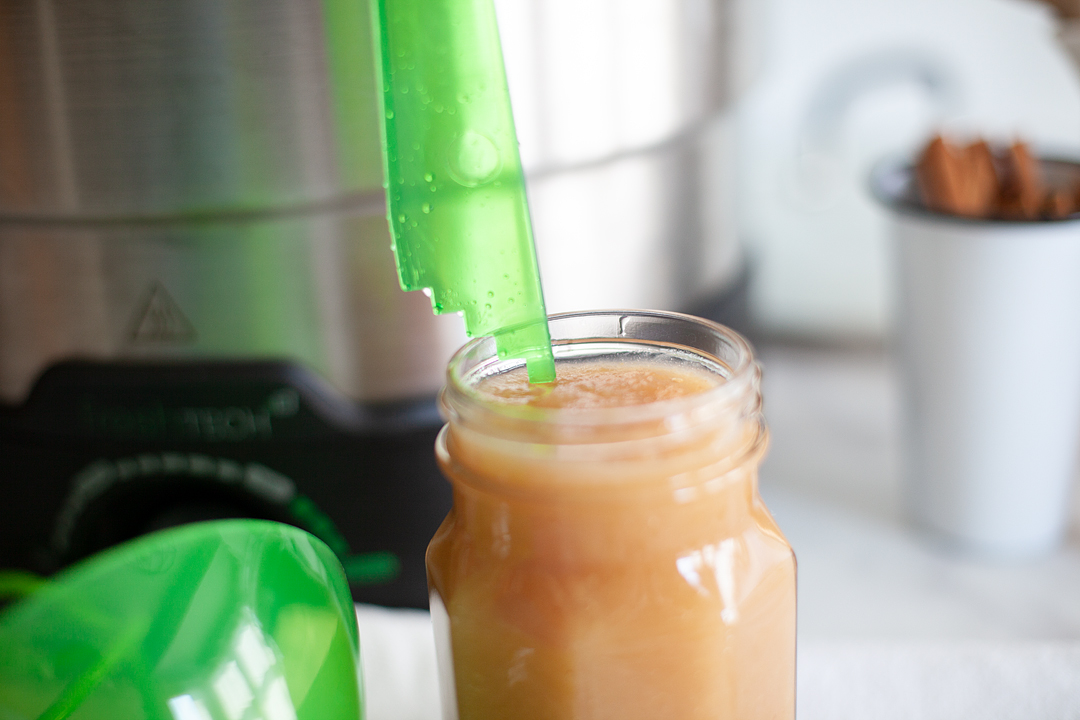
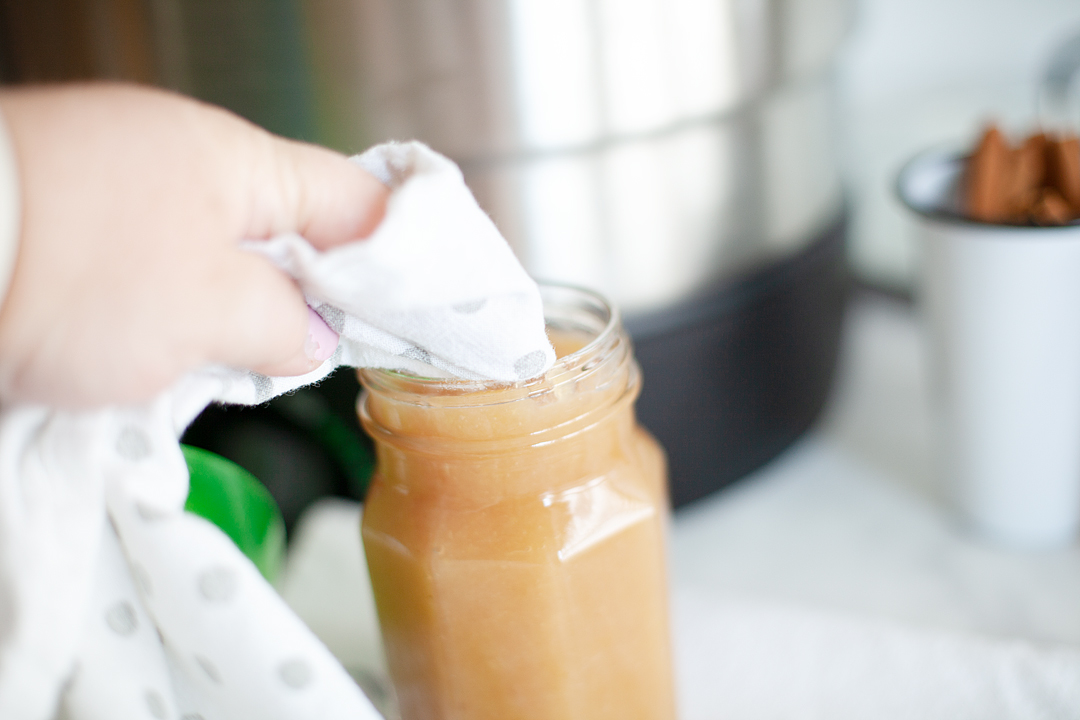
- Process jars 25 minutes, adjusting for altitude. Turn off heat, remove the lid, let jars stand 5 minutes. Remove jars and cool 12-24 hours. Check lids for a seal, they should not flex when the center is pressed.
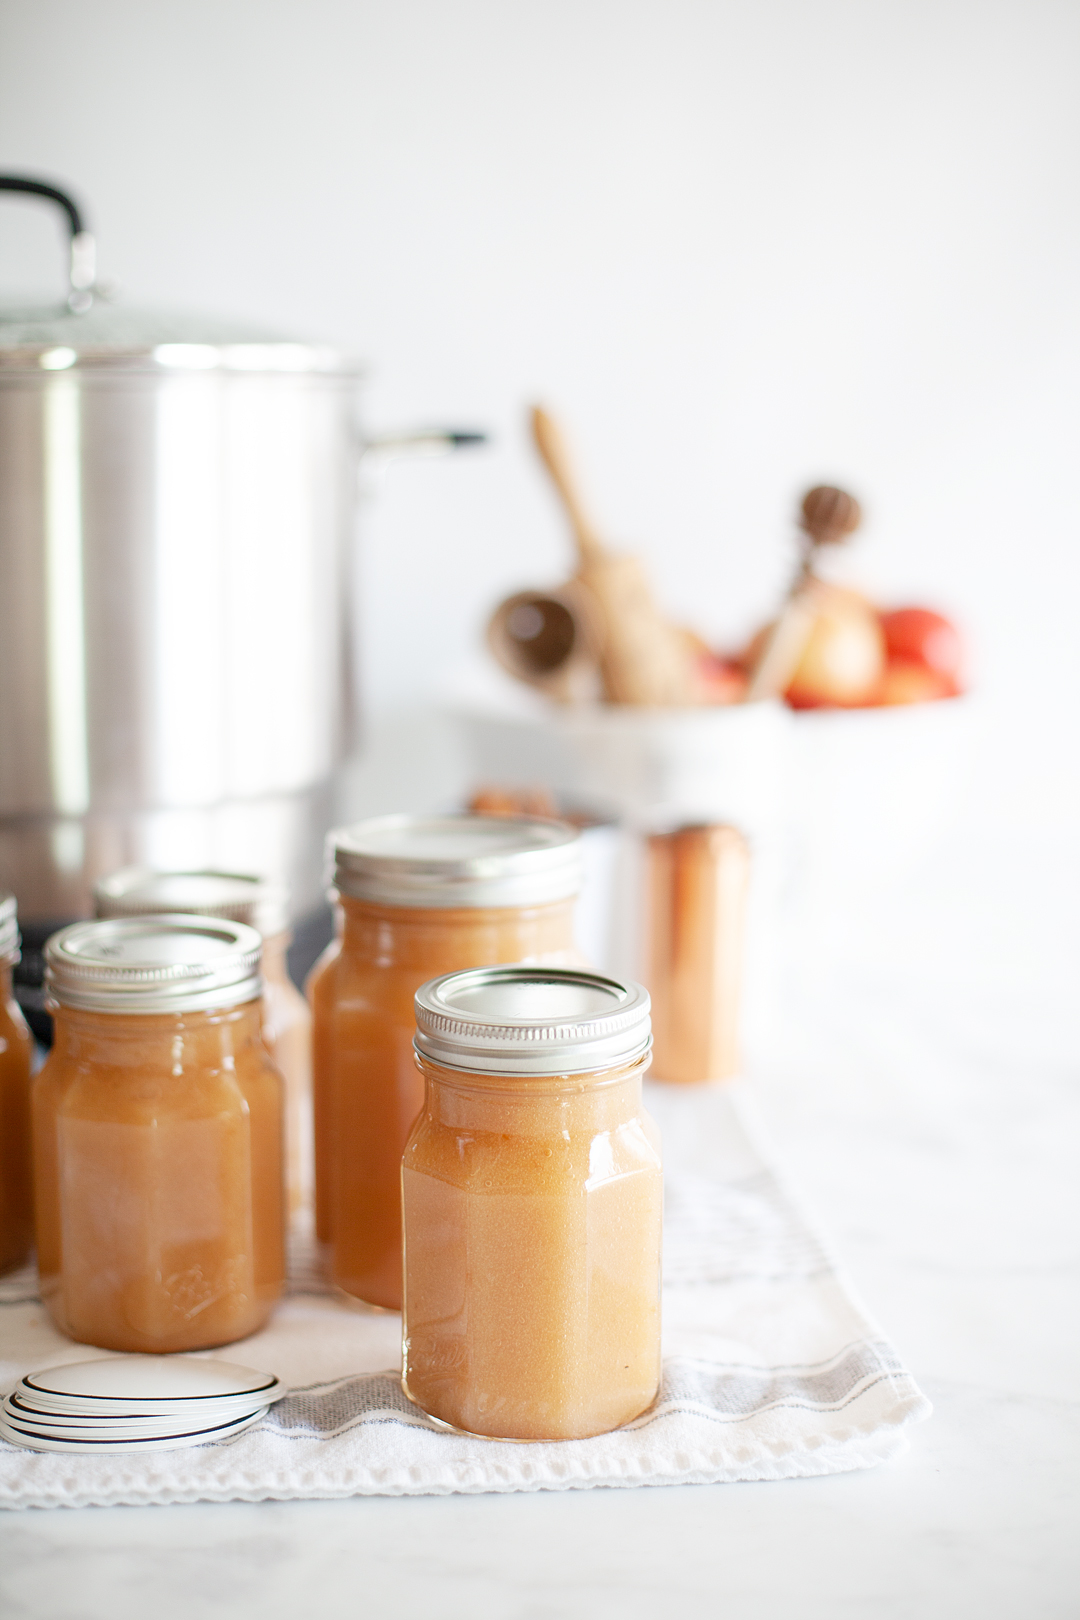
Now’s the hard part, sitting and waiting for them to rest before you can devour them!
Maple Apple Sauce Overnight Oatmeal
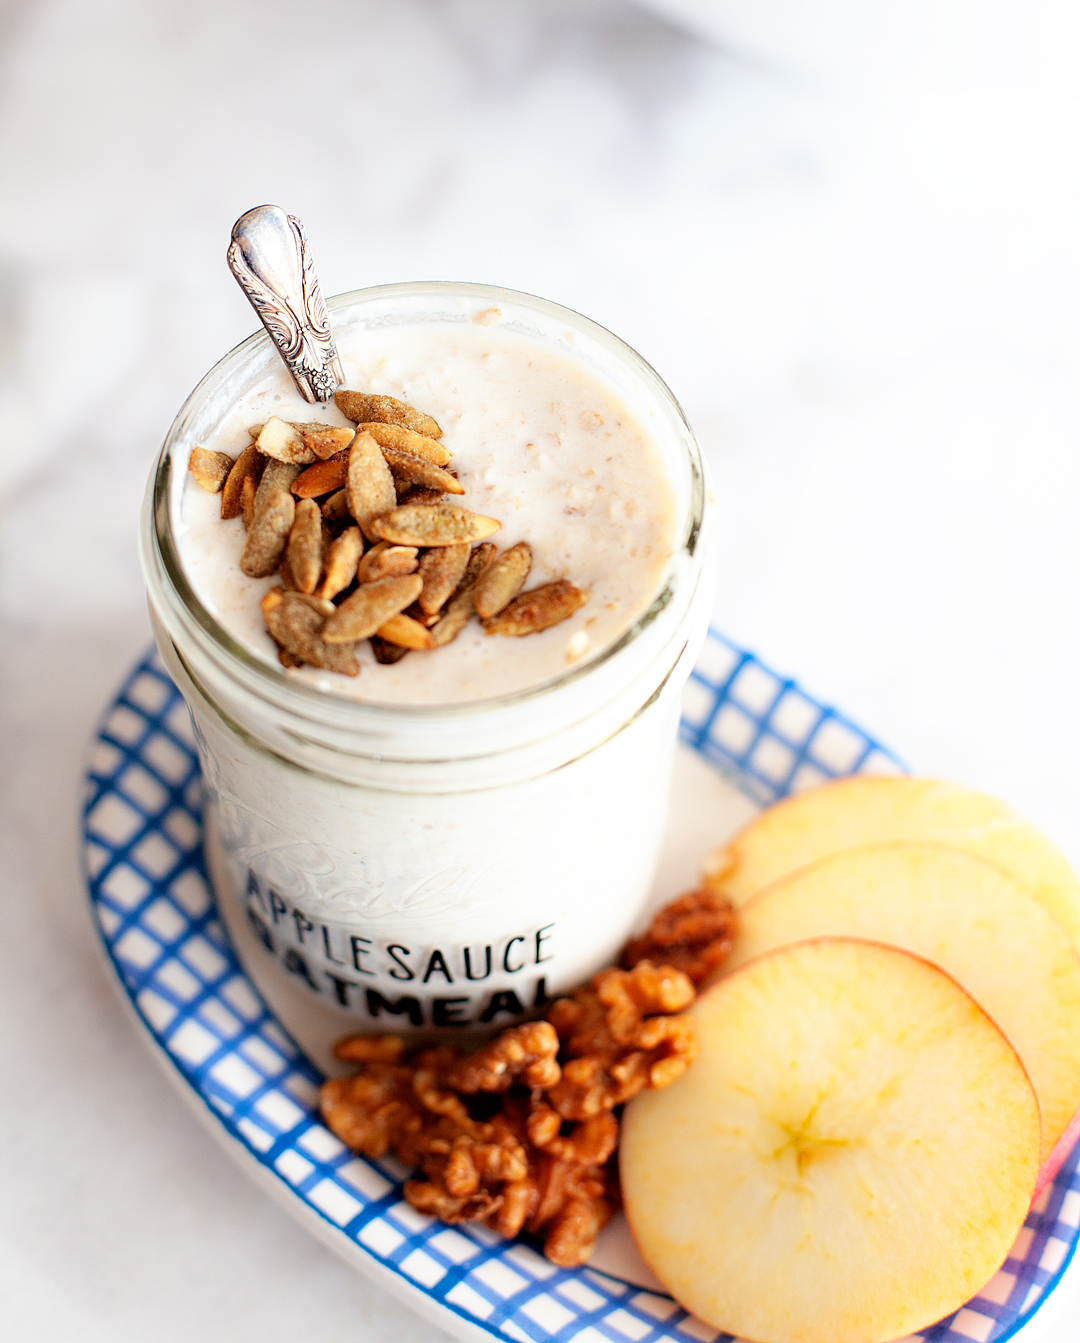
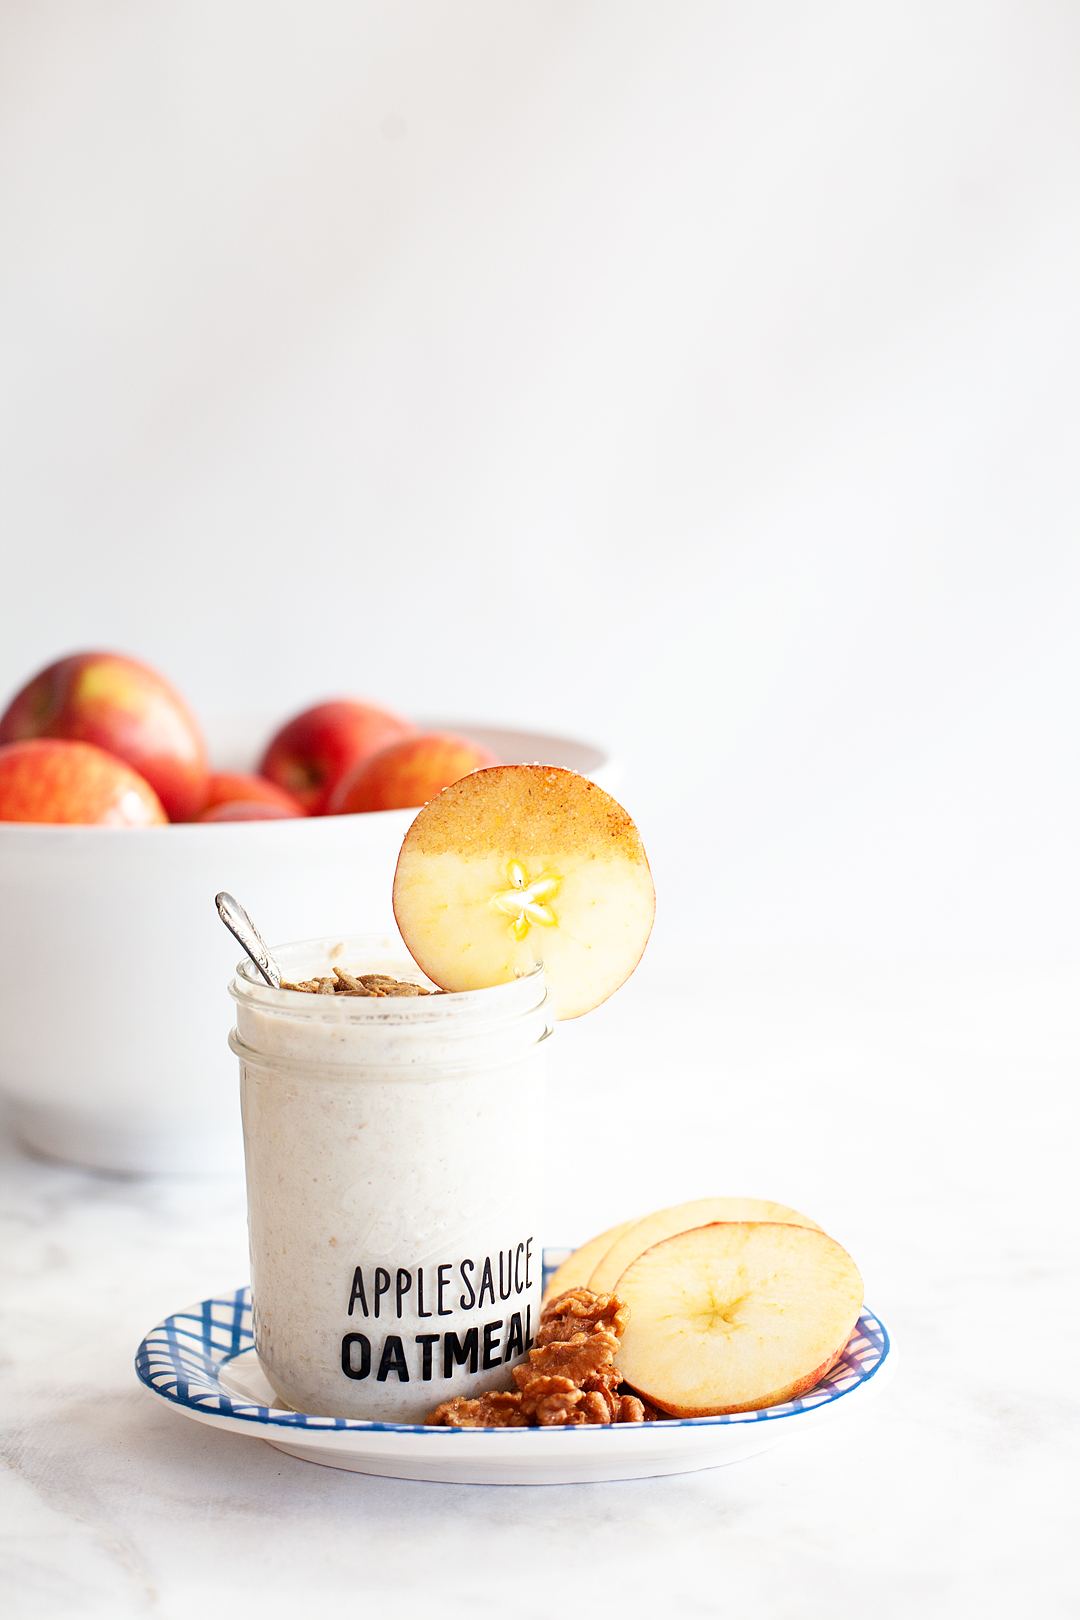
One way I love to use my applesauce is in the overnight oatmeal. It adds a fresh kick to a sometimes one-note oatmeal experience. This recipe is simple to whip up the night before and then pull from the fridge as you are running out the door.
1/2 cup rolled oats
1/2 cup Greek yogurt
1/2 cup applesauce
1/2 cup milk of your choice
Place all of your ingredients into a jar, replace lid and shake really well.
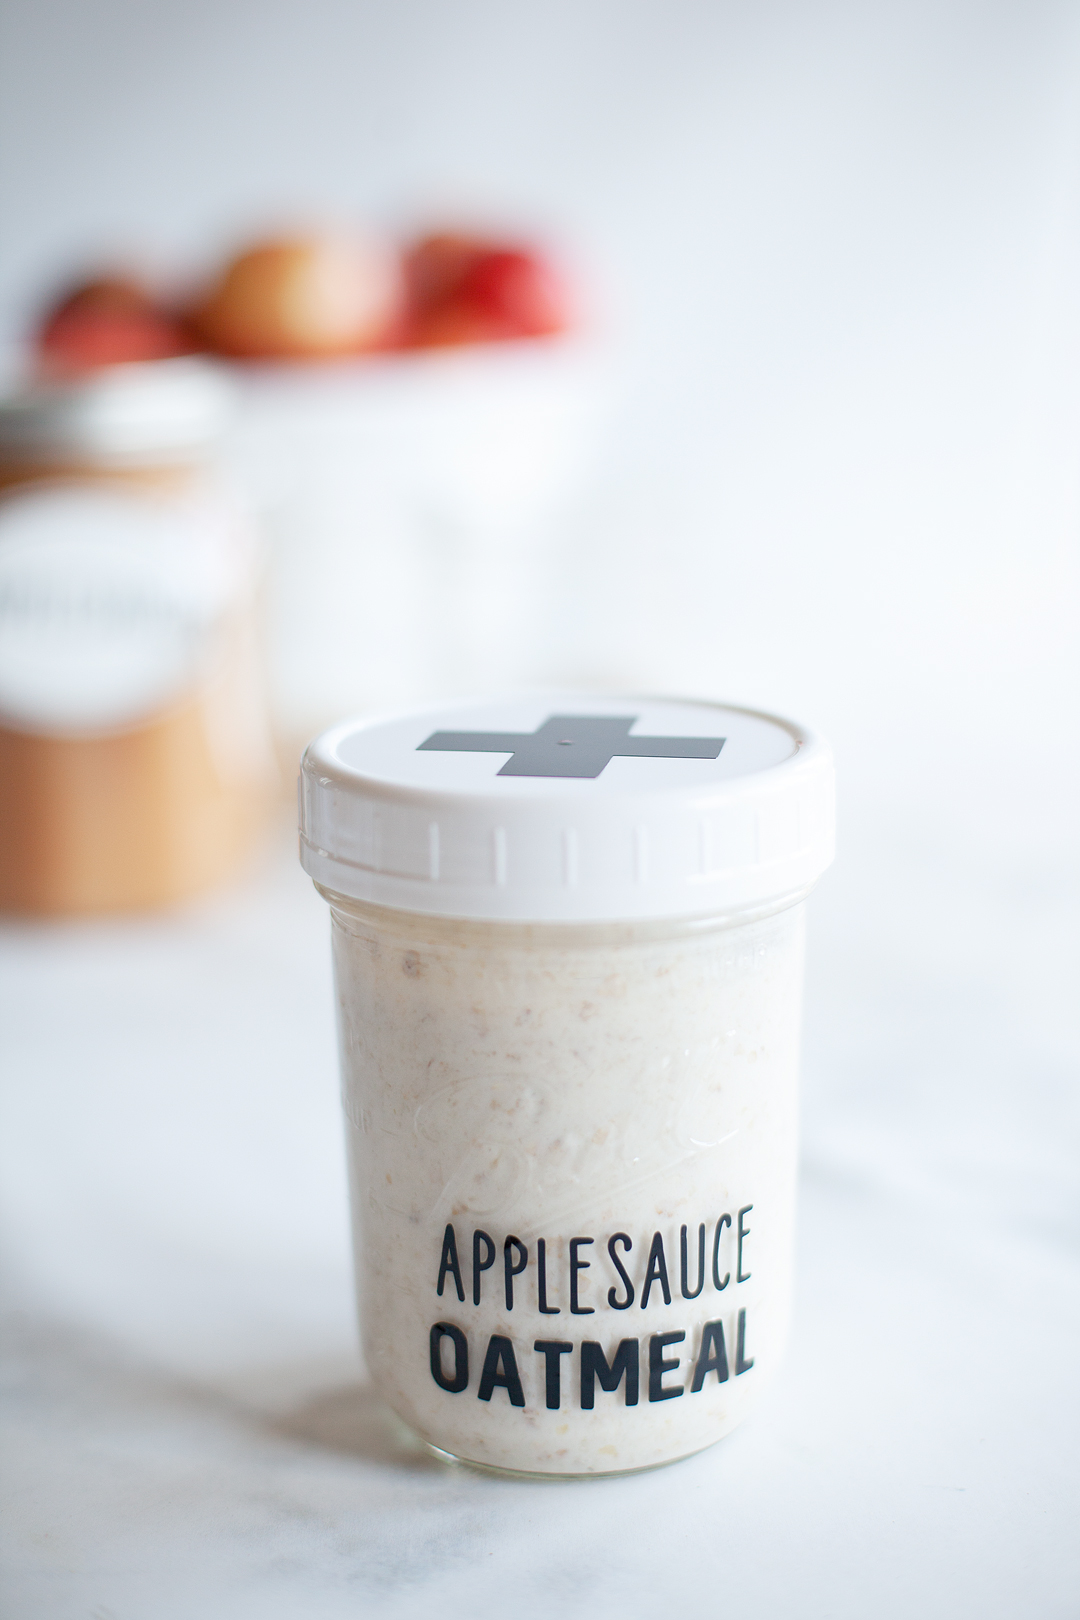
Place in the fridge overnight. The next morning serve cold or warmed, topped with fruit, nuts & additional maple syrup if you’d like.
40
Leave a Reply