• Skip to primary navigation
  • Skip to main content
  • Skip to primary sidebar
  • Skip to footer

Whipperberry

WhipperBerry • Your Home For Creative Inspiration

  • Home
  • About
    • Terms
  • Recipes
    • ZipList
    • Starters
    • Easy Weeknight Dinners
    • Main Dish
    • Salads
    • Side Dish
    • Soups & Stews
    • Desserts
    • Breakfast
    • Miscellaneous
  • Tutorials
    • Creative Crafts
    • DYI Decor
    • Fabric Crafts
    • Food How-To
    • Jewlery
    • Paint Projects
    • Paper Art
    • Party Styling
    • Photography and Graphic Design
    • Silhouette
  • Holidays
    • St. Patrick’s Day
    • Easter
    • Mother’s Day
    • Father’s Day
    • 4th of July
    • Halloween
    • Thanksgiving
    • Christmas
    • New Years
    • Valentine’s Day
  • Gift Ideas
    • Gifts For Everyone
    • Gifts for Dad
    • Mother’s day
    • For The Girls
    • For The Kids
    • Teacher Gift Ideas
    • Christmas
  • Printables
    • Holiday
    • Gift Idea
    • LDS Primary
  • Travel
  • Contact
  • Nav Social Menu

    • Facebook
    • Instagram
    • Pinterest
    • RSS
    • Twitter

Sidedish

Maple Applesauce Recipe + Maple Applesauce Overnight Oatmeal Recipe

39 · Oct 1, 2018 · Leave a Comment

This post is brought to you by Ball® Fresh Preserving Products by Newell Brands 

What can I say about applesauce… It’s a humble wallflower that at times gets looked over in the culinary world.  Longing for her Johnny to come and rescue her from the corner. (This is a Dirty Dancing reference if you are under the age of 35… “Nobody puts Baby in the corner!” Youtube it!) Meek applesauce quietly sits back and waits to shine… And shine she does. Just like Jennifer Grey’s famous leap into Patrick Swayze’s waiting arms, applesauce can elevate a boring dish to new heights or become a lovely afternoon snack paired with cottage cheese. Simple by nature, this humble sauce can easily be forgotten in the back of the pantry collecting dust rather than helping to create amazing dishes as a good supporting actor. 

Not to knock commercially prepared applesauce, but when you have the opportunity to enjoy homemade applesauce, you will know the difference. It’s sweet and tangy with the perfect texture. Not to mention the fact that it harmonizes well with many different notes on your palette AND, it’s super easy to make! #applesauce #applesaucerecipe #homemadeapplesauce

Many people seem to feel like applesauce is mere toddler food, not a great way to preserve the bounty of our Autumn apple harvest. Not to mention, impart great flavor in baked goods and all kinds of sweet and even savory dishes. 

I grew-up eating commercial applesauce as a kiddo, as many children in our country do. However, I remember the day when I was introduced to home-canned applesauce. My Aunt Oleta’s applesauce to be exact. I have no idea what my sweet Aunt put into that applesauce but it was a pure revelation to me. We grew-up preserving peaches and pears, a few pickles now and then, but we didn’t really preserve applesauce. I guess my Mom was fine with what was available at the market. Not to knock commercially prepared applesauce, but when you have the opportunity to enjoy homemade applesauce, you will know the difference. It’s sweet and tangy with the perfect texture. Not to mention the fact that it harmonizes well with many different notes on your palette AND, it’s super easy to make!

How to Make Applesauce

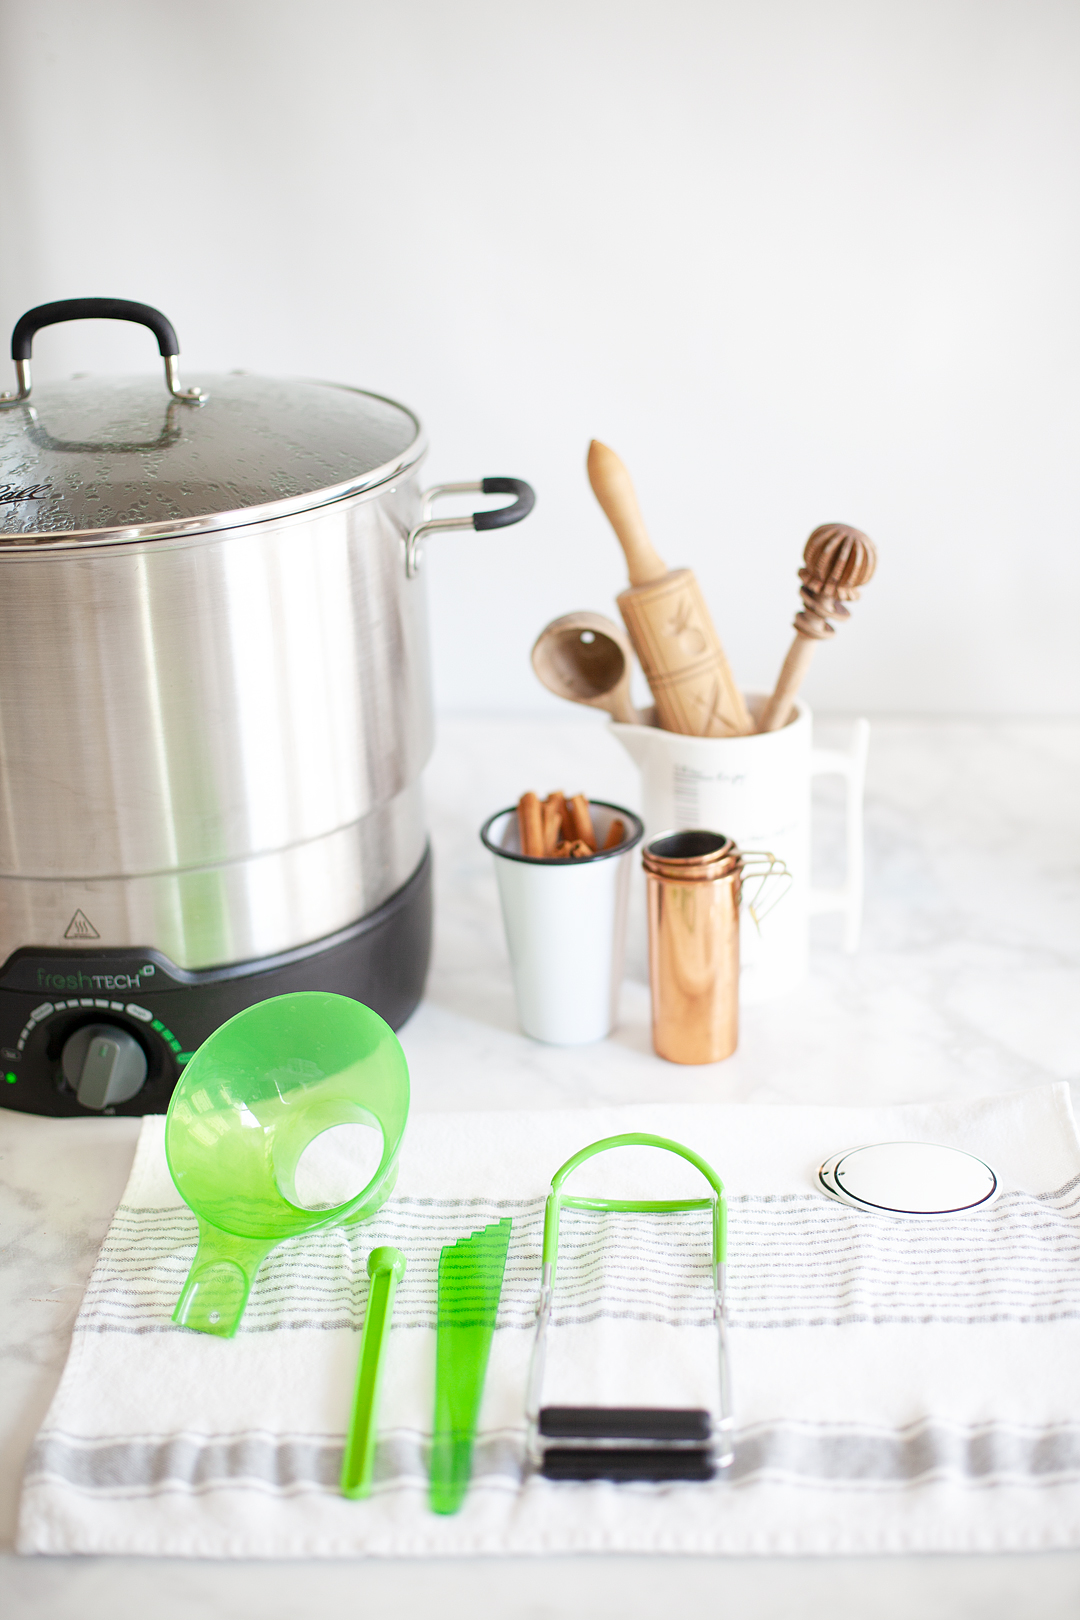
If you are new to preserving, I feel like applesauce is a great way to start. It’s a very forgiving process and if you follow a few basic steps, use good ingredients, and have a few good tools on hand, you are guaranteed success. It’s also a quick process that won’t take all day if you have the right tools. 

Tools

Back in college, I was a Kindergarten teacher’s aide. One year we were piloting a program where we incorporated cooking into the normal daily curriculum. Once a week we would help those cute little 5-year-old hands learn how to prepare yummy dishes, all the while learning great life and academic skills. One of our first recipes was applesauce and I was introduced to an apple peeler/corer tool.  I thought that was the greatest thing since sliced bread. I was dreading peeling and coring all of those apples that day. (We had 4 classes that I worked with every day.) I thought that tool was going to make my life. I ran out and bought one soon after to make sure I always had one on hand for when I was making anything that needed peeling and coring. However, even with that handy tool, prepping the apples was a laborious & messy job. Then I was introduced to the Ball® FreshTech Harvest Pro™ Sauce & Salsa Maker.

 I was introduced to the Ball® FreshTech Harvest Pro™ Sauce & Salsa Maker.

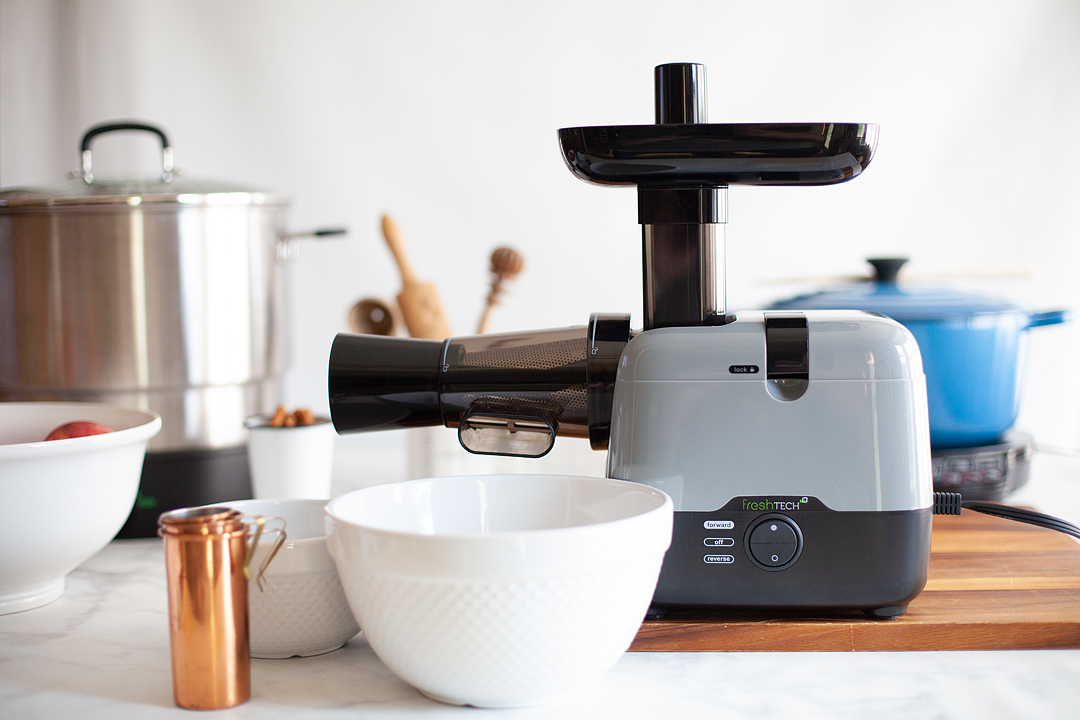
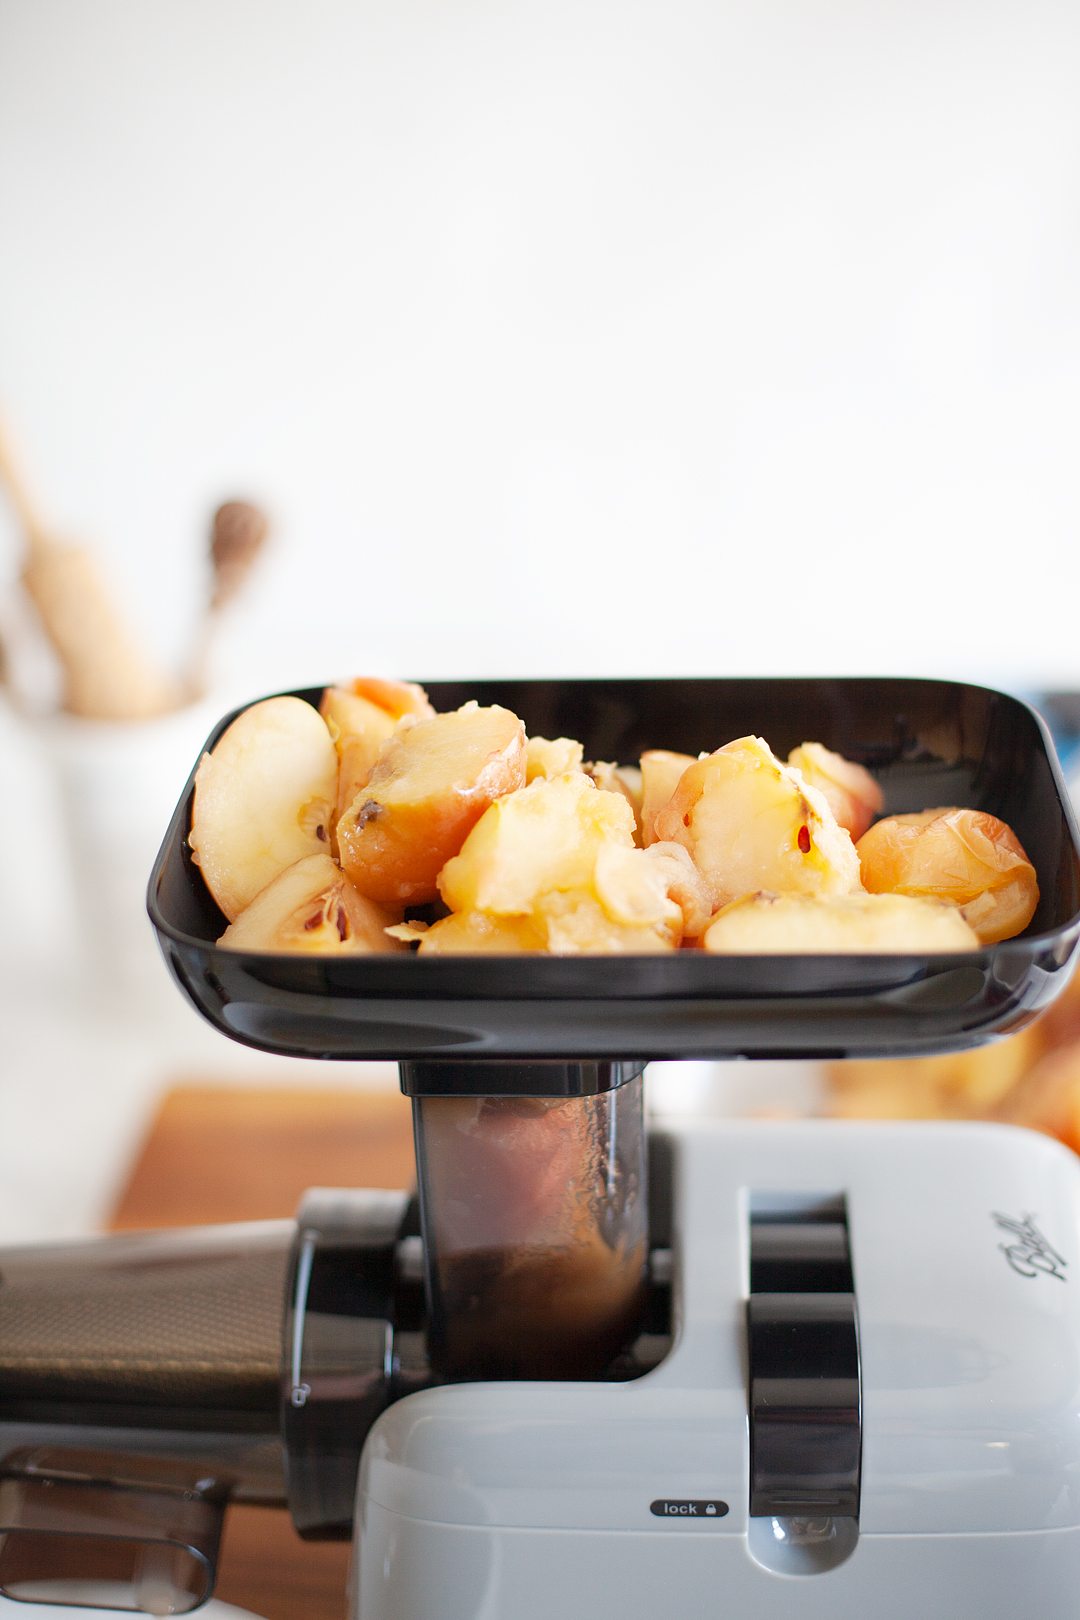
This gem of a machine has made making applesauce and any kind of other sauce a piece of cake! For applesauce, you don’t even have to peel or core the apples at all. Awww, throw caution to the wind and even leave the stems on! This my friends is a game changer… Check it out.

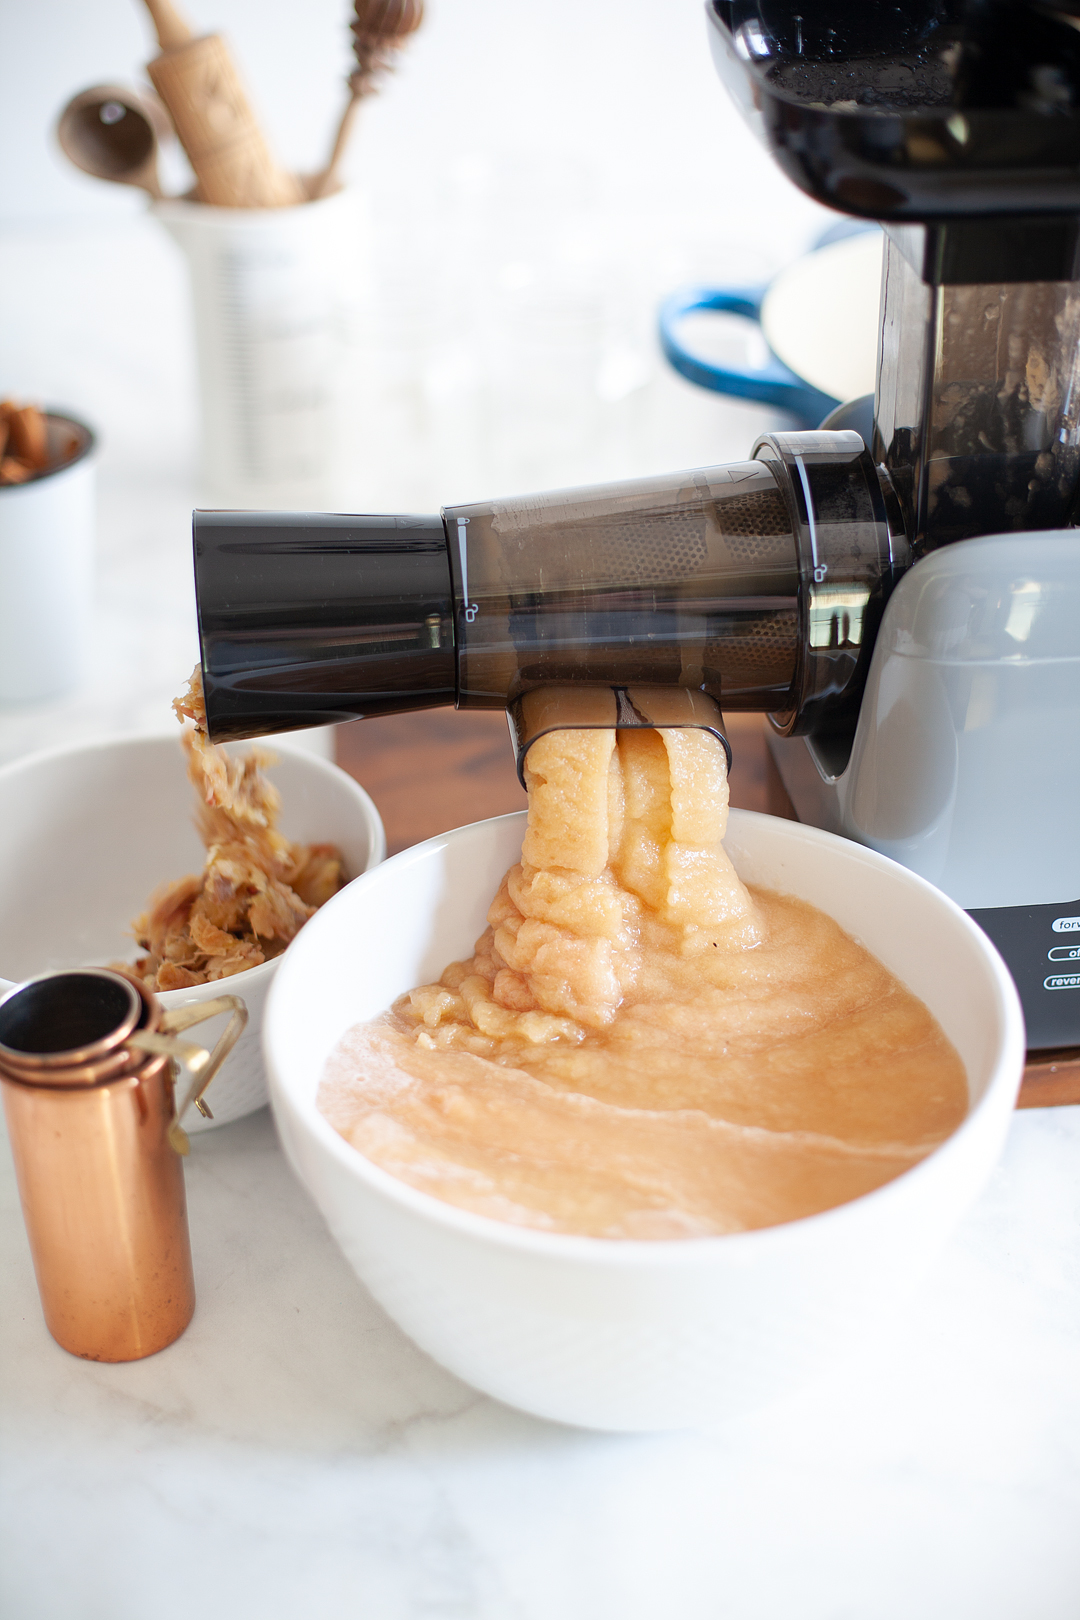
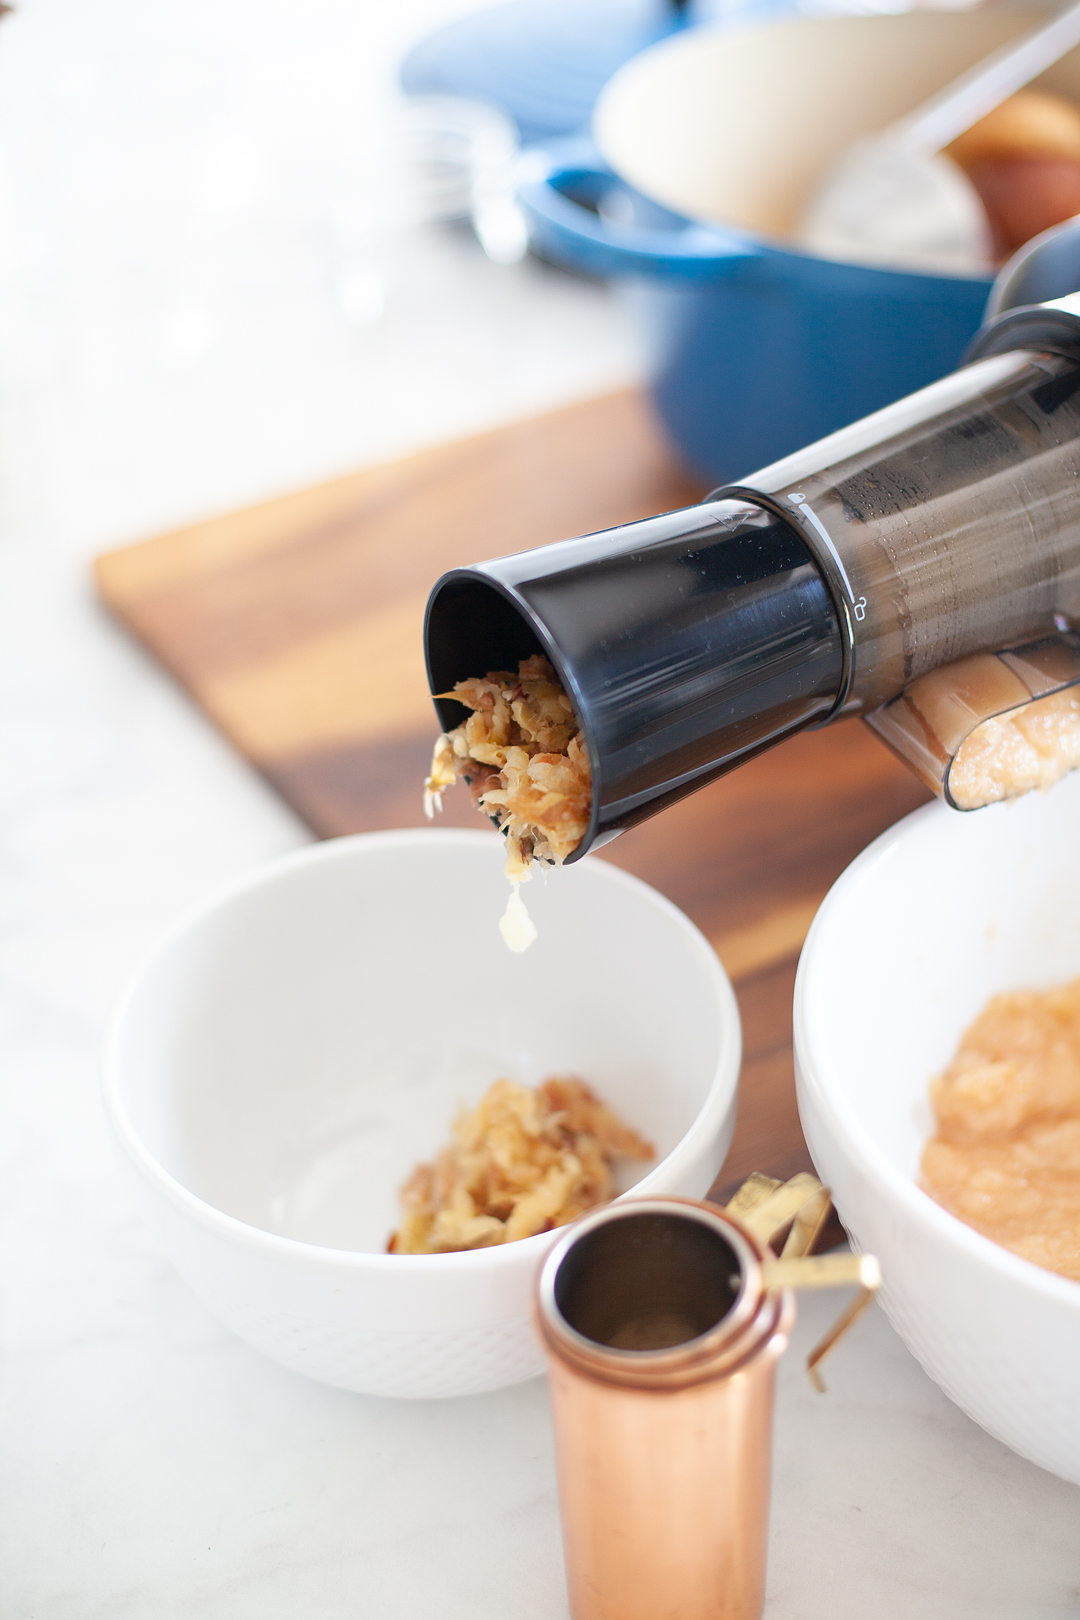
You feed the softened apples into the top of the machine, they are then fed through the machine with an auger then pushed through a metal screen. The metal screen grabs all of that apple goodness on the inside of the apple and then sends the undesirable stuff, the seeds, core & skin through on its way through a different tube. It’s brilliant!

Maple Applesauce Recipe

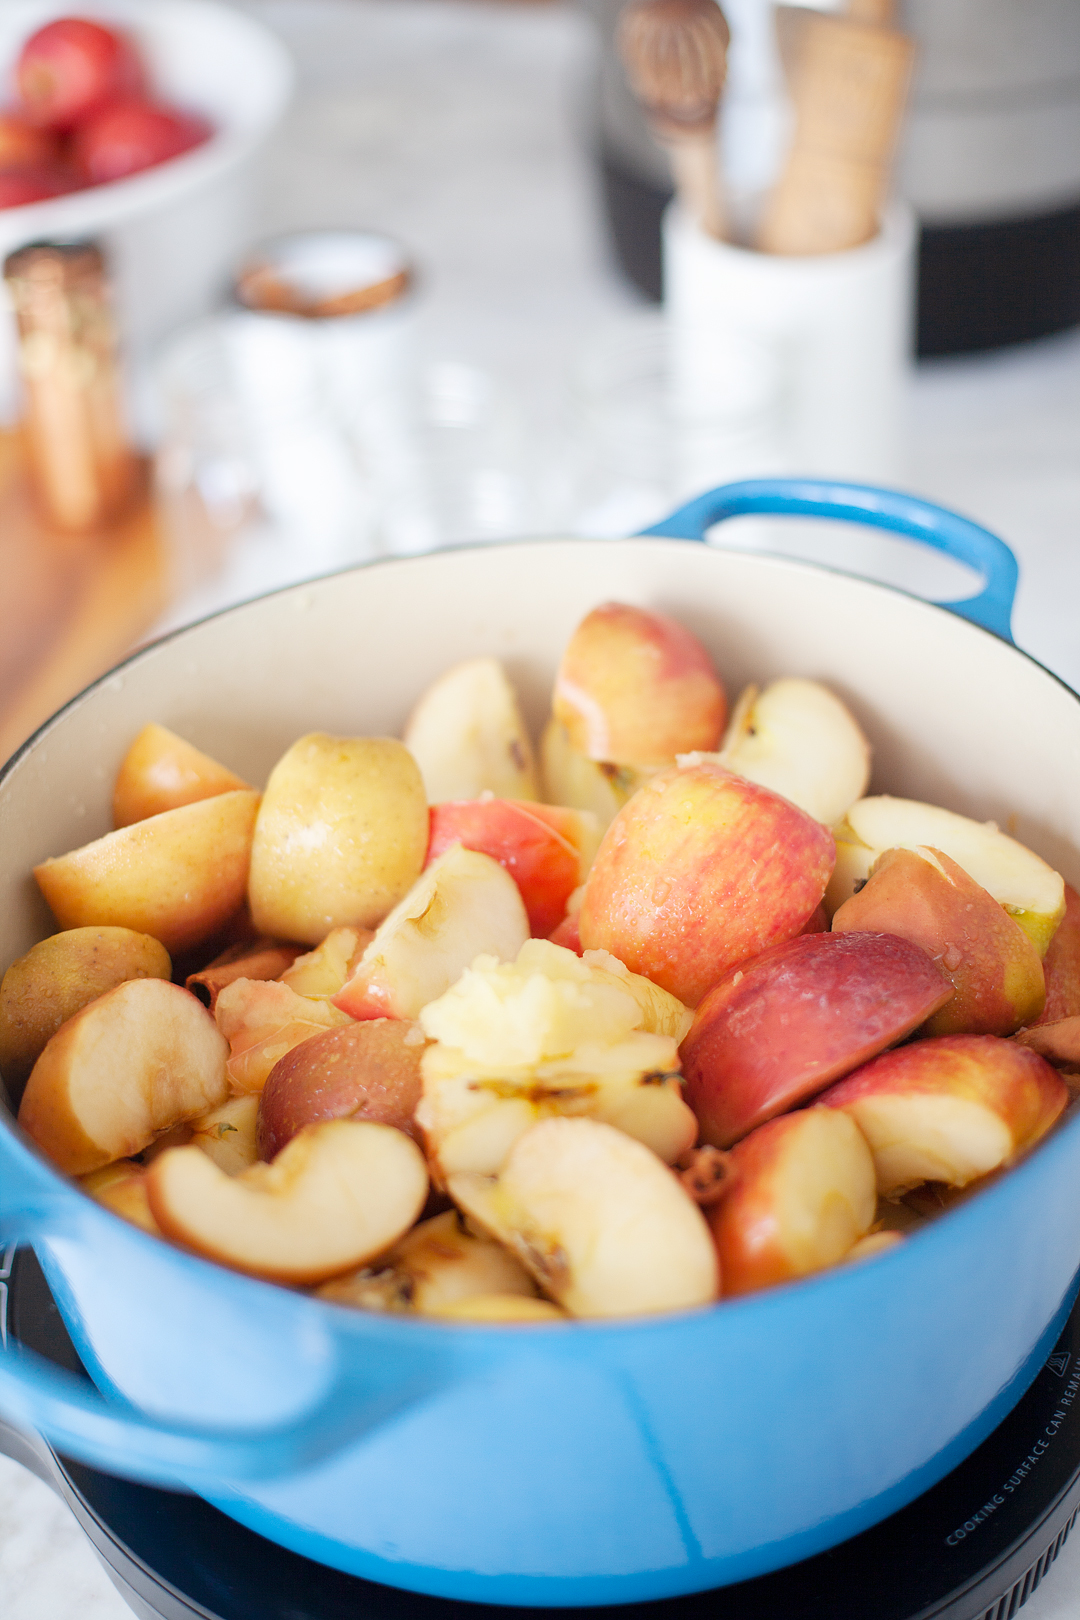
Now, all we need are our fresh ingredients. This is the easy part, all you need are apples, cinnamon sticks & maple syrup. Yep, simple & fresh.

Not to knock commercially prepared applesauce, but when you have the opportunity to enjoy homemade applesauce, you will know the difference. It’s sweet and tangy with the perfect texture. Not to mention the fact that it harmonizes well with many different notes on your palette AND, it’s super easy to make! #applesauce #applesaucerecipe #homemadeapplesauce

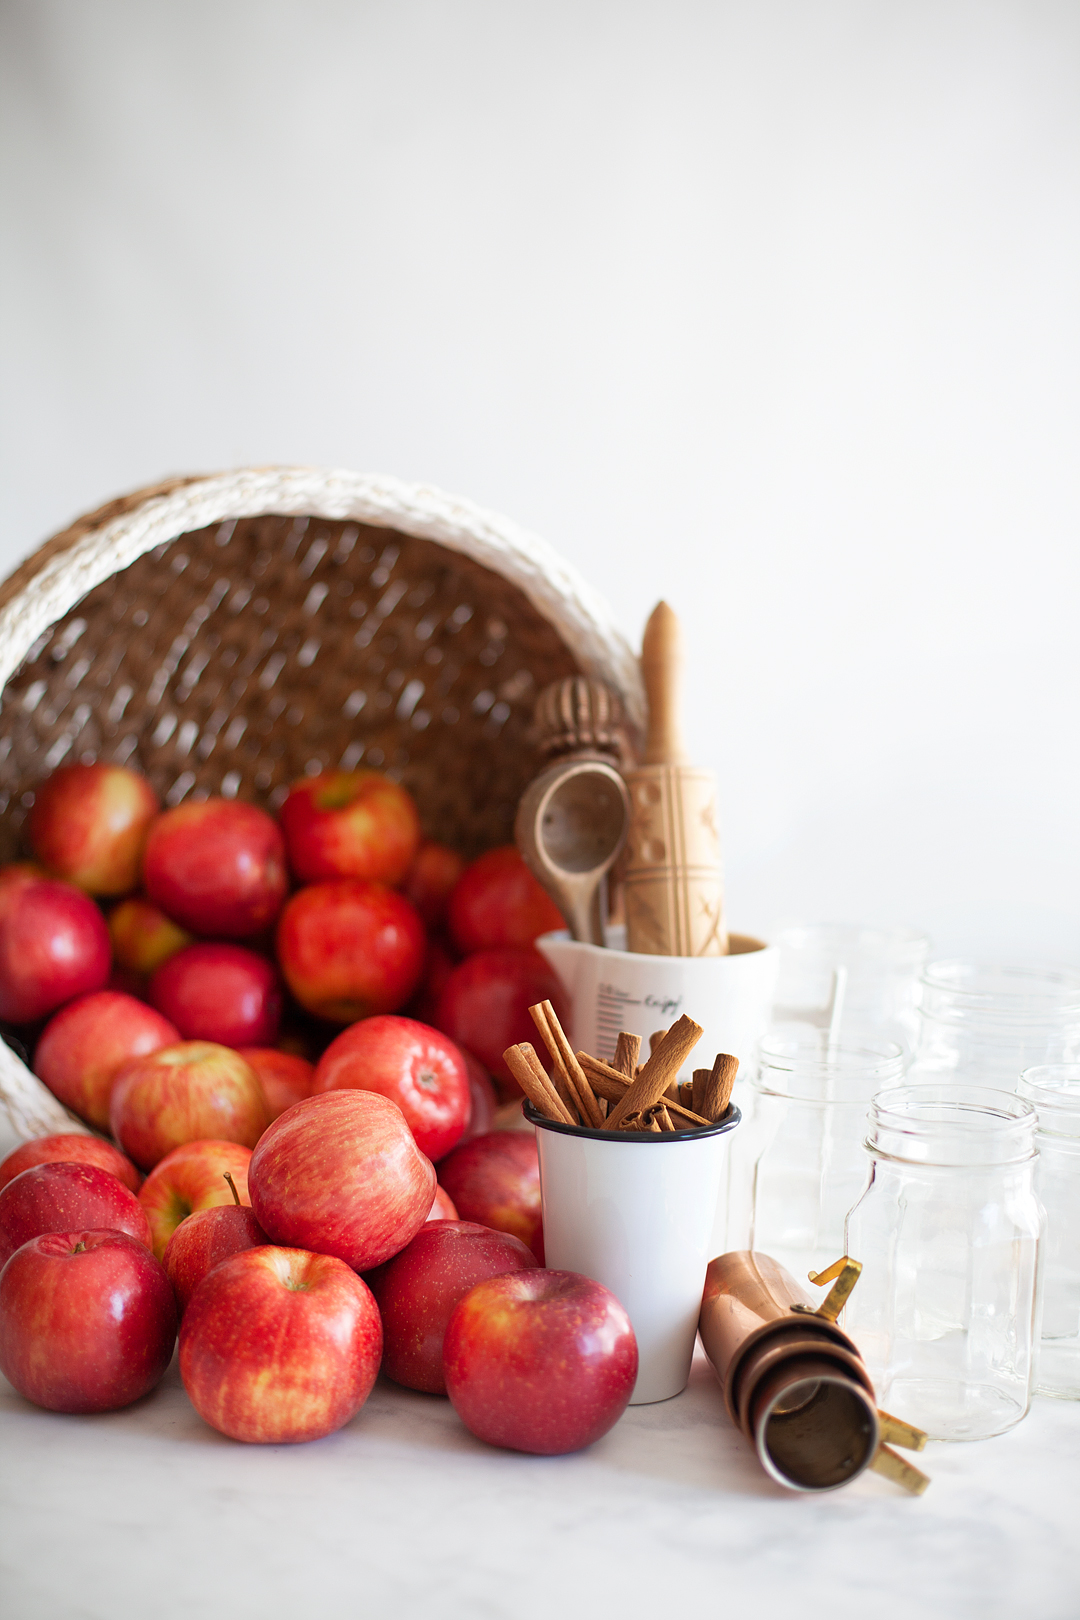
As with apple pie, a mixed variety of fresh apples is best to make applesauce with, leaving the skins on boost nutrition and adds subtle pink hues. The addition of maple syrup creates a slightly sweet, very Fall flavor.

With our Ball® FreshTech Harvest Pro™ Sauce & Salsa Maker to process the apples, there is no need to core or peel them.

Makes about 5 (24 oz) pint and half jars or 3 (32 oz) quart jars 

  • 12 pounds apples, cored and quartered (peeled if desired) 
  • 1 cup water 
  • 2 cinnamon sticks (optional)
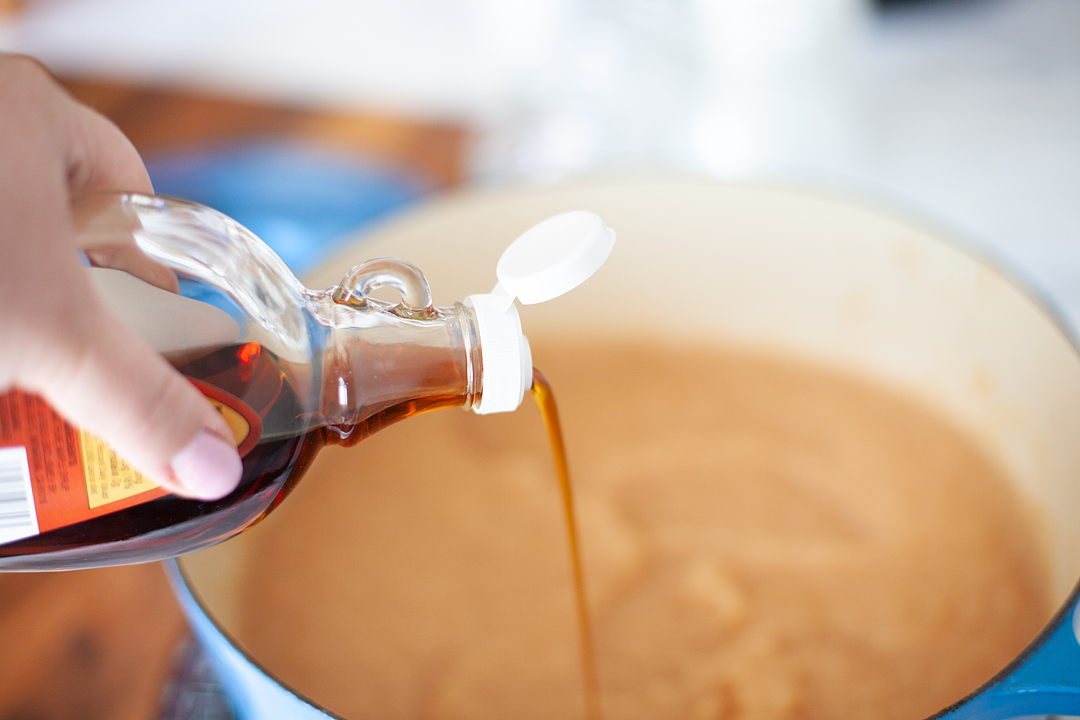
  • 1 -1/4 cups maple syrup     

Directions:

  1. Combine apple quarters, cinnamon sticks and water in a large stockpot. Cook over low heat, stirring occasionally, until apples are very tender, about 25 minutes. 

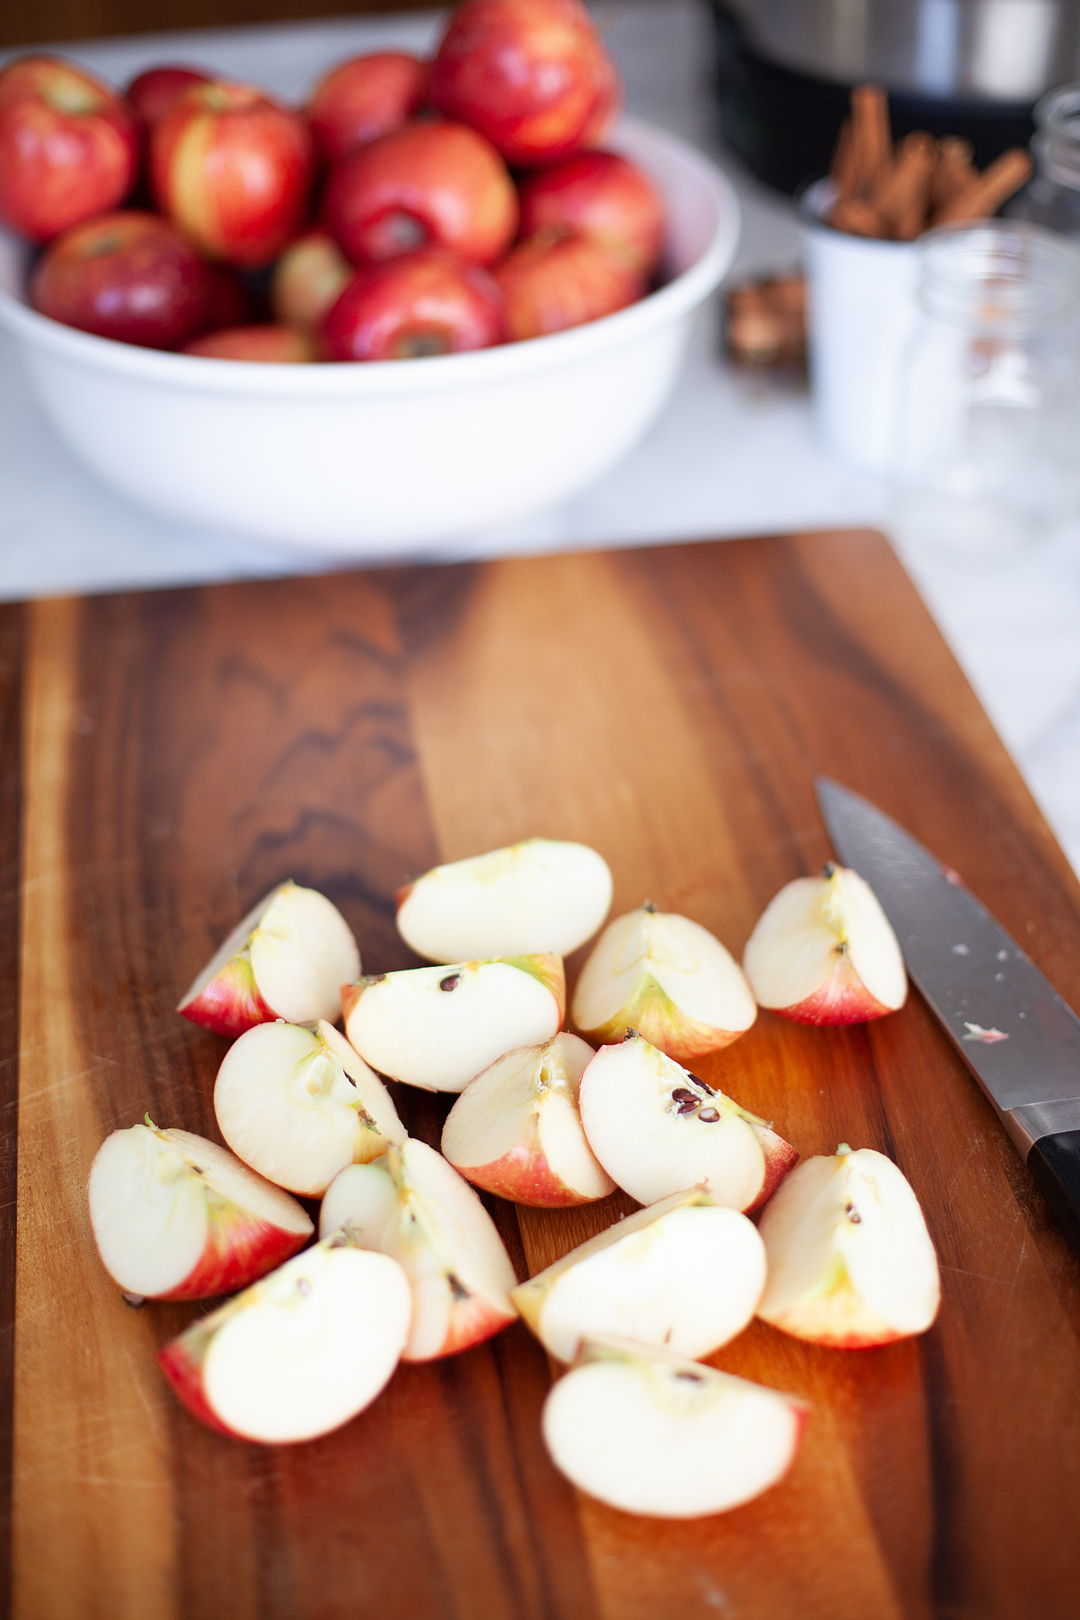
  1. Process apples in batches through a Ball® FreshTech Harvest Pro™ Sauce & Salsa Maker, food mill or food processor until smooth, removing cinnamon sticks. Alternately, crush apples with a potato masher for a chunkier texture.

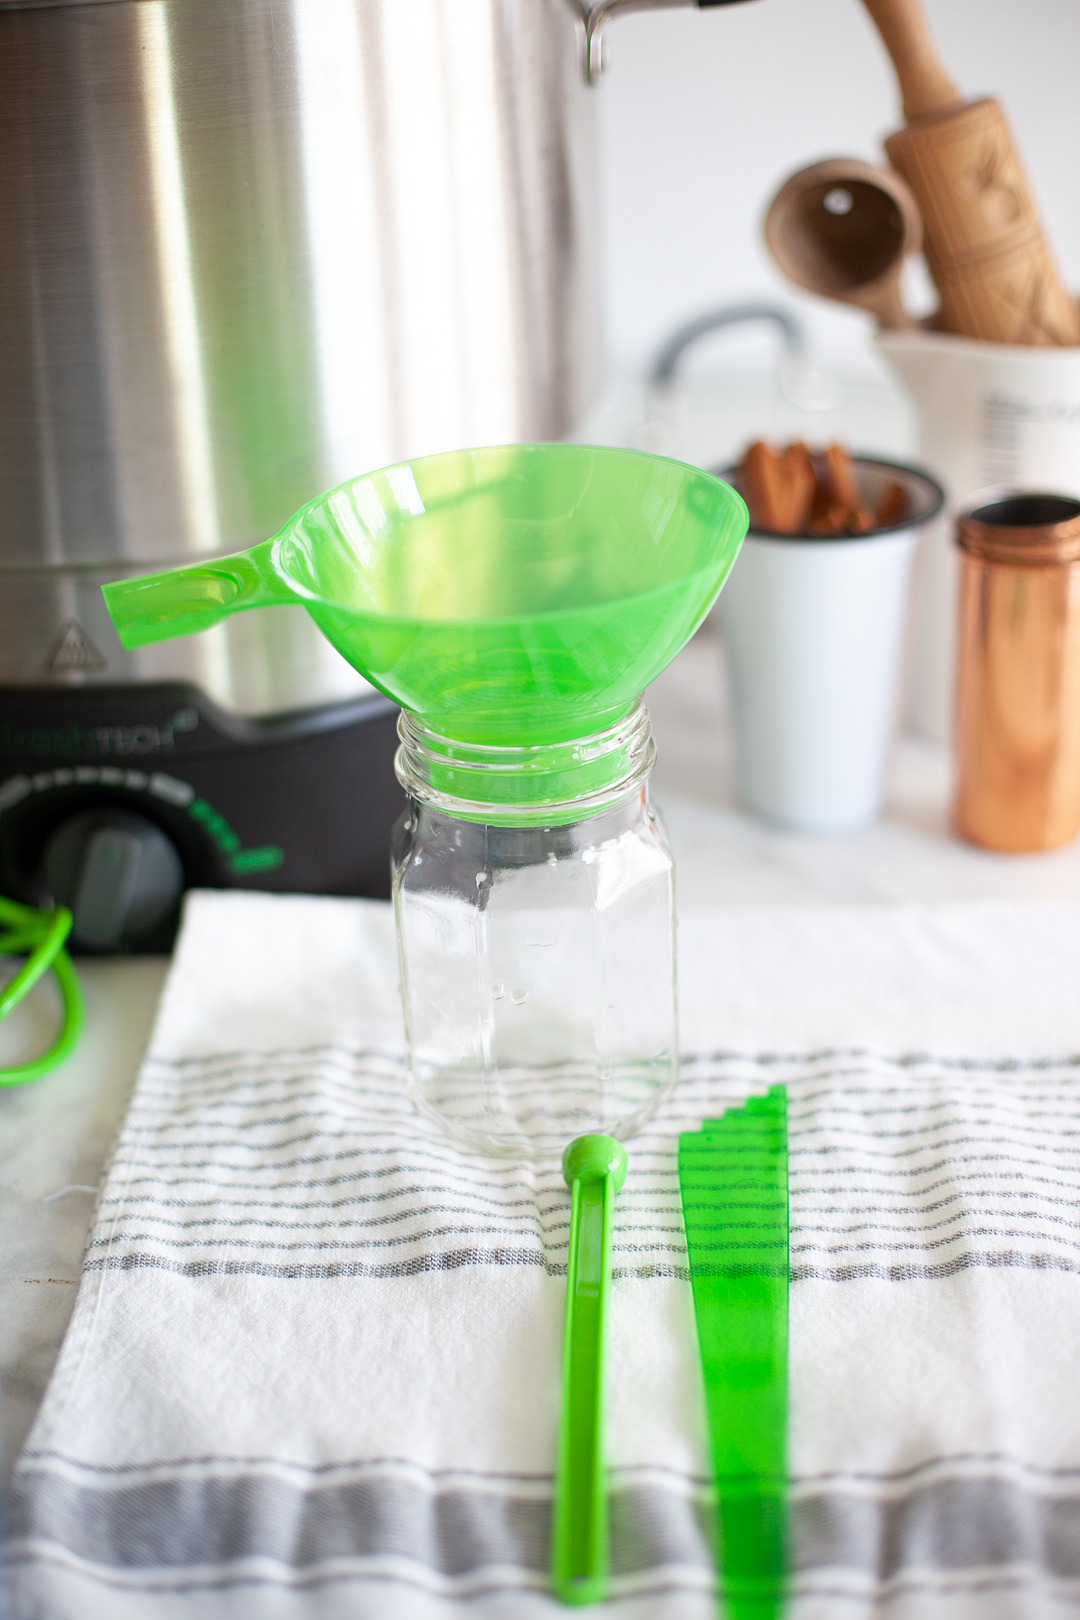
  1. Prepare boiling water canner. ( I use the Ball® FreshTech Electric Water Bath Canner.) Heat jars in simmering water until ready to use, do not boil. I’m using my favorite Ball® Quart (32 oz.) Sharing Jars for this recipe. Wash lids in warm soapy water and set aside with bands. 

  1. Return applesauce to stock pot, add maple syrup and bring to a simmer over medium heat, stirring constantly, for 10 minutes.

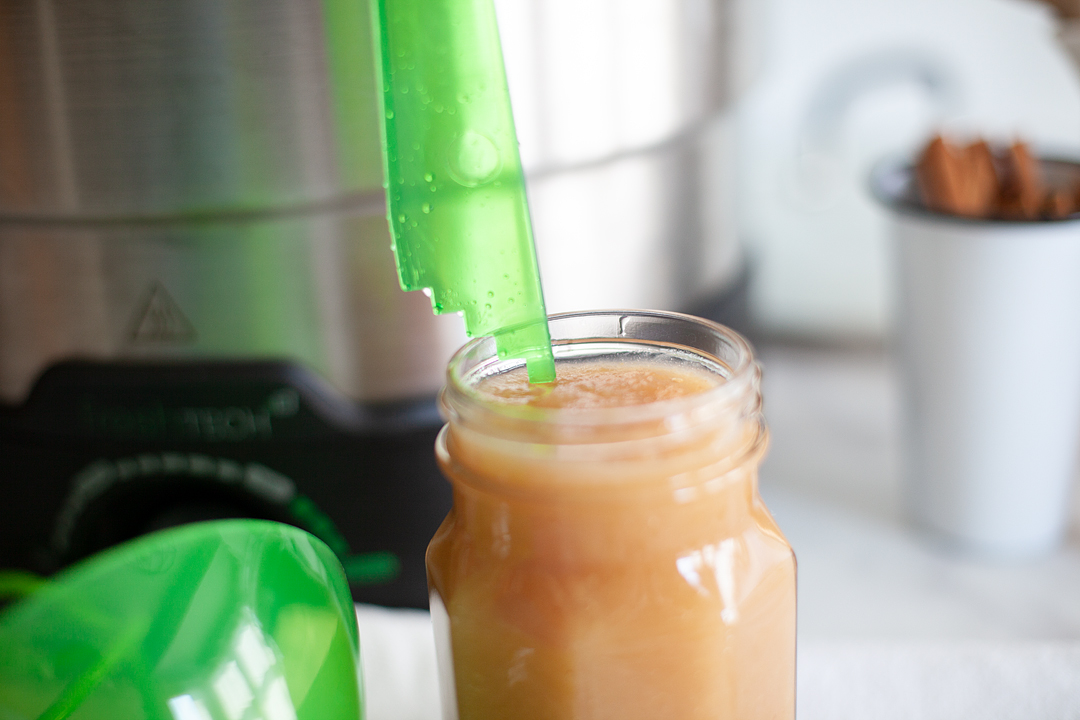
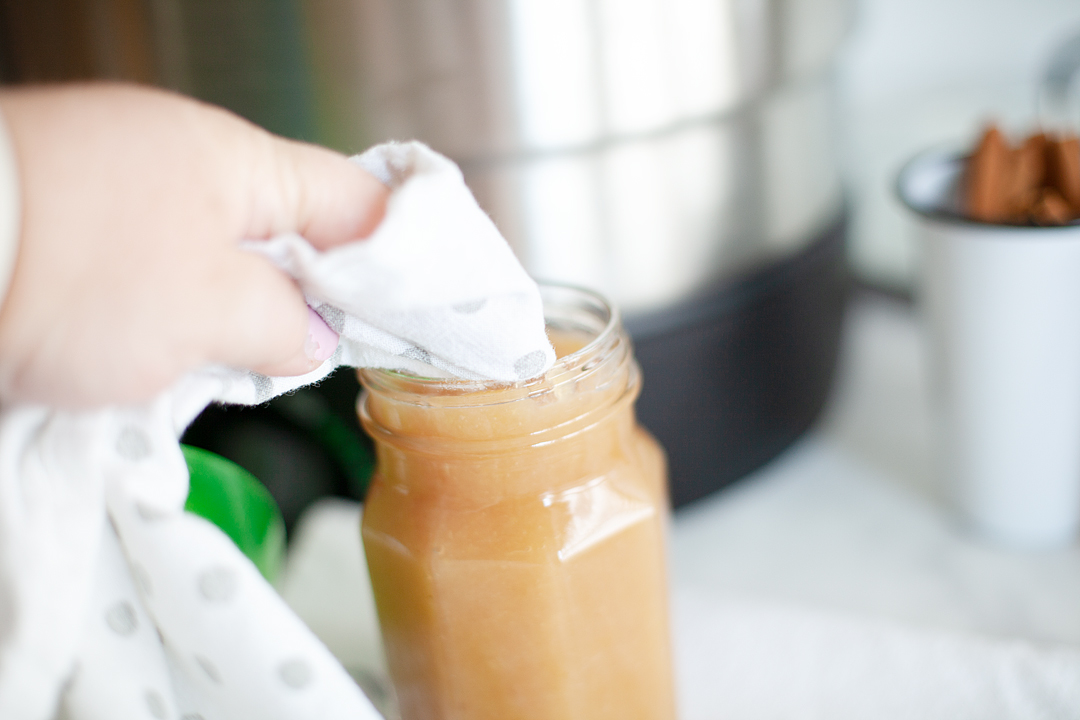
  1. Ladle hot applesauce into a hot jar leaving a ½ inch headspace. Remove air bubbles. Wipe jar rim. Center lid on the jar and apply the band, adjust to fingertip tight. Place jar in boiling water canner. Repeat until all jars are filled.

  1. Process jars 25 minutes, adjusting for altitude. Turn off heat, remove the lid, let jars stand 5 minutes. Remove jars and cool 12-24 hours. Check lids for a seal, they should not flex when the center is pressed. 

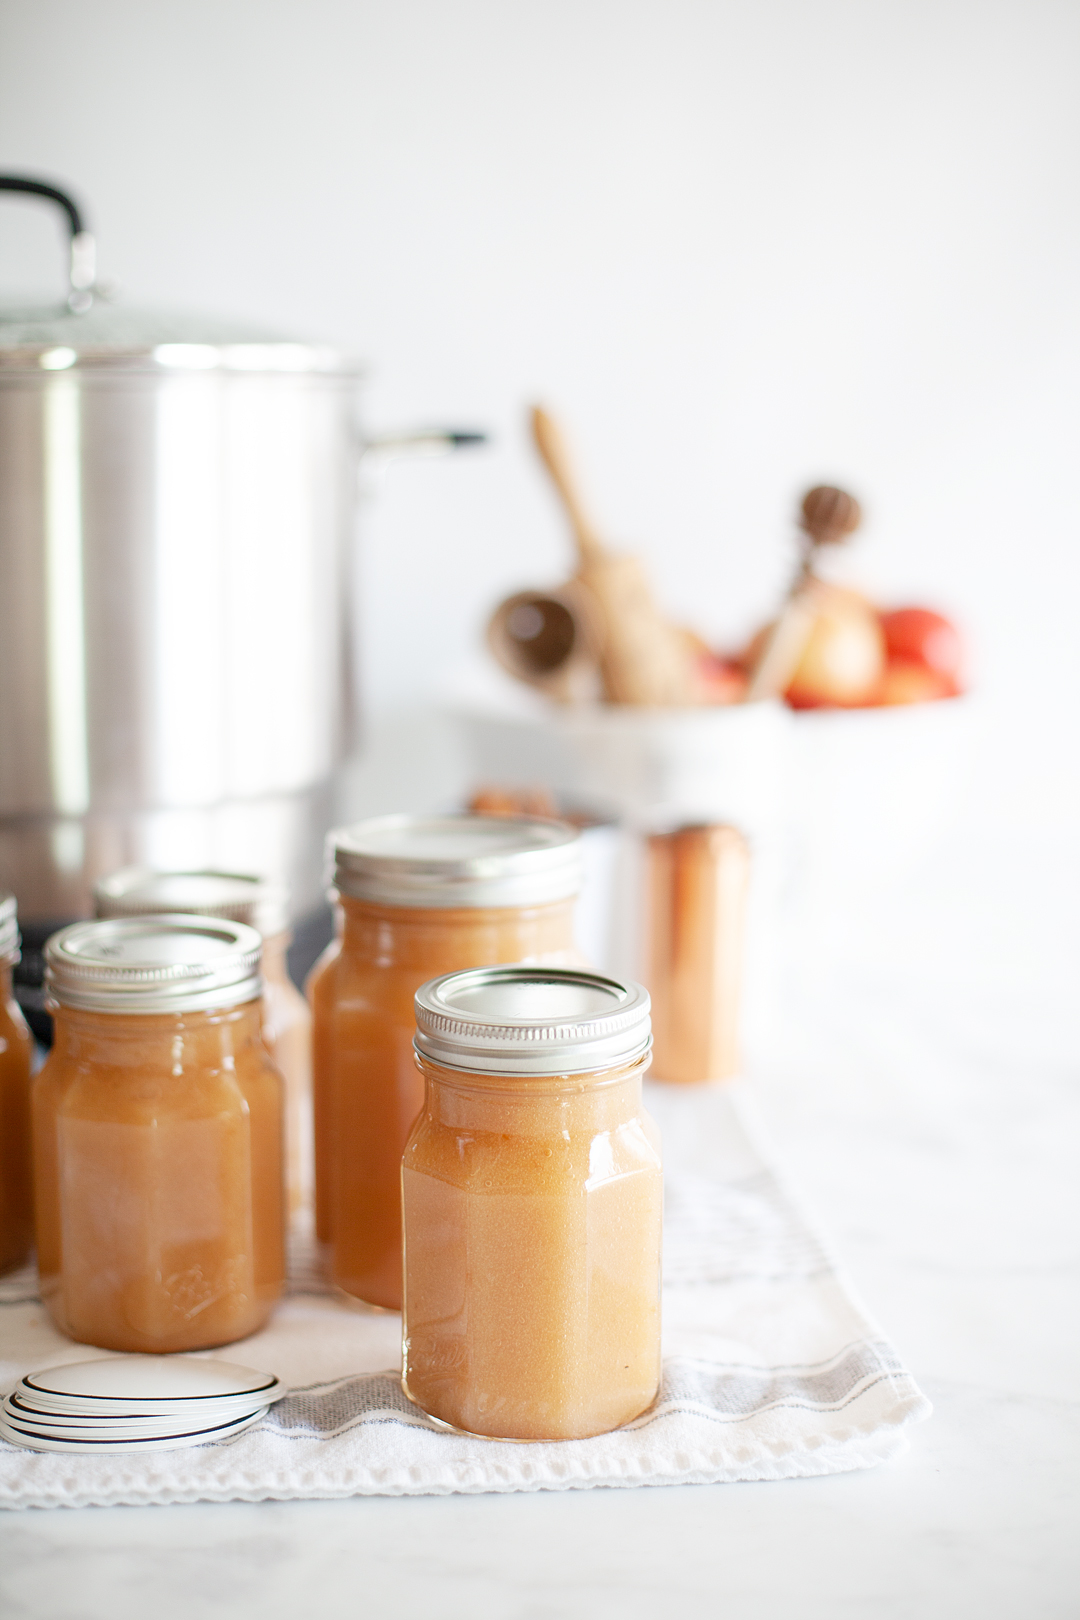
Now’s the hard part, sitting and waiting for them to rest before you can devour them!

Maple Apple Sauce Overnight Oatmeal

One way I love to use my applesauce is in the overnight oatmeal. It adds a fresh kick to a sometimes one-note oatmeal experience. This recipe is simple to whip up the night before and then pull from the fridge as you are running out the door.  


1/2 cup rolled oats

1/2 cup Greek yogurt

1/2 cup applesauce 

1/2 cup milk of your choice

Place all of your ingredients into a jar, replace lid and shake really well.

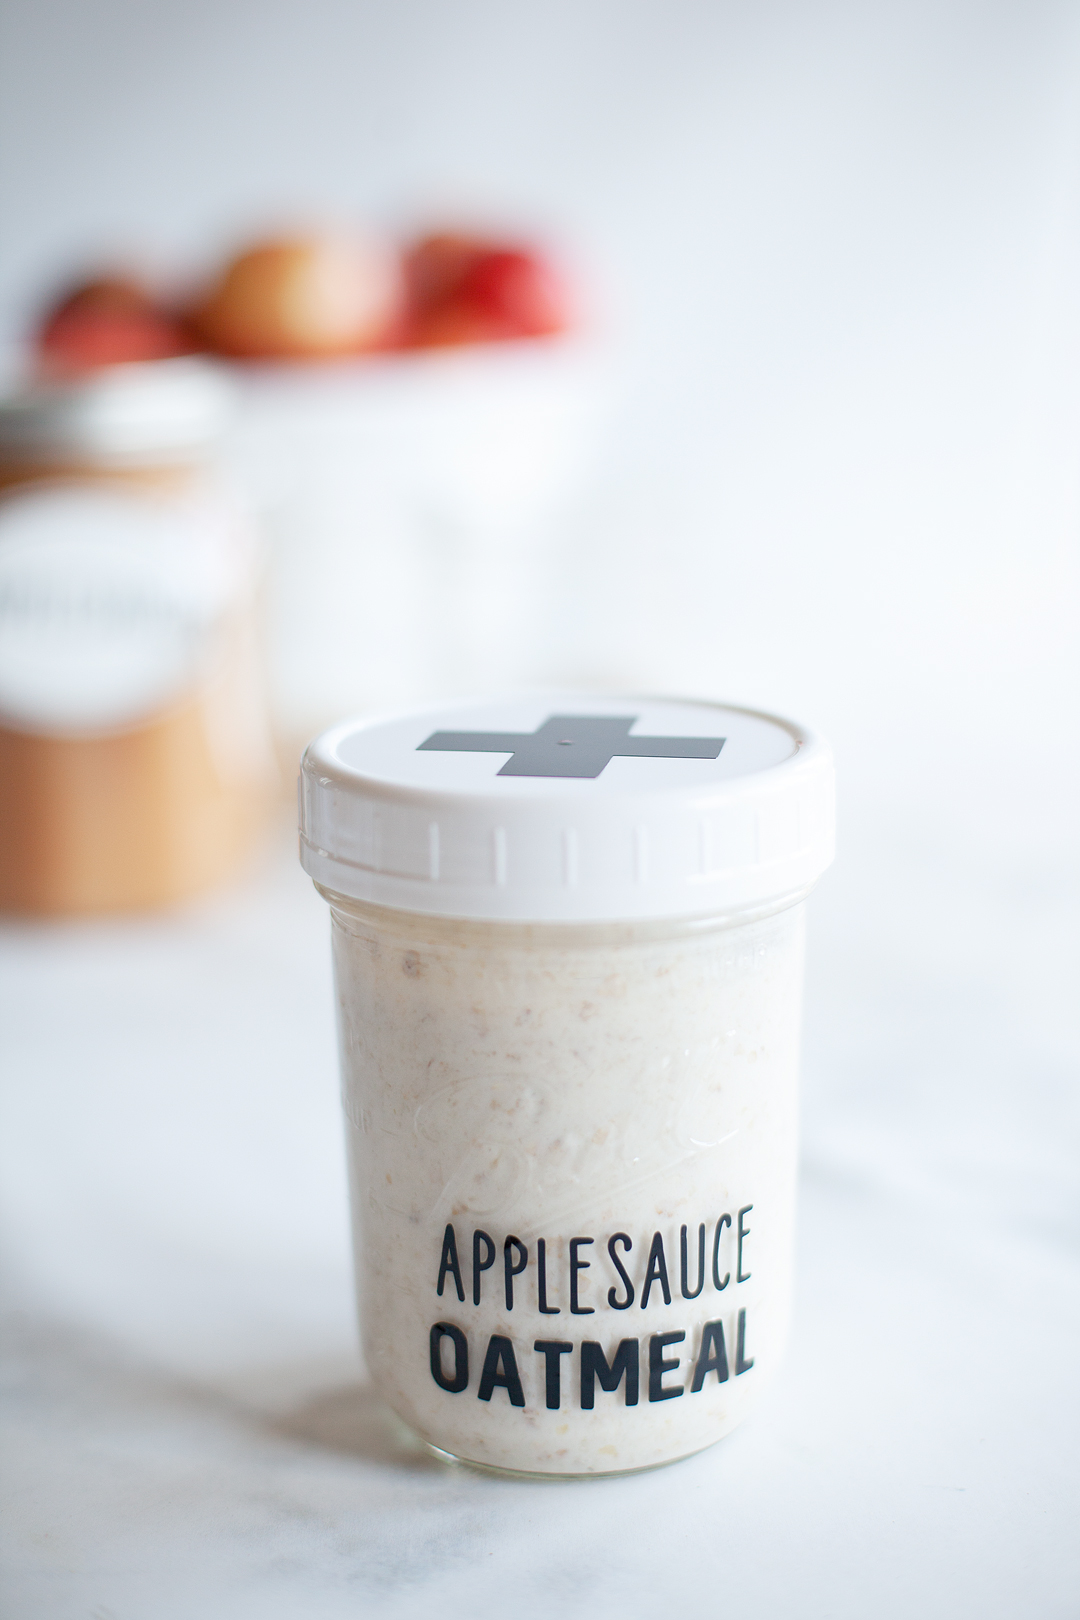
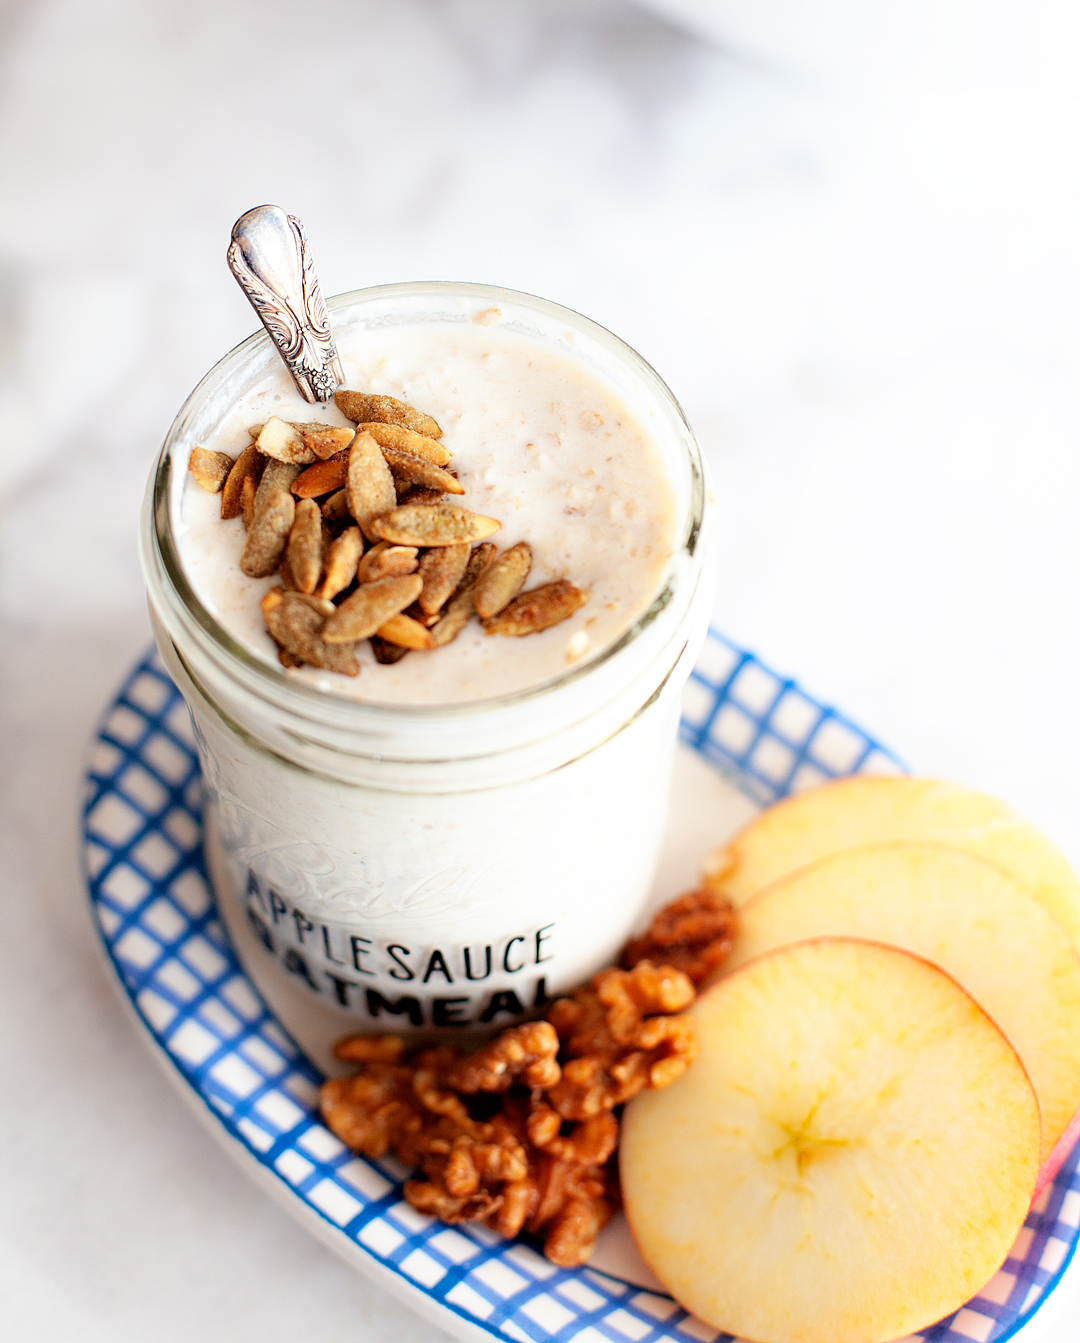
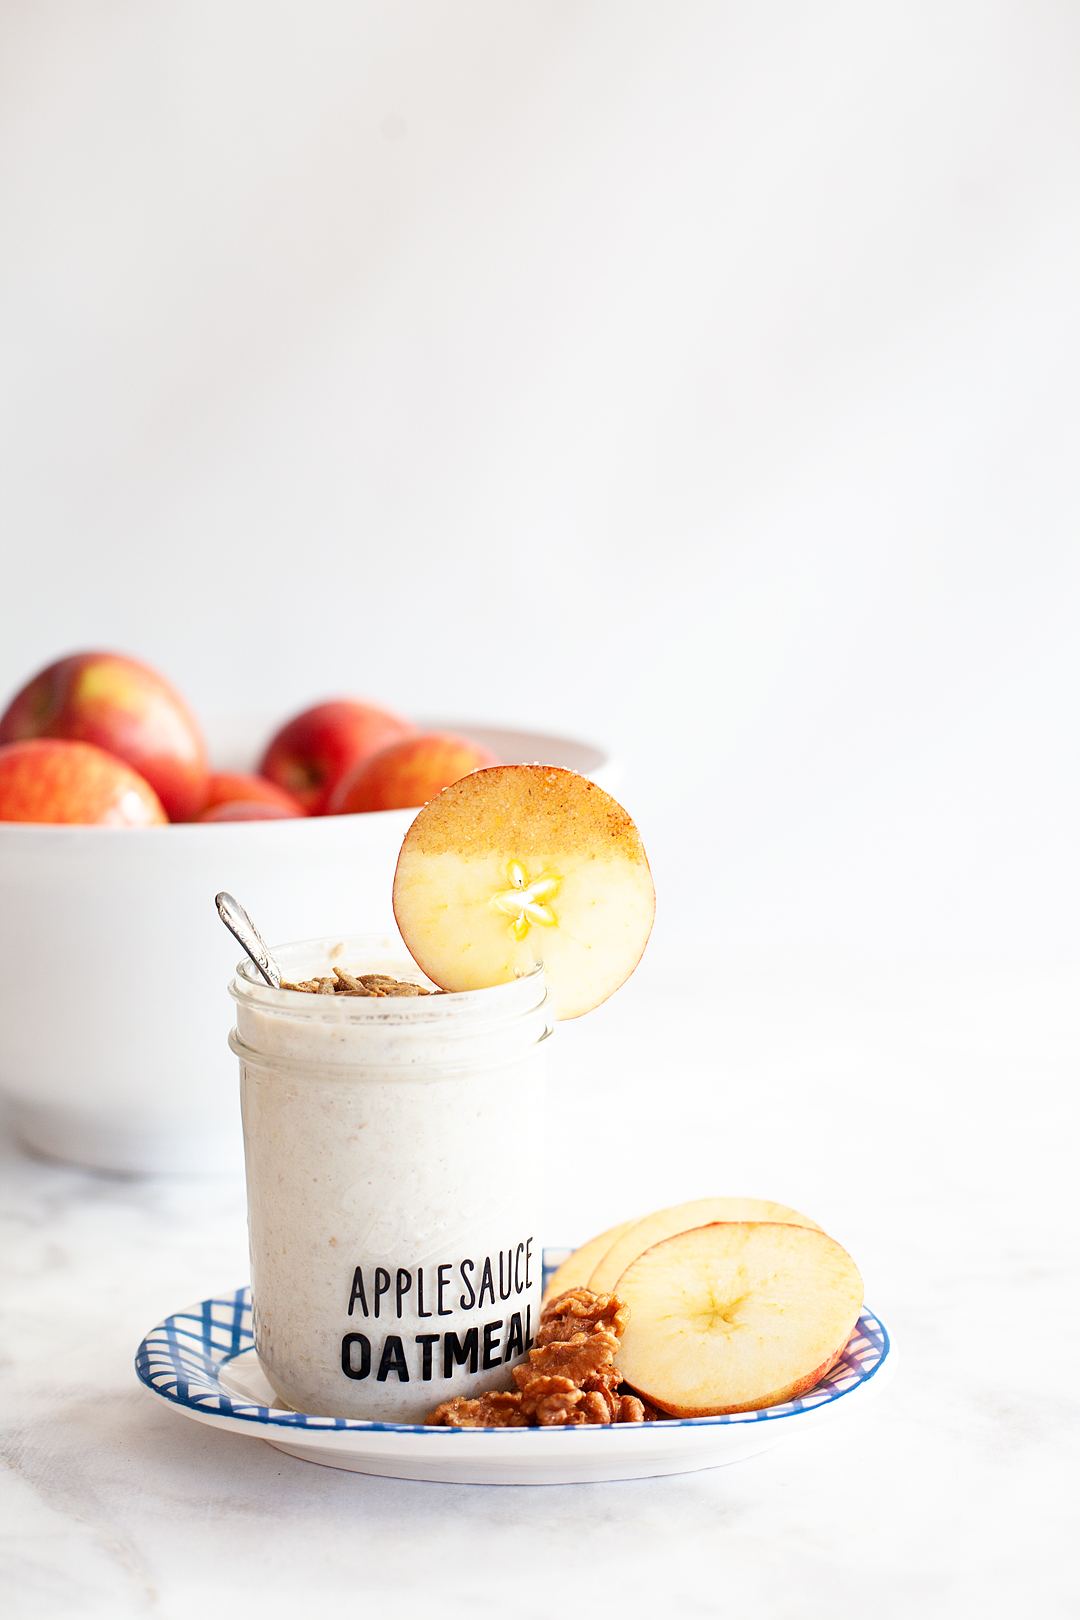
Place in the fridge overnight. The next morning serve cold or warmed, topped with fruit, nuts & additional maple syrup if you’d like.


5 GREAT Thanksgiving Recipes

9 · Nov 21, 2016 · Leave a Comment

Are you gearing up for Thanksgiving? We sure are at our house. Everyone has placed their orders for their favorite Thanksgiving recipes. Most of the shopping has been done and we’re gearing up for a scrumptious day.

Last week, I had a fabulous opportunity to travel out to Denver for a fun early Thanksgiving with some blog friends at WhiteWave Foods. You may not be familiar with WhiteWave Foods, but I’m sure you are familiar with some of their brands. One of my favorites is International Delight!  They also have other great brands like Silk, Horizon Organic,  Earthbound Farms and many more.

Now, I’ve been an International Delight Ambassador for several months now and they invited me to help cook for their WhiteWave Foods Thanksgiving. Of course I said yes, and set to work to create a fun dessert using International Delight for the feast.

white-wave-food-thanksgiving

But before we get to dessert, here are some of the other Thanksgiving recipes that my co-chefs brought to the feast.

Lisa from Wine & Glue brought a tasty Bacon Jalapeño Creamed Corn that was scrumptious! This recipe is great for Thanksgiving and any time of the year really. It’s lovely with the Horizon Organic Milk & Cream.

bacon_jalapeno_cream_corn_2

wine-and-glue-at-the-white-wave-foods-thanksgiving

Lisa from Veggies don’t Bite made a Thanksgiving recipe that absolutely blew my mind! I came home raving about it. VEGAN SCALLOPED CAULIFLOWER is my new favorite Thanksgiving dish. This creamy veggie dish doesn’t have a lick of dairy in it and you would NEVER know. You’ll have to check out the recipe to see what magic she created using all plant based ingredients like Silk Cashew Milk. AAAAmazing!

vegan-creamy-scalloped-cauliflower-19

veggies-dont-bite-at-the-white-wave-foods-thanksgiving

Next, we had a lovely Roasted Acorn Squash Rings from Nosh & Nourish. Again, another totally plant based dish that was out of this world using some great organic ingredients from Earth Bound Farms.

img_2644

Now, onto the sweets! Kat from Mama’s Losin’ It made lovely Pumpkin Bars that were a scrumptious alternative to Pumpkin Pie!

Pumpkin Bars

Last but not least, was my recipe. A mini version of my No-bake Pumpkin Cheesecake using International Delight Simply Pure Vanilla Creamer.

No-Bake Pumpkin Cheesecake with International Delights Simply Pure Vanilla

No-Bake Pumpkin Cheesecake with International Delights Simply Pure Vanilla

You can grab the recipe and watch the video on how to make this simple & scrumptious treat HERE. All I did to make it mini was to make it in disposable baking cups that are a bit larger than your standard cupcake cup and super sturdy.

img_2636

All-in-all it was a fabulous WhiteWave Thanksgiving Feast! I LOVED trying all of the new recipes and can’t wait to make them for my own Thanksgiving and throughout the year!

img_2674

This is a sponsored conversation written by me on behalf of WhiteWave Foods. The opinions and text are all mine.

Tomato Tart Recipe

506 · May 27, 2016 · 7 Comments

+ This Tomato Tart Recipe brought to you by the folks at Bushel Boy Farms™ +

Tomato Tart Recipe from WhipperBerry

One of the first things that I think of when it comes to summer cooking is my favorite TOMATO!

 I think I’ve said this before, but I LOVE tomatoes!

Savory-Tomato-Jam-from-WhipperBerry-1

A few weeks ago, I shared a lovely Tomato Jam recipe that is perfect for those BLT’s, burgers, wraps… Pretty much anything that you want to add a little kick of tomato to.

The key is getting really good tomatoes!

Because of that, I was thrilled to find out about Bushel Boy Tomatoes™ grown right here in the USA, in Minnesota to be exact.

The crew at Bushel Boy has developed a fabulous greenhouse system that helps them grow tomatoes year-round. Yep, even in January they have beautiful red, vine ripened tomatoes ready for us to add to our salads and sandwiches. I don’t know about you, but a nice good tomato in January is pretty awesome!

The Bushel Boy Tomatoes are pollinated with bees… the natural way. They also limit the amount of pesticides used and have eliminated herbicides all together. You can find all kinds of tasty ideas at the Bushel Boy Facebook.

Today, I’m sharing a fantastic Tomato Tart that is perfect for a light lunch or dinner. Paired with a nice garden salad, it’s the perfect summer meal!

Tomato-Tart-from-WhipperBerry-4

 You can make them as individual tarts or make one large tart for everyone to share.

Tomato-Tart-from-WhipperBerry-3

Here is a quick video to show you how I make them…

Tomato Tart from WhipperBerry from Heather Thoming on Vimeo.

Tomato Tart Recipe

Tomato Tart Recipe
 
Save Print
Prep time
10 mins
Cook time
30 mins
Total time
40 mins
 
This scrumptious tomato tart is the perfect light summer meal!
Author: Heather // WhipperBerry
Recipe type: Light Meal
Serves: 4 servings
Ingredients
  • 2-3 Bushel Boy Tomatoes
  • 1 store bought pie crust
  • 1 egg
  • 1 cup ricotta cheese
  • 1 cup chive cream cheese
  • ½ cup shredded parmesan cheese
  • salt & pepper
  • chives
Instructions
  1. Preheat oven to 450˚
  2. Line your tart pan or baking pan with the pie crust, gently press down on the top of the pan to remove excess dough.
  3. Pierce the the dough with a fork and place in a 450˚ oven for 8 minutes.
  4. Remove tart shell from the oven and let cool for a few minutes.
  5. In a medium bowl, whisk the egg then combine the ricotta cheese, chive cream cheese, ½ of the parmesan cheese, salt & pepper.
  6. Fill tart or tarts with the cheese mixture.
  7. Top the tart or tarts with fresh sliced tomatoes.
  8. Season the tomatoes with salt & pepper and then top with parmesan cheese.
  9. Place in a 400˚ oven for 30 minutes for a large tart and 20 minutes for small tarts.
  10. Remove from oven and let cool for a few minutes, then serve with a nice garden salad.
3.4.3177

Stuffed Mushrooms Recipe

0 · Dec 17, 2015 ·

WhipperBerry-Stuffed-Mushrooms-3

Oh, stuffed mushrooms… How I love thee!

Seriously, I love them!

BUT, let’s go back a ways… I remember sitting in the school cafeteria when I was a little first grader, sitting with all of my friends. At one point someone started talking about foods they hated and mushrooms became the number one food on the hit list. I remember sitting there not really knowing if I loved, liked or hated mushrooms, but if all of these 1st graders hated them, I must too!

That was the beginning of my war against mushrooms. My mom didn’t cook with them often, but when she did, I most definitely turned up my nose and refused to eat whatever she had served. Mushrooms were poison!

Fast forward 10 years and I found myself at a Christmas Party hosted by one of my friend’s Mom and they were serving stuffed mushrooms. Heavens… There was no way I was going to try that evil concoction! Then they were passed my way and luckily my Mother had taught me good manners, I graciously took one and then started to sweat trying to figure out how to wiggle my way out of this pickle. Everyone was gushing over the mushrooms and I could feel the pressure to try these nasty little bits. I steeled myself for a rough experience and tried a little bite to save face and not look like a little jerk and then… The heavens opened!

ARE YOU KIDDING?!

Is this what mushrooms taste like?

Boy was I mislead! Darn you little first grade friends!

It didn’t hurt that these little gems where topped with a lovely concoction of sausage, bread crumbs, cheese and who knows what else. They were amazing!

That my friends was the beginning of my love for mushrooms especially stuffed mushrooms.

WhipperBerry-Stuffed-Mushrooms-7

This is one of those gem recipes that is great to pull out when you really want to impress your guests. It’s really easy to make, but it looks labor intensive. It’s also one of those recipes that mostly uses ingredients that are easy to store in your pantry and if not, they are easy to grab at your local Market.

WhipperBerry-Stuffed-Mushrooms

I ran to my local Walmart here in Lincoln…

Walmart

And grabbed some mushrooms, Progresso™ Italian Style Bread Crumbs, sausage (you can find my favorite sausage brand HERE), onion, parsley, parmesan cheese, cream cheese, garlic & white wine.

I usually keep some Progresso™ Bread Crumbs in my pantry at all times. They are perfect for this recipe and so many others like chicken parmesan, meatballs, eggplant parmesan, meatloaf, oven “fried” veggies… The list goes on and on. They’re PERFECT for these stuffed mushrooms!!

Stuffed Mushrooms Recipe

+ This recipe is adapted from Ina Garten’s Stuffed Mushroom recipe +

20-25 button mushrooms or petite portobello mushrooms

4 tablespoons extra virgin olive oil

3 tablespoons white wine

1/2 of a small to medium onion

1 lb mild sausage

2 garlic gloves minces

1 cup Progresso™ Italian Style Bread Crumbs

2/3 cup cream cheese

1/2 cup shredded parmesan cheese

1 tablespoon fresh chopped parsley

Directions

Clean mushrooms and remove stems. Do not discard stems. In a bowl pour 2 tablespoons of olive oil and the white wine over the mushrooms to marinade them while you’re prepping the sausage stuffing, set aside.

marinade-the-mushrooms

In a medium sauce pan add the remaining olive oil over medium high heat.

add-oil-to-the-pot

Add onions and cook for 2-3 minutes.

add-onions

Add sausage and cook until nicely browned, 8-10 minutes. Then add garlic and the remaining mushroom stems chopped into fine pieces. Cook for another 2-3 minutes.

add-mushroom-bits

Lower the heat to medium low and add bread crumbs.

Add-Progresso-Bread-Crumbs

Next, remove from heat and add the parmesan and cream cheeses and mix well letting the cheese melt into the mixture.

add-parmesan-cheese

Finally add the chopped parsley and combine.

Add-chopped-parsley

Place mushrooms in a cast iron pan or baking dish like so…

mushroom-caps

Spoon sausage mixture on top of the mushroom caps.

stuff-with-sausage-mixture

Top with parmesan cheese and place in a 325˚ oven for 50 minutes.

top-with-Parmesan-cheese

Loosely lay a sheet of foil over the top of the mushrooms to avoid excess browning. Remove foil for the last 5 minutes to finish browning.

Remove from oven and serve warm.

WhipperBerry-Stuffed-Mushrooms-6

This is a sponsored conversation written by me on behalf of Progresso™ The opinions and text are all mine.

  • Go to page 1
  • Go to page 2
  • Go to page 3
  • Go to page 4
  • Go to Next Page »

Primary Sidebar

Heather from Whipperberry
Hello... my name is Heather and I'm the creator of WhipperBerry a creative lifestyle blog packed full of great recipes and creative ideas for your home and family. I find I am happiest when I'm living a creative life and I love to share what I've been up to along the way... Come explore, my hope is that you'll leave inspired!

Footer

  • Privacy Policy

Copyright © 2023 · Seasoned Pro