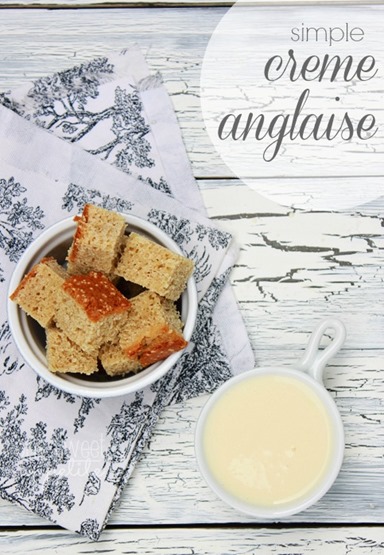
Creme Anglaise Recipe // Hi all of you Whipperberry fans! It’s me Jesseca from One Sweet Appetite here to talk Holiday’s. It’s almost that time of year. You know… That time when you are starting to think of great recipes to share at holiday parties or dinners? If you are anything like me, you are probably wanting to make a great impression and serve up something that is going to be easy but also make a flavorful impact on your visitors. Luckily, I have you covered with this simple creme anglaise. You can whip it up the day before and serve it as a dipping sauce or drizzle over some Vanilla Pound Cake, which I happen to have up on my site today! You will never believe how quick this recipe is or how quickly it disappears. The wonderful aroma of vanilla will fill your house and get your senses working while it gently cooks. Everyone will be drooling in anticipation!
Start by whisking together two egg yolks with 1/4 cup of sugar. You want the color to lighten to an off white. Fill a 9×13 pan with ice and water. Set a medium sized bowl in the center. Set that aside and move on to the next step.
Combine 1 cup of half and half with 1-1/2 teaspoons of pure vanilla extract. Heat until small bubbles begin to form around the edges.

Slowly drizzle your half and half into your egg mixture. Whisk to combine.

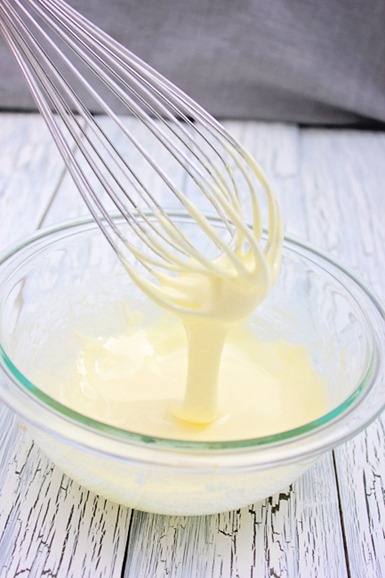
Return to the pan and cook on low heat until just slightly thickened.

Immediately pour into the bowl that you placed in the ice bath earlier to stop the cooking process. Serve now for a warm drizzle or refrigerate for a cooler custard sauce later.

My husband decided the cooled down version is great to eat all on it’s own. I, however, prefer it as a dipping sauce for that Vanilla Pound Cake I mentioned earlier! Both can be made the night before to save on time. Which might be convenient during all of the crazy family parties that are sure to be starting soon! Thanks for letting me take over your site today Heather! Hopefully I’ll be seeing some of you soon over at One Sweet Appetite!