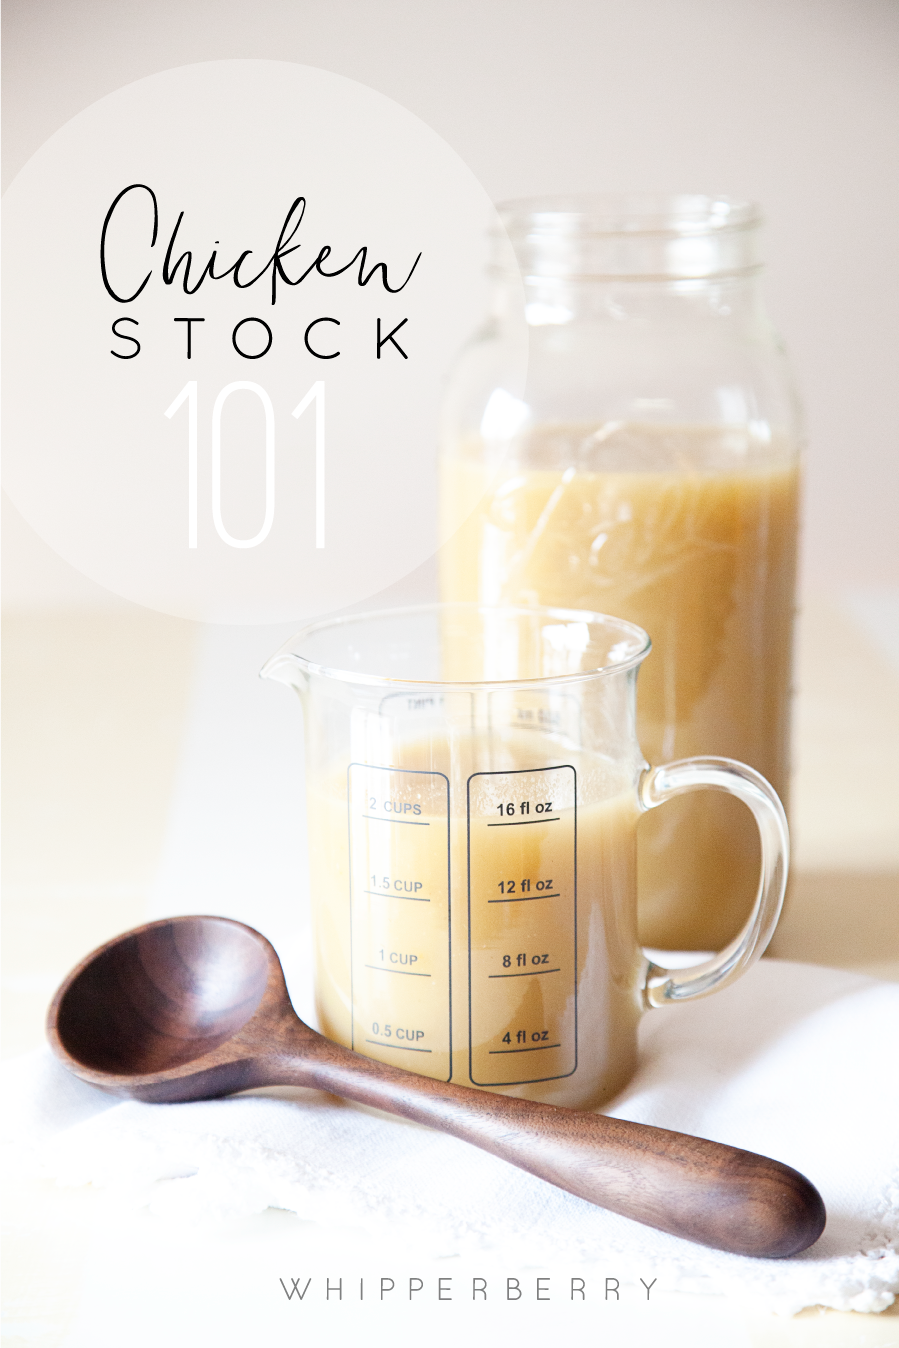
+ Chicken Stock 101 – Come learn how to make liquid gold +
I am not sure if there is anything better in these cold winter months than a good pot of Chicken Noodle Soup or any of it’s chicken stock based cousins. I’m mean really… YUM!
It’s like a bowl full of love right there.
The issue is that commercially prepared chicken stock is good, BUT… It’s not GREAT.
If you’re really wanting a good chicken stock based soup, stew or gravy. You need to make your own chicken stock.
The good news is… It’s SUPER EASY!!
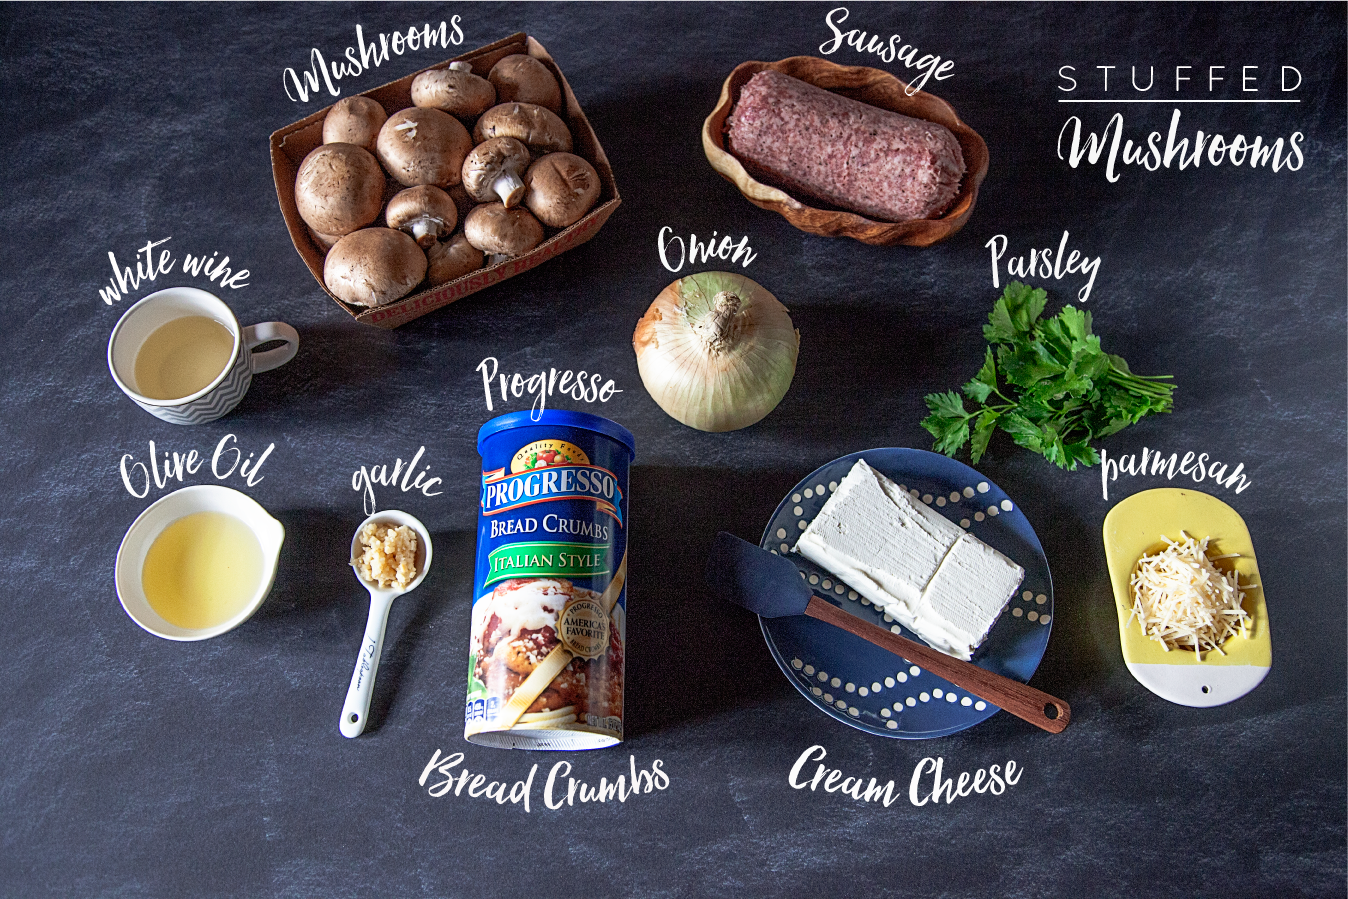
Here is what you’ll need…

Chicken Stock Ingredients
Chicken
Carrots
Celery
Garlic
Rosemary
Sage
Thyme
Lemon
Onion
Salt
Whole Pepper Corns
That’s it! Not a crazy list of obscure ingredients. The hardest thing to come by is the chicken carcass if you don’t typically roast your own chicken, but I’ve solved that issue as well.
We’re all running to the market to grab those rotisserie chickens for a quick weeknight dinner, why not put it to work making some stock for your next soup adventure as well! Yep, PROBLEM SOLVED!
First thing you need to do is to remove the meat from the bones if you have not already done so. DO NOT THROW THE BONES AWAY! That’s the star of the stock show.
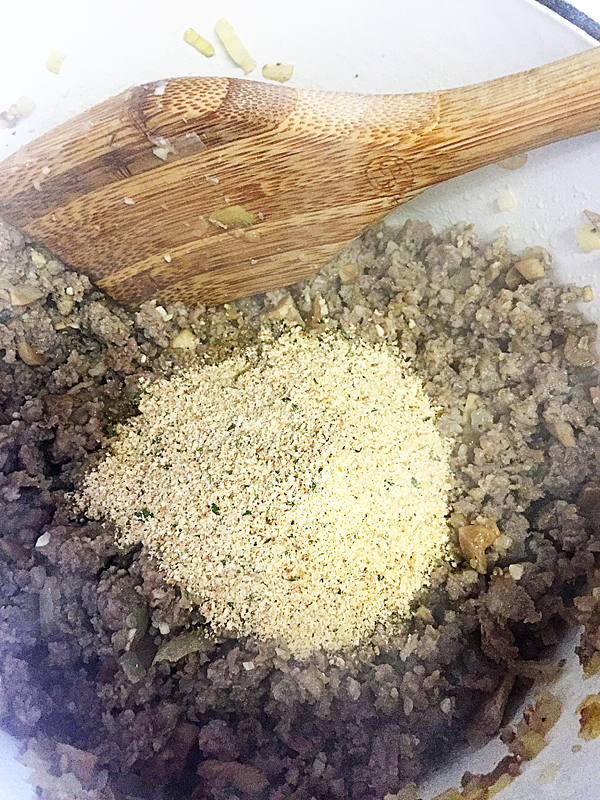
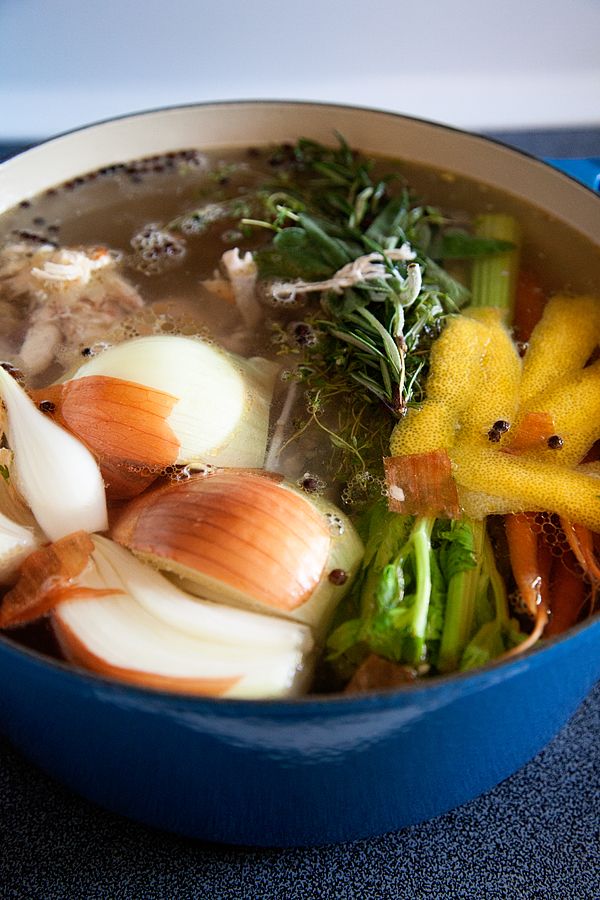
Place the carcass into a large stock pot and then add the remaining ingredients…

I don’t really even bother to chop up my veggies or anything. I wash them for sure, but I don’t even bother to peel the carrots or onions. I cut off the ends, give the onion a rough chop and throw them into the pot.
Why do I leave the onion skin on you ask? I’ve learned from several stock experts that leaving the onion skin in the pot is what will give your stock a lovely color.
Using a vegetable peeler, I carefully peal the skin of my lemon and add that to the pot. Make sure to grab as little of the white pith as possible. That white part is bitter and you don’t want to add that to your pot. I prefer the peel method rather than adding lemon zest. It allows me to easily remove the spent lemon peels when finished.
I tie-up my herbs with a little baker’s twine to keep them contained then I add my salt & whole pepper corns. DON’T be stingy with the salt. This is what will help your stock come to life! Cover the pot with water and set it to boil.
Once you’ve brought your pot to boil, turn down the heat to medium or medium low and let it simmer, uncovered for several hours. I generally let mine simmer for 6-7 hours, checking every once in a while to see if I need to add more water to the pot.
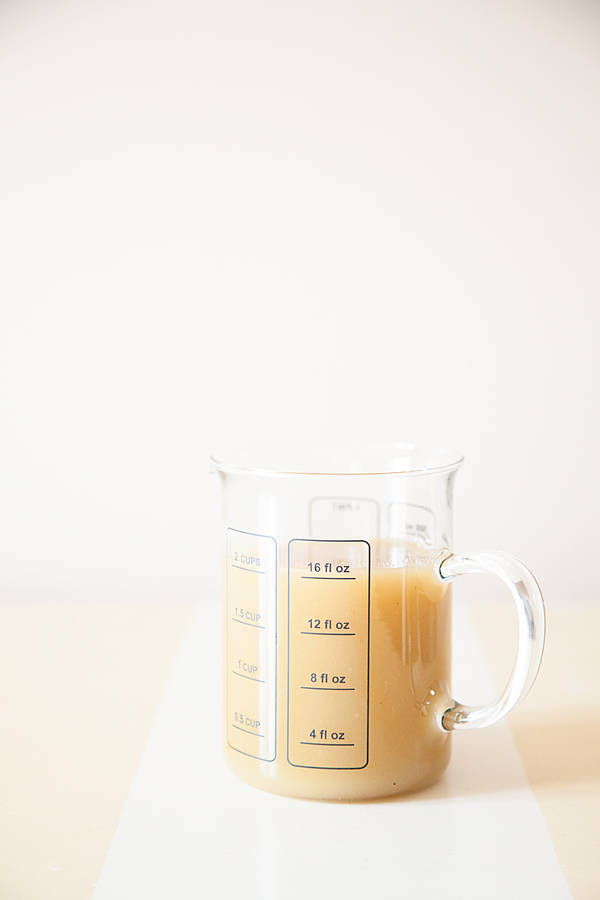
After several hours, remove your stock from the heat and then strain it through a fine mesh strainer. Discard the used chunky bits and place your liquid gold (chicken stock) in an air tight container and place in the refrigerator. Once your stock is fully chilled, you can go back and using a spoon, remove the fat that has come to the surface and solidified. That way, your chicken stock will be almost fat free. Another benefit from making your own stock. YOU control the salt and fat content.
Now you can store this in the refrigerator for a couple of days or in the freezer for 3-6 months. Pull it out when you need a little stock and you’re good to go! Here’s the full recipe…
Chicken Stock Recipe
- 1 whole roasted chicken - meat removed
- 2 large yellow onions - cut off the top and bottom but leave the skin on
- 1 bunch of celery - wash and cut off top and bottom
- 4-5 carrots - wash and cut off top and bottom, don't bother to peel
- 2-3 stocks of fresh rosemary
- small bunch of fresh thyme
- 5-6 sage leaves
- 1 lemon
- 2-3 cloves of garlic
- 1 tablespoon whole pepper corns
- 1 tablespoon sea salt
- Place chicken carcass into large stock pot.
- Add celery, carrots, onions.
- Tie fresh herbs together and place into the pot.
- Using a vegetable peeler, peel the skin of the lemon and add to the pot. Be careful not to add the white pith part of the lemon.
- Add salt, pepper corns and garlic.
- Fill pot almost the the top with water and set on high heat just until the pot comes to a boil. Once it has started to boil, turn the heat to medium or medium low, what ever temperature that will keep a nice low simmer.
- Let simmer for 6-7 hours
- Check pot occasionally to see if you need to add more water.
- After it has simmered for several hours, remove from heat and strain your stock with a fine meshed strainer. Place in an air tight container and put in refrigerator for several hours.
- Once the stock has fully chilled, remove from refrigerator and using a spoon, remove the fat that has solidified onto the surface of the stock.
- Store in refrigerator for 2-3 days or in the freezer for 3-6 months.