Raise your hand if you have ever tried to paint a stripe on furniture or any project.
Now, raise your hand if your painters tape miserably failed you!
No matter what they promise, I have yet to get a perfectly clean line from the current painters tape out there. Believe me, I’ve tried them ALL. Yes, some work better than others, but 100% of the time I will have bleeding issues. Nothing can kill your day worse than your tape failing you.
I have discovered the secret… Want to know what it is?
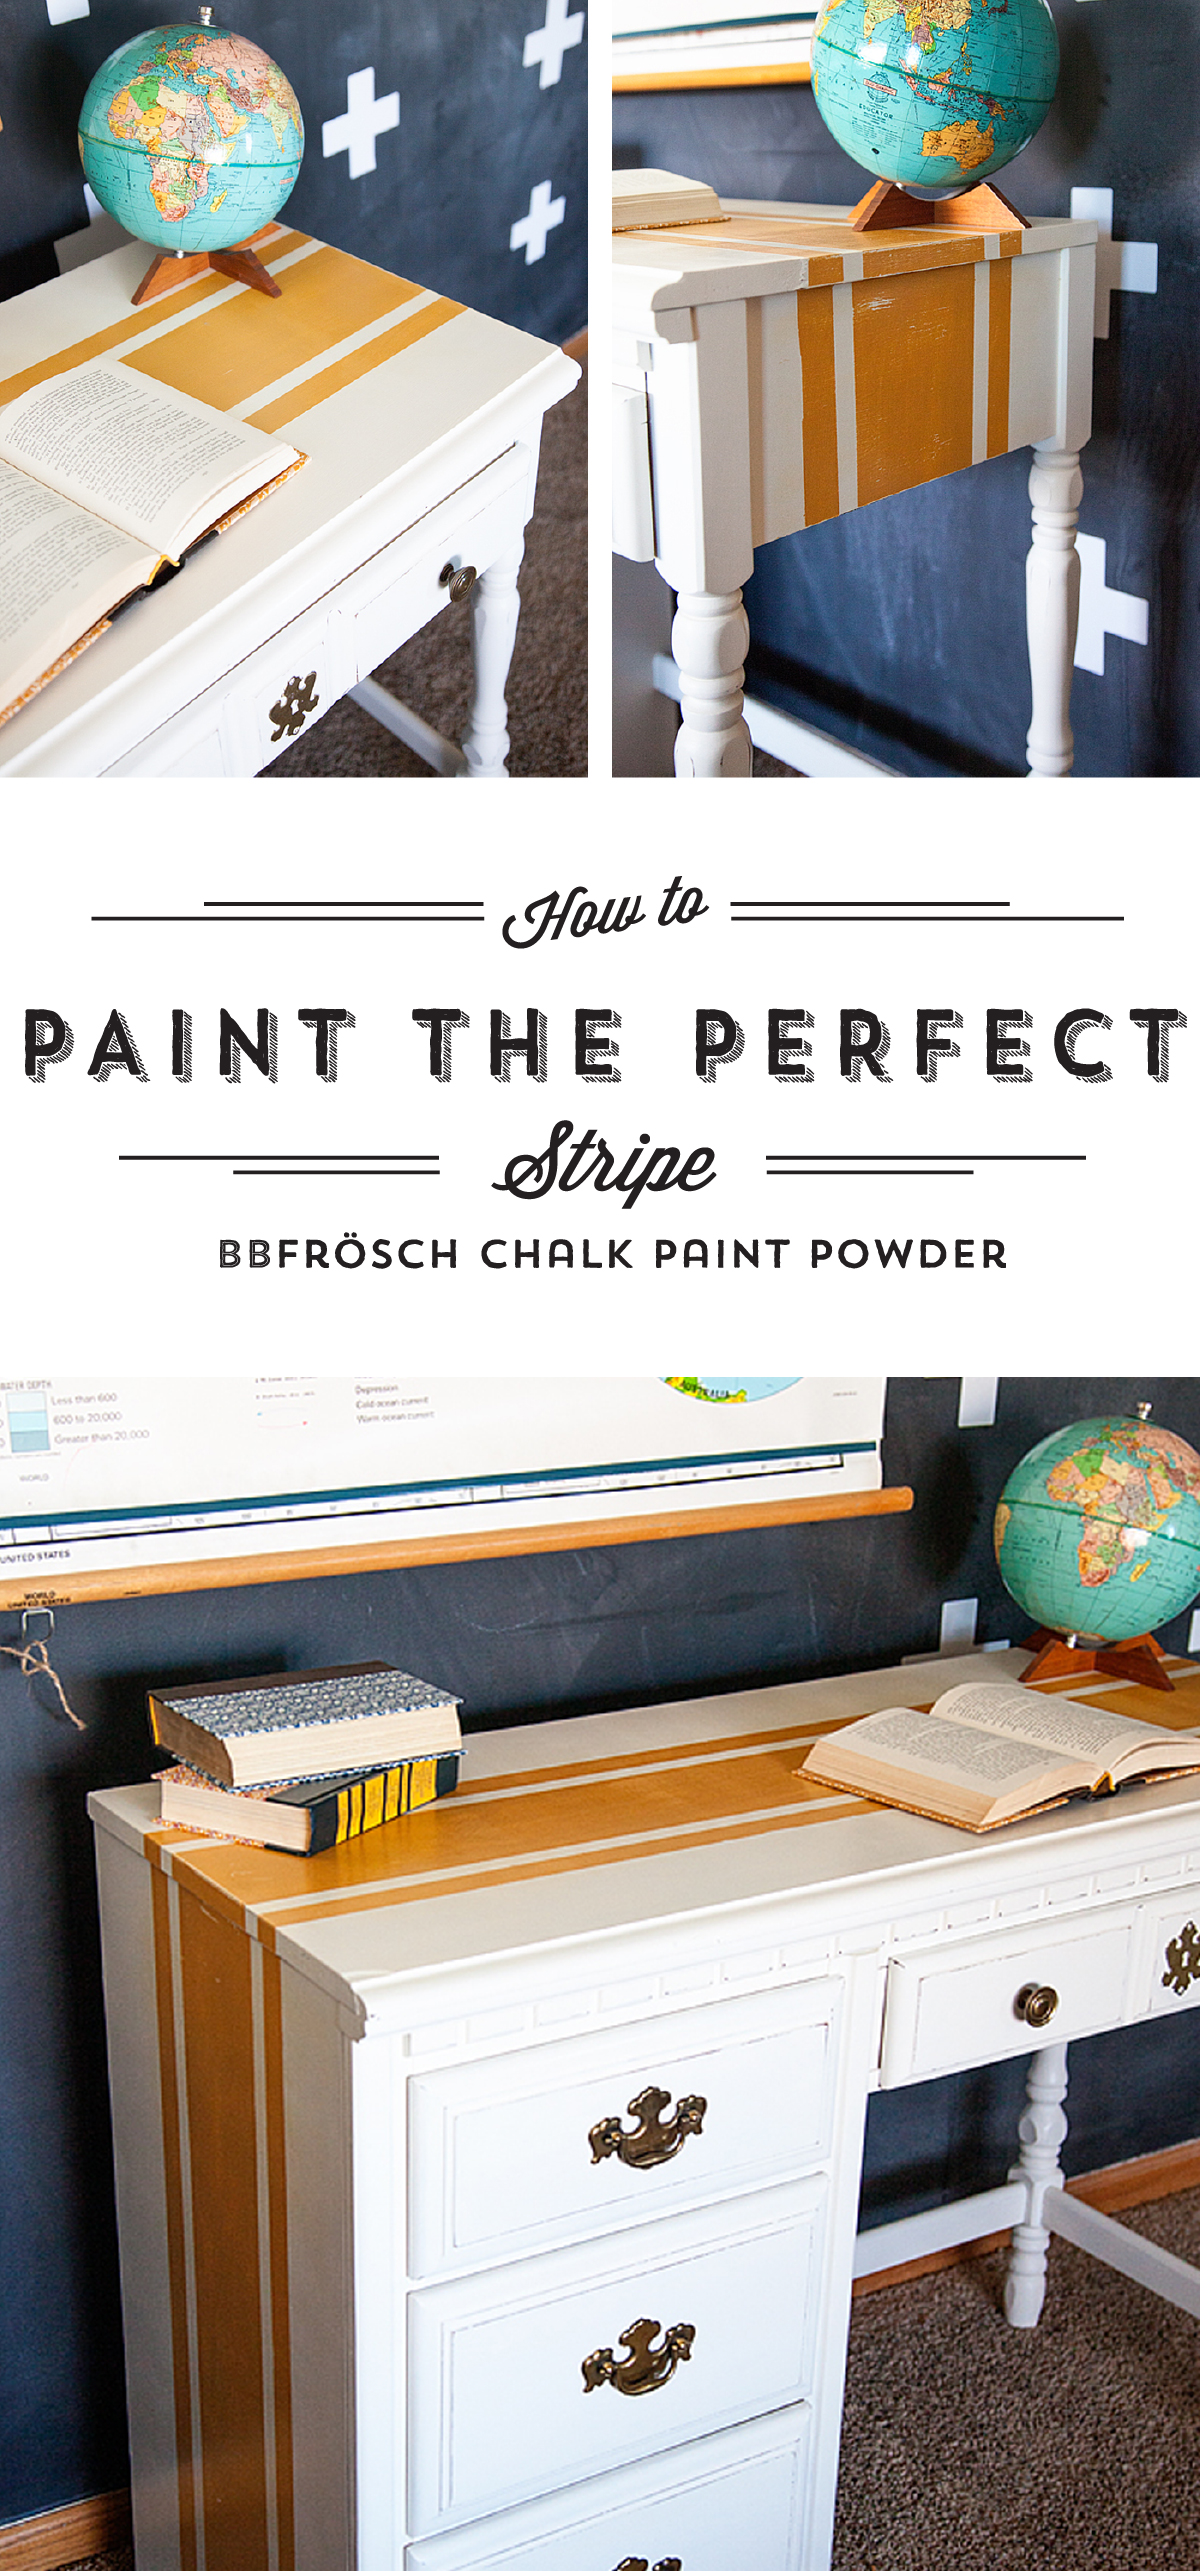
How to Paint the Perfect Stripe
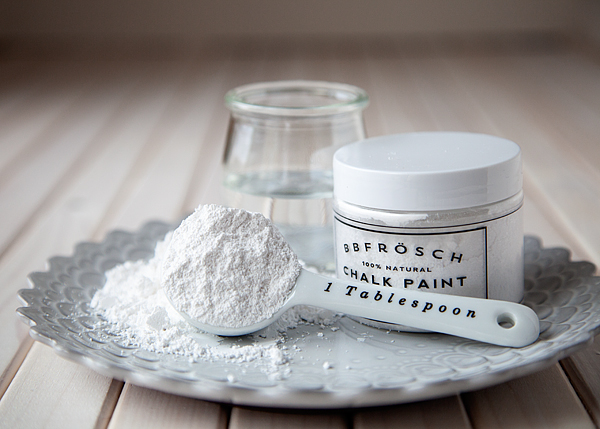
First, I use BB Frösch Chalk Paint Powder for all of my painting projects. You can use other types of paint for furniture that may be better than chalk paint for longevity, but I don’t mind painting things every few years.
Why? Well, I LOVE it!
You don’t have any prep work… No sanding, priming or striping. Sometimes it can be good to use stencils but not this time. I get all of the wonderful properties of chalk paint, plus I get to select my own colors! Also, it’s a fraction of the cost of boutique brands of Chalk Paint. Yea, total SCORE!!
You can learn more about BB Frösch Chalk Paint Powder HERE
Here’s your checklist…
+ Select your piece
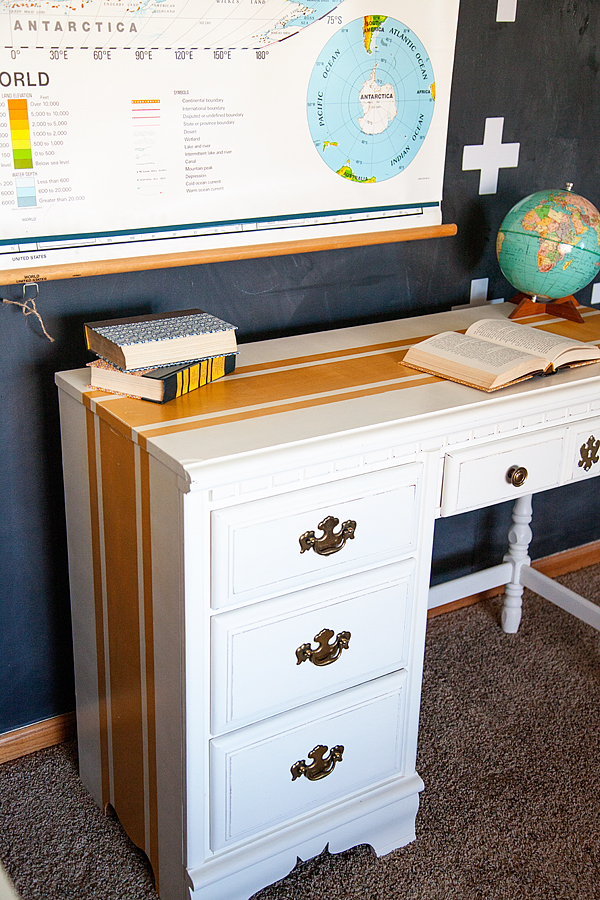
I found mine at a local Eco Store. It’s an old desk that they had pulled out of a sorority house. Kinda funny!
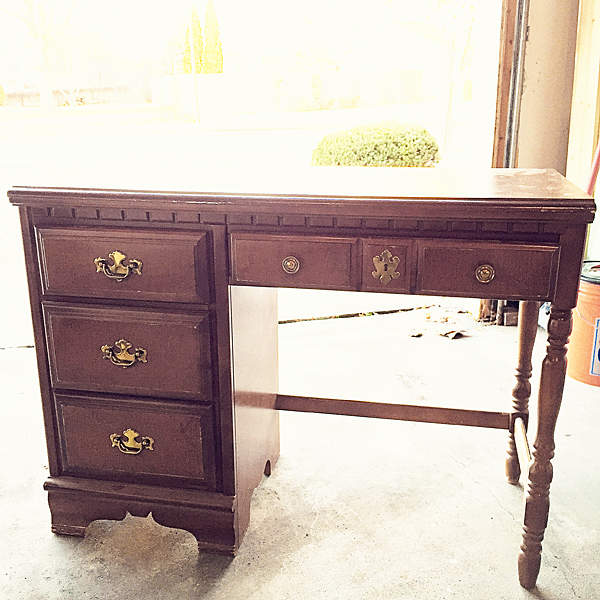
The desk was nice solid wood, just with some cosmetic issues. All it needed was a little paint love.
+ Select paint colors
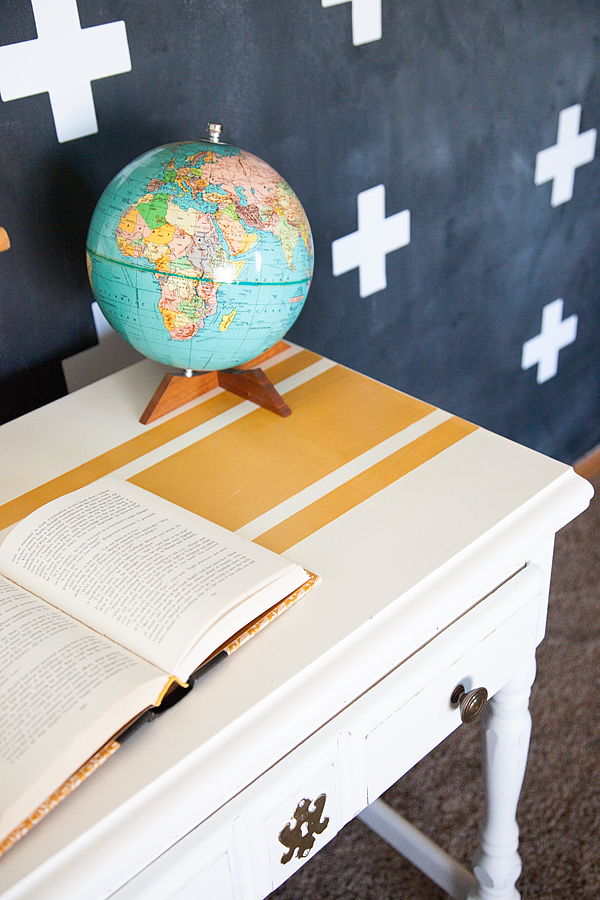
I’m using Toasted Marshmallow and Saffron Strands, both are stock paint colors from Behr Paint found at Home Depot. When I’m painting with BB Frösch Chalk Paint Powder, I use Flat paint without primer if available. I’ve been using Toasted Marshmallow quite a bit. It’s a nice warm white that I’ve fallen in love with. I used it on my kitchen table makeover as well. I’ll be sharing that one soon!
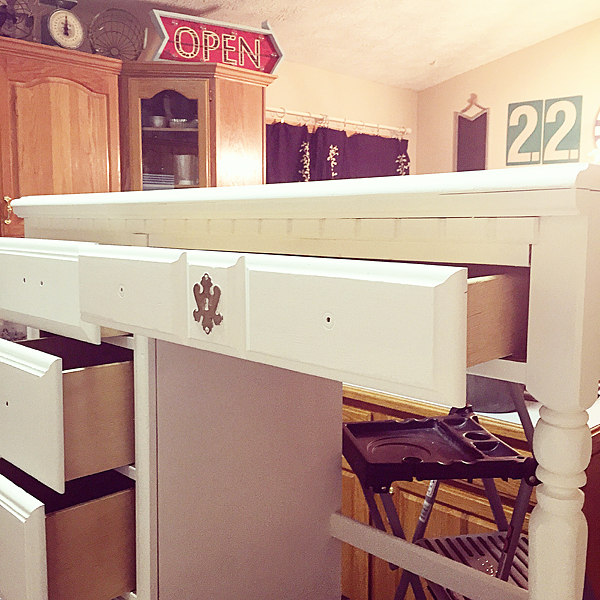
+ Paint base color
Paint the base color of your piece and take it all the way through your finial finish.
My typical routine when painting furniture is..
+ Paint one light layer followed by one to two more coats if I’m wanting a nice smooth modern finish.
+ Next, using a sanding block, I lightly sand my entire piece creating a nice SMOOTH finish. Some people have been turned off from chalk paint because they don’t like a rough finish. What they are missing is that you don’t have to have a rough chalky finish. Just with a light once over with a sanding block will get you that smooth feel we all love.
+ Then I vacuum the dust and give it a once over with a damp (not wet) cloth to remove any dust.
+ Finally, I wax my piece. This is quite frankly my FAVORITE PART! This is when your piece starts to come alive.
If you are planning on distressing your piece, do that now before you add your stripes. Also, I HIGHLY recommend waxing your piece as well BEFORE you start working on your stripes. I use BB Frösch Premium Finishing Wax. It is a revolutionary wax that cures within minutes rather than weeks! That’s a huge deal in the chalk paint industry. No one wants to work hard on a piece and then have to let it sit for a month (with an armored guard) trying to keep hands off while the wax fully cures.
The wax is the final process to help the paint fully adhere to your piece. By waxing first you won’t have to worry about the tape accidentally pulling paint off your piece when you remove the tape. Again, no matter how gentle the tape says it will be with your piece… My experience is that without the wax, it will still pull paint off.
+ Tape the stripes
This is where it gets FUN!!
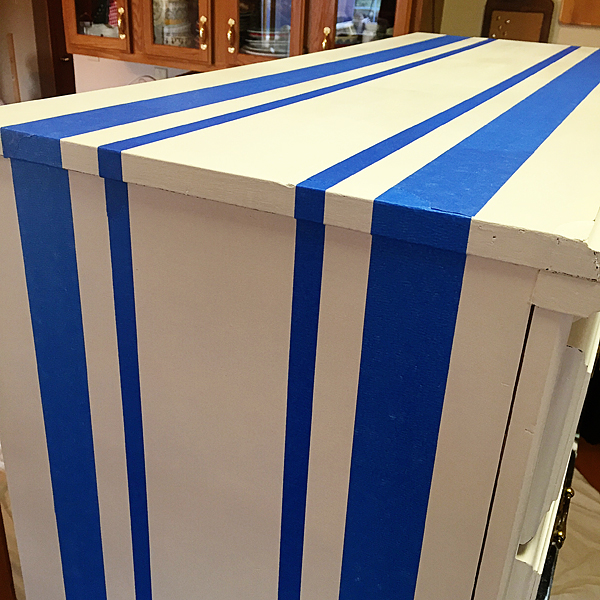
Decide how you want your stripes to appear and tape your piece. For this one, I wanted a large center stripe with two thinner stripes on either side. I would love to say that I’m one of those people who measure things to the T, but I don’t. I eyeball it. I tend to trust my eye more than I trust my math skills!
Think about your piece, notice the curves and lines and plan accordingly.
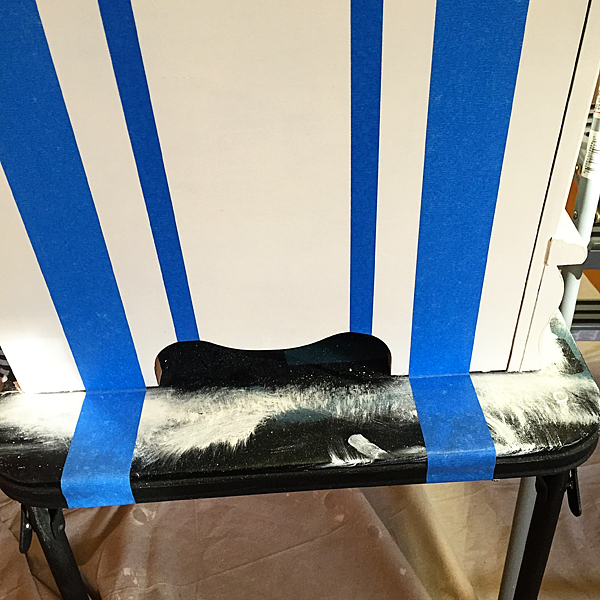
My desk has a curvy cutout on the side of the desk, so I used that as my guide for creating my stripe pattern.
Side note… I paint most of my pieces on top of a card table. It’s just so much easier to for me to tackle those hard-to-reach spots at the bottom of the piece just as well as the easy-to-reach spots at the top.
+ Paint another layer of the base color
Now, all you need to do is paint another light layer of your base color just along the tape lines.

This will seal the edge of the tape and any bleeding that will occur will just blend right in! Let this layer dry and prepare your stripe color.
+ Paint your stripes
Now all you have to do is paint your stripes!
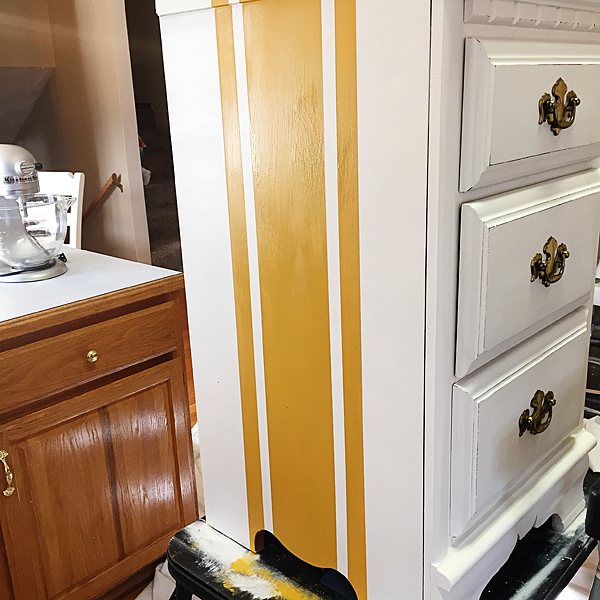
For this piece, I painted two coats of the Saffron Strand stripe. I wanted the color to be nice and rich. Sometimes, you will want a more subtle stripe and you will only need one coat.
Once I have finished painting, I let the paint settle for a few minutes, then I carefully pull the tape while it is still slightly wet. This will help avoid accidentally pulling the dry paint off when removing the tape.
Don’t sit around too long though. Paint that is treated with BB Frösch Chalk Paint Powder dries pretty quick. So, I would only wait for 5 minutes or so.
For this desk, even though I wanted a nice deep color for the stripe, I still wanted it to be distressed. I again used my trusty sand paper, for this I use a 400 grit, fine sand paper. With flat fingers or a flat hand, I work with my sand paper to get the distressed look that I like.
Don’t ever use the tip of your pointer finger to roughly gouge your piece. At that point, you are just scratching your piece (not naturally distressing) and that’s not the look you are going for… I promise. Unless you want your piece to look like your son took his soccer cleats to it, then by all means… scratch away!

+ Final Wax
Now, all you have to do is your final wax with the BB Frösch Premium Finishing Wax. Wax the surfaces where you added your stripes and you are finished!
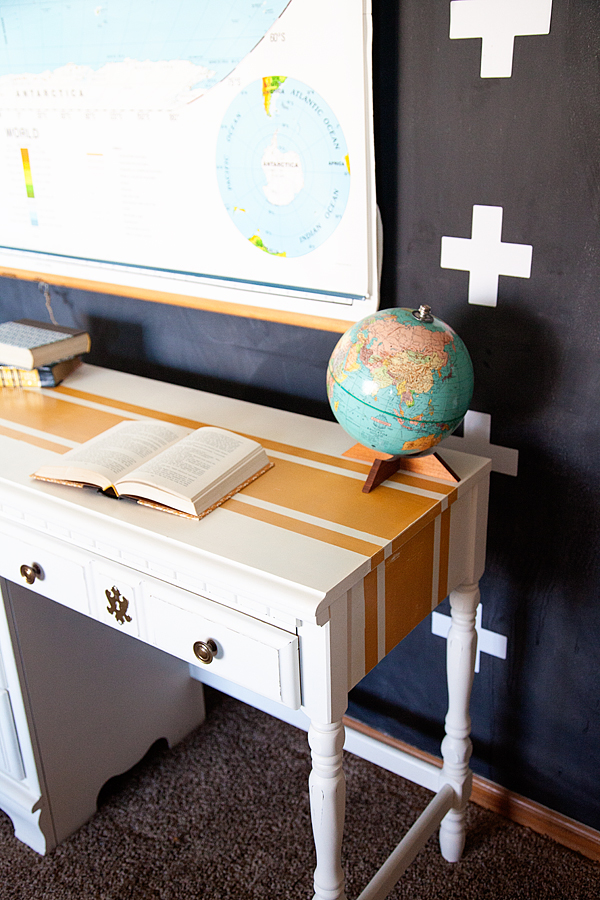
Isn’t it FUN?!
Now that I’ve discovered the secret, I want to stripe EVERYTHING!!
I will keep myself in check though… maybe.
Disclaimer // This is not a sponsored post, I was not paid by any company for this piece. However, I am the co-founder of BB Frösch Chalk Paint Powder along with Kristin Smith and we would love for you to try our product!