Always, always, always… Looking for fun and unique gifts that I can create for friends and family during the holidays. This Christmas Tree Truck Mug, that I created with my Cricut Maker, has my heart! I Now if you aren’t sure which is better, Cricut vs Silhouette, then make sure you check out that comparison! Anyways, I love how it turned out. This Christmas Tree Mug filled with hot chocolate packets is fun to give to friends, neighbors, teachers, and so on. I typically stick with black and white in my designs because I LOVE black and white. This time, I branched out and layered different colors of vinyl to create a fun look on a white and black enamelware mug. While I was making them I created a video tutorial on how to layer your vinyl when working with multicolored vinyl projects. Come check it out…
+ This post brought to you by Cricut +
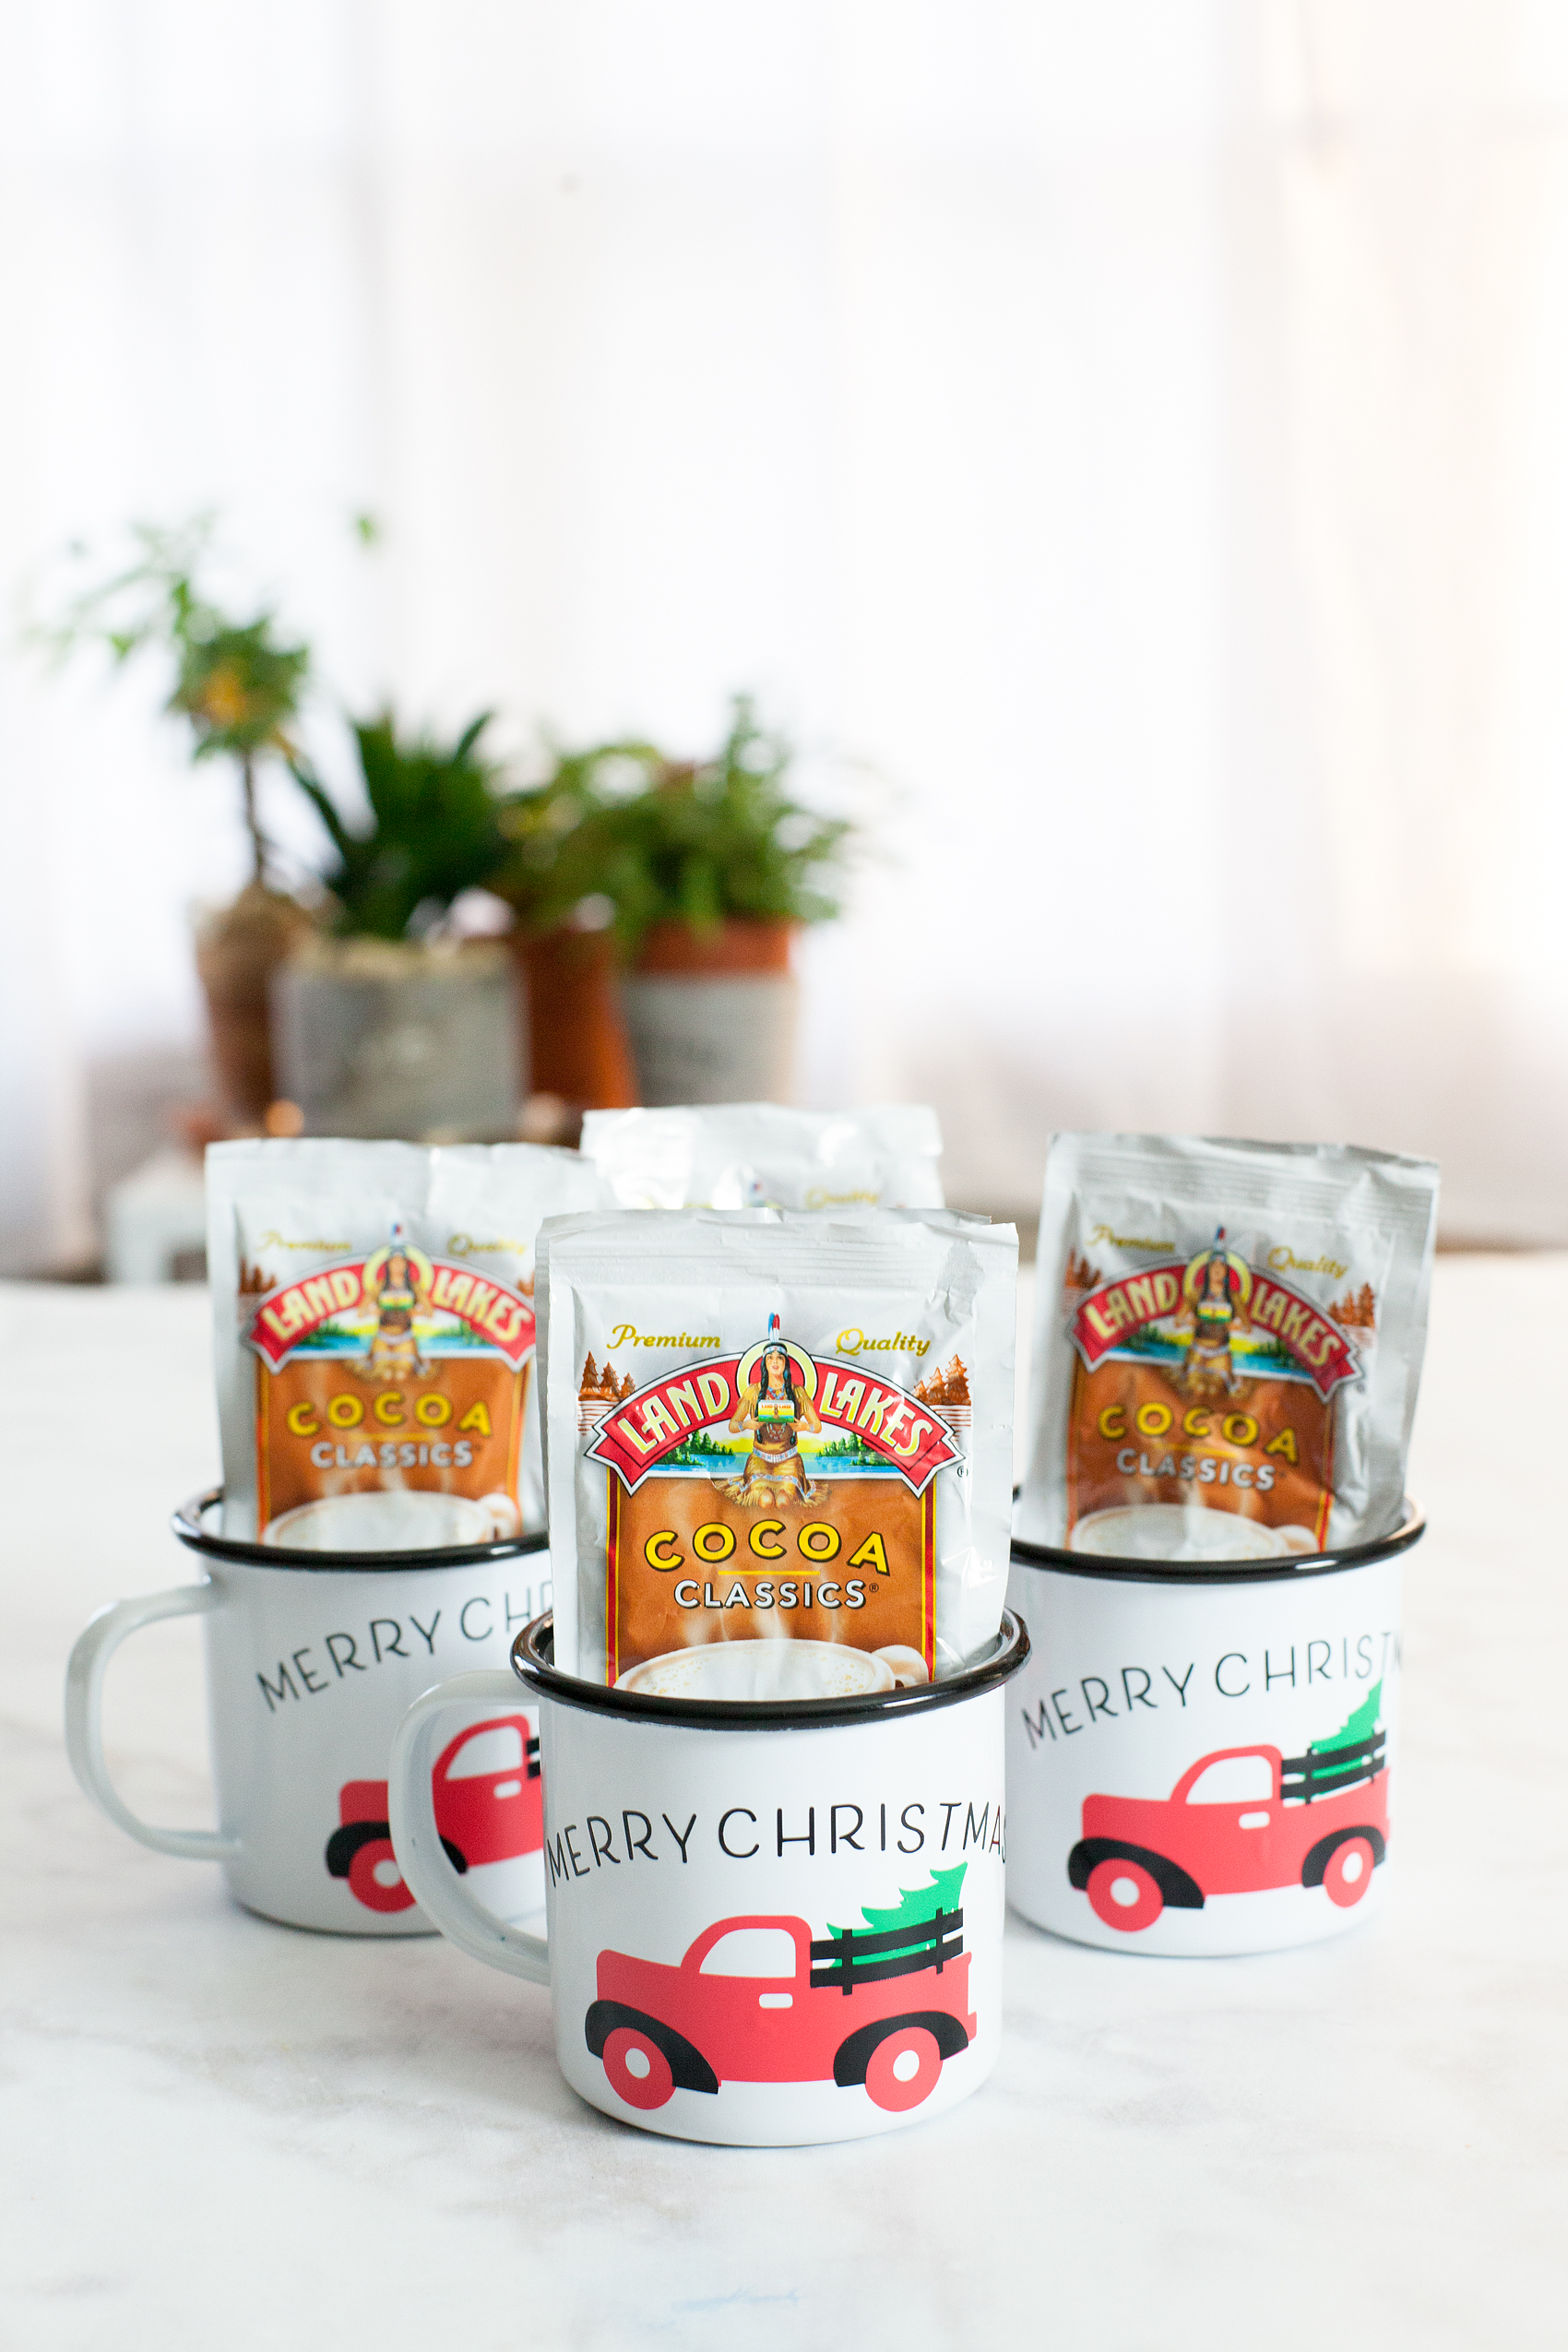
Christmas Tree Truck Mug
Inspired by the ever-popular red truck with a Christmas Tree in the back, I thought it would translate nicely into a fun neighbor gift. This project is really quite simple. However, it looks impressive and your friends who receive it are going to LOVE it! I know I would if someone gave it to me. Here’s what you’ll need to make some of your own.
Materials
For the mug, I found some enamel ware mugs at Amazon (I’m not an affiliate) but they can be pretty pricey. If you want a more budget friendly option, I would visit a Dollar Store, Dollar Tree or even a thrift store to find just some basic white mugs.
- white mug
- design file for Cricut Design Space
- black vinyl
- red vinyl
- green vinyl
- Cricut Transfer Tape
- Cricut Cutting Machine ie. Cricut Maker or Cricut Explore Air 2
- Cricut Light Grip Cutting Mat
- hot chocolate packets
Instructions
The first thing you might want to do is watch a video tutorial that I created that shows how to create curved text in Cricut Design Space AND how to apply the vinyl to the mug. It would be really helpful. Don’t worry though, I’ve handled the entire design process for you! Once you watch the video, make sure you have clicked on the link to my design file so that you can easily create this project in Cricut Design Space. Select the click it button on the bottom right and follow the steps to cut all three colors of vinyl. Next step, you’ll need to weed your vinyl. That means that you need to remove all of the vinyl around your image and inside the image. Once you’ve weeded the vinyl, you’re ready to apply it to the mug. Here is a quick video tutorial on how to easily layer your vinyl.
Now, all you need to do is fill your cute mugs with your favorite hot chocolate packets. Then, make a list of all your favorite friends & neighbors to give one if these fun mugs to this Christmas.
Cricut Questions
Have any Cricut questions? I’d be happy to tackle them if you’d like. Leave a comment or email me at heather @ whipperberry . com and I’ll put together a video to help shine some light on what has been perplexing you.
This is a sponsored conversation written by me on behalf of Cricut. The opinions and text are all mine. I have included some Share-a-Sale links for tracking purposes only. I am not a Cricut Affiliate.