Chalk paint is a popular choice for home decor. It comes in a variety of brands and colors; something to suit anyone’s decorating style.
If you want your chalk-painted pieces to last without chipping or staining, applying a sealant coat is recommended.
If you’ve been a reader for a while you know I LOOOOVE using chalk paint for my craft projects. So, I want to share with you how to actually seal chalk paint.
What Is A Seal Coat?
A seal coat is a thin, usually transparent coating that protects your painted surface. Chalk paint is a little bit more fragile than acrylic or latex-based paints.
Chalk paint on any “high touch” surface is more likely to chip or get scratched. Chalk paint also has a tendency to stain easier, especially chalk-painted table tops and cupboards.
Fortunately, applying one or two coats of a clear sealant can prevent these things from happening.
The Best Ways to Seal Chalk Paint
The best way to seal your chalk-painted projects depends on what type of item you’re going to seal, and what you want the final appearance to be.
It’s important to keep in mind that if you like the “chalky” smooth appearance of your painted objects, you don’t want to apply a glossy sealant on top of them.
Look for sealant with a matte or satin finish. Matte finish sealant won’t change the overall appearance of your chalk paint. A satin finish sealant will add a soft, very subtle shine to your piece, but isn’t glossy.
The Best Seal Coats for Chalk Paint
No matter what type of sealant you choose for your chalk-painted projects, be sure to read the label thoroughly.
Make sure it will work for whatever your object is made of; some sealants that are great for wood might not work as well for chalk paint on glass or on metal pieces.
Also check the drying or curing time, so you can estimate how long it will take you to complete your project.
Look online for video tutorials if you are curious about the application process for any sealants. Checking online reviews can be helpful, too.
You can find all kinds of sealants for sale, but when it comes to sealing chalk paint these three types of sealant are the most popular.
Wax Finish For Chalk Paints
A wax sealant is the best choice for any chalk-painted furniture that you want to finish with an “antiqued” look.
Chalk paint sealed with wax beautifully transforms an ordinary piece of furniture to look like a treasured heirloom.
Wax sealant will give your surface a smooth, satiny finish. It does take a little more work to apply than other sealants. For best results, you should also reapply the wax sealant periodically.
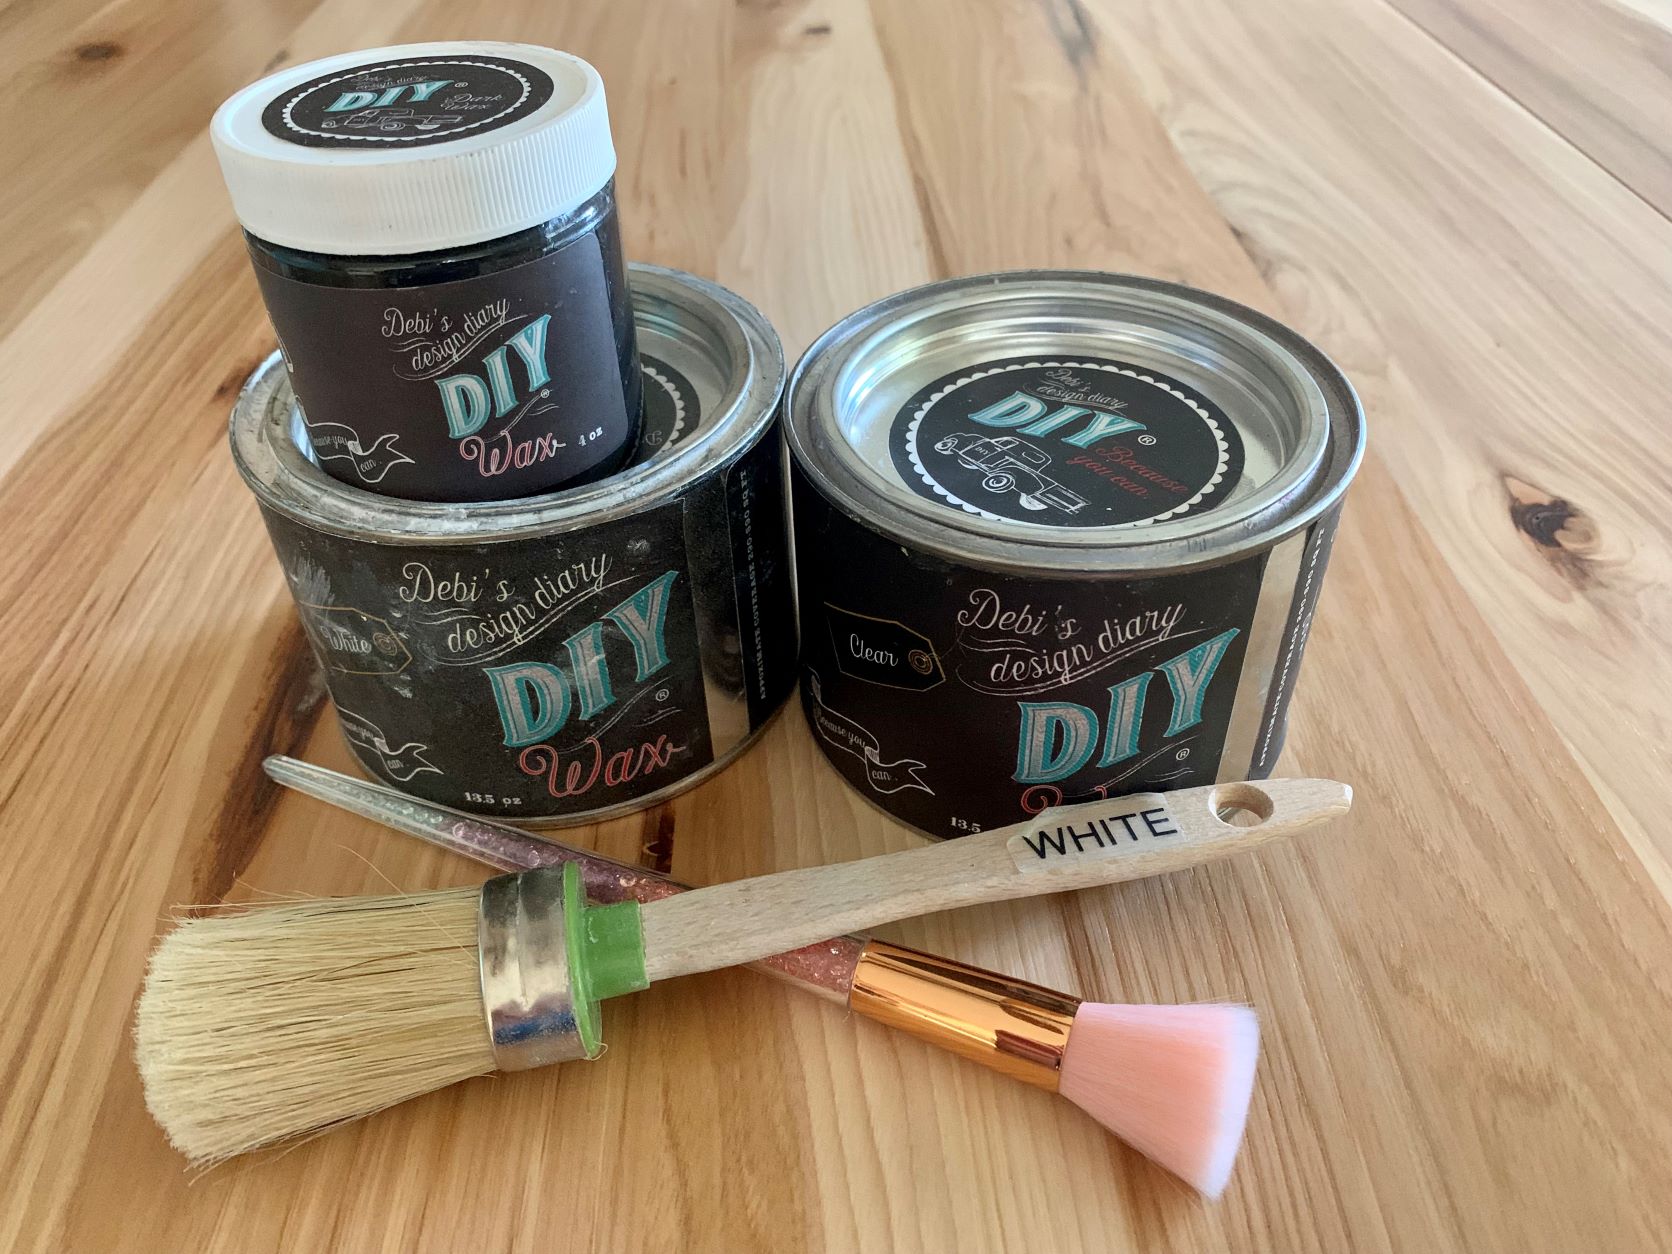
To apply a wax sealant to your chalk-painted furniture, use a stiff paintbrush or a soft, lint-free cloth. Spread the wax evenly over the entire surface, in a thin layer.
Let this dry, then take a clean lint-free cloth and buff the wax finish. An old t-shirt works great for buffing.
After you’ve buffed the wax to a nice satiny finish, it can take anywhere from several days to several weeks for the wax finish to be fully cured.
During this time, be gentle with your painted piece to keep the wax finish free from scuffs or scratches.
After the wax sealant is fully cured, you can apply a second coat if you want a little more protection for your piece. One coat is usually enough, though.
Different brands of wax will require different curing times. It’s always best to check the instructions on whatever brand you buy to get the best results.
Some brands manufacture furniture wax that is specifically formulated as a chalk paint sealer.
In addition, to clear finish wax sealants, you can buy tinted wax to add some depth to your finished piece.
Once your initial clear wax finish is completely dry, you can brush on a second coat of tinted wax in a dark or contrasting color. Let the darker wax sit for just a few minutes, then gently wipe it off with a clean, lint-free cloth.
This method easily achieves a “distressed” or “antiqued” appearance on your chalk-painted piece.
The darker wax will highlight any carved or textured surfaces.
Wax sealants over chalk paint can make painted furniture look great, but it’s not the best choice for kitchen cabinets or anything that is in the bathroom.
In the kitchen, grease and tiny bits of dust and crumbs will show up noticeably on chalk-painted surfaces.
Humidity from being in a bathroom will eventually make the wax finish chalk painted piece look a little bit cloudy. For these rooms, using a polycrylic finish is a better choice.
Spray Clear Coat For Chalk Paints
Just about any company that makes spray paint also makes various spray clear coats. Some even have products that are formulated especially for protecting chalk-painted surfaces.
When choosing a spray clear coat to go over chalk paint, you should look for one with a matte or satin finish.
A matte finish will work best if you want to preserve the lovely smooth, chalky look of your unsealed chalk paint. A satin finish will look similar to the finish achieved with furniture wax, with less work involved.
When using any spray sealant, you should work in a well-ventilated area, or outdoors. Be sure to have a drop cloth to protect your home or backyard from any overspray.
Be sure to shake the can of sealant vigorously to get the sealant thoroughly mixed. Spray your painted piece in light even coats, using a back-and-forth motion.
You can apply a second coat after the first layer is completely dry. Two coats is usually perfect for optimal protection.
When your painted piece is drying, be sure it is in a place that will be free from wind and dust. Even the tiniest specks of dust that get blown onto your drying piece will show up in the sealant.
Brush On Polycrylic Sealant For Chalk Paints
Polycrylic sealant or varnish is the most durable choice for sealing your chalk-painted projects. This is the best option for anything that will come in frequent contact with water, food, or people touching it on a regular basis.
This finish is also the easiest to clean. Usually, all you will need to do is wipe it down with soapy water.
Polycrylic sealant is sold in cans similar to paint, and just like with a can of paint, you’ll need to stir it thoroughly before applying.
To keep the smooth appearance of your chalk paint, choose a sealant with a matte or satin finish. To apply, make sure your surface is clean and dry. Moving your paintbrush in one direction, brush on a thin coat of polycrylic sealant.
Make sure the sealant gets into any small spaces. Let it cure fully before applying a second coat. Different brands will require different curing times, so always check the label on the product you are using.
The polycrylic sealant provides the strongest coating of the three sealants in this article. It’s very resistant to scratches and scuffing.
This is the best option for any chalk-painted surface that is going to come in frequent contact with other objects, or that will be handled by people. It’s ideal for table tops and cabinet doors.
Because polycrylic cures to a smooth surface, it can be easily wiped clean with just a damp cloth.
Be sure to work in a well-ventilated area or outdoors when working with polycrylic sealant.
Protect your work surface with a drop cloth. Your paint brushes should clean up easily with mineral spirits.
Polycrylic shouldn’t be confused with polyurethane sealant. Polyurethane is durable, but it has a stronger odor and has a tendency to yellow as time goes on.
Even a piece of indoor furniture sealed with polyurethane can yellow from sunlight shining through a window.
Is There Any Reason to Not Seal Chalk Paint?
You don’t have to apply a seal coat to some chalk-painted items. Anything that isn’t going to be handled frequently, or that won’t come into contact with other objects probably doesn’t need to be seal coated if you don’t want to.
Smaller items such as vases, jars, picture frames, and desk accessories will still look nice if they haven’t had a sealant applied. If you have a chalk-painted piece of furniture, you could opt to apply a wax or polycrylic sealant only on the top surface where there will be frequent contact.
For any smaller chalk-painted item, you should apply at least two coats of paint if you aren’t going to apply a sealant. This will make the paint less likely to get scratched or to start chipping.
Whether you choose to use a seal coat on your projects or not, chalk paint is a simple way to add distinctive accents to your home decor. Adding sealant gives an extra layer of protection to some chalk-painted objects and helps to ensure that they will look great for years to come.
More Frequently Asked Questions About Top Coats for Chalk Paint
I tried to be as thorough as possible about the best top coats for chalk paint and how to apply them. However, there are a lot of questions readers have asked me about so I’ll answer them quickly for your below.
Can You Use Polyurethane Over Chalk Paint?
Yes. You can use polyurethane over chalk paint. Most of my recommendations are about using Polyurethane.
Can You Use Polyacrylic Over Chalk Paint?
Yes. You can use polycrylic over chalk paint. Most of my recommendations are about using poly products. The difference between polyacrylic and polyurethane is that one is oil-based and the other is water-based. Both well as a top coat for chalk paint.