Water damage restoration follows a disciplined sequence, yet many owners only witness pumps, hoses, and loud drying equipment. The real job starts with hazard control and ends with repairs that return rooms to safe use. Moisture travels into framing, insulation, and finish layers faster than most people expect. A pipe break, roof leak, or overflow can trigger swelling, staining, odors, and microbial activity within a short window.
Fast Response
The first visit usually centers on loss control, safety, and immediate stabilization. Crews may stop the water source, isolate electrical hazards, and inspect for contamination before any major drying starts. In that early window, Charlotte, NC water damage restoration services often matter because soaked gypsum board, padding, and trim begin to break down quickly. Prompt action also reduces hidden moisture migration into adjacent rooms and lower cavities.
Inspection And Scope
Once the site is stable, technicians map the affected area with instruments and direct observation. They check wall cavities, flooring layers, ceilings, trim lines, and stored contents. Moisture meters, infrared imaging, and humidity readings help define the extent of the damage. That scope shapes labor, disposal, equipment needs, and repair planning. Good notes also support insurance review if water moved beyond the original point of entry.
Water Category
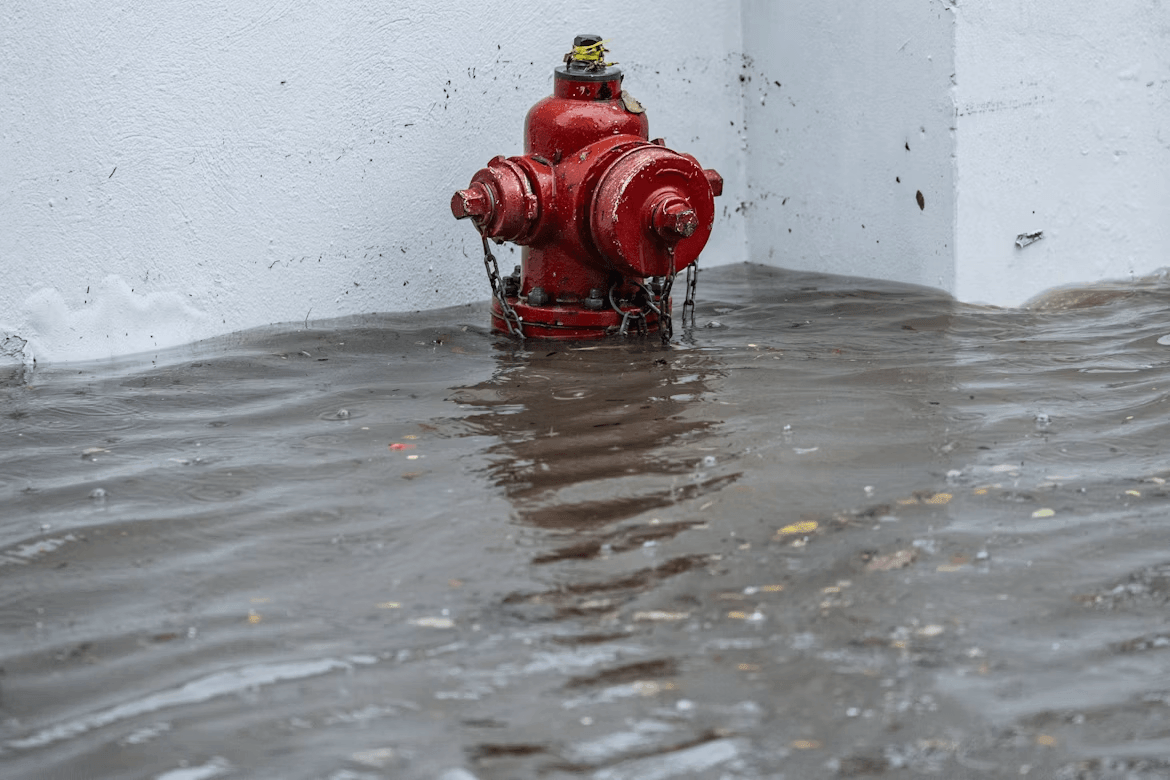
The source of the loss changes the restoration plan from the start. Clean water from a supply line carries lower initial health risk. Gray water from appliances or drain backups needs stronger sanitation measures. Black water from sewage or flood intrusion requires strict containment and protective gear. Categories can worsen with time, especially after stagnation, which affects cleaning methods and salvage decisions.
Extraction First
Standing water has to be removed before structural drying can work well. Crews use pumps, wet vacuums, and weighted extraction tools to pull liquid from floors and lower assemblies. Carpet pads often come out because they hold moisture and dry poorly. Quick extraction limits warping in wood, softening in drywall, and adhesive failure beneath finished surfaces. That step also shortens the overall recovery period.
Controlled Demolition
Some building materials cannot be restored safely after heavy saturation. Baseboards, insulation, drywall sections, and swollen laminate may need removal to expose trapped moisture. This work is targeted, not careless. Technicians open only the areas required for drying, cleaning, and later repair. Careful removal lowers secondary damage, improves air movement, and reduces the chance of odor or microbial growth inside enclosed spaces.
Drying Setup
After extraction, the focus shifts to controlled evaporation and moisture removal from the air. Air movers push dampness out of materials, while dehumidifiers capture that vapor before it settles elsewhere. Placement matters because stagnant zones slow progress. Crews may direct airflow into wall cavities or create contained drying areas. Daily temperature and humidity tracking confirms whether structural components are moving back to normal conditions.
Monitoring Progress
Drying is rarely complete after one equipment setup. Technicians return to record readings, adjust machines, and verify that wet materials are responding as expected. Subfloors, framing, and lower wall sections often retain moisture after painted surfaces appear normal. Without follow-up checks, concealed dampness can stay behind. Clear logs show what changed each day and support quality control, insurance communication, and repair timing.
Why Readings Matter
Moisture left inside framing can lead to odor, staining, material decay, and microbial growth. Instrument data provides objective proof that drying goals were reached before reconstruction begins.
Cleaning And Sanitizing
Dry materials are not automatically clean materials. Residue, silt, and contaminants may remain on surfaces or contents after visible moisture is gone. Technicians choose cleaning agents and antimicrobial treatments based on the water source and affected materials. Upholstery, textiles, and personal items may need separate attention. The aim is a sanitary interior with stable surfaces, acceptable odor conditions, and no lingering contamination concerns.
Mold Risk Window
Mold does not appear after every water loss, but damp materials create favorable growth conditions quickly. Speed matters because spores can colonize paper facing, wood fibers, and dust residues once moisture and warmth persist. If visible growth is already present, added containment and specialized cleanup may be necessary. Even without visible colonies, crews monitor areas where trapped humidity can support later growth behind finished surfaces.
Repairs And Rebuild
Restoration is not complete until damaged areas return to safe, functional use. That stage may include drywall replacement, trim installation, painting, flooring work, cabinet repairs, or finish carpentry. Some projects stay limited to one room, while others extend farther. Rebuild decisions should follow documented drying results so new materials are never installed over damp framing, subfloors, or hidden cavities that still hold moisture.
Conclusion
The full restoration process involves far more than pulling out water and placing fans in a room. It includes hazard control, moisture mapping, extraction, selective demolition, drying, cleaning, and repairs based on verified readings. Each stage protects building materials and indoor conditions from deeper harm. Owners who understand that sequence can ask sharper questions, judge service quality more accurately, and respond faster when water enters a property.
0
Leave a Reply