A couple of weeks ago my Sweetheart was out of town and so I took my kiddos out for a fun dinner at one of our favorite places, The Elephant Bar at The District in Green Valley Ranch. The kiddos LOVE that place! I love it for two reasons… the sweet potato fries with the spicy ketchup and that Anthropologie is right across from the restaurant. After dinner we headed over and I found the cutest snow globes in a jar! I just had to make some of my own…
They couldn't be easier to make! Here is what you will need…
- Jars {a good shape and size for your trees}
- Bottle Brush Trees {I bought mine at Big Lots}
- Buffalo Snow or any type of faux snow that you can find
- Glue Dots {I like my Elmer's Glue Spots} or hot glue
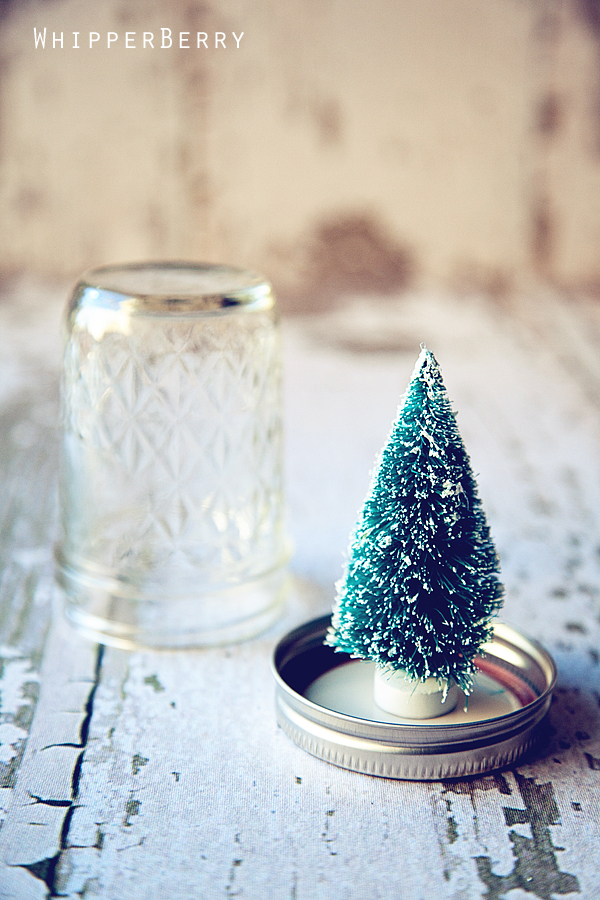
First, remove the lid of the jar and glue the tree to the bottom of the lid…
Place a small amount of snow in the jar. Make sure not to fill it too much. You only need enough to cover the bottom of the tree once turned.
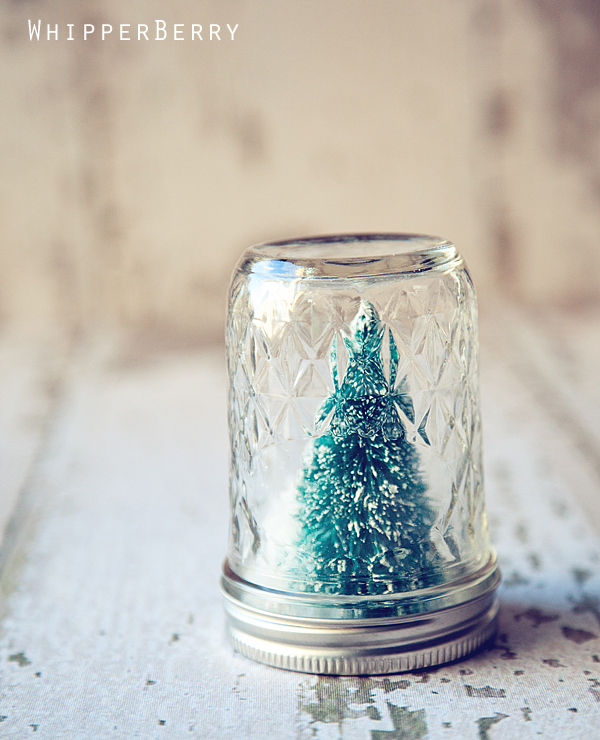
Carefully place the tree back into the jar and screw on the lid…
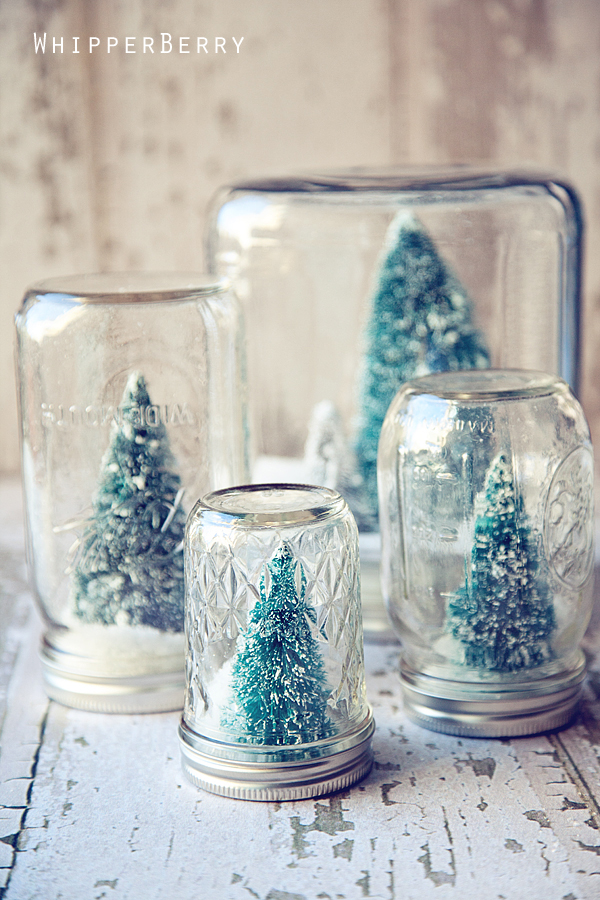
Now… shake to your hearts content! You've made a snow globe in like 2 minutes. Create a few more out of different size and shaped jars and you will have a beautiful display that will last for years!
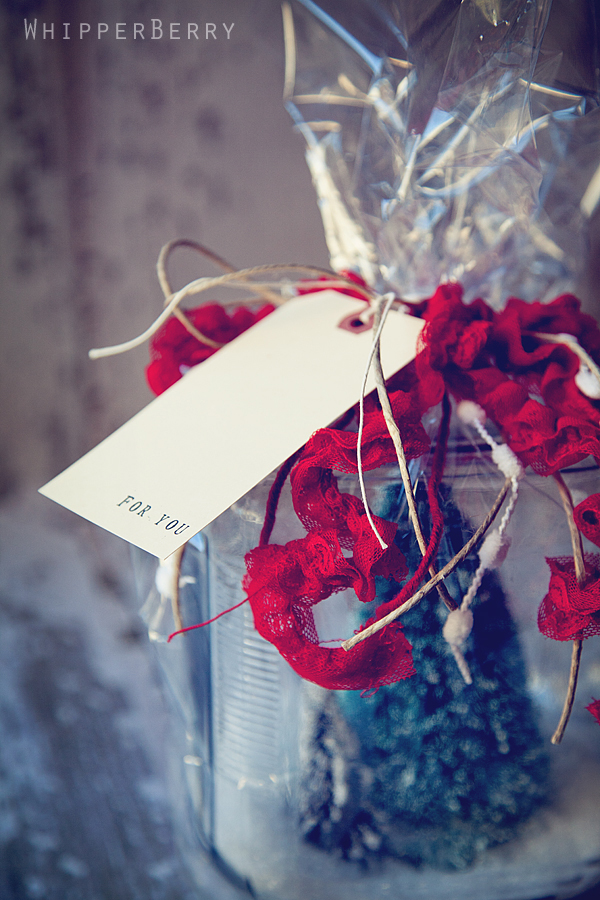
You can even wrap them up and give them as gifts for Christmas…
You'll be a hit!!
397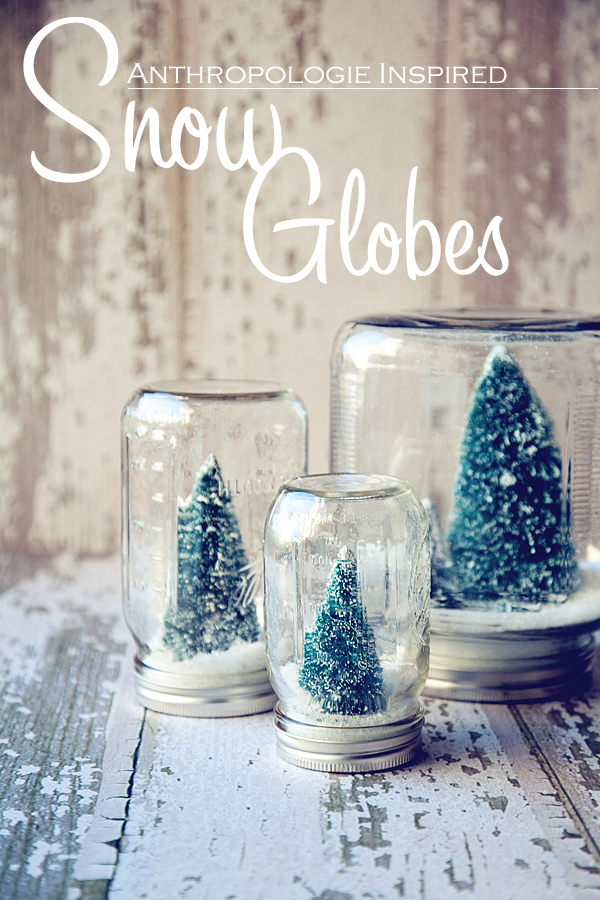

Adorable Heather!!!
I haven’t been to Anthro in a while, I need to get by there before the holidays are over.
Thanks so much my sweet friend! It truly means a ton coming from you! 😉
kisses
heather
How did you get them that color?
Aren’t they fun, we made them too!
yes, I am in LOVE!
kisses
heather
Love these.
Thanks so much friend!
kisses
heather
Who needs the water? Love these!
For sure!
kisses
heather
I love easy! these are great! 🙂
EASY is the best!! That’s how I like things…
kisses
heather
Where can i find the tree’s? I love this!!!
Big Lots Michael’s hobby lobby walmart
This are so adorable, Heather!
Kristen, thanks so much!!
So fun! I did the same exact thing a few weeks ago…went in there, spotted them and knew I could recreate them fast. They’ve been a total hit!! Yours turned out so cute! And the straws are perfect, thanks again!! I owe ya!
Thanks friend, are they fun and soooo easy! Glad I could come to the rescue with my fabulous straw power. 😉 Hope the party goes off without a hitch!
kisses
heather
What straws? I don’t think i see any straws
That is awesome! What a great gift idea for my grandmother’s and god childern! Thanks for the quick and easy tutorial! 🙂
I saw these too on anthropologie.com and thought how easy it would be to replicate them. What a great idea! Yours are just adorable, and I love your photos. Happy holidays!! 🙂
They are just so sweet, what a lovely gift too. I’ve goth this linked to my snow globes post as well today, for inspiration!
These are lovely! I’m such a novice photographer. How did you get the background to blur while keeping the forefront so focused?? I’d love if you could share a tip with me. It is such a pretty photo.
Hello Kristen,
Here’s a great website with digital photography tips like the one you want to know. http://digital-photography-school.com/how-to-achieve-blurred-backgrounds-in-portraits/
Also, love this idea Heather and am adding it to my crafty things to do for the holidays.
I saw these this past Christmas when I went shopping with my daughter. I immediately loved them and decided I would make them. I hadn’t had chance until now. Thanks so much for the wonderful tutorial and post! I plan on making some for Valentine’s Day and Easter. I figure, why wait until Christmas? 🙂
Susan that is exactly how I feel!! I plan on making variations for each season this year. I would LOVE to see what you come up with!
kisses
heather
Is there water in there, or just the snow that settles around the decor?
No water, it’s a dry snow globe! That way you can keep if forever…
kisses
heather
I love your waterless snow globes. I wanted to make some for the wonderful girls in my life last Christmas but couldn’t find what I thought were appropriate jars. Now I know any kind of jar will work. Thank you so very much for the inspiration!!
These are so beautiful! Thank you so much for sharing!!
This is really cute, love simple ideas that turns out like this! 🙂
These are adorable!! Can’t wait to make a few as gifts!!
Just stopping by to let you know I featured this project on my Christmas tree craft collection.
Please grab a featured button from my side bar when you get a chance. Thanks
http://diycraftyprojects.com/2012/11/50-diy-christmas-tree-craft-ideas-collection.html
how lovely, i am going to make these, but for what occasion could you give these as a gift?
How about a hostess gift, when attending a holiday party? Or for the babysiter, friends,etc?
Did you put water or any other liquid in the “jar snow globes” ??
nope, these are dry snow globes.
Beautiful – especially love the blue trees – I will have to do these!!!!
Cute idea! TFS!
Thanks Heather. Good idea for the grandkids! They will love it!
I made these to go along with some gift card for people this year for Christmas, and of course a couple for myself! They are too cute to just give away 🙂
linked to your post here http://bit.ly/X52CKn
oops. wrong link posted in last comment I made. I linked to you here http://bit.ly/TAkm0t
Love this tutorial, I am hoping to make these as a Christmas center piece for our table. They look very elegant.
Hello! I wanted to let you know that I've featured your project in my holiday DIY roundup! You can find the post here: http://spikesandstardust.com/2013/12/09/what-are-you-crafting-this-holiday-season/. I hope you have a wonderful day!
I made small ones (2-1/2" tall) and stuck them in clear plastic containers. I used tacky glue and it worked fine. I gave these away along with small holiday-scented hand sanitizers in little Santa bags for holiday "gifts". They were a hit in the office! Thank you for this great idea!
I made a ton of these this Christmas and gave some as presents: Everyone loved them! Thank you so much for the inspiration!
Although for some of them, I kept the jars the tight way up, and covered them either with Christmas paper or plain brown paper with white ribbon and they looked gorgeous.
Love this idea!
wowwwwww !!!! so cute
Thank you for this ideas
Why no water in them? That’s the part my granddaughter loves!
These snowglobe are so pretty! I couldn’t leave them out of my list of ideas to make a festive table decoration: http://lacitedesvents.blogspot.de/2015/11/10-ideas-for-festive-table-decoration.html I will try to do one this year with my 6 years old son as a gift for his teacher…