• Skip to primary navigation
  • Skip to main content
  • Skip to primary sidebar
  • Skip to footer

Whipperberry

WhipperBerry • Your Home For Creative Inspiration

  • Home
  • Recipes
    • Starters
    • Easy Weeknight Dinners
    • Main Dish
    • Salads
    • Side Dish
    • Soups & Stews
    • Desserts
    • Breakfast
    • Miscellaneous
  • Tutorials
    • Creative Crafts
    • DIY Decor
    • Fabric Crafts
    • Food How-To
    • Jewlery
    • Paint Projects
    • Paper Art
    • Party Styling
    • Photography and Graphic Design
    • Silhouette
  • Holidays
    • Easter
    • Mother’s Day
    • Father’s Day
    • 4th of July
    • Halloween
    • Thanksgiving
    • Christmas
    • Valentine’s Day
  • Gift Ideas
    • Gifts For Everyone
    • Gifts for Dad
    • Mother’s day
    • For The Girls
    • For The Kids
    • Teacher Gift Ideas
    • Christmas
  • Printables
    • Holiday
    • Gift Idea
    • LDS Primary
  • Travel
  • About
    • Terms
  • Contact
  • Nav Social Menu

    • Facebook
    • Instagram
    • Pinterest
    • RSS
    • Twitter

Halloween

6 Surprisingly Simple Outfit Ideas for Goth Beginners

0 · Feb 10, 2026 · Leave a Comment

Beginner goth style is best achieved by combining comfortable basics like black cotton tees with single statement pieces. By focusing on dark layers and mixed textures, newcomers can easily adopt sub-styles like romantic or Victorian goth without sacrificing practical daily wearability. You do not need an entirely new wardrobe to start.

The most effective outfits often rely on a simple strategy of anchoring the look in familiar clothing. This approach allows for personal expression through alternative clothing while ensuring you feel confident rather than costumed.

Goth Style Can Be Simple and Comfortable

Woman in a gothic dress


The secret many seasoned goth dressers know is that the foundation of most striking looks involves a handful of easy pieces. Think cotton tees, well-fitting denim, and versatile boots paired with one statement layer.

By stripping away the pressure to wear elaborate ensembles every day, you discover that authentic alternative fashion fits seamlessly into a modern lifestyle.

Key Insight: You do not need a costume closet to look authentic. A sustainable goth wardrobe is actually built on 80% comfortable black basics and just 20% high-impact statement pieces.

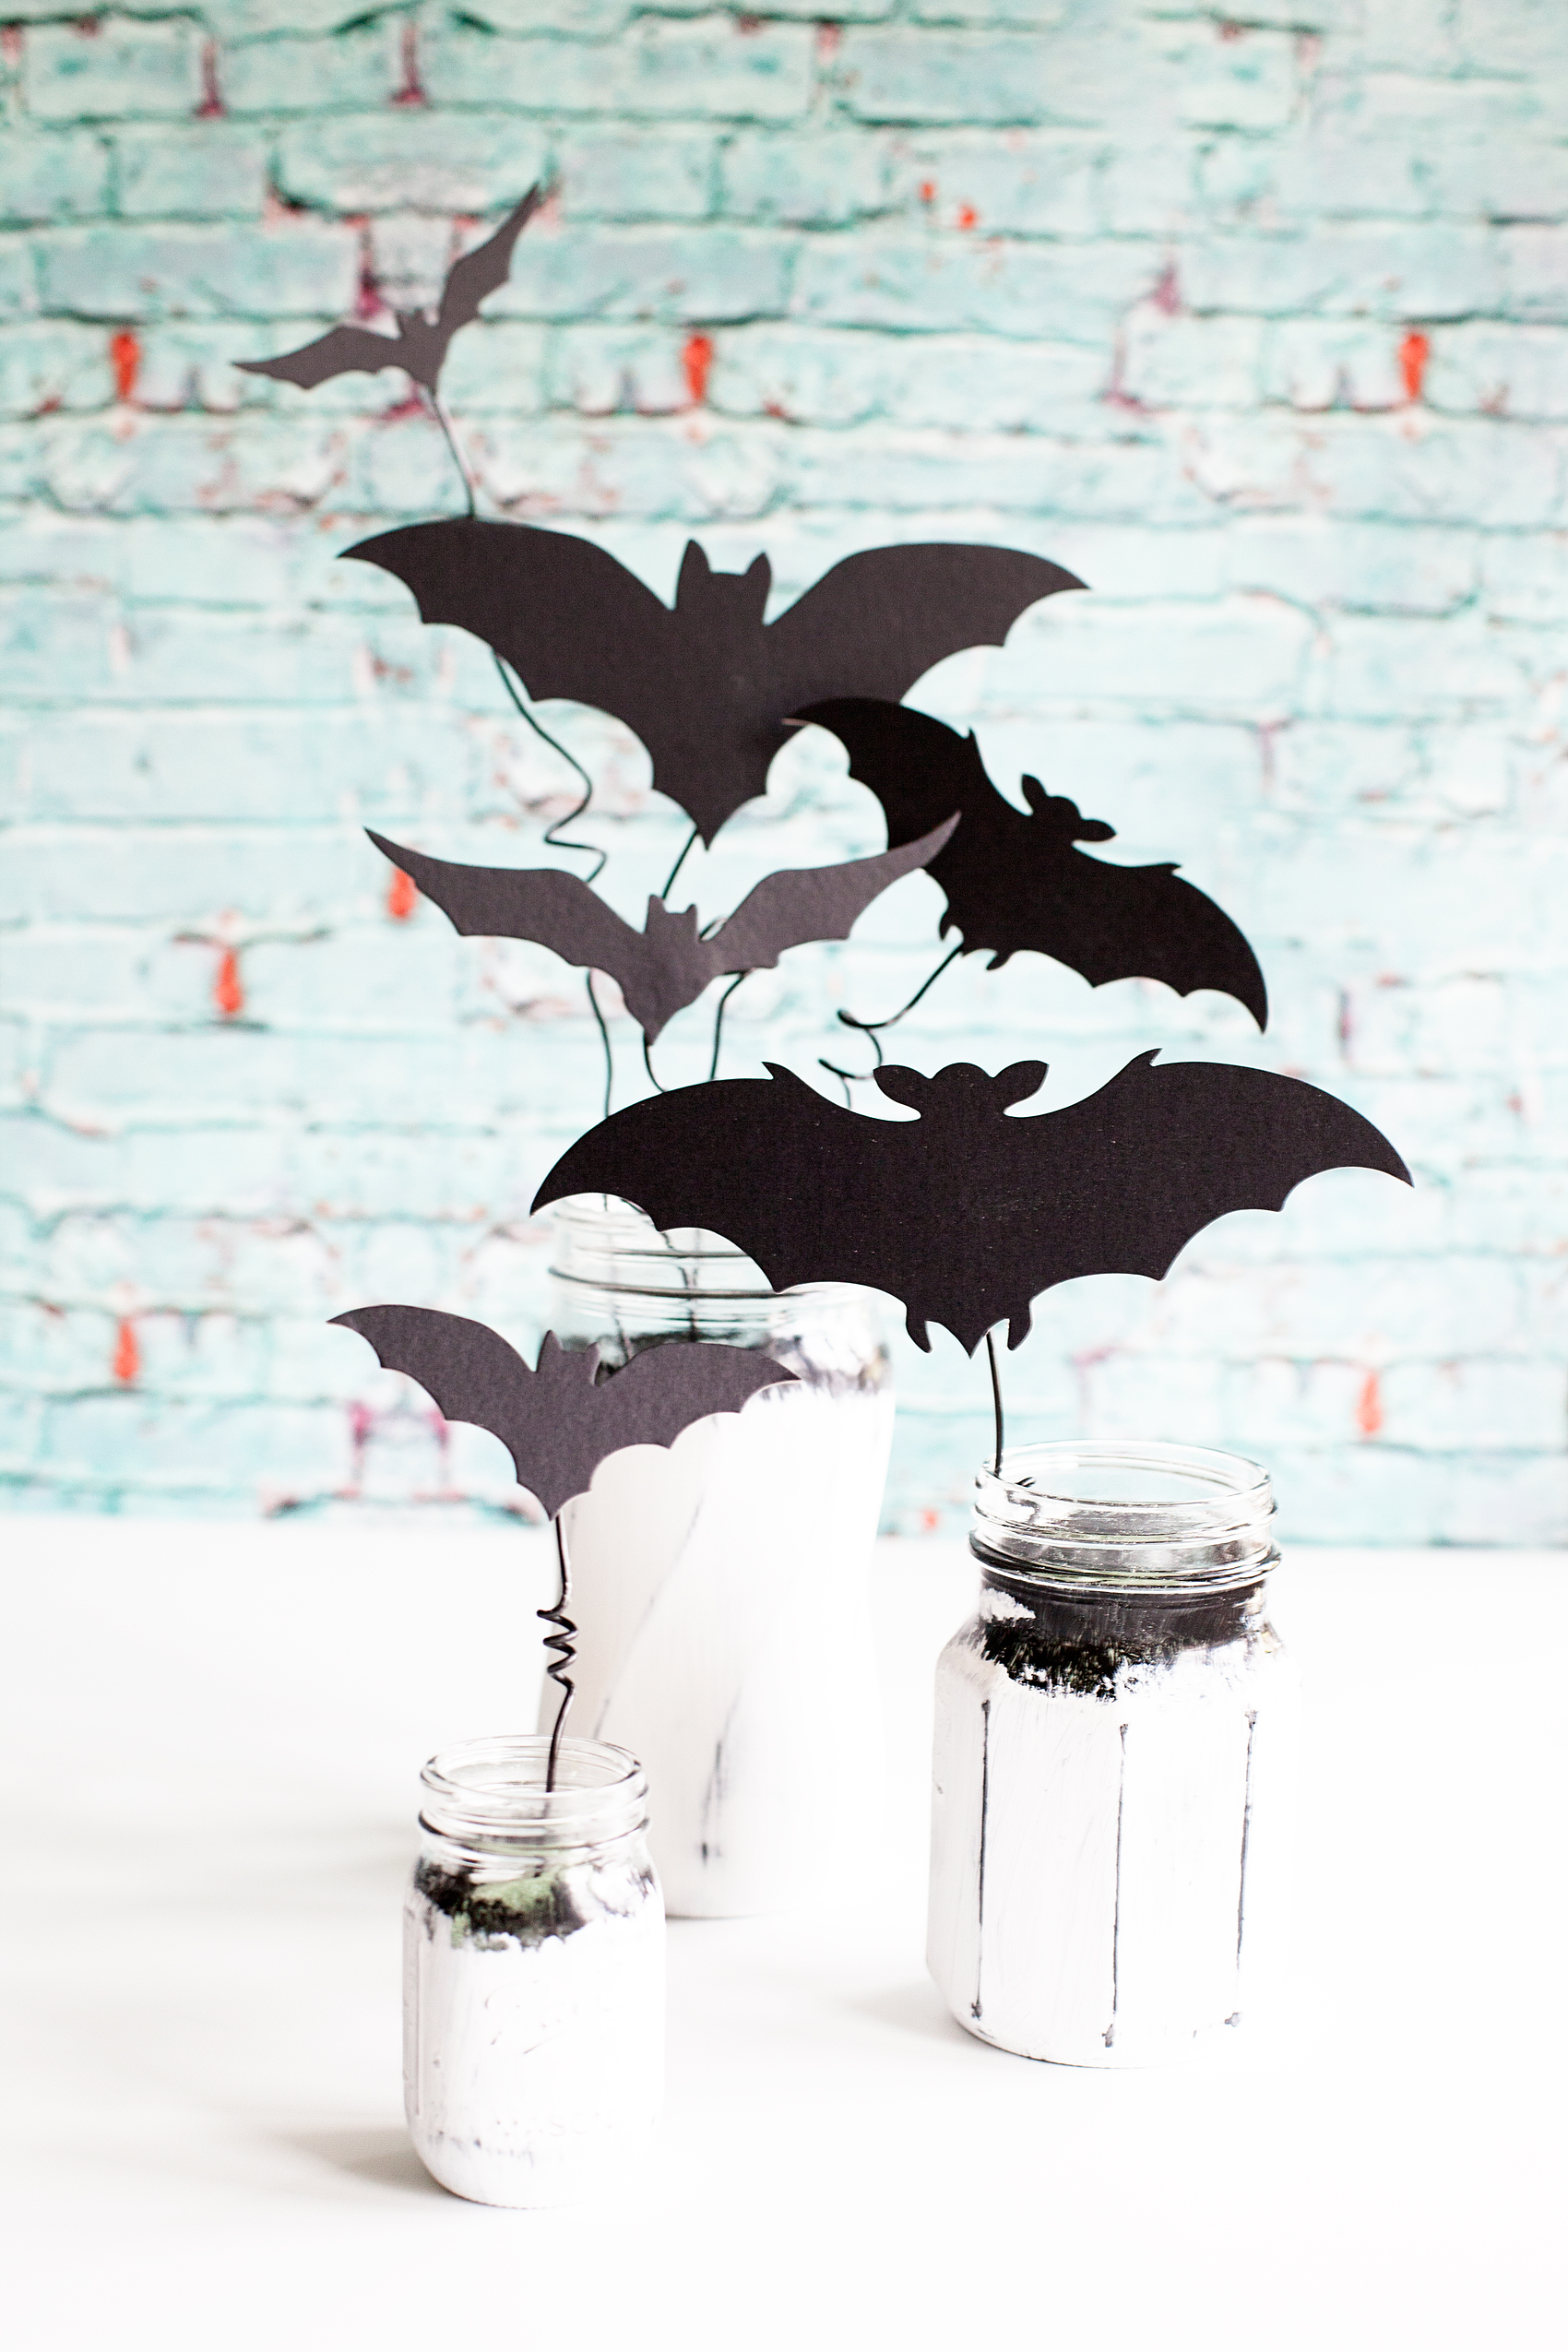
A Quick Look Back at How Goth Fashion Began

Goth fashion emerged from the late-1970s UK post-punk scene, drawing inspiration from Victorian mourning aesthetics and literature, classic horror films, and gothic rock/post-punk music.

The movement was originally characterized by trademark black clothing, dramatic silhouettes, and a brooding color palette that set a distinct mood. Goth fashion has since permeated mainstream runways, with black lace, leather, and combat boots becoming staples.

Key Styling Principles for New Goths

Building a cohesive wardrobe starts with understanding a few core mechanics of dark fashion. These principles help turn standard black clothing into a deliberate aesthetic statement.

  • Color Strategy: Start with an all-black base. If pure black feels too stark, add depth with charcoal, oxblood, or dark jewel tones to soften the visual impact.
  • Layering for Depth: Begin with breathable cotton or bamboo tees. Finding the right dramatic layers is essential, and exploring Medieval Collectibles’ elegant goth clothing can help you identify high-quality staples like lace dusters that balance durability with authentic style.
  • Texture Play: Visual interest in monochromatic outfits comes from mixing textures. Pair matte fabrics like cotton and denim with lustrous satin or plush velvet.
  • Accessories that Matter: Small details make a huge difference. Chokers, silver hardware, statement rings, and platform or combat boots deliver instant goth attitude.
Pro Tip: When wearing monochromatic black, texture is your best friend. Prevent your outfit from looking flat in photos or low light by mixing light-absorbing fabrics like velvet with light-reflecting materials like satin or leather.

Six Easy Goth Outfit Ideas

Woman in a gothic black dress outdoors

Ready to dress the part? These six formulas prove that dark fashion can be straightforward and stylish.

1. Black Basics with One Bold Piece

This formula relies on a black tee and black jeans paired with a standout topper, such as a red velvet kimono. For maximum comfort, choose stretch denim and opt for unlined velvet layers to prevent overheating. This works because it anchors you in familiar basics, while a single statement piece clearly communicates the goth aesthetic.

2. Corset Top with a Long Skirt

If you’re thinking of outfit ideas for goth beginners, pick a soft underbust corset with modest boning to define the waist without restricting breathing. A great layering trick is to wear it over a mesh or cotton long-sleeve top for coverage and texture contrast. Look for corsets with elastic back panels or side-zips to ease entry and exit.

3. Band Tee with a Lace Layer

Pair a favorite music tee with a floor-length lace duster or shrug. This combination adds instant romantic goth style by juxtaposing edgy graphics with delicate, intricate fabric. To balance the volume of the long lace, try knotting the tee at the waist.

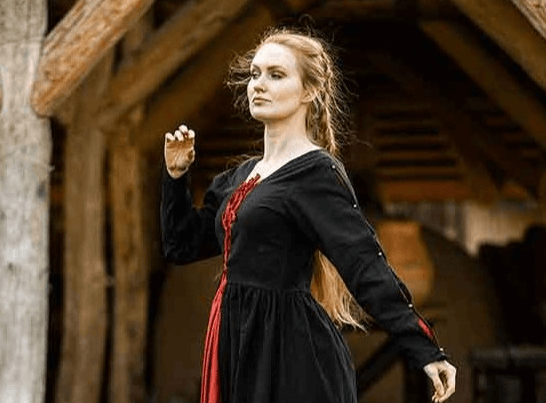
4. Victorian Style Blouse with Fitted Pants

Look for blouses featuring details like ruffled cuffs, high collars, or jabot ties. To keep the silhouette modern, balance the loose top with skinny jeans or tailored cigarette pants. This look is surprisingly work-friendly when you tuck the blouse in and add ankle boots.

5. Long Coat with Boots

Outer layers define this look, so choose a duster, trench, or military-style coat in wool or faux leather. For footwear, select combat boots for casual days or heeled platforms for nights out. A coat with a back vent is a practical choice that adds mobility when you walk or sit.

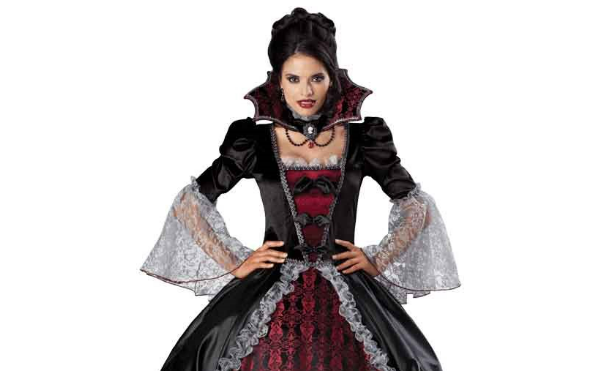
6. Simple Black Dress with Strong Accessories

A-line, slip, or skater dresses make versatile canvases for dark fashion. A wide waist belt, layered chains, and dark lipstick can transform an otherwise minimal piece. For extra depth without bulk, add fishnet tights under the dress.

Where to Find Your First Pieces

If you are building a beginner goth wardrobe, decide first which items are worth a splurge and which you can thrift. Basics like tees and black denim are easy to find secondhand. However, statement layers often benefit from better craftsmanship, so investing there can pay off in comfort.

Important: Alternative fashion brands often use sizing standards that differ significantly from high-street retailers. Always measure your bust, waist, and hips with a tape measure and compare them to the specific item’s size chart before ordering.

Caring for Your Goth Wardrobe

Maintaining the deep blacks and delicate fabrics of this style requires specific care.

  • Velvet and Lace: Hand-wash in cool water with gentle detergent. Roll in a towel to remove excess moisture, then lay flat to dry.
  • Boots Care: Stuff with newspaper or boot shapers to maintain shape; polish leather every few wears.
  • Corset Maintenance: Air out after each wear; spot-clean the lining; avoid machine washing.
  • DIY Fixes: Keep a small bottle of black fabric dye to refresh faded cotton.

Confidence and Self-Expression

Goth fashion isn’t a gatekept club; it is an evolving canvas for personal storytelling. Whether you gravitate toward romantic goth style with flowing lace or prefer a minimalist Victorian goth blouse and trousers, the key is wearing what feels authentic. Experiment at your own pace, mix vintage with new, and remember that comfort empowers confidence.

Quote: “Goth is not about the brand on the label, but the atmosphere you create. It is a mindset of finding beauty in the shadows and expressing your inner self without apology.”

Your Next Steps

Pick one of the six goth outfit ideas, maybe that black basics formula or the corset-and-skirt combo, and try it this week. Notice how textured layers and statement accessories shift not just your look but your mood. When you are ready to expand, revisit the outfit formulas above to tailor your growing wardrobe. Happy experimenting!

Author Profile: Medieval Collectibles is the leading online retailer of authentic medieval replicas and fantasy collectibles for history enthusiasts, reenactors, and collectors worldwide.

Whimsical Neon Halloween Mantel

5 · Sep 17, 2018 · 1 Comment

When it comes to my typical style choices I typically stick with classic and timeless. However, I also have a real love of fun and whimsey that sneaks out every once in a while.  This year I’ve created a whimsical mantel using all kinds of fun finds from DecoArt, Target & Refined Design for my whimsical NEON Halloween mantel!

• This post brought to you by DecoArt •When it comes to my typical style choices I typically stick with classic and timeless. However, I also have a real love of fun and whimsey that sneaks out every once in a while.  This year I've created a whimsical mantel using all kinds of fun finds from DecoArt, Target & Refined Design for my whimsical NEON Halloween mantel!

You may not be able to tell by looking at me but, I tend like walking the line sometimes when it comes to following the rules. Nothing that would involve a felony conviction or anything, more like… When my daughter was born, I felt like she looked better in blue. She had beautiful blueberry eyes and I loved highlighting that. To this day she still is weirded out by the fact that I dressed her in blue instead of pink.

The same holds true when I decorate for holidays, sometimes I don’t really want to stick with the normally prescribed color palette. For example, we don’t really have to decorate with black and orange for Halloween, we can decorate in NEON and create a really fun, whimsical Halloween display.

Neon Halloween Mantel Supplies

With a mission in mind, I grabbed my DecoArt Americana Neon Light paints and headed to the Target Bullseye’s Playground (the former dollar spot) and grabbed some inexpensive Halloween trinkets to add to my mantel and got to work. Here’s my supply list…

    • Americana Neon Lights 2oz – Pink Explosion
    • Americana Neon Lights 2oz – Peach Punch
    • Americana Neon Lights 2oz – Green Energy
    • Americana Neon Lights 2oz – Knockout Blue
    • Americana Neon Lights 2oz – Radiant Yellow
    • foam paint brushes
    • small witches broom
  • various fabric pumpkins
  • tiny witches hat (it was a headband originally)
  • mascarade mask
  • wood beads in various sizes
  • cotton bakers twine
  • an upholstery needle
  • a set of Letters and Ledges
  • scissors
  • command stips

Instructions

With this project, I wanted to add touches of color to typical Halloween objects. Kind of like color blocking in some cases without the hard lines. I wanted it to have a free spirit air about the mantle. Remember, we are going for whimsical.

I started by painting the stems of the pumpkins green.

While those were drying, I painted the edge of the masquerade mask with the neon pink  and you can find a mask for sale on Masquerade Store.

I have a quirky llama picture that I found at Target that sits on my mantle. Her name is Poppy and I adore her!

I thought it would be fun to get her in on the action, so Poppy will be wearing the mask for Halloween.

Then I added the color block on the bottom of the pumpkins, the broom & the little witches hat.

While I was waiting for them to dry, I starting to string my wood beads to create a garland. I was inspired by this tutorial from Design Love Fest…

You have to vist Design Love Fest to learn how to make fun bead garlands like this. Click on the link above.

I decided that since I didn’t want to paint the entire bead, it would be easier to string the garlands, hang them on the fireplace and then paint them.

Worked like a charm and saved a ton of time!

Once all of the paint was dry, it was time to dress the mantel.

With the addition of the Ledges & Letters and the bats the mantel was complete!

When it comes to my typical style choices I typically stick with classic and timeless. However, I also have a real love of fun and whimsey that sneaks out every once in a while.  This year I've created a whimsical mantel using all kinds of fun finds from DecoArt, Target & Refined Design for my whimsical NEON Halloween mantel!

Now, every few days we can change-up the Halloween quote and tickle our funny bone all over again!

Disclaimer • This is a paid post with my friends at DecoArt. I am a member of the DecoArt Core Creator program and do receive payment and product to help facilitate these creative posts. However, keep in mind… I will NEVER share something I don’t truly love and use in my everyday life.

 Witch and Ghoul Death and Breakfast Paper Roll Sign with Cricut Easy Press

2 · Oct 16, 2017 · Leave a Comment

Today, I have a fun new idea. I’ve always loved the vintage paper rolls that little shops used to have. They would keep a roll of brown paper on it and use it to wrap parcels for their shoppers. Well, they are making a come back thanks to the vintage farmhouse lovers. I have found some vintage style paper rolls that aren’t too expensive and thought it would be fun to create new signs for the seasons with heat transfer vinyl and the NEW Cricut Easy Press.Travel back in time with this fun vintage paper roll sign created by WhipperBerry for Halloween. Witch and Ghoul Death and Breakfast sign available as an SVG file for cutting machines or a printable file for FREE!

• This post brought to you by Cricut •

Isn’t that fun?! It’s kind of a new concept when it comes to signage around the home.

Now, some people are naturally gifted and can create beautiful signs with just a sharpie and a little imagination. I however, can not… I wish I could! I was not gifted with that talent. The problem is that I love the look and I don’t have an arm and a leg to pay and actual artist to create my design each time I want to change it out. Then, I thought I could use vinyl and cut a design with the Cricut cutting machine. The problem with that is, the transfer tape would be a nightmare on the paper. It would just turn into a hot mess. Plus… I’m not a fan of weeding intricate designs out of vinyl. Although, I don’t mind weeding the Cricut Iron-on Lite! It’s so much easier to weed. I set out to see if it was possible to use Cricut Iron-On Lite on paper and sure enough, it works with the Easy Press!! I LOVE this new tool from Cricut!

All you need to do is to download my SVG file for the Witch and Ghoul sign OR you can download the free printable and print it out to display. You could even frame it if you’d like. I’ve sized it at 8×10 for your use.

Paper Roll Sign Supplies

  • vintage style paper roll like the one here
  • Cricut Iron-On Lite – Black
  • Cricut Maker or Explore series machine
  • Cricut Easy Press
  • light cotton towel
  • heat resistant surface to work on
  • scissors

Paper Roll Sign Instructions

First, you’ll need to upload the SVG file into Cricut Design Space and size your design for the size of your paper roll. My roll is 8 inches but, you can get even larger paper rolls. You’ll be able to size the design for your paper roll size.

Then you’ll need to load your heat transfer vinyl onto your cutting mat and load into your machine and cut out the design.

Learning how to cut iron on vinyl with the Cricut Maker via WhipperBerry


Quick tip… I leave the vinyl on the roll while I am cutting it. It doesn’t interfere with the cutting process and it cuts down on waste.

Then you’ll need to weed your design to remove the excess vinyl.

Travel back in time with this fun vintage paper roll sign created by WhipperBerry for Halloween. Witch and Ghoul Death and Breakfast sign available as an SVG file for cutting machines or a printable file for FREE!

While you are weeding your vinyl, you’ll want to pre-heat your Cricut Easy Press. Once you finish with the weeding process, you should unroll some of your paper  and place something at the bottom of the roll to keep it from rolling back-up.

Travel back in time with this fun vintage paper roll sign created by WhipperBerry for Halloween. Witch and Ghoul Death and Breakfast sign available as an SVG file for cutting machines or a printable file for FREE!

I like to pre-heat my surface before I lay down my design. The transfer seems to work best that way. Then I center the design onto the paper like so…

Travel back in time with this fun vintage paper roll sign created by WhipperBerry for Halloween. Witch and Ghoul Death and Breakfast sign available as an SVG file for cutting machines or a printable file for FREE!

I then cover it with the cotton tea towel to protect the paper.

Travel back in time with this fun vintage paper roll sign created by WhipperBerry for Halloween. Witch and Ghoul Death and Breakfast sign available as an SVG file for cutting machines or a printable file for FREE!

Then I place the Easy Press or the iron right on top and let it works it’s magic. I have found that 350˚ for about 50 seconds typically does the trick. Then, I let it cool for a minute or two and then remove the plastic protective covering.

Travel back in time with this fun vintage paper roll sign created by WhipperBerry for Halloween. Witch and Ghoul Death and Breakfast sign available as an SVG file for cutting machines or a printable file for FREE!

Replace the towel and do one more shot with the Easy Press. Voilá.. You’re finished!

Travel back in time with this fun vintage paper roll sign created by WhipperBerry for Halloween. Witch and Ghoul Death and Breakfast sign available as an SVG file for cutting machines or a printable file for FREE!

Doesn’t it look kinda of cool? You can check out my post on how to create that Halloween Taxidermy  to complete the entire look. It’s super easy too.

I LOVE, LOVE, LOVE the new Easy Press! I’ve used it on all kinds of surfaces now. Paper, canvas, fabric and my next project will be on ribbon. I can’t wait to show you how it turns out. Make sure you add the Cricut Easy Press to your Christmas list AND make sure you make it on the Nice List so that you will for sure get one. It’s one of those game changing tools that you are going to LOVE.

This is a sponsored conversation written by me on behalf of Cricut. The opinions and text are all mine.

Halloween Bat Jars

9 · Oct 4, 2017 · Leave a Comment

Chalky Finish Halloween Bat Jars • Have fun creating spooky Halloween decor with these Americana Decor Chalky Finish Ball Jars filled with creepy bats. Decorate your mantle or use them as a table centerpiece. Either way, they will add some stylish fun to your Halloween decoration game.

Chalky Finish Bats in a Jar • Have fun creating spooky Halloween decor with these Americana Decor Chalky Finish Ball Jars filled with creepy bats. Decorate your mantle or use them as a table centerpiece. Either way, they will add some stylish fun to your Halloween decoration game.

+ This post is brought to you by the amazing folks at DecoArt +

I LOVE, love, love creating simple and, (strange as it may seem,) elegant Halloween decor. I’ve said it before, I don’t really go for the macabre but, I do love a good bat or six flying around the room. This year I thought it would be fun to use two of my favorites and create spooky mantle decor OR a centerpiece for our Halloween gatherings.

Not All Jars are Created Equal • What Jars Are Fun to Use

We’ve all seen those classic chalk painted jars used for everything under the sun. They are great but, they can be even better when you use the NEW Ball jars that have a little flair to them. The have a new Spiral Jar, a Giving Jar and a little Mini Ball Jar. All three of these jars have something fun to add to the chalk paint jar scene. The Spiral jar has great spiral lines with a somewhat hour glass shape, PERFECT for a chalky finish. The giving jar has great lines and, can we swoon over the cute mini mason jar! That would be perfect for a place card at a Halloween dinner party.

Chalky Finish Halloween Bat Jars • Have fun creating spooky Halloween decor with these Americana Decor Chalky Finish Ball Jars filled with creepy bats. Decorate your mantle or use them as a table centerpiece. Either way, they will add some stylish fun to your Halloween decoration game.

The Benefits of Chalky Finish Paint vs. Typical Acrylic Paint

These fun new jars are a match made in Heaven when it comes to the DecoArt Americana Decor Chalky Finish paint. The two main benefits to using chalk type paint for this application is:

  1. Dry time– Chalk or mineral type paint has a super speedy dry time which is fabulous when you are wanting to a quick project. Whether big or small, furniture or jars, you want to move quickly and not have to sit around literally watching the paint dry.
  2. Manipulatable – With a chalk based paint like the Americana Decor Chalky Finish paint, once the paint is dry, that’s when the magic happens. You can use sand paper or even a wet cloth to play with the paint giving it a nice worn look. With typically acrylic paint you wouldn’t be able to do that. It would just become a sticky mess. The paint would gum up in your sand paper and the result wouldn’t be consistent.  And really, chalk painted projects are far more interesting than just your basic flat paint job. They have character!

Supplies Needed for the Halloween Bat Jars

Chalky Finish Halloween Bat Jars • Have fun creating spooky Halloween decor with these Americana Decor Chalky Finish Ball Jars filled with creepy bats. Decorate your mantle or use them as a table centerpiece. Either way, they will add some stylish fun to your Halloween decoration game.

  • Ball Jars- Spiral, Giving Jar & Mini Jar –
  • DecoArt Americana Decor Chalky Finish Paint – Everlasting
  • DecoArt Americana Decor Satin Enamels – Classic Black
  • Chalk paint brush
  • FloralCraft Dry Foam Mug Plugs
  • Wire cutters
  • Black Aluminum Floral Wire
  • Hot glue gun – I LOVE my cordless Ryobi Glue Gun
  • 220 grit Sand paper
  • Round pencil or pen
  • Bats
  • lint free cloth to protect your surface

I actually purchased most of my supplies here from Michaels or Target. I’ve found Target has the best selection for the Ball jars at a good price. The bats are a chipboard bat from the Martha Stewart Crafts line at Michaels but, you can totally make your own bats out of black paper as well. If you have a Cricut machine it would be a snap!

Instructions for the Halloween Bat Jars

Chalky Finish Halloween Bat Jars • Have fun creating spooky Halloween decor with these Americana Decor Chalky Finish Ball Jars filled with creepy bats. Decorate your mantle or use them as a table centerpiece. Either way, they will add some stylish fun to your Halloween decoration game.

Place a lint free cloth or paper down on your surface to protect it from the paint.

You will begin by painting your first coat of paint with the Classic Black Americana Decor Satin Enamel. Now, I want these jars to look rough and not polished at all. I don’t mind brush strokes or a rough edge at the top. I actually purposefully created a feathered look at the top with my brush.

Chalky Finish Halloween Bat Jars • Have fun creating spooky Halloween decor with these Americana Decor Chalky Finish Ball Jars filled with creepy bats. Decorate your mantle or use them as a table centerpiece. Either way, they will add some stylish fun to your Halloween decoration game.

Chalky Finish Halloween Bat Jars • Have fun creating spooky Halloween decor with these Americana Decor Chalky Finish Ball Jars filled with creepy bats. Decorate your mantle or use them as a table centerpiece. Either way, they will add some stylish fun to your Halloween decoration game.

I turned them upside down and let them dry for an hour or two. You don’t want the paint to be tacky at all when you move onto the next coat.

Once your black layer is dry after an hour or two, you’ll paint on your white layer with the Americana Decor Chalky Finish in Everlasting (white.) I left about a 1/2 to a 1/4 inch section at the top of the black. That way a little more of the black paint is showing through. Again, I kind of feathered the top with my brush.

Chalky Finish Halloween Bat Jars • Have fun creating spooky Halloween decor with these Americana Decor Chalky Finish Ball Jars filled with creepy bats. Decorate your mantle or use them as a table centerpiece. Either way, they will add some stylish fun to your Halloween decoration game.

PRO TIP: For the white layer, I found a thicker application of the paint is best. I wouldn’t go so far as to do two coats. Just paint it on a little heavy.

Chalky Finish Halloween Bat Jars • Have fun creating spooky Halloween decor with these Americana Decor Chalky Finish Ball Jars filled with creepy bats. Decorate your mantle or use them as a table centerpiece. Either way, they will add some stylish fun to your Halloween decoration game.

Then I set them aside to dry again. This time I didn’t have to wait too long. The Chalky Finish paint dries super quick even if it is layered on rather thick.

Then I took the 220 grit sand paper and LIGHLY swipe the paint on the jar with a flat hand. You don’t want to attack it like a jack hammer. You want to lightly distress the high points of the jar so that it look natural.

Chalky Finish Halloween Bat Jars • Have fun creating spooky Halloween decor with these Americana Decor Chalky Finish Ball Jars filled with creepy bats. Decorate your mantle or use them as a table centerpiece. Either way, they will add some stylish fun to your Halloween decoration game.

If you don’t want to worry about paint dust from the sandpaper, you can distress your jar with a wet cloth. Just make sure not to get the paint too wet. It will pull large areas of paint off the jar if it is not done carefully.

Now, put the floral foam into the jars. You may need to cut down the foam in order for it to fit into the jar.

Chalky Finish Halloween Bat Jars • Have fun creating spooky Halloween decor with these Americana Decor Chalky Finish Ball Jars filled with creepy bats. Decorate your mantle or use them as a table centerpiece. Either way, they will add some stylish fun to your Halloween decoration game.

It’s time to add your bats! You have several different choices for wire. If you are using a lighter, cardstock type paper for your bats, you’ll be able to use a 24 gage wire like the one pictured above. If you are using chipboard bats, you might opt for a heavier wire like the black aluminum decorative wire that I used.

Have fun twisting and curling the wire to create fun lines and swirls just like the swirls on the jar! I used some jewelry making tools along with a circular pen to create the twists and turns in my wire.

I hot glue the wire to the back of the bats and then arrange them in the jars sticking the wire into the floral foam to keep them in place.

Chalky Finish Halloween Bat Jars • Have fun creating spooky Halloween decor with these Americana Decor Chalky Finish Ball Jars filled with creepy bats. Decorate your mantle or use them as a table centerpiece. Either way, they will add some stylish fun to your Halloween decoration game.

Doesn’t the jar look fun with the distressed swirls?!

I love how these turned out and can’t wait to make a few more to dress up our home for Halloween. It would be fun to make some jars with ghosts and such… Ahhh, fun!

Chalky Finish Halloween Bat Jars • Have fun creating spooky Halloween decor with these Americana Decor Chalky Finish Ball Jars filled with creepy bats. Decorate your mantle or use them as a table centerpiece. Either way, they will add some stylish fun to your Halloween decoration game.

  • Page 1
  • Page 2
  • Page 3
  • Interim pages omitted …
  • Page 8
  • Go to Next Page »

Primary Sidebar

Heather from Whipperberry
Hello... my name is Heather and I'm the creator of WhipperBerry a creative lifestyle blog packed full of great recipes and creative ideas for your home and family. I find I am happiest when I'm living a creative life and I love to share what I've been up to along the way... Come explore, my hope is that you'll leave inspired!

Footer

  • Privacy Policy
  • Crafts
  • Food
  • Gifts
  • Holidays
  • Home
  • Mom Life
  • Recipes
  • Travel

Copyright © 2026 · Seasoned Pro