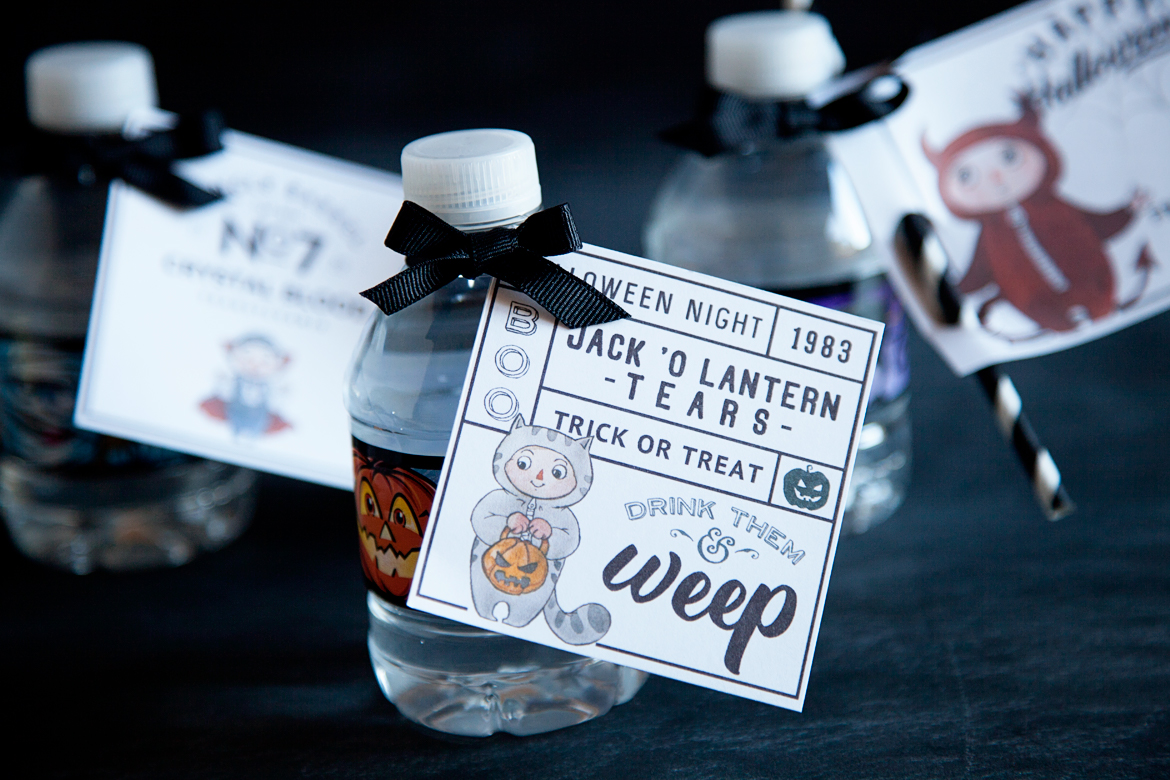
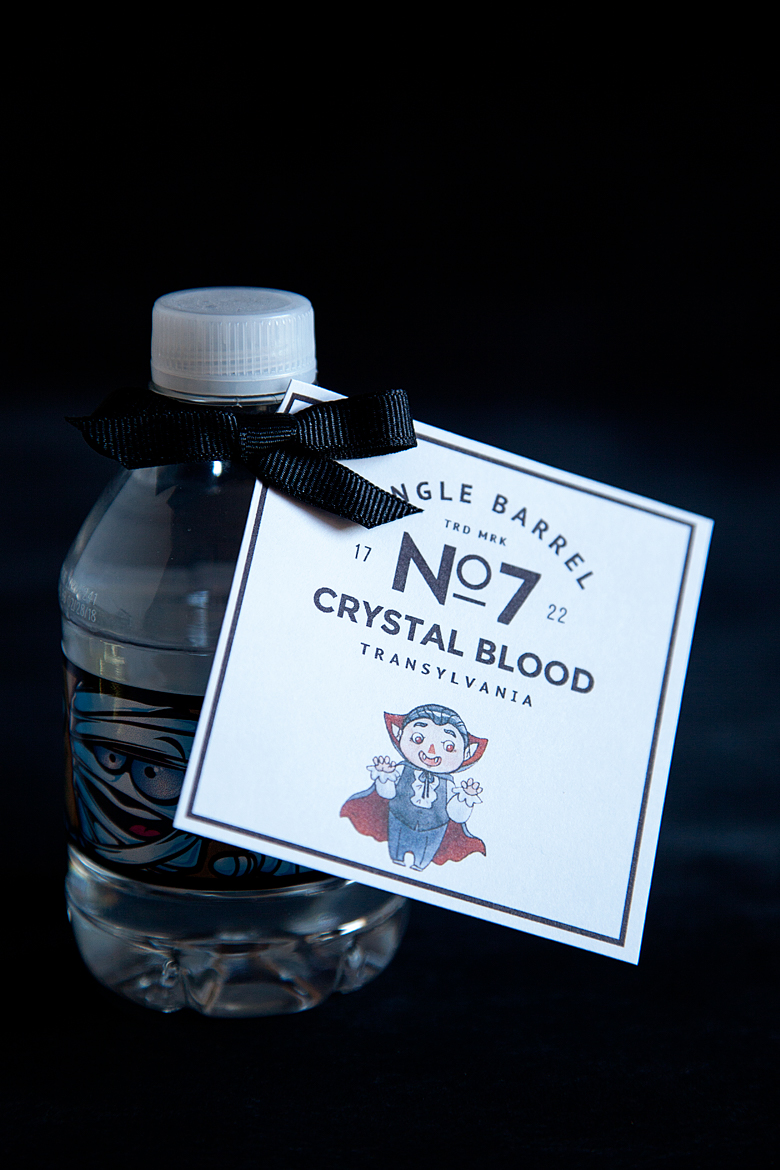
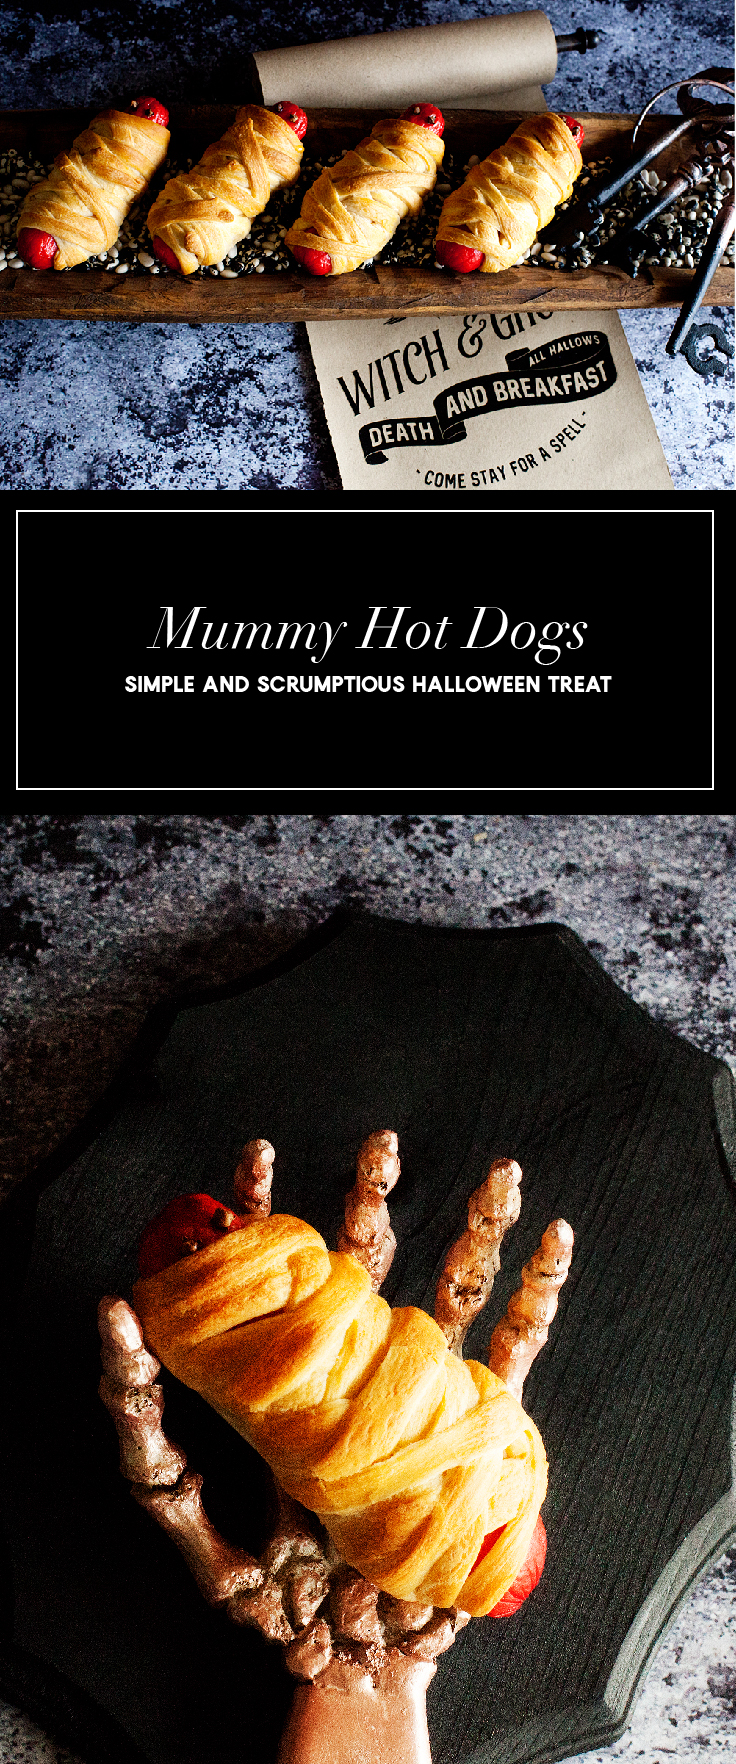
There’s nothing better than a simple, scrumptious and slightly spooky treat for Halloween! Come learn how easy it is to make these frightfully delicious Mummy Hot Dogs for your little {and BIG} Trick-or-Treaters.
• Disclaimer – This post brought to you by Pillsbury™ & Walmart. All thoughts, ideas & opinions are my own •
You guys… Halloween is almost upon us and it’s time to start preparing for the fun night. My little guy is super excited and the funny thing is my older kiddos are just as excited. Part of the fun for us adults is in creating the magic for our kiddos. It’s so fun to create creepy treats that have that weird quality of visually grossing you out, and then actually tasty quite good. Have you seen the brain cake that’s going around these day… eeeew! I’m not sure I could do that one.
Pillsbury™ has a classic addition to the Halloween meal menu, the Mummy Hot Dog. This one is almost a little too cute to be creepy… My kiddos love them! We headed to Walmart today and grabbed some Mummy Hot Dog supplies. You’ll need…
Mummy Hot Dog Ingredients
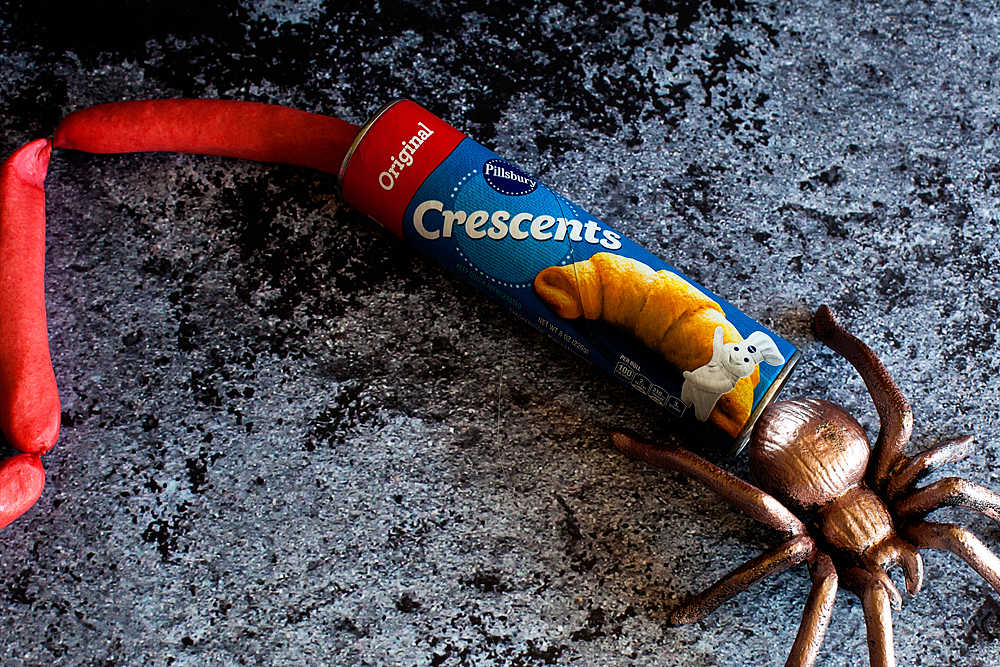
•Hot dogs
•Sliced cheese
•Whole cloves
They are super easy to make. Here is a little video that I put together to show how fun they can be…
How cool is that? It’s one of those fun meals that the whole family can make together. You can change up the hot dog option for Dad and use a cooked brat instead or, how good would they be with pepper jack cheese… Really, the sky’s the limit. You can have all kinds of fun with this meal.